
Last updated on August 19th, 2026 at 04:14 pm
Walking a dog that pulls, zigzags, or stops to sniff every blade of grass can turn a simple stroll into a frustrating tug-of-war. But with the right approach, you can teach your dog to walk calmly by your side, making every outing more enjoyable for both of you.
Heel training isn't about robotic obedience—it's about building a clear communication system that keeps your dog focused and engaged.
In this guide, we'll cover 11 practical heel training practices that will help you achieve more controlled walks, no matter your dog's age or experience level.
1. Start with the Right Equipment
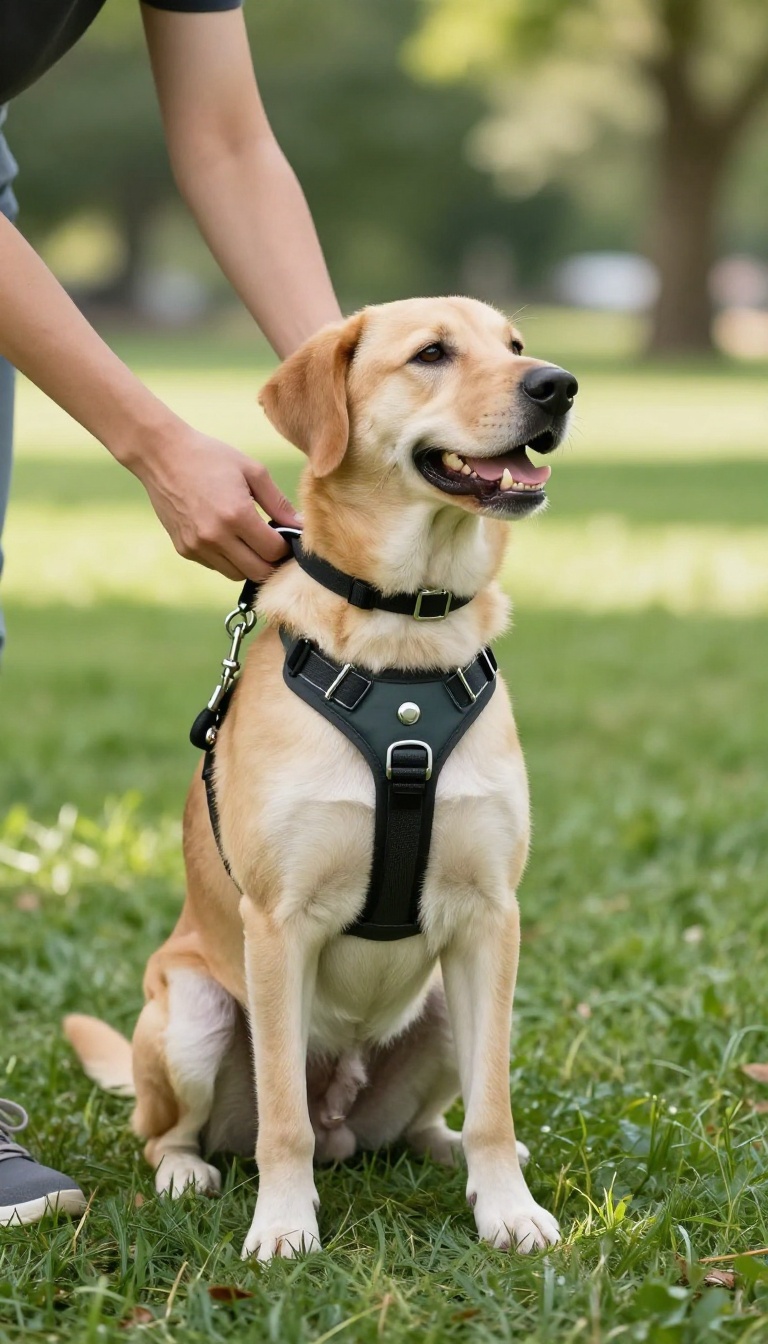
Before you even think about commands or treats, take a hard look at what’s attached to your dog. The wrong gear can sabotage your best efforts, making pulling feel natural and rewarding. The right setup, on the other hand, gives you a fair chance to communicate clearly and keeps your dog comfortable and focused.
A well-fitted harness or collar is the foundation of any heel training routine. Look for a harness that sits comfortably across the chest and doesn’t rub under the armpits. For dogs that tend to pull, a front-clip harness can give you more control without causing pain.
Pair it with a standard 4-6 foot leash—long enough for your dog to explore a bit, but short enough to keep them close when you need their attention. Retractable leashes are a big no-no for heel training because they constantly change tension and encourage your dog to forge ahead. Stick with a simple, sturdy leash that feels good in your hand.
Why Retractable Leashes Backfire
Retractable leashes give your dog the illusion of freedom, which is the opposite of what heel training is about. They also make it nearly impossible to maintain steady pressure or give clear cues. When your dog hits the end of the line, the sudden jerk can startle them and actually reinforce pulling.
Switching to a fixed-length leash helps your dog learn that staying close is the default, not the exception.
Fit Matters More Than Brand
You don’t need the most expensive gear, but you do need the right fit. A collar that’s too loose can slip off, while one that’s too tight can choke or cause discomfort. For harnesses, check that you can fit two fingers between the strap and your dog’s body.
If your dog is between sizes, size up and adjust. A snug, comfortable fit lets your dog move freely without rubbing or chafing, so they can focus on learning rather than on discomfort.
2. Master the Treat Positioning
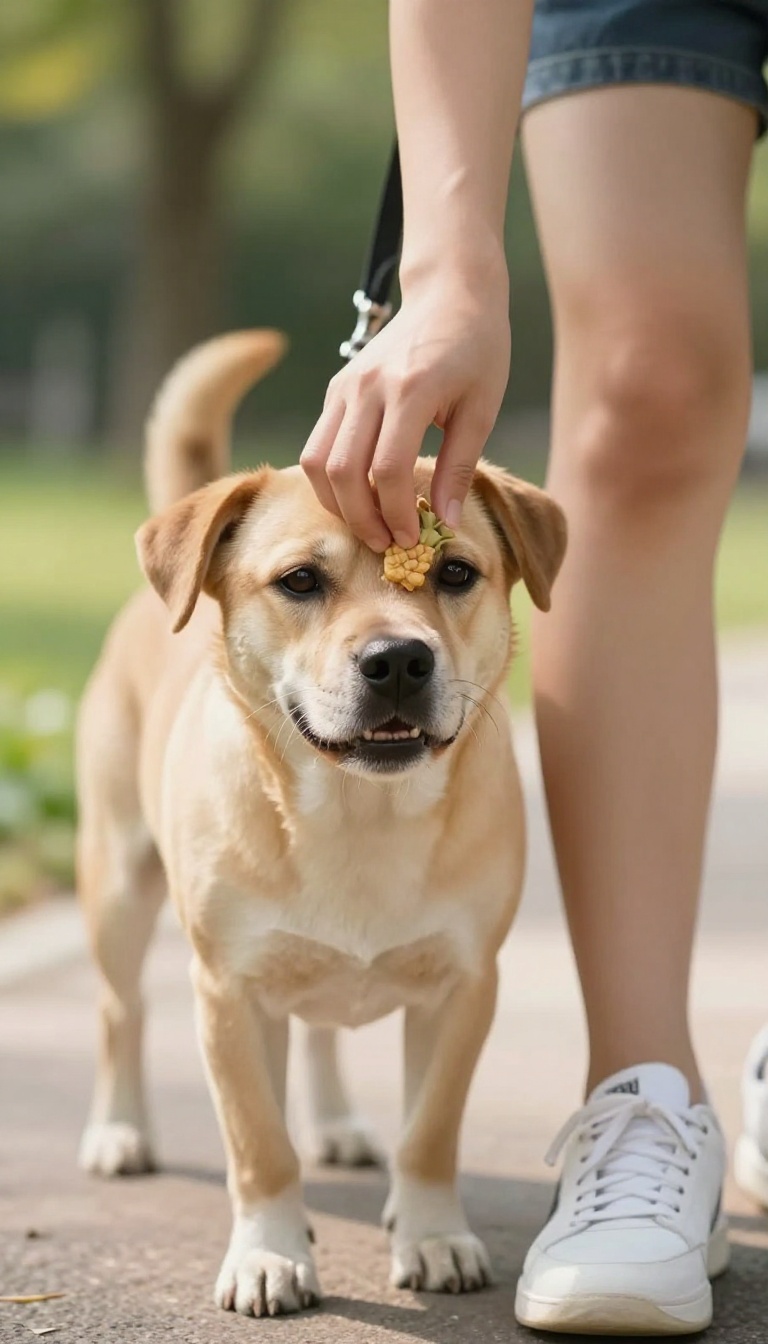
Where you hold the treat can make or break your heel training session. If treats are too high or too low, your dog might jump, lunge, or lose interest altogether. The sweet spot is right at your dog's nose level, just ahead of your leg.
When you position the treat correctly, you're essentially guiding your dog's head into the perfect heel position. This simple adjustment keeps their focus forward and upward, making it much easier to maintain a controlled walk. It's a small change that yields big results.
Why Nose-level Works
Dogs naturally follow their noses. By holding the treat at nose level, you're giving them a clear target to focus on. This encourages them to keep their head up and their body aligned with your leg, which is the foundation of a good heel.
The 'just Ahead' Trick
Positioning the treat slightly ahead of your leg creates a subtle forward motion that keeps your dog moving with you. It prevents them from lagging behind or veering off to the side. Think of it as a gentle guide, not a lure.
Common Mistakes To Avoid
Holding the treat too high can cause jumping, while holding it too low may encourage sniffing or mouthing. Also, avoid holding it too far forward, which can lead to pulling. Keep it close to your body and at nose level for the best results.
Progressive Release
As your dog gets better, gradually reduce the frequency of treats. Start by rewarding every few steps, then every few seconds, and eventually only for longer stretches of perfect heel. This builds reliability without creating a treat-dependent dog.
3. Use a Release Cue
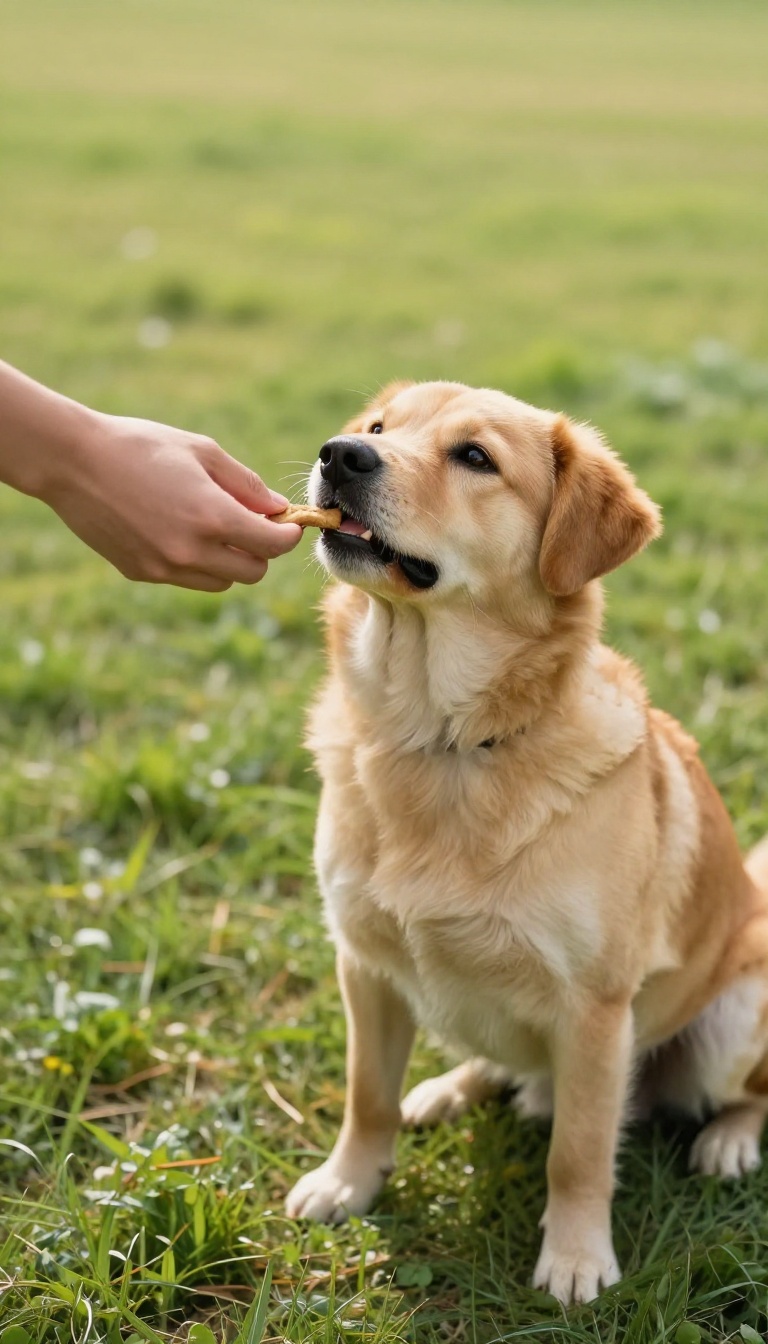
A release cue is the magic word that tells your dog the exercise is over. Without one, your dog might guess when to relax, leading to confusion and a broken heel. By teaching a clear release, you give your dog a predictable signal that separates work time from playtime.
Think of the release cue as the "off switch" for heel work. It's a word like "free" or "okay" that you say in a cheerful tone, followed by a physical cue like stepping forward or tossing a treat. This tells your dog, "Good job, you can relax now.
" It's a simple concept, but it makes a huge difference in your dog's focus during the walk.
Why A Release Cue Matters
Dogs thrive on clear communication. If you never tell them when heel is over, they might stay tense or break early on their own. A release cue removes the guesswork.
Your dog learns that heel has a defined start and end, which builds trust and makes the behavior more reliable.
How To Teach It
Start in a quiet area with no distractions. Have your dog in a heel position, then say your release word in a happy voice and toss a treat on the ground or take a few steps forward. Let your dog sniff or play for a moment.
Then, call them back into heel and repeat. Do this several times until your dog starts to anticipate the release when they hear the word.
Use It Consistently
The key is to use the same word every time and say it only when you truly mean the session is over. If you say "free" but then keep walking in heel, your dog will get confused. Be consistent, and your dog will learn to trust that the release word means they can finally relax.
4. Practice in Low-Distraction Environments
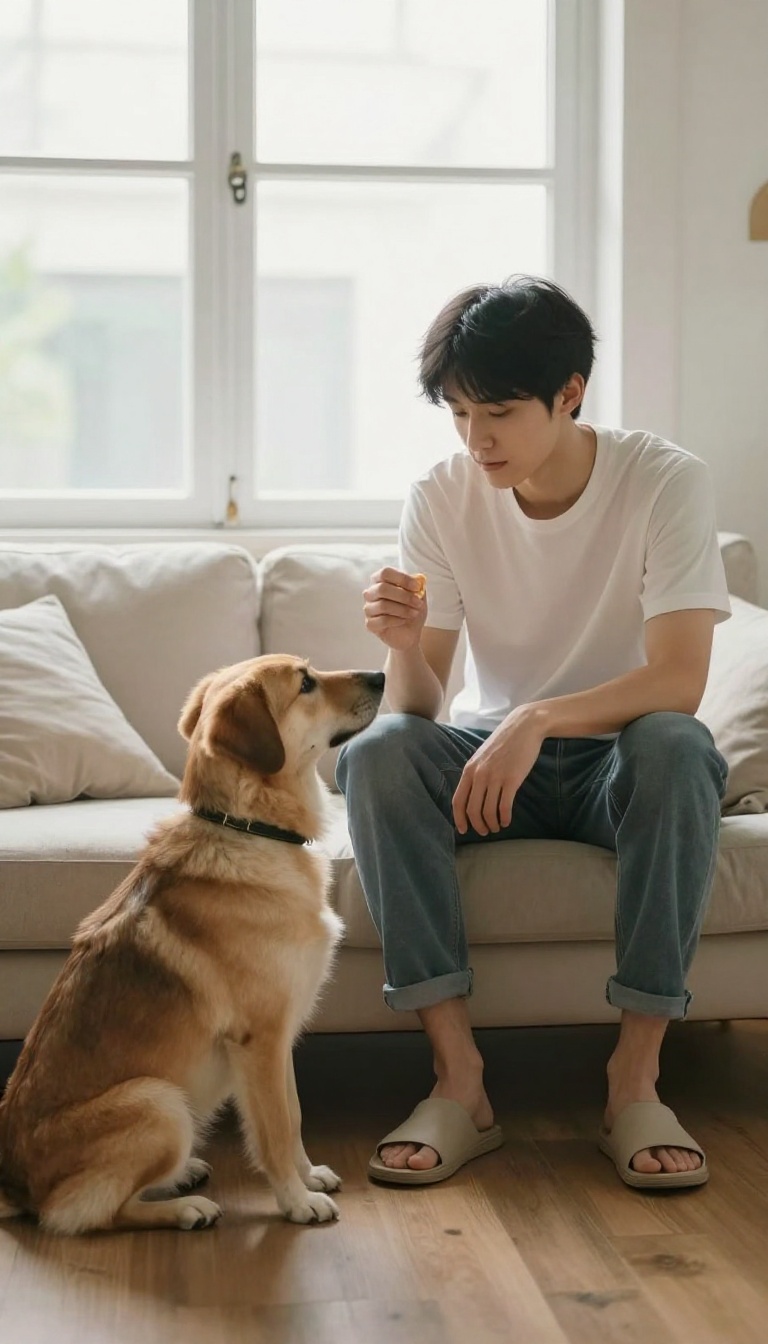
You wouldn't expect a rookie quarterback to perform flawlessly in a packed stadium. Similarly, asking your dog to heel perfectly on a busy street before they've mastered it at home sets both of you up for frustration. The secret to solid heelwork is starting boring and then slowly turning up the volume.
Training in a quiet space lets your dog focus entirely on you and the task at hand. Once they understand the basics in a calm setting, you can gradually introduce real-world distractions. This step-by-step approach builds confidence and reliability, turning heel training into a habit rather than a struggle.
Start Indoors Or In A Fenced Yard
Begin in a room with no other pets or people, or a securely fenced backyard. This eliminates the temptation to chase squirrels or greet neighbors. Use high-value treats to keep your dog's attention locked on you.
Short, frequent sessions—just five to ten minutes—are more effective than one long, tedious session.
Add Mild Distractions Gradually
Once your dog heels reliably inside, move to a quiet sidewalk or a park at off-peak hours. Keep the sessions short and reward generously for maintaining focus. If your dog gets distracted, simply stop and wait until they re-engage with you before continuing.
This teaches them that ignoring you means no forward progress.
Use A Long Leash For Controlled Exploration
A long leash (15-30 feet) gives your dog freedom to sniff and explore while still under your control. Practice heeling in short bursts, then allow a 'free' period. This balance prevents frustration and teaches your dog that heeling doesn't mean all the fun is over.
5. Incorporate Sudden Stops
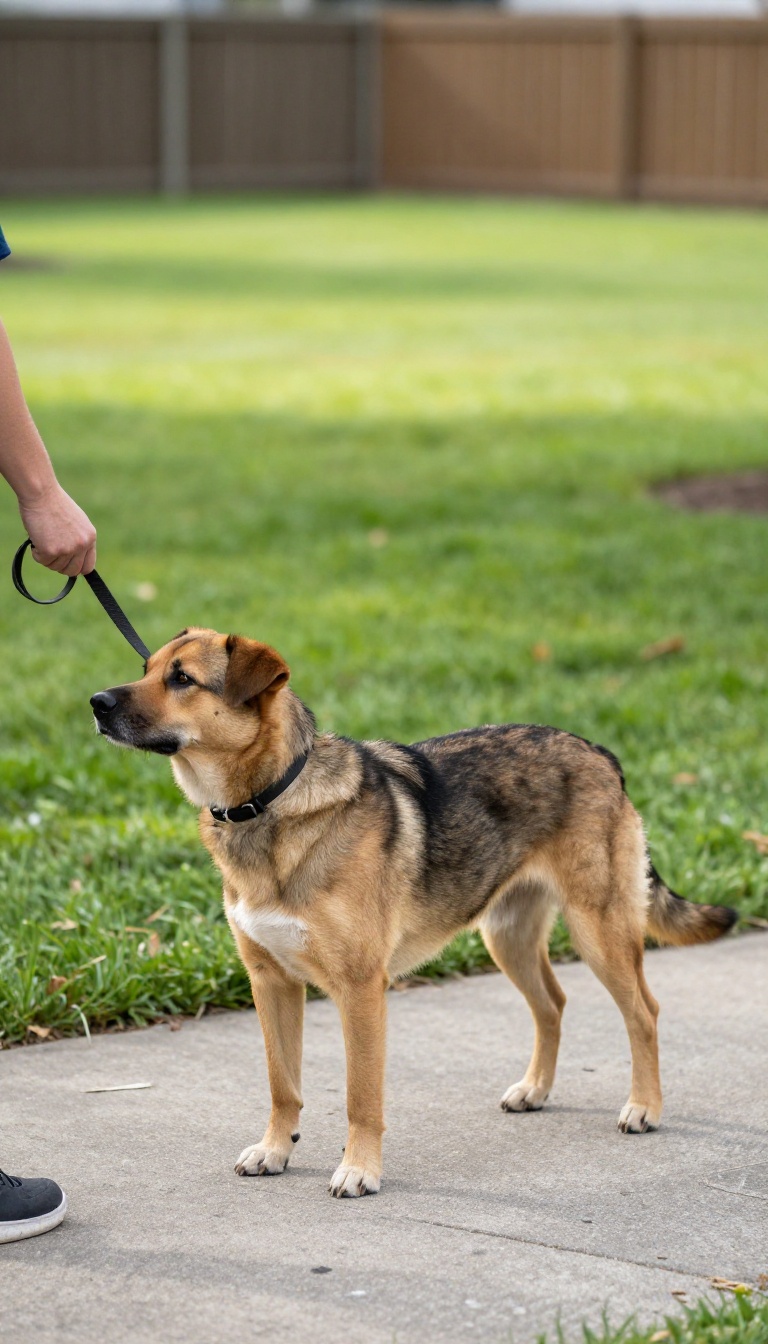
Dogs pull because it works. If moving forward is the reward, why would they stop? The sudden stop method flips that logic: pulling now leads to a dead end.
It's a simple, patient, and surprisingly effective way to reset the walk and put you back in charge.
The sudden stop technique is straightforward: the moment your dog forges ahead and puts tension on the leash, you freeze in your tracks. No yanking, no verbal correction—just a silent halt. Your dog will quickly learn that pulling doesn't speed things up; it actually brings everything to a standstill.
When they turn back or slacken the leash, mark it with a 'yes' and reward them with a treat or a quick 'let's go' before moving again. Consistency is key—every single pull gets a stop, no exceptions.
Why Stopping Works Better Than Pulling Back
When you pull back, your dog naturally resists—it's the same opposition reflex that makes sled dogs pull harder. Stopping removes that tension entirely. Your dog gets no feedback from the leash, and the walk simply pauses.
This makes the lesson clear: forward movement only happens when the leash is loose. It's also safer, as it avoids any risk of neck strain or injury from constant yanking.
How To Make The Stop Feel Like A Team Effort
Pair the stop with a cheerful cue like 'oops' or 'wait' so your dog knows what's happening. When they look back or step toward you, praise them warmly and offer a treat. This turns the stop into a chance for connection rather than a punishment.
Over time, your dog will start checking in with you more often, making the walk feel more like a conversation than a tug-of-war.
Common Mistakes To Avoid When Using Sudden Stops
The biggest mistake is inconsistency—if you only stop sometimes, your dog learns that pulling might still get them somewhere. Another is stopping too late; you need to catch the pull at the very beginning, not after they've already dragged you a few feet. Also, avoid staring at your dog or getting frustrated.
Stay relaxed and neutral, and the lesson will sink in faster.
6. Change Directions Frequently
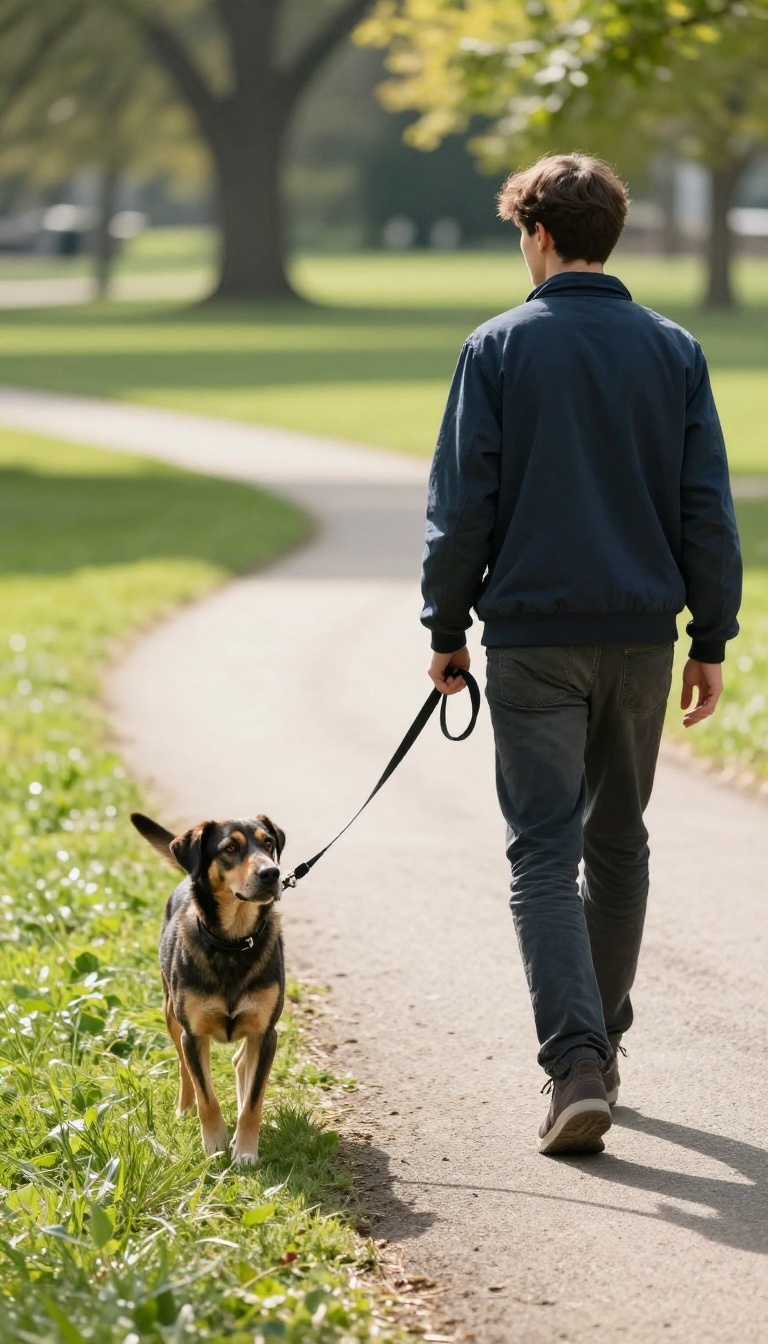
Dogs are masters of pattern recognition. If every walk follows the same straight line, your dog can mentally check out and start pulling ahead. By mixing in unexpected turns, you force them to stay tuned in to where you're going next.
This practice turns your walk into a game of follow-the-leader. Each time you change direction, your dog has to reorient and catch up to your heel position. It's a simple but powerful way to build focus without turning the session into a drill.
Start With A Clear Cue
Before you pivot, give a small signal like a gentle tug on the leash or a cheerful 'this way! ' This helps your dog understand that a turn is coming. Over time, they'll start watching your body language more closely, anticipating your moves.
Use Random Patterns
Don't fall into a predictable rhythm like turning left every few steps. Mix it up—turn left, then right, then do a U-turn. The unpredictability keeps your dog's brain engaged, making the walk mentally stimulating and reinforcing their attention on you.
Reward The Catch-up
When your dog quickly returns to heel after a turn, mark it with a 'yes' and offer a treat. This positive reinforcement teaches them that staying close and adjusting to your movements is rewarding. Over time, they'll start checking in with you more often, even before you turn.
7. Reward Eye Contact
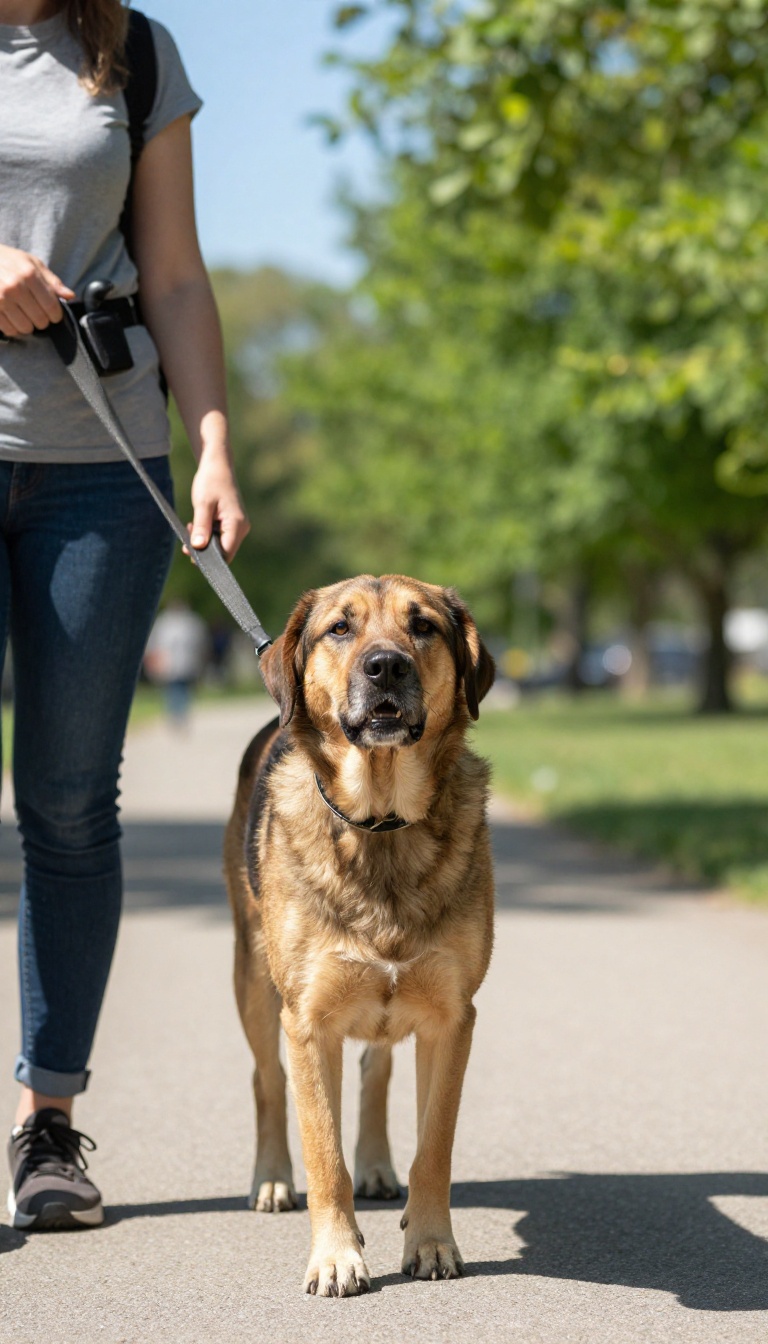
Your dog's eyes are a window into their attention. When they look at you mid-walk, they're checking in, asking for direction. That small glance is pure gold for heel training.
Reward it every single time, and you'll build a dog who naturally seeks your guidance instead of charging ahead.
Eye contact is the foundation of a controlled walk. It keeps your dog mentally engaged with you, not the environment. By rewarding these check-ins, you're teaching your dog that focusing on you pays off.
Over time, this becomes a habit that makes heeling feel effortless.
Why Eye Contact Matters
When your dog looks at you, they're making a choice to engage. That choice is the opposite of pulling or lunging. Rewarding it reinforces the behavior, so your dog learns that staying connected to you is more rewarding than chasing a squirrel or sniffing a fire hydrant.
How To Reward On The Go
Keep treats handy in a pouch or pocket. The moment your dog glances at you, say 'yes' or click, then give a treat. You can also use a quick 'good' and a treat.
The key is timing—reward the glance, not the treat grab. This way, your dog learns that looking at you brings good things.
Make It A Game
Turn eye contact into a fun game. Walk a few steps, then stop and wait. When your dog looks at you, reward and continue.
This builds a pattern of checking in. You can also randomly reward eye contact during the walk, keeping your dog guessing and engaged.
8. Use a Marker Word or Clicker
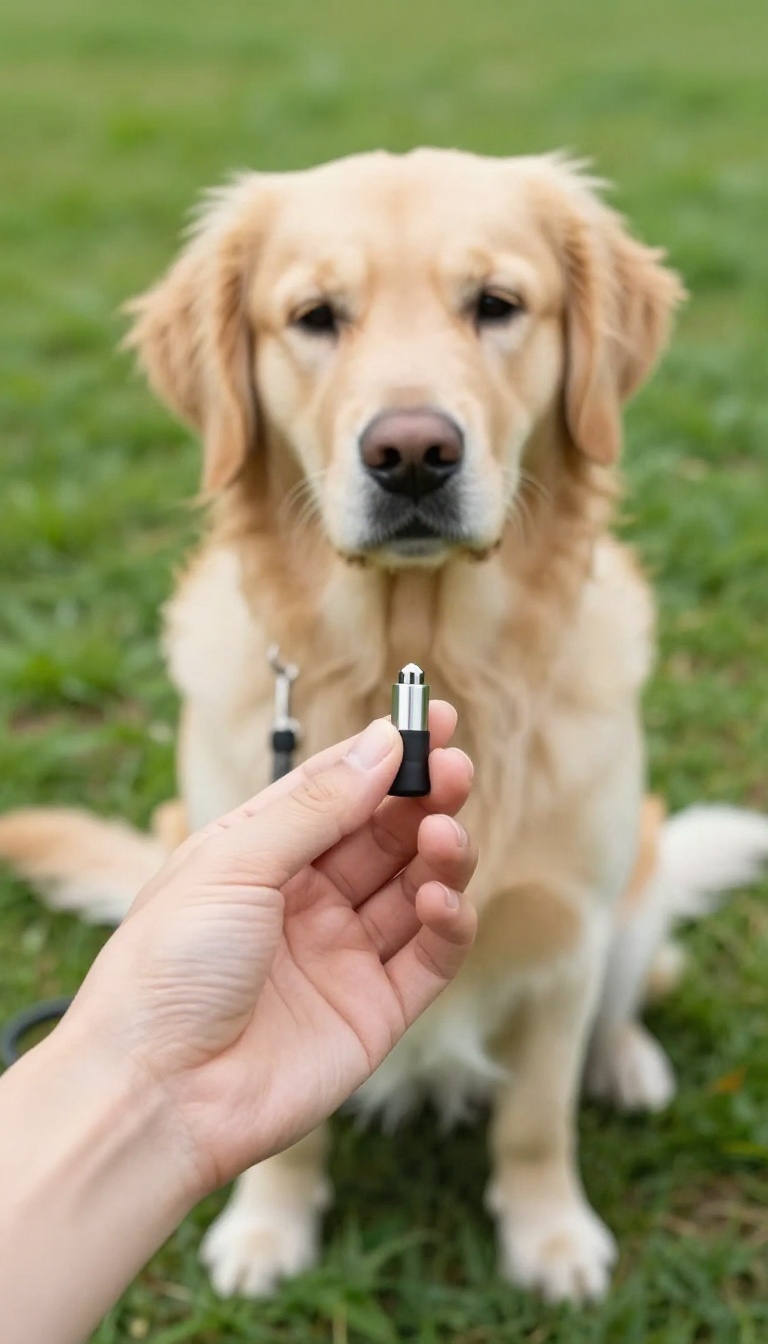
A marker word or clicker is a powerful tool that tells your dog the exact second they've done something right. It's like a camera flash that captures the perfect moment, making it crystal clear what earned the reward. This precision is a game-changer for heel training, where timing is everything.
When your dog is walking nicely beside you, you want to reward that behavior immediately. But saying 'good dog' while fumbling for a treat can be too slow, and your dog might associate the reward with the wrong action. A marker solves this by creating a consistent signal that always means 'yes, that's exactly what I want. '
Why Markers Work So Well
Dogs learn through associations, and a marker bridges the gap between behavior and reward. It's a conditioned reinforcer that, once established, becomes as exciting as the treat itself. This lets you mark the precise instant your dog's shoulder aligns with your leg, even if the treat comes a second later.
Pick Your Marker And Charge It
Choose a short, sharp word like 'yes' or a clicker if you prefer. Before using it in training, 'charge' the marker by saying it and immediately giving a treat, repeating this 10-15 times. Your dog will quickly learn that the marker predicts something awesome, making it a powerful communication tool.
Mark The Moment, Then Reward
During heel practice, keep your marker handy. The instant your dog is in the perfect position—loose leash, attention on you—mark it, then follow up with a treat. This teaches your dog that the position itself is what earns the reward, not just the treat.
Over time, you'll see your dog offering that behavior more and more.
9. Gradually Increase Distractions
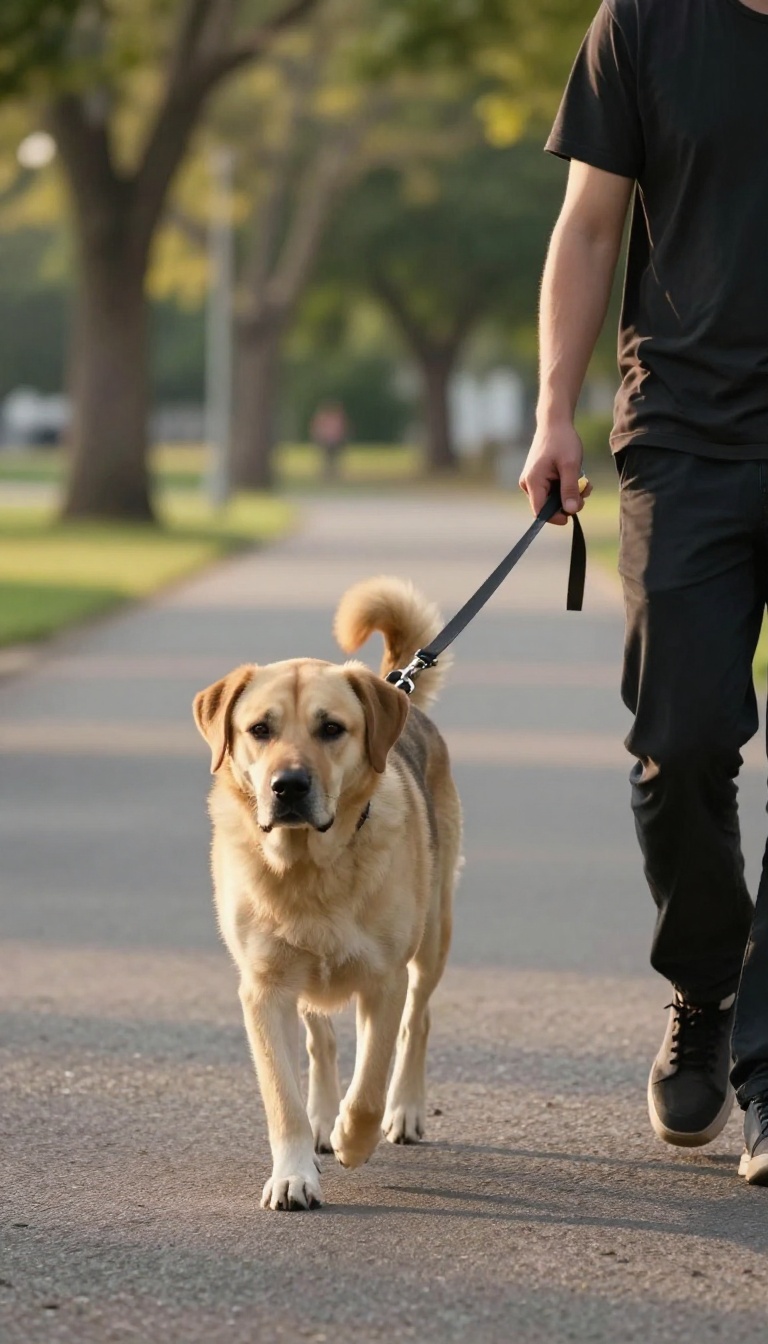
Once your dog nails heel in a quiet hallway, it's tempting to hit the busy sidewalk and expect perfection. But that jump is like going from a library to a rock concert—your dog's brain simply isn't ready for that volume of input. The key is to layer in distractions slowly, so your dog learns to focus on you no matter what's happening around them.
Start by practicing heel in a low-distraction environment, like your backyard or a quiet cul-de-sac. Then, gradually introduce more stimulating settings—a park at off-peak hours, a street with occasional cars, or a sidewalk where you can see other dogs from a distance. The goal is to keep your dog successful at each level before moving closer to the action.
Start Far, Then Close The Gap
When you first introduce a distraction, keep plenty of distance between your dog and the trigger. If that's another dog, stay across the street or in a wide open area. Reward your dog for maintaining heel while the distraction is present.
As your dog stays focused, gradually decrease the distance—maybe by a few feet each session. If your dog breaks heel, that's a sign you've moved too close too quickly. Back up and try again.
Use High-value Rewards
In a quiet room, a regular treat might do the trick. But when distractions are around, bring out the big guns—tiny pieces of chicken, cheese, or hot dog. These high-value rewards give your dog a strong reason to keep their eyes on you instead of the squirrel across the street.
Use them only during distraction training so they stay special and motivating.
Practice In Short Bursts
Training with distractions is mentally tiring for your dog. Keep sessions short—maybe five to ten minutes—and always end on a positive note. If your dog manages to heel past a tempting distraction, celebrate and take a break.
Short, successful sessions build confidence, while long, frustrating ones can set you back.
10. Keep Sessions Short and Positive
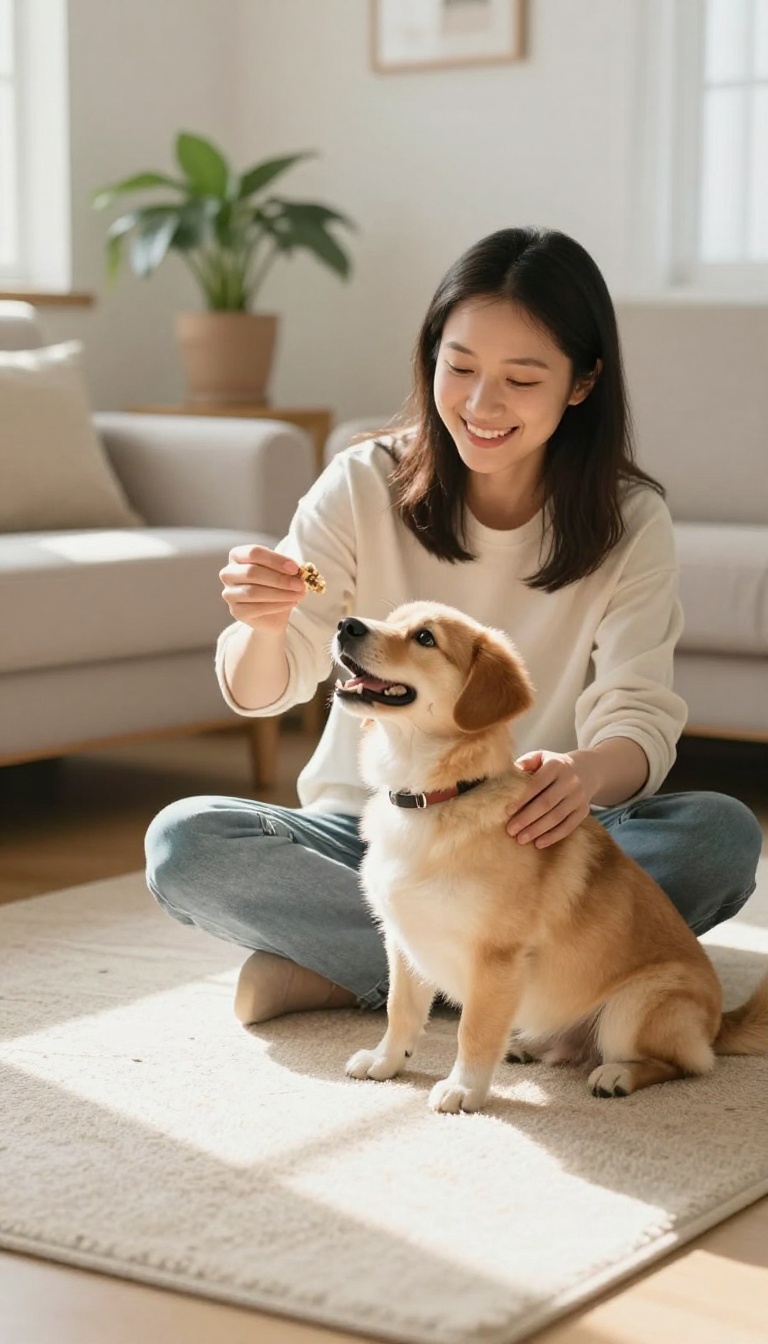
Training sessions that drag on can leave both you and your dog frustrated. Short, frequent practices are the secret to steady progress without burnout. Aim for just 5–10 minutes a day, and always wrap up on a high note to keep your pup eager for more.
When it comes to heel training, quality beats quantity every time. A few focused minutes a day will do more than an hour-long slog that leaves everyone tired and cranky. Keep the energy upbeat and end before your dog loses interest—that way, they’ll associate training with fun, not pressure.
Why Short Sessions Work
Dogs learn best in short, concentrated bursts. Their attention spans are limited, and long sessions can lead to mental fatigue and resistance. By keeping sessions brief, you maintain your dog’s focus and make every repetition count.
Consistency matters more than duration—five minutes daily beats one long session on the weekend.
How To Structure A 5-minute Session
Start with a quick warm-up, like a few easy sits or a simple heel in a low-distraction area. Then, practice the heel for a few minutes, mixing in lots of praise and treats. Finish with a fun game or a simple command your dog knows well, so the session ends on a positive note.
This leaves your dog feeling successful and eager for the next training.
Ending On A High Note
Always stop while your dog is still engaged and doing well. If you end after a mistake, your dog might feel discouraged. Instead, call it quits after a perfect heel or a great response.
This builds confidence and makes your dog look forward to training time. A quick play session or a favorite toy as a reward can also seal the positive feeling.
11. Be Consistent with Your Cues
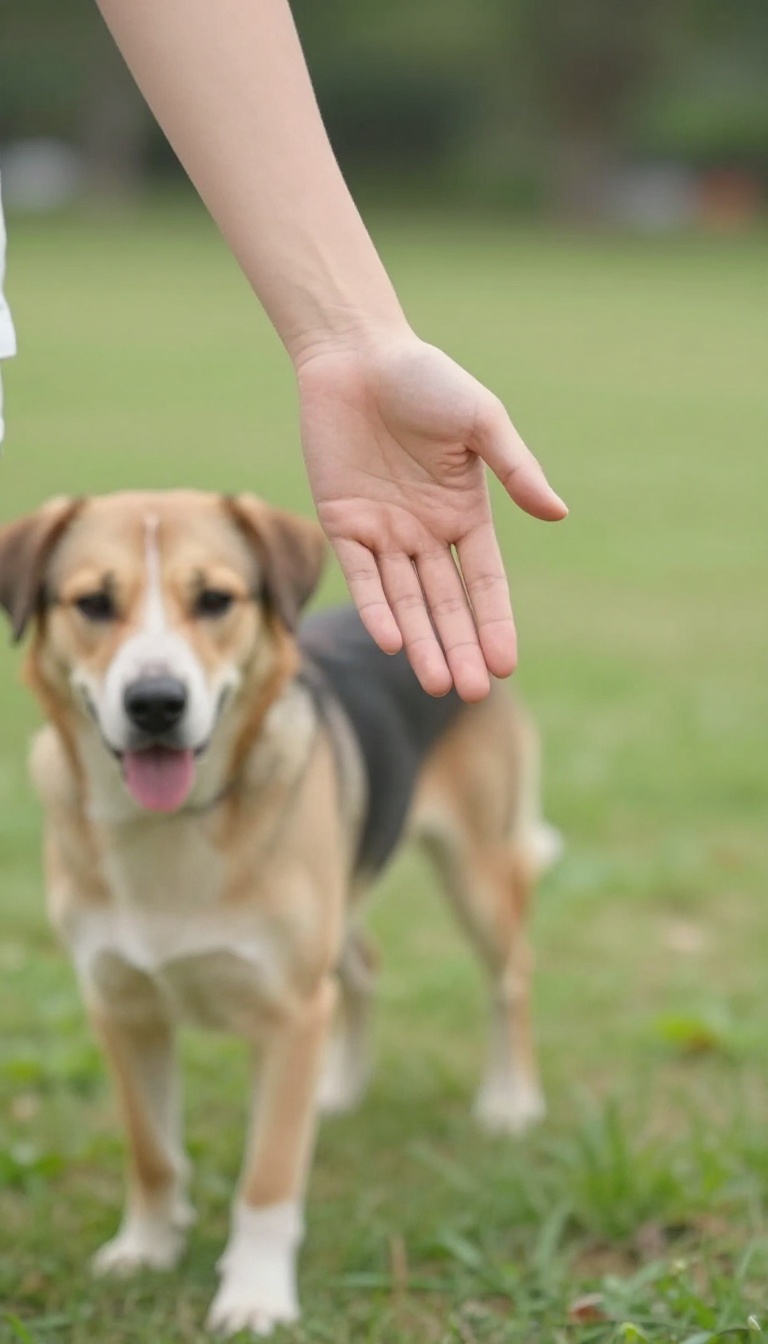
Ever given your dog a command one way, then switched it up the next day? That's confusing for them. Dogs learn through repetition and clear signals.
When you're consistent with your verbal cues and hand signals, your dog knows exactly what you're asking for, every time. This cuts down on frustration and speeds up learning, making heel training a whole lot smoother.
Pick Your Words And Stick To Them
Choose a single word for the heel position, like "heel" or "let's go. " Use it every single time you want your dog to walk beside you. Avoid throwing in synonyms like "come on" or "walk with me" because that just muddies the waters.
Your dog will eventually associate that one word with the action, and you'll see faster responses.
Keep Your Hand Signal The Same
If you use a hand signal, make it consistent too. Maybe you tap your thigh or point down. Whatever it is, use the same motion every time.
Dogs are great at reading body language, so a clear, repeated signal helps them understand even in noisy environments where your voice might not carry.
Be Consistent In Every Situation
It's tempting to be strict during training sessions but let things slide on a casual walk. That inconsistency sends mixed messages. Try to use the same cues and expectations whether you're in the backyard, on a quiet street, or at the park.
The more consistent you are, the faster your dog learns that heel means heel, no matter where you are.
FAQ
How long does it take to teach a dog to heel?
It varies by dog, but with consistent practice, most dogs can learn the basics in a few weeks. Full reliability in all situations may take a few months.
What if my dog is too excited to focus on heeling?
Start in a low-distraction environment and use high-value treats. You can also try exercising your dog before training to burn off excess energy.
Can an older dog learn to heel?
Absolutely. Older dogs can learn new behaviors, but it may take more patience and consistency. Use positive reinforcement and keep sessions short.
Should I use a prong collar or e-collar for heel training?
These tools are controversial and can cause fear or pain. Positive reinforcement methods are effective and build a stronger bond with your dog.
What is the best leash for heel training?
A standard 4-6 foot flat leash is ideal. Avoid retractable leashes, as they encourage pulling and make it harder to communicate.
Conclusion
Heeling isn't about perfect precision—it's about making walks feel like a team effort instead of a tug-of-war. Start with the practice that feels easiest, reward generously, and build up as your dog catches on. You'll both enjoy the fresh air more when the leash stays loose and the focus stays on you.
Keep sessions short, stay patient, and let each calm step reinforce the next. Before long, those controlled walks will just feel like your normal routine—and that's a win for both of you.

I’m Pallab Kishore, the owner of Little Pets Realm — an animal lover and pet care enthusiast sharing easy tips, healthy recipes, and honest advice to help every small pet live a happy, healthy, tail-wagging life.