A clean home doesn't have to consume your entire weekend. With a smart weekly routine, you can enjoy a fresher space without the burnout. The key is focusing on high-impact tasks that make the biggest difference.
Most cleaning struggles come from trying to do everything at once. By breaking it down into manageable daily and weekly chunks, you'll see visible results faster. Your home will feel cleaner, smell better, and require less effort over time.
These 17 tips are designed to fit into real life. They're practical, not perfect. Pick the ones that work for you, and watch your home transform with each passing week.
1. Make Your Bed Every Morning
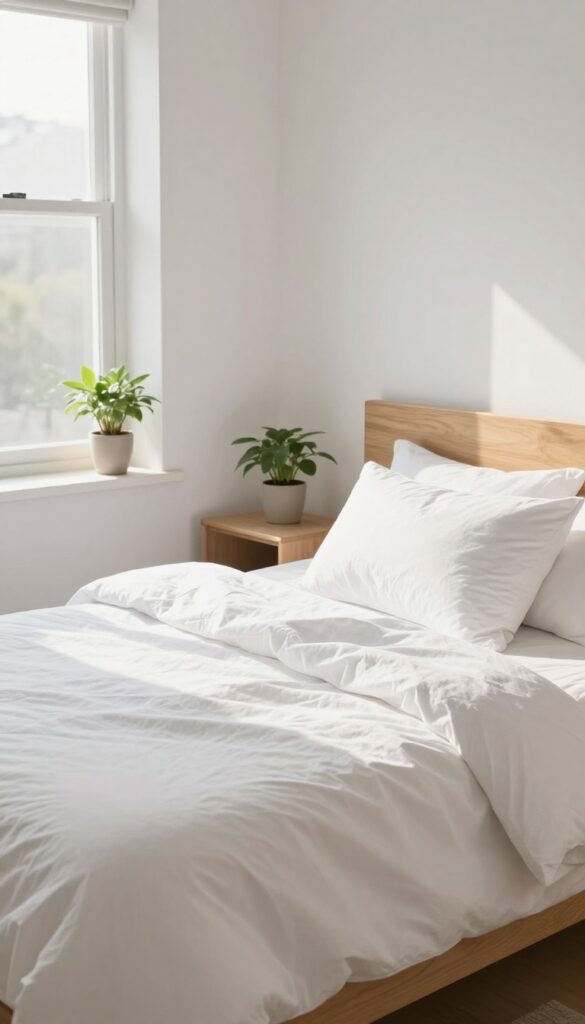
It might seem too simple to matter, but making your bed each morning is one of those rare chores that gives back more than it takes. Two minutes of smoothing sheets and fluffing pillows instantly transforms a rumpled bedroom into a calm, orderly space. More importantly, it sets a productive tone for the rest of the day.
You start with a small win, and that momentum often carries into other tasks—including your cleaning routine.
When your bed is made, the whole room looks cleaner even if nothing else has been touched. Clothes on a chair or a stack of books on the nightstand feel less chaotic because the bed isn't competing for attention. Psychologists call this the "ripple effect" of orderliness: one tidy area encourages you to keep the rest of the space neat.
Over time, that daily two-minute habit reduces the urge to procrastinate on bigger cleaning jobs because your brain already feels in control.
The Psychology Of A Made Bed
A made bed signals to your brain that the day has started and the room is ready for action. It reduces visual clutter, which lowers stress hormones like cortisol. Studies even suggest that people who make their bed regularly report better sleep quality and higher productivity.
It's not magic—it's just a simple anchor habit that pulls the rest of your morning into focus.
How To Make It Stick Without Overthinking
Don't aim for hotel-perfect corners every day. Just pull the flat sheet up, straighten the comforter, and plump the pillows. If you have a duvet, a quick shake and a smooth-over is enough.
The goal is consistency, not perfection. Keep your bedding simple—fewer layers mean less fuss. And if you're really short on time, at least pull the covers up so the bed looks intentional.
The Ripple Effect On Your Weekly Cleaning
Once the bed is made, you're more likely to put away clothes, clear the nightstand, and maybe even wipe down a surface. That small win builds momentum for the rest of your weekly routine. You'll find yourself tackling the kitchen counters or vacuuming the living room with less resistance.
It's the easiest productivity hack that costs nothing and takes almost no time.
2. Do a 10-Minute Evening Tidy-Up
Evenings are often when the house looks its worst—toys on the floor, mail on the counter, blankets in a heap. A quick 10-minute reset before bed can change that. It stops clutter from piling up and sets you up for a calm, organized morning.
The goal isn't deep cleaning. It's about returning things to their homes. Walk through each main living area with a basket or laundry bag, grab anything out of place, and put it where it belongs.
Do the dishes, fluff the couch pillows, and fold the throw blankets. That's it. Ten minutes, max.
You'll wake up to a space that feels peaceful, not chaotic.
Why 10 Minutes Works
Ten minutes is short enough to avoid resistance but long enough to make a visible difference. It's a low bar, so you're more likely to do it consistently. Over a week, that's over an hour of clutter prevention without feeling like a chore.
What To Focus On
Hit the hotspots: kitchen counters, living room floor, entryway table, and any flat surface that collects stuff. Don't try to organize closets or scrub sinks—that's for another time. Just clear surfaces and put things away.
Make It A Family Habit
Get everyone involved. Set a timer and do a family tidy-up race. Kids can put away toys, partners can handle the mail, and you can wipe down counters.
It becomes a quick, shared ritual that keeps the whole house fresher.
3. Wipe Down Kitchen Surfaces After Dinner
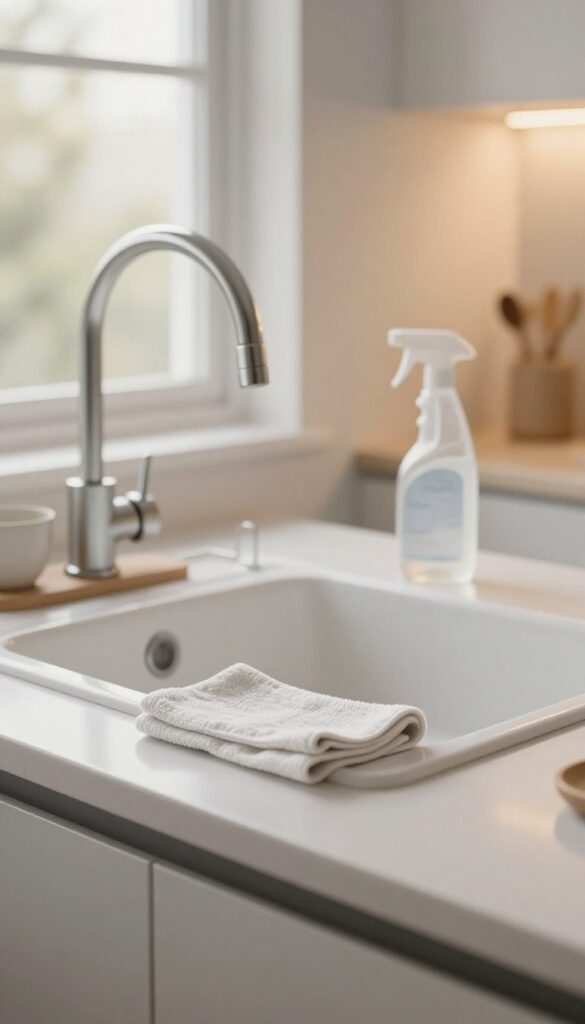
The kitchen tends to collect the most grime, but a nightly wipe-down keeps it under control. After dinner, spend just five minutes clearing counters, the stovetop, and the sink. This small habit prevents grease and food from hardening, so deep cleaning stays manageable.
Why It Works
Grease and food residue harden quickly, especially on warm surfaces. Wiping them down while they're fresh takes seconds, but scrubbing dried-on messes takes much longer. This habit also keeps your kitchen looking tidy and discourages pests.
What You Need
Keep a microfiber cloth and an all-purpose cleaner or a simple vinegar-water spray under the sink. A dedicated dish towel for drying the sink helps prevent water spots and mildew. Having supplies within arm's reach makes the routine effortless.
How To Do It
Start by clearing the counters of any items. Spray the cleaner on surfaces, then wipe with the cloth. Do the stovetop next—if there are burnt-on bits, let the cleaner sit for a minute.
Finally, scrub the sink with a small amount of cleaner or baking soda, then rinse. Hang the cloth to dry.
4. Vacuum High-Traffic Areas Daily
Entryways, living rooms, and kitchen floors take the brunt of daily foot traffic. A quick daily vacuum in these spots stops dirt and allergens from settling deep into carpet fibers. It's a small habit that keeps your floors looking fresh and extends the life of your carpets.
Why High-traffic Areas Matter Most
These zones collect the most grit, dust, and outdoor pollutants. When left for a week, particles get ground into the carpet, causing premature wear and dulling colors. Daily vacuuming lifts surface debris before it becomes embedded.
The Right Tool For The Job
A lightweight stick vacuum or a cordless model makes quick work of daily passes. Keep it accessible—maybe in a hall closet or near the entryway—so you can grab it without fuss. For carpets, use a beater bar setting; for hard floors, switch to hard-floor mode to avoid scattering debris.
A Two-minute Routine That Works
Set a timer or tie it to an existing habit, like after your morning coffee or before bed. Focus on the main walkways and the area around the kitchen island. Two minutes is enough to make a visible difference.
Over a week, that's 14 minutes total—far less than a deep clean.
5. Clean Bathroom Mirrors and Fixtures Weekly
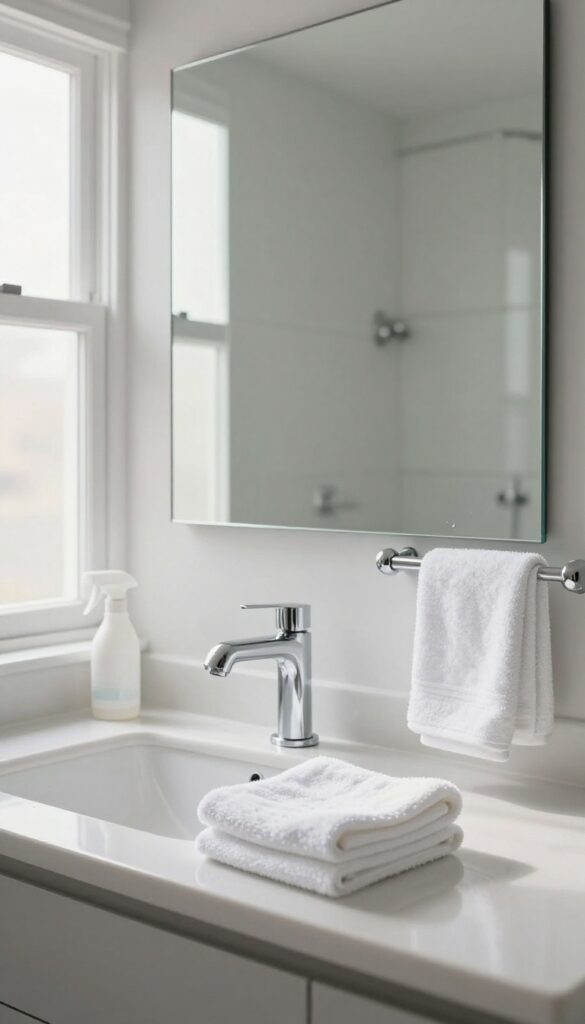
Bathrooms get a lot of use, but they don't have to look tired. A weekly focus on mirrors and fixtures can completely change how the space feels. It's one of those tasks that takes just a few minutes but makes the whole room look cleaner and more inviting.
Start by gathering a microfiber cloth and a streak-free cleaner—either store-bought or a simple mix of water and vinegar. Wipe mirrors in a zigzag or S-pattern to avoid streaks. For faucets and shower doors, spray the cleaner and let it sit for 30 seconds before wiping.
This breaks down water spots and soap scum without heavy scrubbing. Don't forget handles and towel bars, which collect fingerprints and dust. A quick once-over keeps them shiny and germ-free.
Choose The Right Cleaner
Not all cleaners are created equal. For mirrors, a glass cleaner or diluted vinegar works best. Avoid ammonia-based products if you have tinted mirrors.
For fixtures, a gentle bathroom spray or even a drop of dish soap in water can do the job. Test a small area first if you're unsure.
Work Top To Bottom
Start with the mirror, then move to fixtures, and finish with shower doors. This prevents drips from landing on already-cleaned surfaces. Use a dry microfiber cloth for a final buff on metal fixtures to restore shine.
Don't Skip The Details
Faucet aerators and showerhead nozzles can collect mineral deposits. Once a month, unscrew them and soak in vinegar for an hour. Weekly, just wipe them down.
Also clean around the base of faucets where grime hides.
6. Change Bed Linens Every Week
There's nothing quite like climbing into bed with freshly washed sheets at the end of a long day. Beyond that amazing feeling, weekly sheet changes are a simple way to reduce dust mites, allergens, and the buildup of sweat and oils. Making it a consistent habit keeps your bed feeling cleaner and your bedroom smelling fresher without much effort.
Sticking to a weekly sheet swap might sound like a chore, but it’s one of those tasks that pays off immediately. Fresh linens improve sleep quality and cut down on allergy symptoms. Plus, it’s a great excuse to keep a spare set of sheets on hand so you can make the bed right after stripping it.
Pick A Designated Sheet Day
Choose a specific day each week—like Sunday or Wednesday—to strip the bed and put on clean linens. Having a set day makes it easier to remember and builds a natural rhythm. If you share the bed, get your partner involved so it becomes a quick team effort.
Rotate Between Two Sets
Keep at least two sets of sheets in rotation. When you take off the dirty set, immediately put on the clean one. Toss the used sheets in the laundry right away so they don't pile up.
This simple system prevents last-minute scrambling and ensures you always have fresh linens ready.
Don't Forget Pillowcases And Protectors
Pillowcases should be changed just as often as sheets—they collect oils, drool, and dead skin cells. Also wash mattress and pillow protectors monthly to keep allergens at bay. These small extras make a big difference in how clean your bed actually is.
7. Deep Clean One Room Per Week
Deep cleaning the entire house in a single day is exhausting—and often unsustainable. Instead, focus on one room each week. By rotating through your home, every space gets a thorough reset once a month without overwhelming your schedule.
Pick a day that works for you, maybe Saturday morning or Wednesday evening. Set a timer for 60 to 90 minutes and give that room the full treatment: move furniture, wipe baseboards, scrub grout, wash windows, and declutter drawers. The rest of the week, just maintain with quick tidying.
Over a month, you'll hit every corner of your home.
Choose Your Room Rotation
Map out a simple rotation that makes sense for your home. For example: week one—kitchen, week two—living room, week three—bathrooms, week four—bedrooms. Adjust based on which rooms get dirtiest fastest.
The goal is consistency, not perfection.
What To Focus On In Each Room
In the kitchen, pull out the fridge and wipe behind it, degrease cabinets, and descale the sink. In bathrooms, scrub tile grout, wash shower curtains, and disinfect light switches. For living areas, vacuum under cushions, dust blinds, and wipe down electronics.
Bedrooms: flip the mattress, wash pillows, and organize closet shelves.
Make It A Habit, Not A Chore
Pair deep cleaning with something you enjoy—listen to a podcast, play upbeat music, or reward yourself afterward. Use a checklist so you don't miss spots. Over time, your monthly deep clean becomes a satisfying ritual that keeps your home fresh with minimal stress.
8. Declutter Surfaces Before Cleaning
You might be wiping around knick-knacks without even realizing it. That's because clutter acts like a shield, protecting dust and grime from your cloth. When you clear surfaces first, you expose every inch and actually clean it.
Plus, you give yourself a chance to put things back intentionally.
The Hidden Downside Of Cleaning Around Stuff
When countertops are covered with mail, decor, or random items, you naturally clean only the visible gaps. Dust settles on everything, but you only wipe the easy spots. Over time, a film builds up under objects, and you never notice until you move them.
That's why a quick declutter before cleaning is a game changer.
A Simple Two-step Process That Works
First, grab a basket or tray and move everything off the surface. Group items by where they belong—kitchen gadgets back in drawers, mail to the sorting station, decor to a temporary spot. Second, dust or wipe the now-bare surface thoroughly.
Then return only the items that earn their place. This prevents re-cluttering and makes the task feel lighter.
Make It A Habit By Pairing It With Your Routine
If you always dust on Saturdays, add a five-minute declutter right before. Or keep a small bin in each room for quick pickups. The goal isn't perfection—it's to remove the barrier between you and a truly clean surface.
Once you see the difference, you'll never skip this step.
9. Use a Timer for Each Task
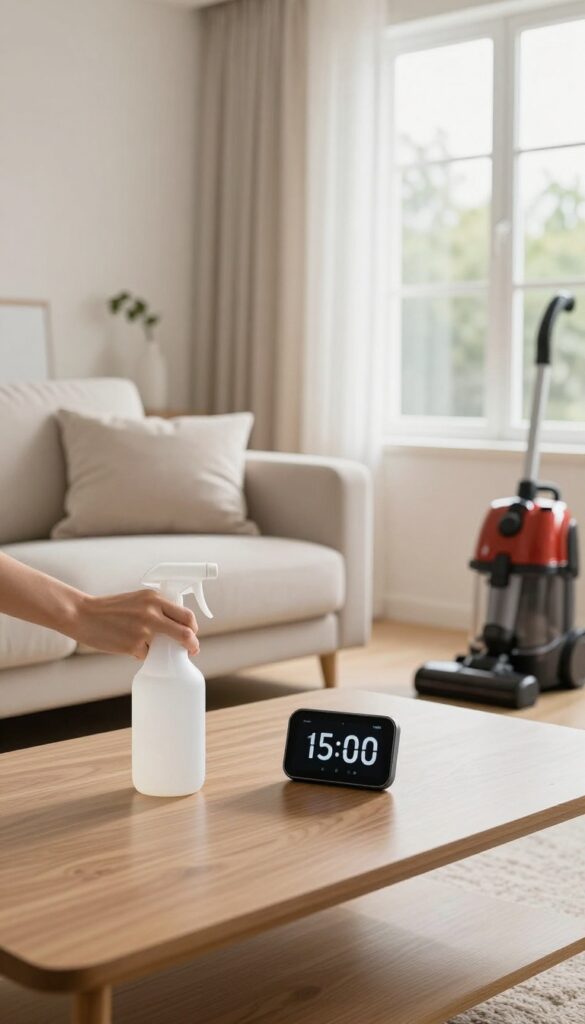
Ever find yourself standing in the middle of a room, not sure where to start? That's where a timer comes in handy. Setting a countdown for each cleaning task creates a sense of urgency that keeps you focused and moving.
You'll be amazed at how much you can actually get done in just 15 or 20 minutes.
Gamify your cleaning by racing against the clock. It turns a chore into a challenge and helps you avoid the temptation to scroll through your phone or reorganize a drawer that didn't need it. Plus, when the timer goes off, you're done—no guilt, no lingering.
Over time, you'll build speed and confidence.
Start With The Worst Room First
Tackle the room you dread most when your energy is highest. Set a timer for 15 minutes and go all in. You'll often find that once you start, you want to keep going—but even if you stop, that room is now 15 minutes cleaner than before.
Break Big Jobs Into Mini Sprints
Instead of trying to clean the entire kitchen in one go, break it into sprints: 10 minutes on counters, 10 on the sink, 10 on the floor. Short bursts feel manageable and prevent burnout. You can spread these across the week or do them back-to-back with short breaks in between.
Use The Timer As A Pacemaker
The timer isn't just for stopping—it's for pacing. When you know you only have 20 minutes, you move faster and make quicker decisions. That half-full bottle of cleaner?
Use it. That pile of mail? Sort it now or toss it.
The timer keeps you from overthinking.
10. Keep Cleaning Supplies Accessible
Ever find yourself staring at a spill, knowing you should clean it up, but the thought of hunting down supplies makes you put it off? That tiny friction can turn a quick wipe into a permanent stain. The fix is simple: put your cleaning tools exactly where you need them.
Store a caddy with all-purpose cleaner, microfiber cloths, and a duster in each zone of your home. Easy access means you're more likely to clean up spills immediately.
Build A Zone Caddy
Create a dedicated caddy for each area: kitchen, bathroom, living room, and bedroom. Include a multi-surface spray, microfiber cloths, a scrub brush for tough spots, and a small duster. Keep it under the sink, in a closet, or on a shelf—within arm's reach of where messes happen.
Refill And Rotate Regularly
Check your caddies weekly and restock anything running low. Swap cloths for fresh ones and replace worn-out brushes. A well-stocked caddy saves you from mid-clean trips to the laundry room or pantry.
Make It A Habit
When you see a spot, grab the caddy and handle it right away. No more “I'll get to it later. ” With supplies ready, cleaning becomes a reflex, not a chore. Over time, you'll notice your home stays fresher with less effort.
11. Wash Kitchen Towels and Sponges Weekly

Kitchen towels and sponges see a lot of action. They wipe counters, dry hands, and clean up spills, but they also trap moisture and food particles. That combination makes them a perfect breeding ground for bacteria.
A quick weekly refresh keeps your kitchen smelling fresh and your family safe from cross-contamination.
Damp towels and sponges harbor bacteria. Wash kitchen towels with hot water and replace sponges weekly to keep your kitchen hygienic and odor-free.
Why Weekly Matters
Kitchen towels can accumulate E. coli and salmonella after just a few uses. Sponges are even worse—they can harbor millions of bacteria per square inch. A weekly wash or swap breaks the cycle and prevents odors from building up.
How To Wash Towels Properly
Toss kitchen towels in the washing machine with hot water and a bleach-based detergent or oxygen bleach. Avoid fabric softener—it reduces absorbency. Dry on high heat to kill any lingering germs.
Sponge Sanitizing And Replacement
You can microwave a damp sponge for 1–2 minutes or run it through the dishwasher to sanitize it, but this only extends its life by a few days. For best hygiene, replace sponges every week. Switch to silicone scrubbers if you want a longer-lasting option.
Signs It's Time To Toss
If your towel smells sour even after washing, or your sponge starts to disintegrate, it's time to replace them. A musty odor is a clear sign bacteria have taken over. Don't wait—fresh replacements are cheap insurance.
12. Dust from Top to Bottom
Dusting seems simple, but the order you do it in makes a huge difference. If you dust surfaces from bottom to top, you'll just knock debris onto already-cleaned areas. The smarter approach is to start high and work your way down.
This method saves you from re-cleaning and keeps your efforts efficient. It's a small shift in habit that delivers noticeably better results with the same amount of work.
Dusting from top to bottom is a fundamental rule of efficient cleaning. By starting with ceiling fans, light fixtures, and high shelves, you let gravity work in your favor. Any dust or cobwebs that fall will land on lower surfaces that you haven't cleaned yet.
Then, as you move to furniture, baseboards, and finally floors, you capture everything in one pass. This sequence prevents the frustration of seeing a fresh layer of dust appear right after you've wiped down a table. It also reduces the number of times you need to vacuum or sweep, since you're not redistributing dust onto the floor.
Make this your default dusting order, and you'll notice your home stays cleaner longer with less effort.
Start With High Surfaces
Begin with ceiling fans, light fixtures, and the tops of tall furniture. Use an extendable duster or a microfiber cloth on a pole to reach high spots without climbing. Don't forget corners and crown molding where cobwebs like to hide.
Work Down To Mid-level Surfaces
Next, dust shelves, picture frames, window sills, and tabletops. Work from one side of the room to the other so you don't miss any spots. Use a slightly damp cloth to trap dust rather than just moving it around.
Finish With Floors And Baseboards
Finally, vacuum or sweep the floors, and wipe down baseboards. This captures all the dust that has settled from above. If you have rugs, give them a quick vacuum too.
Your room will feel noticeably fresher.
13. Clean Out the Fridge Before Grocery Day
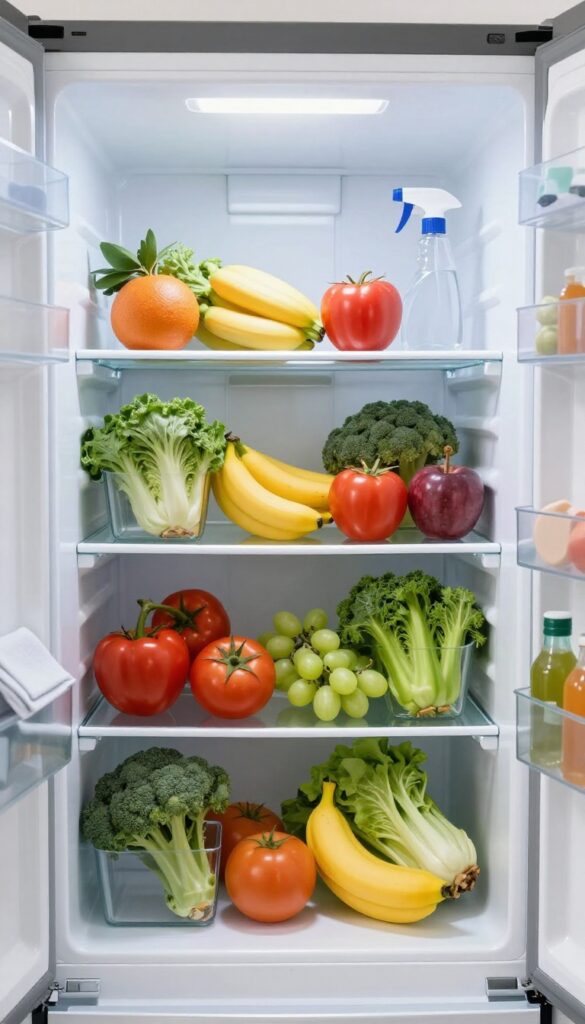
That science experiment lurking in the back of your fridge? It's time to evict it. Making fridge cleanup a pre-grocery ritual saves you from mystery smells and wasted space.
Plus, you'll actually see what you have before buying duplicates.
Toss And Triage
Start by pulling everything out. Check expiration dates and sniff-test anything questionable. Toss old leftovers, wilted produce, and half-empty jars of mystery sauce.
Keep a trash bag handy—you'll be surprised how much goes.
Wipe Down Shelves And Drawers
With the fridge empty, remove shelves and drawers if possible. Wash them in warm soapy water. Wipe down the interior with a mix of water and vinegar—it cuts grime and deodorizes naturally.
Dry everything before reassembling.
Organize For The Week Ahead
Group similar items together: dairy on one shelf, condiments on the door, produce in the crisper. Use clear bins for small items. This layout makes it easy to grab what you need and spot when something's running low.
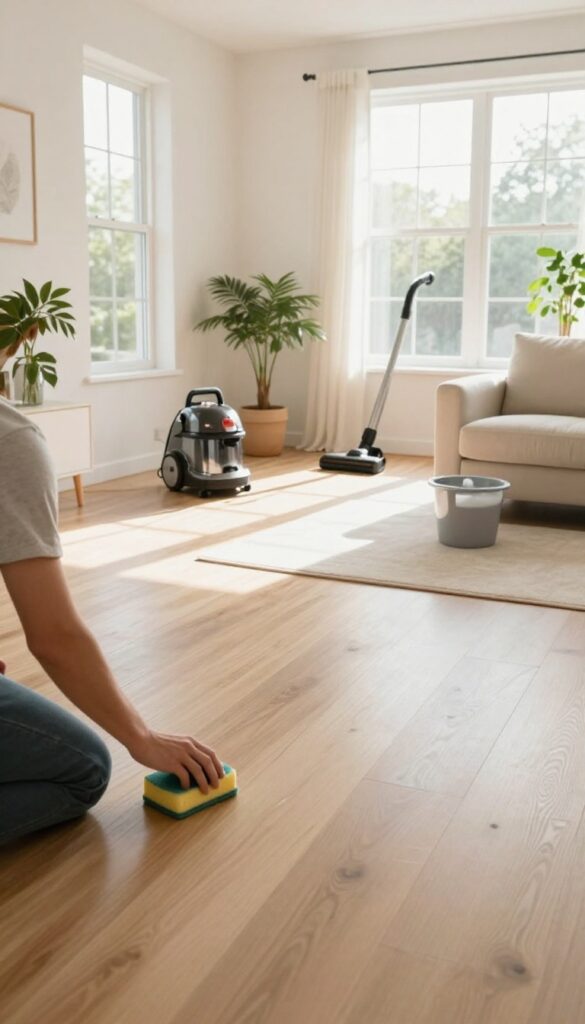
14. Sweep or Mop Hard Floors Weekly
Hard floors are magnets for dust, crumbs, and grime. Even if you wipe up spills as they happen, a weekly deep clean makes a visible difference. A quick sweep and mop routine keeps your floors looking fresh and cuts down on allergens floating around.
Start With A Dry Sweep Or Vacuum
Before you bring out the mop, remove loose debris. Use a broom with fine bristles or a vacuum with a hard floor setting to capture dust from corners and under furniture. This step prevents you from pushing dirt around with the mop.
Choose The Right Mop And Cleaner
Not all mops are created equal. A microfiber flat mop works well for most hard floors because it traps dirt rather than spreading it. Use a cleaner that matches your floor type—avoid harsh chemicals on wood or laminate.
A simple mixture of warm water and a few drops of dish soap often does the trick.
Mop In A Figure-eight Pattern
Instead of random back-and-forth motions, mop in a figure-eight pattern. This keeps the mop head in contact with the floor longer and picks up more grime. Rinse the mop head frequently in clean water to avoid leaving a dirty film.
Let Floors Air Dry Completely
After mopping, open windows or turn on fans to speed up drying. Walking on wet floors can leave footprints and streaks. Give it 15–20 minutes before letting pets or kids back in.
15. Tackle One 'Hated' Chore Each Week
Everyone has that one cleaning task they'd rather avoid—maybe it's scrubbing the grout or defrosting the freezer. The trick isn't to ignore it until it becomes a bigger problem, but to chip away at it slowly. By dedicating just one session per week to a dreaded chore, you'll eventually conquer them all without the overwhelm.
Start Small And Specific
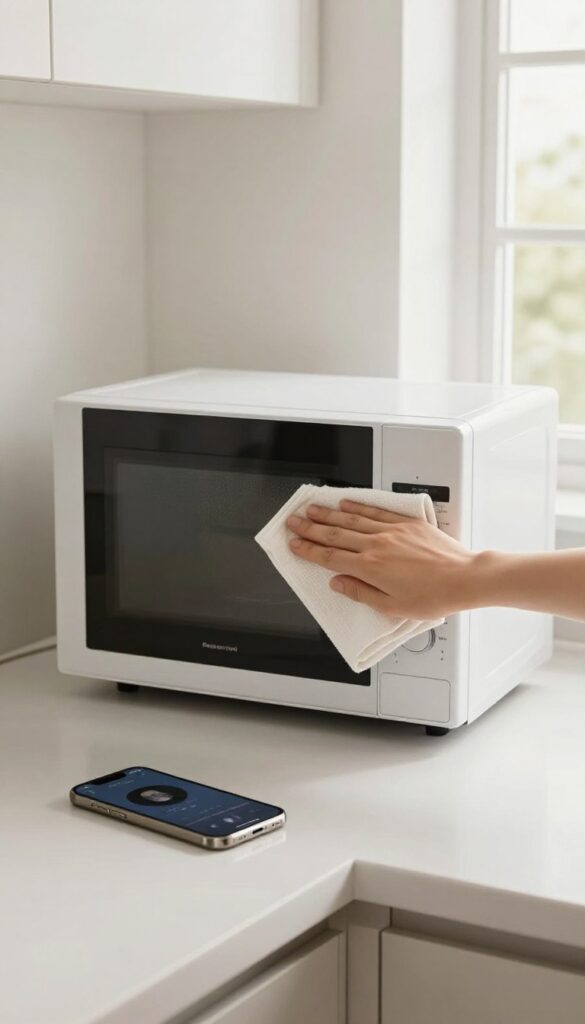
Pick one chore that feels manageable, not the entire list. For example, instead of "clean the kitchen, " choose "wipe down the inside of the microwave. " Breaking it down makes it less intimidating and more likely to get done.
Rotate Through The Worst Tasks
Create a rotation of your most disliked chores—like cleaning the oven, washing windows, or organizing a closet. Tackle one each week, and by the end of the month, you've hit the big ones without a marathon cleaning session.
Pair It With A Reward
Motivate yourself by pairing the chore with something you enjoy. Listen to a favorite podcast while scrubbing the bathtub, or treat yourself to a coffee afterward. This simple association can make the task feel less like a punishment.
16. Involve the Whole Family
Cleaning doesn't have to be a solo mission. When everyone pitches in, the workload shrinks and the home stays tidier longer. Plus, it teaches responsibility and teamwork—skills that last a lifetime.
Assigning age-appropriate tasks turns cleaning from a chore into a shared effort. Young kids can sort toys or wipe low surfaces, while teens handle vacuuming or bathroom basics. Make it fun with a timer or playlist, and rotate tasks weekly so no one gets bored.
A quick family huddle on Sunday evening to divvy up the week's tasks keeps everyone accountable and avoids last-minute scrambling.
Match Tasks To Ages
Preschoolers can dust baseboards or put away books. Elementary kids can make beds, feed pets, or wipe counters. Teens can manage laundry, mop floors, or clean bathrooms.
Adjust as they grow.
Create A Chore Chart
A visual chart in a central spot (like the fridge) shows who does what and when. Use magnets or stickers to track progress. It builds consistency and gives kids a sense of accomplishment.
Make It A Game
Set a timer for 15 minutes and see who can finish their task first. Play upbeat music or offer a small reward for completing the week's chores. The fun factor reduces resistance and builds positive habits.
17. Reward Yourself After Finishing

Cleaning can feel like a chore that never ends. But when you add a small reward at the finish line, it suddenly becomes something to look forward to. Positive reinforcement turns a dreaded task into a satisfying achievement.
Pick A Reward That Excites You
Your reward doesn't need to be big or expensive. It could be a piece of dark chocolate, a 15-minute guilt-free scroll on social media, or watching one episode of your favorite show. The key is to choose something you genuinely enjoy and that you only allow yourself after cleaning is done.
Make It Immediate And Consistent
For the reward to work, it must come right after you finish cleaning. Don't delay it. If you wait too long, the connection between the effort and the treat weakens.
Consistency is also important. Use the same reward each week to build a strong habit loop.
Track Your Progress Visually
Consider a simple checklist or a habit tracker app. Each week you complete your routine, mark it off. Seeing a streak of completed weeks can be its own reward.
You might even add a bonus treat after four weeks in a row.
FAQ
How long should a weekly cleaning routine take?
A consistent weekly routine typically takes 1–2 hours total, spread across daily 10-minute tidying and a focused 30–60 minute cleaning session. Adjust based on your home size and household.
What is the best day to do weekly cleaning?
Choose a day that fits your schedule, like Saturday morning or Wednesday evening. The key is consistency—pick a day and stick to it so it becomes a habit.
Do I need special cleaning products for a weekly routine?
No, basic supplies like all-purpose cleaner, microfiber cloths, a vacuum, and a mop are enough. You can also make effective cleaners with vinegar and baking soda.
How do I stay motivated to clean every week?
Break tasks into small chunks, play music or a podcast, and reward yourself after finishing. Tracking your progress on a checklist can also provide a sense of accomplishment.
Can I skip a week without ruining my routine?
Absolutely. Life happens. If you miss a week, just pick up where you left off.
Consistency matters more than perfection, and one missed week won't undo your progress.
Conclusion
A weekly cleaning routine doesn't have to be a burden. By focusing on small, consistent actions, you can maintain a fresher home without sacrificing your weekends. The real secret is to start simple and build from there.
Pick a few tips from this list that resonate with you and try them for a month. You'll likely notice less clutter, fewer deep-cleaning emergencies, and a home that feels more welcoming every day. Happy cleaning!