You love the warmth of your wood furniture, but keeping it clean without damaging the finish can feel tricky. Harsh cleaners strip the patina, while dust and grime build up over time. The good news?
You don't need strong chemicals to get great results. A few simple, gentle methods can lift dirt, restore shine, and protect the wood for years.
These 15 ideas focus on safe ingredients and easy techniques that work with your home's natural warmth. Whether you're dealing with sticky residue, water rings, or just everyday dust, there's a solution here that won't harm your furniture or your family.
1. Microfiber Dusting for Daily Care
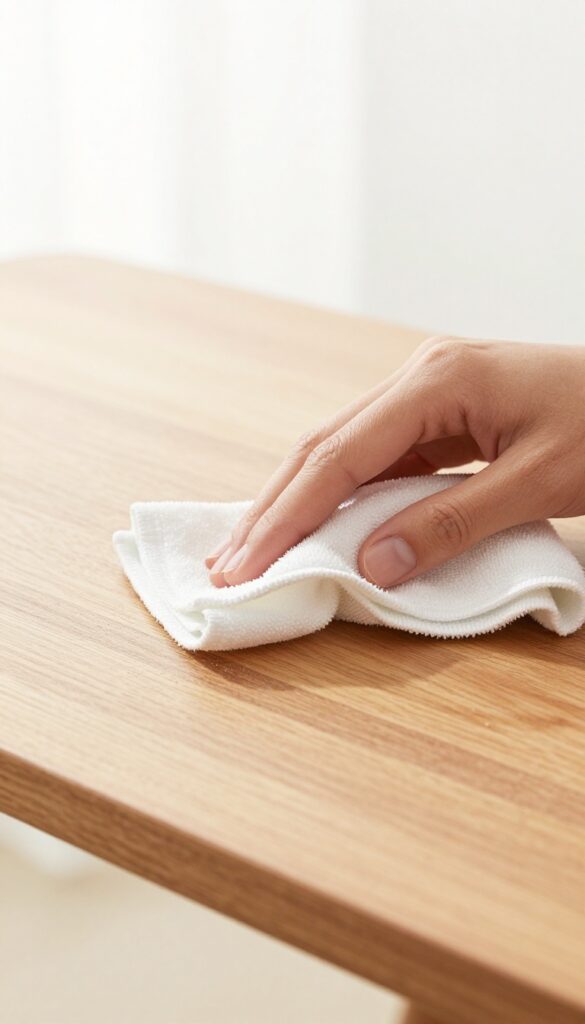
Dust might seem harmless, but it's actually one of the biggest threats to wood furniture. Those tiny particles act like sandpaper, slowly wearing down the finish every time you wipe them around. A quick daily pass with the right cloth can stop that damage before it starts.
Microfiber cloths are the unsung heroes of wood care. Their ultra-fine fibers create a static charge that lifts dust instead of pushing it across the surface. Unlike feather dusters or old t-shirts, microfiber traps the dust deep in the fabric, so you're not just relocating it to another spot.
For best results, use a clean, dry microfiber cloth and gently wipe in the direction of the wood grain. This simple habit takes less than a minute but keeps your furniture looking fresh and scratch-free for years.
Why Microfiber Works
Microfiber is made from split polyester and polyamide fibers that are about 1/100th the thickness of a human hair. These split fibers create tiny hooks that grab dust, pollen, and even bacteria. When you wipe a surface, the cloth's electrostatic charge attracts particles like a magnet, holding them until you rinse the cloth.
This means you're not just moving dust around—you're actually removing it.
How To Dust Without Damage
Start with a clean, dry microfiber cloth. Fold it into quarters so you have multiple fresh surfaces to work with. Gently wipe the furniture in long, straight strokes following the grain of the wood.
Avoid circular motions, which can trap grit and cause micro-scratches. For carved or detailed areas, use your finger to press the cloth into crevices. Shake the cloth outside after each use, and wash it separately with mild detergent—never use fabric softener, as it clogs the fibers and reduces effectiveness.
When To Dust
Daily dusting is ideal, but even a few times a week makes a big difference. The best time is in the morning when dust hasn't had a chance to settle from overnight air currents. If you have pets or live near a busy road, you might need to dust more often.
Pay special attention to horizontal surfaces like tabletops and shelves, where dust accumulates fastest. A consistent routine prevents that gritty layer from bonding to the finish.
2. Damp Cloth Wipe for Light Grime
Not every cleaning job needs a special polish or homemade spray. For everyday fingerprints, dust, and light smudges, a barely damp cloth with plain water does the trick. It's the gentlest way to freshen up your wood without risking damage from chemicals or excess moisture.
Why Water Alone Works
Water is a surprisingly effective cleaner for light grime because it dissolves water-soluble dirt without stripping the finish. Many commercial cleaners contain solvents that can dull the surface over time. A quick water wipe lifts surface dust and oils from hands, restoring the natural look without altering the wood's patina.
The Right Cloth Matters
Use a soft, lint-free microfiber cloth or an old cotton t-shirt. Avoid paper towels or rough fabrics that can scratch the finish. The cloth should be damp—not wet—so wring it out until no water drips when you squeeze it.
A wet cloth can leave streaks or seep into cracks, causing swelling or warping.
Wipe With The Grain, Dry Immediately
Always wipe in the direction of the wood grain to avoid trapping dirt in the pores. After wiping, follow up with a dry section of the cloth or a separate dry cloth to remove any residual moisture. This step is crucial: standing water can damage the finish or leave white marks.
A quick dry pass ensures a streak-free, safe clean.
When To Skip This Method
If the grime is sticky, greasy, or built-up, water alone may not cut it. In those cases, a drop of mild dish soap in the water or a dedicated wood cleaner works better. Also avoid this method on unfinished or antique wood, where moisture can cause more harm than good.
3. White Vinegar and Water Solution
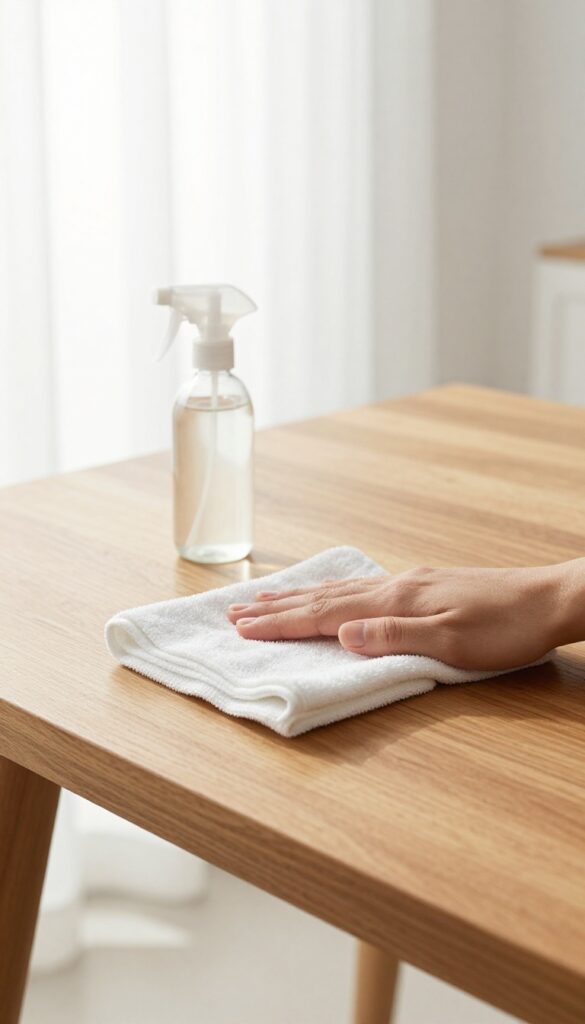
When you need a cleaner that cuts through grease without leaving a residue, white vinegar is a reliable friend. Mixed with water, it becomes a gentle yet effective solution for routine cleaning. Unlike commercial sprays that can dull the finish over time, vinegar evaporates quickly and leaves no sticky film behind.
It's also safe for most sealed wood surfaces, making it a go-to for busy households.
The beauty of this solution is its simplicity. You probably already have both ingredients in your kitchen. It works on everything from dining tables to wooden chairs, and it's especially good at removing fingerprints and light grime.
Just be sure to test it on an inconspicuous area first, and never let the liquid pool on the wood.
Mixing The Right Ratio
Stick to a 1: 1 ratio of white vinegar to water. Too much vinegar can be harsh on some finishes, while too little won't clean effectively. Use distilled water if your tap water is hard, to avoid mineral spots.
Application Tips
Dampen a soft, lint-free cloth with the solution, then wring it out well. You want the cloth barely moist, not wet. Wipe the furniture in the direction of the grain, then follow with a dry cloth to remove any excess moisture.
This prevents water damage and keeps the wood looking its best.
When To Avoid This Method
Avoid using vinegar on unsealed or waxed wood. It can strip the finish and leave a dull appearance. Also, don't use it on antique or heirloom pieces unless you're sure the finish is intact.
For those, stick to a dedicated wood cleaner.
4. Olive Oil and Lemon Juice Polish
A simple combination of olive oil and lemon juice creates a natural polish that feeds the wood while cutting through light grime. Olive oil moisturizes the grain, preventing dryness and cracking, while lemon juice gently cleans and adds a fresh scent. This mix works best on unfinished or well-sealed wood, giving a soft sheen without heavy buildup.
Mix equal parts olive oil and lemon juice in a small bowl. Dip a soft, lint-free cloth into the mixture, wring out excess, and apply a thin layer to the furniture. Work in the direction of the grain, then let it sit for a few minutes before buffing with a clean dry cloth.
The result is nourished wood with a subtle, natural luster. Use sparingly—too much oil can attract dust over time.
Why This Combo Works
Olive oil is a natural moisturizer that penetrates wood fibers, helping to revive dull or dry surfaces. Lemon juice acts as a mild acid that cuts through dirt and light grease without stripping the finish. Together, they create a gentle polish that enhances the wood's natural color and grain.
Best Types Of Furniture For This Polish
This polish is ideal for solid wood pieces like dining tables, chairs, and shelves that have a matte or satin finish. Avoid using it on lacquered or polyurethane-coated surfaces, as the oil may not absorb properly and could leave a residue. Test on an inconspicuous area first.
How Often To Apply
Use this polish every few months or when the wood starts to look dry. Overuse can lead to buildup, so stick to a light application. Between polishes, dust regularly with a dry microfiber cloth to maintain the finish.
5. Baking Soda Paste for Sticky Spots
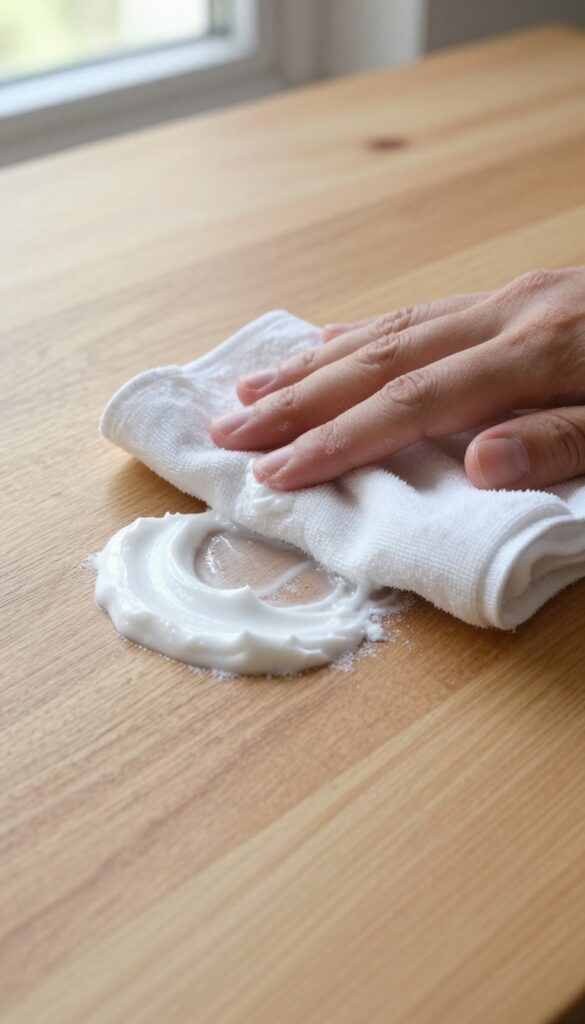
Sticky spots on wood furniture often come from spilled soda, juice, or syrup that dried into a tacky layer. Reaching for a harsh cleaner might strip the finish, but a simple baking soda paste lifts the gunk without damaging the wood. This gentle abrasive is safe for most sealed surfaces and uses ingredients you already have in your kitchen.
How To Make The Paste
Mix three parts baking soda with one part water in a small bowl until it forms a thick, spreadable paste. The consistency should be like toothpaste—not too runny or crumbly. If you need more, adjust the ratio slightly, but keep it thick enough to stay on the spot without dripping.
Applying And Scrubbing
Dip a soft, lint-free cloth into the paste and apply a small amount directly onto the sticky area. Rub in gentle circular motions with light pressure. Let the paste sit for a minute or two to soften the residue, then continue scrubbing until the stickiness disappears.
Avoid using abrasive sponges or scrub brushes that could scratch the finish.
Wiping Clean And Drying
Once the spot is gone, dampen a clean cloth with plain water and wipe away all the paste residue. Follow with a dry cloth to remove any moisture. If a slight white film remains, buff it gently with a dry microfiber cloth.
For stubborn spots, repeat the process rather than pressing harder.
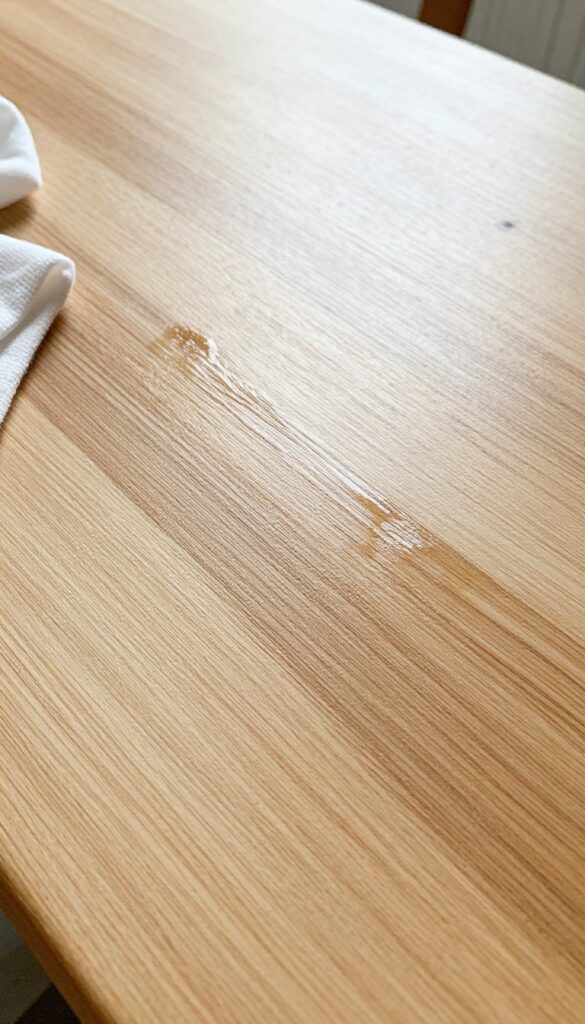
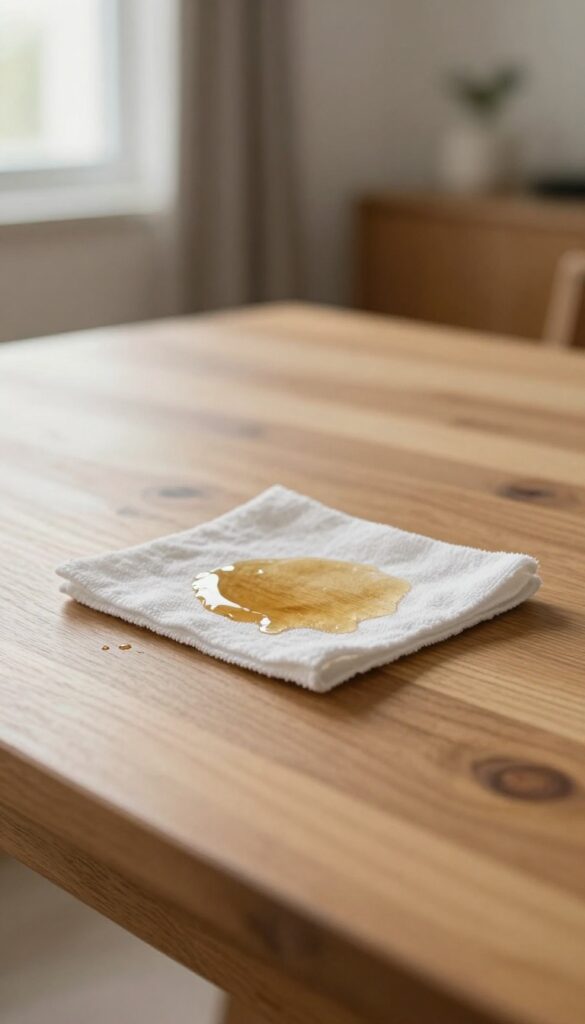
6. Mayonnaise for Water Rings
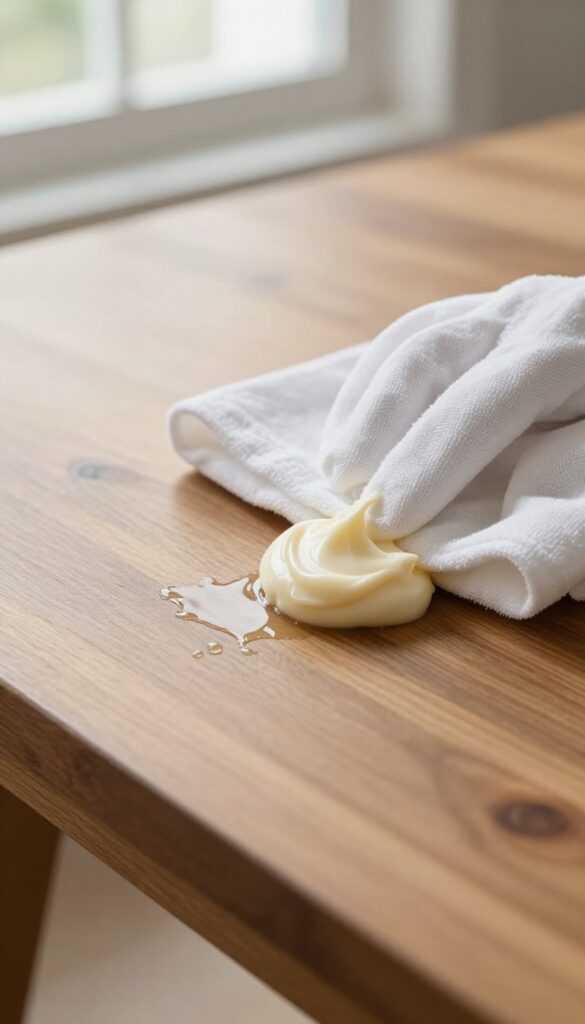
White water rings from cold glasses are a common eyesore on wood tables. The moisture gets trapped in the finish, leaving a cloudy mark. Instead of reaching for harsh chemicals, you can use a kitchen staple: mayonnaise.
The oils in mayo penetrate the finish and help lift the trapped moisture, making the ring fade or disappear.
To use this trick, dab a small amount of regular mayonnaise (not low-fat) onto a soft cloth. Gently rub it over the water ring, covering the entire mark. Let it sit for at least an hour—overnight for stubborn rings.
Then wipe off the mayo with a clean, dry cloth. Buff the area gently, and the ring should be gone or significantly lighter. This works best on finished wood, not raw or unfinished surfaces.
Why It Works
Mayonnaise is mostly oil and egg yolks. The oil seeps into the wood's finish, replacing the moisture that caused the cloudiness. The egg yolks add a mild emulsifying effect that helps lift the residue.
It's a gentle method that won't strip the finish or damage the wood.
When To Skip This Method
Avoid using mayonnaise on unfinished, unsealed, or antique wood. The oils can soak in unevenly and cause dark spots. Also, don't use it on veneer that's already peeling or damaged.
Stick to finished, sealed surfaces for best results.
Alternative: Petroleum Jelly
If you don't have mayo, petroleum jelly works similarly. Apply a thin layer over the water ring, let it sit overnight, then wipe off. The jelly creates a barrier that draws out moisture.
Both methods are safe and effective for most finished wood furniture.
7. Tea Brew for Dark Wood Shine
Dark wood furniture looks rich and elegant, but over time it can lose its luster. You don't need a commercial polish to bring back the glow. A simple cup of black tea works wonders on dark finishes, adding depth and a soft shine without any harsh chemicals.
Steep two black tea bags in a cup of boiling water for about five minutes. Let the tea cool completely to room temperature. Dip a soft, lint-free cloth into the tea, wring it out well so it's damp but not dripping, and wipe the tea over the wood surface in the direction of the grain.
The tannins in black tea gently clean and enhance the dark color, leaving a subtle sheen. No rinsing is needed. Buff lightly with a dry cloth for extra shine.
Why Black Tea Works
Black tea contains tannins, natural compounds that react with the wood to deepen its color and add a warm glow. The mild acidity helps cut through light grime without stripping the finish. It's a gentle alternative to polishes that can build up over time.
Best Woods For This Method
Tea works beautifully on dark woods like walnut, mahogany, cherry, and dark oak. It's less effective on light woods like maple or pine, where it might leave a slight tint. Always test on an inconspicuous spot first to be sure you like the effect.
Tips For Best Results
Use plain black tea without any added flavors or sugars. Make sure the cloth is only damp, not wet, to avoid water damage. For extra shine, follow up with a thin layer of furniture wax after the tea dries.
Repeat every few months to maintain the rich color.
8. Mineral Oil for Dry or Dull Wood
Even well-cared-for wood can start to look dry and tired over time. The finish might feel rough or the color may seem faded. Before reaching for a commercial restorer, try food-grade mineral oil.
It's a simple, gentle way to bring back moisture and revive the natural glow.
Mineral oil is a lightweight, odorless oil that absorbs into wood without leaving a greasy film. It works well on unfinished or raw wood, but also on finished pieces that just need a hydration boost. A little goes a long way—just a tablespoon or two is enough for a small table or chair.
How To Apply It
Pour a small amount of mineral oil onto a soft, lint-free cloth. Rub it into the wood in the direction of the grain. Let it sit for about 15 minutes, then buff off any excess with a clean cloth.
The wood will look richer and feel smoother almost instantly.
When To Use It
Reach for mineral oil when wood feels dry to the touch, has light scratches, or looks dusty even after cleaning. It's also great for wooden kitchen utensils, cutting boards, and butcher blocks. For furniture, use it every few months or as needed.
Safety And Tips
Always use food-grade mineral oil—never industrial or motor oil. Test on an inconspicuous spot first. Mineral oil won't harden or seal like varnish, so it's best for maintenance rather than heavy-duty restoration.
Store your oil in a cool, dark place.
9. Carnauba Wax for Long-Lasting Protection
When you want a finish that feels as good as it looks, carnauba wax is a top choice. This natural wax, derived from Brazilian palm leaves, creates a hard, durable coating that guards against moisture and everyday wear. It also leaves behind a subtle, warm sheen that makes wood furniture glow.
Applying carnauba wax is straightforward but requires a bit of patience. Start with a clean, dry surface. Use a soft cloth to apply a very thin layer of wax, working in small circular motions.
Let it sit until it hazes over—usually about 15 to 20 minutes. Then buff it off with a clean cloth. The result is a smooth, protective finish that repels dust and fingerprints.
Why Carnauba Wax Stands Out
Unlike liquid polishes that evaporate or wear off quickly, carnauba wax bonds to the wood for longer-lasting protection. It's also non-toxic and food-safe, making it ideal for dining tables and kitchen furniture. The wax fills tiny scratches and evens out the surface, giving older pieces a refreshed look.
How To Apply For Best Results
Less is more with carnauba wax. A pea-sized amount is enough for a small table. Work it into the wood in a thin, even layer.
If you apply too much, it can look cloudy or feel sticky. After the haze forms, buff vigorously with a dry cloth to bring out the shine. For high-traffic pieces, reapply every few months.
When To Avoid Carnauba Wax
Avoid carnauba wax on unfinished or oiled wood, as it can seal the surface and prevent proper absorption. It's also not ideal for pieces that get heavy daily use, like kitchen countertops, because the wax can wear off unevenly. Stick to decorative or lightly used furniture for the best results.
10. Toothbrush Detailing for Carved Areas
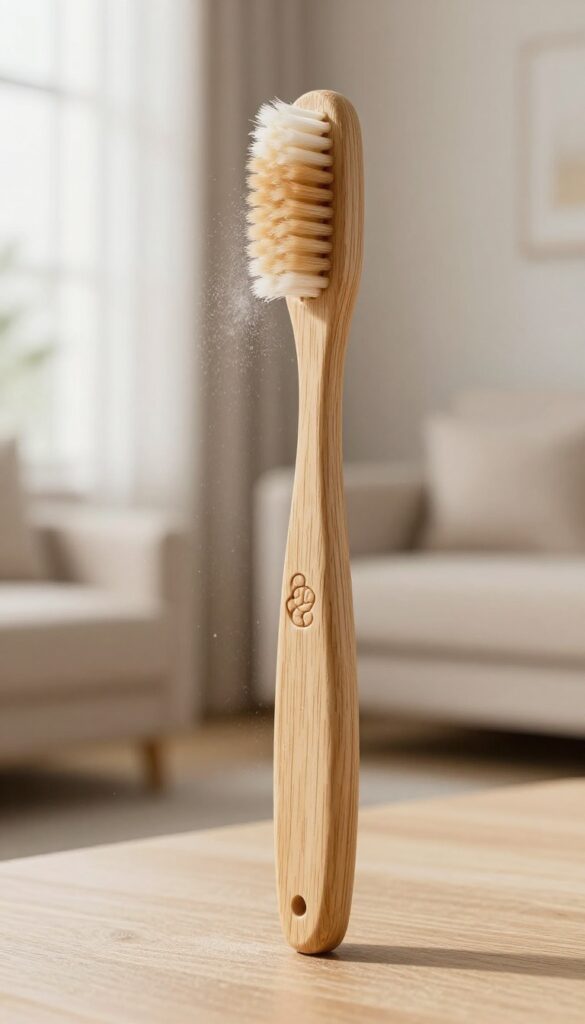
The intricate carvings on your wood furniture are beautiful, but they're also dust magnets. A soft-bristled toothbrush is the perfect tool to reach into those tight grooves without scratching the surface. This simple trick brings out the detail and keeps your piece looking crisp.
For best results, use a dry toothbrush to gently sweep away loose dust from all carved areas. If grime has built up, dip the toothbrush into a mild soap solution (just a drop of dish soap in warm water), shake off excess, and brush the crevices carefully. Follow immediately with a dry cloth to absorb any moisture.
Why A Toothbrush Works
Regular dusting cloths can't reach into narrow carvings or around ornate hardware. A soft toothbrush has fine bristles that dislodge dust without scratching the wood. It's also gentle enough for delicate inlays and gilded details.
Step-by-step Cleaning
Start by dry-brushing all carved areas to remove loose dust. For tougher grime, dampen the toothbrush with your mild soap solution. Work in small sections, brushing gently along the grain of the carving.
Wipe away any residue with a clean, dry microfiber cloth. Let the piece air-dry completely before applying any polish.
When To Use A Damp Brush
Reserve damp cleaning for areas with visible grime or sticky residue. Over-wetting can damage the finish, so always err on the side of too dry. If the wood has a wax or oil finish, test an inconspicuous spot first to ensure the soap won't dull the surface.
11. Rubbing Alcohol for Stubborn Stains
Ink spills and marker mishaps happen, especially in busy homes. Before you panic, grab a bottle of rubbing alcohol from your medicine cabinet. It's surprisingly effective at lifting tough stains without stripping the wood's finish.
Alcohol evaporates quickly, which means it doesn't soak into the wood and cause swelling or discoloration. The key is to use it sparingly and always test first. A little goes a long way.
Test First, Always
Dab a cotton ball with rubbing alcohol and press it onto an inconspicuous spot, like the underside of a table or inside a drawer. Wait a few seconds, then wipe dry. If the finish remains unchanged, you're good to go.
Gentle Dabbing, Not Scrubbing
For the actual stain, dip a fresh cotton ball in alcohol and gently dab the mark. Do not rub—that can spread the stain or damage the finish. Blot until the ink transfers to the cotton.
Repeat with a clean ball as needed.
Finish With A Polish
After the stain is gone, wipe the area with a damp cloth to remove any alcohol residue, then dry immediately. Follow up with a gentle furniture polish or a dab of lemon oil to restore moisture and shine.
12. Beeswax Polish for Nourishment
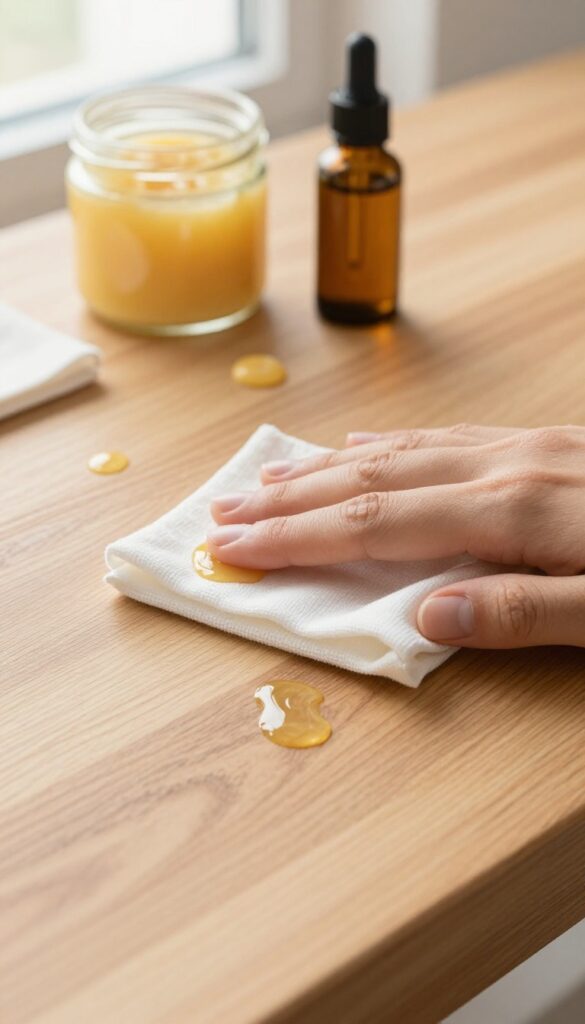
Wood furniture needs more than just dusting—it craves nourishment. Over time, even the best finishes can dry out, especially in heated homes. Beeswax polish is a time-tested remedy that feeds the wood from within, restoring its natural glow without synthetic chemicals.
Melted with a little jojoba oil, beeswax transforms into a soft, spreadable paste that sinks into the grain. The result is a warm, satin sheen and a protective barrier that repels dust and light moisture. It's a simple ritual that makes your furniture look cared for and loved.
Making your own beeswax polish is easier than you might think. Start with a ratio of about 1 part beeswax to 4 parts jojoba oil. Grate the beeswax into a heatproof jar, add the oil, and place the jar in a pan of simmering water.
Stir until the wax melts completely, then remove from heat and let it cool. It will set into a soft paste. Apply a thin layer with a soft cloth, rubbing in the direction of the grain.
Let it sit for 10–15 minutes, then buff off any excess with a clean cloth. The polish leaves a subtle, natural scent and a velvety finish.
Why Beeswax Works So Well
Beeswax is a natural humectant, meaning it attracts and retains moisture. When applied to wood, it penetrates the surface and helps prevent drying and cracking. Unlike silicone-based polishes, beeswax doesn't create a plastic-like layer that can trap dirt.
Instead, it bonds with the wood's own oils, enhancing the patina over time.
Choosing The Right Oil
Jojoba oil is ideal because it closely mimics the natural oils in wood, but you can also use fractionated coconut oil or mineral oil. Avoid vegetable oils like olive or canola, as they can turn rancid. The oil-to-wax ratio can be adjusted—more oil for a softer paste, more wax for a firmer one.
Application Tips For Best Results
Always test the polish on an inconspicuous area first. Apply sparingly—too much can leave a sticky residue. For antique or unfinished wood, you may want to warm the polish slightly before application to help it absorb.
Buffing is key: a final polish with a dry microfiber cloth brings out the shine.
13. Steam Cleaning for Deep Grime (Carefully)
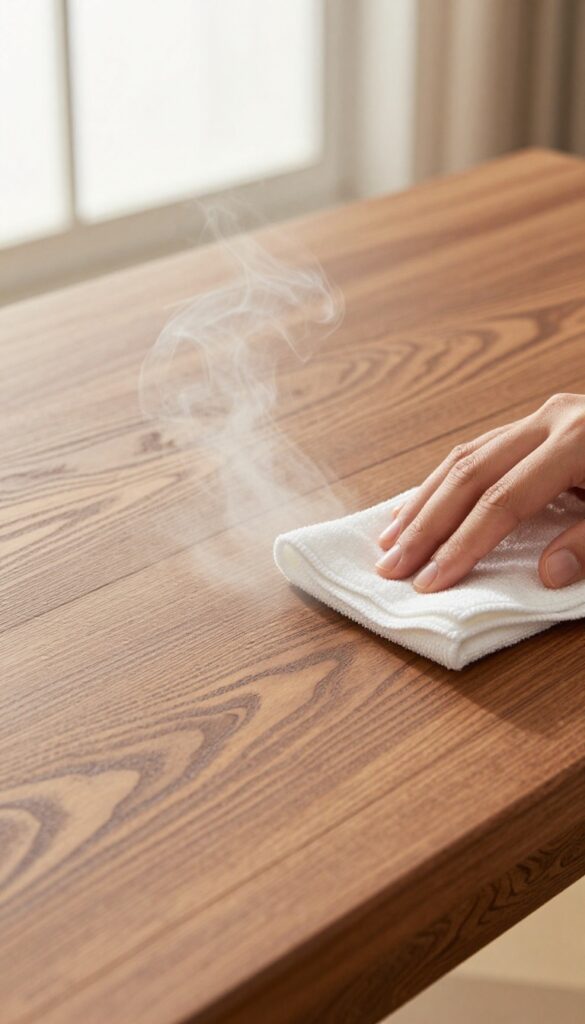
Sometimes dusting and wiping just aren't enough. Over time, grime can settle into wood grain, crevices, and carvings, leaving a dull film that resists regular cleaning. Steam offers a powerful yet gentle way to loosen that embedded dirt without harsh scrubbing or chemicals.
The key is using steam sparingly and with caution. A handheld steamer on its lowest setting works best. Keep the nozzle moving continuously to avoid concentrating moisture in one spot.
The steam lifts dirt from pores and tight spaces, but you must dry the surface immediately with a soft cloth. Never let water pool or soak into the wood, as excess moisture can warp the finish or raise the grain. This method is ideal for heavily soiled areas or intricate details that are hard to clean by hand.
When To Use Steam
Steam cleaning is best for built-up grime in grooves, carvings, or corners that a cloth can't reach. It's also useful for removing sticky residues from spills that have dried. Avoid using steam on antique or fragile finishes, and test on an inconspicuous spot first.
How To Steam Safely
Fill your steamer with distilled water to prevent mineral deposits. Hold the nozzle 6–8 inches from the wood and move it in steady sweeps. Wipe away the loosened dirt with a microfiber cloth as you go.
Work in small sections so you can dry each area promptly.
Drying Is Non‑negotiable
After steaming, immediately buff the wood dry with a clean, soft cloth. Use a second dry cloth to ensure no moisture remains. If the wood feels damp, let it air‑dry for a few minutes before applying any polish or wax.
This step prevents water damage and keeps the finish looking its best.
14. Club Soda for Fresh Spills
A fresh spill on your wood table can make you panic, but reach for club soda before you grab a paper towel. The bubbles in club soda work like a gentle lift, helping to separate the liquid from the wood without pushing it deeper into the grain. It's a trick that bartenders have used for years, and it works just as well on your favorite side table.
Blot fresh spills with a cloth dampened in club soda. The carbonation helps lift the liquid without spreading it. Follow with a dry cloth.
Why Club Soda Works
The carbonation creates tiny bubbles that help loosen the spill from the wood's surface. Unlike plain water, club soda doesn't leave behind minerals that can dull the finish. It's also slightly acidic, which can help break down sticky residues without damaging the sealant.
How To Use It Right
Dampen a soft, lint-free cloth with club soda—don't soak it. Gently blot the spill, working from the outside in to avoid spreading. Never rub, as that can grind the liquid into the wood.
Once the spill is lifted, immediately dry the area with a clean cloth to prevent moisture from sitting on the surface.
When To Skip This Method
Club soda is best for fresh spills like water, juice, or coffee. Avoid it on unsealed wood or antique finishes that are already compromised. If the spill has already dried, try a different approach like a mild soap solution.
15. Regular Conditioning with Coconut Oil
Your wood furniture works hard to keep your home feeling cozy, but heated rooms can suck the moisture right out of the grain. Over time, dry wood becomes brittle and prone to cracks. A simple conditioning routine with coconut oil can keep the wood supple and healthy without any harsh additives.
Fractionated coconut oil is your best bet because it stays liquid at room temperature and penetrates deep without leaving a greasy residue. Just a few drops on a soft cloth, rubbed gently along the grain every few months, is enough to restore moisture and bring back a subtle sheen. This is especially helpful in winter when heaters are running constantly.
Why Fractionated Coconut Oil Works
Unlike regular coconut oil, fractionated coconut oil has had the long-chain fatty acids removed, so it won't solidify or go rancid on your furniture. It sinks into the wood rather than sitting on top, which means no sticky buildup. It also has a very mild, natural scent that fades quickly.
How Often To Condition
Aim for every three to four months, or whenever the wood starts looking dull or feels dry to the touch. In homes with forced-air heating or fireplaces, you might need to condition more frequently during cold months. Always test on a hidden spot first to make sure the oil doesn't darken the finish more than you'd like.
Application Tips For Best Results
Dust the surface thoroughly before applying oil. Put a small amount on a microfiber cloth—less is more—and rub it in using circular motions, following the wood grain. Let it sit for about 15 minutes, then buff off any excess with a clean, dry cloth.
Your furniture will look refreshed and feel smooth to the touch.
FAQ
Can I use vinegar on all wood finishes?
Vinegar is safe for most sealed wood finishes, but avoid it on waxed or unsealed wood. Always test on an inconspicuous area first.
How often should I dust my wood furniture?
Dusting once a week with a microfiber cloth is enough for most homes. Increase frequency if you have pets or live in a dusty area.
Is olive oil safe for wood furniture?
Olive oil can go rancid over time, so use it sparingly in a polish. Mineral oil or fractionated coconut oil are better long-term choices.
What should I avoid when cleaning wood furniture?
Avoid ammonia, bleach, alcohol-based cleaners, and excessive water. These can strip the finish, cause discoloration, or warp the wood.
How do I remove sticky residue from wood?
Make a paste of baking soda and water, gently rub the residue, then wipe clean. For tougher spots, try a dab of rubbing alcohol.
Conclusion
Your wood furniture doesn't need harsh chemicals to stay beautiful. A soft cloth, a little patience, and the right gentle method make all the difference.
Pick a couple of these ideas that fit your routine and stick with them. Your warm, inviting home will thank you—and so will your furniture.