
Last updated on August 19th, 2026 at 04:14 pm
Does your dog lunge, bark, or freeze when they spot a trigger on a walk? You're not alone. Many dogs struggle with reactivity, but with the right training, you can turn those tense outings into peaceful adventures.
The key is to work at your dog's pace, using techniques that build confidence and teach them to look to you for guidance. These 10 walk training ideas are practical, humane, and designed to help you and your dog enjoy every step.
Pick one or two to start, and remember: consistency beats intensity. Your dog can learn to walk calmly past triggers, one step at a time.
1. Master the 'Look at Me' Game Before You Leave
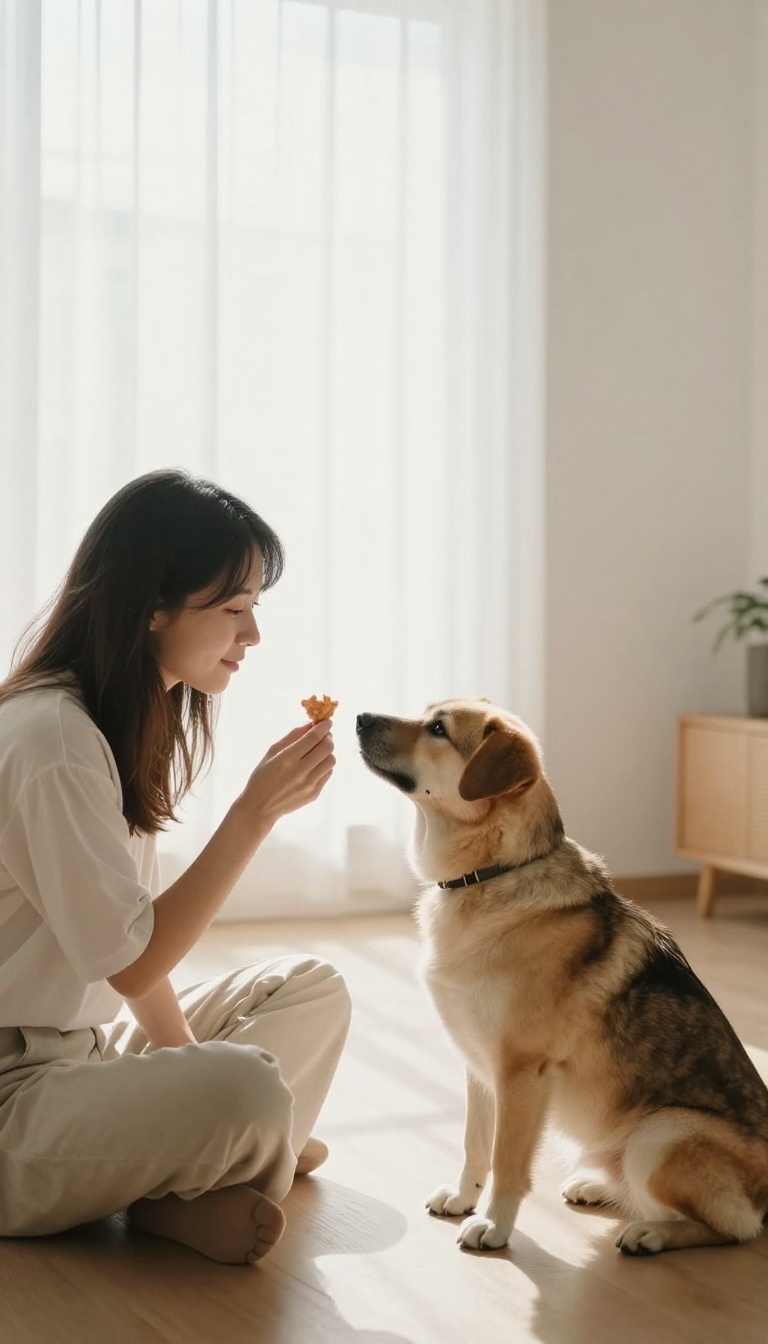
Before you even step out the door, you need a way to grab your dog's attention when things get intense. The 'Look at Me' game is exactly that—a simple, fun exercise that teaches your dog to check in with you on cue. When a trigger appears, that eye contact becomes your secret weapon to redirect their focus and keep them calm.
Start this game in a quiet room with no distractions. Hold a tasty treat near your face, say 'look at me, ' and the moment your dog's eyes meet yours, mark it with a 'yes' and give the treat. Repeat this a few times, then gradually phase out the treat near your face, using just your hand signal or word.
Once your dog reliably offers eye contact in the house, move to the backyard, then to a quiet street, and finally to busier areas. The goal is to build a strong, automatic response that works even when triggers are around.
Why Eye Contact Works
When your dog looks at you, they're not looking at the trigger. That simple shift in attention interrupts the reactive loop before it starts. Eye contact also releases feel-good hormones in your dog's brain, making them more relaxed and more likely to listen.
Plus, it strengthens your bond—your dog learns that checking in with you brings rewards, so they'll do it more often.
How To Practice Indoors
Use high-value treats like small pieces of chicken or cheese. Sit on the floor, show the treat, and bring it to your eye level. When your dog looks up, say 'yes' and give the treat.
Do this in short sessions of 2–3 minutes, several times a day. Once they're solid at home, start practicing in different rooms, then with mild distractions like the TV on or a toy nearby.
Taking It Outside
When you move outdoors, keep the same routine but start in a low-distraction area. Stand still, ask for 'look at me, ' and reward every successful check-in. As your dog gets better, start walking a few steps between cues.
If they struggle, go back a step and practice more. The key is to always set your dog up for success—if they can't focus, you're too close to the trigger.
2. Use the 'Find It' Cue to Break Focus
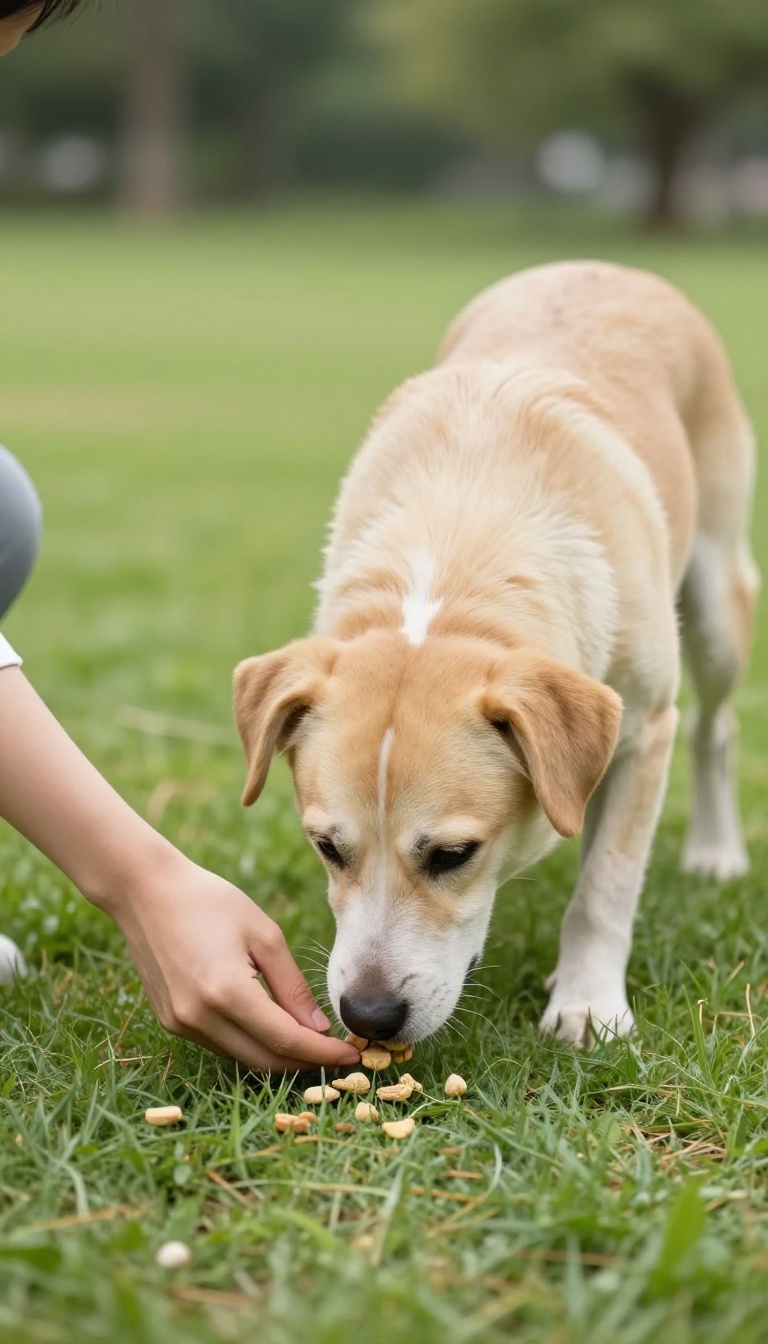
When your dog locks onto a trigger, their brain goes into overdrive. The 'Find It' cue is a simple way to snap them out of that tunnel vision by turning their attention to the ground. Scatter a few treats and let them sniff and search—this not only interrupts the fixation but also gives them a calming, natural behavior to focus on.
The 'Find It' cue works because it engages your dog's nose, which is inherently soothing for them. Sniffing lowers their heart rate and shifts their mental state from alert to relaxed. Start practicing this at home in a low-distraction environment, then gradually introduce it on walks before you even encounter a trigger.
When you see a trigger at a distance, say 'Find It' in a cheerful tone and toss a handful of treats on the ground. Your dog will drop their head to search, breaking eye contact with the trigger and giving you a moment to move away or create space.
How To Teach 'find It'
Begin by showing your dog a treat, then toss it a few feet away while saying 'Find It. ' As they eat it, praise them warmly. Repeat this several times until they start anticipating the cue. Once they understand the game, you can use it in real-life situations.
The key is to make it a fun, rewarding game that your dog loves, so they're eager to participate even when stressed.
When To Use It On Walks
Use 'Find It' the moment you notice your dog's body language change—ears forward, stiff posture, or staring. The earlier you interrupt, the better. If your dog is already over threshold (barking, lunging), they may not take treats, so it's crucial to use it before that point.
Practice in increasingly distracting environments so your dog learns to respond even when excited.
Why It Works
Sniffing releases endorphins that help your dog feel calm and happy. It also gives them a job to do, which reduces anxiety. By consistently pairing the trigger with the opportunity to sniff, you're changing their emotional response from fear or excitement to a positive, focused activity.
Over time, they'll look to you for direction when they see a trigger, rather than reacting impulsively.
3. Practice 'Engage-Disengage' to Change Their Reaction
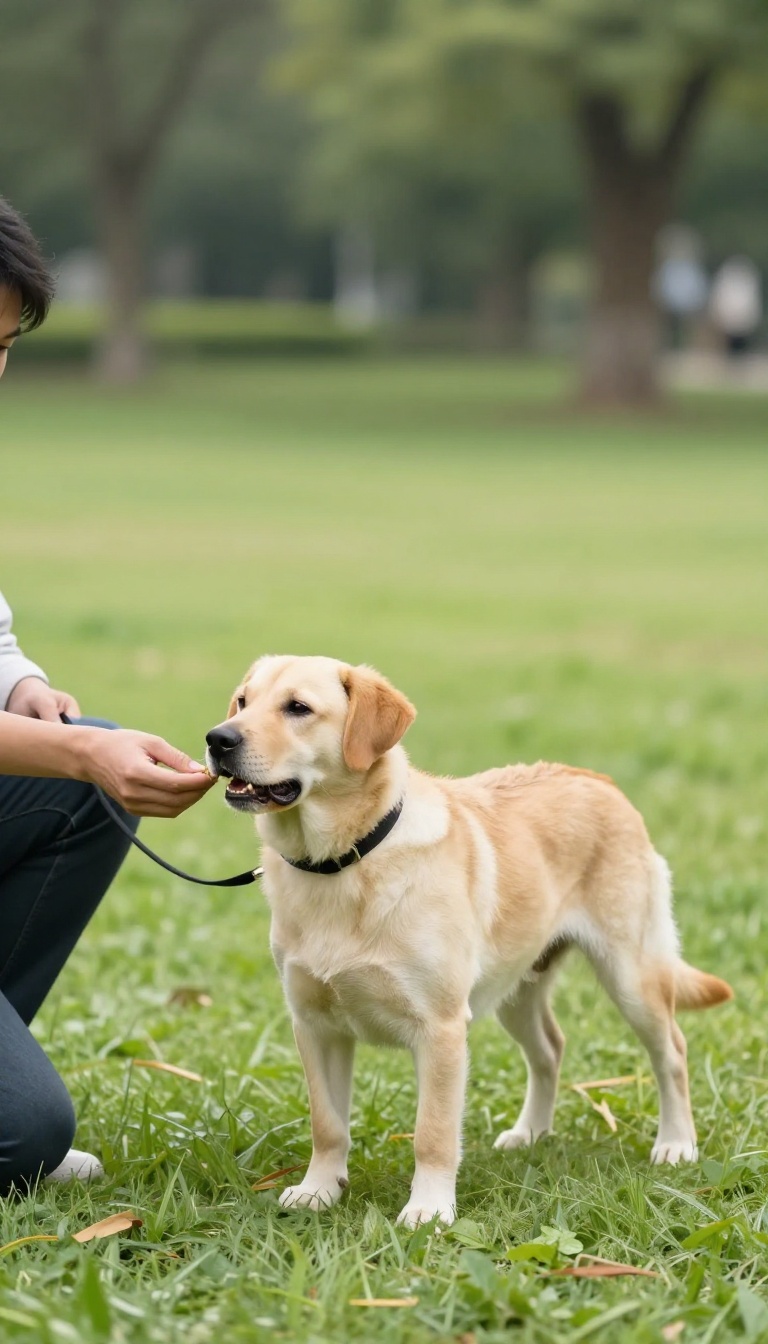
This technique is a game-changer for reactive dogs. It's simple, science-backed, and helps your dog form a new, positive association with triggers. Instead of forcing your dog to ignore the trigger, you're teaching them a new response: look at it, then look back at you for a reward.
Engage-disengage is all about changing the emotional response. When your dog sees a trigger and looks at it, that's the 'engage' part. The moment they choose to look away, even for a split second, that's the 'disengage' – and that's what you reward.
Over time, your dog learns that seeing a trigger actually predicts good things, not stress.
Start At The Right Distance
The key is to start far enough away that your dog notices the trigger but doesn't go over threshold. If they're already barking or lunging, you're too close. Find the distance where they can look at the trigger and still take a treat.
That's your starting point.
Mark The Disengage Moment
Use a clicker or a word like 'yes' the instant your dog looks away from the trigger. Then deliver a high-value treat. Timing is everything – you want to catch that moment of choice.
With repetition, your dog will start offering the disengage on their own.
Gradually Decrease The Distance
Once your dog is consistently disengaging at a comfortable distance, you can start closing the gap a little. Move a few steps closer and repeat the process. If your dog struggles, just back up and try again.
Patience is your best tool here.
4. Create Distance with the 'Let's Go' U-Turn
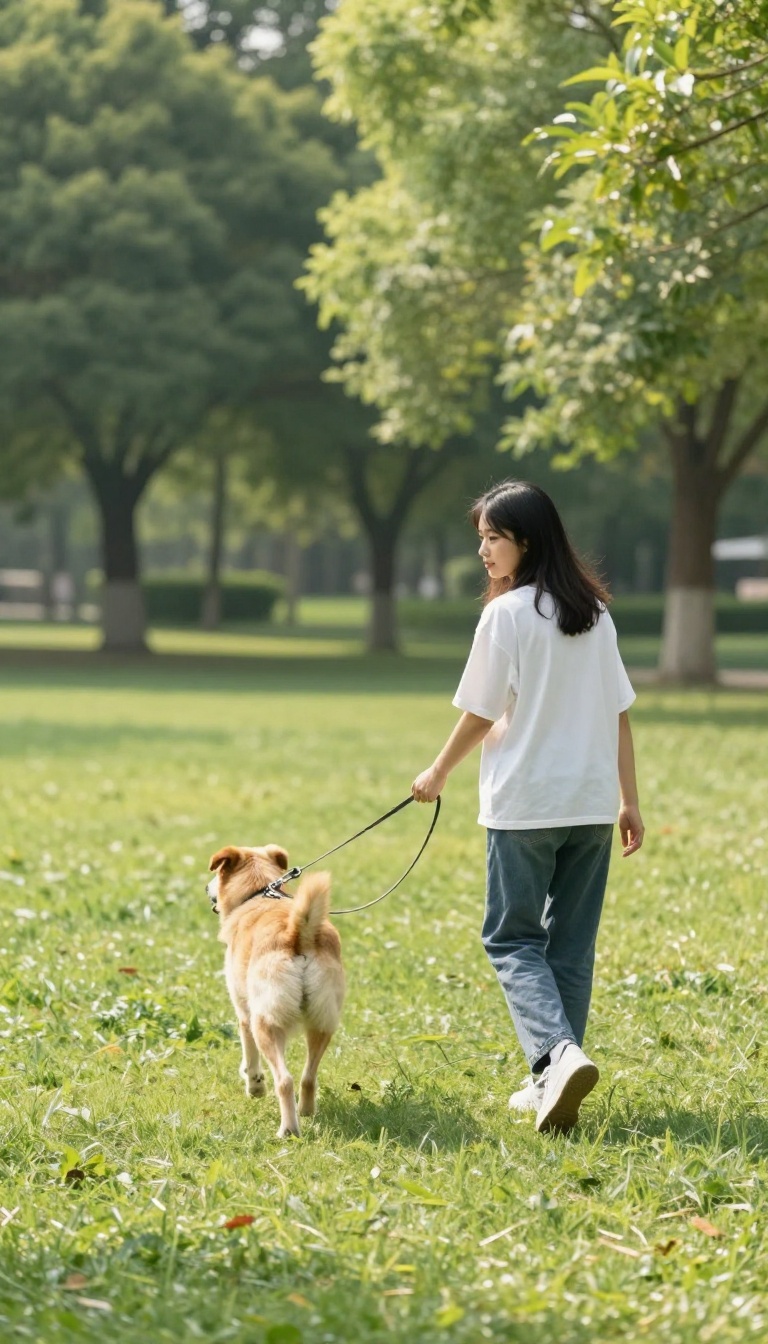
Sometimes the smartest move is to simply change direction. A well-timed U-turn can save a walk from turning into a meltdown. The 'Let's Go' cue gives your dog a clear, happy signal that you're about to head the other way, turning a tense moment into a quick retreat that keeps everyone calm.
The 'Let's Go' U-turn is all about giving your dog space when they need it most. By turning away before your dog reacts, you're not rewarding the reaction—you're avoiding it altogether. This builds trust because your dog learns that you'll handle tricky situations and keep them safe.
Why Distance Matters
When your dog spots a trigger, their stress levels climb. If the trigger gets too close, they may lunge or bark. By increasing distance, you help them stay under threshold, which means they're not practicing reactive behavior.
Over time, this teaches them that seeing a trigger doesn't have to lead to chaos.
Teaching The 'let's Go' Cue
Start in a quiet place with no distractions. Say 'Let's go! ' in a cheerful tone and take a few steps backward, luring your dog with a treat. The moment they follow, reward them.
Practice this until your dog turns with you smoothly. Then, gradually add distractions, like a friend at a distance, before using it in real-life situations.
Timing The U-turn
The trick is to turn before your dog reacts. Watch for early signs like a stiff body, a hard stare, or a raised paw. As soon as you see those, say 'Let's go! ' and pivot away.
The goal is to turn while your dog is still calm, not after they've already started barking. With practice, you'll catch the signs earlier and earlier.
Making It A Game
Turn the U-turn into a fun game at home. Play 'follow the leader' in your yard, practicing quick turns and rewarding your dog for staying with you. The more fun they have, the more likely they'll respond cheerfully when you need it on a walk.
Keep sessions short and end on a positive note.
5. Use a Front-Clip Harness for Better Control
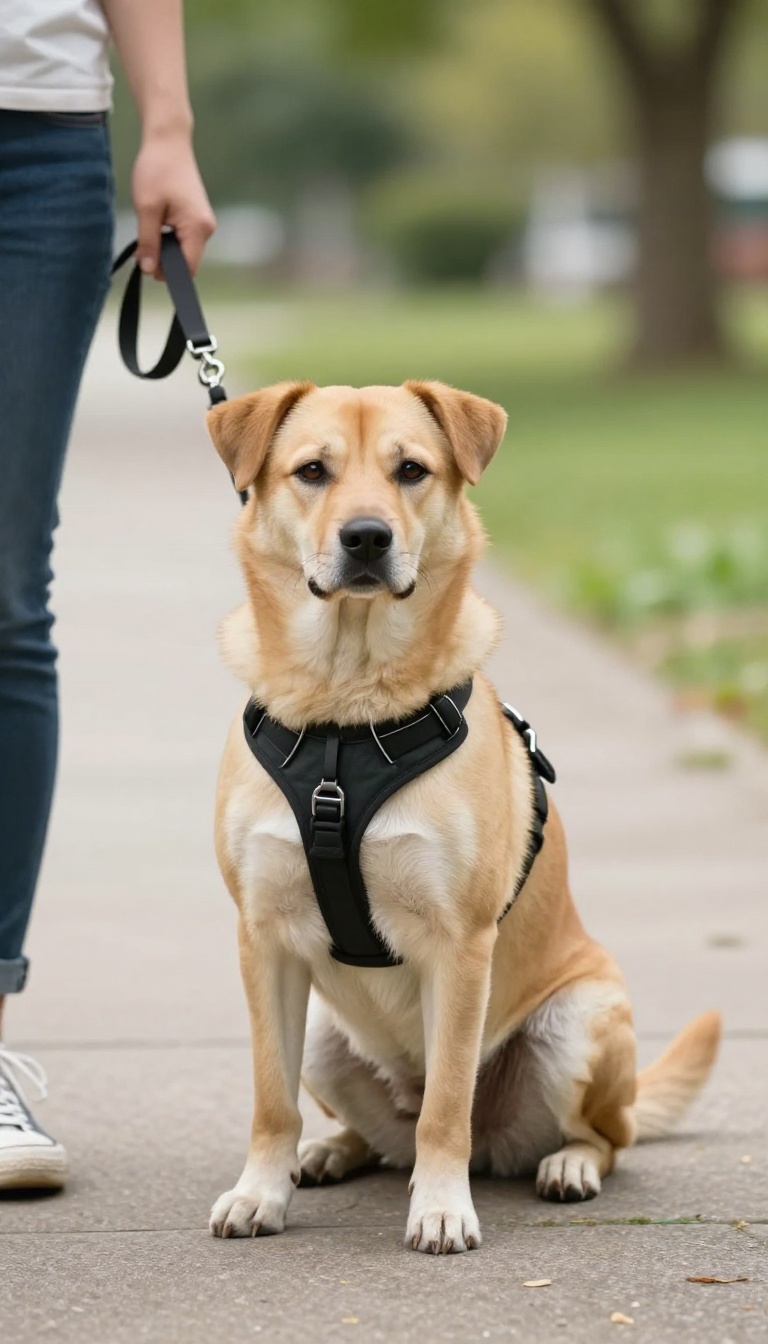
If your dog pulls like a sled dog the moment they spot a trigger, a front-clip harness can be a total game-changer. Unlike a flat collar or a back-clip harness, this gear clips at the chest, giving you more steering power and reducing the strain on your arms and your dog's neck. It won't fix reactivity on its own, but it makes every other training technique easier and safer.
A front-clip harness doesn't magically calm your dog, but it changes the mechanics of the walk. When your dog pulls, the harness gently turns them sideways, breaking their forward momentum. That split-second pause gives you a chance to redirect their attention before they fully react.
It also takes pressure off their throat, which is safer for their trachea and spine, especially if your dog tends to lunge or surge.
Why A Front-clip Harness Helps
The front clip works by using your dog's own pulling force against them. Instead of the force being directed straight ahead, it pulls them to the side, which interrupts their focus. This makes it easier to guide them away from triggers and back to you.
Plus, it distributes pressure across the chest, so your dog feels more comfortable and less restrained, which can lower their overall stress.
How To Fit It Properly
A loose, poorly fitted harness is useless and can even cause chafing. Make sure the straps are snug but not tight—you should be able to fit two fingers between the harness and your dog's body. The front ring should sit right at the center of the chest, not too high or too low.
Adjust the straps so the harness doesn't shift when your dog moves, and check the fit regularly as your dog's weight changes.
Pairing It With Training
The harness gives you control, but you still need to teach your dog what to do when they see a trigger. Use it alongside positive reinforcement: when your dog notices a trigger but doesn't react, reward them with a treat. If they start to pull, let the harness do its job, then calmly guide them away.
Over time, your dog will learn that staying calm and checking in with you is more rewarding than reacting.
6. Play the 'Look at That' Game for Desensitization
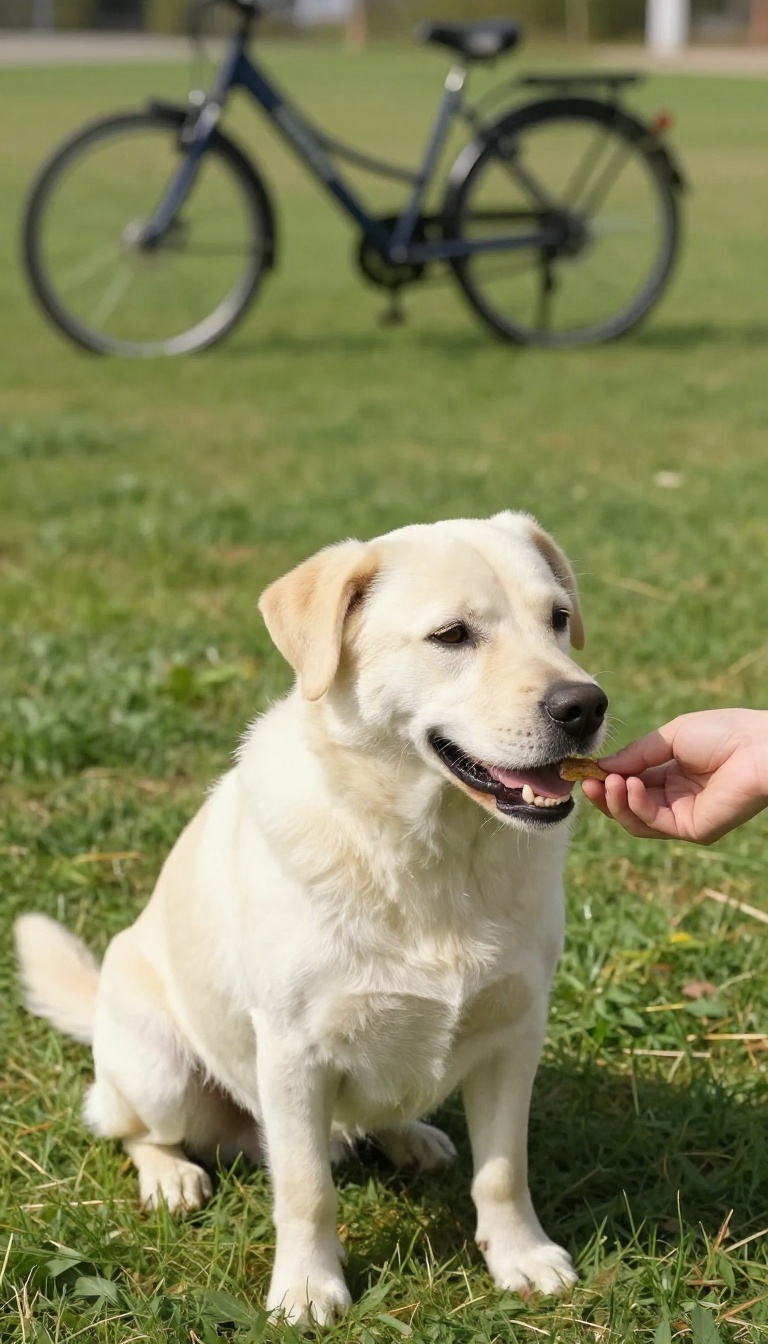
This is one of those training games that feels almost too simple to work—until you see it in action. The 'Look at That' (LAT) game, popularized by Leslie McDevitt, teaches your dog to notice a trigger without reacting. Instead of forcing them to ignore it, you're giving them a clear job: see the trigger, then check in with you for a treat.
What makes this technique so effective is that it changes your dog's emotional response at their own pace. You're not flooding them with scary situations; you're building a new, positive association step by step. Over time, your dog learns that triggers predict good things, and that's a powerful shift.
To play the game, you need enough distance that your dog notices the trigger but stays under threshold—meaning they're aware but not barking, lunging, or stiffening. When your dog looks at the trigger, mark with a cheerful 'yes! ' or a click, then feed a high-value treat. The goal is for your dog to look at the trigger and then look back at you, expecting a reward.
This is called a 'check-in, ' and it's the heart of the game. Start with easy triggers at a far distance, and gradually decrease the distance over several sessions. Keep sessions short—five minutes is plenty—and always end on a good note.
If your dog struggles, increase the distance or choose a less intense trigger. The key is to set your dog up for success, not to push them past their comfort zone.
Why It Works So Well
The 'Look at That' game works because it uses counter-conditioning, which means changing your dog's emotional response to a trigger. When your dog sees a trigger and then gets a treat, their brain starts to associate the trigger with something positive. This is the opposite of what happens when they react—they're learning that the trigger predicts good things, not scary ones.
Another reason it's so effective is that it gives your dog a sense of control. They're not forced to face their fear; they get to choose to look and then look away. This builds confidence and reduces stress, making it easier for your dog to learn and stay calm.
How To Start The Game
Pick a quiet location with few distractions, and have a helper or a stationary trigger like a parked car or a bench. Start far enough away that your dog notices but doesn't react. When your dog looks at the trigger, say 'yes! ' and give a treat.
Repeat this several times, then take a break. Once your dog is consistently looking at the trigger and then at you, you can start moving a few steps closer. Always watch your dog's body language—if they stiffen, start barking, or refuse treats, you're too close.
Back up and try again at a more comfortable distance.
Common Mistakes To Avoid
One common mistake is moving too quickly. If you decrease the distance too fast, your dog may go over threshold and react, which sets back your progress. Another mistake is using low-value treats.
Use something really special, like small pieces of chicken or cheese, to keep your dog motivated. Also, avoid pulling on the leash or forcing your dog to look. The game should be voluntary.
If your dog doesn't look at the trigger, that's okay—just wait. The moment they do, mark and reward. Patience is key.
Taking It To The Next Level
Once your dog is solid at a certain distance, you can start adding movement. Walk a few steps toward the trigger, then stop and play the game. This helps your dog learn to stay calm even as the trigger gets closer.
You can also practice in different environments to generalize the behavior. Eventually, you can use the game during real walks. When you spot a trigger in the distance, start playing 'Look at That' before your dog even reacts.
This proactive approach can prevent reactive episodes and make walks more enjoyable for both of you.
7. Try the 'Touch' Cue to Redirect Attention
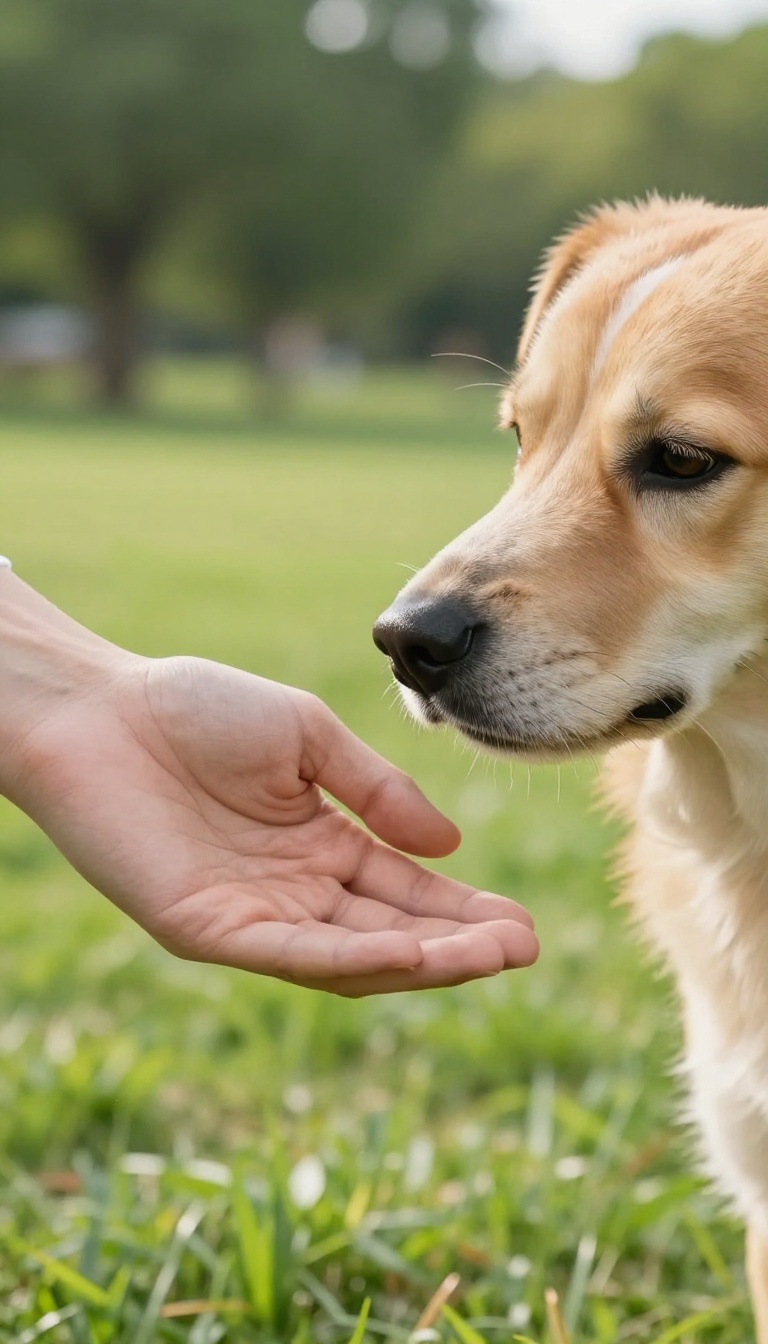
Teaching your dog to touch your hand with their nose is more than a cute trick—it's a powerful tool for redirecting focus. When your dog is staring down a trigger, a clear, physical cue can interrupt that intense stare and bring them back to you. The touch cue gives them a simple, rewarding job to do, which can lower their arousal and help them think clearly.
Start training the touch cue in a calm environment. Hold out your open palm a few inches from your dog's nose. The moment they sniff or nudge your hand, mark with a clicker or a clear 'yes! ' and reward.
Repeat until they reliably touch your hand on cue. Then gradually increase the distance and add distractions. Once your dog is solid at home, practice in low-distraction outdoor areas before using it on real walks.
When you're out and your dog notices a trigger, calmly present your hand and ask for a touch. The physical movement of turning toward your hand can break their focus and give you a chance to move away or create space. The key is to be proactive—use the cue before your dog reaches their threshold, not after they're already barking and lunging.
Why Touch Works For Reactive Dogs
The touch cue works because it gives your dog a specific, incompatible behavior to perform. Instead of staring, barking, or lunging, they're focusing on your hand and earning a reward. This mental shift can lower their stress and make it easier for them to disengage from the trigger.
It also builds a positive association with seeing triggers, as they learn that scary things predict a fun game with you.
How To Train A Solid Touch Cue
Use high-value treats and keep sessions short. Start with your hand very close to your dog's nose, then gradually move it farther away. Add a verbal cue like 'touch' just before they make contact.
Practice in different positions—sitting, standing, walking—so your dog generalizes the behavior. Once they're reliable, start using it in more distracting environments, but always set them up for success by starting at a distance where they can still focus.
Using Touch On Real Walks
When you're on a walk and spot a trigger, say 'touch' in a cheerful voice and present your hand. As your dog touches, reward and immediately move away or change direction. This turns the trigger into a cue for a fun interaction with you.
Use it before your dog reacts, not after. Over time, your dog will start checking in with you automatically when they see a trigger, because they've learned that good things happen when they do.
8. Build a 'Calm Zone' with a Mat or Towel
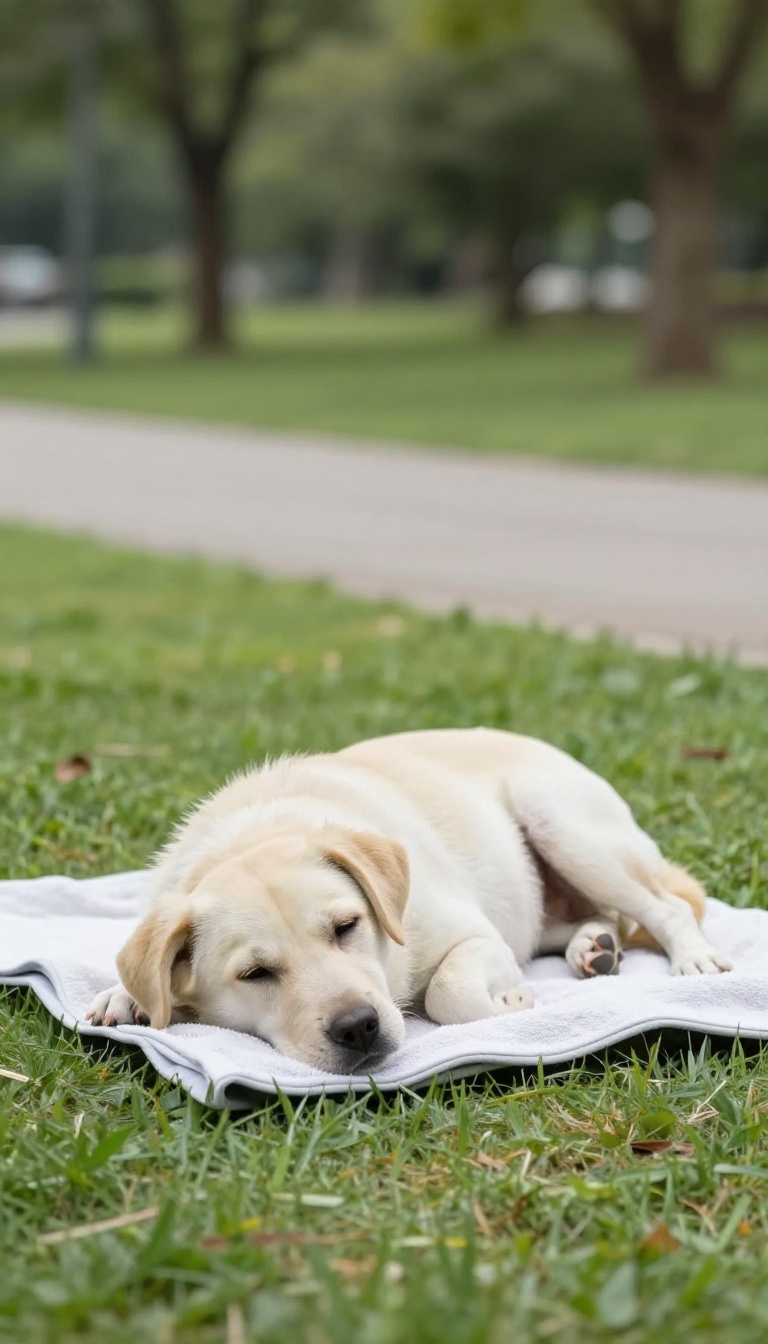
Some walks are smooth sailing until a trigger appears out of nowhere. When that happens, your dog's brain goes into overdrive, and it's hard for them to think straight. That's where a portable calm zone comes in handy.
A mat or towel can become your dog's safe spot, a familiar object that tells them it's okay to relax. By teaching them to settle on it during walks, you give them a clear job to do when things get intense. It's not about forcing them to lie down—it's about offering a choice that helps them feel more in control.
Why A Mat Works
Dogs often react because they feel overwhelmed and don't know what else to do. A mat gives them a simple, learned behavior that feels safe and rewarding. Over time, they start to associate the mat with calmness, making it easier for them to disengage from triggers.
How To Teach It
Start at home in a quiet space. Place the mat on the floor and reward your dog for stepping on it, then for sitting or lying down. Use a cue like 'place' or 'mat' as they settle.
Practice in different rooms, then take it outside for short sessions before using it on a real walk.
Using It On Walks
When you see a trigger approaching, move to a safe distance and lay the mat down. Give your dog the cue and reward them for settling. Keep sessions short and end on a positive note.
With practice, your dog will learn to look for the mat when they feel stressed.
9. Use High-Value Treats Strategically
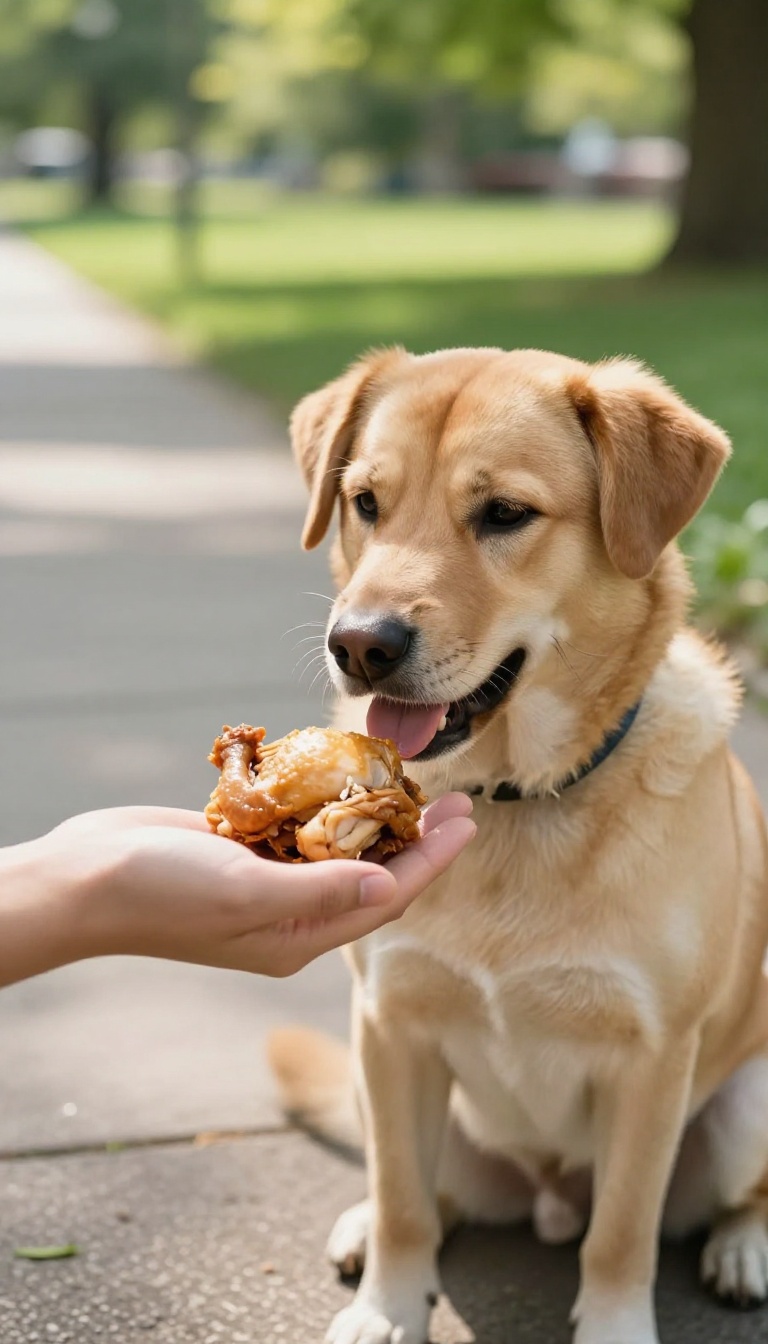
Not all treats are created equal, especially when you're working with a reactive dog. The kibble you use for training at home might not cut it when a trigger is nearby. That's where high-value treats come in—think tiny pieces of chicken, cheese, or hot dogs.
These extra-special rewards can capture your dog's attention and make calm behavior near triggers more rewarding than reacting.
When you're out on a walk, your dog's environment is full of distractions. A trigger like another dog or a skateboard can easily outshine a boring, everyday treat. High-value treats are the secret weapon that can shift your dog's focus back to you.
The key is to use them strategically: save them exclusively for walks and training sessions, so they remain special and exciting. This way, your dog learns that good things happen when they stay calm around triggers.
Choose The Right Treats
Not all high-value treats are equal. You want something soft, smelly, and easy to eat quickly. Think small cubes of cooked chicken, string cheese, or freeze-dried liver.
Avoid anything too crumbly or hard that takes time to chew. The goal is for your dog to gulp it down and refocus on you, not to spend time nibbling. Experiment to find what your dog goes crazy for, and reserve those treats for walks only.
Timing Is Everything
The moment your dog notices a trigger but hasn't reacted yet is the golden window. That's when you want to deliver the high-value treat, rewarding the calm behavior. If you wait until they've already started barking or lunging, it's too late.
Practice watching your dog's body language—stiffening, staring, or a change in breathing are early signs. Reward those first moments of noticing without reaction. Over time, your dog will learn that calm behavior earns the good stuff.
Use A Treat Pouch Or Fanny Pack
Fumbling with a plastic baggie while managing a reactive dog is a recipe for frustration. Invest in a treat pouch or fanny pack that clips to your waist. Fill it with your high-value treats before you leave, and keep it easily accessible.
This lets you deliver treats quickly and smoothly, without breaking your focus or your dog's. Plus, it keeps your hands free to handle the leash and give signals.
Pair Treats With A Marker
To make the reward even more powerful, pair the treat with a marker word like 'yes' or a clicker. The marker tells your dog the exact moment they did something right, and then the treat follows. This helps your dog understand what behavior is being rewarded, especially when the trigger is still in view.
Over time, the marker becomes a conditioned reinforcer, and you can use it even when a treat isn't immediately available.
10. Practice 'Emergency Sit' for Instant Calm
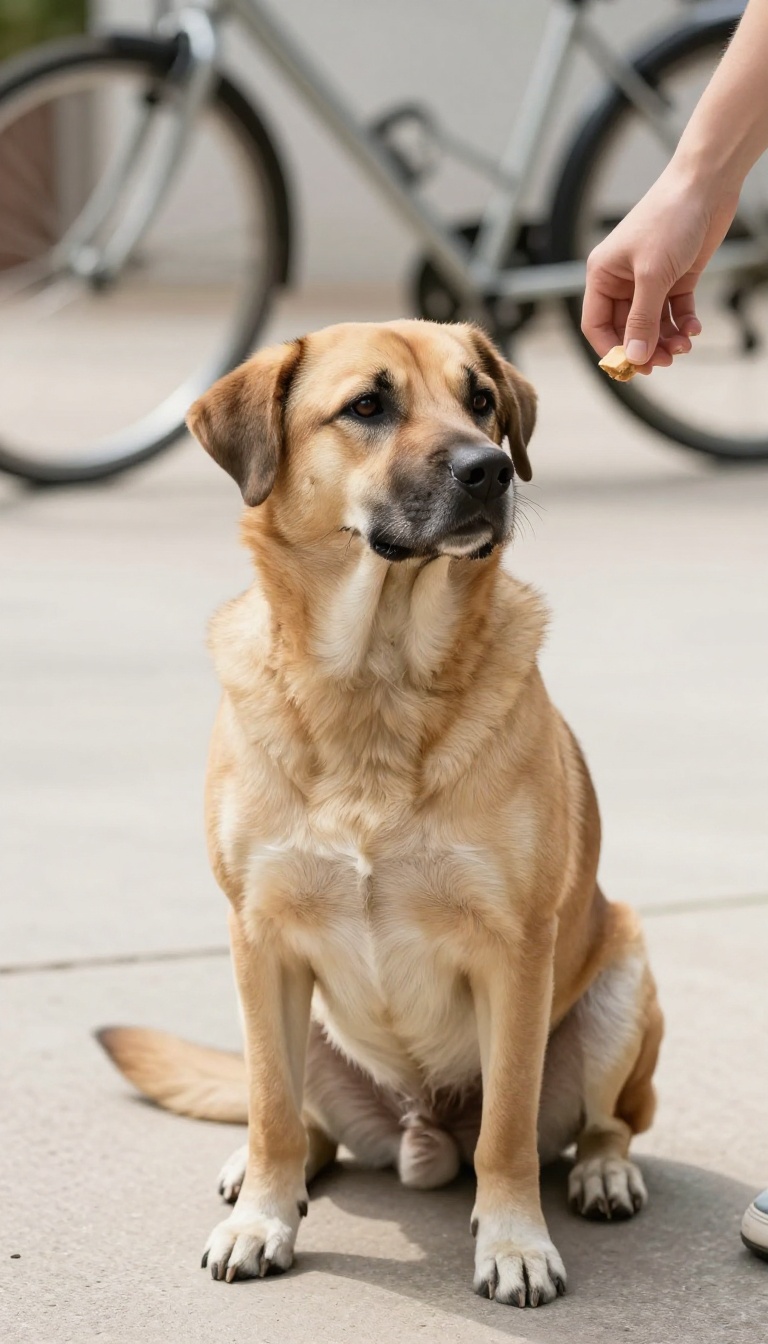
When a trigger appears, the last thing you want is to fumble for treats or shout commands. An emergency sit gives you a reliable, instant way to interrupt your dog's reaction and buy a moment of calm. It's not about forcing your dog down—it's about teaching them that sitting when something scary shows up is the best choice they can make.
The emergency sit is a lifesaver for reactive dogs. It gives you a clear, calm action to take in the heat of the moment, and it gives your dog a simple job to do instead of panicking. The key is to train it thoroughly in boring, low-distraction places first, so it becomes automatic.
Then, you can gradually add more challenging situations until your dog can sit even when a trigger is nearby.
Start With A Rock-solid Foundation
Before you can use the emergency sit on a walk, your dog needs to nail it at home. Use high-value treats and a happy, excited voice. Say 'sit' once, lure or shape the behavior, and reward the instant their bottom hits the floor.
Practice in every room, in the yard, and with mild distractions like the TV on. The goal is a sit that happens almost automatically, without you having to repeat yourself.
Add Movement And Distance
Once your dog sits reliably in one spot, start moving. Walk a few steps, stop, and ask for a sit. Then, try sitting from a distance—toss a treat, let your dog chase it, and then ask for a sit when they return.
This builds the habit of sitting even when they're excited or moving. You can also practice sitting on different surfaces, like grass or pavement, so they generalize the cue.
Introduce Triggers Gradually
Now it's time to bring in real-life triggers, but at a safe distance. Have a friend stand far away with their dog, or use a trigger your dog can see but isn't overwhelmed by. As soon as your dog notices the trigger, say 'sit' in a cheerful voice.
The moment they sit, mark and reward with a jackpot of treats. If they can't sit, you're too close—move farther away and try again. Over time, you can slowly decrease the distance.
Use It In The Moment
When you're out on a walk and a trigger appears, stop, take a breath, and ask for a sit. Keep your voice light and encouraging. The moment your dog sits, reward them with something amazing.
This gives them a clear alternative to lunging or barking. Remember, the emergency sit isn't about holding your dog down—it's about giving them a chance to make a better choice. With practice, it becomes your go-to tool for instant calm.
FAQ
How long does it take to see improvement with trigger training?
It varies by dog, but with consistent practice (3-5 times a week), you may notice small improvements in 2-4 weeks. Patience and gradual progress are key.
What if my dog is too reactive to even practice near triggers?
Start at a distance where your dog is calm, even if that means across the street or in a parking lot. Use high-value treats and slowly decrease distance over time.
Should I use a prong or shock collar for reactivity?
No. These tools can increase fear and aggression. Positive reinforcement methods are safer and more effective for long-term behavior change.
Can I train my dog to ignore all triggers?
You can teach your dog to remain calm and look to you, but they may never fully ignore triggers. The goal is to manage their reaction, not erase their instincts.
What if my dog is reactive to people, not just other dogs?
The same principles apply. Use distance, desensitization, and counter-conditioning. You can also teach a 'watch me' cue to redirect attention to you.
Conclusion
Every dog reacts differently, so don’t stress if some of these ideas click faster than others. Pick two or three that feel doable, practice them in short bursts, and build from there. The goal isn’t a perfect walk—it’s helping your dog feel safer and more confident in the world.
Over time, those trigger moments will become less overwhelming, and you’ll both enjoy getting out the door. Keep sessions positive, watch for small wins, and adjust as you learn what works. With patience and consistency, you’ll turn stressful walks into quality time together.

I’m Pallab Kishore, the owner of Little Pets Realm — an animal lover and pet care enthusiast sharing easy tips, healthy recipes, and honest advice to help every small pet live a happy, healthy, tail-wagging life.