
Last updated on August 19th, 2026 at 04:14 pm
The trail calls, but is your dog truly ready for it? Hiking with your canine companion is about more than just leashing up and heading out—it's about safety, communication, and mutual enjoyment.
A dog that's confident on uneven terrain, calm around strangers, and responsive to commands makes every adventure smoother. These 10 essential skills turn a good trail dog into a great one, preventing accidents and building trust.
From rock-solid recall to paw care, each one is practical and trainable. Let's get you both trail-ready.
1. Reliable Recall: The Non-Negotiable Skill
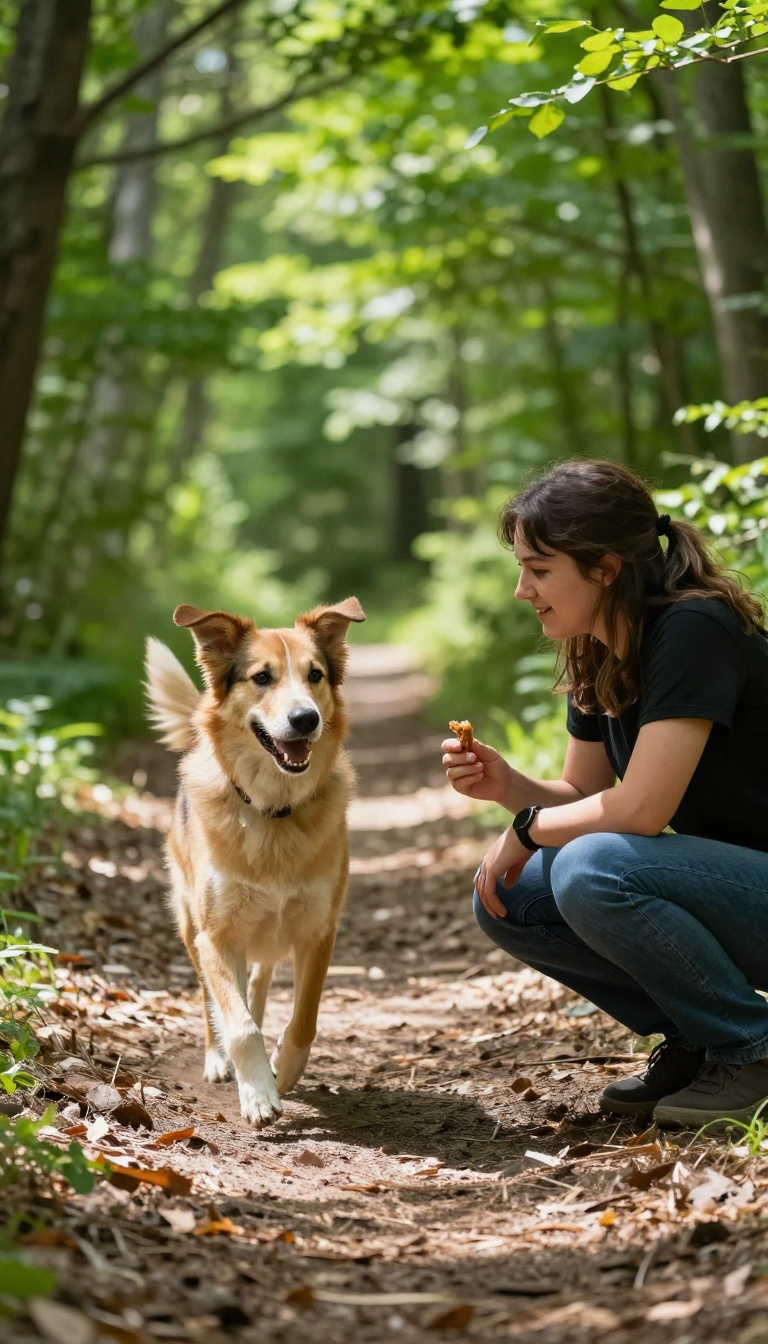
A solid recall is the foundation of trail safety. Practice in low-distraction areas first, then gradually add distractions. Use high-value treats and a consistent cue.
This skill can prevent your dog from chasing wildlife or getting lost.
Before you even think about hitting the trail, your dog needs to come when called, no matter what. This isn't just about convenience—it's about keeping your dog safe from dangers like cliffs, snakes, or other animals. Start training in your backyard with minimal distractions, then move to a quiet park, and finally to busier trails.
Always use a cheerful tone and reward with something irresistible, like bits of chicken or cheese. Consistency is key: use the same word every time, and never call your dog to something negative. With patience, your dog will learn that coming to you is always a good thing.
Start Small, Then Add Distractions
Begin in a fenced yard or quiet room. Call your dog's name and reward immediately when they come. Practice for just a few minutes each day.
Once reliable, move to a park with mild distractions, then to a trail with other hikers and dogs. Always keep your dog on a long leash until you're confident.
Use High-value Rewards
Regular kibble might not cut it when a squirrel is nearby. Save special treats like freeze-dried liver or string cheese for recall practice. Reward every single time, even if it took a while.
This builds a strong association that coming back is always worth it.
Never Punish A Late Recall
If your dog takes their sweet time, don't scold them when they finally arrive. That teaches them that coming to you leads to trouble. Instead, praise and reward, then make a mental note to practice more in that environment.
The goal is to make coming to you the best option, always.
2. Loose-Leash Walking: Keep the Trail Calm
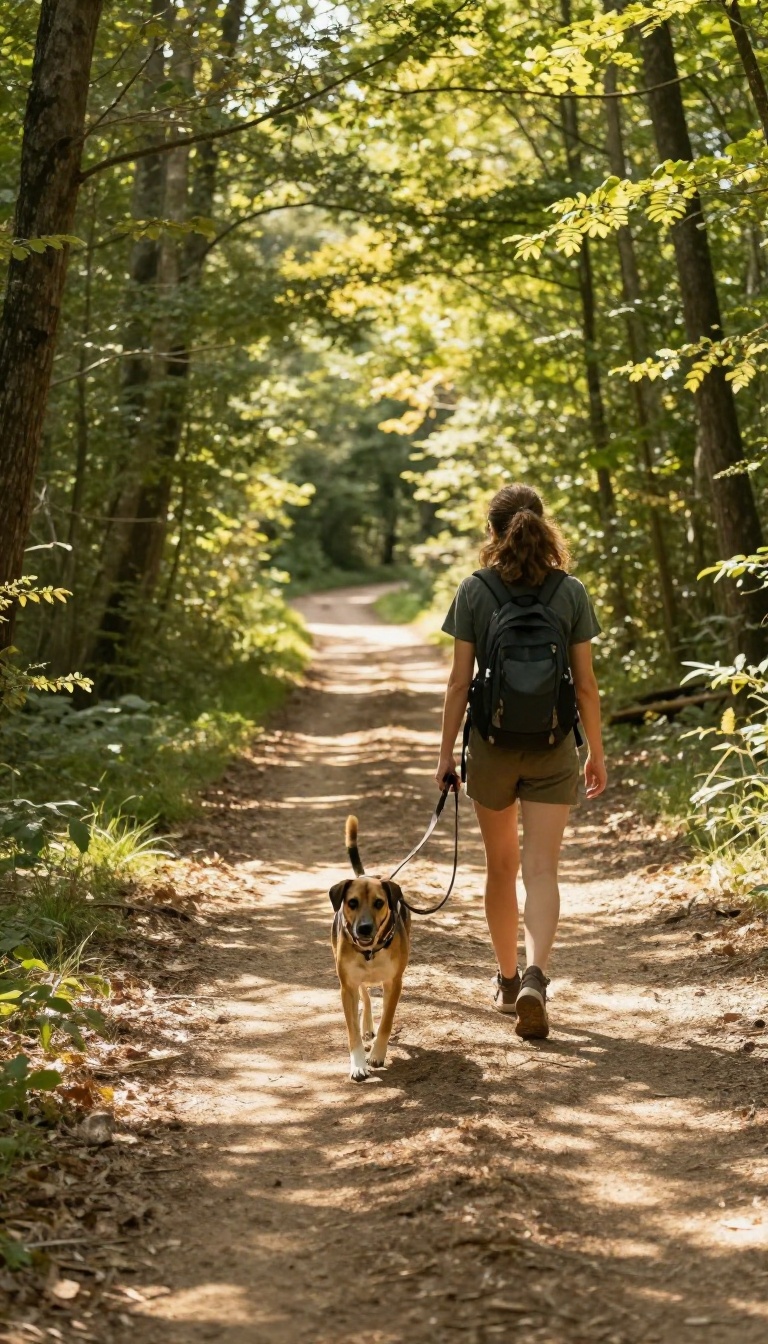
Tugging on the leash isn't just annoying—it's exhausting for both of you. When your dog pulls, every step becomes a battle, and the joy of the trail fades fast. Teaching loose-leash walking turns your hike into a relaxed, enjoyable experience, and it's easier than you think.
Start in a low-distraction area like your backyard or a quiet street. The moment your dog puts tension on the leash, stop moving. Wait until they look back or step toward you, then reward and continue.
This teaches them that pulling gets them nowhere, while slack earns forward movement. Practice in short bursts, gradually increasing distractions as they improve.
Why Loose-leash Matters On Trails
A slack leash keeps your dog in a comfortable position, reducing strain on their neck and your arm. It also gives you better control in unexpected situations, like encountering wildlife or other hikers. Plus, a calm walker is less likely to trip you on rocky terrain.
The Stop-and-go Method
This simple technique works wonders. When your dog pulls, stop and stand still. Don't yank or scold—just wait.
The moment the leash loosens, mark with a 'yes' and offer a treat. Then resume walking. Consistency is key; every pull gets a pause, every slack gets a reward.
Reward The Right Position
Instead of rewarding just any slack, encourage your dog to walk beside you. Use treats to lure them into the heel position, then reward frequently when they stay there. Over time, they'll learn that staying near your side is the most rewarding place to be.
Practice With Real Trail Distractions
Once your dog has the basics, take it to the trail. Start with short, easy hikes and keep sessions positive. If they get too excited, take a break and let them sniff or play, then resume loose-leash practice.
With patience, your dog will learn to stay calm even with all those wonderful smells around.
3. Trail Etiquette: Passing Others Politely
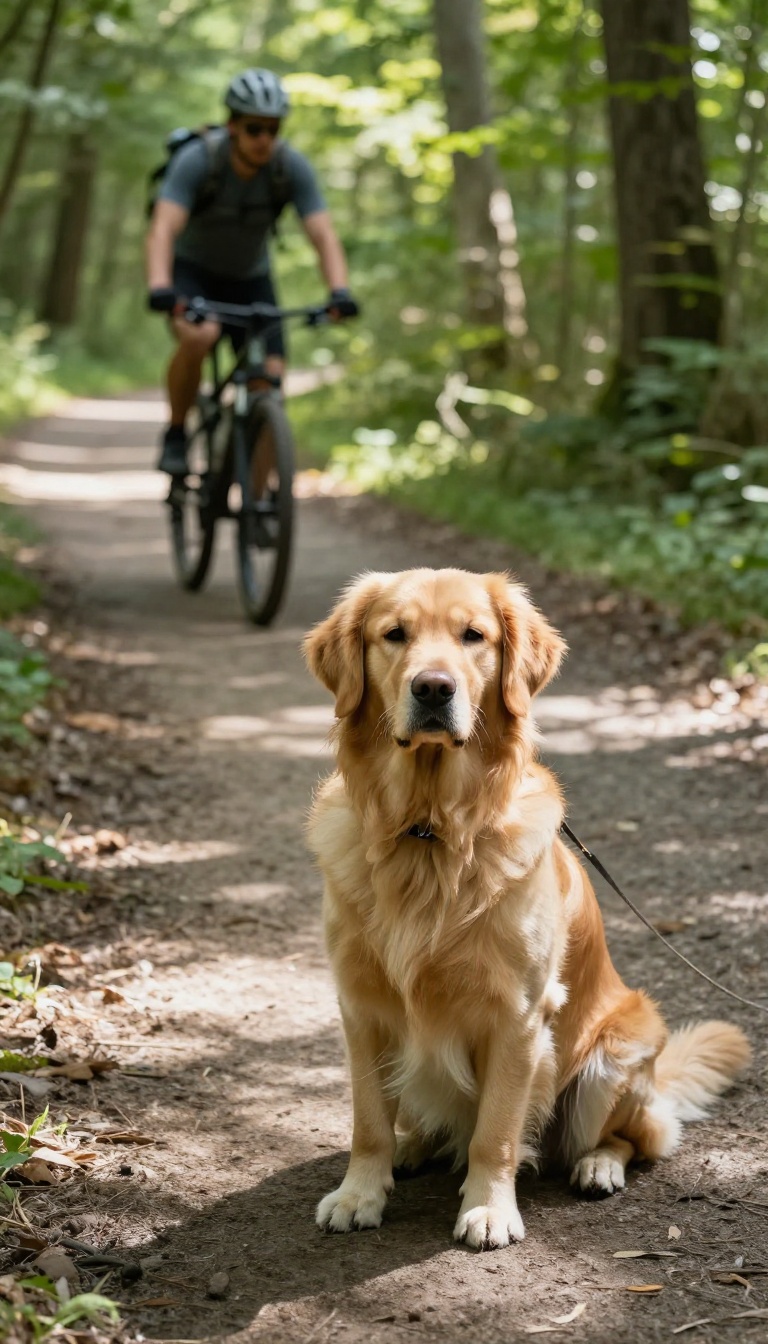
Meeting other trail users is part of the experience, and how your dog handles those encounters says a lot about you as a handler. A calm, controlled pass keeps everyone safe and makes the trail more enjoyable for all. The good news?
This skill is easy to practice at home before you ever hit the dirt.
Why It Matters
A sudden lunge or excited bark can startle a hiker, a biker, or another dog. On narrow trails, that can lead to accidents or tense moments. Teaching your dog to move aside and wait shows respect for others and builds a positive reputation for you and your pup.
Practice At Home First
Start in your neighborhood or a quiet park. Have a friend approach with their dog while you step off the path and ask your dog to sit. Reward calm behavior.
Gradually increase distractions—try having a jogger pass by or a cyclist ring a bell. The goal is to make moving aside a default response.
On The Trail
When you see someone approaching, give yourself plenty of room. Step to the downhill side if possible, and keep your dog close on a short leash. Use a cheerful 'let's move' cue and reward them for staying calm.
If your dog is nervous, a treat scatter can help redirect their focus. Always ask before letting dogs greet—not everyone wants that.
4. Leave It: Avoiding Trail Hazards
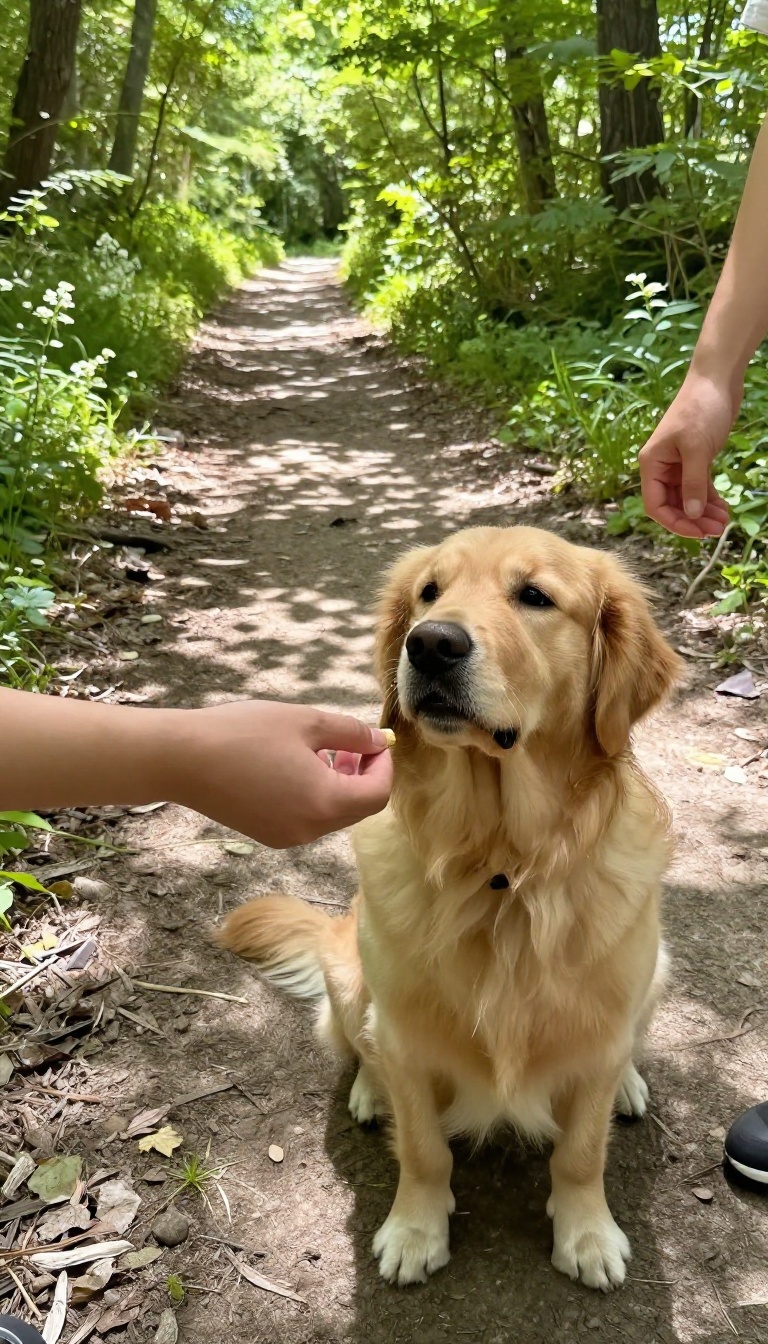
Trails are littered with temptations that can turn a peaceful hike into a vet visit. From discarded food wrappers to animal droppings and toxic plants, your dog’s nose will find trouble before you even see it. A rock-solid 'leave it' command is your first line of defense, giving you the power to redirect your pup’s attention before they get into something harmful.
Training this cue takes patience, but it’s one of the most valuable skills you can teach for both trail safety and everyday life.
Start training in a low-distraction environment like your living room. Hold a treat in a closed fist and let your dog sniff, lick, or paw at it. The moment they pull back, say 'yes' and reward with a different treat from your other hand.
Repeat until your dog automatically backs off when they see a closed fist. Then, progress to placing a treat on the floor under your foot. Say 'leave it' before they can grab it, and reward them for looking at you instead.
Gradually increase the difficulty by using more tempting items, moving to outdoor settings, and practicing on-leash. The goal is to have your dog check in with you when they encounter something interesting, rather than diving for it.
Start With Simple Temptations
Begin with low-value treats like kibble. Hold a piece in your open palm and say 'leave it' in a firm but friendly tone. If your dog goes for it, close your hand.
When they back off, mark and reward with a high-value treat from your other hand. Practice this a few times a day until your dog reliably turns away from the open palm. This builds the foundation for ignoring distractions on the trail.
Gradually Increase Distractions
Once your dog masters the basics, start placing treats on the ground and walking past them. Use a leash to prevent them from snatching. Say 'leave it' as you approach, and reward them for not engaging.
Then, try with more tempting items like a piece of hot dog or a toy. Move to your backyard, then to a park, and finally to a quiet trail. The key is to increase difficulty slowly so your dog succeeds at each step.
Practice On The Trail
On your actual hikes, use 'leave it' for real-world hazards. If you see your dog eyeing something suspicious, give the cue before they get to it. Reward them generously with a high-value treat and praise.
Over time, your dog will learn that ignoring trail temptations leads to better rewards. Remember to keep sessions short and positive—never punish a mistake, just reset and retry.
Use A Release Word
Teach a release cue like 'okay' or 'take it' so your dog knows when it’s safe to engage. After your dog successfully ignores a distraction, say your release word and let them have the treat or toy. This adds clarity and prevents frustration.
It also gives you control in situations where you do want your dog to interact, like when you offer them a snack during a rest break.
5. Stay and Settle: Rest Stops Made Easy
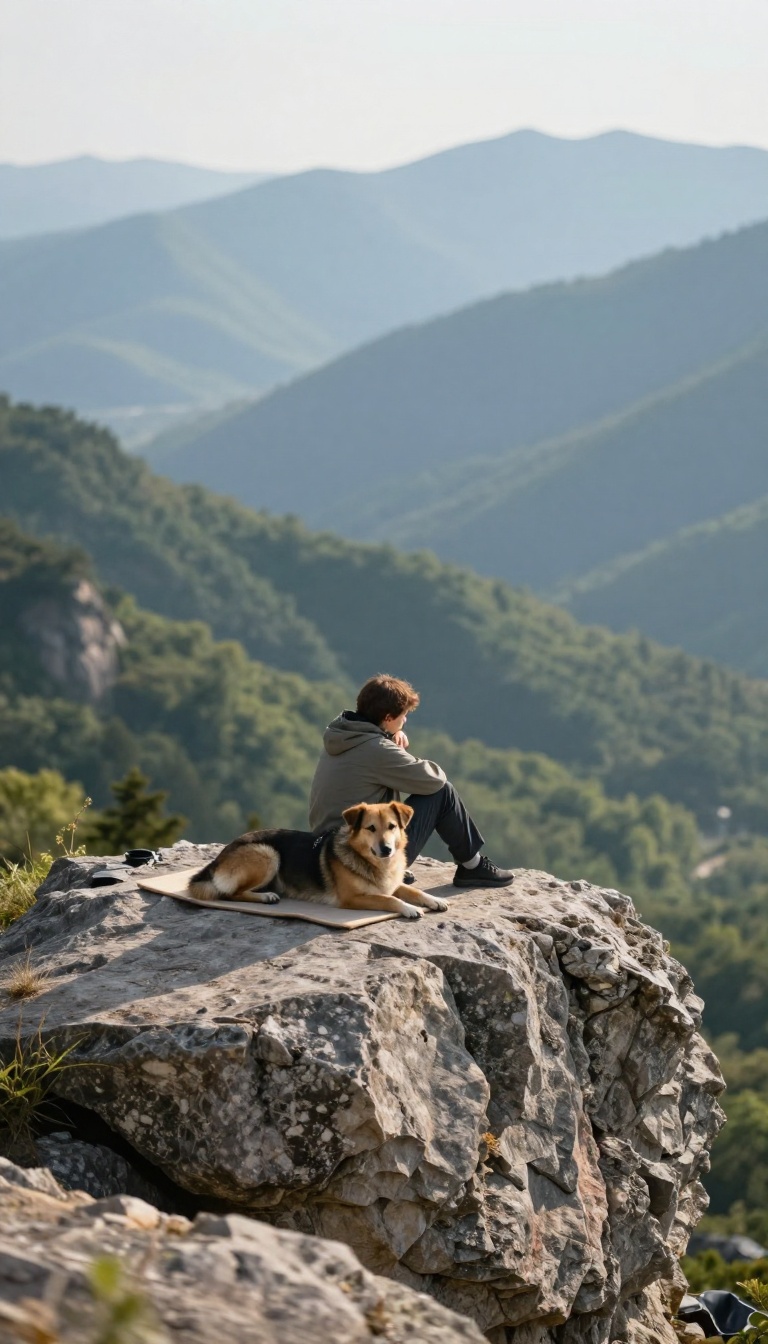
Hiking isn't a non-stop sprint. You'll pause for water, snacks, or to soak in a scenic overlook. Without a solid stay and settle command, those breaks can turn into a game of keep-away or a polite but persistent paw in your face.
Teaching your dog to relax on a mat or towel gives everyone a chance to recharge without stress.
Why A Place Command Beats A Basic Stay
A standard stay just means 'don't move. ' A place command tells your dog exactly where to go and what to do—lie down and chill. This is huge on a trail where 'stay' might leave them hovering awkwardly or creeping closer to your sandwich. A mat or towel becomes a clear, familiar spot that signals downtime.
Training The Mat: Start At Home
Begin in your living room with a mat or towel and some high-value treats. Toss a treat onto the mat and say 'place' as your dog steps on it. Reward them for staying there, gradually increasing the time and distance.
Add distractions like opening the fridge or walking by. The goal is a dog who sees the mat and thinks 'relax. '
Taking It To The Trail
Once your dog is solid at home, pack the mat and try it in your backyard, then on a quiet trail. Start with short rests—just a minute or two—and reward calm behavior. Use a picnic break as a training session: lay down the mat, give the cue, and practice settling while you enjoy your snack.
Over time, your dog will associate the mat with good things and settle faster.
Troubleshooting Common Trail Distractions
If your dog pops up at every passing hiker or squirrel, don't get frustrated. Bring extra-high-value treats (like cheese or hot dog bits) and reward them for staying down. If they keep breaking, shorten the duration and practice more at home.
Consistency is key—eventually, the mat becomes a safe zone that means 'good things happen when I stay. '
6. Paw Care and Inspection: Preventing Injuries
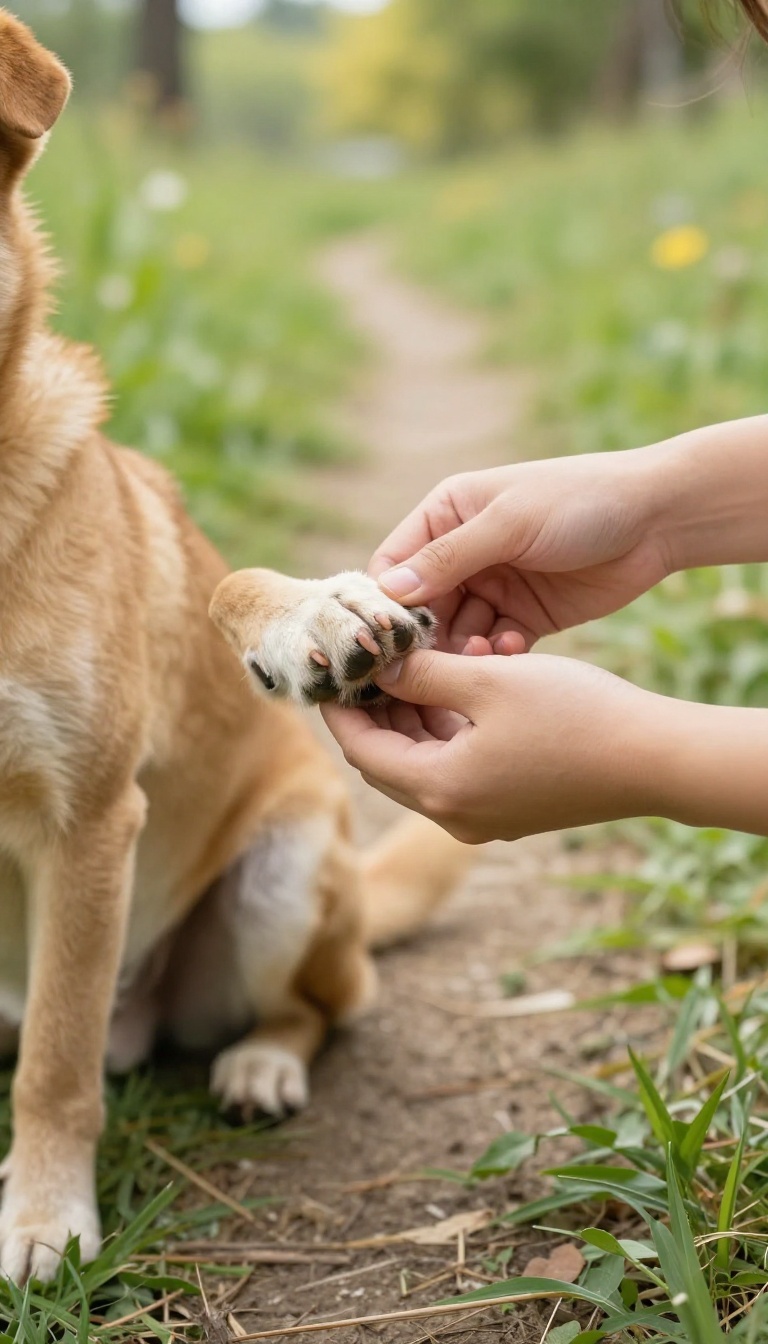
Your dog's paws are their hiking boots, and they take a beating on rocky trails, hot gravel, and muddy paths. A torn pad or a buried burr can turn a happy hike into a painful ordeal. Getting your dog comfortable with paw handling and making inspection a routine part of your post-hike ritual can catch small issues before they become big problems.
It's a simple habit that pays off in comfort and fewer vet visits.
Before you hit the trail, make sure your dog is used to having their paws touched and examined. Start at home by gently handling each paw, pressing on the pads, and looking between the toes. Reward calm behavior with treats and praise.
This builds trust and makes it easier to check for injuries on the trail. After every hike, do a quick paw check: look for cuts, blisters, cracked pads, or foreign objects like thorns, pebbles, or ice balls. If you find something, clean the area gently and remove debris.
Keep an eye on any limping or excessive licking, and address issues promptly to keep your dog comfortable and ready for the next adventure.
Getting Your Dog Comfortable With Paw Handling
Start slow and make it positive. Sit with your dog and gently touch their paws while giving treats. Gradually increase the time you spend handling each paw, pressing on the pads and spreading the toes.
This desensitizes them to the sensation and builds a positive association. Practice regularly, even when you're not hiking, so it becomes a normal part of your routine.
The Post-hike Paw Check: A 2-minute Habit
After each hike, take a couple of minutes to inspect your dog's paws. Look for redness, swelling, cuts, or embedded debris. Check between the toes and around the pads, as these are common spots for burrs and small stones.
If you find anything, clean the area with water and apply a pet-safe antiseptic if needed. This quick check can prevent minor issues from escalating into infections or more serious injuries.
Addressing Common Paw Problems On The Trail
Even with the best care, paw problems can happen. Cracked pads can be treated with a paw balm or wax to keep them moisturized and protected. If your dog gets a cut, clean it thoroughly and apply pressure to stop bleeding.
For blisters, don't pop them—just keep the area clean and covered. If your dog is limping or shows signs of pain, end the hike early and consult your vet if the issue persists.
7. Water Safety: Swimming and Drinking Smart
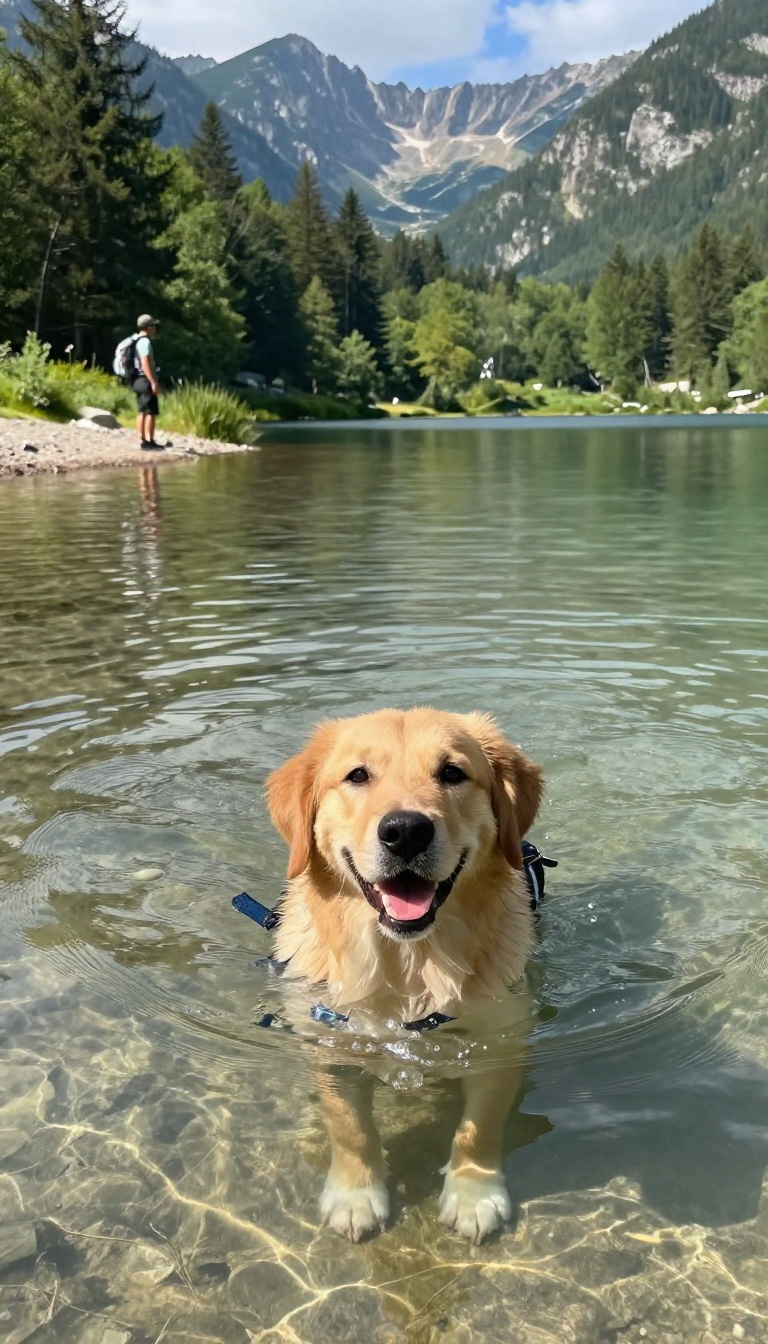
Water can be the best part of a hike or the quickest way to ruin one. A stream crossing might look inviting, but not all water is safe for your dog to splash in or gulp down. Teaching your dog to swim confidently and drink only from a bottle you carry keeps them hydrated without the risk of ingesting harmful bacteria or algae.
Before you let your dog dive into that crystal-clear lake, think about what might be lurking below the surface. Blue-green algae, giardia, and other pathogens can cause serious illness. And even if the water looks clean, a dog that doesn't know how to enter calmly can panic or swallow too much water.
Start by teaching a solid 'wait' at the water's edge, then reward calm behavior. Practice swimming in safe, controlled environments like a pool or a calm pond before you hit a fast-moving river. And always bring fresh water for your dog—offer it frequently so they don't feel the need to drink from questionable sources.
Start With Calm Water Entry
Not every dog is a natural swimmer, and forcing them into water can create a lifelong fear. Begin in shallow, calm water where your dog can touch the bottom. Use treats and a cheerful voice to encourage them to wade in.
If they hesitate, don't push—let them explore at their own pace. Once they're comfortable, you can gradually move to deeper water while supporting them under the belly. The goal is a dog that enters water because they want to, not because they're dragged in.
Practice The 'drink From Bottle' Cue
Hiking often means no clean water source, so teaching your dog to drink from a bottle or collapsible bowl is a lifesaver. At home, offer water from a bottle during playtime. Use a squeeze bottle with a spout or a travel bowl.
Pair the action with a cue like 'drink' and reward them. On the trail, stop regularly and offer water before your dog gets too thirsty. This way, they learn that the bottle is their water source, not the puddle on the ground.
Recognize Unsafe Water Conditions
Even if your dog knows how to swim, you need to know when to say no. Avoid water with visible algae blooms, which can be toxic. Steer clear of stagnant ponds or areas with heavy runoff.
If the water looks murky or has a strange smell, keep your dog out. Also, be mindful of currents—fast-moving water can be dangerous even for strong swimmers. When in doubt, skip the swim and offer plenty of fresh water from your pack.
8. Emergency Stop: Instant Halt for Danger
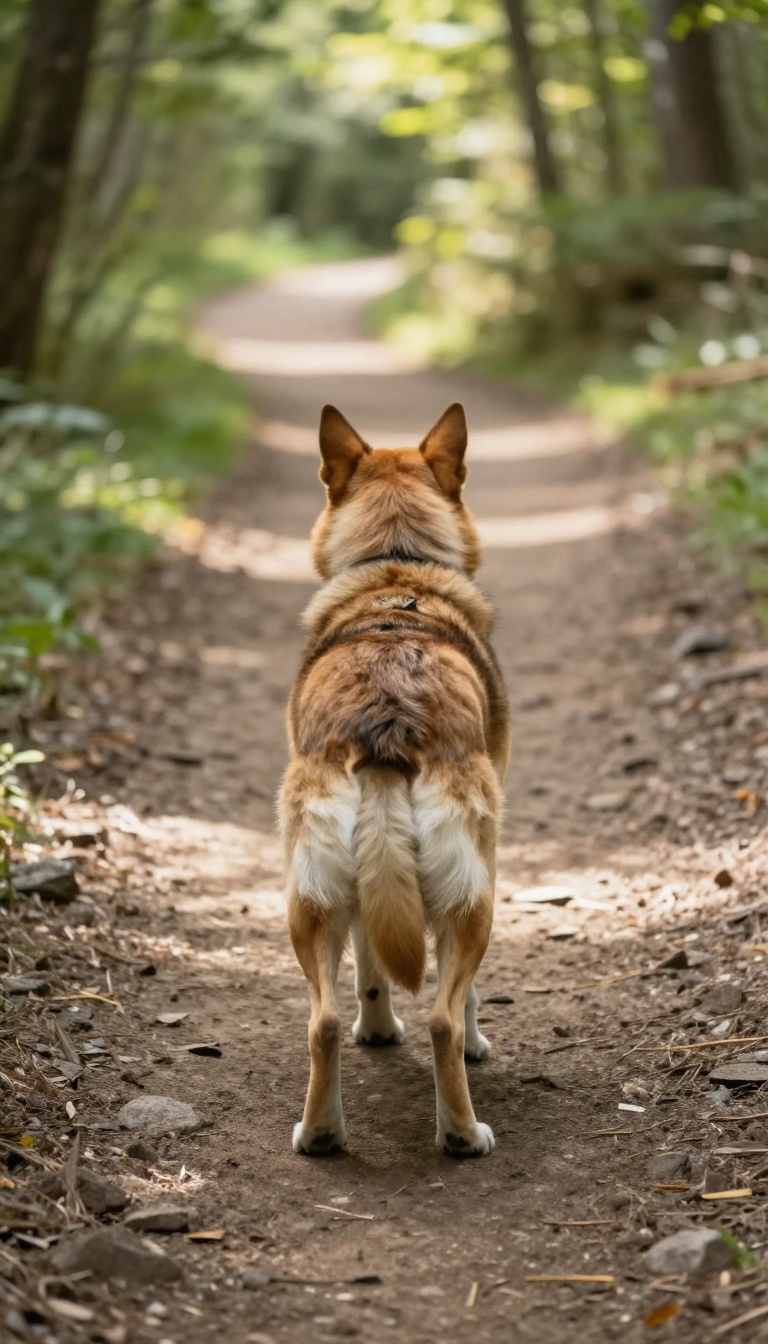
There are moments on the trail when a split-second decision matters more than any other command. Maybe you spot a rattlesnake coiled on the path ahead, or your dog is about to step onto a crumbling ledge. A reliable emergency stop can be the difference between a close call and a disaster.
This isn't just a 'sit' or 'wait'—it's a conditioned response that kicks in even when your dog is excited or distracted.
Training an emergency stop is about creating a reflex, not just a command. You want your dog to hit the brakes the instant they hear the cue, no matter what's happening around them. This skill requires consistent practice in increasingly distracting environments, but the payoff is huge: peace of mind knowing you can stop your dog in a heartbeat.
Here's how to build it step by step, plus how to use it effectively on real trails.
Choose A Distinct Cue
Pick a word or sound that you don't use in everyday life. Something sharp and unique like 'STOP! ' or a loud whistle works well. Avoid using 'no' or 'hey' because they're too common and your dog might not associate them with an immediate halt.
The goal is to create a Pavlovian response: cue equals freeze. Practice this cue in a quiet room first, then gradually add distractions like a squeaky toy or a tossed treat.
Train The Reflex With High-value Rewards
Start by saying your cue in a happy, sharp tone, then immediately toss a high-value treat (like chicken or cheese) on the ground. This teaches your dog that stopping means something great happens. Don't ask for a sit or down—just a pause.
Repeat this 10-15 times per session, several times a day. Once your dog starts freezing the moment they hear the cue, you can add distance and duration. Always reward the freeze, even if it's just for a second.
Practice In Real-world Scenarios
Take your emergency stop to the trail, but start in low-distraction areas. Have a friend or family member act as a 'distraction' by walking ahead or tossing a toy. Use your cue and reward your dog for stopping.
Gradually increase the excitement level: practice near other dogs, on busy trails, or even during a game of fetch. The more you practice in realistic settings, the more reliable it becomes when it truly matters.
Use It Wisely In The Field
Once your dog has mastered the emergency stop, use it sparingly and always follow up with a reward. If you use it for every little thing, it loses its power. Save it for genuine dangers like cliffs, snakes, or aggressive animals.
When you do use it, stay calm and praise your dog enthusiastically. This reinforces that stopping is the best thing they can do, even when their instincts scream otherwise.
9. Confidence on Uneven Terrain: Building Trail Readiness
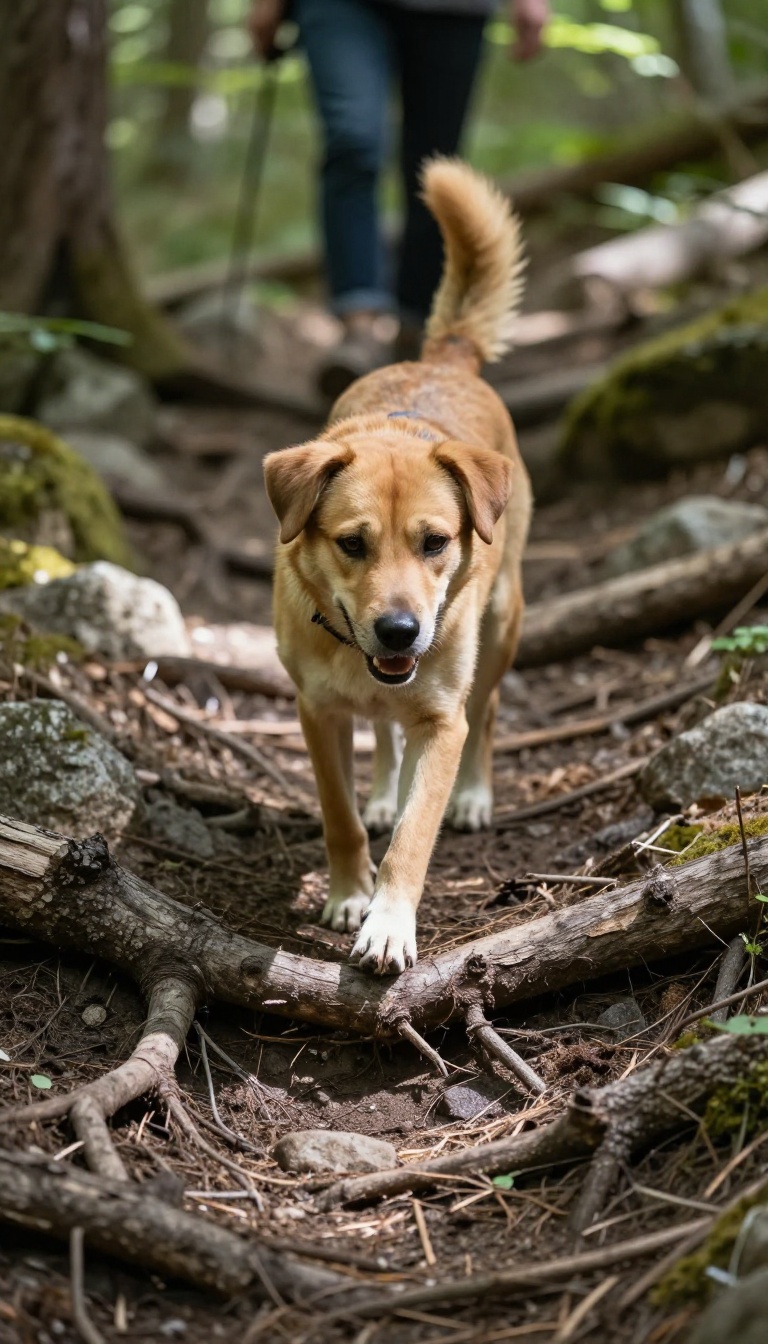
Roots, rocks, and logs are part of the trail's charm, but they can be tricky for a dog that's not used to them. Building confidence on uneven ground isn't just about preventing stumbles—it's about teaching your dog to read the terrain and move with sure-footedness. The more practice your dog gets on varied surfaces, the more relaxed and capable they'll be when the path gets rough.
Start in a safe space like your backyard or a quiet park. Scatter a few low obstacles—think a sturdy board, a small log, or a pile of soft dirt. Let your dog explore at their own pace, rewarding curiosity with treats and praise.
The goal is to make each new surface feel like a game, not a challenge. As your dog gets comfortable, gradually increase the difficulty: add a slight incline, a wobbly surface (like a balance disc), or a narrow plank. Always keep sessions short and positive, and never force your dog onto something they're unsure about.
Over time, your dog will learn to watch their footing and trust their own paws, which is exactly what you want on a rocky trail.
Start With Simple Obstacles
Begin with flat, stable surfaces that are easy to navigate. A piece of plywood on grass, a low curb, or a flat rock can be perfect first steps. Walk with your dog, letting them sniff and step on their own.
Use a happy tone and reward every successful step. This builds a positive association with new textures and heights.
Mix Up Surfaces Gradually
Once your dog is comfortable with basic obstacles, introduce variety. Walk on sand, gravel, mulch, or pine needles. Climb over a fallen tree trunk or step across a small stream.
Each new surface challenges different muscles and coordination. The key is to increase difficulty slowly so your dog stays confident and doesn't get overwhelmed.
Practice On Real Trails With Short Sessions
When you're ready to hit a real trail, start with short, easy sections. Let your dog set the pace and stop to investigate when needed. Carry treats and praise them for navigating tricky spots.
Over time, your dog will learn to anticipate and handle uneven terrain, making longer hikes more enjoyable for both of you.
10. Trail Fitness: Building Stamina Gradually
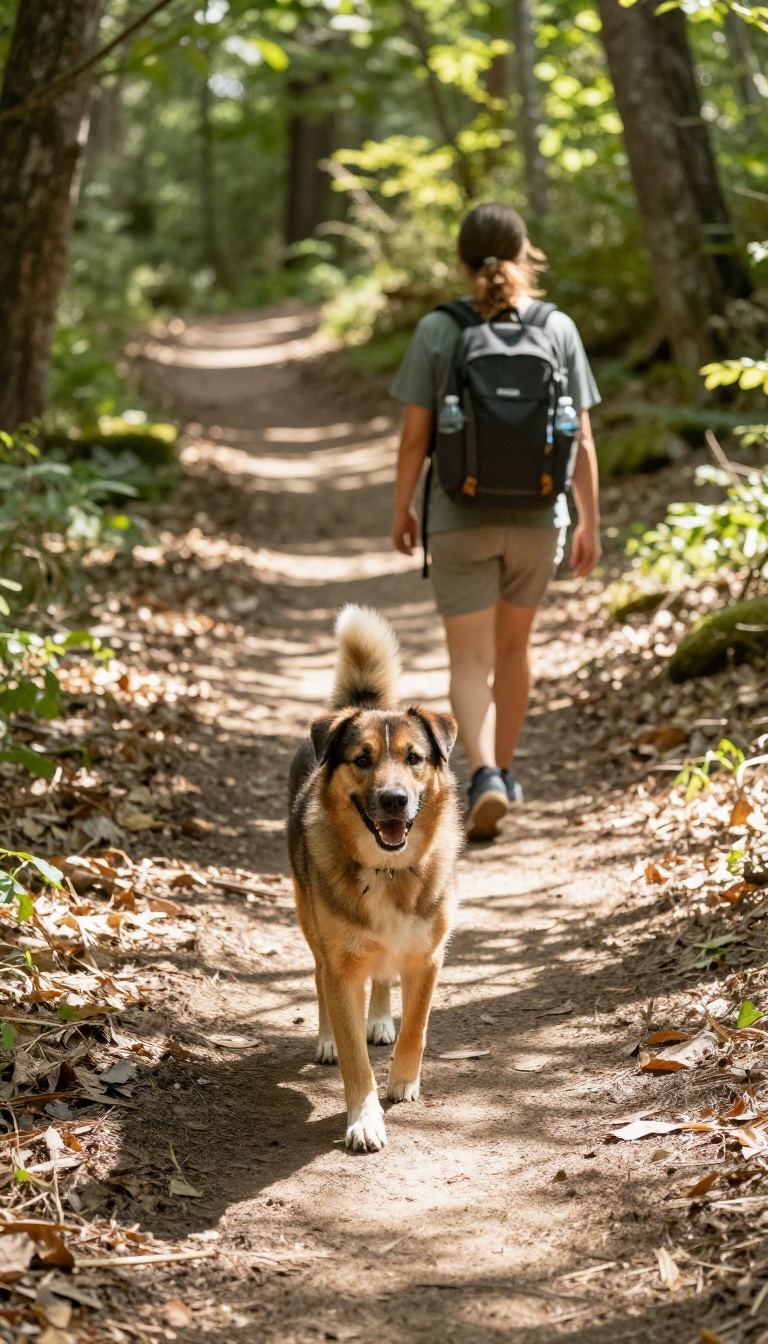
Think of your dog's fitness like your own—you wouldn't run a marathon without training. The same goes for hiking. Building stamina gradually is the smart way to ensure your pup stays happy and injury-free on the trail.
Start with shorter, easier hikes and slowly increase distance and elevation. Watch for signs of fatigue like lagging, excessive panting, or slowing down. This approach prevents injuries and makes every hike more enjoyable for both of you.
Start Small And Sweet
Begin with flat, short trails—maybe 1-2 miles—that your dog can handle comfortably. Keep the pace easy and let your dog sniff and explore. This builds confidence and gets their muscles used to the activity without overdoing it.
Gradually Increase Distance And Elevation
Each week, add a little more distance or a bit of elevation gain. A good rule is to increase total hiking time by about 10-20% per week. This gives your dog's body time to adapt to the new demands, strengthening joints and muscles safely.
Watch For Signs Of Fatigue
Pay attention to your dog's body language. If they start lagging behind, panting heavily, or seem less enthusiastic, it's time to rest or turn back. Pushing too hard can lead to heatstroke or injuries.
Always carry plenty of water and take breaks in the shade.
Mix In Training Days
On days you're not hiking, you can still build fitness. Short jogs, play sessions, or even stair climbing at home help maintain endurance. Just keep it fun and varied so your dog stays motivated.
FAQ
How long does it take to teach a dog these hiking skills?
It varies by dog and skill, but with consistent practice, most dogs can learn the basics in a few weeks. Recall and loose-leash walking may take longer, especially for puppies or high-energy breeds. Start training well before your first big hike.
What should I do if my dog is scared of new trail environments?
Start with short, quiet trails and bring plenty of treats. Let your dog explore at their own pace. Use a calming voice and avoid forcing them into scary situations.
Gradually increase exposure as their confidence grows.
Are there any breeds that shouldn't hike?
Most healthy dogs can hike, but brachycephalic breeds (like pugs or bulldogs) and very small dogs may struggle with heat or long distances. Always check with your vet and consider your dog's fitness level before hitting the trail.
How can I keep my dog safe from wildlife on the trail?
Keep your dog on a leash in areas with known wildlife. Practice a solid recall and 'leave it' command. Carry bear spray if you're in bear country, and know how to react if you encounter animals.
Always keep your dog close and under control.
What gear do I need for my dog on a hike?
A well-fitted harness, a sturdy leash, collapsible water bowl, poop bags, and a dog first-aid kit are essential. Consider booties for rough terrain and a dog backpack for longer hikes, but introduce gear gradually before the trip.
Conclusion
Getting your dog trail-ready isn't about perfection—it's about building trust and having fun together. Start with the skills that feel most relevant to your usual hikes, then layer in the rest as you go. Every small success on the trail builds confidence for both of you.
Before long, those training sessions will turn into smoother, safer adventures with your favorite hiking buddy. Keep it positive, stay consistent, and enjoy the journey.

I’m Pallab Kishore, the owner of Little Pets Realm — an animal lover and pet care enthusiast sharing easy tips, healthy recipes, and honest advice to help every small pet live a happy, healthy, tail-wagging life.