Guinea pigs need plenty of space to stay healthy and happy. A cramped cage can lead to obesity, boredom, and even aggression.
Fortunately, there are many ways to give your cavy more room to roam without breaking the bank.
From simple tunnel connections to custom-built wooden cages, these 13 ideas will help you create a spacious and enriching habitat for your furry friends.
Start with a Simple Setup
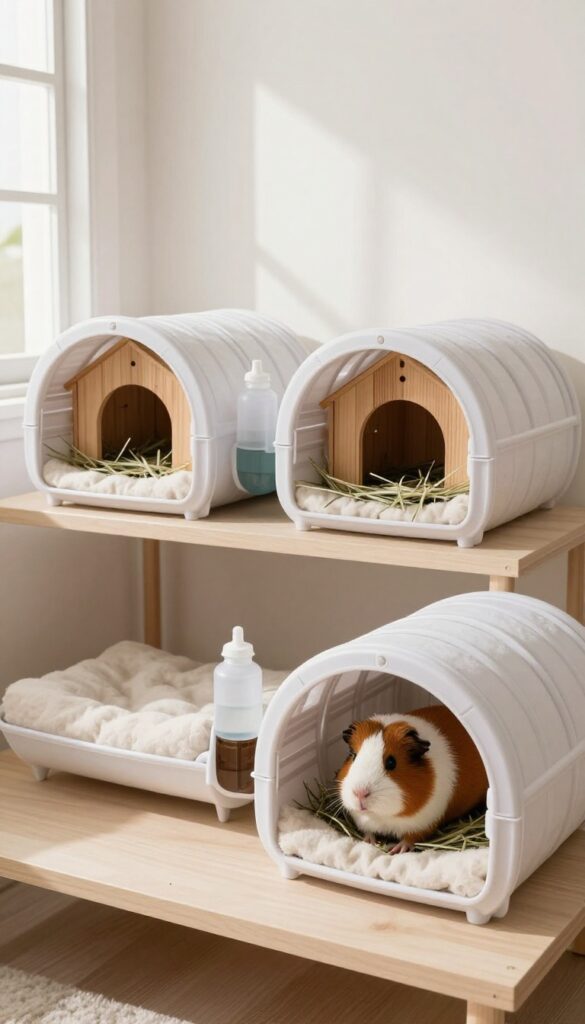
If you’re new to expanding your guinea pig’s space, a simple tunnel connecting two standard cages is an easy and effective first step. This gives your pets more room to roam without requiring a complete cage overhaul.
Choose a sturdy tunnel or tube that is wide enough for your guinea pigs to pass through comfortably—at least 6 to 8 inches in diameter. Place the tunnel at ground level so it’s easy to access, and make sure it’s chew-safe and well-ventilated. Secure the tunnel to each cage opening to prevent gaps where a piggy could escape.
- Use a tunnel made of hard plastic or metal mesh; avoid soft fabric that can trap moisture.
- Line the bottom of both cages with fleece or paper bedding for comfort and easy cleaning.
- Add a hideout in each cage so your guinea pigs feel secure when moving between spaces.
- Place hay racks and water bottles in both cages to encourage exploration.
Build a C&C Cage Expansion
If you already have a C&C cage but your guinea pigs need more space, expanding it is straightforward and cost-effective. C&C grids and coroplast sheets are easy to add on, letting you create a larger floor plan or add vertical levels with ramps.
Start by measuring your current cage and deciding how much extra space you want. Purchase additional grids and a coroplast sheet large enough to cover the new footprint. Use zip ties or C&C connectors to attach the new grids securely, ensuring no sharp edges are exposed.
For a multi-level design, add a second layer of grids above part of the cage, supported by extra grids or sturdy shelving. Cut a ramp from coroplast or use a store-bought small animal ramp, and cover it with fleece or a textured material for grip.
Key points for a safe and practical expansion
- Use safe connectors and avoid sharp edges to prevent injuries.
- Ensure grid gaps are no larger than 1.5 inches to prevent escapes.
- Cover the floor with fleece or bedding for comfort and easy cleaning.
- Include hideouts, hay racks, water bottles, and chew toys in the new area.
- Ventilation is naturally good with grids, but ensure no drafts directly hit the cage.
- Place the expanded cage in a quiet, stable location away from direct sunlight and drafts.
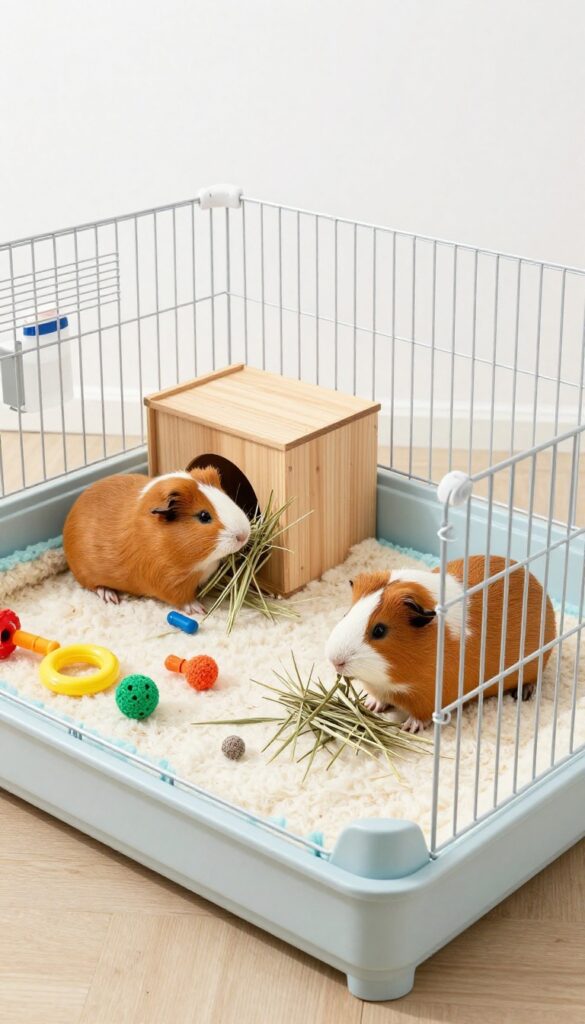
Use a Playpen as a Temporary Expansion
A playpen attached to the cage door gives your guinea pigs extra roaming space without a permanent setup. This is great for supervised floor time or when you need a larger area for cleaning or bonding.
Choose a metal or plastic playpen with vertical bars or solid walls tall enough (at least 12 inches) to prevent jumping out. Avoid pens with wide gaps that could trap feet. Line the playpen with fleece or towels for comfort and easy cleanup.
- Attach the playpen securely to the cage door using zip ties or clips.
- Add a hideout, hay pile, water bottle, and a small bowl of pellets.
- Supervise playtime to prevent chewing on playpen edges or escaping.
- Use the playpen for temporary expansion during cleaning or social time.
This setup is perfect for giving your guinea pigs more room to roam while keeping them safe and contained. Just remember to supervise and provide all essentials for a comfortable play session.
Keep the Main Goal Clear
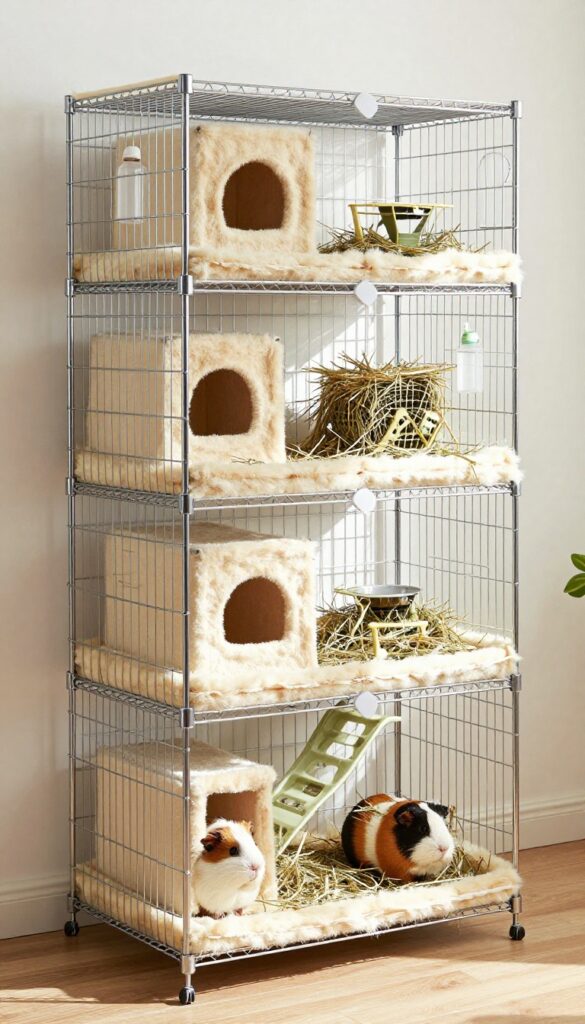
A sturdy wire shelving unit can become a fantastic multi-level guinea pig enclosure, but only if you keep the pet’s needs front and center. This idea is about converting a shelving unit into a safe, practical habitat, not a decorative shelf for your room.
Choose a unit with a solid base and sides to prevent falls and contain bedding. Line each shelf with coroplast or vinyl for easy cleaning and to protect the wire from urine. Add ramps between levels so your guinea pigs can move freely.
Ensure all edges are covered with coroplast or fleece to prevent injury.
Practical habitat details
- Use safe bedding or fleece liners on each level.
- Place hay racks, hideouts, and water bottles on each shelf.
- Ensure good ventilation by leaving some sides open (with safe spacing).
- Make cleaning easy by using removable coroplast trays.
- Avoid shelves with toxic coatings or sharp edges.
Add a Loft Area with a Ramp

A loft adds valuable vertical space without increasing the cage’s footprint. Guinea pigs enjoy climbing to a higher level for a change of scenery, but safety is key.
Install a sturdy loft platform made of wood or plastic that can support your guinea pigs’ weight. Attach a ramp with a gentle slope—no steeper than 45 degrees—and add side guards to prevent falls. Cover the ramp with a non-slip material like fleece or shelf liner to protect sensitive feet.
Tips for a successful loft
- Place a hideout or hay rack on the loft to encourage exploration.
- Ensure the loft does not block ventilation or access to water and food below.
- Use a shallow litter tray under the loft to catch droppings and simplify cleaning.
- Check that the ramp is securely attached and does not wobble.
Use a Kiddie Pool as a Floor Pen
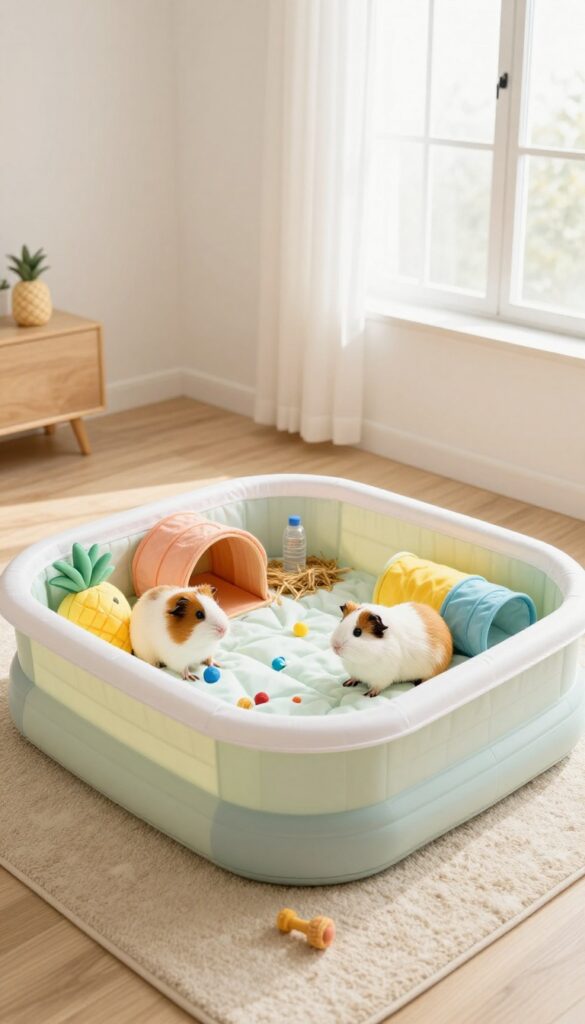
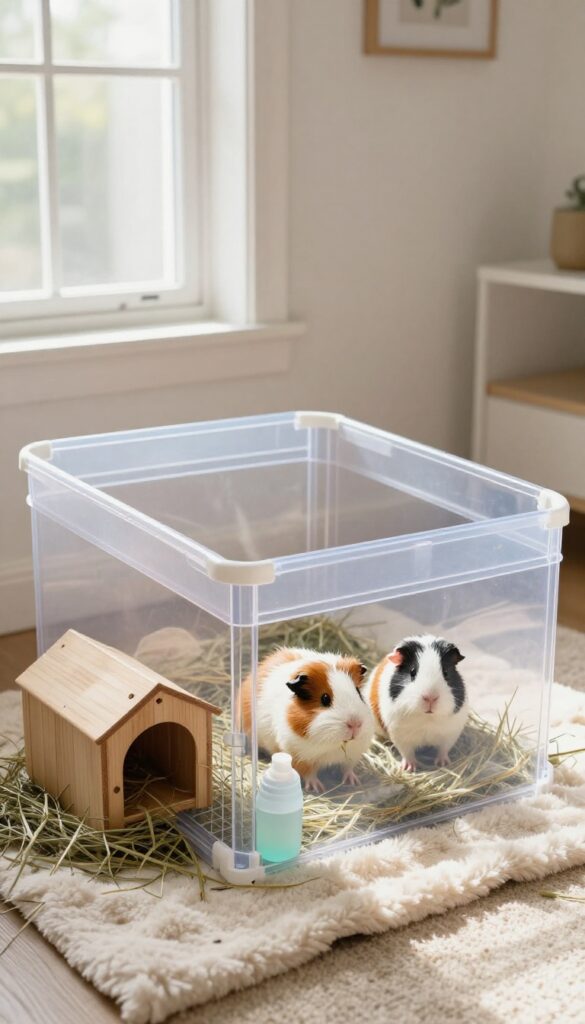
For a quick and affordable way to give your guinea pigs extra roaming space, a plastic kiddie pool makes an excellent floor pen. It’s easy to set up, portable, and can be used indoors or outdoors on mild days.
Start by thoroughly cleaning the pool to remove any residues or sharp edges. Fill the bottom with a layer of fleece or soft bedding for comfort and absorbency. Add hideouts, tunnels, and chew toys to create an engaging environment.
Ensure the pool is placed in a quiet, draft-free area with good ventilation.
Key points
- Use a sturdy plastic pool without sharp edges or cracks.
- Line with fleece or paper bedding for easy cleaning.
- Provide hideouts, tunnels, and safe chew toys.
- Always supervise to prevent chewing on the pool edges.
- Include a water bottle and hay pile for longer play sessions.
Create a Multi-Cage System with Doors
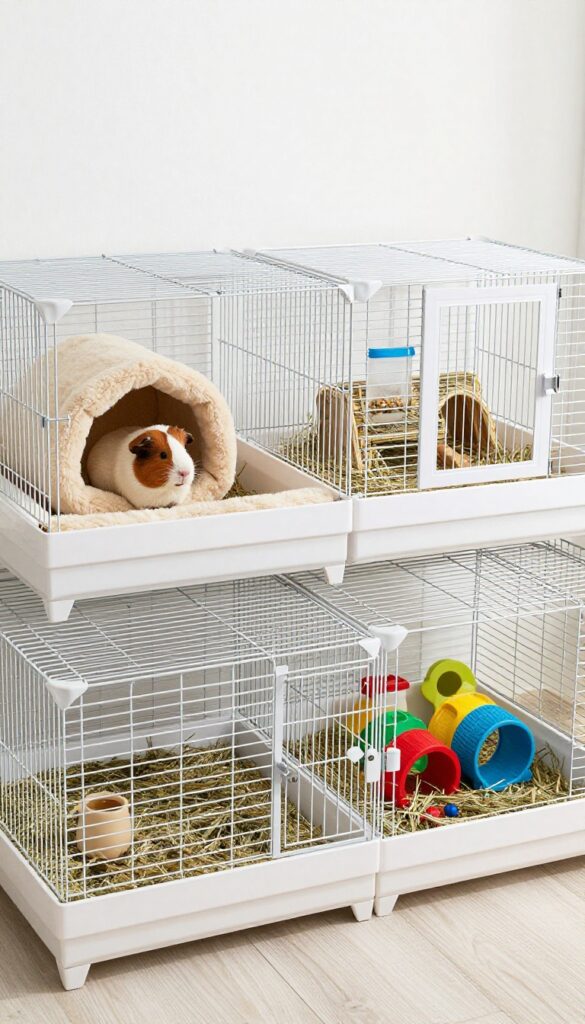
If you have multiple cages, connect them with custom-made doors or tunnels to create a larger, more versatile habitat. Each cage can serve a different purpose—one for sleeping, one for eating, and another for playing—giving your guinea pigs more room to roam and explore.
Start by choosing cages that are the same height and have compatible bar spacing. Cut openings in the sides and install pet-safe doors or tunnels between them. Ensure all connections are secure and escape-proof by using zip ties, bolts, or commercial connectors.
Place a hideout in each cage so your pigs can retreat when needed.
- Use fleece liners or paper bedding for easy cleaning in each cage.
- Provide a hay rack, water bottle, and food bowl in the main feeding cage.
- Include chew toys and tunnels for enrichment in the play cage.
- Make sure doors open easily for daily cleaning and access.
- Keep the system on a level surface with good ventilation.
Use a Large Dog Crate as a Cage
A large dog crate can be repurposed into a spacious guinea pig enclosure. The sturdy metal frame provides excellent ventilation and security, while the generous footprint gives your pets plenty of room to roam.
Choose a crate with a solid plastic floor or add a smooth liner (like a vinyl mat or coroplast) to protect little feet. Make sure the bar spacing is narrow enough—no more than 1 inch apart—to prevent escapes or head entrapment. If the crate has a top door, you can remove it or keep it open for easy access during cleaning and interaction.
Practical tips for setting up a dog crate as a guinea pig cage
- Line the bottom with fleece bedding or paper-based bedding for comfort and easy cleaning.
- Add a hideout (like a wooden house or cozy tunnel) to give your guinea pigs a secure retreat.
- Place a hay rack and water bottle on the crate bars, ensuring they are at a comfortable height.
- Provide chew toys and tunnels to keep your pets entertained and active.
- Position the crate in a quiet, draft-free area away from direct sunlight and loud noises.
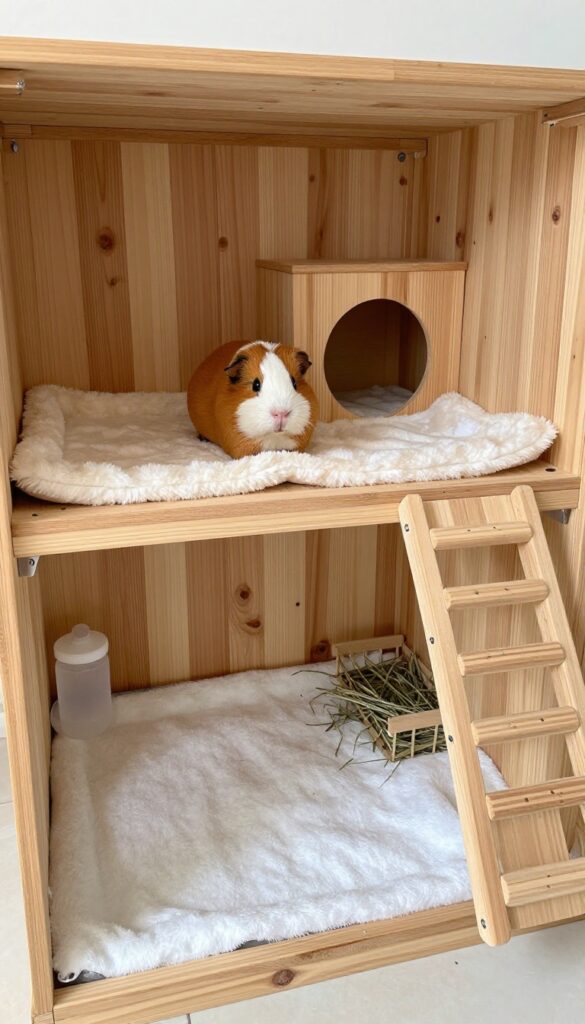
Build a Custom Wooden Cage
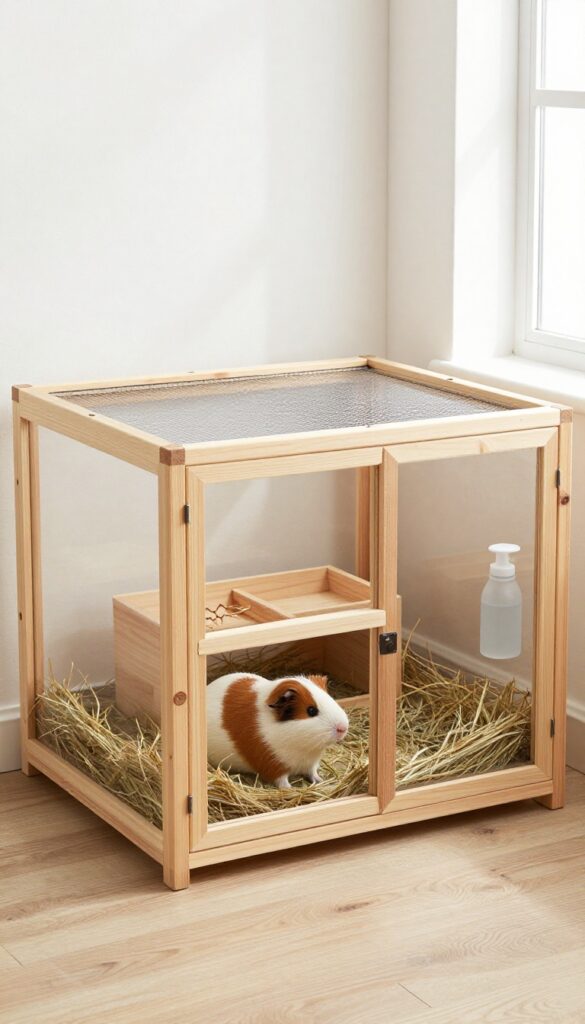
For those with woodworking skills, a custom wooden cage offers unlimited possibilities to create the perfect guinea pig habitat. You can tailor every dimension to your space and your pets’ needs.
Start with untreated pine or plywood for the frame—avoid cedar or pressure-treated wood, which can be toxic to guinea pigs. Line the interior with waterproof material like vinyl sheeting or a shower curtain liner to protect the wood from moisture and make cleaning easier. Seal all wood surfaces with a pet-safe, non-toxic sealant (such as water-based polyurethane) to prevent urine absorption and odor.
Include a mesh top for ventilation and safety, ensuring airflow while keeping out other pets. For the floor, use a solid base covered with fleece liners or disposable bedding, and add a hay rack, hideouts, and water bottle. A front opening door or removable top simplifies access for spot cleaning and interaction.
- Use untreated pine or plywood; avoid cedar or pressure-treated wood.
- Line interior with waterproof material (e.g., vinyl sheeting).
- Seal wood with pet-safe, non-toxic sealant.
- Include a mesh top for ventilation and safety.
- Add practical features: fleece liners, hay rack, hideouts, water bottle.
- Design for easy cleaning with a front door or removable top.
Make It Practical for Daily Use
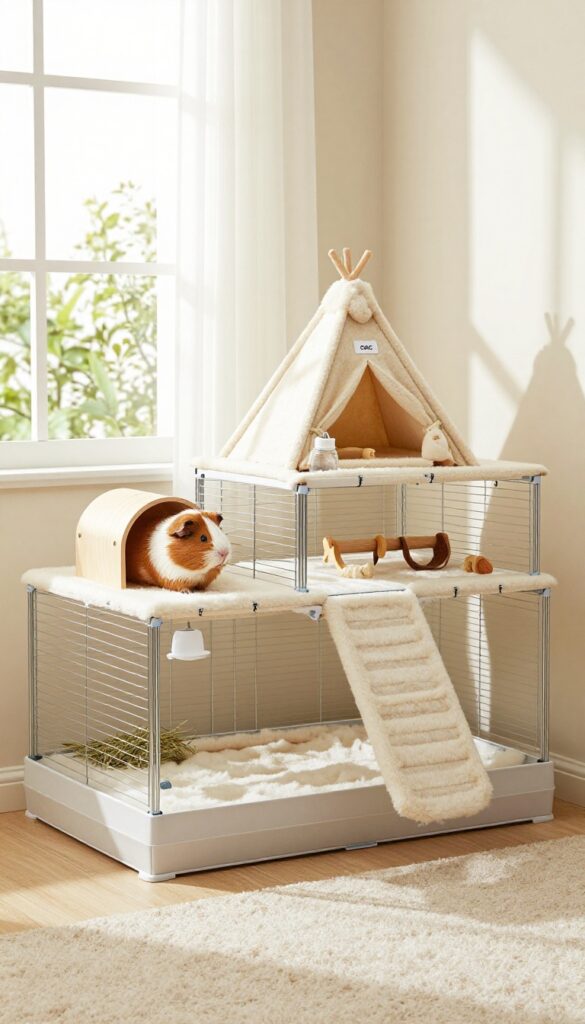
A spacious enclosure is great, but it must also be easy to maintain and safe for your guinea pigs. Adding a sturdy balcony can give them extra roaming room without making your daily chores harder.
Install a sturdy balcony using grids or wood. Ensure it’s securely attached to the main cage walls or supported by strong brackets. Provide a ramp or stairs with a gentle slope so your guinea pigs can access it easily.
Add a railing or low wall around the balcony to prevent falls. Keep the balcony at a height that allows you to reach all areas for cleaning.
- Use a solid surface like coroplast or linoleum on the balcony for easy spot-cleaning.
- Place a hideout or a cozy fleece pad on the balcony so it becomes a favorite resting spot.
- Make sure the ramp has traction (e.g., grip strips or carpet) to prevent slipping.
- Position the balcony over a main floor area to maximize usable space below.
Keep this section about the guinea pig enclosure itself. Include practical habitat details: use washable bedding or fleece liners, place a hay rack and water bottle within easy reach, and ensure the balcony doesn’t block ventilation or access to hideouts. A well-designed balcony adds vertical space without complicating your daily routine.
Use a Modular Storage Cube System

Modular storage cube grids are a versatile and affordable way to build a custom guinea pig enclosure that offers plenty of roaming space. By assembling the cubes into a large pen and lining the interior, you can create a safe, spacious habitat that’s easy to expand or reconfigure.
Start by planning the size of your enclosure. A minimum of 7.5 square feet for one guinea pig is recommended, but with cubes you can easily double that. Use zip ties to securely fasten the cubes together, creating a sturdy frame.
Avoid cubes with sharp edges by sanding down any rough spots or covering them with fleece.
- Line the inside with coroplast or a fleece liner to protect the floor and make cleanup easy.
- Create separate compartments for sleeping, eating, and playing using additional cube dividers or small hideouts.
- Add a hay rack, water bottle, and food bowl in designated areas to keep the habitat organized.
- Ensure good ventilation by leaving some cube sides open or using mesh panels.
This system allows you to customize the layout to fit your room while giving your guinea pigs plenty of room to run, explore, and popcorn. The modular design also makes it simple to add levels or connect to other enclosures later.
Incorporate a Tunnel System
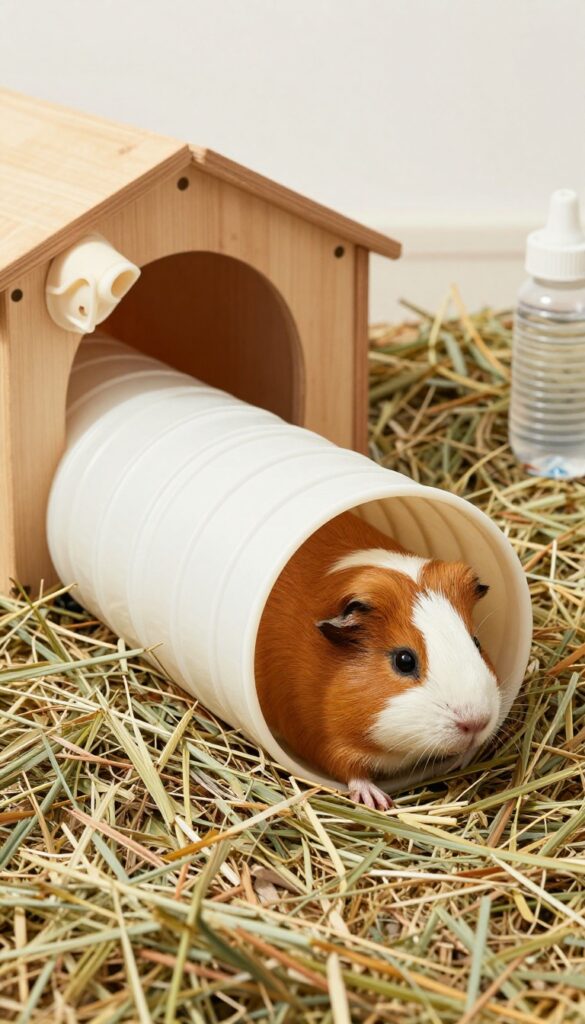
Tunnels tap into guinea pigs’ natural instinct to explore and hide. A well-designed tunnel system connects different cage areas, encouraging exercise and enrichment.
Use flexible tunnels or PVC pipes to link hideouts, hay areas, and water stations. Burying tunnels partially in bedding mimics a burrow and adds fun. Ensure tunnels are at least 6 inches wide and have ventilation holes.
Clean tunnels regularly by wiping or rinsing; removable sections make this easier. Choose chew-safe materials like untreated wood or pet-safe plastic.
Key tips for tunnel systems
- Use flexible tunnels or PVC pipes to connect different areas.
- Bury tunnels partially in bedding for a burrowing effect.
- Ensure tunnels are wide and well-ventilated.
- Keep tunnels easy to clean by using removable or openable sections.
- Place tunnels near hideouts and hay for a natural flow.
Create a Free-Roaming Area with Barriers
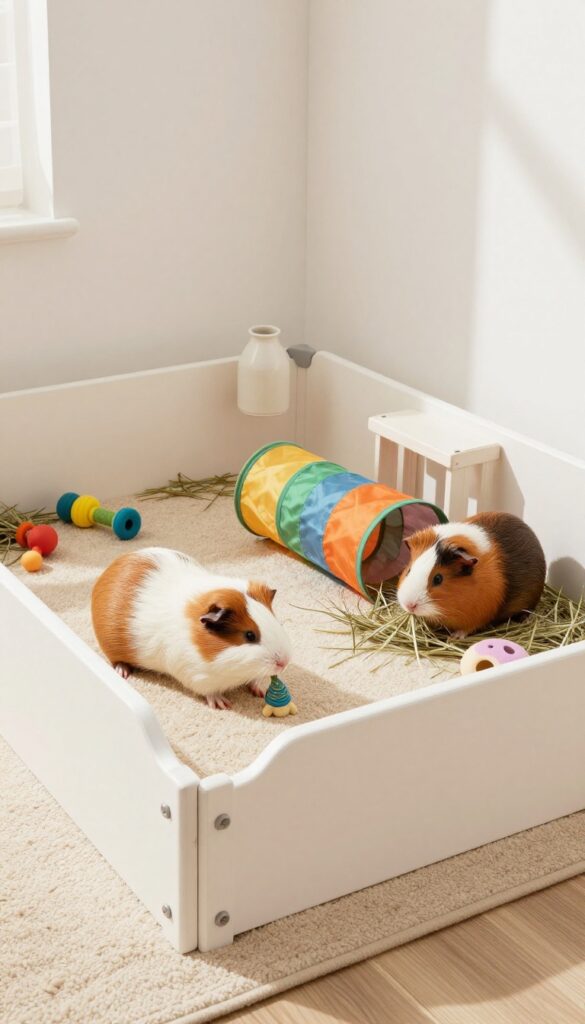
Give your guinea pigs even more space by setting up a free-roaming area in your home. With simple barriers, you can create a safe, supervised zone where they can stretch their legs and explore.
Start by selecting a room or a corner that can be easily guinea pig-proofed. Use pet-safe barriers like metal or plastic playpens, baby gates, or custom-built wooden panels to section off the area. Ensure the barriers are tall enough (at least 12–14 inches) to prevent escapes.
Setting Up the Space
- Cover the floor with washable rugs or fleece liners for comfort and easy cleanup.
- Place hideouts, tunnels, and chew-safe toys to encourage natural behaviors.
- Include a hay rack, water bottle, and a food bowl so they can eat and drink while roaming.
- Ensure good ventilation and keep the area away from drafts or direct sunlight.
Before letting your guinea pigs loose, thoroughly guinea pig-proof the area. Hide electrical wires behind cord protectors or tape them out of reach, remove toxic plants, and block off any small spaces where they could get stuck. Always supervise them during free-roam time to keep them safe.
This free-roaming area is not a replacement for their main cage but a wonderful addition that gives them more room to roam and exercise.
FAQ
What is the minimum cage size for two guinea pigs?
The recommended minimum is 7.5 square feet (like a 2×3 C&C cage), but bigger is always better. Many experts suggest 10.5 square feet or more for two guinea pigs.
Can I use a wire-bottom cage for guinea pigs?
No, wire bottoms can hurt guinea pigs’ feet and cause bumblefoot. Always use a solid floor with soft bedding.
How often should I clean a spacious guinea pig cage?
Spot clean daily and do a full bedding change every 5-7 days. Larger cages may require less frequent deep cleaning if well-maintained.
Are DIY cages safe for guinea pigs?
Yes, as long as you use pet-safe materials, avoid sharp edges, and ensure proper ventilation. Always supervise your guinea pigs in new setups.
Can guinea pigs climb ramps?
Yes, but ramps should be gentle (not too steep) and have side guards. Some guinea pigs may need encouragement to use ramps.
Conclusion
Expanding your guinea pig’s enclosure doesn’t have to be complicated or expensive. Whether you choose a simple tunnel connection or a full custom build, the key is to prioritize safety, comfort, and enrichment.
Your guinea pigs will thank you with happier, healthier lives. Start with one idea and see how your cavies respond—you might be surprised at how much they love their new space!

I’m Pallab Kishore, the owner of Little Pets Realm — an animal lover and pet care enthusiast sharing easy tips, healthy recipes, and honest advice to help every small pet live a happy, healthy, tail-wagging life.