
Last updated on August 19th, 2026 at 04:15 pm
Garages often become dumping grounds for clutter, but they can be so much more. If you share your home with a dog, turning part of that space into a dedicated kennel can save your sanity.
No more muddy paw prints through the kitchen or chewed-up shoes. A well-planned garage kennel keeps mess contained and gives your dog a cozy spot of their own.
The trick is designing it so cleanup is quick and the space stays fresh. These nine ideas focus on real-world solutions that make life easier for both you and your pup.
1. Install Epoxy or Sealed Concrete Flooring
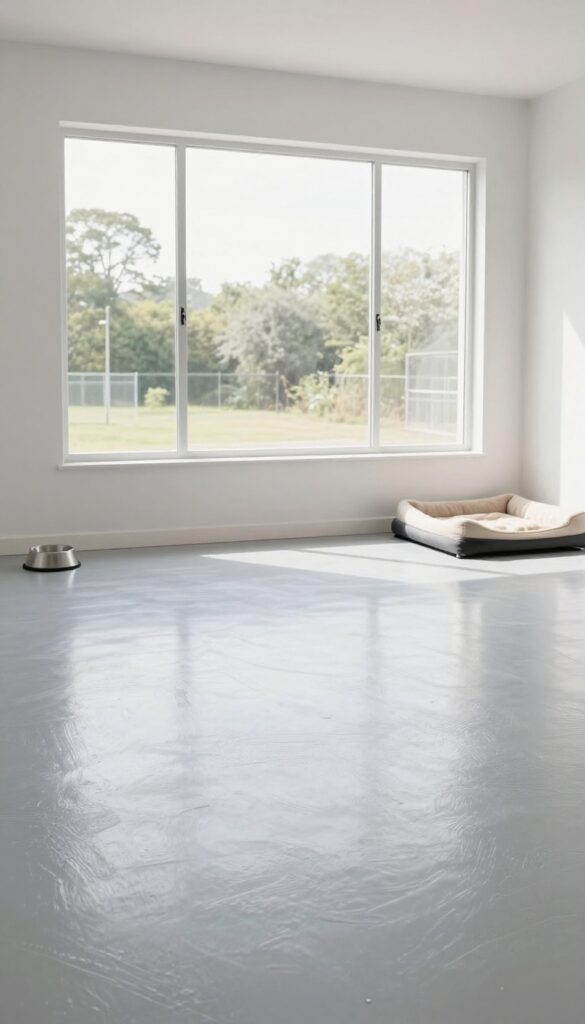
Porous concrete is a nightmare in a dog kennel. It soaks up urine, traps odors, and stains easily. Epoxy or a high-quality concrete sealer transforms that surface into something completely different—non-porous, waterproof, and smooth.
A quick mop or hose-down is all it takes to keep it spotless. No lingering smells, no scrubbing grout lines.
Start by cleaning and repairing the existing concrete. Any cracks or chips will show through the coating. Then apply a two-part epoxy or a polyurea-based sealer.
These create a hard, glossy finish that resists scratches from nails and won't absorb moisture. Choose a light color to brighten the space and make dirt visible so you know exactly where to clean. Add a slip-resistant additive to the top coat for safety—dogs can slide on smooth epoxy when they jump up.
The investment pays off every time you wipe away mud in seconds.
Why Porous Concrete Fails
Unsealed concrete is like a sponge. Urine soaks in and creates permanent yellow spots and ammonia smells. Bacteria thrive in those tiny pores, leading to odors that no amount of bleach can fully remove.
Over time, the surface becomes rough and harder to clean. Sealing it eliminates all that.
Epoxy Vs. Sealers: What's The Difference?
Epoxy is a thick coating that bonds to the concrete and forms a tough, plastic-like layer. It's more durable and lasts years longer than a simple sealer. Sealers penetrate the surface and protect from within, but they may need reapplication every year or two.
For a high-traffic kennel, epoxy is the better bet.
Installation Tips For Diyers
You can do this yourself if you're handy. Rent a concrete grinder to etch the surface, then patch any holes. Mix the epoxy carefully—it has a short working time.
Apply with a roller in thin, even coats. Let it cure for at least 48 hours before letting your dog walk on it. Consider adding flakes or chips for texture and a custom look.
2. Add a Dedicated Drain or Floor Sink
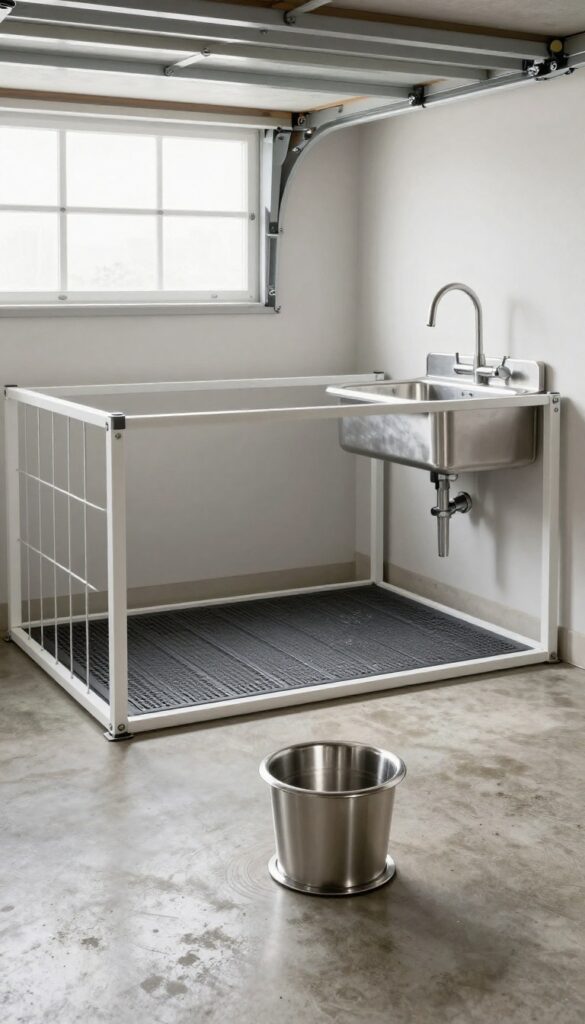
Hosing down a kennel area is one of the quickest ways to clean, but without proper drainage you'll just push dirty water around. A floor drain or utility sink turns the whole process into a breeze, letting you rinse away mud, drool, and accidents without flooding your garage.
Why A Floor Drain Works Best
A floor drain in the center of the kennel lets water flow straight out. You can spray the entire enclosure without worrying about standing water. It also helps with drying—just squeegee everything toward the drain and you're done.
If your garage slab doesn't have one, a contractor can cut in a channel drain that connects to your existing plumbing.
A Utility Sink Adds Versatility
A deep stainless steel sink gives you a place to wash dirty paws, clean food bowls, or even bathe small dogs. Some models come with a sprayer hose that reaches the kennel area. Mount it on the wall near the drain so you can fill buckets or rinse off gear without dragging a hose across the garage.
Install A Slope For Easy Water Flow
Even with a drain, water won't move if the floor is perfectly flat. When building or modifying the kennel, make sure the concrete slopes slightly toward the drain—about 1/4 inch per foot is ideal. If you're using a portable kennel on an existing flat floor, a rubber mat with raised channels can help direct water to a nearby drain or outside.
3. Use Modular Wall Panels for Easy Cleaning
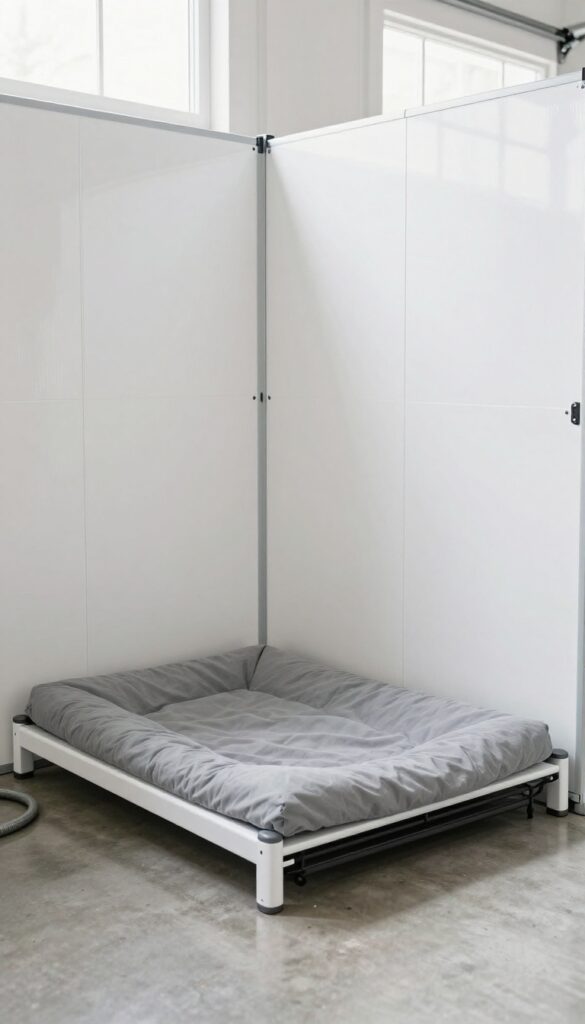
Standard drywall might seem fine at first, but it quickly absorbs odors, moisture, and scratches in a dog kennel. Modular PVC or FRP (fiberglass reinforced plastic) panels offer a waterproof, wipe-clean surface that stays fresh. Best of all, if a panel gets damaged, you can replace just that one section without redoing the whole wall.
Modular panels are a game-changer for garage kennels. They install directly over existing drywall or studs, creating a seamless barrier that resists stains and bacteria. Cleaning is as simple as spraying with a hose or wiping with a mild cleaner.
No more scrubbing porous surfaces or worrying about lingering smells.
Why Drywall Fails In Kennels
Drywall is like a sponge for dog odors, urine, and dirt. Even with paint, moisture seeps in, causing mold and permanent stains. Scratches from claws or crate edges are impossible to repair without patching and repainting.
Over time, the wall looks worn and smells no matter how much you clean.
Pvc Vs. Frp: What’s The Difference?
PVC panels are lightweight, completely waterproof, and easy to cut with a utility knife. They’re great for DIY installation. FRP panels are more rigid and impact-resistant, making them ideal for high-traffic areas or larger dogs.
Both are non-porous and can be hosed down without damage.
Installation Tips For A Tight Seal
Start with a clean, dry wall. Use adhesive or furring strips to attach panels, and seal all seams with waterproof caulk. Pay extra attention to corners and edges where moisture can sneak in.
For a professional look, add trim pieces around doors and outlets. The result is a kennel that’s as easy to clean as a bathroom.
4. Build a Raised Platform or Bed Area
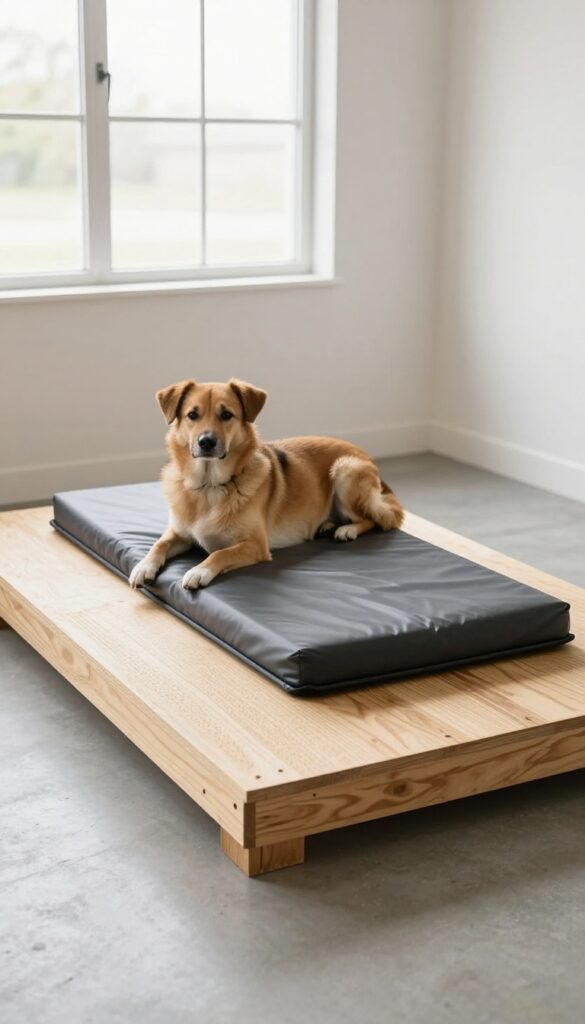
Cold concrete isn't comfortable for a dog to lie on, especially in a garage. A raised platform lifts your pup off the chilly floor and lets air circulate underneath, keeping them cooler in summer and warmer in winter. You don't need to buy an expensive dog bed that gets chewed up in a week.
A simple DIY platform with a removable cushion gives you control over materials and makes cleaning a breeze.
Choose The Right Height And Size
Aim for a platform that's 4 to 6 inches off the ground. That's enough for airflow but not so high that a small or senior dog struggles to hop on. Measure your dog from nose to tail while they're stretched out, then add a few inches for comfort.
For multiple dogs, build separate platforms or one large enough for all. Just make sure each dog has room to sprawl without crowding.
Pick Materials That Hold Up
Coated plywood is a solid choice. It resists moisture, won't splinter, and is easy to wipe down. Avoid raw wood or particleboard—they soak up urine and odors fast.
For the cushion, use outdoor fabric or marine vinyl over high-density foam. Cover it with a washable, waterproof liner so you can toss it in the laundry when things get messy.
Add A Non-slip Surface
Dogs can slide off a smooth platform, especially when jumping on and off. Paint the top with a textured additive or glue down a rubber mat. You can also use carpet tiles that are easy to remove and replace.
Non-slip feet on the bottom keep the platform from shifting on the garage floor. Rubber furniture pads or small pieces of anti-fatigue mat work great.
5. Install a Dog Door to the Yard
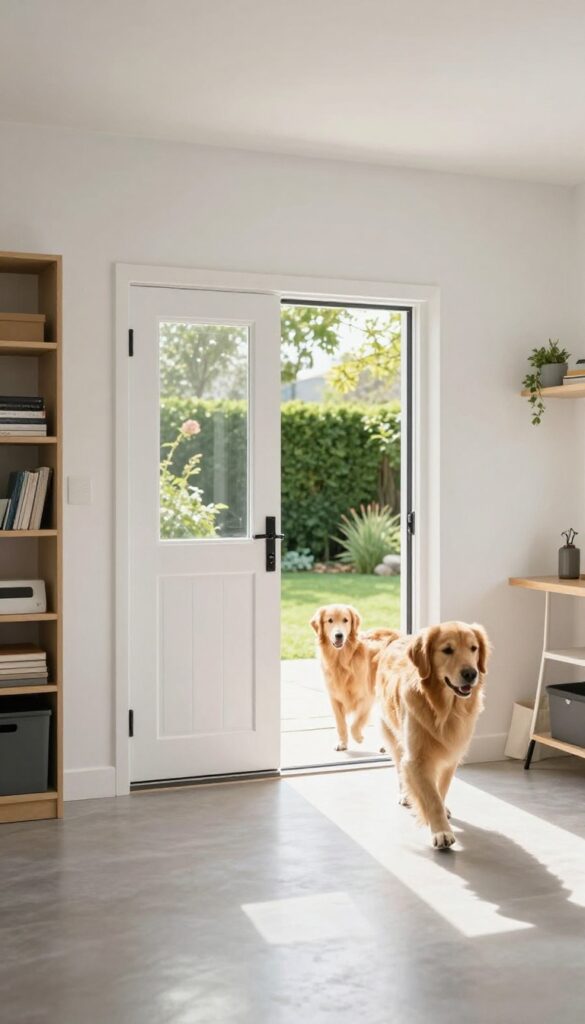
A dog door in the garage wall gives your pup access to the yard without tracking dirt through the house. Pair it with a secure latch to control access when needed. This simple addition keeps your home cleaner and gives your dog freedom to go outside on their own schedule.
Installing a dog door from the garage to the yard is a game-changer for cleanliness. It lets your dog relieve themselves and play outside without coming back through the kitchen or living room. You can also use the garage as a mudroom—wipe paws before re-entering the house.
Choose a door with a locking panel so you can close it at night or when you're away.
Choosing The Right Size And Location
Measure your dog's height and width at the shoulders to get a door they can use comfortably. Place it in a wall that leads directly to a fenced yard, away from busy streets. Consider the garage's layout—avoid spots where the door might be blocked by storage or vehicles.
Security And Weatherproofing
Look for dog doors with insulated flaps to keep out drafts and pests. Some models come with electronic locks that only open for your dog's microchip or collar tag. This keeps other animals out and gives you peace of mind.
Seal the edges with weatherstripping to prevent water and dirt from seeping in.
Training Your Dog To Use It
Most dogs pick it up quickly. Start by propping the flap open and luring them through with a treat. Gradually let the flap close behind them.
Praise and reward each success. In a few days, they'll be using it on their own.
6. Set Up a Grooming Station with a Wash Tub
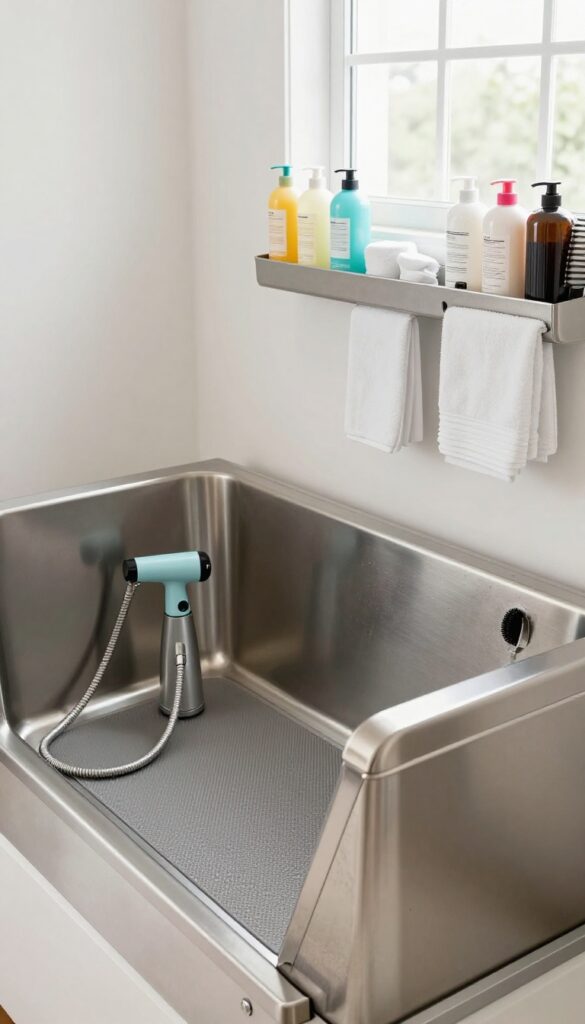
Bath time can be a wet, chaotic mess when you're wrestling a slippery dog in a tiny bathroom. Moving that chore to the garage changes everything. A dedicated grooming station with a low wash tub and handheld sprayer keeps splashes contained and makes cleanup a breeze.
Choose The Right Tub And Sprayer
Look for a low-profile wash tub—about 12 to 18 inches tall—so your dog can step in easily. A handheld sprayer with a long hose gives you control to rinse thoroughly without soaking yourself. Opt for a stainless steel or heavy-duty plastic tub that won't rust or crack.
Add A Non-slip Mat And Storage
Place a rubber non-slip mat inside the tub so your dog feels secure. Install a small shelf or wall-mounted caddy nearby for shampoo, conditioner, towels, and a brush. Having everything within arm's reach means you never have to leave the station mid-bath.
Plan For Drainage And Drying
Make sure the tub drains directly into a floor drain or a bucket you can empty easily. Keep a few absorbent towels and a dog-safe drying mitt on hand. If your garage has poor ventilation, add a small fan to speed up drying and reduce humidity.
7. Use a HEPA Air Purifier or Ventilation Fan
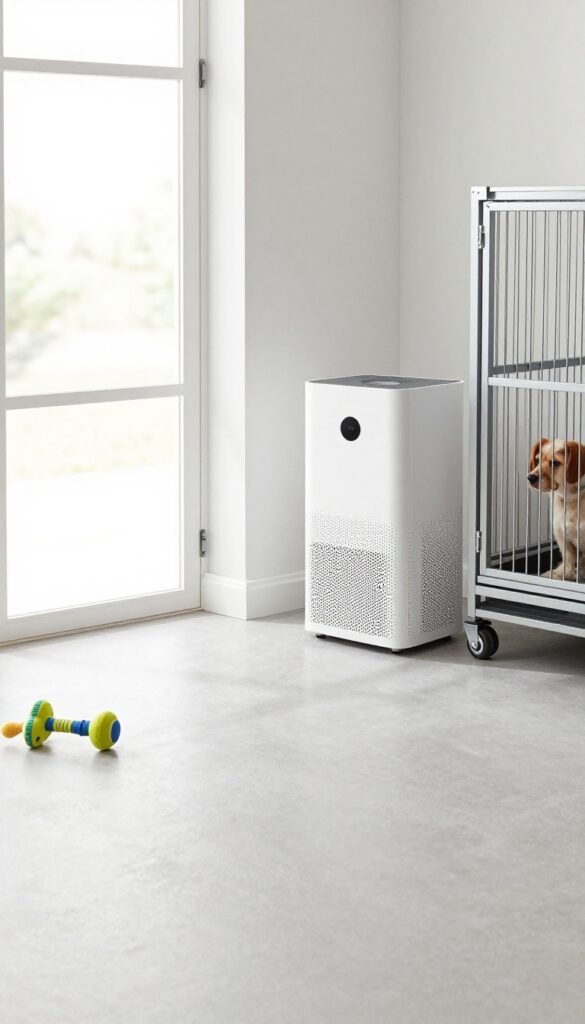
Dog dander and odors can build up fast in an enclosed garage, especially when the space doubles as a kennel. Without proper airflow, the air gets stale and can trigger allergies for both humans and pets. A HEPA air purifier or an exhaust fan makes a huge difference in keeping the environment fresh and healthy.
Garages typically lack the ventilation that other rooms have, so odors and airborne particles hang around. A HEPA purifier captures dander, dust, and even some bacteria, while an exhaust fan pulls out stale air and brings in fresh air from outside. Either option reduces allergens and makes the kennel area more pleasant for everyone.
Why Air Quality Matters In A Garage Kennel
Dogs shed dander and hair constantly, and in a closed garage, those particles accumulate. Poor air quality can aggravate your dog's respiratory system and cause sneezing or itching for family members. Improving ventilation is a simple way to create a healthier space without major renovations.
Hepa Purifier Vs. Exhaust Fan: Which Is Better?
A HEPA purifier works best if you want to actively filter the air and remove allergens. Place it near the kennel area for maximum effect. An exhaust fan is ideal for pushing out odors and moisture, especially if the garage gets humid.
Many homeowners use both for the best results.
Placement And Maintenance Tips
Position the purifier or fan where air can circulate freely, not blocked by furniture or crates. Clean or replace filters regularly according to the manufacturer's instructions. For exhaust fans, make sure the vent leads outside, not into the attic or another room.
8. Create a Mudroom-Style Entry with Mats and Hooks
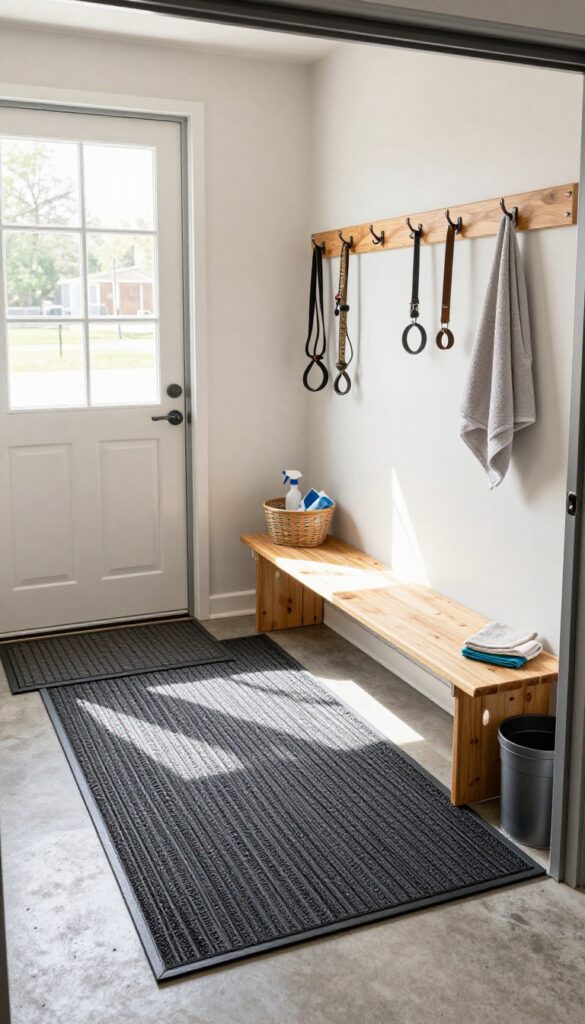
Think of the area between your garage kennel and the house as a buffer zone. A mudroom-style setup catches dirt before it travels further, making cleanup a breeze. With a few simple additions, you can turn that transition space into a functional spot that keeps your home cleaner.
A dedicated transition zone stops mess at the source. Heavy-duty mats trap mud and moisture, while hooks keep leashes and towels organized. A bench gives you a place to sit while wiping paws, so dirt stays in the garage.
Choose The Right Mats
Look for mats with deep grooves or a rubber backing that won't slide. Waterproof options are best for wet paws. Place one mat just outside the kennel door and another right before the house entry.
Install Hooks And A Bench
Mount sturdy hooks at different heights for leashes, collars, and towels. A low hook lets you hang a drying towel within easy reach. Add a simple wooden bench or a repurposed storage ottoman for sitting while you clean paws.
Keep Cleaning Supplies Handy
Store a spray bottle of pet-safe cleaner and a stack of rags in a nearby bin or basket. That way, you can quickly wipe down mats or paws without running back inside. A small trash can for used paper towels also helps keep the area tidy.
9. Store Food and Supplies in Sealed Containers
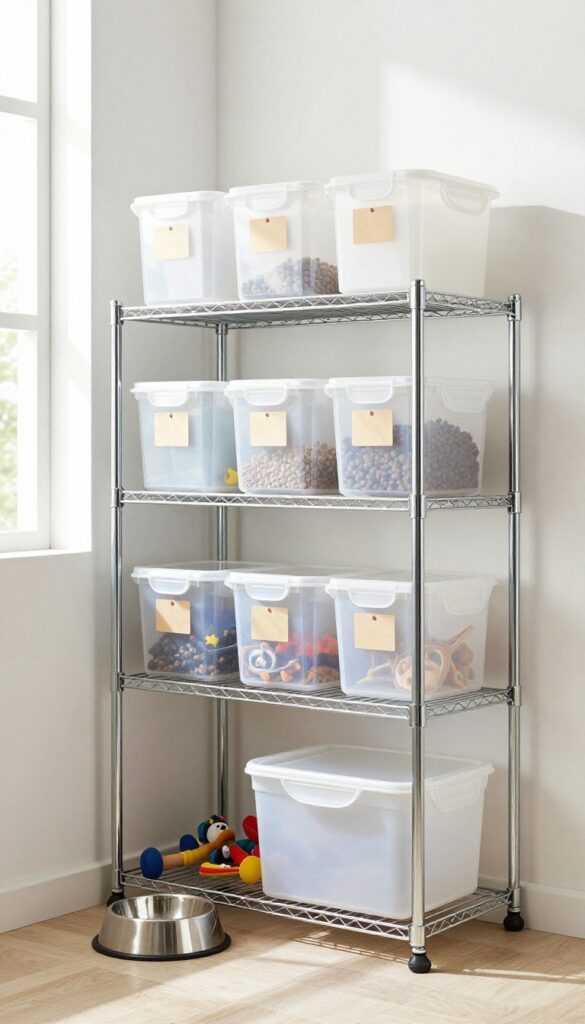
Open bags of kibble are an open invitation to pests, and they spill all over the floor when you scoop. Airtight bins solve both problems and keep your dog's food fresh longer. This small change makes the kennel area cleaner and more organized.
Choose The Right Bins
Look for heavy-duty plastic or metal containers with tight-sealing lids. Clear bins let you see how much food is left, while opaque ones block light that can degrade nutrients. Make sure the bin is large enough to hold a full bag of food, but not so big that it's hard to move.
Mount Shelves For Supplies
Wall-mounted shelves keep bowls, toys, and cleaning products off the floor and out of your dog's reach. Use sturdy brackets and place them high enough that your dog can't knock things off. Group similar items together so you can grab what you need quickly.
Label Everything
Use a label maker or permanent marker to mark bins for food, treats, and supplements. This prevents mix-ups and makes it easy for anyone in the family to find or put away supplies. Labels also help you track expiration dates and rotation.
FAQ
What is the best flooring for a garage dog kennel?
Epoxy or sealed concrete is ideal because it's non-porous, easy to clean, and resists stains and odors. Rubber mats can add comfort but require regular cleaning underneath.
How do I control odors in a garage kennel?
Good ventilation is key. Install an exhaust fan or HEPA air purifier, and clean the kennel regularly with enzyme-based cleaners. Sealed surfaces also help prevent odor absorption.
Can I use my garage kennel for multiple dogs?
Yes, but you'll need enough space for separate sleeping and feeding areas. Consider modular crates or dividers to give each dog their own zone and reduce conflicts.
Do I need a permit to build a garage kennel?
It depends on your local codes. Structural changes like adding a dog door or drain may require permits. Check with your city or county before starting construction.
How do I keep my dog comfortable in a garage kennel?
Insulate the garage if it's not already climate-controlled. Provide a raised bed, proper ventilation, and access to water. In extreme weather, consider a space heater or fan, but ensure safety.
Conclusion
A dog kennel in the garage doesn't have to mean sacrificing cleanliness or style. With these nine ideas, you can create a space that's easy to clean, comfortable for your dog, and still leaves room for your car or tools. Start with one or two changes that fit your garage layout and daily routine.
Small upgrades like better flooring, ventilation, or storage can make a huge difference in keeping your home fresh and your pup happy. Your garage can be a win-win for both your family and your furry friend.

I’m Pallab Kishore, the owner of Little Pets Realm — an animal lover and pet care enthusiast sharing easy tips, healthy recipes, and honest advice to help every small pet live a happy, healthy, tail-wagging life.