
Last updated on August 19th, 2026 at 04:15 pm
You're mid-groom, reach for a towel, and knock over a bottle of shampoo. The dryer hose is tangled, and the small dog is waiting while you untangle it.
In a tight trailer, flow isn't a luxury—it's a necessity. These 11 ideas come from groomers who've redesigned their trailers for speed and comfort.
Each tweak cuts wasted motion and keeps the groom moving smoothly from tub to table to door.
1. Zone Your Trailer Like a Pro
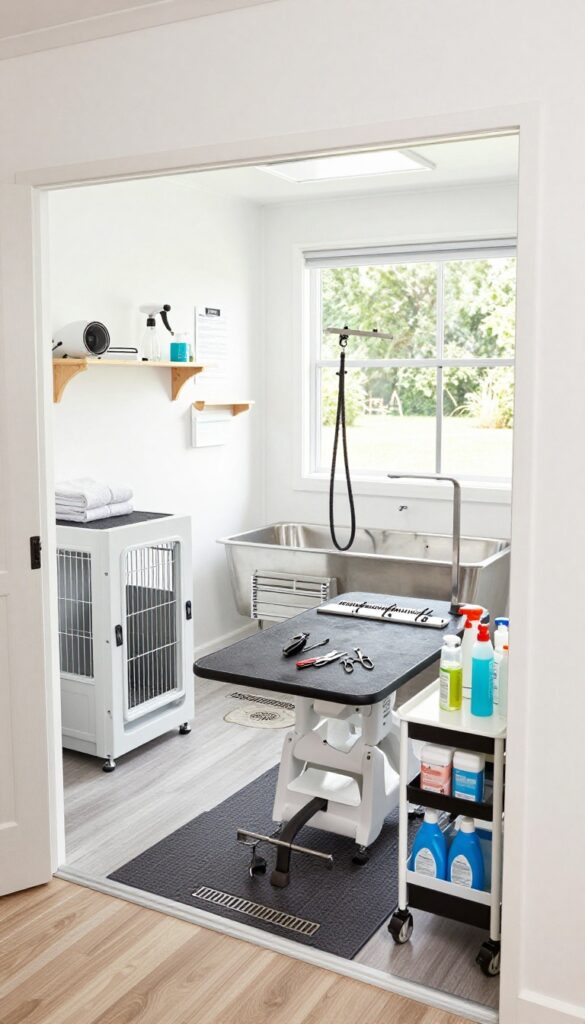
A well-zoned trailer is the foundation of efficient grooming. When every station has a clear purpose, you move faster and make fewer mistakes. The goal is to create a logical flow from dirty to clean, wet to dry.
Divide your trailer into three clear zones: intake/drying, grooming table, and bathing. This prevents cross-traffic and keeps wet dogs away from clean ones. Groomers who use this system report cutting their average groom time by 15 to 20 minutes.
The Intake And Drying Zone
Place this zone near the door so you can greet clients without tracking dirt through the trailer. Use a sturdy kennel or a raised drying station. Keep towels, dryer, and intake forms within arm's reach.
A small desk or wall-mounted shelf works well for paperwork.
The Grooming Table Zone
Position the grooming table in the center of the trailer for easy access to both sides. Store clippers, shears, combs, and blades in a nearby drawer or magnetic strip. A rolling cart can hold frequently used products.
Make sure the table is on a non-slip mat.
The Bathing Zone
The bathing zone should be at the back of the trailer, away from the door and grooming area. Install a tub with a ramp or lift for heavy dogs. Keep shampoo, conditioner, and brushes in a caddy.
A handheld sprayer with a long hose makes rinsing easier. Add a drain grate to keep water off the floor.
2. Install a Swivel Grooming Arm
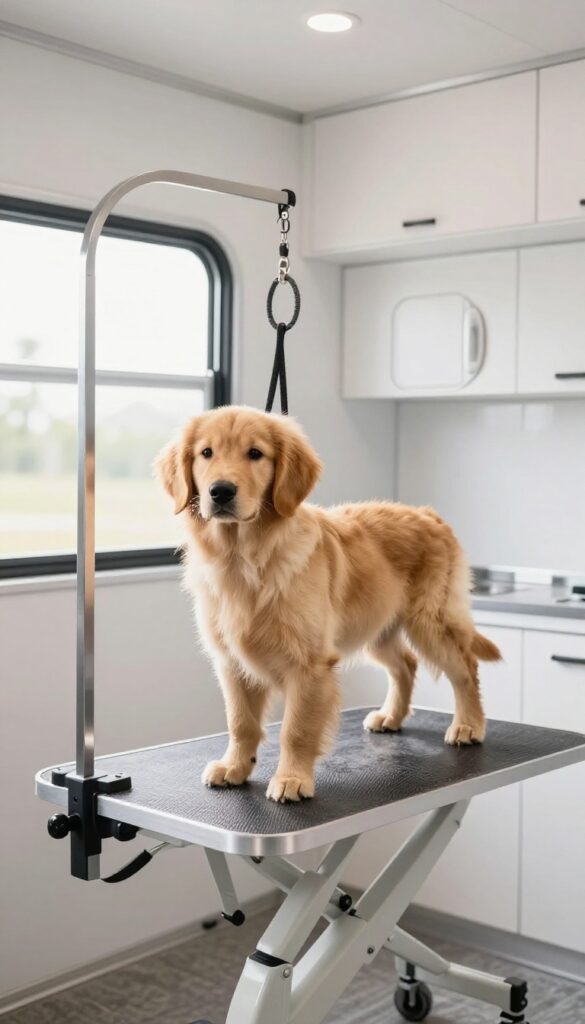
A swivel arm might seem like a small upgrade, but it changes how you move in the trailer. Instead of shuffling around the table or repositioning the dog, you simply rotate the arm. That one shift saves your back and keeps the groom flowing without interruptions.
The swivel arm attaches to your grooming table and allows the noose to rotate 360 degrees. This means you can access all sides of the dog without walking around the table. It's especially helpful in a tight trailer where every square inch matters.
Groomers who use swivel arms report less fatigue and faster drying times because they can angle the dog toward the dryer without lifting.
Why It Saves Your Back
Standing in one spot and twisting to reach a dog's rear legs or belly puts strain on your lower back. With a swivel arm, you gently rotate the dog toward you. That keeps your spine neutral and reduces the repetitive bending that leads to pain.
Speed Up Drying And Scissoring
When drying, you can spin the dog to face the dryer nozzle without moving the dog or the dryer. For scissoring, you can rotate the dog to get the best angle for each body part. This cuts down on time wasted repositioning.
Installation Tips For Trailers
Most swivel arms mount directly onto standard grooming tables. Make sure the arm's base is secured tightly to prevent wobbling. If your trailer table is bolted down, check that the arm's rotation won't hit walls or cabinets.
A full 360-degree range works best.
3. Use Vertical Storage for Tools
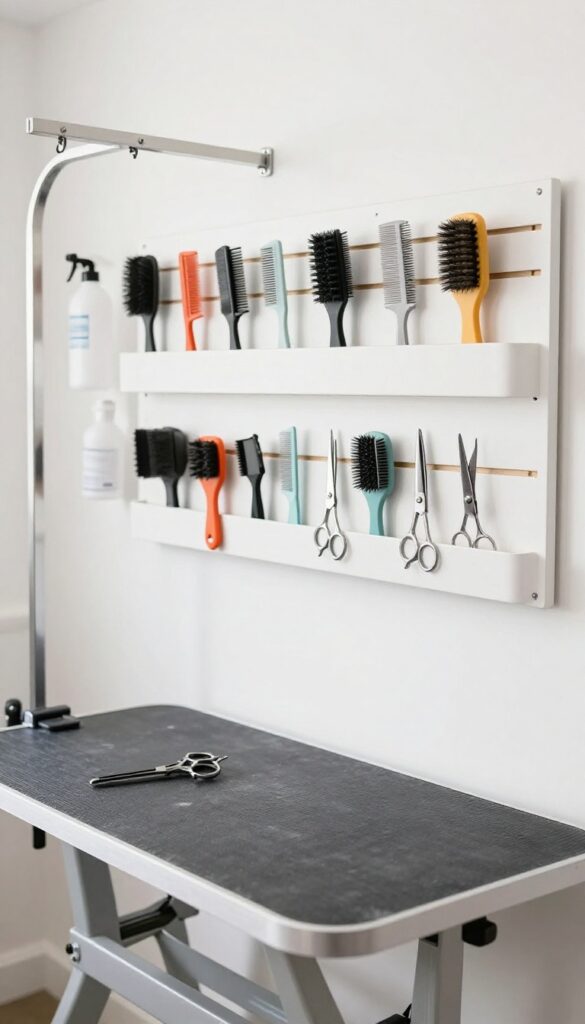
Reaching into a cluttered drawer while a dog waits on the table kills momentum. Vertical storage puts everything at eye level and within arm's reach, so you grab what you need without breaking your stride. Magnetic strips, pegboards, and slatwalls turn blank wall space into a tool command center.
Magnetic Strips For Metal Tools
Mount a strong magnetic strip along the wall near your grooming table. Clippers, shears, thinning shears, and even nail clippers stick right on. You see each tool instantly, grab it, use it, and put it back.
No more pawing through a drawer or accidentally dropping scissors.
Pegboards For Brushes And Combs
A pegboard with hooks holds brushes, combs, and dematting tools. Arrange them by frequency of use—most-used brushes at center height. Add small bins for blades, guards, and ear powder.
Pegboards are cheap, easy to install, and let you reconfigure as your tool collection grows.
Slatwall For Heavier Gear
For dryers, spray bottles, and larger items, slatwall with heavy-duty hooks and shelves is the answer. Keep the dryer within arm's reach but off the counter. Hang a small caddy for sprays and conditioners.
Slatwall distributes weight well and looks professional.
4. Add a Fold-Down Shelf Near the Tub
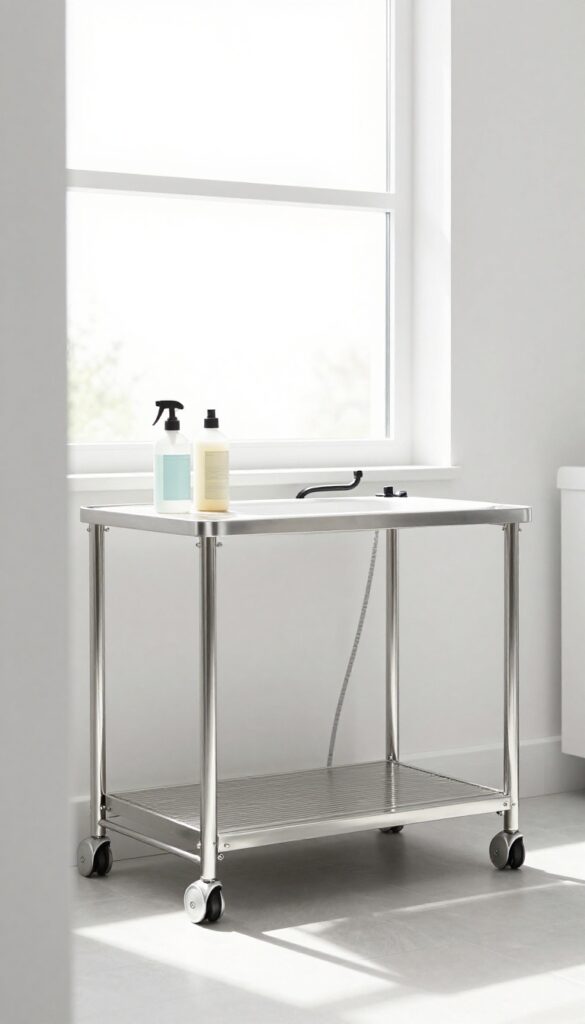
A fold-down shelf next to the wash station is one of those small upgrades that pays off every single groom. It gives you a dedicated spot for shampoo bottles, conditioner, and the sprayer—right where you need them. No more bending down to grab a bottle from the floor or knocking things over while you work.
The shelf keeps your essentials within arm's reach, so you can focus on the dog instead of hunting for supplies. When you're done, fold it up to reclaim space. It's a simple fix that makes the tub area feel more organized and professional.
Why It Works
The shelf eliminates the need to store bottles on the floor or a nearby cart. That means less clutter, fewer spills, and quicker access. Plus, a fold-down design doesn't take up permanent space, which is crucial in a compact trailer.
Installation Tips
Mount the shelf at a height that's comfortable for you—usually just above the tub rim. Use a sturdy bracket rated for at least 20 pounds. Choose a material like stainless steel or coated wire that can handle moisture and shampoo residue.
What To Store
Keep your most-used items here: shampoo, conditioner, a spray bottle, and maybe a small container of ear cleaner. Avoid overloading it—leave room for the sprayer hose to rest without tangling.
5. Create a Drying Station with a Loop
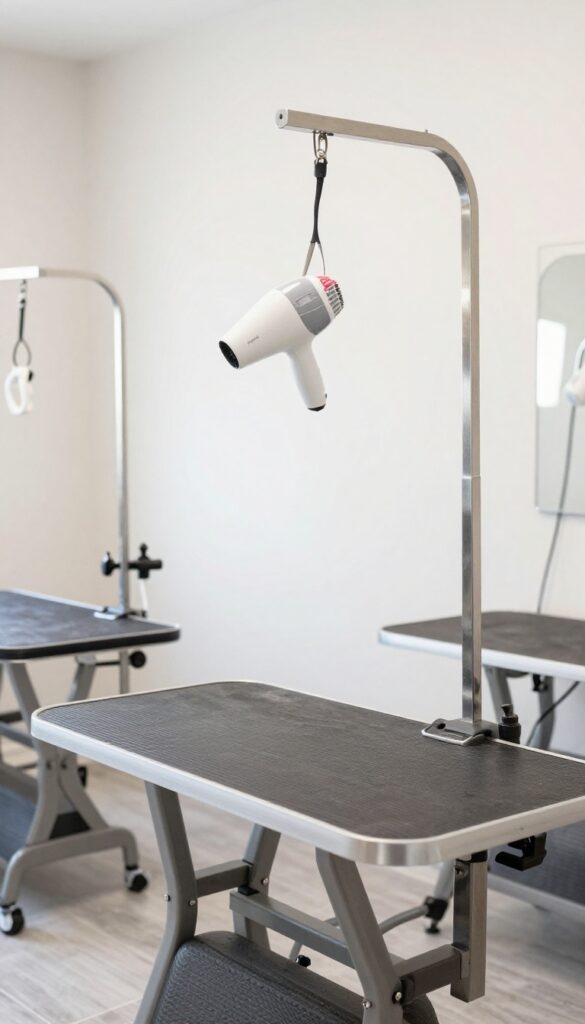
Drying is often the bottleneck in a busy grooming trailer. A dedicated drying station with a loop system changes that. Instead of moving the dryer from dog to dog, you move the dogs around a fixed drying point.
A high-velocity dryer on a swivel mount covers multiple tables or kennels from one spot. The loop keeps the workflow circular, so you're always moving forward, not backtracking.
Set up a dedicated drying area with a high-velocity dryer on a swivel mount. A loop system lets you dry multiple dogs in sequence without moving the dryer.
Pick The Right Dryer Mount
A wall-mounted or ceiling-mounted swivel arm gives you full range of motion without taking up floor space. Look for a mount that can support the weight of your dryer and has a locking mechanism to hold position. This keeps the hose off the ground and out of your way.
Arrange Tables In A Circle Or U-shape
Position two or three drying tables around the dryer's reach. A U-shape or semi-circle layout lets you swing the dryer from one table to the next without walking around. Each table should have its own towel rack and finishing supplies to minimize extra steps.
Add A Timer And Airflow Control
Install a simple timer or a foot pedal to control the dryer. This frees your hands and lets you set consistent drying times for each dog. A variable speed trigger also helps you adjust airflow for sensitive areas like the face and ears.
6. Install a Retractable Hose Reel
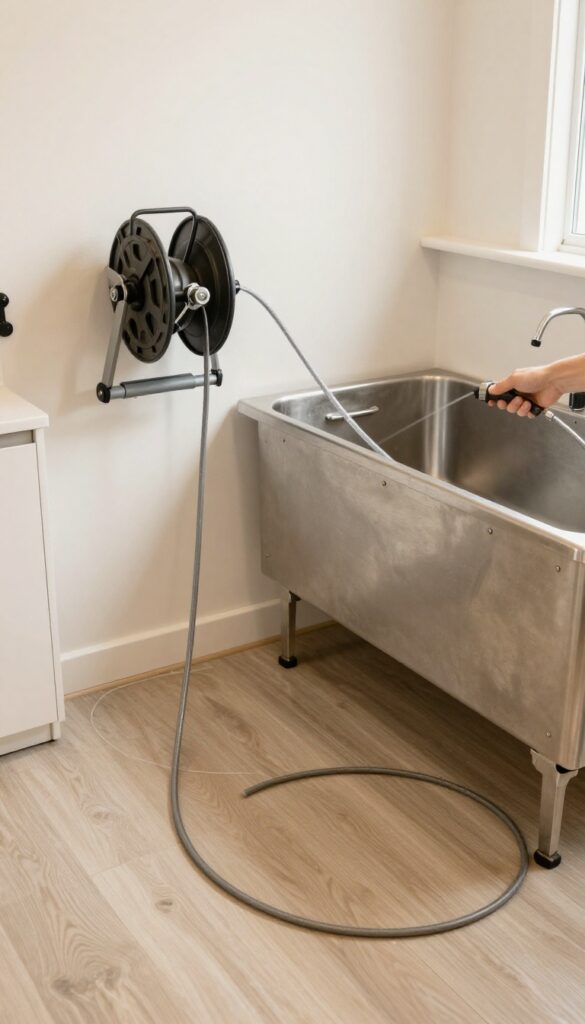
A tangled hose on the floor isn't just annoying—it's a safety hazard and a time waster. You're stepping over it, the dog's leash gets caught, and you're constantly stopping to straighten it out. A retractable hose reel solves all that by keeping the hose off the floor and within easy reach.
It's one of those upgrades you wonder why you didn't do sooner.
A retractable hose reel mounts to the wall or ceiling near your wash station. When you're done, a gentle tug retracts the hose neatly into its housing. This keeps the floor clear, reduces tripping, and protects the hose from damage.
Plus, you can extend it exactly where you need without dragging it across the trailer. Look for a model with a locking mechanism that holds the hose at any length, so you're not fighting it while you rinse.
Choose The Right Location
Mount the reel close to your wash tub, but not so close that it interferes with your movement. Ideally, it should be on the same wall as the water source. If you have a ceiling mount, position it directly above the tub for maximum reach.
Test the swing and extension before drilling to make sure it won't hit cabinets or lights.
Opt For A Heavy-duty Model
Dog grooming trailers see daily use, so a cheap plastic reel won't last. Invest in a metal or reinforced nylon model rated for commercial use. Look for a hose that's at least 50 feet long and made of kink-resistant rubber.
Some reels come with a built-in nozzle holder, which is a nice bonus.
Install A Quick-connect Fitting
Add a quick-connect fitting at the end of the hose so you can swap between spray nozzles, a gentle rinse attachment, or a pressure washer if needed. This saves time and lets you customize the water flow for different coat types. Keep a spare fitting in your trailer in case one wears out.
7. Use a Slanted Grooming Table
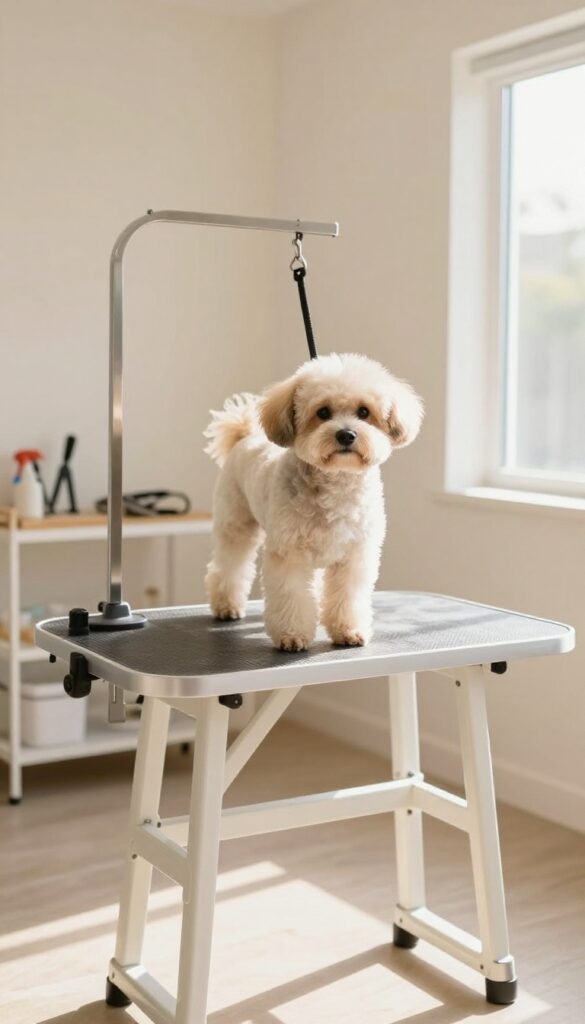
Standard grooming tables are flat, which means you're either leaning over or lifting the dog's legs to reach the belly. A slanted table tilts slightly toward you, bringing the dog's underside closer without extra effort. It's a small design tweak that reduces back strain and speeds up belly trims, paw work, and sanitary clips.
A slanted grooming table isn't just about ergonomics—it's about workflow. When the table tilts 10–15 degrees toward you, gravity helps the dog stay centered while giving you a clear view of the undercarriage. You bend less, reach less, and finish faster.
Many groomers who switch report less fatigue by the end of the day and fewer requests for the dog to stand or reposition.
Why The Angle Matters
The human body isn't designed to lean forward for hours. A flat table forces you to hunch or extend your arms, especially when working on small dogs. A slanted surface brings the work to you.
The tilt reduces the distance between your hands and the dog's belly by several inches, which adds up to a lot less strain over a full schedule.
How To Retrofit Your Existing Table
You don't need to buy a new table. Simple wedge shims or adjustable legs can create the tilt. Some groomers use rubber doorstops under the back legs for a quick fix.
For a more permanent solution, attach hinged brackets that let you adjust the angle. Just ensure the table remains stable and the dog feels secure—non-slip mats help.
Best Dogs For A Slanted Setup
Slanted tables work great for small to medium breeds where belly access is frequent—think poodles, doodles, and terriers. For large dogs, the tilt might be less noticeable, but it still helps with sanitary trims and paw work. If you groom a mix of sizes, consider a table with adjustable tilt so you can dial it in per dog.
8. Build a Drop-Down Step for Small Dogs
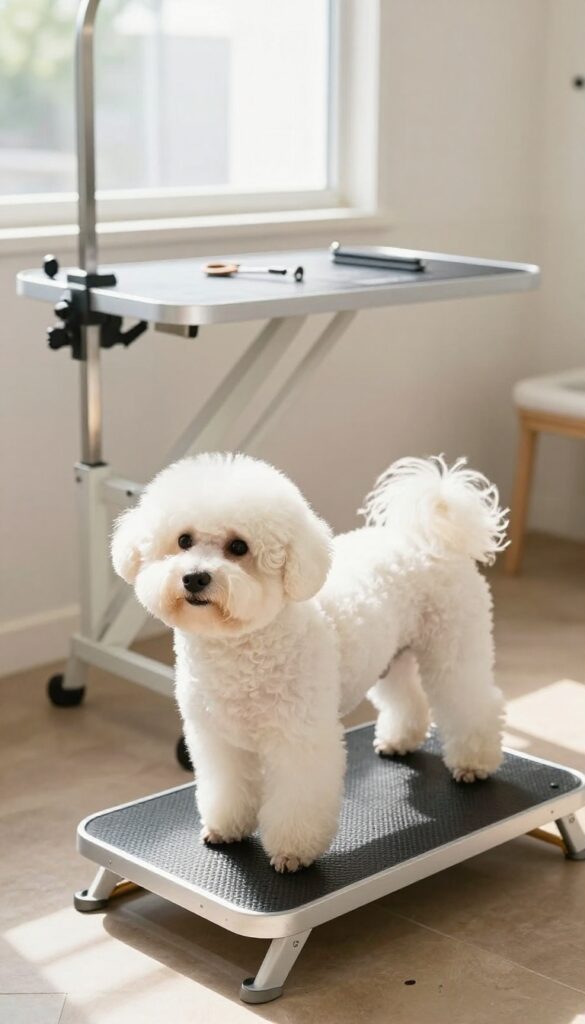
Small dogs are the majority of clients for many mobile groomers, yet most trailers are built with full-size dogs in mind. A drop-down step or ramp that folds out from the side of the trailer solves two problems at once: it gives little dogs a safe, low-stress way to get on and off the grooming table, and it saves your back from repeated lifting. This is one of those upgrades that pays for itself in fewer injuries and happier clients.
A drop-down step is essentially a lightweight, fold-out platform that attaches to the side of your trailer near the grooming table. When not in use, it folds up flush against the wall, taking up zero floor space. For small dogs, it eliminates the jump down from the table, which can strain their joints and cause anxiety.
For you, it means no more bending over to lift a wiggling 10-pound dog multiple times per groom. The step can be made from aluminum or marine-grade plywood with a non-slip surface, and it should be wide enough for the dog to stand comfortably while you clip nails or do a quick tidy.
Why A Step Beats A Ramp
Ramps are great for some setups, but in a tight trailer, a step is often more practical. A ramp takes up more space when deployed and can be tricky to store. A drop-down step is compact, easy to operate with one hand, and provides a stable platform that doesn't shift under the dog's weight.
Plus, many small dogs are more confident stepping onto a solid platform than walking up an incline.
Diy Vs. Pre-built Options
You can build a drop-down step yourself with basic tools and a sheet of aluminum or treated wood. Hinges, a latch, and some non-slip tape are all you need. If you prefer a ready-made solution, several RV accessory companies sell fold-out steps that can be adapted for grooming trailers.
Look for one rated to hold at least 50 pounds, with a textured surface for grip.
Placement Tips For Best Flow
Install the step directly next to the grooming table, on the side where you typically stand. That way, you can swing it down, place the dog on it, and transfer them to the table without extra steps. Make sure the step is at a height that allows the dog to step onto the table with minimal effort—usually about 6 to 8 inches below the table surface.
9. Add a Second Tub for Efficiency
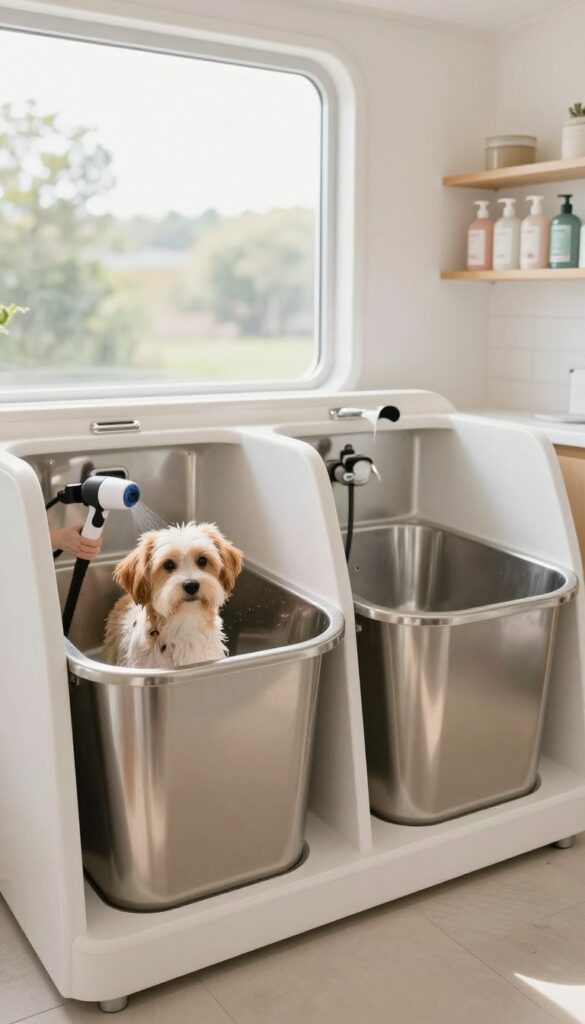
If you've ever found yourself waiting for a dog to finish drying just to free up the wash station, you know the pain. A second tub changes the game entirely. With two wash bays, you can bathe one dog while another dries, or prep two small dogs at once.
It's a simple layout change that can double your throughput on busy days.
Adding a second wash tub isn't just about having more water—it's about creating a continuous workflow. While one dog is drying in the kennel or on the table, you can start the next bath. This eliminates the dead time where you're standing around waiting.
Many groomers who've added a second tub report finishing their day an hour or two earlier. The investment pays for itself in saved time and increased capacity.
Tub Placement Matters
Position the second tub across from or adjacent to your drying station. This keeps the wet-to-dry flow logical. You don't want to carry a dripping dog across the trailer.
Some groomers place both tubs side by side with a shared counter, so you can move between them without extra steps.
Size And Storage
If space is tight, consider a smaller second tub for small breeds only. That way you still get the efficiency without sacrificing floor space. Look for tubs with built-in storage underneath for shampoos and towels.
Fold-down or sliding tubs are also an option for trailers where every inch counts.
Plumbing Considerations
Adding a second tub means running extra water lines and drainage. Plan for a dedicated hot water line to avoid temperature drops when both tubs run simultaneously. Many mobile groomers use a recirculating pump system to save water and keep the temperature steady.
10. Install Overhead Lighting with Dimmers
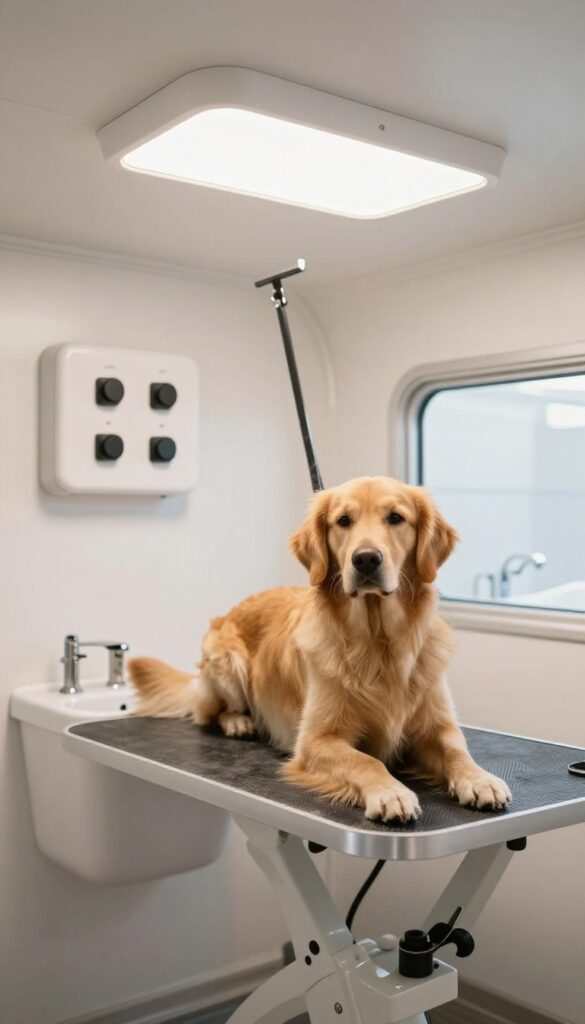
Lighting can make or break your grooming flow. Harsh overheads cast shadows that hide matting and make your eyes ache by midday. Dimmers give you control: bright light for precision work like nail trims and sanitary clips, softer light for anxious dogs who spook at glare.
Choose The Right Fixtures
Go with LED panels or puck lights that are dimmable and color-tunable (3000K to 5000K). Warm light calms nervous dogs, cool light mimics daylight for detail work. Avoid single-bulb fixtures—they create uneven shadows.
Aim for even coverage across the tub, table, and drying area.
Mounting Height And Placement
Mount lights on the ceiling, not walls, to reduce glare. Position them directly over the grooming table and wash station—the two spots where you need the most clarity. Keep fixtures at least 7 feet high so they don't interfere with tall dogs or your own headroom.
Wire Dimmers At Each Station
Install separate dimmer switches for the tub area and the table area. That way you can dim the drying station while keeping the table bright, or vice versa. This is especially helpful when you're blow-drying a nervous dog—dim the lights over the table to calm them without losing visibility.
11. Use a Color-Coded Towel System
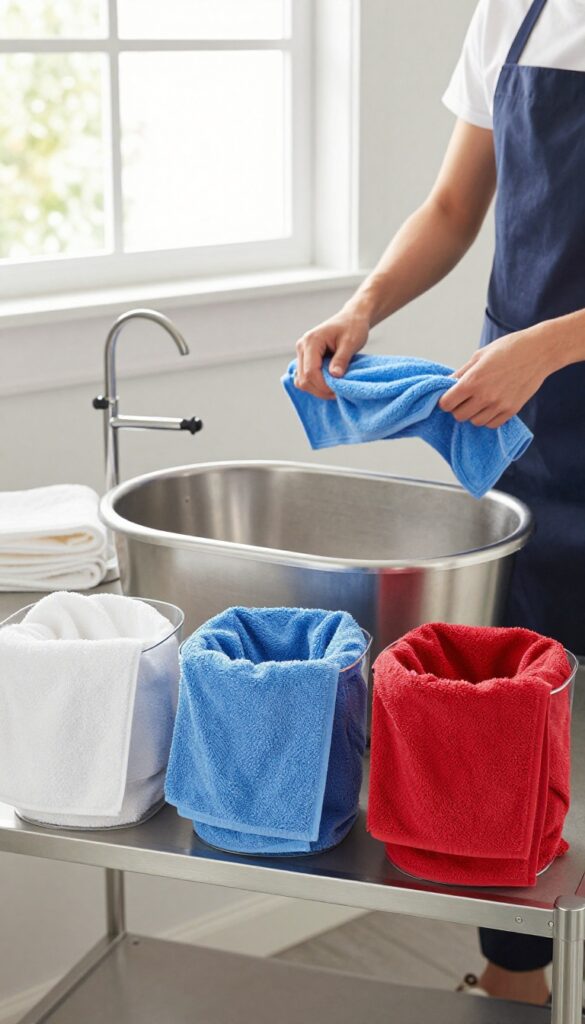
Towels are everywhere in a grooming trailer—drying dogs, wiping down tables, soaking up spills. But when every towel looks the same, you grab the wrong one and cross-contaminate a clean dog with a dirty towel. A simple color code fixes that.
Assign one color for drying freshly bathed dogs, another for cleaning tools and surfaces, and a third for floor spills or kennel accidents. Store each color in a separate bin or on a different hook so you never guess. This small system speeds up your routine and keeps hygiene tight.
Choose Colors That Contrast
Pick three or four colors that are easy to tell apart at a glance—like white, blue, red, and green. Avoid pastels that look similar under trailer lighting. Bright, solid colors work best.
Set Up Dedicated Storage
Use labeled bins or open shelving near the tub, table, and door. Keep the drying towels close to the dryer, the cleaning towels near the sink, and the spill towels near the exit. No more walking across the trailer with wet hands.
Train Your Team (or Yourself)
It takes a day or two to build the habit. Put a small sign on each bin for the first week. Once the color code becomes automatic, you'll reach for the right towel without thinking.
FAQ
How much does it cost to set up a dog grooming trailer?
Costs vary widely, but a basic used trailer with minimal equipment can start around $10, 000. A fully custom build with high-end gear can exceed $50, 000.
What size trailer is best for mobile grooming?
Most groomers prefer a 6×12 or 7×14 trailer. That gives enough room for a tub, table, drying area, and storage without feeling cramped.
Do I need a special license to operate a mobile grooming trailer?
Yes, you typically need a business license, a pet grooming permit, and possibly a mobile vendor license. Check your local regulations.
How do I keep my grooming trailer clean and odor-free?
Use waterproof flooring, clean spills immediately, and ventilate well. A daily wipe-down with pet-safe disinfectant and an air purifier help a lot.
Can I install a grooming trailer myself?
If you're handy, you can do basic builds like shelving and lighting. For plumbing, electrical, and propane systems, hire a professional to stay safe and code-compliant.
Conclusion
Setting up your dog grooming trailer with a smart flow isn't just about efficiency—it's about creating a calm, stress-free experience for both you and the dogs. Pick the ideas that fit your space and style, then tweak as you go.
A well-organized trailer makes your workday smoother, your clients happier, and your business more professional. Start with one or two changes today and see how much easier grooming can be.

I’m Pallab Kishore, the owner of Little Pets Realm — an animal lover and pet care enthusiast sharing easy tips, healthy recipes, and honest advice to help every small pet live a happy, healthy, tail-wagging life.