
Last updated on August 19th, 2026 at 04:15 pm
Grooming your dog at home doesn't have to be a battle. With the right approach, you can turn a stressful chore into a bonding experience that leaves your pup looking and feeling great.
These 13 tips are designed to make your life easier and your dog happier. Whether you're dealing with a squirmy puppy or a senior dog who hates the brush, small adjustments can make a big difference.
The key is working smarter, not harder, and understanding what your dog needs. From choosing the right tools to mastering tricky areas like paws and ears, these practical strategies will help you groom like a pro without the professional price tag.
1. Start with the Right Brush for Your Dog's Coat
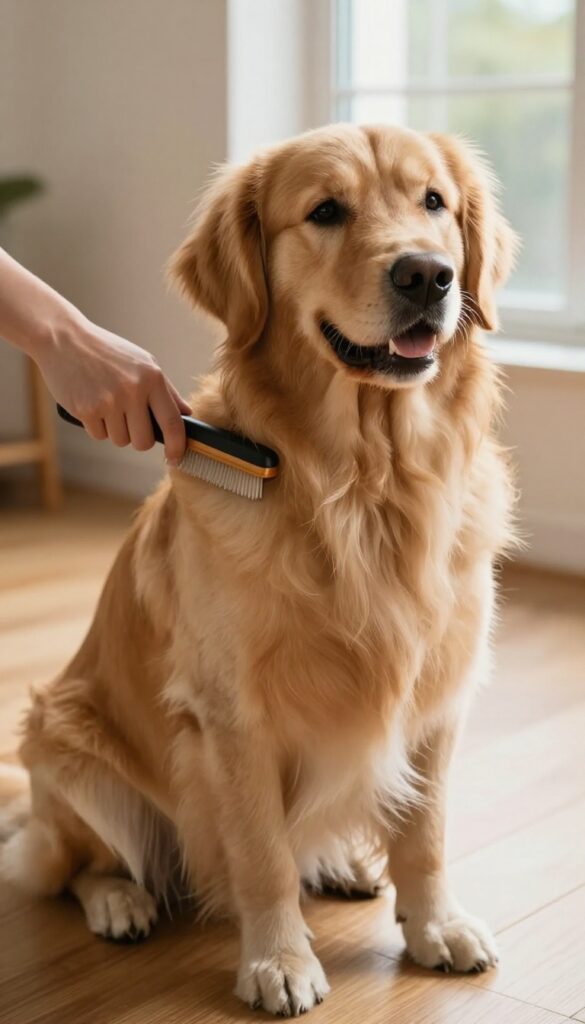
Not all brushes are created equal, and using the wrong one can make grooming frustrating for both you and your dog. The right brush removes loose fur, prevents mats, and distributes natural oils for a healthy shine. It all comes down to your dog's coat type.
Matching the brush to the coat is the first step to a smooth grooming session. A slicker brush works wonders on long-haired breeds like Golden Retrievers, while a bristle brush is perfect for short coats like Beagles. Double-coated breeds like Huskies need an undercoat rake to reach the dense fur beneath.
Using the correct tool reduces pulling and makes the experience more comfortable for your pup.
Slicker Brushes For Long And Silky Coats
Slicker brushes have fine, short wires close together, ideal for removing tangles and loose fur from long-haired dogs. They work well on breeds like Shih Tzus, Yorkshire Terriers, and Collies. Brush gently in the direction of hair growth to avoid scratching the skin.
Bristle Brushes For Short And Smooth Coats
Bristle brushes are great for short-haired dogs like Boxers, Dalmatians, and French Bulldogs. They help remove dirt and distribute natural oils, giving the coat a glossy finish. Use firm, gentle strokes to keep your dog comfortable.
Undercoat Rakes For Double-coated Breeds
Double-coated dogs like German Shepherds, Huskies, and Labradors shed heavily. An undercoat rake reaches the dense undercoat to remove loose hair before it mats. Use it during shedding season to reduce fur around the house and keep your dog's coat healthy.
2. Create a Calm Grooming Environment
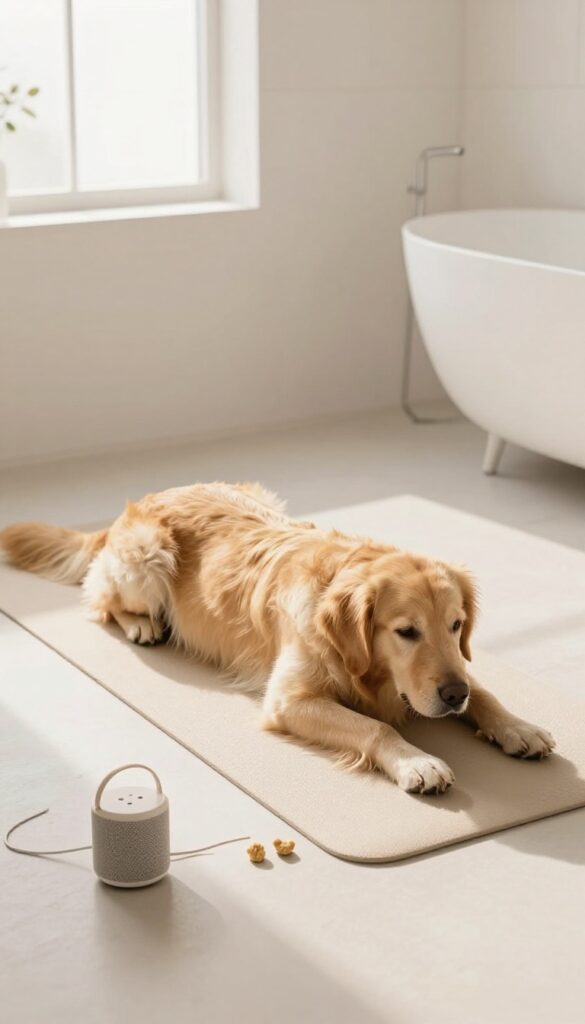
Dogs pick up on our energy, so if you're tense, they will be too. Setting up a relaxing space before you even pick up the brush can make grooming feel less like a chore and more like a spa day. A few simple tweaks to your surroundings can turn a nervous pup into a willing participant.
The goal is to make grooming a positive experience from start to finish. By controlling the environment, you reduce triggers that cause anxiety. This means choosing the right location, adding calming elements, and keeping sessions short and rewarding.
Pick The Right Spot
Choose a quiet area away from household traffic, loud noises, and other pets. A bathroom or laundry room often works well because it's contained and easy to clean. Make sure the floor has a non-slip surface—a yoga mat or rubber bath mat can prevent your dog from sliding around, which helps them feel secure.
Set The Mood
Soft background music or a white noise machine can muffle startling sounds like the doorbell or a garbage truck. Some dogs even relax to classical music or specially designed pet playlists. Keep the lighting soft but bright enough to see what you're doing—harsh overhead lights can be intimidating.
Use Treats And Short Sessions
Start with just a few minutes of brushing or handling, then reward generously. Gradually increase the time as your dog gets comfortable. Pair each grooming step with a treat—for example, give a treat after each paw you trim.
This builds a positive association and keeps your dog looking forward to the next session.
3. Master the Art of Brushing in Sections
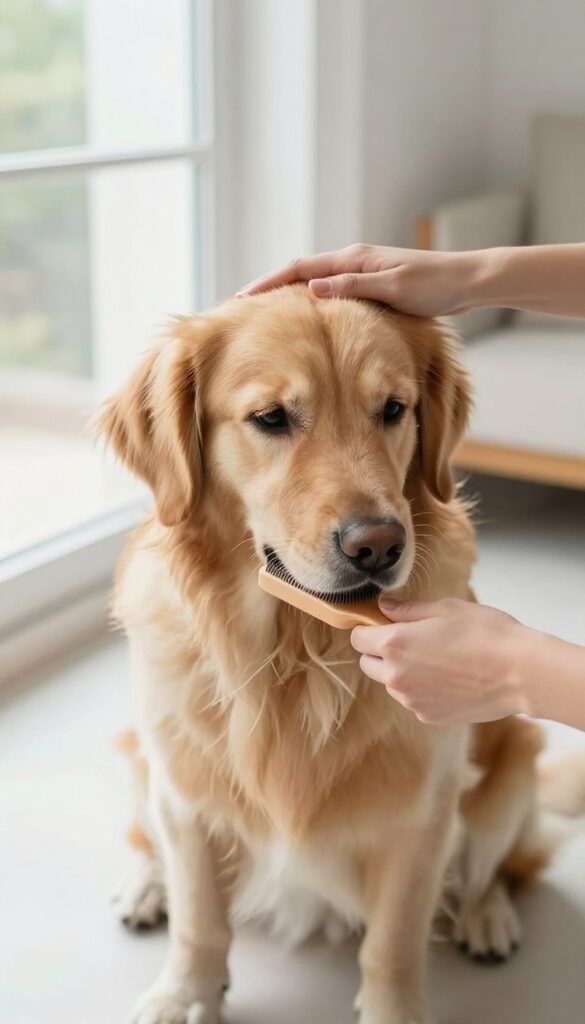
Brushing your dog's coat might seem straightforward, but doing it randomly often leaves tangles and loose fur behind. By dividing the coat into sections, you ensure every inch gets attention, especially those tricky spots behind the ears and under the legs where mats love to form. This method turns a rushed chore into a thorough grooming session that your dog will appreciate.
Sectioning your dog's coat is a game-changer for effective brushing. It prevents missed spots and reduces pulling on tangles, making the experience more comfortable for your pup. Start by parting the hair with a comb or your fingers, then work through one small area at a time.
This approach is especially helpful for double-coated breeds like Golden Retrievers or long-haired dogs like Shih Tzus.
Why Sectioning Works
When you brush randomly, you often focus on the same areas and ignore others. Sectioning forces you to cover the whole body systematically. It also lets you spot mats early before they become painful.
Plus, working in small sections feels less overwhelming for both you and your dog.
How To Section Your Dog's Coat
Use a comb to create clean part lines, dividing the coat into manageable sections. Start from the back and work your way to the belly, legs, and tail. Secure each section with a clip or band if needed.
Brush each section from the skin outward, using long, gentle strokes.
Focus On Problem Areas
Pay extra attention to areas prone to matting: behind the ears, under the legs, and around the collar. These spots often get neglected during random brushing. By addressing them in their own section, you'll prevent painful tangles and keep your dog's coat healthy.
4. Use Detangling Spray for Knots
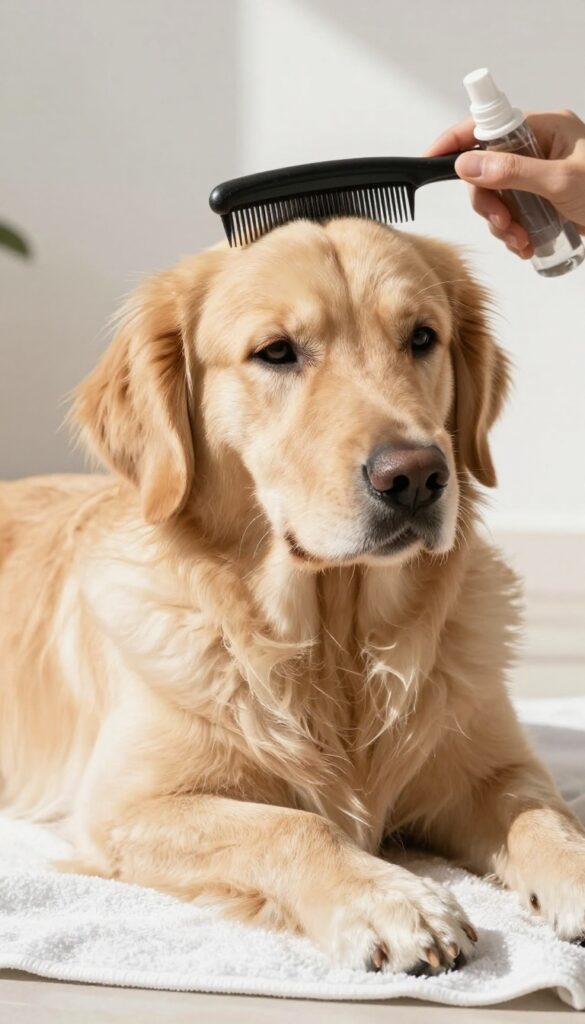
Mats and tangles are every home groomer's nightmare. They pull on the skin, make brushing painful, and can even lead to irritation or hot spots. A good detangling spray changes the game entirely by loosening the knots and adding slip to the coat.
This simple product turns a frustrating tug-of-war into a smooth, gentle process that your dog will tolerate much better.
Detangling spray works by coating each hair shaft with a light lubricant that reduces friction. This allows you to ease out mats without yanking or breaking the hair. Most formulas also contain conditioners that soften the coat and reduce static, making future brushing sessions easier too.
The key is to use it correctly: spray directly onto the mat, let it sit for a minute to penetrate, then gently work the knot apart with your fingers or a wide-tooth comb. Never pull hard or try to cut out mats without professional guidance, as skin is very thin and easy to nick.
Choose The Right Formula
Not all detangling sprays are created equal. Look for one that is alcohol-free and contains natural ingredients like aloe vera, coconut oil, or silk proteins. Avoid sprays with heavy fragrances or harsh chemicals that could irritate your dog's skin.
If your dog has sensitive skin, opt for a hypoallergenic or oatmeal-based formula. A good spray should leave the coat soft, not greasy or sticky.
Work In Small Sections
Don't try to tackle the whole coat at once. Section the fur with clips or bands, and focus on one small area at a time. Spray each section lightly, then use your fingers to separate the hairs and loosen any tangles.
Follow up with a wide-tooth comb, starting at the tips and working your way up to the roots. This prevents pain and makes the process feel less overwhelming for your dog.
When To Avoid Detangling Spray
If a mat is extremely tight, close to the skin, or has been there for a while, detangling spray may not be enough. In those cases, it's safer to have a professional groomer shave out the mat. Trying to force it out can cause bruising or cuts.
Also, avoid spraying near the eyes, ears, or nose, and never use human detangling products, as they can contain ingredients toxic to dogs.
5. Trim Nails Safely with the Right Technique
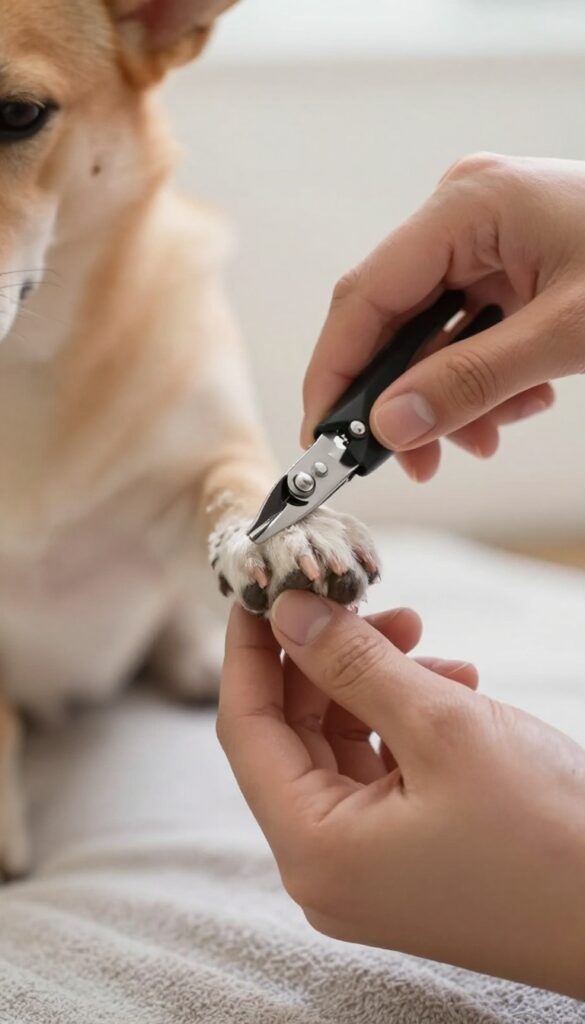
Nail trimming is often the most dreaded part of home grooming, but it doesn't have to be. With the right tools and a calm approach, you can keep your dog's nails short without the stress. The secret is knowing exactly where to cut and having a backup plan for accidents.
Start by getting your dog comfortable with having their paws handled. Touch their feet regularly during cuddle time, and reward them with treats. When you're ready to trim, use sharp, guillotine-style clippers or a quiet grinder.
Cut small amounts at a 45-degree angle, avoiding the pink quick inside the nail. If your dog has dark nails, look for a small dark dot in the center of the cut surface—that's the quick. Always have styptic powder or cornstarch nearby to stop bleeding if you nick it.
Go slow, and if your dog gets anxious, stop and try again later.
Choose The Right Tool
Guillotine clippers are great for small to medium dogs because they make a clean cut. For large breeds with thick nails, a grinder is safer and less likely to split the nail. Grinders also allow you to smooth rough edges.
Whichever you pick, keep it sharp—dull blades crush the nail and cause pain.
Find The Quick
On light-colored nails, the quick is easy to spot as a pink area. For dark nails, trim tiny bits at a time. After each cut, look at the nail's cross-section: if you see a dark circle, you're close to the quick.
Stop there. If the nail starts to look moist or grayish, you're about to hit it.
Stay Calm And Reward
Dogs sense your nerves. Speak in a soothing voice, give plenty of praise, and offer high-value treats after each nail or paw. If your dog pulls away, don't force it.
Take a break, then try again. Building positive associations makes future trims easier.
Have A Bleed Plan
Even pros nick the quick sometimes. Keep styptic powder, a styptic pencil, or cornstarch within reach. Dip the bleeding nail into the powder or apply pressure with a cotton ball.
It stops bleeding quickly and reduces your dog's discomfort.
6. Clean Ears Gently to Prevent Infections
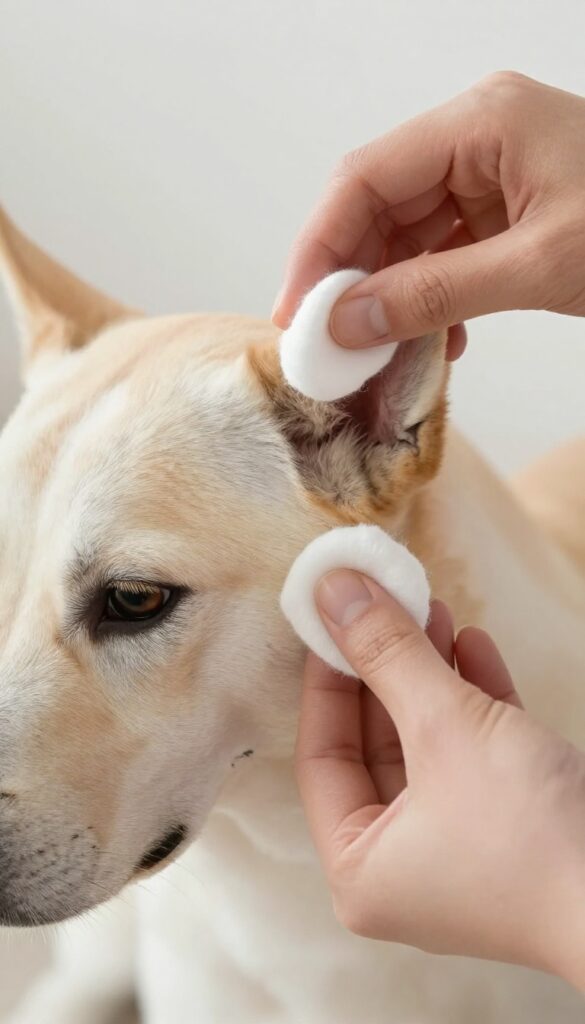
Ear cleaning is one of those grooming tasks that many dog owners skip because they're not sure how to do it safely. But regular ear care can prevent painful infections and catch issues early. The trick is to be gentle and use the right products—no Q-tips or home remedies.
Start by gathering a vet-recommended ear cleaner and some cotton balls. Lift your dog's ear flap and squeeze a few drops of solution into the ear canal. Gently massage the base of the ear for about 20 seconds to loosen debris.
Then let your dog shake their head—they'll naturally bring gunk to the outer ear. Wipe away the visible dirt with a cotton ball, never inserting anything deeper than your first knuckle. Repeat on the other ear, and reward your pup with a treat.
Choose The Right Cleaner
Not all ear cleaners are created equal. Look for a pH-balanced, alcohol-free solution designed specifically for dogs. Avoid hydrogen peroxide or vinegar, which can irritate sensitive ear canals.
Your vet can recommend a brand that suits your dog's needs, especially if they're prone to allergies or infections.
The Cotton Ball Technique
Cotton balls are your best friend here. They're soft, absorbent, and gentle on the ear. Wrap a cotton ball around your finger and wipe the outer ear folds and visible crevices.
If you see dark, waxy discharge or a foul smell, it's time for a vet visit. Never use cotton swabs—they push debris deeper and risk damaging the eardrum.
How Often To Clean
For most dogs, cleaning ears once a month is plenty. Dogs with floppy ears, like Cocker Spaniels or Basset Hounds, may need weekly checks. After swimming or baths, always dry the ears thoroughly to prevent moisture buildup.
Over-cleaning can strip natural oils, so watch for redness or irritation.
7. Bathe Your Dog Only When Necessary
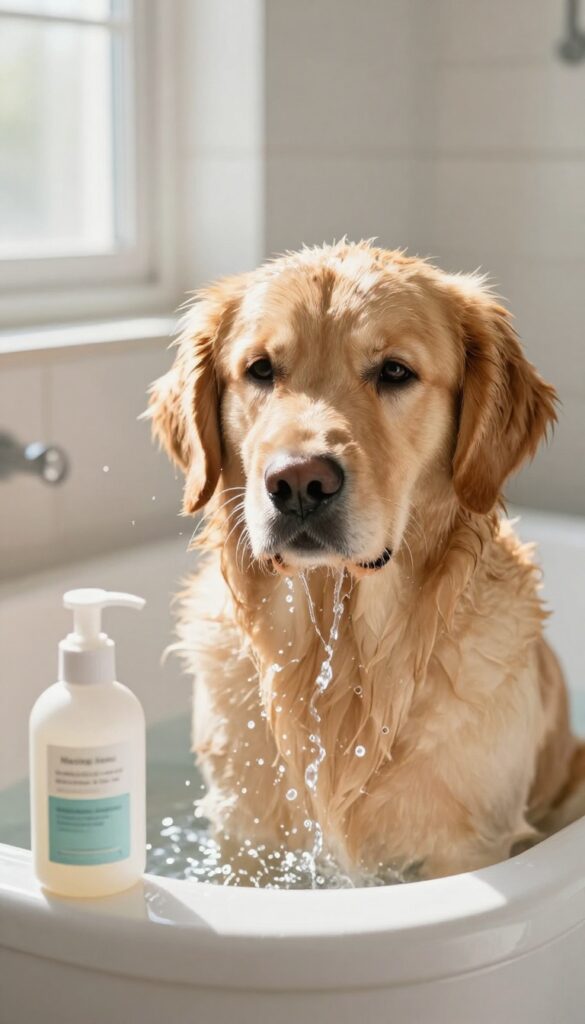
Many dog owners fall into the trap of bathing their pup too often, thinking it keeps them clean and fresh. But over-bathing strips the natural oils from their skin and coat, leading to dryness, irritation, and even more odor. The truth is, most dogs only need a bath every few months unless they get into something messy.
When you do bathe your dog, use lukewarm water and a shampoo made specifically for dogs—human products can disrupt their pH balance. Rinse thoroughly because leftover soap can cause itching. And always brush your dog before the bath to remove loose fur and mats, which become harder to deal with when wet.
Know When A Bath Is Actually Needed
A good rule of thumb: if your dog smells fine and their coat looks clean, skip the bath. Dogs with short, smooth coats can go months between baths. Oily breeds like Basset Hounds might need one every few weeks.
Watch for visible dirt, a strong odor, or greasy feel as signs it's time.
Brush Before You Wet
Brushing before a bath removes loose hair and prevents mats from tightening when wet. Use a slicker brush for long coats or a rubber curry for short coats. This step also lets you check for any skin issues or debris that might need attention before washing.
Rinse, Rinse, And Rinse Again
Shampoo residue is a common cause of post-bath itching and flaking. Use a detachable shower head or a large cup to rinse thoroughly. Run your fingers through the coat to feel for any slippery spots.
A final rinse with diluted apple cider vinegar can help restore shine and neutralize odors.
8. Dry Your Dog Properly to Avoid Skin Issues
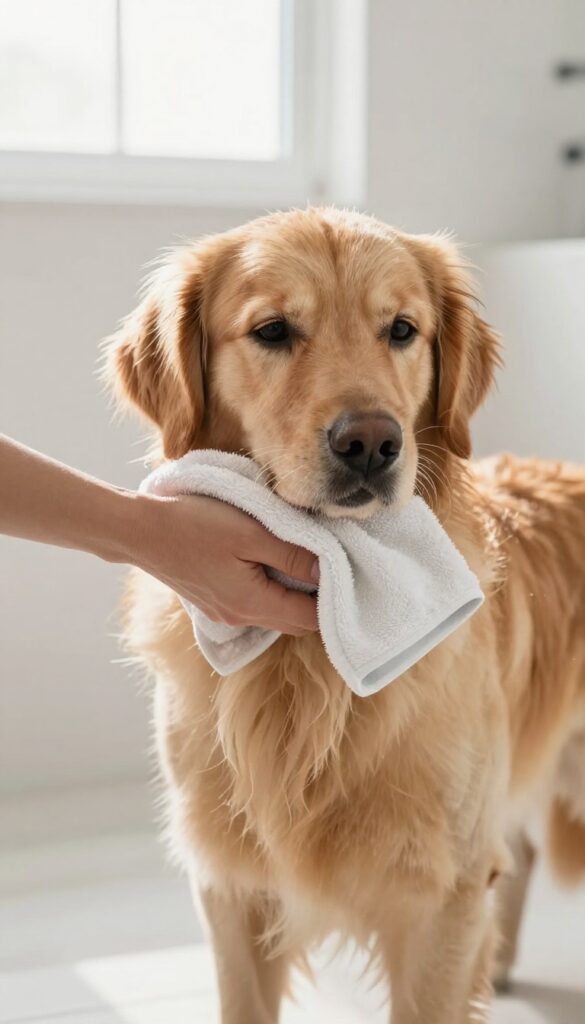
Drying your dog after a bath is just as important as the bath itself. Many skin problems start when moisture gets trapped against the skin, especially in areas like the armpits, groin, and under the collar. A thorough drying routine prevents hotspots, fungal infections, and matting.
Start by using a high-absorbency towel to remove as much water as possible. Press the towel against your dog's coat rather than rubbing, which can cause tangles. For double-coated breeds, squeeze out excess water from the undercoat by hand.
Then, switch to a low-heat blow dryer on a cool setting. Keep the dryer moving constantly to avoid concentrating heat on one spot. Use your free hand to fluff the fur and check for dampness.
Pay special attention to the undercoat—if it stays wet, your dog can develop skin irritation or even bacterial infections. A good rule of thumb: if you can still feel moisture when you run your fingers through the coat, keep drying.
Towel Drying Techniques
Use a microfiber towel for maximum absorption. Gently press and squeeze rather than rubbing vigorously. For long-haired dogs, wrap the towel around them like a burrito and let it sit for a minute to wick away moisture.
Have a second towel ready for the final pass.
Blow Dryer Best Practices
Choose a dryer designed for pets if possible—they have more controlled heat and airflow. If using a human dryer, set it to the coolest or lowest heat setting. Hold the nozzle at least 6 inches from your dog's skin and keep it moving in a sweeping motion.
Never point the dryer directly into ears or eyes.
Double-coated Breed Care
Dogs like Huskies, Golden Retrievers, and German Shepherds have a dense undercoat that holds water. After towel drying, use a high-velocity dryer to blow out the undercoat. This not only dries them faster but also removes loose fur.
Make sure you can see the skin parting when you blow the coat—that's how you know it's dry.
9. Brush Teeth Regularly with Dog-Safe Toothpaste
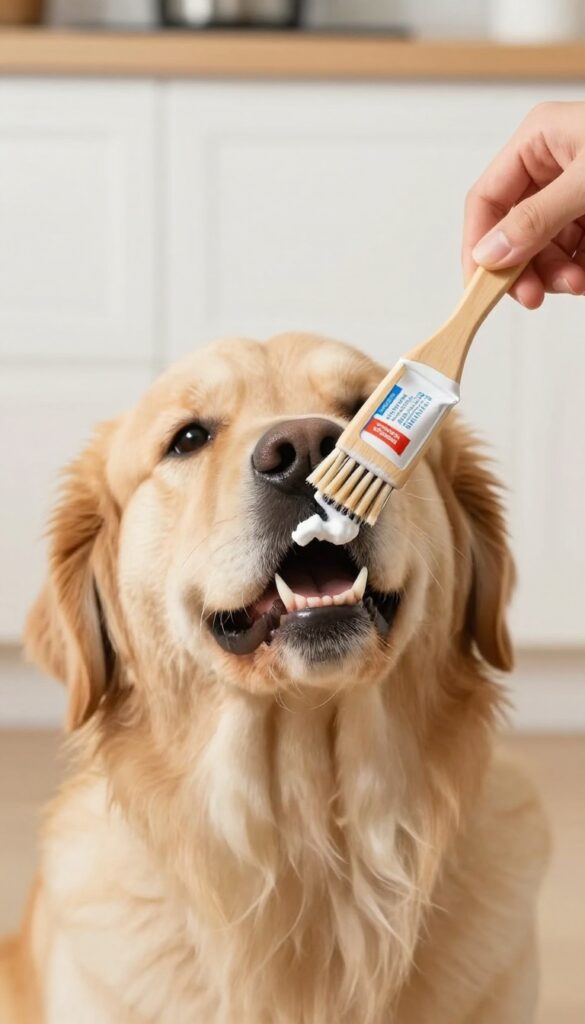
Dental health is often overlooked in home grooming, but it's a game-changer for your dog's overall well-being. Plaque and tartar buildup can lead to bad breath, gum disease, and even serious health issues like heart or kidney problems. The good news is that brushing your dog's teeth at home is simple once you get the hang of it.
Start by choosing a dog-specific enzymatic toothpaste—never use human toothpaste, as it contains xylitol and fluoride that are toxic to dogs. Flavors like poultry or peanut butter make it more appealing. Use a finger brush or a soft-bristled toothbrush designed for dogs.
Begin slowly, letting your dog taste the toothpaste, then gently lift the lip and brush the outer surfaces of the teeth in small circles. Focus on the cheek side, where plaque accumulates most. Aim for a few times a week, but even once a week makes a difference.
Reward with praise or a small treat afterward to build positive association.
Picking The Right Tools
A finger brush is great for nervous dogs or first-timers because it's less intimidating. For better reach, a long-handled dog toothbrush with angled bristles works well. If your dog resists, start with a gauze pad wrapped around your finger and a dab of toothpaste.
Building A Routine
Consistency is key. Try brushing at the same time each day, like after a walk or before bed. Keep sessions short—30 seconds to a minute.
If your dog is uneasy, break it into steps: let them lick the toothpaste, then brush just a few teeth, gradually increasing over days.
When Brushing Isn't Possible
If your dog absolutely refuses brushing, consider dental chews, water additives, or dental wipes as backups. These can help reduce plaque but aren't as effective as brushing. For severe tartar, a professional dental cleaning may be needed.
10. Trim Paw Fur for Better Traction and Hygiene
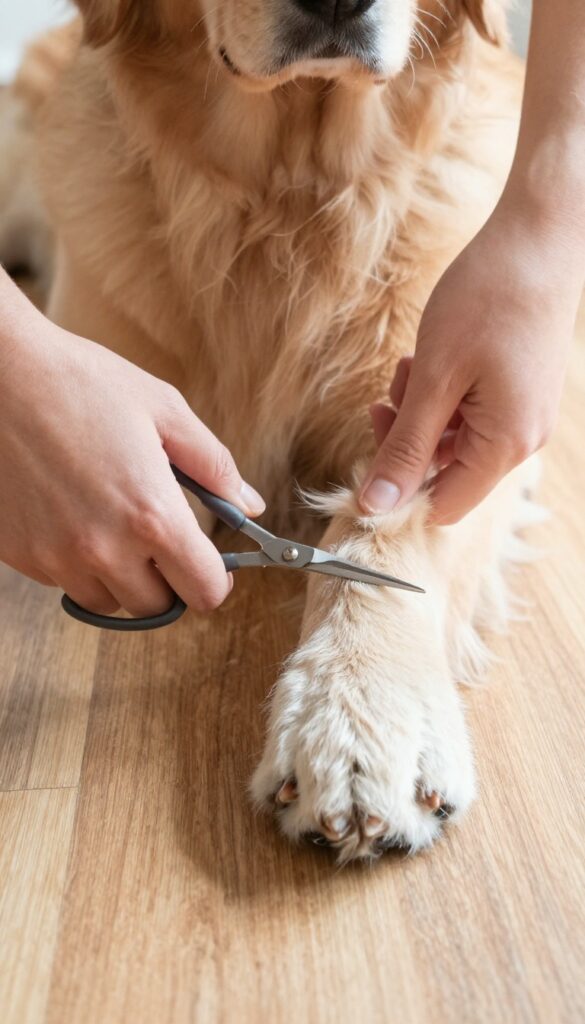
Paw fur is easy to overlook until your dog starts sliding on hardwood floors or tracking mud through the house. Long hair between the pads can trap dirt, moisture, and even small debris that leads to irritation or infection. A quick trim keeps paws cleaner and gives your dog better grip on slippery surfaces.
Trimming paw fur is a simple task that makes a big difference in your dog's comfort and your home's cleanliness. Use blunt-nosed scissors to carefully cut the fur flush with the pads. Check each paw for burrs, pebbles, or redness before you start.
Work slowly and reward your dog for staying still.
Why Paw Fur Matters
Long fur between pads acts like a sponge, soaking up moisture and trapping dirt. This can lead to matting, bacterial growth, and even painful cysts. On smooth floors, excess fur reduces traction, causing your dog to slip and potentially injure themselves.
Keeping the area tidy helps prevent these issues.
How To Trim Safely
Always use blunt-nosed or rounded scissors to avoid accidentally cutting the skin. Gently spread the toes to expose the pads, then trim the fur so it's level with the pad surface. Don't cut too short—leave a little length to protect the pads.
If your dog is nervous, do one paw at a time and offer treats.
When And How Often To Trim
Check your dog's paws weekly, especially after walks in wet or muddy conditions. Trim as needed, typically every 2 to 4 weeks. Dogs with thick or long coats may need more frequent trims.
Regular checks also let you spot early signs of irritation or injury.
11. Handle Sensitive Areas with Patience
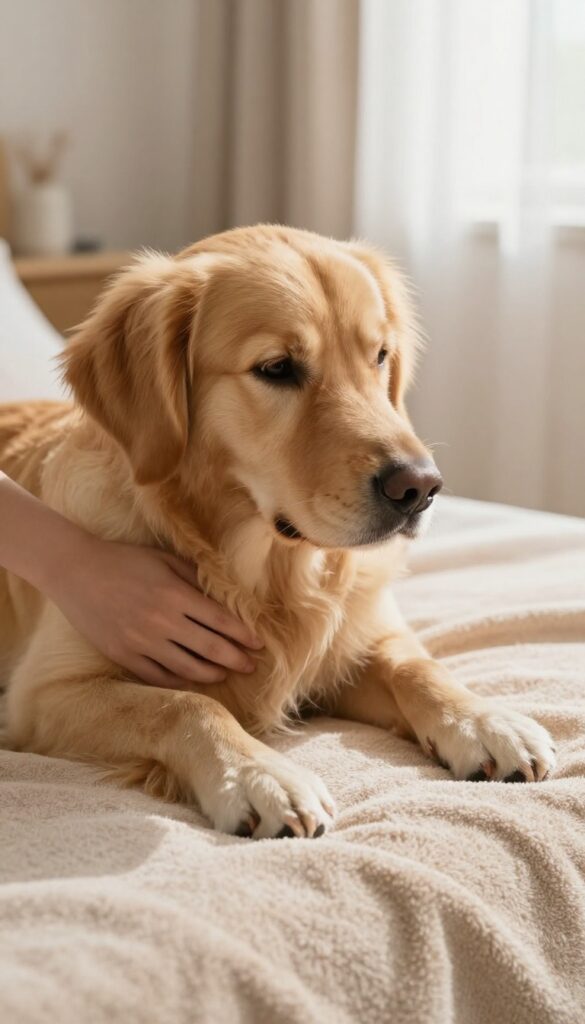
Some parts of your dog's body are naturally more sensitive than others. The face, tail, and belly often trigger flinching or squirming, but with a calm approach, you can make these areas manageable. The trick is to move slowly, reward cooperation, and never force the issue.
Sensitive areas require a different strategy than the rest of the body. Rushing or holding your dog too tightly can backfire, creating negative associations that make future grooming harder. Instead, build trust by pairing gentle touches with high-value treats.
Start with brief, low-pressure sessions where you simply touch the area without any grooming tool. Gradually introduce the brush or clippers while continuing to reward calm behavior. If your dog shows signs of stress—like lip licking, yawning, or trying to move away—take a step back and slow down.
Consistency over days or weeks will pay off more than one forced session.
Desensitize Outside Of Grooming
The easiest way to reduce sensitivity is to handle these areas during calm moments, like while watching TV or cuddling. Gently touch your dog's paws, ears, tail, and belly several times a day, pairing each touch with a treat. This normalizes the sensation and builds positive associations before you ever pick up a brush or clipper.
Use Gentle Restraint And Breaks
When it's time to groom a sensitive spot, use a soft but secure hold—never pin your dog down. For the face, a helper can offer treats from the front while you work from the side. For the belly, have your dog lie on its side or back in a comfortable position.
Take breaks every 30–60 seconds, especially if your dog seems tense. A few short, positive sessions are far better than one long struggle.
Choose The Right Tools
Sensitive areas need softer tools. For the face, use a fine-toothed comb or a soft bristle brush. For the belly and tail, opt for a slicker brush with rounded tips or a grooming glove.
Avoid using clippers near the tail or belly unless your dog is fully comfortable with the vibration and sound. Always test the tool on a less sensitive area first.
12. Invest in Quality Grooming Tools
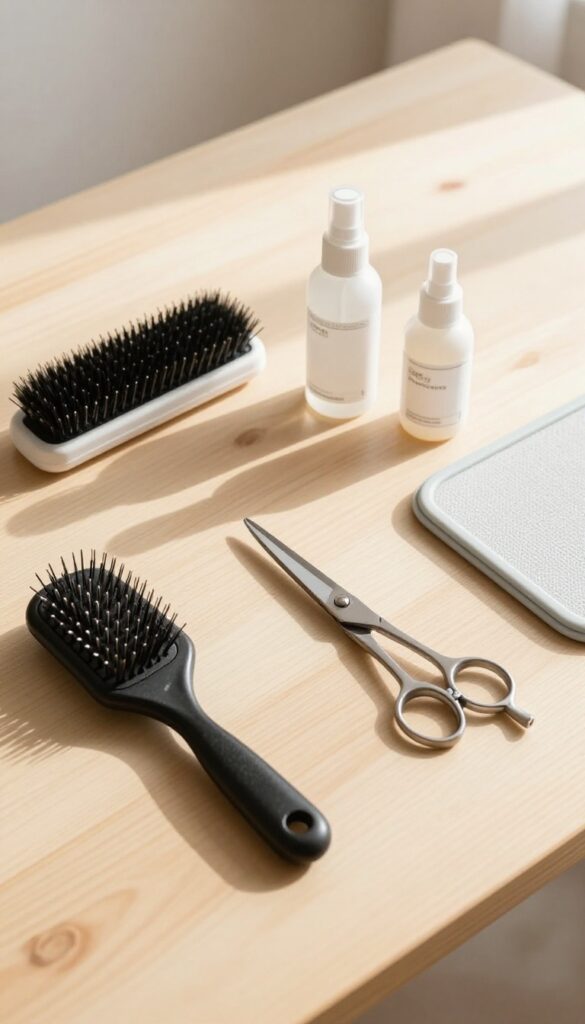
You don't need a professional salon setup, but cheap tools will make grooming harder than it has to be. A flimsy brush that yanks fur or dull clippers that pinch can turn a calm session into a struggle. Investing in a few high-quality essentials pays off in comfort for your dog and ease for you.
Start With A Great Brush
A good brush removes loose fur without scratching the skin. For short coats, a rubber curry brush works wonders. For long or double coats, a slicker brush or an undercoat rake is a must.
Test the bristles on your own arm—if it hurts you, it'll hurt your dog.
Clippers And Scissors Matter
Dull nail clippers can split the nail, causing pain and bleeding. Look for sharp, guillotine-style or scissor-style clippers with a safety guard. Grooming scissors should have rounded tips to avoid accidental pokes.
A good pair will last years and make trimming safer.
Don't Forget The Little Things
A grooming table or non-slip mat gives your dog stability and confidence. A detangling spray or conditioner can prevent breakage when brushing. And a high-velocity dryer (even a pet-specific one) cuts drying time dramatically.
These extras turn a chore into a breeze.
13. Know When to Call a Professional
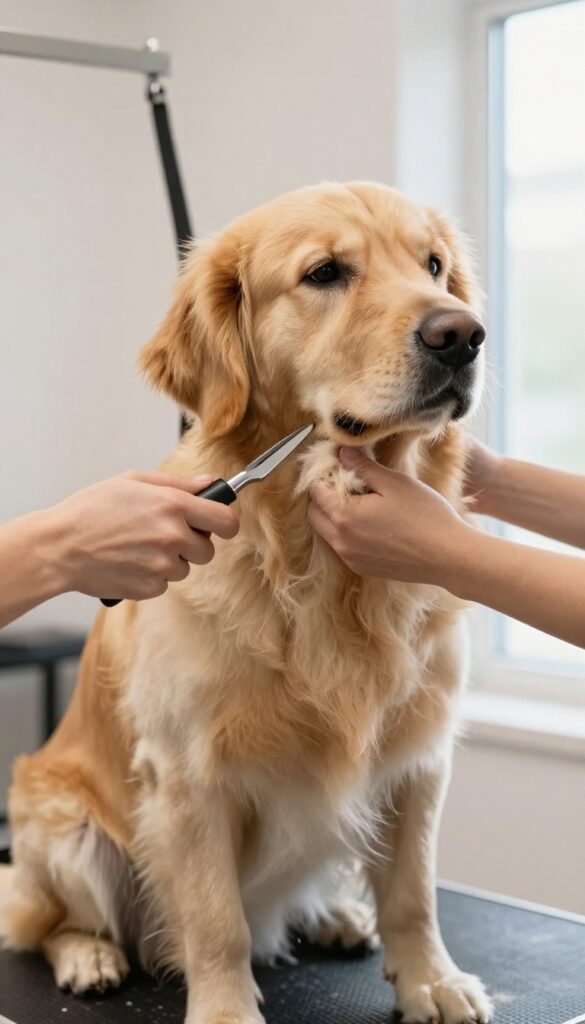
Even the most dedicated home groomer has limits. Some situations are better handled by someone with training and experience. Recognizing those moments keeps your dog safe and your stress levels low.
Matted Coats Need Expert Hands
When fur is tightly matted close to the skin, DIY attempts can easily cut or nick your dog. Professionals have specialized tools and techniques to remove mats safely, often without shaving the whole coat. If you can't comb through a mat, don't force it.
Aggressive Or Fearful Dogs Require Experience
If your dog growls, snaps, or panics during grooming, pushing through can damage trust and lead to bites. A professional groomer knows how to handle anxious dogs with patience and proper restraint. They can also spot underlying pain or health issues that might be causing the behavior.
Medical Or Skin Issues Need A Vet, Not A Groomer
Lumps, rashes, hot spots, or parasites are not grooming problems — they're medical ones. If you notice anything unusual on your dog's skin, schedule a vet visit before any grooming. A professional will also advise you to seek veterinary care if they spot something concerning.
Nail Trimming Can Go Wrong Fast
Cutting the quick is painful and bloody, and some dogs have dark nails that make it nearly impossible to see. If your dog squirms or you're unsure, let a pro handle the nails. They can also grind them smoothly, which reduces the risk of splitting.
FAQ
How often should I brush my dog?
It depends on the coat type. Short-haired dogs may need brushing once a week, while long-haired or double-coated breeds benefit from daily brushing to prevent mats.
Can I use human shampoo on my dog?
No, human shampoo can disrupt a dog's skin pH and cause irritation. Always use a shampoo specifically formulated for dogs.
How do I trim my dog's nails without hurting them?
Use sharp clippers and cut small bits at a time. Look for the pink quick in light nails; for dark nails, cut just before the nail curves downward. Have styptic powder on hand.
What should I do if my dog hates grooming?
Start with short, positive sessions using treats and praise. Gradually increase duration and introduce tools slowly. If fear persists, consult a professional trainer or groomer.
How often should I bathe my dog?
Most dogs need a bath every 4-6 weeks, but it varies by breed and activity level. Over-bathing can dry out the skin, so only bathe when necessary.
Conclusion
Grooming your dog at home doesn't have to be a struggle. With the right tools and a little patience, you can keep your pup looking great while saving money and strengthening your bond.
Start with the tips that feel most doable, then build from there. Your dog will thank you for the extra care—and the treats.

I’m Pallab Kishore, the owner of Little Pets Realm — an animal lover and pet care enthusiast sharing easy tips, healthy recipes, and honest advice to help every small pet live a happy, healthy, tail-wagging life.