We all know the struggle: you reach into your bag for a dog treat and end up with a handful of crumbs. Or worse, a sticky mess. But your pup deserves tasty snacks on walks, at the park, or during training—without the cleanup hassle.
That's where dry, sturdy treats come in. They're portable, mess-free, and perfect for rewarding good behavior. Best of all, making them at home is budget-friendly and lets you control every ingredient.
These eight dry dog snack ideas are designed to stay intact in bags, so you can focus on fun, not crumbs. Each recipe uses simple, dog-safe ingredients and easy steps. Let's get baking!
1. Classic Peanut Butter & Oat Biscuits
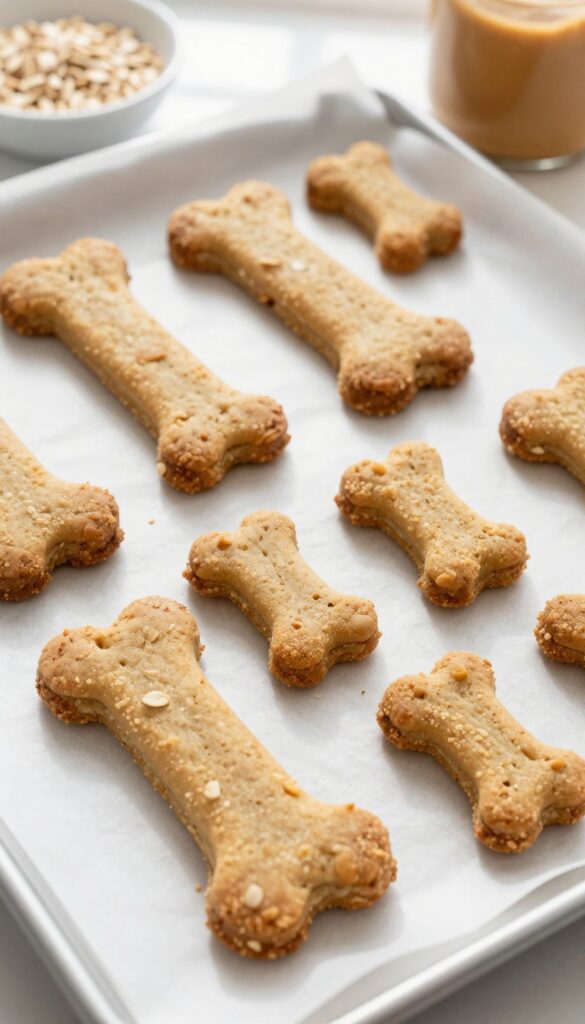
These crunchy, golden biscuits are a dog-treat staple for good reason. Made with whole wheat flour, oats, and unsalted peanut butter, they hold their shape perfectly in a bag or pocket. Plus, the ingredients are budget-friendly and often already in your pantry.
Your dog will love the nutty flavor, and you'll love how simple they are to whip up.
Ingredients
- 1 cup whole wheat flour
- 1 cup rolled oats
- 1/3 cup unsalted peanut butter
- 1/2 cup water (or more as needed)
Instructions
- Preheat oven to 350°F (175°C) and line a baking sheet with parchment paper.
- In a large bowl, mix flour and oats. Add peanut butter and water, stirring until a dough forms. If too dry, add water a tablespoon at a time.
- Roll dough to 1/4-inch thickness on a floured surface. Cut into shapes with a cookie cutter or slice into squares.
- Place biscuits on the baking sheet and bake for 20-25 minutes until golden and firm. Cool completely before serving.
Serving Tip
Store these biscuits in an airtight container at room temperature for up to two weeks, or freeze for longer storage. For small dogs, break into smaller pieces. Always supervise your dog with any treat.
2. Sweet Potato & Cinnamon Chews
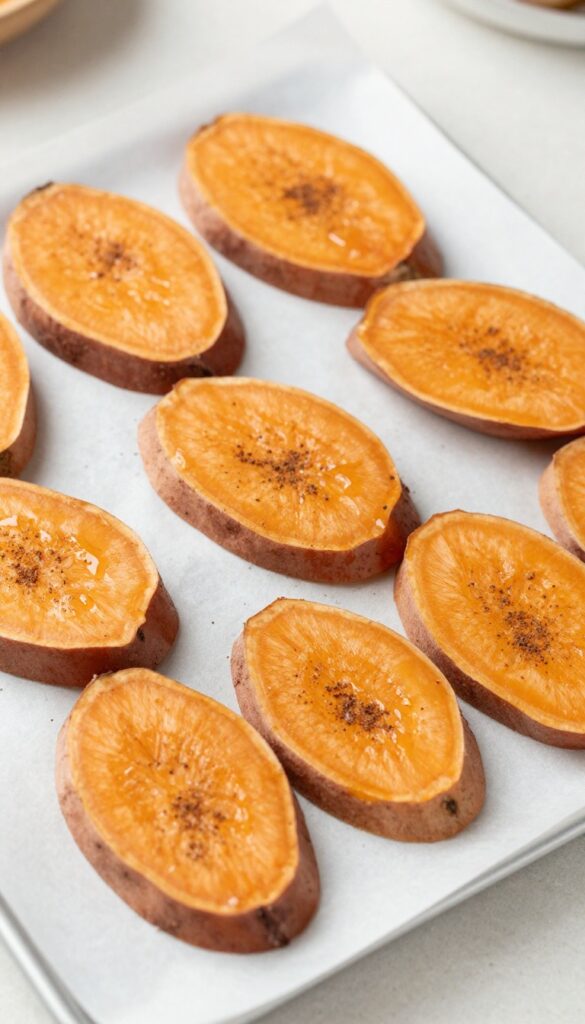
These thin, dehydrated sweet potato slices get a light dusting of cinnamon for a naturally sweet, chewy snack that won't leave a sticky mess in your bag. The low moisture content keeps them from clumping or smudging, so you can grab a handful on the go without a cleanup. Dogs love the subtle spice and soft texture, and owners appreciate how budget-friendly sweet potatoes are compared to store-bought treats.
Ingredients
- 2 large sweet potatoes, washed and unpeeled
- 1/2 teaspoon ground cinnamon
- 1 tablespoon coconut oil, melted (optional, for extra shine)
Instructions
- Slice sweet potatoes into 1/8-inch thick rounds using a mandoline or sharp knife for uniform thickness.
- Toss slices with cinnamon and coconut oil (if using) until evenly coated.
- Arrange slices in a single layer on dehydrator trays and dehydrate at 135°F for 6–8 hours, or until pliable but no longer sticky. Alternatively, bake at 200°F on parchment-lined baking sheets for 2–3 hours, flipping halfway.
Serving Tip
Store these chews in an airtight container at room temperature for up to two weeks. For longer storage, keep them in the fridge. Break larger slices into smaller pieces for training treats, or offer a whole slice as a low-calorie chew for small to medium dogs.
3. Pumpkin & Flaxseed Crunchies
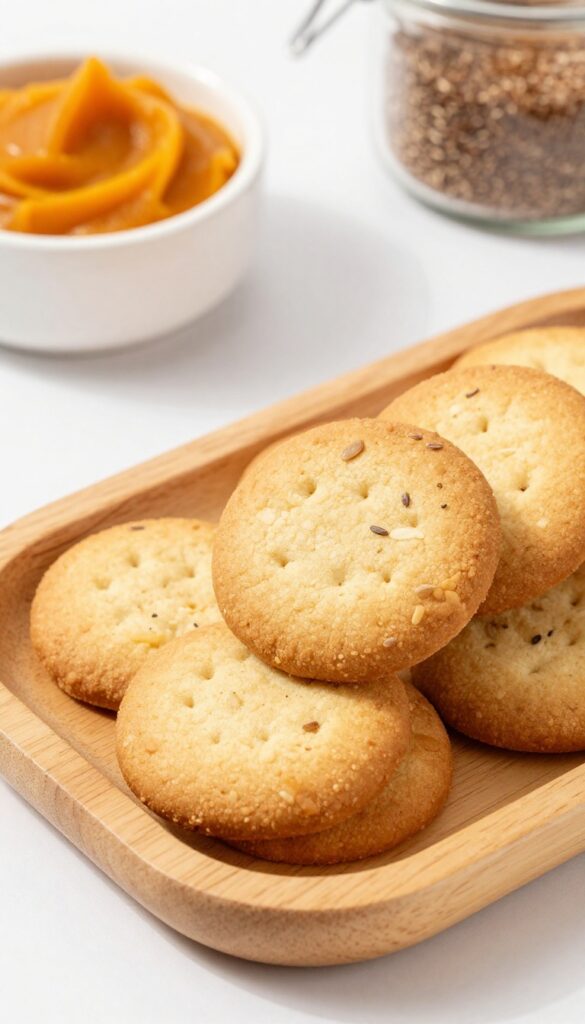
These little cookies are a budget-friendly win for dog owners who want a tidy, travel-ready snack. Canned pumpkin is cheap and packed with fiber, while flaxseed meal adds omega-3s for a shiny coat. Brown rice flour keeps the dough sturdy without breaking the bank.
They bake up crisp, not crumbly, so your bag stays clean on walks or trips to the park. Dogs love the earthy, nutty flavor, and you'll love how simple they are to whip up.
Ingredients
- 1 cup canned pumpkin (100% pure, no added sugar or spices)
- 1/4 cup flaxseed meal
- 1 1/2 cups brown rice flour
- 1/4 cup water (as needed)
Instructions
- Preheat your oven to 350°F (175°C) and line a baking sheet with parchment paper.
- In a bowl, mix the pumpkin and flaxseed meal until combined. Gradually add the brown rice flour, stirring until a stiff dough forms. If it's too dry, add water a tablespoon at a time.
- Roll the dough to about 1/4-inch thickness on a lightly floured surface. Cut into small bite-sized shapes using a cookie cutter or knife.
- Place the shapes on the prepared baking sheet and bake for 20–25 minutes, until firm and lightly golden. Let cool completely before storing.
Serving Tip
Store these crunchies in an airtight container at room temperature for up to two weeks. For smaller dogs, break them into even tinier pieces. They're perfect for stuffing into a treat-dispensing toy or using as a low-calorie training reward.
4. Chicken & Rice Training Bites
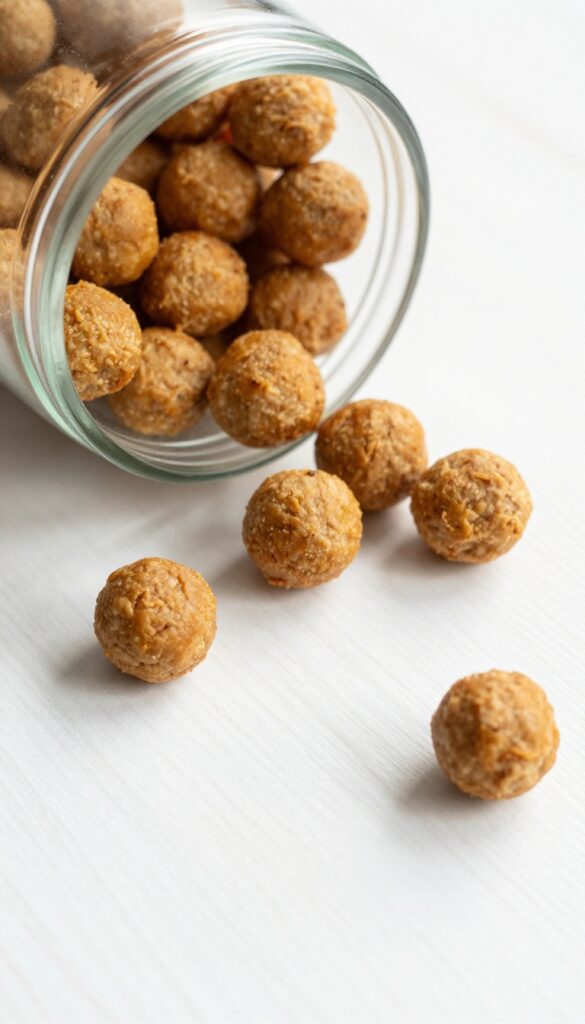
Training treats that crumble or leave greasy fingers are frustrating when you're in the middle of a session. These mini meatballs solve that problem with a budget-friendly blend of ground chicken and cooked rice. The oven drying step firms them up, so they stay intact in your pocket and don't stain your clothes.
Dogs love the savory flavor and soft-yet-chewy texture, making them perfect for reward-based training. Because you control the ingredients, you skip the preservatives and fillers found in commercial treats. Plus, using leftover rice keeps costs low while adding a gentle source of carbohydrates for energy.
Ingredients
- 1 lb ground chicken (or lean ground turkey)
- 1 cup cooked white or brown rice, cooled
- 1 large egg, beaten
Instructions
- Preheat oven to 350°F and line a baking sheet with parchment paper.
- In a bowl, combine ground chicken, cooked rice, and beaten egg until evenly mixed.
- Roll mixture into 1-inch balls and place on the baking sheet, spacing them slightly apart.
- Bake for 20 minutes, then flip each meatball and bake another 10 minutes until firm and lightly browned.
- Let cool completely on the sheet before storing.
Serving Tip
Store these training bites in an airtight container in the refrigerator for up to a week, or freeze for up to three months. For small training sessions, cut each meatball in half to make the treats last longer. Always supervise your dog when giving treats, and adjust portion sizes for your dog's breed and activity level.
5. Apple & Carrot Soft-Baked Sticks
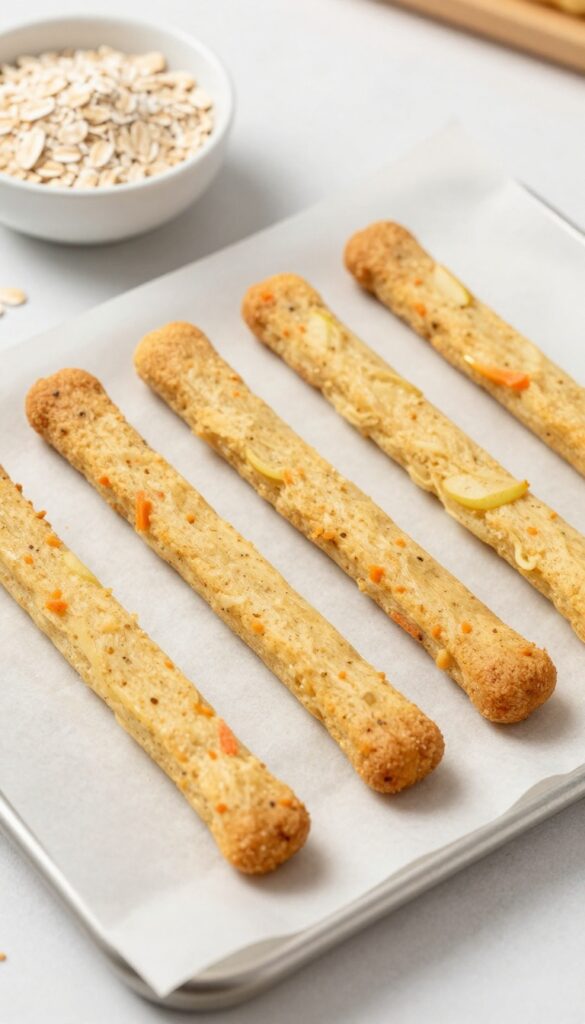
These soft-baked sticks are a budget-friendly way to spoil your dog without breaking the bank. Grated apple and carrot add natural sweetness and moisture, while oat flour keeps the dough affordable and easy to work with. The result is a chewy, non-crumbly treat that stays clean in bags and is gentle on senior teeth.
Your dog will love the fruity aroma, and you'll love how simple and inexpensive they are to make.
Ingredients
- 1 cup oat flour (blended oats)
- 1/2 cup grated apple (peeled and cored)
- 1/2 cup grated carrot
- 1 tablespoon coconut oil (melted)
- 1 egg
Instructions
- Preheat oven to 350°F (175°C) and line a baking sheet with parchment paper.
- In a bowl, mix oat flour, grated apple, grated carrot, melted coconut oil, and egg until a soft dough forms.
- Roll dough into thin logs about 3 inches long and place on the baking sheet.
- Bake for 18-20 minutes until firm but still soft to the touch. Let cool completely before serving.
Serving Tip
Store these sticks in an airtight container in the fridge for up to a week, or freeze for up to three months. They're perfect for stuffing into puzzle toys or breaking into smaller pieces for training rewards. For seniors, serve at room temperature to keep them extra soft.
6. Beef Liver & Coconut Crackers
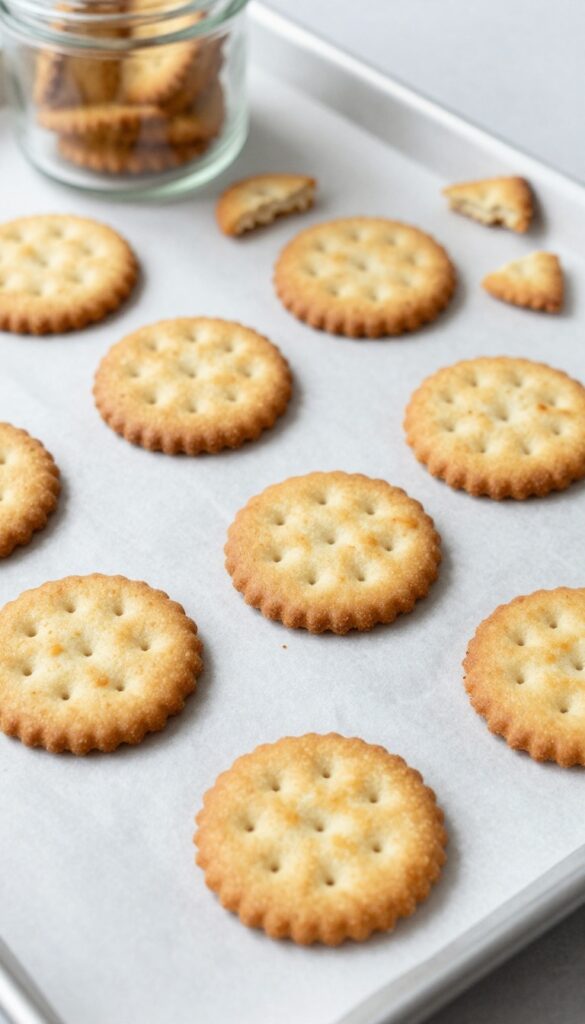
If your dog goes wild for liver treats but your wallet doesn't, these homemade crackers are the answer. Beef liver is one of the most affordable organ meats, and a little goes a long way when blended into a dough. Coconut flour keeps the crackers crisp and shelf-stable, so they stay clean in bags or jars without crumbling.
Your dog will think they're getting a gourmet snack, but you'll know you spent pennies per batch.
Ingredients
- 1/2 pound beef liver, rinsed and roughly chopped
- 1/2 cup coconut flour
- 1 tablespoon coconut oil, melted
- 1/4 cup water (or as needed)
Instructions
- Preheat oven to 350°F and line a baking sheet with parchment paper.
- In a food processor, blend the beef liver until smooth. Add coconut flour, melted coconut oil, and water; pulse until a firm dough forms. If too dry, add water 1 tablespoon at a time.
- Roll the dough between two sheets of parchment paper to about 1/8-inch thickness. Use a pizza cutter or knife to cut into small squares or bone shapes.
- Transfer crackers to the prepared baking sheet and bake for 15–18 minutes, flipping halfway, until edges are golden and crackers are dry to the touch.
- Let cool completely on a wire rack; they will crisp up further as they cool.
Serving Tip
Store these crackers in an airtight container at room temperature for up to 2 weeks, or freeze for up to 3 months. Because they're intensely flavorful, break them into smaller pieces for training treats—one cracker can become several rewards. Always supervise your dog with any new treat.
7. Banana & Honey Drop Cookies
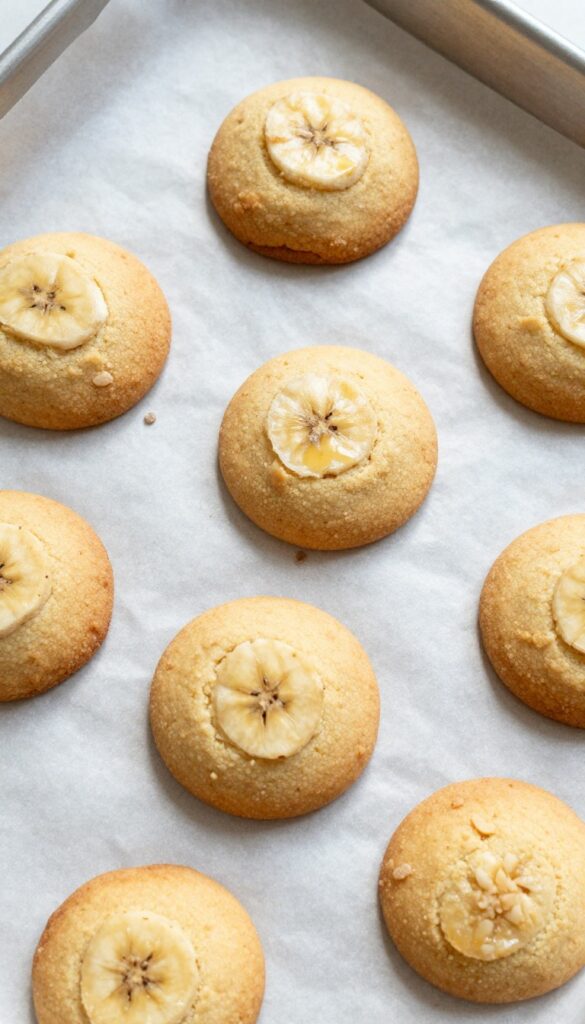
These little cookies are a dream for dog owners on a budget. Mashed banana adds natural sweetness and moisture, while honey brings a touch of flavor and helps bind the dough. Whole wheat flour keeps costs low and gives the cookies a firm, crumb-free texture that won't dust your bag or coat your pup's mouth.
Dogs go wild for the soft, cake-like bite and the gentle banana aroma. Best of all, you probably already have these ingredients in your pantry. No special trips to the store, no expensive flours—just simple, wallet-friendly treats that taste like a homemade hug.
Ingredients
- 1 ripe banana, mashed
- 1 tablespoon honey
- 1 cup whole wheat flour
- 1 tablespoon coconut oil (optional, for extra firmness)
Instructions
- Preheat oven to 350°F (175°C) and line a baking sheet with parchment paper.
- In a bowl, mix mashed banana and honey until smooth. Add whole wheat flour (and coconut oil if using) and stir until a stiff dough forms.
- Drop rounded teaspoonfuls of dough onto the baking sheet, spacing them about 1 inch apart. Flatten slightly with a fork.
- Bake for 12–15 minutes, until edges are golden and cookies feel firm. Let cool completely on a wire rack before storing.
Serving Tip
Store in an airtight container at room temperature for up to a week, or freeze for up to three months. These cookies are soft but sturdy—perfect for stuffing into a treat-dispensing toy or popping into your pocket for walks. Give small dogs half a cookie, and larger dogs up to two per day as a snack.
8. Sardine & Parsley Breath Fresheners
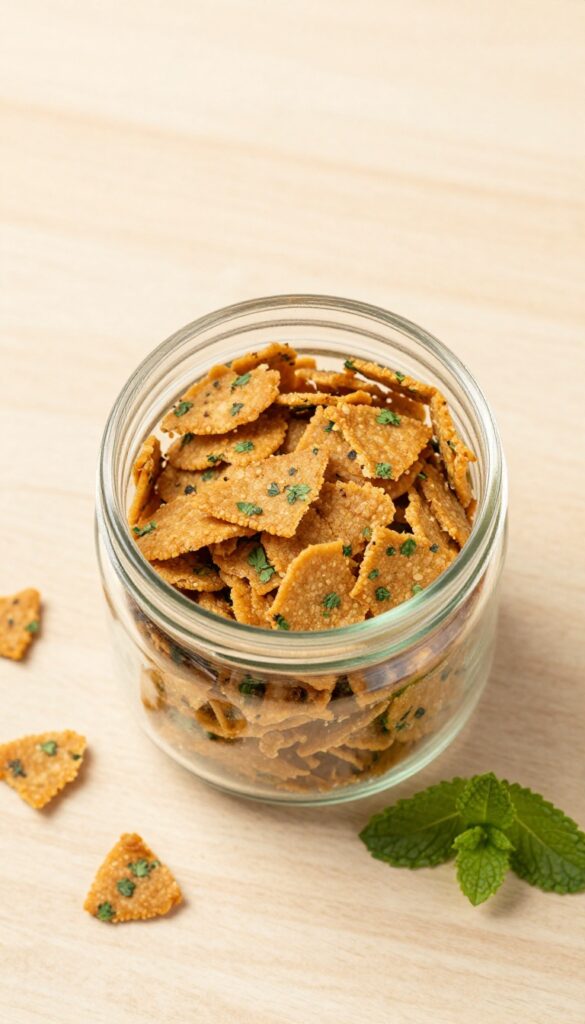
These crispy little patties do double duty: they're a budget-friendly way to use up a can of sardines, and they help keep your dog's breath from clearing the room. The combination of omega-rich fish and fresh parsley works as a natural deodorizer, while the slow dehydration makes them brittle enough to break into training-sized bits. They hold their shape in a bag or jar, so you can grab one on your way out the door without worrying about crumbs everywhere.
Ingredients
- 1 can (3.75 oz) sardines in water, drained
- 1/2 cup finely chopped fresh parsley
- 1/2 cup oat flour (or finely ground rolled oats)
- 1 large egg, beaten
- 1 tablespoon coconut oil, melted
Instructions
- Preheat your oven to 175°F (80°C) or the lowest setting. Line a baking sheet with parchment paper.
- In a bowl, mash the sardines with a fork until they form a paste. Stir in the parsley, oat flour, beaten egg, and melted coconut oil until a stiff dough forms.
- Roll the dough into small balls about 1 inch in diameter, then flatten each into a thin patty about 1/4 inch thick. Place them on the prepared baking sheet.
- Bake for 2.5 to 3 hours, flipping halfway through, until the patties are completely dry and hard. Let cool completely before storing in an airtight container.
Serving Tip
These breath fresheners are potent, so start with half a patty for small dogs and one patty for medium to large dogs. They keep for up to two weeks in a sealed container at room temperature, or up to a month in the fridge. For extra freshness, add a sprig of mint to the storage jar.
FAQ
How long do these homemade dry dog snacks last?
Most of these treats last 2-3 weeks in an airtight container at room temperature. For longer storage, refrigerate or freeze them.
Can I use gluten-free flour in these recipes?
Absolutely! Substitute oat flour, brown rice flour, or coconut flour for wheat flour. Adjust liquid as needed for consistency.
Are these treats suitable for puppies?
Yes, but break them into smaller pieces for tiny mouths. Avoid hard treats for teething puppies; soft-baked options are better.
How do I keep treats from getting stale?
Store in an airtight container with a silica gel packet (food-safe) or a piece of bread to absorb moisture. Keep away from heat.
Can I add supplements like glucosamine?
Yes, you can mix in powdered supplements. Just ensure they are dog-safe and don't affect the texture too much.
Conclusion
Making your own dry dog snacks is a win-win: your dog gets delicious, healthy treats, and you avoid messy bags. These eight ideas are just the start—feel free to experiment with different dog-safe ingredients. Remember to introduce new treats gradually and watch for any allergies.
With a little prep, you'll always have clean, crunchy rewards ready for your furry friend. Happy baking, and enjoy those tail wags!

I’m Pallab Kishore, the owner of Little Pets Realm — an animal lover and pet care enthusiast sharing easy tips, healthy recipes, and honest advice to help every small pet live a happy, healthy, tail-wagging life.