
Last updated on September 4th, 2026 at 02:30 pm
Making your own dog treats is easier than you think, and it's a great way to know exactly what's going into your pup's snacks. Whether you're prepping for the week or just want to spoil your furry friend, these recipes are designed to be simple, practical, and dog-approved.
Meal prep isn't just for humans. With a little planning, you can whip up a batch of healthy treats that last for days or even months.
From frozen goodies for hot days to crunchy biscuits for training, there's something here for every dog. We've rounded up 9 dog treat recipes that are easy to make, use everyday ingredients, and are perfect for batch cooking.
1. Peanut Butter & Banana Frozen Bites
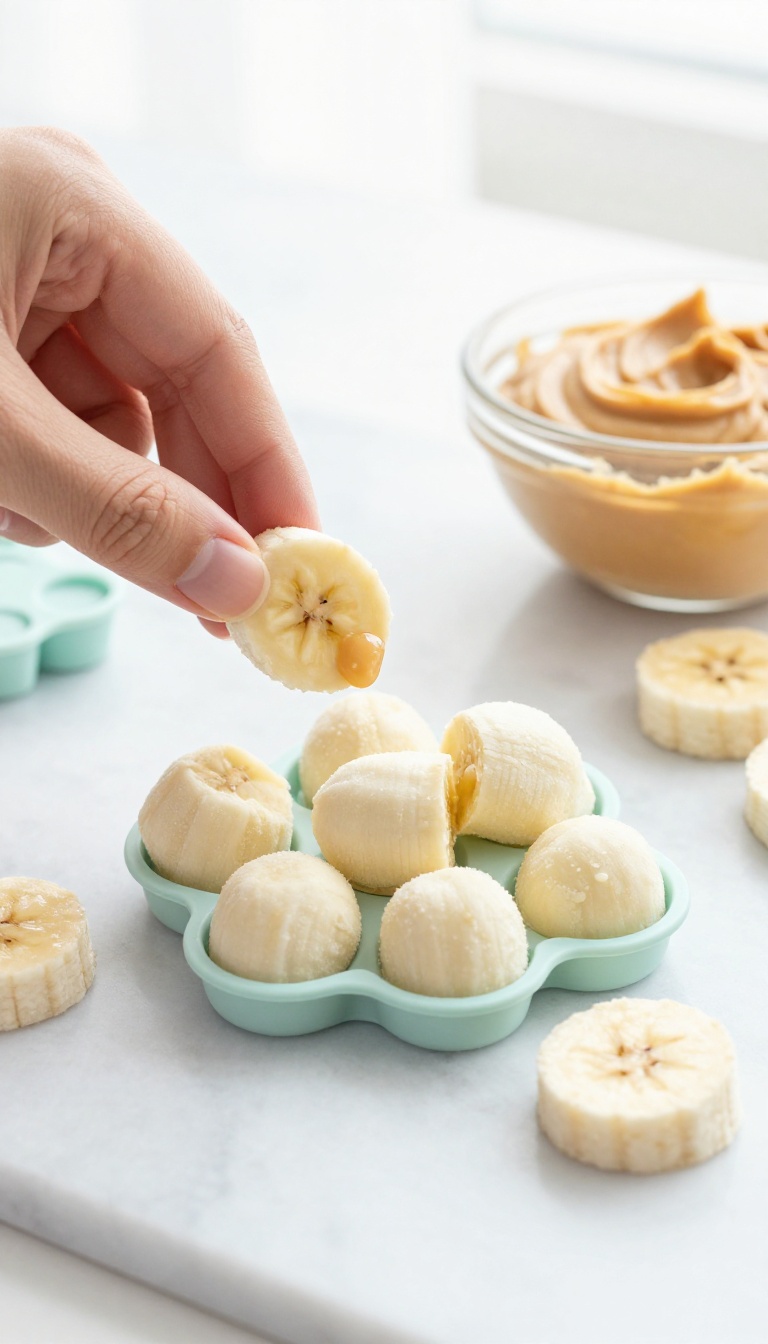
When the temperature climbs, these frozen bites are a lifesaver for keeping your pup cool and happy. They come together in minutes with just three simple ingredients you probably already have in your kitchen. Plus, they're perfect for batch prep—make a big tray on the weekend and you'll have a ready-to-serve snack all week long.
Ingredients
- 2 ripe bananas, mashed
- 1/2 cup unsweetened peanut butter (check that it does not contain xylitol)
- 1/2 cup plain Greek yogurt (or water for a dairy-free option)
Instructions
- In a medium bowl, mash the bananas until smooth. Add the peanut butter and yogurt, and stir until well combined.
- Spoon the mixture into silicone molds or an ice cube tray, filling each cavity almost to the top.
- Place the tray in the freezer for at least 3 hours, or until completely solid.
- Pop the frozen bites out of the molds and store them in a zip-top bag or airtight container in the freezer.
Serving Tip
- These bites are best served straight from the freezer, especially on warm days. For smaller dogs, break a bite in half to keep portions appropriate. They'll soften quickly at room temperature, so only take out what you plan to give right away.
- Stored in an airtight container, they'll keep for up to two months.
2. Sweet Potato Chews for Long-Lasting Chewing
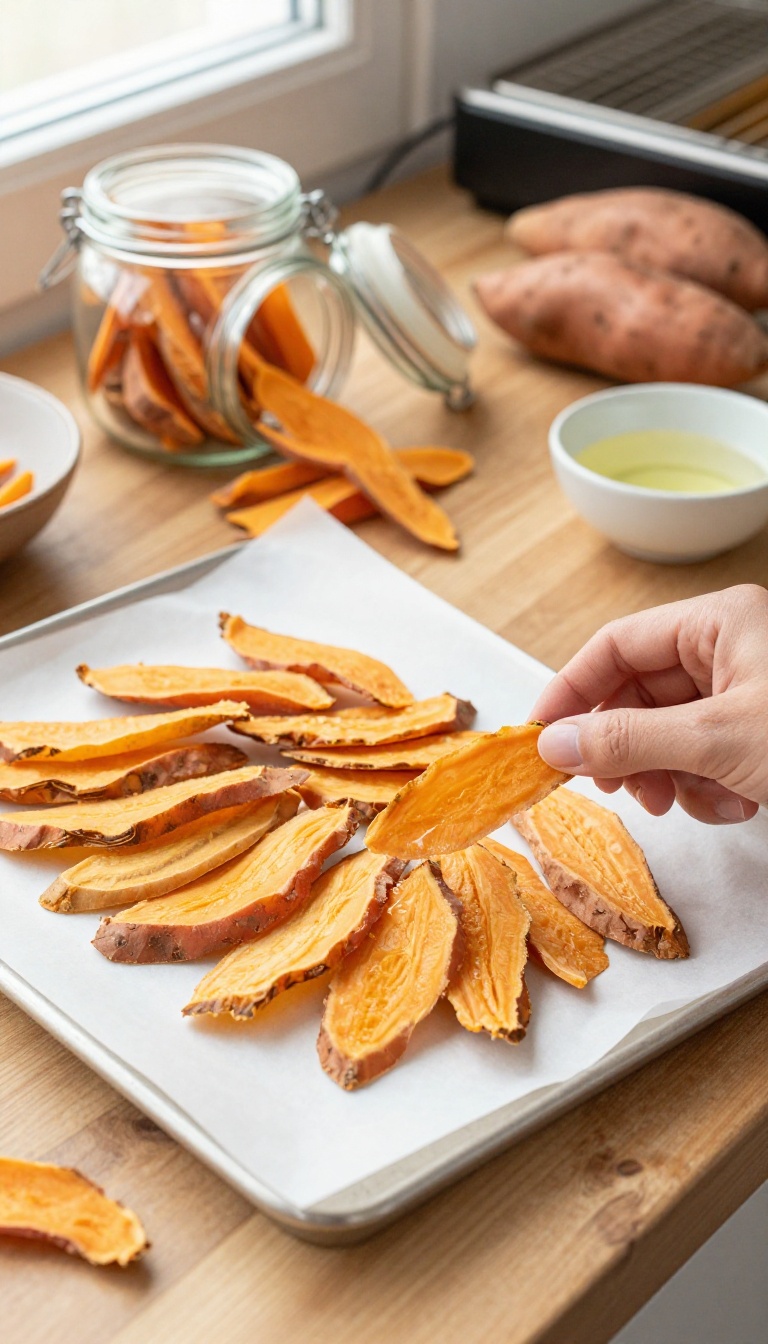
If your dog is a dedicated chewer, you know how quickly store-bought chews disappear—and how much they can cost. These homemade sweet potato chews are a budget-friendly, meal-prep-friendly solution that you can make in bulk. They're simply dehydrated sweet potato slices, which become chewy and satisfying without any added ingredients.
Your dog will love the natural sweetness, and you'll love how easy they are to prepare ahead of time.
Ingredients
- 2 large sweet potatoes, washed and peeled (optional, but recommended for smoother texture)
- 1 tablespoon coconut oil (optional, for a slight sheen and extra flavor)
- 1 cup prepared cooked sweet potato in small dog-safe pieces
- 1 cup oat flour or finely ground oats
- 1 egg or 2 tablespoons unsweetened applesauce for binding
Instructions
- Preheat your oven to 200°F (95°C) or set your dehydrator to 135°F (57°C). Line a baking sheet with parchment paper if using the oven.
- Slice the sweet potatoes into 1/4-inch thick rounds. For a more uniform texture, try to keep the slices even in thickness.
- If using coconut oil, lightly brush the slices on both sides. This step is optional but adds a subtle richness.
- Arrange the slices in a single layer on the baking sheet or dehydrator trays, making sure they don't overlap.
- Bake or dehydrate for 3 to 4 hours, flipping halfway through, until the slices are dry and leathery but still slightly pliable. They will firm up as they cool.
- Let the chews cool completely before serving. Store in an airtight container for up to two weeks, or freeze for longer storage.
- Mix the prepared cooked sweet potato with the oat flour and binder until a soft dough or spoonable mixture forms.
- Shape into small treat portions, bake on a lined tray at 325°F until firm, then cool completely before serving.
Serving Tip
For meal prep, make a big batch and store them in the fridge or freezer. Give your dog one or two chews as a rewarding snack, or break them into smaller pieces for training treats. Always supervise your dog while chewing, and adjust the thickness based on your dog's size and chewing strength.
3. Pumpkin & Oatmeal Training Bites
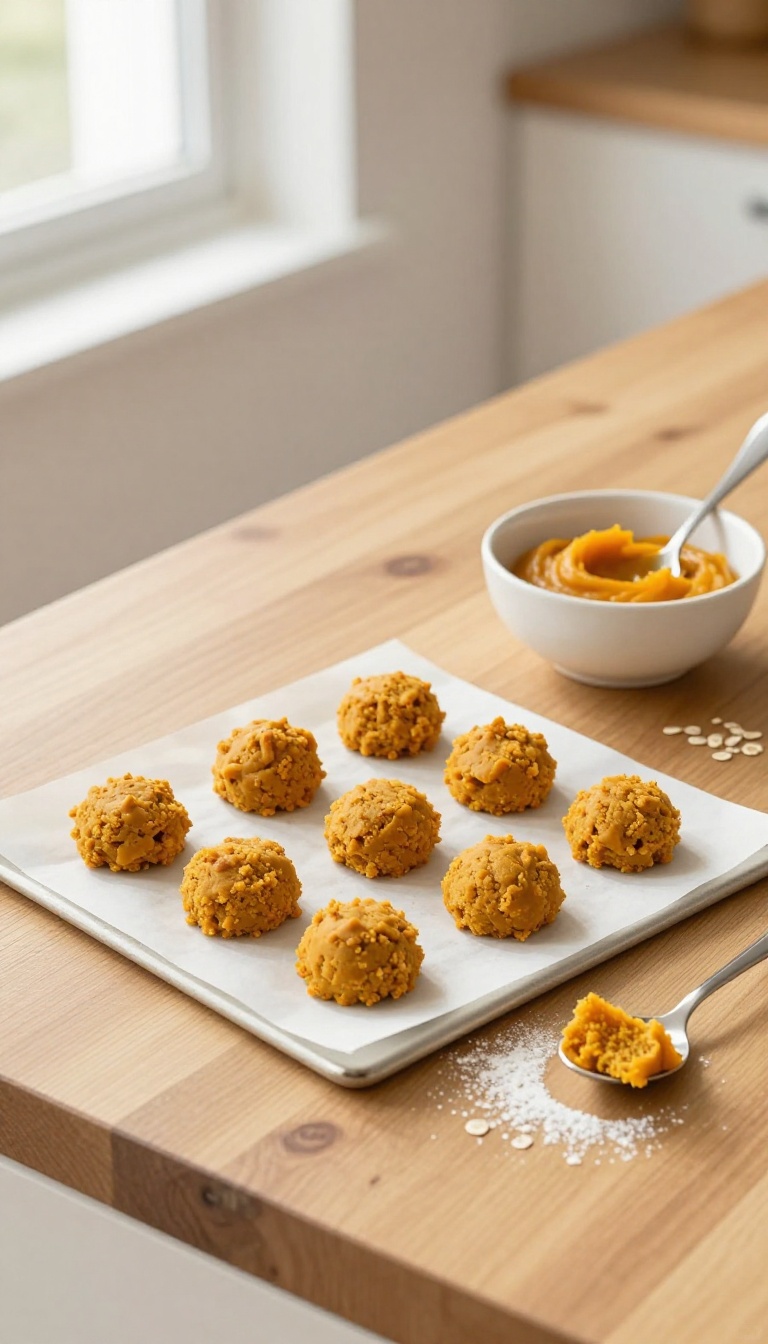
Training sessions go smoother when you have a pocketful of rewards that are easy to grab and quick to chew. These soft bites mix pumpkin and oatmeal into a gentle, stomach-friendly treat that breaks apart into smaller pieces without crumbling into a mess. Since they're baked ahead and stored in the fridge, they're a meal-prep win for busy dog owners who want a reliable snack ready for daily practice.
Ingredients
- 1 cup canned pumpkin (unsweetened, not pumpkin pie filling)
- 1/2 cup rolled oats (or quick oats)
- 1/4 cup peanut butter (xylitol-free, unsalted)
- 1 large egg
- 2 tablespoons oat flour (or more rolled oats blended finely)
Instructions
- Preheat your oven to 350°F (175°C) and line a baking sheet with parchment paper.
- In a large bowl, mix the pumpkin, peanut butter, and egg until smooth.
- Stir in the rolled oats and oat flour until a soft dough forms.
- Scoop small teaspoon-sized portions onto the baking sheet, spacing them about an inch apart.
- Bake for 12–15 minutes, until the bites are set and slightly firm to the touch.
- Let them cool completely before storing in an airtight container in the fridge.
Serving Tip
Keep these bites refrigerated for up to a week, or freeze them for up to three months. For training, break each bite into smaller pieces—they're soft enough to snap easily, so you can reward your dog frequently without overdoing the calories.
4. Chicken & Rice Meatballs for Meal Toppers
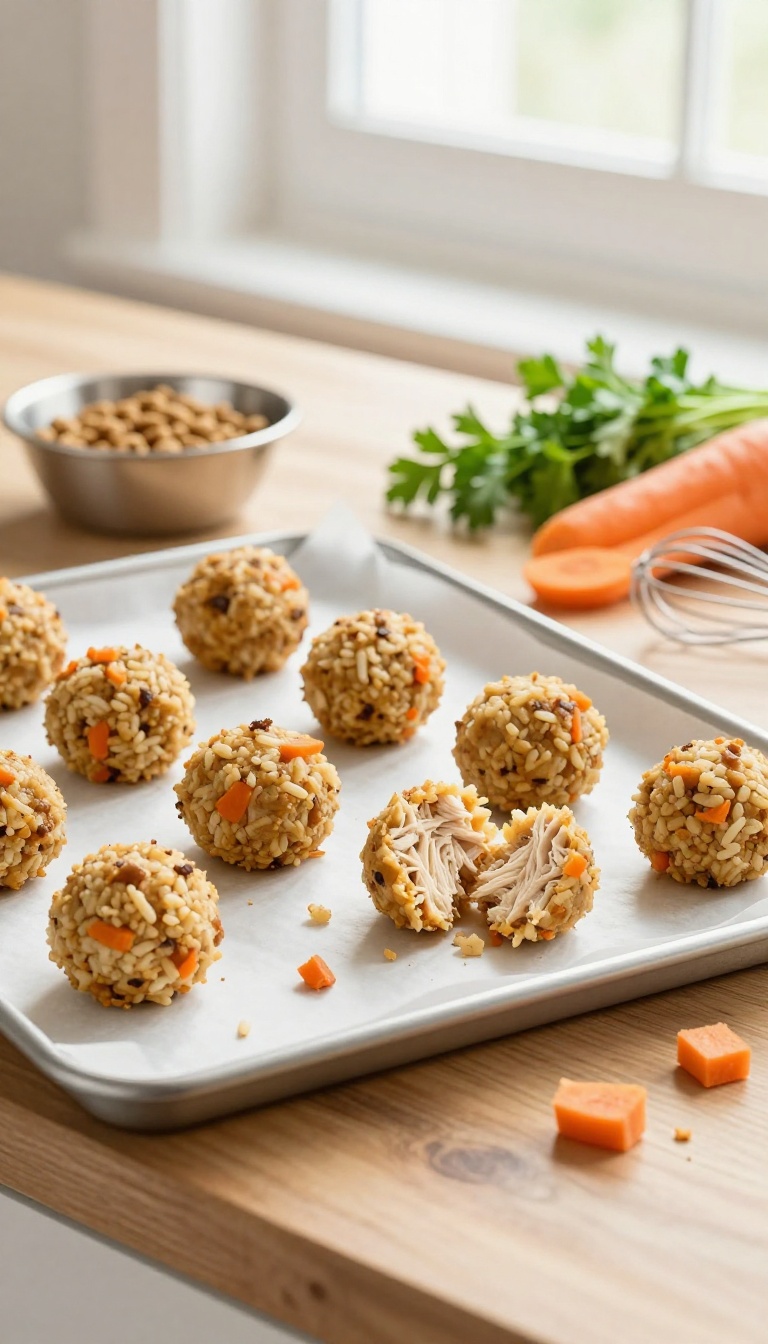
Meal toppers are a simple way to turn your dog's regular kibble into something special, and these chicken and rice meatballs make it easy. Because they're baked in batches, you can prep a week's worth in one go, then grab a couple from the fridge or freezer whenever it's time to serve. The texture is soft enough for most dogs to enjoy, and the mild flavor appeals to picky eaters.
Plus, they're packed with protein and carbs, giving your pup an energy boost without any fuss.
Ingredients
- 1 lb ground chicken
- 1 cup cooked white rice, cooled
- 1 large egg, beaten
- 1/4 cup finely chopped fresh parsley (optional)
- 1/4 cup grated carrots
Instructions
- Preheat your oven to 350°F (175°C) and line a baking sheet with parchment paper.
- In a large bowl, combine the ground chicken, cooked rice, beaten egg, parsley (if using), and grated carrots. Mix gently until everything is evenly distributed.
- Roll the mixture into small, bite-sized meatballs, about 1 inch in diameter, and place them on the prepared baking sheet.
- Bake for 20-25 minutes, or until the meatballs are cooked through and lightly browned on the outside. Let them cool completely before serving or storing.
Serving Tip
- These meatballs are meant to be served as a meal topper, not a full meal. For a 30-pound dog, start with 2-3 meatballs crumbled over their regular food, adjusting based on their size and activity level. Store leftovers in an airtight container in the fridge for up to 5 days, or freeze them in a single layer on a baking sheet, then transfer to a freezer bag for up to 3 months.
- Thaw frozen meatballs in the fridge overnight before use.
5. Carrot & Apple Crunchy Biscuits
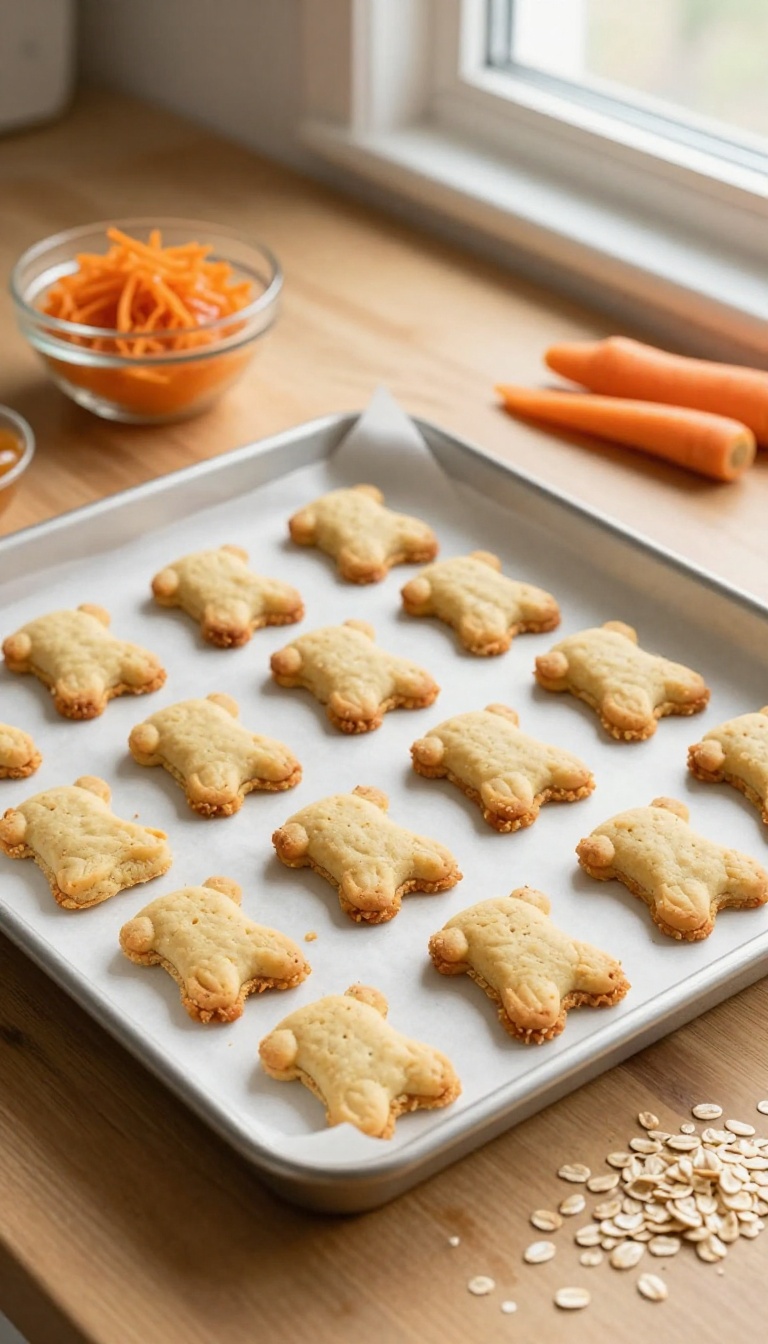
These crunchy biscuits are a breeze to whip up when you're already meal-prepping for the week. Since they bake in one batch and keep well in an airtight container, you can make a big tray on Sunday and have a ready-to-grab snack for training or rewarding good behavior all week long. The combo of shredded carrot and unsweetened applesauce gives them a naturally sweet, earthy flavor that most dogs find irresistible, while the oats and whole wheat flour provide a sturdy crunch that helps scrape away plaque as your pup chews.
Ingredients
- 1 cup rolled oats
- 1 cup whole wheat flour (or oat flour for a grain-free option)
- 1/2 cup finely shredded carrot (about 1 medium carrot)
- 1/4 cup unsweetened applesauce
- 1/4 cup water (or more as needed)
- 1 tablespoon coconut oil, melted
Instructions
- Preheat your oven to 350°F (175°C) and line a baking sheet with parchment paper.
- In a large bowl, mix the oats, flour, and shredded carrot until well combined.
- Add the applesauce, water, and melted coconut oil, stirring until a dough forms. If the dough feels too dry, add water a teaspoon at a time until it holds together.
- Turn the dough out onto a lightly floured surface and roll it to about 1/4-inch thickness.
- Use dog-shaped cookie cutters (or any fun shapes) to cut out biscuits, then place them on the prepared baking sheet.
- Bake for 25–30 minutes, until the edges are golden and the biscuits are firm to the touch. Let them cool completely before serving.
Serving Tip
Store these biscuits in an airtight container at room temperature for up to two weeks, or freeze them for up to three months. For smaller dogs, break them into smaller pieces to avoid overfeeding. A medium-sized dog can enjoy one biscuit as a treat, but adjust based on your pup's size and daily calorie needs.
6. Blueberry & Yogurt Frozen Pops
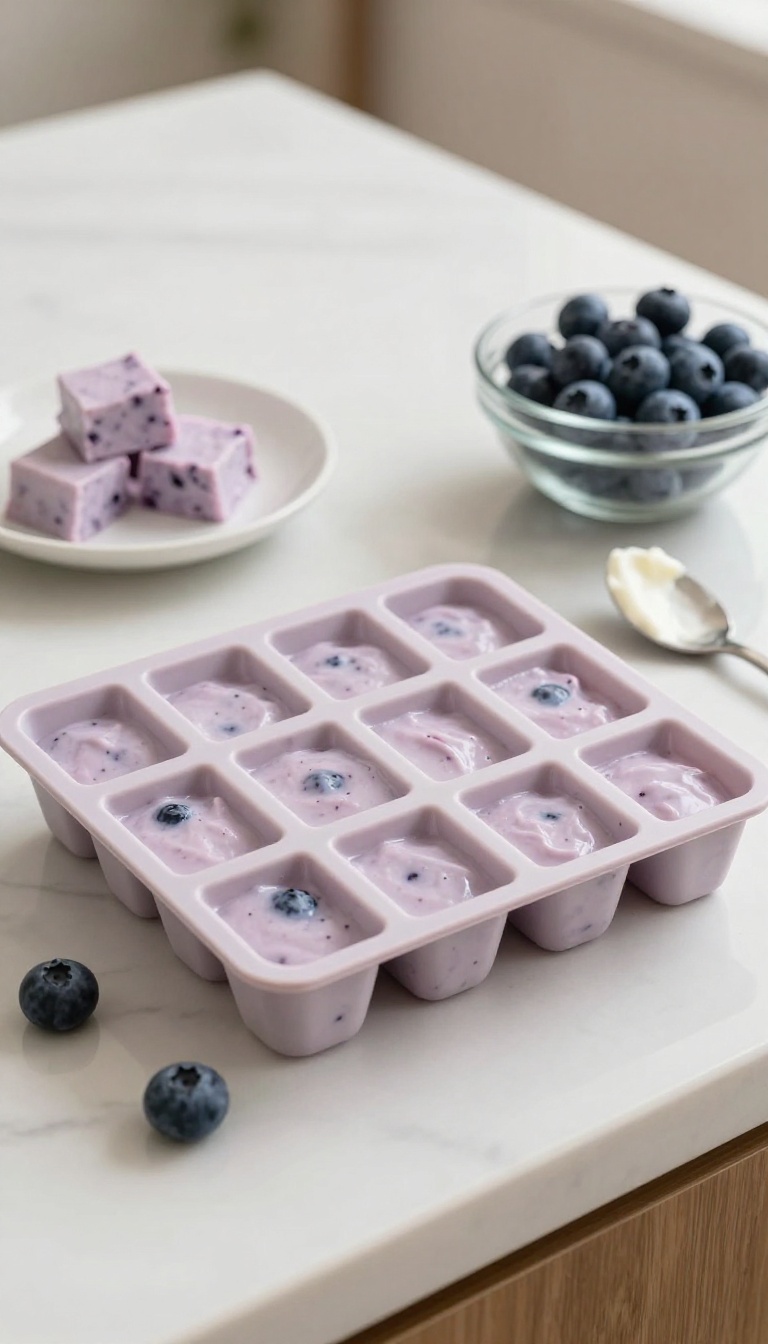
When the weather turns warm, a frozen snack can be a lifesaver for keeping your pup comfortable and entertained. These Blueberry & Yogurt Frozen Pops are a breeze to make, especially if you're already doing some meal prep for the week. Just blend, pour, and freeze—no baking required, and cleanup is minimal.
The creamy yogurt and sweet blueberries create a refreshing combo that most dogs find irresistible, and you'll love how easy they are to grab from the freezer when you need a quick, calming treat.
Ingredients
- 1 cup plain, unsweetened yogurt (check for xylitol)
- 1/2 cup fresh or frozen blueberries
- 1 tablespoon honey (optional, for extra sweetness)
- Silicone molds or ice cube trays
Instructions
- In a blender, combine the yogurt, blueberries, and honey (if using). Blend until smooth, scraping down the sides as needed.
- Pour the mixture into silicone molds or ice cube trays, filling each cavity about three-quarters full.
- Tap the molds gently on the counter to release any air bubbles, then place them in the freezer for at least 3 hours, or until completely solid.
- Once frozen, pop the treats out of the molds and store them in a freezer-safe bag or container.
Serving Tip
These frozen pops are perfect for hot days, but they can also be a great way to keep your dog busy during quiet time. Start with a small piece to see how your dog handles the cold, and always supervise to prevent overzealous chewing. Store leftovers in the freezer for up to two weeks, and consider using a reusable silicone mold for easy release and less waste.
7. Salmon & Sweet Potato Jerky Strips
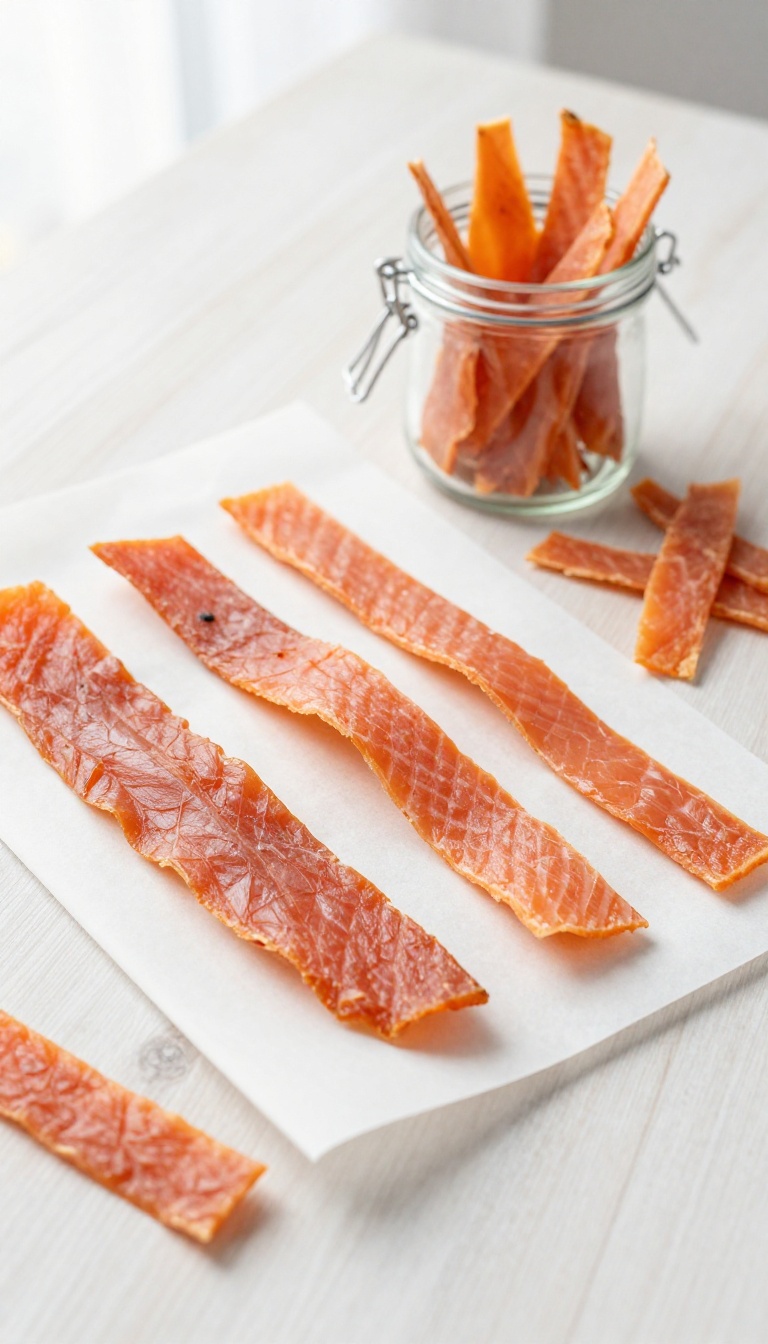
If you're prepping meals for the week, these jerky strips can be made in big batches and stored for days. The combination of salmon and sweet potato gives your pup a chewy, savory snack that's packed with omega-3s and fiber. Plus, the slow-baking process makes them perfect for dogs with food sensitivities.
Ingredients
- 1 lb skinless, boneless salmon fillet
- 1 medium sweet potato (about 1 cup, cooked and mashed)
- 1/2 cup oat flour (or more, as needed)
- 1 large egg, beaten
Instructions
- Preheat your oven to 170°F (or the lowest setting) and line a baking sheet with parchment paper.
- Cook the sweet potato by boiling or roasting until soft, then mash and let cool.
- In a food processor, pulse the salmon until finely minced, then add the mashed sweet potato, oat flour, and beaten egg. Blend until a thick, sticky dough forms.
- Spread the dough evenly onto the lined baking sheet to about 1/4-inch thickness. Use a spatula to smooth the top.
- Bake for 3 to 4 hours, until the surface is dry and the texture is firm but slightly pliable. Let cool completely.
- Cut into strips with a knife or pizza cutter. Store in an airtight container in the fridge for up to a week, or freeze for longer storage.
Serving Tip
These jerky strips are great for training or as a high-value reward. Since they're chewy, they work well for dogs who like to gnaw, but break them into smaller pieces for smaller pups. Keep them refrigerated to maintain the chewy texture, and always supervise your dog while enjoying any treat.
8. Spinach & Cheese Mini Muffins
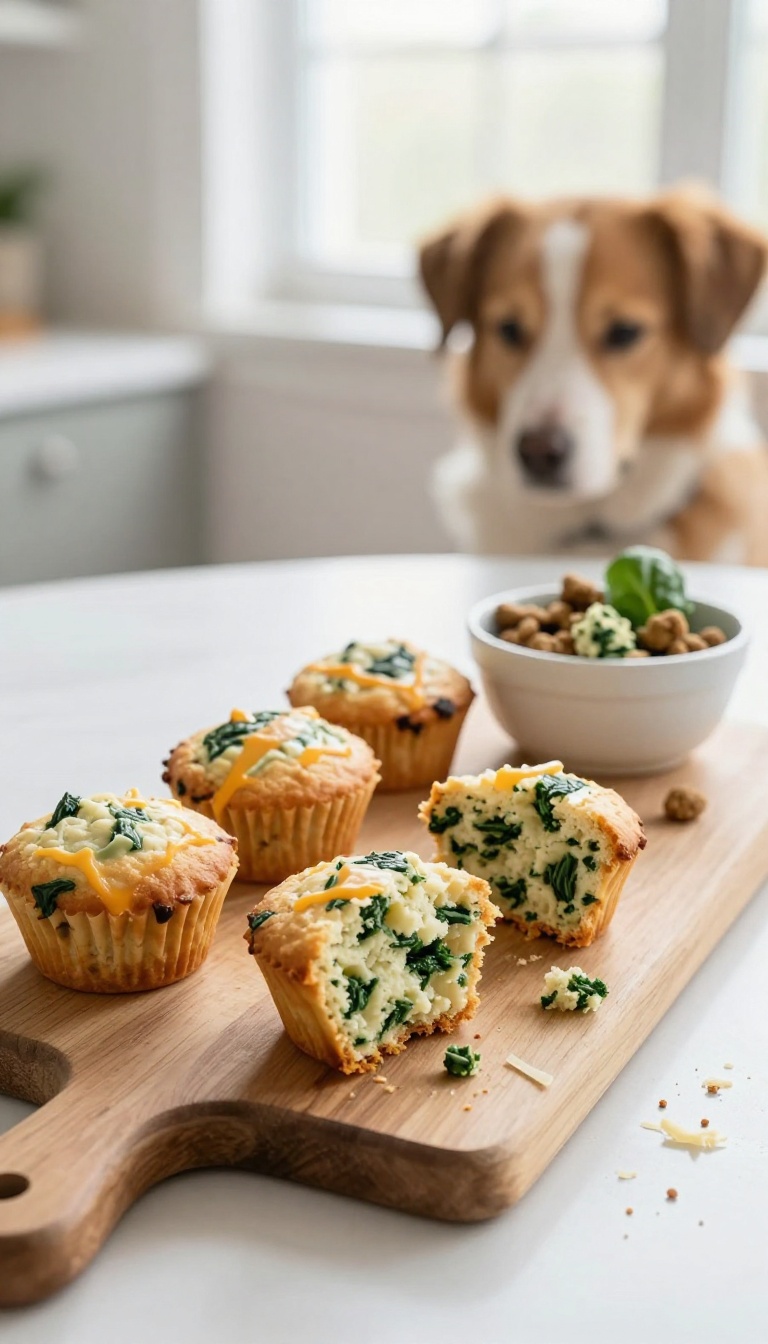
These savory mini muffins are a great make-ahead option for busy dog owners. They're packed with leafy greens and cheese, giving your pup a nutrient boost in a bite-sized form. Plus, they're easy to grab for a quick training reward or a midday snack.
Ingredients
- 1 cup whole wheat flour
- 1/2 cup rolled oats
- 1 teaspoon baking powder
- 1/2 cup fresh spinach, finely chopped
- 1/2 cup shredded cheddar cheese (low-fat is fine)
- 1 large egg
- 1/2 cup plain Greek yogurt (unsweetened)
- 1/4 cup water (or low-sodium chicken broth)
Instructions
- Preheat your oven to 350°F (175°C) and lightly grease a mini muffin tin.
- In a large bowl, whisk together the flour, oats, and baking powder. Add the chopped spinach and shredded cheese, stirring to coat.
- In a separate bowl, beat the egg, then mix in the yogurt and water until smooth. Pour the wet ingredients into the dry and stir until just combined—don't overmix.
- Spoon the batter into the mini muffin cups, filling each about 3/4 full. Bake for 12–15 minutes, or until a toothpick inserted in the center comes out clean.
- Let the muffins cool completely in the tin for 5 minutes, then transfer to a wire rack to cool fully before serving.
Serving Tip
These muffins are perfect for meal prep—store them in an airtight container in the fridge for up to 5 days, or freeze for up to 3 months. For a quick breakfast, crumble one over your dog's regular food, or use them as a training treat by breaking them into smaller pieces. Always check with your vet if you're unsure about introducing new ingredients.
9. Coconut & Honey No-Bake Energy Balls
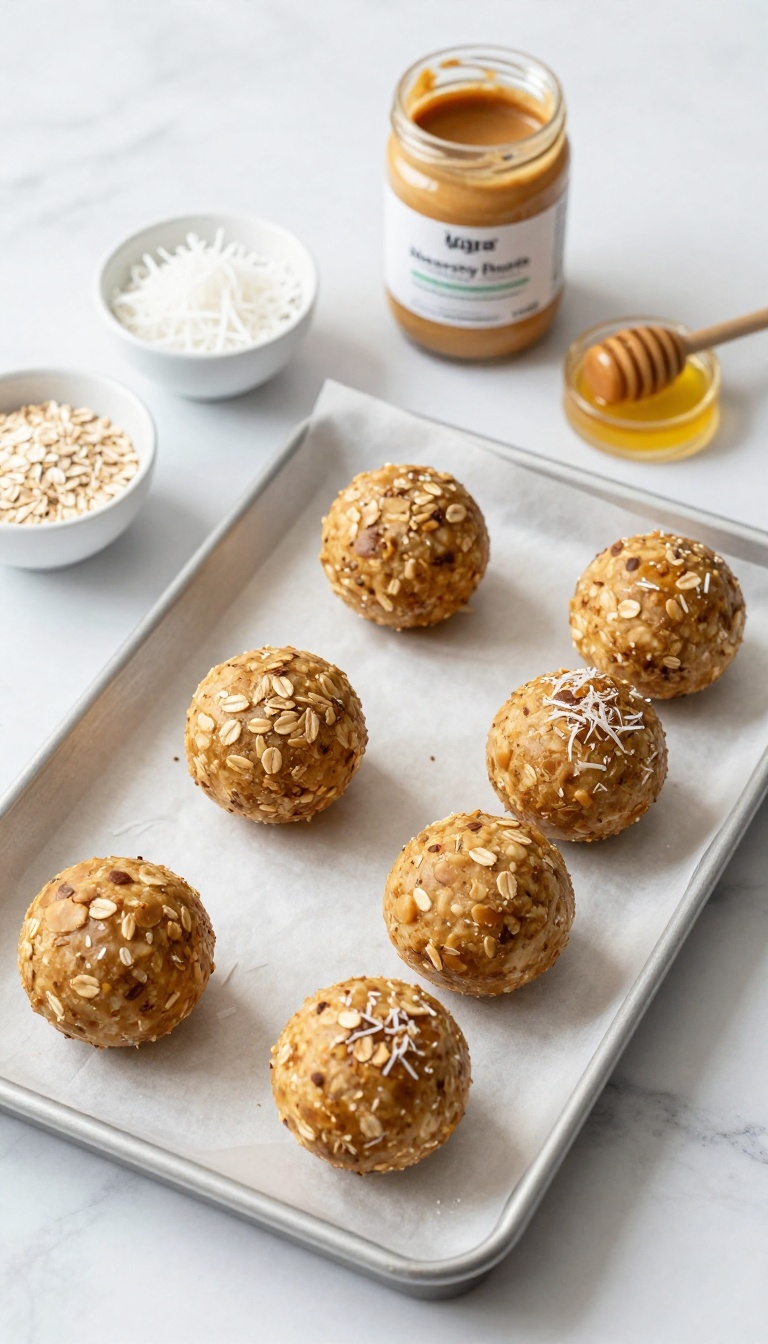
When your dog's tail starts wagging at the sight of the treat jar, you want something you can whip up without turning on the oven. These no-bake energy balls come together in minutes and are perfect for busy weeks when you need a batch of homemade snacks ready to go. The natural sweetness of honey and the tropical hint of coconut make them a hit with most pups, while the oats and peanut butter add staying power for active dogs.
Plus, they store beautifully in the fridge, so you can grab one for a walk or a training session without any fuss.
Ingredients
- 1 cup rolled oats
- 1/2 cup unsweetened shredded coconut
- 1/4 cup natural peanut butter (xylitol-free)
- 2 tablespoons honey
- 1 tablespoon coconut oil, melted
Instructions
- In a medium bowl, combine the rolled oats and shredded coconut. Stir in the peanut butter, honey, and melted coconut oil until everything is well mixed.
- Roll the mixture into small balls about 1 inch in diameter. If the dough feels too sticky, chill it for 10 minutes before rolling.
- Place the energy balls on a parchment-lined baking sheet and refrigerate for at least 30 minutes to firm up. Store in an airtight container in the fridge for up to one week.
Serving Tip
These energy balls are great for training or as a quick snack between meals. For smaller dogs, break a ball into smaller pieces to avoid overfeeding. You can also freeze them for up to three months – just thaw a few in the fridge overnight before serving.
FAQ
How long do homemade dog treats last?
It depends on the recipe and storage. Baked treats can last up to two weeks in an airtight container at room temperature, while frozen treats can last up to three months in the freezer. Always check for signs of spoilage before feeding.
Can I substitute ingredients in these recipes?
Yes, but be careful. Stick to dog-safe substitutions. For example, you can swap peanut butter for other nut butters, but avoid xylitol.
Always introduce new ingredients gradually to avoid digestive upset.
Are these treats suitable for puppies?
Most of these treats are fine for puppies, but always consult your vet first. Puppies have different nutritional needs, and some ingredients like honey should be avoided in very young puppies. Start with small amounts.
How should I store homemade dog treats?
Store baked treats in an airtight container at room temperature for up to two weeks. For longer storage, keep them in the fridge or freezer. Frozen treats should be kept in the freezer and thawed slightly before serving.
Can I use these treats for training?
Absolutely! Many of these recipes, like the Pumpkin & Oatmeal Training Bites, are perfect for training because they're soft and easy to break into small pieces. Just adjust the size to keep calories in check.
Conclusion
Making your own dog treats is a rewarding way to show your pup you care. With these 9 meal-prep-friendly recipes, you can save time, control ingredients, and keep your dog happy and healthy. Start with one or two recipes and see which ones your dog loves best.
Remember, every dog is different, so always introduce new treats gradually and consult your vet if you have any concerns. Happy baking, and enjoy those tail wags!

I’m Pallab Kishore, the owner of Little Pets Realm — an animal lover and pet care enthusiast sharing easy tips, healthy recipes, and honest advice to help every small pet live a happy, healthy, tail-wagging life.