
Homemade dog cookies give you a tray of tail-wagging treats and a kitchen that smells like a holiday morning, all without a complicated recipe. You can bake a batch in under an hour, wrap them in a little ribbon, and hand them out to every pup on your list.
The eleven ideas below cover classic peanut butter, festive pumpkin, savory bacon, and even no-bake options for busy days. Each one uses simple ingredients you probably already have, and most freeze well so you can bake ahead.
Pick a few favorites, grab your cookie cutter, and let the dogs do the taste testing.
1. Classic Peanut Butter Dog Cookies
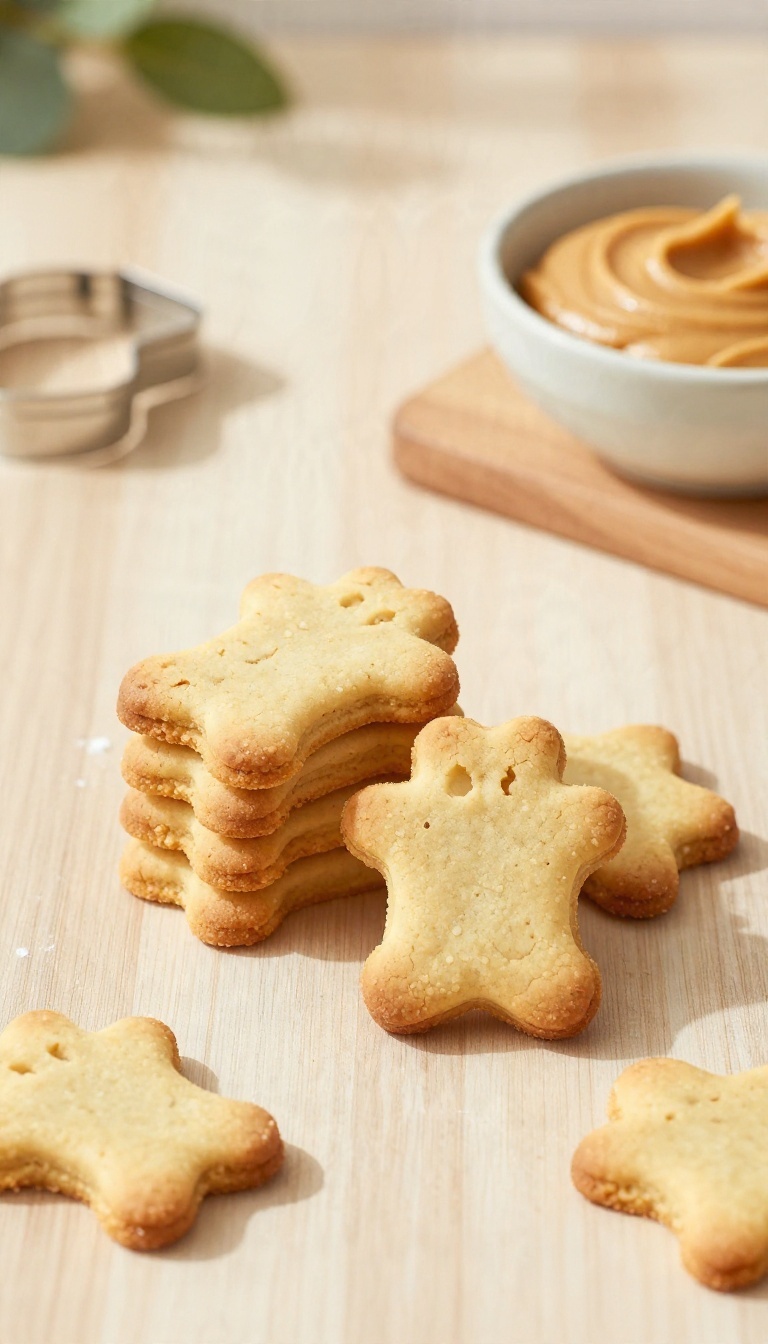
Peanut butter cookies sit at the top of the list for a reason. Three ingredients, one bowl, and a dough that behaves nicely on the counter. Dogs go wild for the smell alone, and you get a sturdy cookie that survives a gift bag.
It's the recipe to start with if you've never baked for your pup before.
You need peanut butter, an egg, and whole wheat flour. That's it. The peanut butter does the heavy lifting on flavor, the egg holds things together, and the flour gives you a dough you can actually roll out.
Use a natural peanut butter with no xylitol, since that sweetener is toxic to dogs. Check the label before you scoop. A creamy style blends smoother than chunky, though either works if you don't mind a little texture.
Mix the peanut butter and egg first, then add flour a little at a time until the dough stops sticking to your hands. If it feels crumbly, add a splash of water. If it's too tacky, dust in more flour.
Rolling And Cutting
Dust your counter and rolling pin lightly, then roll the dough to about a quarter inch thick. Thinner cookies bake crisp and snap; thicker ones stay a bit softer. Use any cookie cutter you like, or slice the dough into small squares with a knife.
Gather the scraps, re-roll, and keep cutting until the dough is gone. You'll get two to three dozen small cookies depending on the cutter size.
Baking And Storing
Bake at 350°F for about 15 to 18 minutes, until the edges firm up and the bottoms turn golden. Let them cool completely on the tray before storing, or they'll go soft from trapped steam. Keep cookies in an airtight container for up to two weeks, or freeze them for a few months.
They hold up well in gift bags and don't crumble in transit.
2. Pumpkin and Oat Holiday Bites
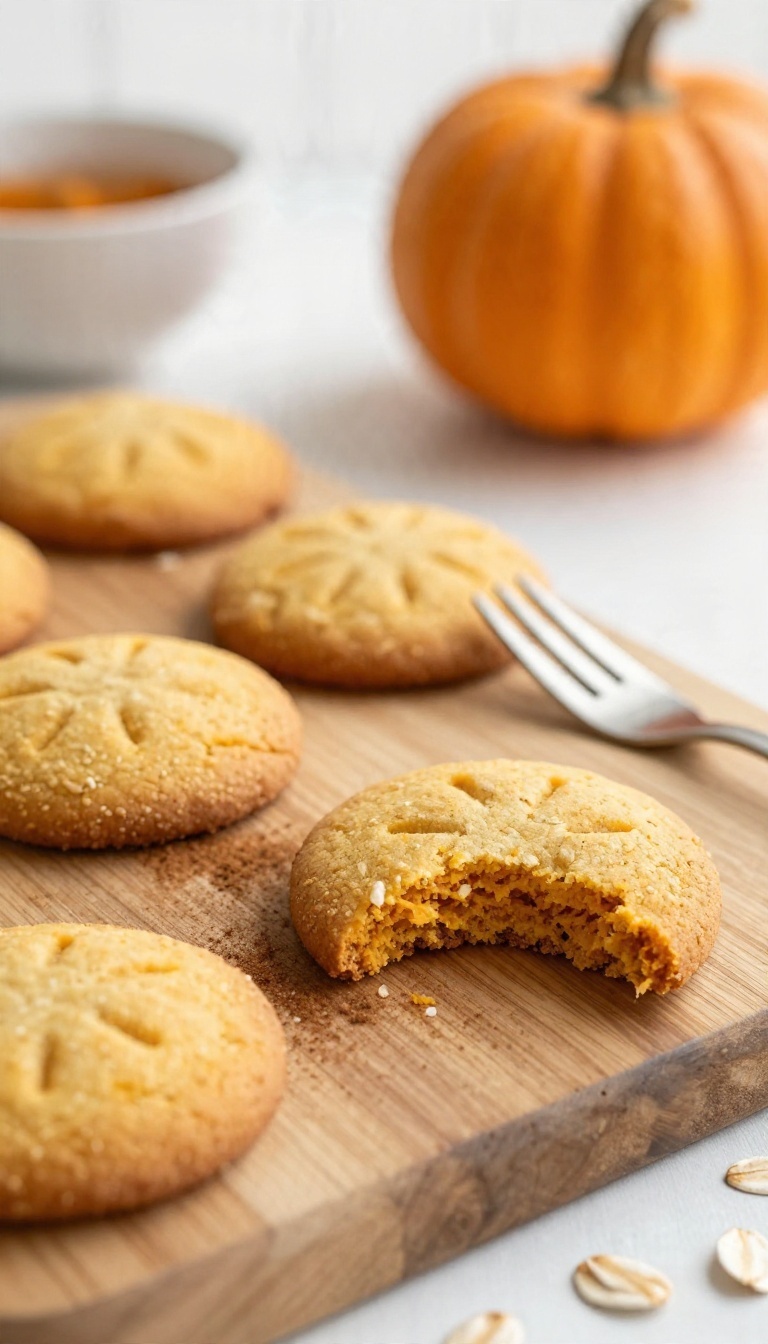
Pumpkin and oat cookies bring a soft, chewy texture that older dogs and picky pups tend to appreciate. The pumpkin keeps things moist without adding much fat, and the oats give each bite a gentle, hearty chew. A pinch of cinnamon and a hint of ginger make them smell like a holiday kitchen, which is a nice bonus for the humans doing the baking.
These bites skip the crisp snap of a classic cutter cookie and land somewhere closer to a soft baked treat. That makes them a good pick for senior dogs with sensitive teeth or any pup who turns up their nose at hard biscuits. The recipe stays simple, and the dough comes together in one bowl with ingredients you likely have in the pantry.
What Goes In
You need plain canned pumpkin, not pumpkin pie filling, since the spiced version often carries added sugar. Rolled oats, an egg, a little whole wheat or oat flour, and a spoon of coconut oil round out the base. For the warm spice notes, add a small amount of ground cinnamon and a lighter pinch of ginger.
Skip nutmeg and cloves in larger amounts, since strong spices can upset a dog's stomach.
Mixing And Shaping
Stir the pumpkin, egg, and oil together first, then fold in the oats, flour, and spices until a soft dough forms. If it feels too sticky, add flour a tablespoon at a time. Scoop rounded teaspoons onto a lined baking sheet and press each one flat with the back of a fork.
They won't spread much, so you can keep them fairly close together.
Baking For A Chewy Texture
Bake at 350°F for about 18 to 22 minutes, pulling them out when the edges set but the centers still feel soft. Let them cool completely on the tray, since they firm up as they rest. For an even chewier bite, take them out a couple of minutes early.
Store them in the fridge for up to a week, or freeze the baked cookies for up to two months.
A Few Dog-safe Notes
Keep the spice amounts modest and taste-test one small cookie before handing out a full batch. Pumpkin is gentle on most dogs, but introduce any new treat slowly. Avoid adding raisins, chocolate, or xylitol-sweetened anything, and check with your vet if your dog has a sensitive stomach or a special diet.
3. Gingerbread Dog Biscuits
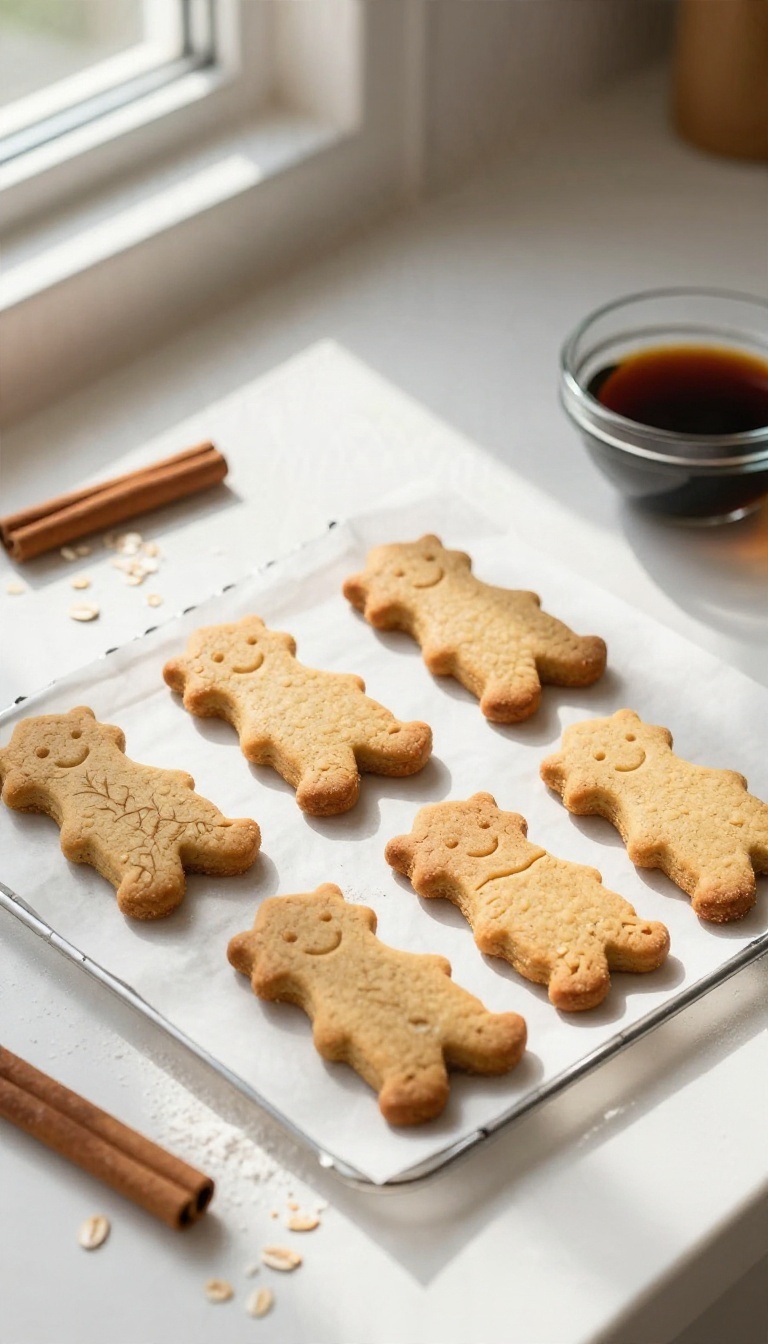
Gingerbread dog biscuits bring the cozy spice of the season to your pup's treat jar. They bake up crisp and hold their shape, so you can cut out little stars, trees, or gingerbread men. The dough comes together with molasses and cinnamon, both dog-safe in small amounts, and fills your kitchen with a warm, nostalgic scent.
These are the cookies you'll want on the counter when guests arrive—or when you're snapping holiday photos of your dog by the tree.
The key to a good gingerbread dog biscuit is balancing flavor with safety. Molasses adds deep sweetness and helps the dough brown nicely, while cinnamon brings that classic gingerbread aroma. Skip the nutmeg and cloves—they're not dog-friendly.
A touch of ginger is fine if you like, but keep it minimal. The dough rolls out easily and doesn't stick too much, so even beginner bakers can handle it.
Ingredients You'll Need
You'll need whole wheat flour, rolled oats, molasses, an egg, a little coconut oil, and ground cinnamon. That's it—no strange additives or preservatives. If your dog has wheat sensitivities, swap in oat flour or a gluten-free blend.
The molasses should be unsulphured blackstrap, which has more nutrients and a richer flavor. Use a tablespoon or two, not more, since too much can upset a sensitive stomach.
Mixing And Shaping
Stir the dry ingredients together, then add the wet ones and mix until a dough forms. It should be slightly tacky but not sticky. Roll it out to about 1/4 inch thick and cut out your shapes.
Place them on a lined baking sheet and bake at 350°F for 20–25 minutes, until firm and dry. Let them cool completely before storing—they'll harden as they cool, giving you that classic crunchy texture.
Decorating For Photos (and Safety)
For holiday photos, you can dress these biscuits up with a simple dog-safe icing made from plain yogurt and a little tapioca starch. Pipe on tiny dots or lines, but keep it minimal—too much sugar isn't great for dogs. Alternatively, press a small piece of dried cranberry or a sprinkle of oats on top before baking for a rustic look.
Just remember: the decorations are for looks, not for eating, so remove any non-edible bits before giving the cookie to your dog.
4. Sweet Potato Chew Cookies
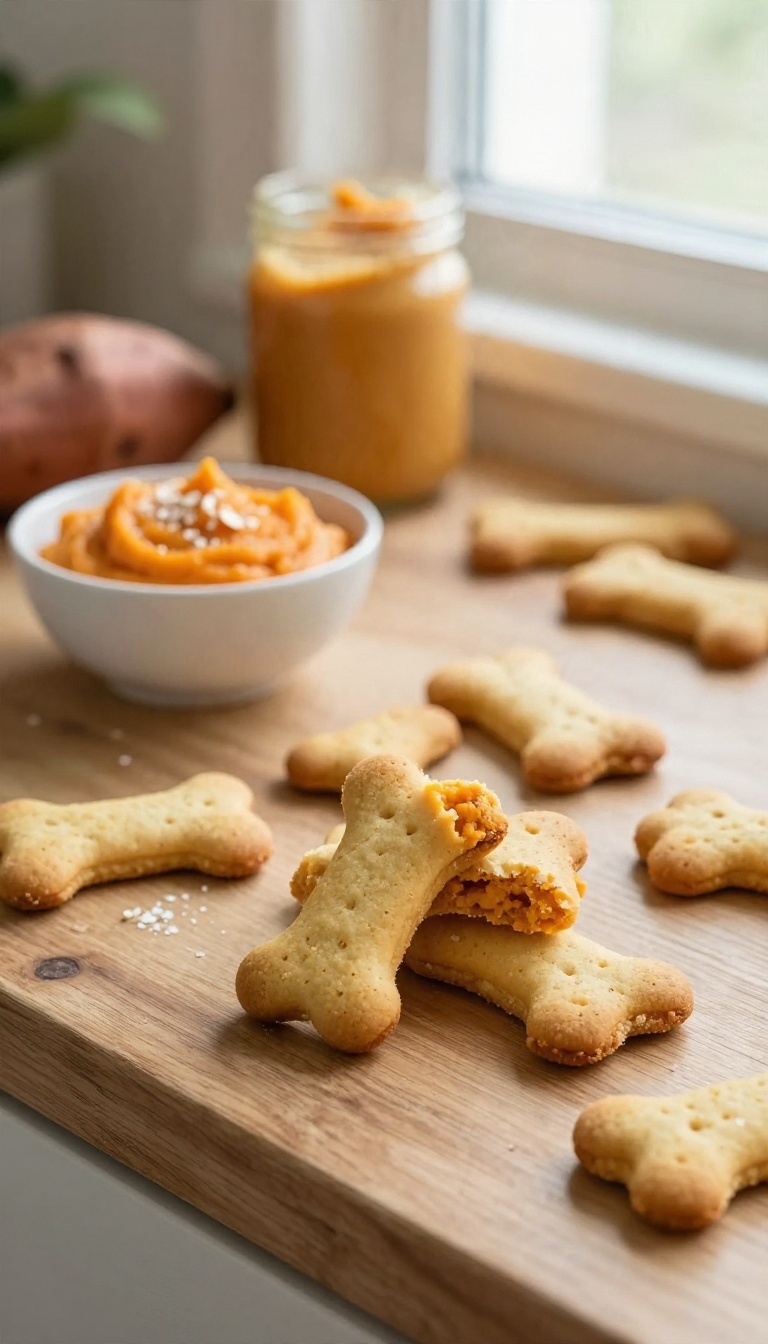
Sweet potatoes bring a lot to a cookie. They add natural sweetness, plenty of moisture, and a dense texture that gives dogs something to really sink their teeth into. These cookies bake up firm and satisfying, which makes them a solid pick for pups who treat snack time like a job.
The dough comes together fast, and you probably already have most of what you need.
Start by roasting or boiling a sweet potato until it mashes easily. You want about a cup of smooth mash, so let it cool before it goes anywhere near the rest of your ingredients. From there, mix in an egg, a spoonful of peanut butter if you have it, and enough oat flour to bring the dough together.
It should feel stiff but workable, not sticky. Roll it out, cut your shapes, and bake at 350°F for roughly 25 to 30 minutes. The longer they stay in, the crunchier they get, so pull them early for softer cookies and let them go longer for real chewers.
Getting The Texture Right
Sweet potato dough runs moist, so don't be shy with the flour. Add it a little at a time until the dough stops clinging to your fingers. For a harder cookie, roll the dough thinner and bake it a few extra minutes.
Thick cookies stay chewy, which works great for bigger dogs but can crumble for small ones.
Storage And Freezing
Let the cookies cool completely before they go in a jar. They keep for about a week in an airtight container on the counter. For longer storage, freeze them in a single layer first, then bag them up.
They thaw in minutes and hold their texture well, so baking a double batch is worth it.
5. No-Bake Peanut Butter and Oat Drops
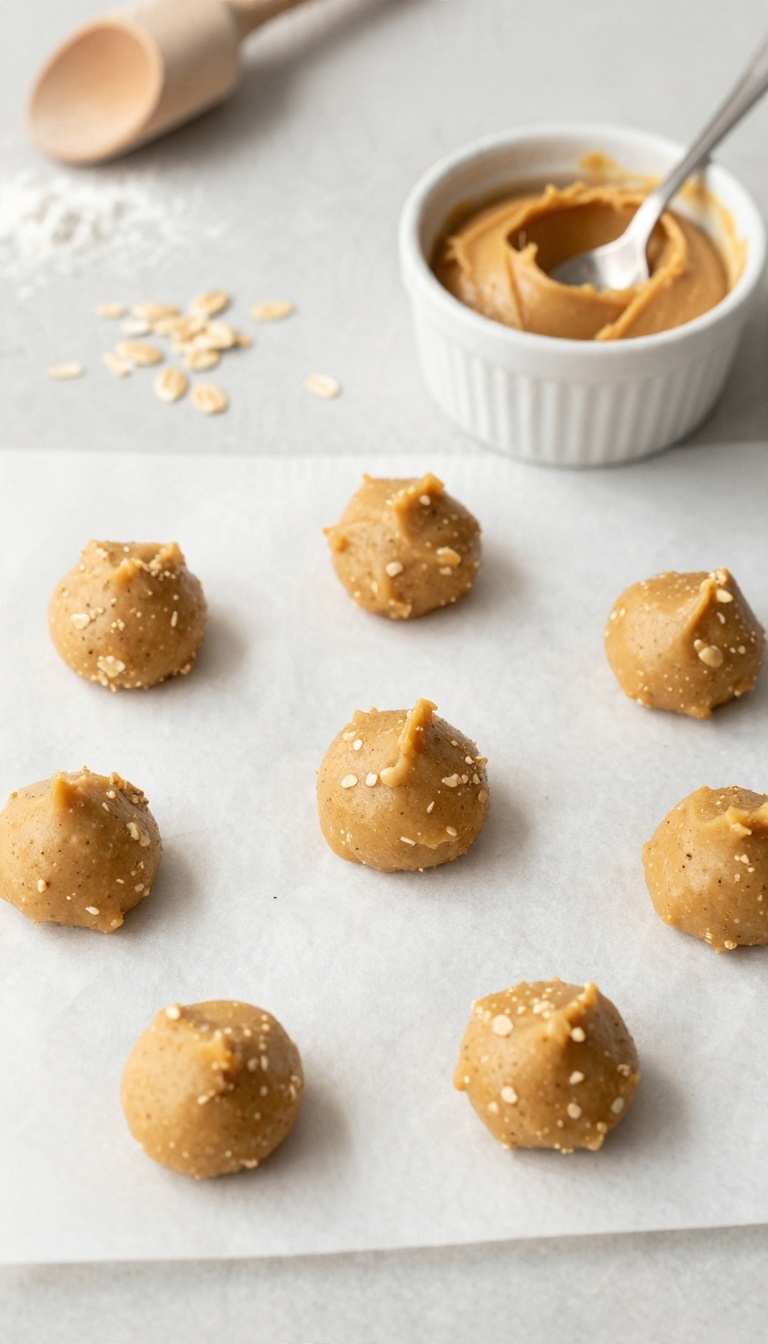
Your oven is packed with sugar cookies and gingerbread, and the dog is still staring at the treat jar. That's the moment these no-bake drops earn their spot on the list. They set up on the counter with zero oven time, so you can keep the human baking going without skipping the pup's present.
The method is closer to making a batch of stovetop cookies than actual baking. You warm a few ingredients so they hold together, stir in oats, and drop spoonfuls onto parchment. Once they cool, they firm up into chewy little bites that hold their shape in a gift bag.
Because there's no oven involved, the timing is forgiving. Make them while a tray of sugar cookies bakes, or mix them up the night before you need them. They keep well in the fridge and freeze nicely, which makes them a solid make-ahead option for holiday week.
What You'll Need
Peanut butter does the heavy lifting here, so use a natural, unsalted kind without added sugar or xylitol. Xylitol is toxic to dogs, so check that label carefully. You'll also want rolled oats, a little honey or plain yogurt to bind things, and a splash of water if the mixture feels crumbly.
Skip the chocolate chips, raisins, and macadamia nuts, all of which are unsafe for pups.
How To Make Them
Warm the peanut butter and honey gently in a saucepan over low heat until they loosen up and combine. Pull it off the heat, stir in the oats, and let the mix sit for a couple of minutes so the oats soften. Scoop rounded teaspoons onto a parchment-lined sheet and press each one slightly flat.
Chill for about 20 minutes until firm, then store them in the fridge in a sealed container.
Serving And Storing
These drops stay fresh in the fridge for about a week, and they freeze well for up to two months. Layer them with parchment so they don't clump together. Keep portions small, since peanut butter is rich and calorie-dense.
One or two drops makes a nice reward, and they're easy to break in half for smaller dogs.
6. Cranberry and Apple Festive Cookies
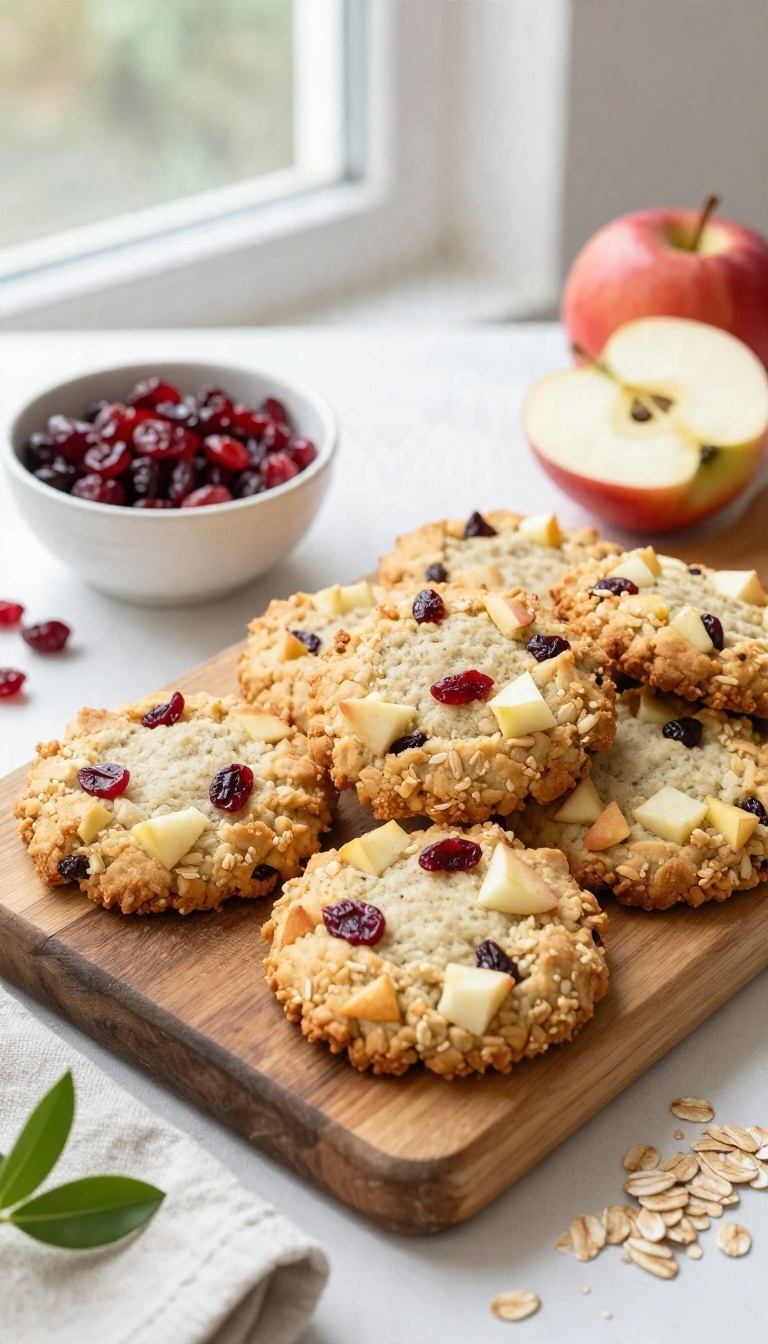
Dried cranberries and fresh apple give these cookies a bright, tangy flavor that stands out on a holiday cookie platter. The apple keeps the texture soft, while the cranberries add little chewy pockets of tartness. Dogs get a seasonal treat, and you get to use up that bag of cranberries sitting in the pantry.
This recipe leans on oats and whole wheat flour for structure, with a touch of honey to bring it together. Dice the apple small so no chunk is big enough to be a choking risk, and make sure you remove every seed and bit of core. Dried cranberries work better than fresh here because fresh berries hold too much moisture and turn the dough gummy.
Mix the dough until it just holds together, then chill it for about fifteen minutes before rolling. That short rest makes the dough easier to handle and helps the cookies keep their shape in the oven. Bake until the edges are set and the centers still feel slightly soft.
What You'll Need
One cup of rolled oats, one and a half cups of whole wheat flour, one egg, a quarter cup of unsweetened applesauce, and two tablespoons of honey. Add half a cup of finely diced apple and a third of a cup of unsweetened dried cranberries. Skip any cranberries sweetened with xylitol, since that sweetener is toxic to dogs.
Mixing And Baking
Stir the dry ingredients together, then work in the egg, applesauce, and honey until a soft dough forms. Fold in the apple and cranberries last so they stay evenly distributed. Roll the dough to about a quarter inch thick, cut your shapes, and bake at 350°F for twelve to fifteen minutes.
Let them cool completely on the tray before storing.
Storage And Gifting
These cookies keep in an airtight container for about a week, or in the freezer for up to two months. Because of the fresh apple, don't leave them sitting out on the counter for days. Pack a few in a small tin with a ribbon and they look every bit as festive as the human cookies on your table.
7. Cheese and Bacon Savory Biscuits
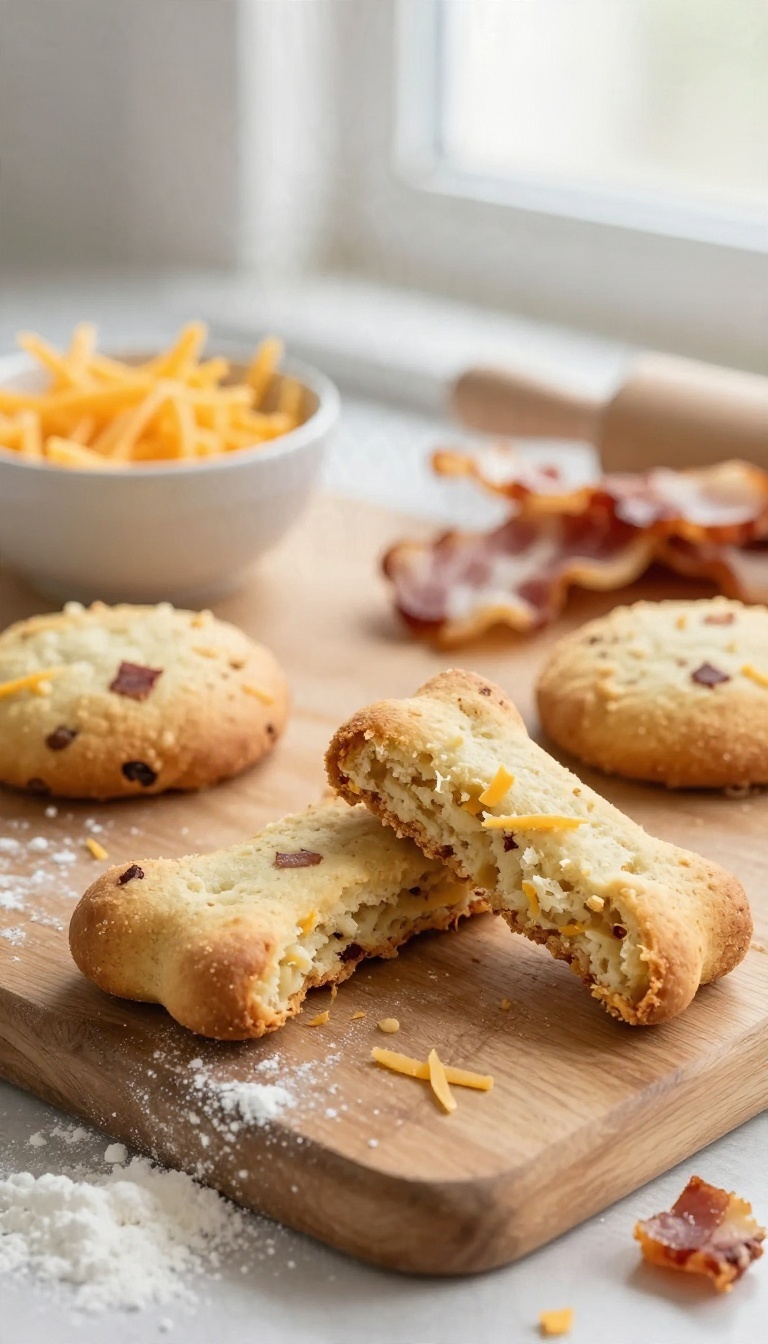
Some dogs couldn't care less about a sweet cookie. They'll sniff a peanut butter treat, give you a polite look, and walk away. For those pups, savory is the way to go.
These cheese and bacon biscuits lean into everything a dog actually drools over: sharp cheddar, a hit of smoky bacon, and a crunch that makes the whole batch disappear fast.
The dough comes together like a simple shortbread, just with savory add-ins instead of sugar. You'll mix flour, shredded cheese, an egg, and a little oil or broth, then fold in crumbled bacon. Roll it out, cut your shapes, and bake until the edges turn golden and firm.
A few things matter here. Keep the bacon to a small amount so the biscuits stay lean, and use a cheese that grates finely so it melts into the dough instead of pooling. Cooked bacon works best, and you want it crumbled small enough that no piece dominates a single cookie.
What You'll Need
Grab about a cup and a half of whole wheat or oat flour, half a cup of finely shredded cheddar, one egg, two tablespoons of olive oil or low-sodium chicken broth, and two slices of cooked bacon crumbled into small bits. That's it. No sugar, no butter, no mystery ingredients.
If your dog handles dairy well, a little extra cheese on top before baking gives the biscuits a nice golden crust.
Mixing And Baking
Stir the flour and cheese together first, then add the egg and oil and work it into a crumbly dough. Add the bacon last and knead just until everything holds together. If it feels dry, splash in broth a teaspoon at a time.
Roll the dough to about a quarter inch thick, cut your shapes, and bake at 350°F for roughly 18 to 22 minutes. You want them firm and dry, not soft, so they keep well in a jar.
Storage And Serving Notes
Let the biscuits cool completely before storing them, or they'll go soft from trapped steam. They keep in an airtight container for about a week, and they freeze beautifully for up to two months. Because of the bacon and cheese, treat these as an occasional snack rather than a meal replacement.
One or two a day keeps the tail wagging without overdoing the fat.
8. Carrot Cake Dog Cookies
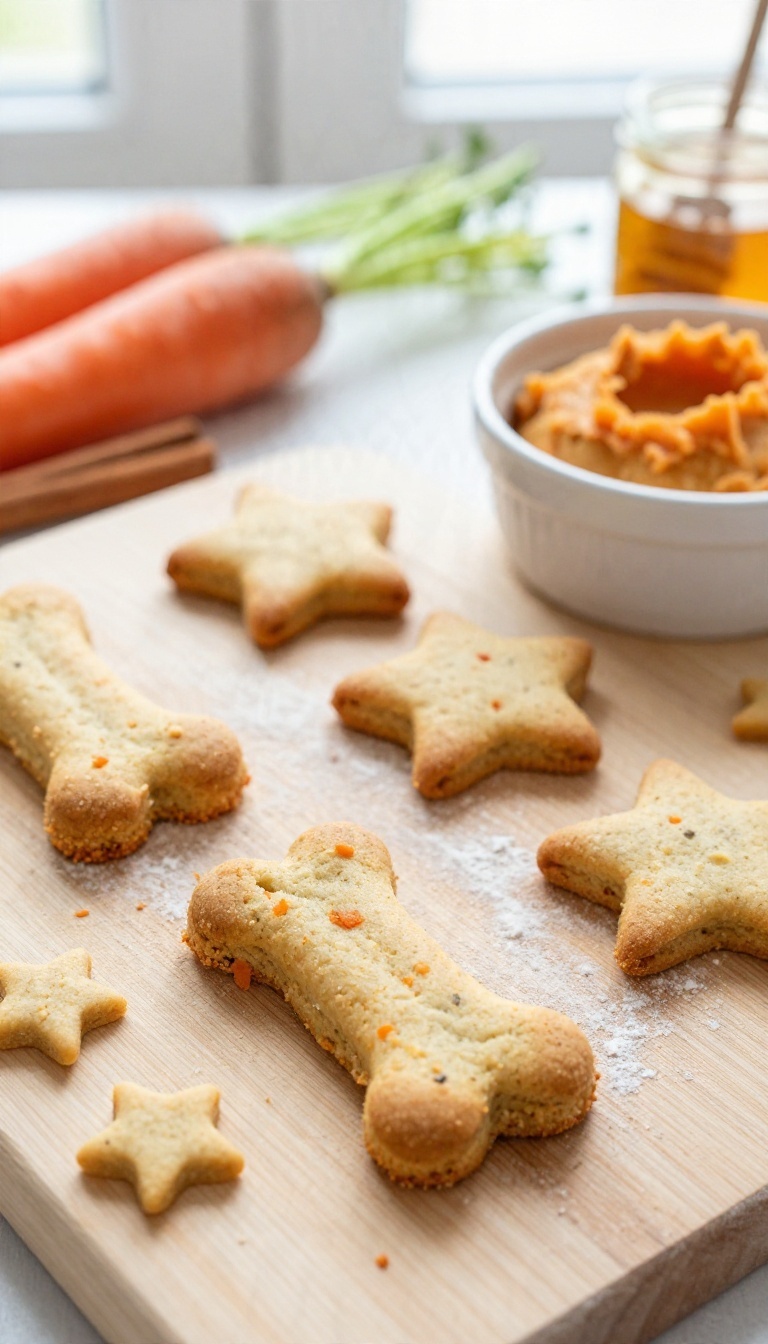
Carrot cake already feels like a holiday dessert, so turning it into a dog cookie just makes sense. Grated carrot keeps these soft and slightly chewy, and a small spoon of honey rounds out the flavor without overdoing the sugar. The result tastes like the real thing, minus the cream cheese frosting your dog doesn't need anyway.
These cookies bake up soft rather than crunchy, which makes them a good fit for older dogs or small pups who struggle with hard biscuits. They also hold their shape nicely, so a simple bone or star cutter works fine. You'll need one medium carrot, finely grated, plus whole wheat flour, an egg, a little honey, and a splash of oil or unsweetened applesauce.
A pinch of cinnamon ties it all together, but keep it small since strong spices don't suit every dog.
Grating The Carrot Right
Use the fine side of your grater so the carrot disappears into the dough instead of leaving stringy chunks. Squeeze the grated carrot in a paper towel to pull out extra moisture, or the cookies will spread and turn gummy. One medium carrot gives you roughly half a cup, which is the right amount for a single batch.
Skip the pre-shredded bagged stuff if you can, since it tends to be dry and tough.
Mixing And Shaping The Dough
Stir the wet ingredients together first, then add the flour a little at a time until the dough pulls away from the bowl. It should feel soft but not sticky, so add a spoonful of flour if it clings to your fingers. Roll it out to about a quarter inch and cut your shapes.
These cookies don't rise much, so you can place them fairly close together on a lined baking sheet.
Baking And Storing
Bake at 350°F for about 15 to 18 minutes, until the edges just start to brown. Pull them out while the centers still feel a little soft, then let them cool completely on the sheet. Store them in an airtight container for up to a week, or freeze the baked cookies for two to three months.
They thaw quickly, so you can pull out a few whenever the treat jar runs low.
9. Gluten-Free Almond Flour Cookies
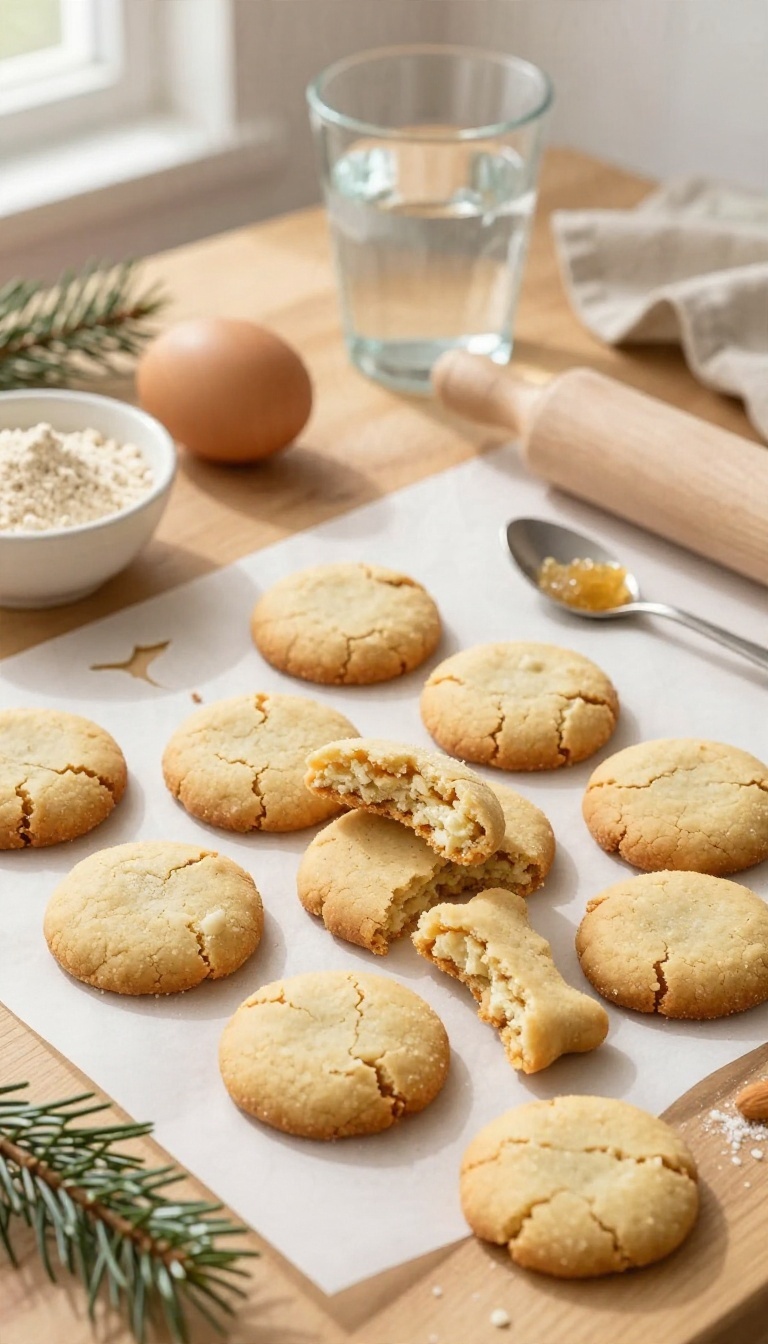
Some dogs do better without wheat, and that doesn't mean skipping the holiday baking. Almond flour steps in as a grain-free base that bakes up tender and a little crumbly, the kind of cookie that snaps softly between your fingers. You only need a handful of ingredients here, and the dough comes together in one bowl.
It's a good pick for a sensitive pup or any dog whose stomach prefers things simple.
The texture is the selling point. Almond flour has more fat than regular flour, so these cookies stay rich and slightly chewy without any butter or oil. A single egg holds everything together and gives the dough enough structure to roll and cut.
Because there's no gluten, the dough won't stretch or bounce back like wheat dough. Treat it gently, work it cold, and you'll get clean shapes every time.
What You'll Need
Grab two cups of almond flour, one large egg, and a tablespoon of water to loosen things up. That's the base. For flavor, add a spoonful of unsweetened applesauce or a pinch of cinnamon if your dog tolerates it.
Skip the sugar entirely, since dogs don't need it and almond flour already tastes rich.
Mixing And Shaping
Whisk the egg and water first, then fold in the almond flour until a soft dough forms. It should feel like playdough, not sticky batter. If it's too crumbly, add water a teaspoon at a time.
Roll the dough between two sheets of parchment to about a quarter inch thick, then cut your shapes. Chill the cutouts for ten minutes so they hold their edges.
Baking And Storing
Bake at 325°F for about 15 minutes, until the edges turn light golden. They'll firm up as they cool, so pull them out while the centers still look a touch soft. Let them cool completely on the tray.
Store in an airtight container for up to a week, or freeze the baked cookies for two months so you always have a holiday treat ready.
10. Frozen Yogurt and Banana Treats
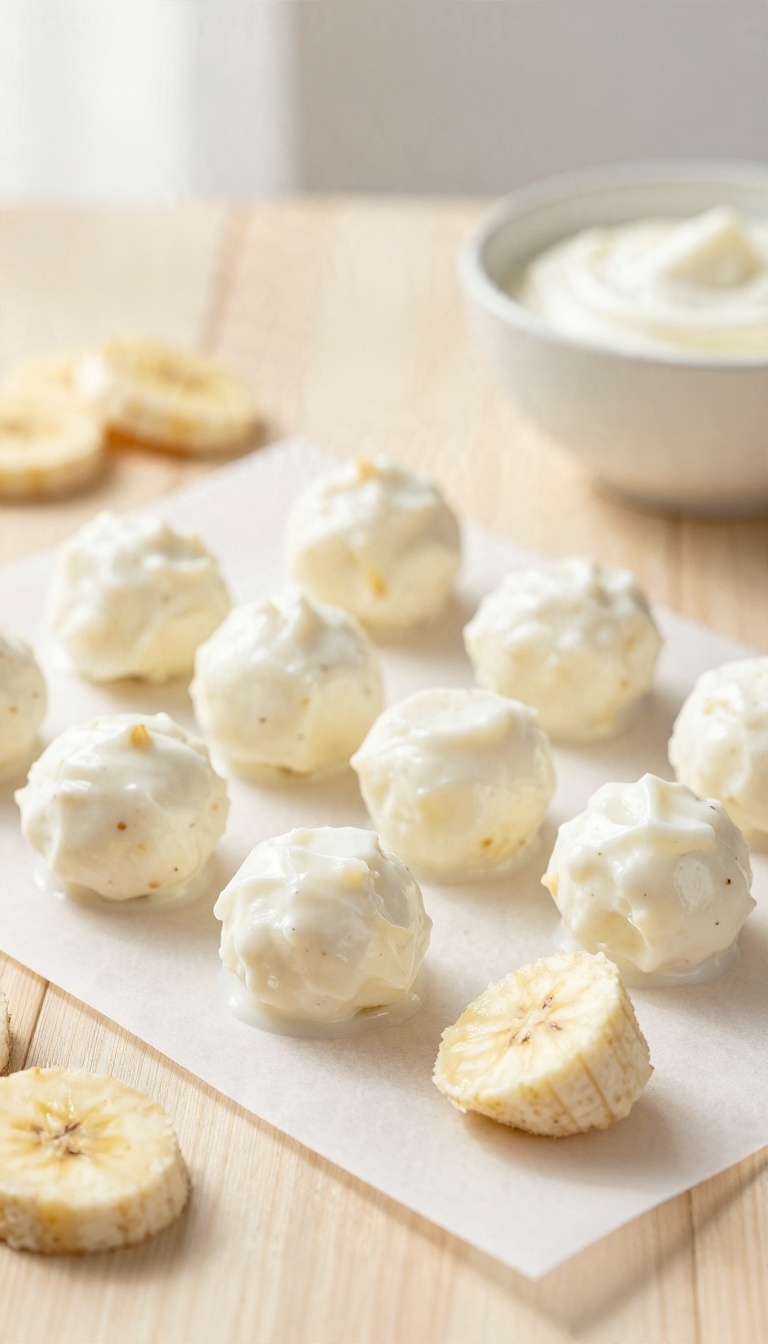
Not every holiday cookie needs the oven. These frozen yogurt and banana treats come together in a bowl, set up in the freezer, and give your dog something cool to crunch on while you juggle a hot tray of sugar cookies. They're a smart pick for the busiest baking days, when counter space is gone and the dog is underfoot.
The base is simple: ripe banana, plain yogurt, and a little something to hold it together. You mash, mix, and freeze, and the result is a creamy little cookie that feels like a treat but is gentle on most stomachs. Make a double batch and keep a bag in the freezer for the whole season.
What You'll Need
One ripe banana, about half a cup of plain yogurt, and a spoonful of peanut butter get you most of the way there. Use yogurt with no added sugar or artificial sweeteners, since xylitol and some sugar alcohols are dangerous for dogs. A tablespoon of ground flax or oat flour helps the mixture firm up without any baking.
How To Make Them
Mash the banana until smooth, then stir in the yogurt and peanut butter until everything is combined. Spoon the mix into silicone molds or drop small rounds onto a parchment-lined tray. Freeze for at least two hours, then pop them out and store in a freezer bag for up to a month.
Serving And Storage Tips
These melt fast, so hand one over outside or on a washable mat. For smaller dogs, break a frozen round into pieces so it lasts longer and goes down easier. Keep the bag sealed tight to avoid freezer burn, and label it so nobody mistakes it for a human snack.
11. Decorated Dog Cookies with Yogurt Icing
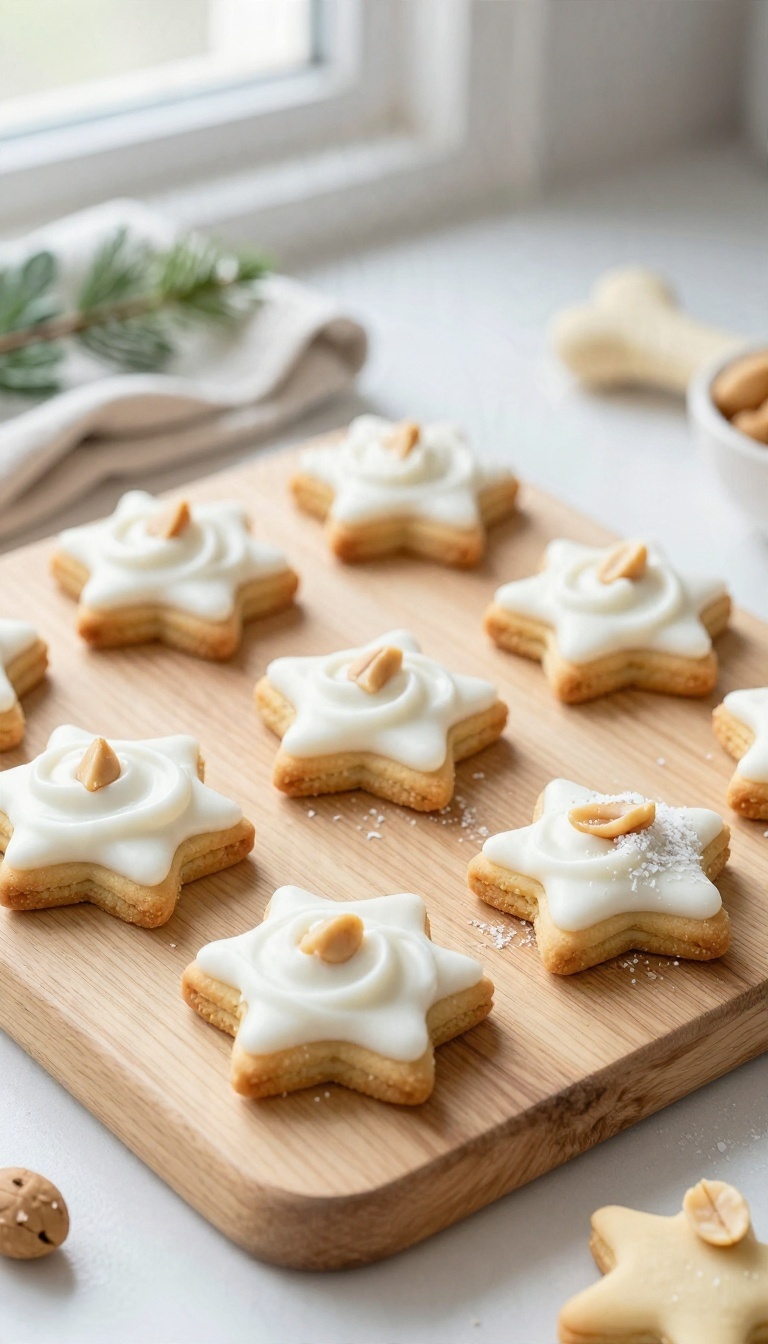
A plain cookie is fine, but a little icing turns it into something that looks like it came from a bakery case. The trick is keeping the topping dog-safe, which is where plain yogurt steps in. It pipes and spreads like frosting, sets up nicely, and skips the sugar rush that comes with people-style icing.
You get festive shapes and a polished finish without loading the cookie with sweetness. That matters more than most people think, since a lot of dogs handle rich, sugary toppings about as well as a toddler handles a candy store. Yogurt icing keeps things light and lets the cookie itself do the heavy lifting on flavor.
The base for these can be any sturdy rolled cookie from the rest of this list, so bake a batch of peanut butter or pumpkin rounds and let them cool completely. Icing sticks best to a fully cooled cookie, and warm cookies will make the yogurt slide right off. Once they're cool, you're ready to decorate.
The icing itself is simple: plain, unsweetened yogurt, a spoonful of peanut butter or mashed banana for flavor, and enough tapioca starch or coconut flour to thicken it to a pipeable consistency. Skip anything with xylitol, and read your yogurt label for added sugar. Plain Greek yogurt works great because it's already thick.
Getting The Icing To Set
Yogurt icing won't harden like royal icing, so plan on a soft-set finish. Pipe or spread it on, then pop the cookies in the fridge for about an hour to firm up. For a drier surface you can freeze them for 15 minutes before serving.
Keep decorated cookies refrigerated and use them within three to four days, or freeze them for longer storage.
Simple Decorating Tricks
A zip-top bag with the corner snipped off makes a fine piping bag for lines and dots. For a two-tone look, tint half the yogurt with a little beet powder for pink or spirulina for green, both dog-safe. Press a single freeze-dried berry or a tiny dog treat into the center while the icing is still wet for an easy finish.
Keep decorations edible and small, and skip sprinkles unless they're specifically made for dogs.
FAQ
Are these dog cookie recipes safe for puppies?
Most are fine for puppies over a few months old, but keep portions small and skip recipes with honey or bacon for very young pups. Check with your vet if you're unsure.
How long do homemade dog cookies last?
Crispy baked cookies keep about one to two weeks in an airtight container. Softer or no-bake treats last about five days in the fridge, and frozen treats keep for a month.
Can I use regular flour in dog cookies?
Yes, all-purpose and whole wheat flour are both fine for most dogs. Use almond or oat flour if your dog has a wheat sensitivity.
What ingredients should I avoid in dog cookies?
Skip chocolate, xylitol, raisins, grapes, macadamia nuts, and onions. Keep sugar and salt low, and use peanut butter without xylitol.
Can I freeze the dough instead of baking it all at once?
Yes. Roll the dough into a log, wrap it well, and freeze for up to two months. Slice and bake straight from frozen, adding a couple of minutes to the bake time.
Conclusion
A happy dog and a tray of fresh cookies make the holidays feel a little warmer. Pick one recipe to start, then add a couple more as the season rolls on. Your dog gets the treats, and you get the fun of baking for them.
Keep batches small, store them well, and watch how your pup handles each new flavor. These recipes are meant to be simple and forgiving, so have fun with them. Happy baking, and happy tails.