
Last updated on September 4th, 2026 at 02:30 pm
There's something special about making treats for your dog at home. You know exactly what's in them, and your pup gets the joy of a fresh, homemade snack. But sometimes, you don't want to turn on the oven or deal with a big cleanup.
That's where no-bake dog treats come in! They're quick, easy, and perfect for cozy afternoons when you just want to whip up something special for your furry friend.
No-bake treats are also great for busy dog owners. With just a few simple ingredients and a little fridge or freezer time, you can have a batch of healthy, delicious snacks ready in no time.
1. Peanut Butter & Banana Frozen Bites
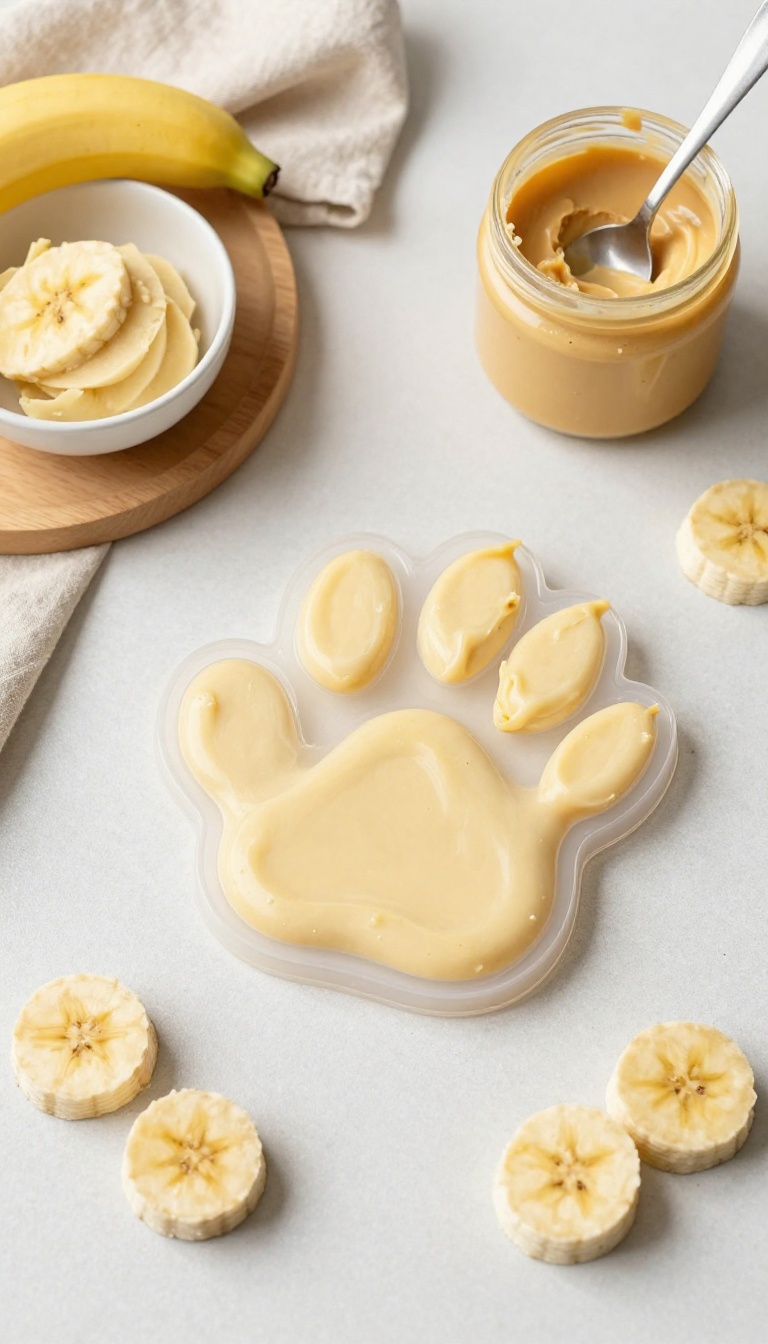
When the sun is blazing and your pup is looking for a cool pick-me-up, these frozen bites are the answer. They come together in minutes with just two ingredients you probably already have in your kitchen. No oven, no fuss, just a simple, satisfying snack that feels like a treat for both of you.
Ingredients
- 2 ripe bananas, mashed
- 1/2 cup unsalted, xylitol-free peanut butter
- Silicone mold (small bone or paw shapes work great)
Instructions
- In a medium bowl, mash the bananas until smooth.
- Add the peanut butter and stir until fully combined.
- Spoon the mixture into the silicone molds, pressing down gently to fill each cavity.
- Place the molds in the freezer for at least 3 hours, or until solid.
- Pop the frozen bites out of the molds and store in an airtight container in the freezer.
Serving Tip
- These bites are best served straight from the freezer. For smaller dogs, cut each bite in half to keep portions manageable. They’ll keep for up to two months in an airtight container, so you can always have a cool treat ready.
- Just remember to check with your vet if your dog has any dietary restrictions, especially with peanut butter.
2. Pumpkin & Yogurt Swirl Pops
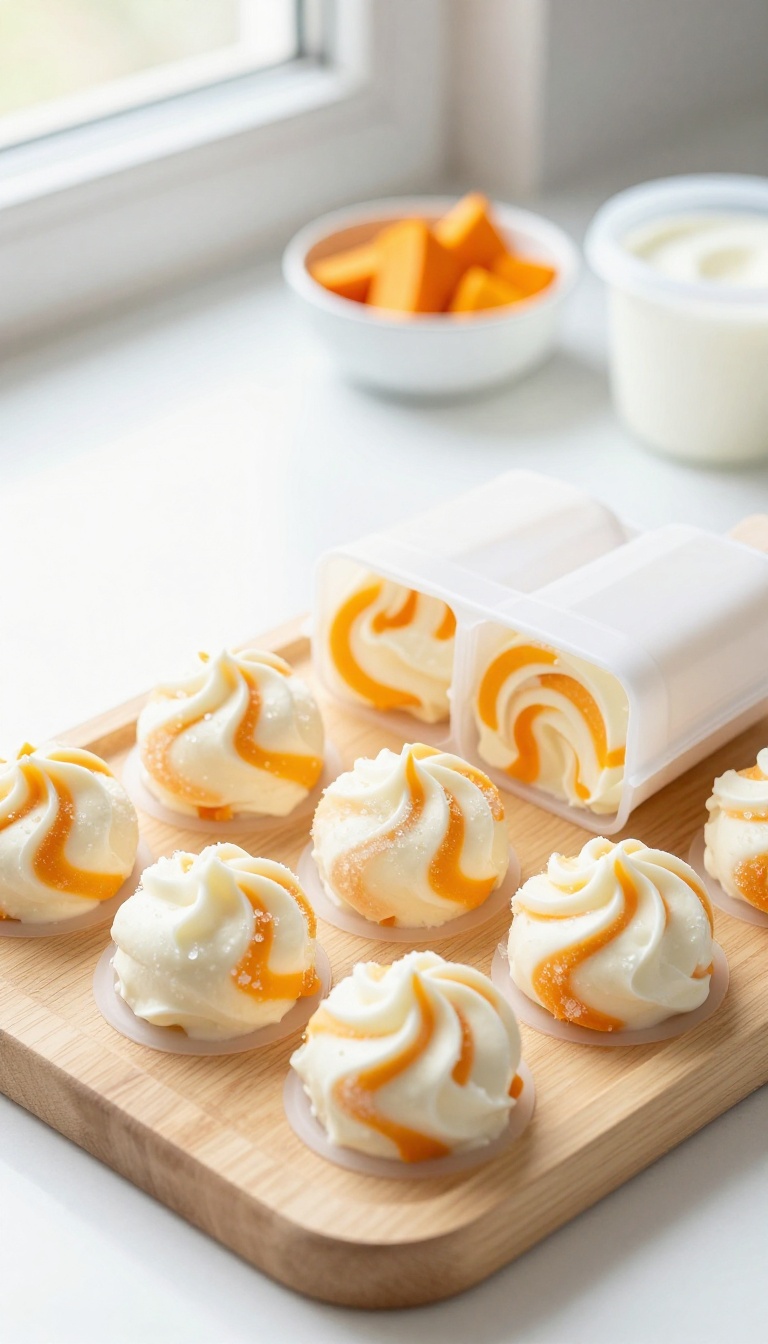
When the afternoon sun turns your kitchen into a warm spot, these frozen pops are a quick way to cool your pup down. They come together in minutes with just two ingredients you might already have in the fridge. The creamy yogurt and smooth pumpkin create a swirl that dogs find irresistible, and the cold texture feels great on warm days.
Plus, you can make a batch ahead and keep them ready for those moments when your dog needs a little pick-me-up.
Ingredients
- 1 cup plain, unsweetened yogurt (check that it has no xylitol)
- 1/2 cup canned pumpkin (not pumpkin pie filling)
- Silicone ice cube tray or small paper cups
Instructions
- In a small bowl, stir the yogurt until it's smooth. In another bowl, do the same with the pumpkin.
- Spoon a layer of yogurt into each ice cube mold, then add a spoonful of pumpkin on top.
- Use a toothpick or a small knife to gently swirl the two together, creating a marbled effect.
- Place the tray in the freezer for at least 3 hours, or until the pops are completely solid.
- Pop them out of the tray and store in a freezer-safe bag or container.
Serving Tip
- Give your dog one pop as a refreshing snack, but keep portion size in mind based on their size. For small dogs, you might want to cut a pop in half. These are best served straight from the freezer, and any leftovers can stay frozen for up to two months.
- Just make sure to use plain yogurt without any added sweeteners, and always check with your vet if you're unsure about new ingredients.
3. Sweet Potato & Oat No-Bake Balls
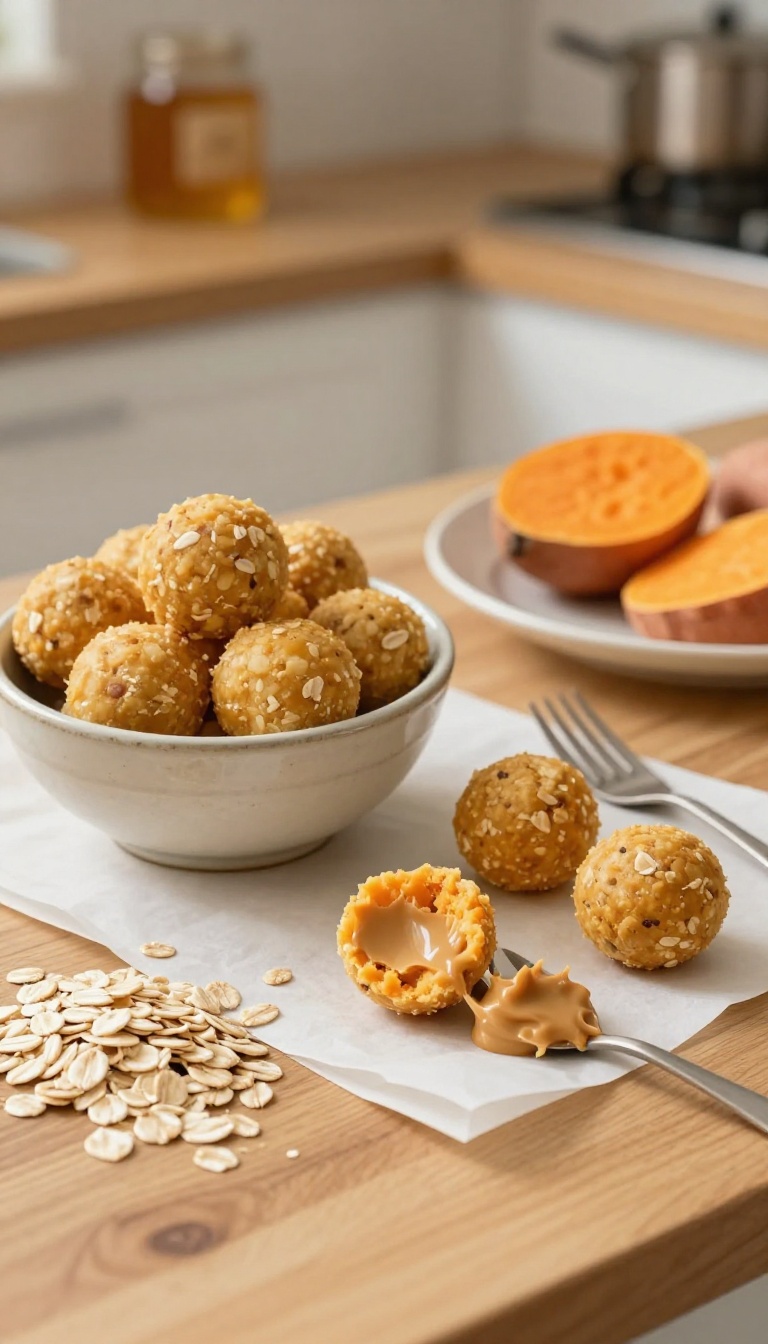
Some dogs love a soft, chewy treat that feels a little like a reward you can squish in your pocket. These sweet potato and oat balls are just that—no oven required, just a quick mix and a chill in the fridge. They’re perfect for a cozy afternoon when you want to make something simple but special for your pup.
Ingredients
- 1 cup mashed cooked sweet potato (cooled)
- 1 1/2 cups rolled oats
- 1 tablespoon honey
- 1 tablespoon unsalted peanut butter (optional, for extra binding)
Instructions
- In a medium bowl, combine the mashed sweet potato, rolled oats, honey, and peanut butter if using. Stir until the mixture comes together into a thick, slightly sticky dough.
- Roll the mixture into small balls, about 1 inch in diameter, and place them on a parchment-lined plate or baking sheet.
- Refrigerate the balls for at least 30 minutes to firm up before serving. Store leftovers in an airtight container in the fridge for up to 5 days.
Serving Tip
These treats are soft and chewy, making them great for older dogs or pups with dental issues. Offer one or two as a snack, and remember to adjust your dog’s daily calorie intake to account for the extra treats. For longer storage, freeze the balls in a single layer, then transfer to a zip-top bag—they’ll keep for up to 3 months.
4. Apple & Carrot Crunch Cups
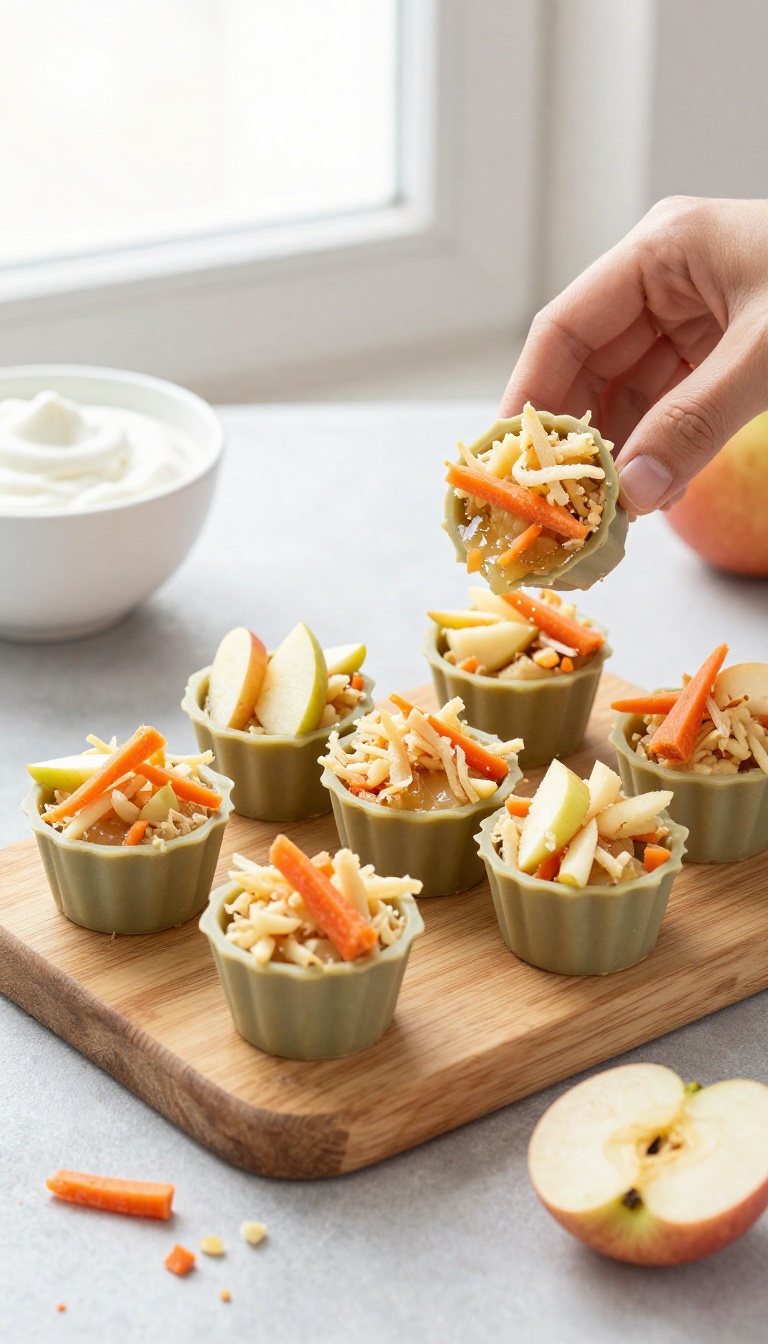
When the afternoon munchies hit, these frozen cups are a lifesaver for busy dog parents. They take just a few minutes to stir together, and the freezer does the rest of the work. Shredded apple and carrot give each cup a satisfying crunch that also helps scrub your pup's teeth while they chew.
Plus, the natural sweetness means you can skip any added sugar or salt—just pure, simple goodness for your furry friend.
Ingredients
- 1 medium apple, cored and shredded (no seeds)
- 1 medium carrot, peeled and shredded
- 1/4 cup unsweetened applesauce
- 1 tablespoon plain Greek yogurt (optional, for extra creaminess)
Instructions
- In a medium bowl, combine the shredded apple, shredded carrot, and applesauce. Stir until everything is evenly coated.
- Spoon the mixture into mini muffin tins, pressing down gently to pack each cup firmly.
- Place the muffin tin in the freezer for at least 2 hours, or until the cups are completely solid.
- Pop the frozen cups out of the tin and store them in a sealed container or zip-top bag in the freezer.
Serving Tip
For small dogs, break a cup in half before serving. These are best enjoyed frozen, but if your pup prefers a softer texture, let one sit at room temperature for 5 minutes. Keep them in the freezer for up to 3 months—just grab one when you need a quick, calming snack or a rewarding treat after a walk.
5. Coconut & Blueberry Frozen Cubes
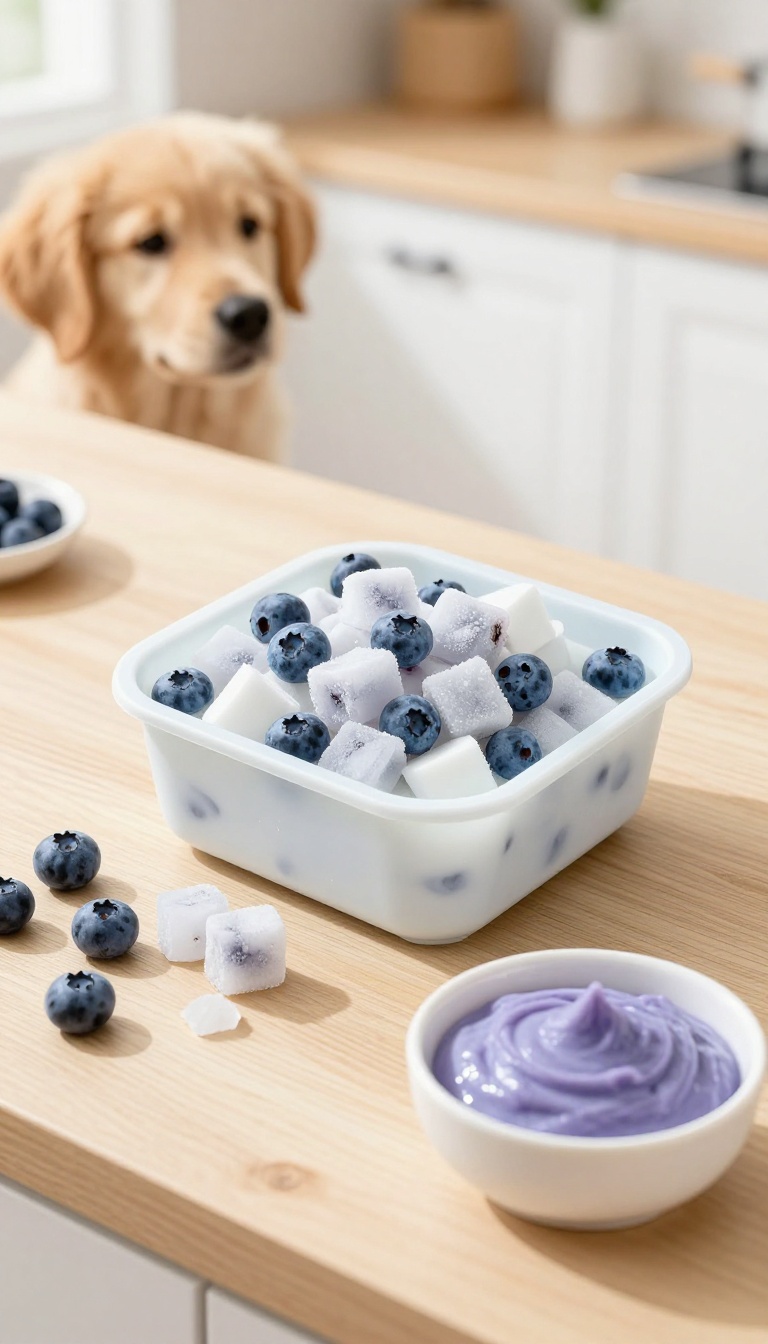
When the sun is blazing and your pup is looking for a way to cool down, these frozen cubes are a simple, soothing answer. They’re made with just two ingredients you likely already have, so you can whip up a batch in minutes without any fuss. The creamy coconut milk pairs perfectly with the burst of blueberry flavor, creating a refreshing treat that feels like a little vacation in every bite.
Plus, the antioxidants in blueberries are a great bonus for your dog’s overall health, making this a treat you can feel good about offering.
Ingredients
- 1 cup unsweetened coconut milk (canned or carton, no added sugar)
- 1/2 cup fresh or frozen blueberries (rinsed if fresh)
- 1 tablespoon plain, unsweetened yogurt (optional, for extra creaminess)
Instructions
- In a blender, combine the coconut milk, blueberries, and yogurt (if using). Blend until smooth and the blueberries are fully incorporated, about 30 seconds.
- Pour the mixture into ice cube trays or silicone molds, filling each compartment about three-quarters full.
- Place the trays in the freezer and freeze for at least 4 hours, or until completely solid.
- Once frozen, pop the cubes out and store them in a zip-top bag or airtight container in the freezer.
Serving Tip
Serve one or two cubes as a refreshing snack on a hot day, or drop one into your dog's water bowl for a fun, flavored hydration boost. Always supervise your dog when giving frozen treats, and adjust the portion size based on your dog's size and chewing habits.
6. Chicken & Rice Treat Bars
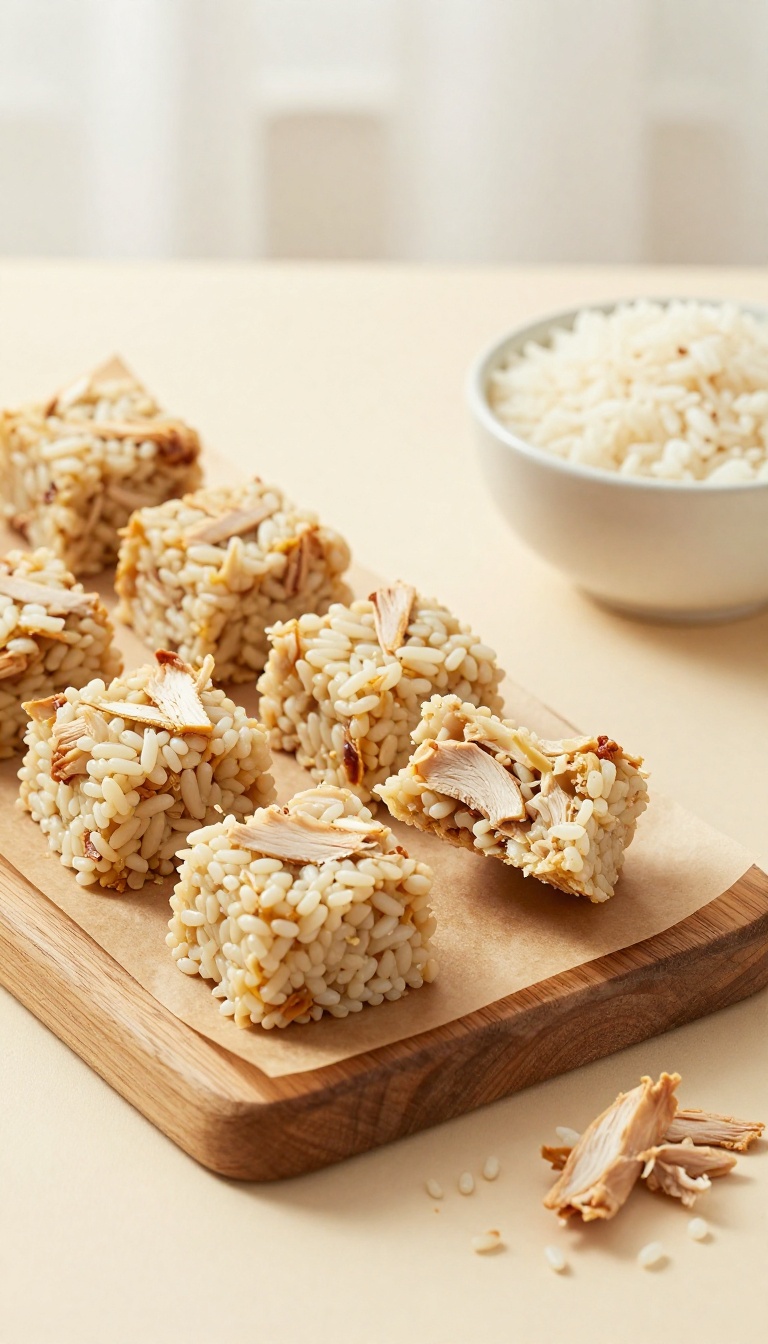
When you want to give your dog something hearty and satisfying without turning on the oven, these Chicken & Rice Treat Bars are a go-to. They're simple to put together with ingredients you likely already have, and the result is a soft, chewy snack that feels like a comforting meal in bar form. Perfect for dogs who love savory flavors, these bars are also a great way to use up leftover chicken and rice, making them a practical choice for busy pet parents.
Ingredients
- 1 cup cooked, shredded chicken (no bones, skin, or seasoning)
- 1 cup cooked white or brown rice (plain, no salt or butter)
- 1 large egg, beaten
- 1/4 cup plain, unsweetened applesauce (optional, for binding and moisture)
Instructions
- In a large bowl, combine the shredded chicken, cooked rice, beaten egg, and applesauce (if using). Mix well until everything is evenly coated and the mixture holds together when pressed.
- Line a small baking dish (such as an 8×8-inch pan) with parchment paper. Press the mixture firmly into an even layer, smoothing the top with a spatula.
- Refrigerate for at least 2 hours, or until the mixture is set and firm enough to cut into bars.
- Once chilled, lift the mixture out using the parchment paper and cut into bar-shaped pieces. Store in an airtight container in the refrigerator for up to 5 days.
Serving Tip
These bars are soft and easy to chew, making them great for puppies and senior dogs. For smaller dogs, cut into bite-sized cubes; for larger dogs, you can make bigger bars. Serve as a snack or a meal topper, and always supervise your dog when giving treats.
7. Cheese & Spinach Bites
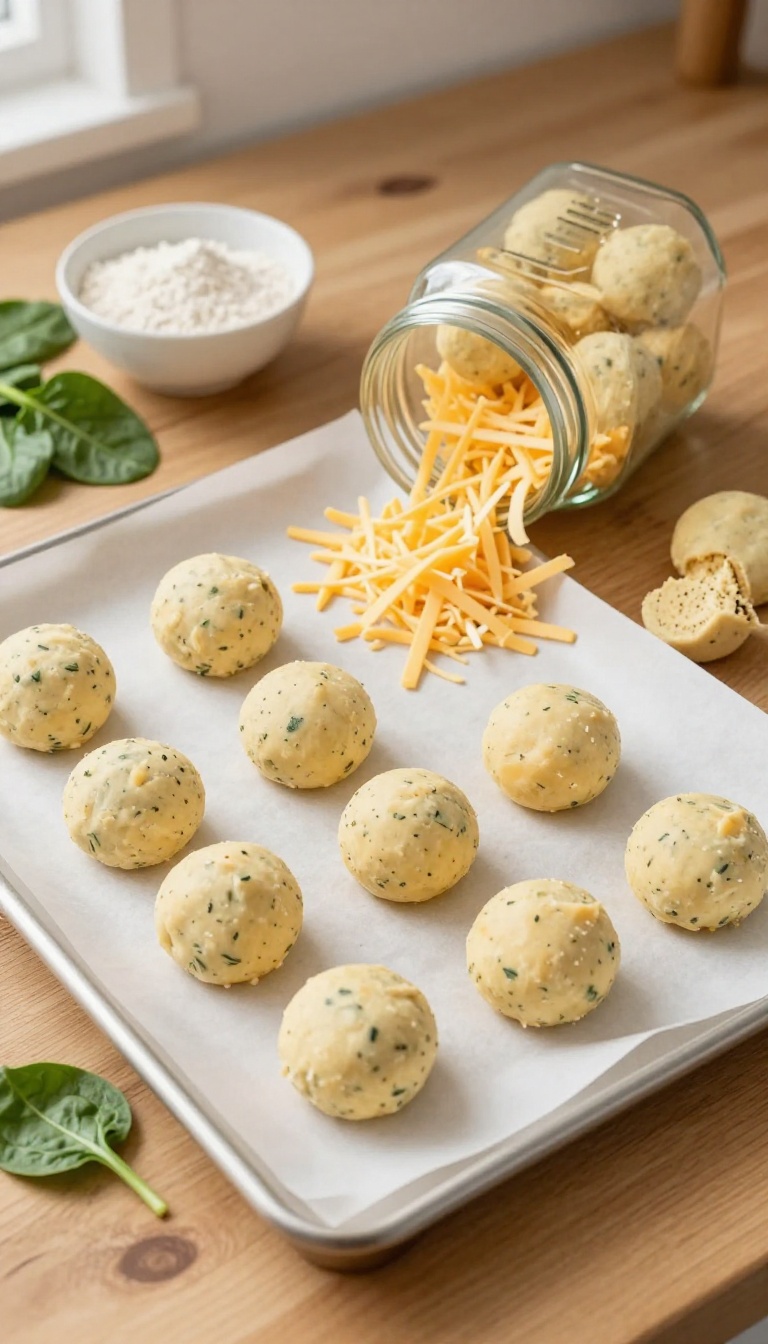
When you want a treat that feels like a little reward but still sneaks in some greens, these Cheese & Spinach Bites are a perfect pick. They come together in minutes with just a few fridge staples, and the rolling step is easy enough to do while your pup waits (patiently) by your feet. The creamy texture and sharp cheddar flavor make them a hit with most dogs, while the spinach adds a boost of nutrients without changing the taste much.
Keep a batch in the fridge for training sessions, afternoon rewards, or whenever you need a quick, no-bake option that feels a bit special.
Ingredients
- 1 cup shredded cheddar cheese
- 1/2 cup finely chopped fresh spinach
- 2 tablespoons cream cheese, softened
- 1/4 cup whole wheat flour (or oat flour for a gluten-free option)
Instructions
- In a medium bowl, combine the shredded cheddar, chopped spinach, and cream cheese. Mix until the mixture starts to come together.
- Add the flour gradually, stirring until a soft dough forms. If it feels too sticky, add a little more flour, a teaspoon at a time.
- Roll the dough into small, bite-sized balls (about 1 inch in diameter) and place them on a plate or baking sheet lined with parchment paper.
- Refrigerate for at least 30 minutes to firm up. Store in an airtight container in the fridge for up to 5 days.
Serving Tip
- These bites are perfect for training because they're small and easy to break into even smaller pieces. For portion control, give one or two per day depending on your dog's size. If you want a crunchier texture, you can bake them at 350°F for 10 minutes, but they're just as good chilled.
- Always supervise your dog when giving treats and adjust portions to keep their diet balanced.
8. Oatmeal & Honey No-Bake Cookies
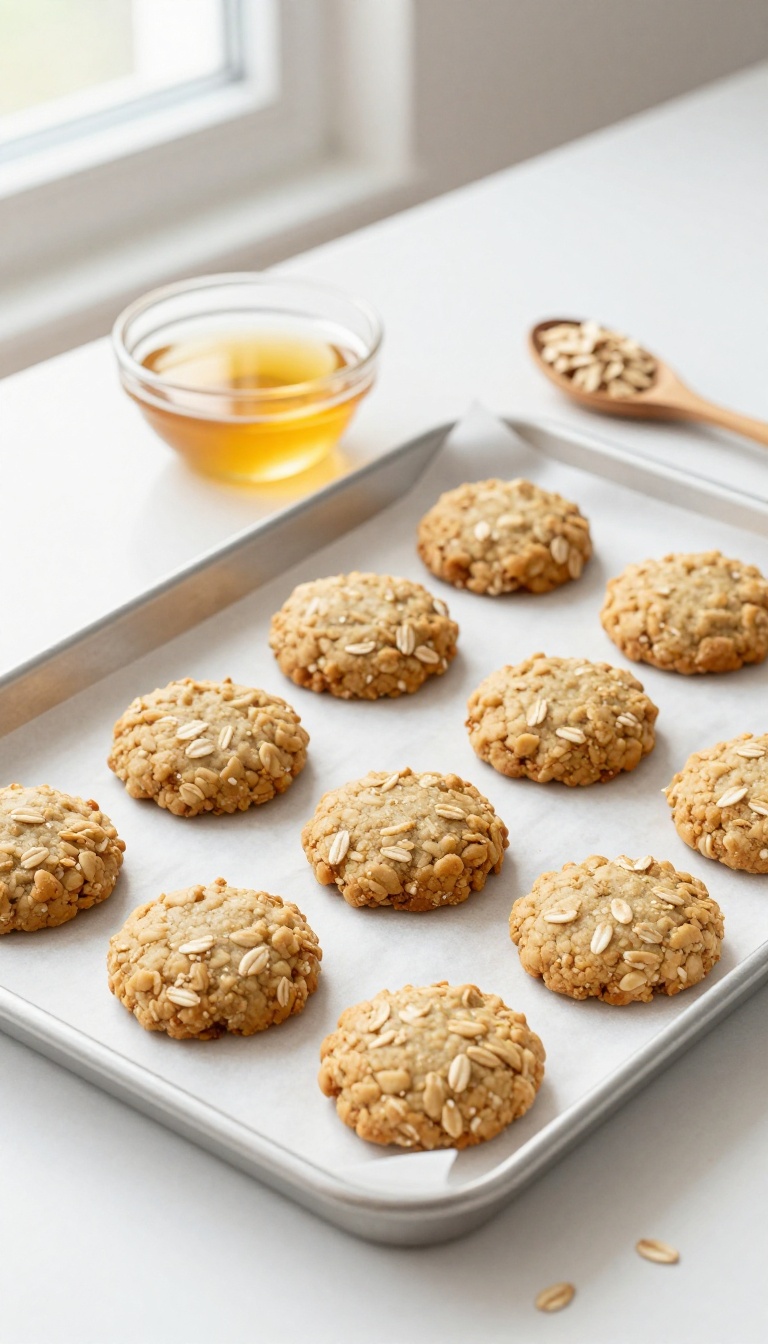
Some days, you just want to give your pup a little something special without turning your kitchen into a flour-dusted disaster zone. These no-bake cookies are the answer—they come together in minutes with just a few pantry staples you probably already have. The honey adds a touch of natural sweetness that dogs love, while the oats give them a satisfying, chewy texture.
Plus, the cozy, comforting vibe of oatmeal and honey is like a warm hug for your furry friend, even when the treats are served chilled.
Ingredients
- 1 cup quick oats
- 1/4 cup honey
- 2 tablespoons water (or more as needed)
Instructions
- In a medium bowl, stir together the quick oats and honey until the oats are well coated.
- Add the water, one tablespoon at a time, mixing until the mixture holds together when pressed. You want it moist but not runny.
- Drop rounded spoonfuls of the mixture onto a parchment-lined baking sheet or tray.
- Refrigerate for at least 30 minutes, or until firm, before serving.
Serving Tip
- These cookies are soft and chewy, so they’re perfect for dogs of all ages, even seniors with sensitive teeth. Store them in an airtight container in the fridge for up to a week, or freeze them for up to three months. Just let them thaw for a few minutes before giving one to your pup.
- Because they’re sweet, keep portion sizes small—one or two cookies a day is plenty for most dogs.
9. Frozen Watermelon & Mint Treats
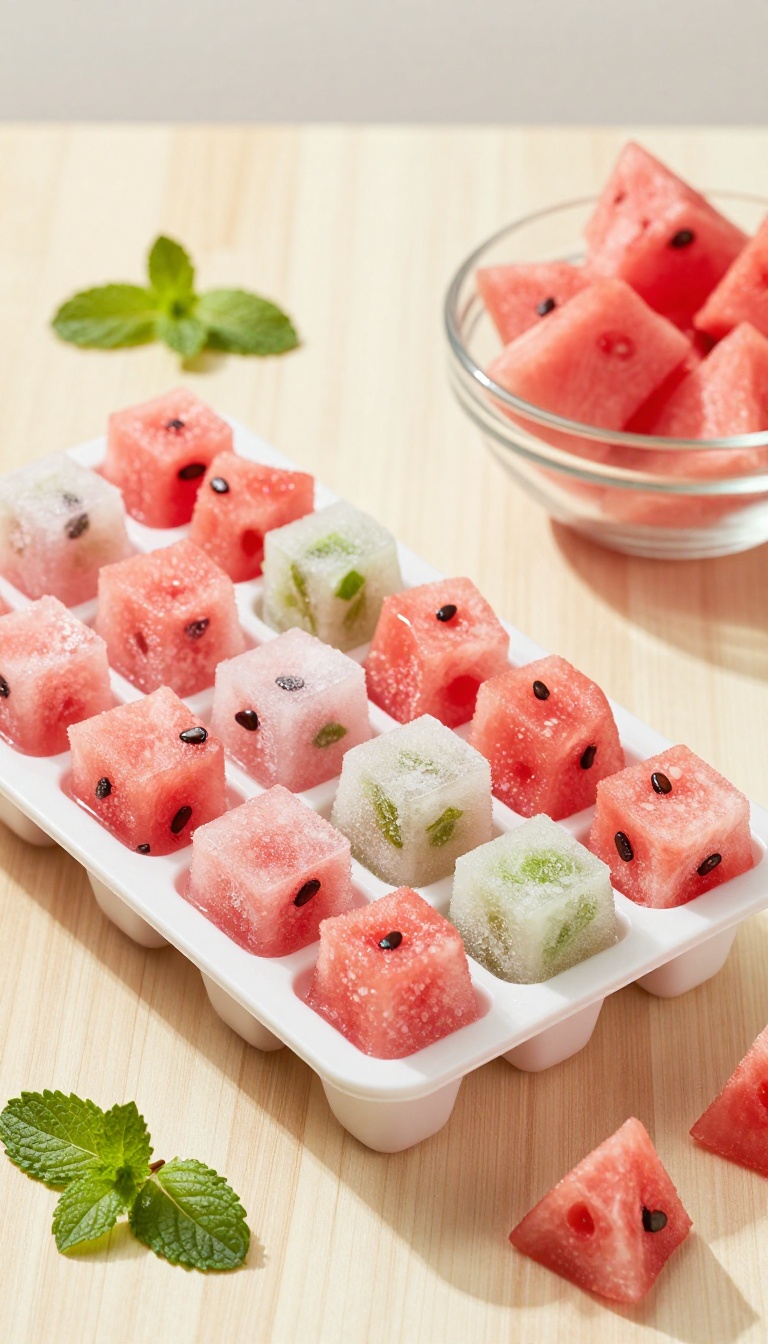
When the summer sun has both you and your pup feeling sluggish, these frozen watermelon and mint treats are a simple way to cool down together. They’re mostly water, so they’re hydrating on hot days, and the mint adds a fresh twist that many dogs enjoy. Plus, they take just a few minutes to prep—no oven required, which keeps your kitchen cool and your time free for more important things, like belly rubs.
Ingredients
- 2 cups seedless watermelon chunks (remove any seeds)
- 8 fresh mint leaves (finely chopped)
- 1/4 cup plain water or unsweetened coconut water (optional, for blending)
Instructions
- Place the watermelon chunks and mint leaves in a blender or food processor. Add the water or coconut water if needed to help everything blend smoothly.
- Puree until the mixture is completely smooth and the mint is well incorporated.
- Pour the puree into silicone molds or an ice cube tray. You can also use small paper cups or a mini muffin tin lined with parchment.
- Freeze for at least 4 hours, or until solid. Pop the treats out of the molds and store them in an airtight container in the freezer.
Serving Tip
Serve these frozen treats as a refreshing snack on hot days, but always supervise your dog while they enjoy them to prevent any choking hazards. Because they’re mostly water, they’re low in calories, but they can be messy as they melt, so offer them outside or on a towel. Store leftovers in a zip-top bag in the freezer for up to a month.
10. Yogurt & Peanut Butter Swirls
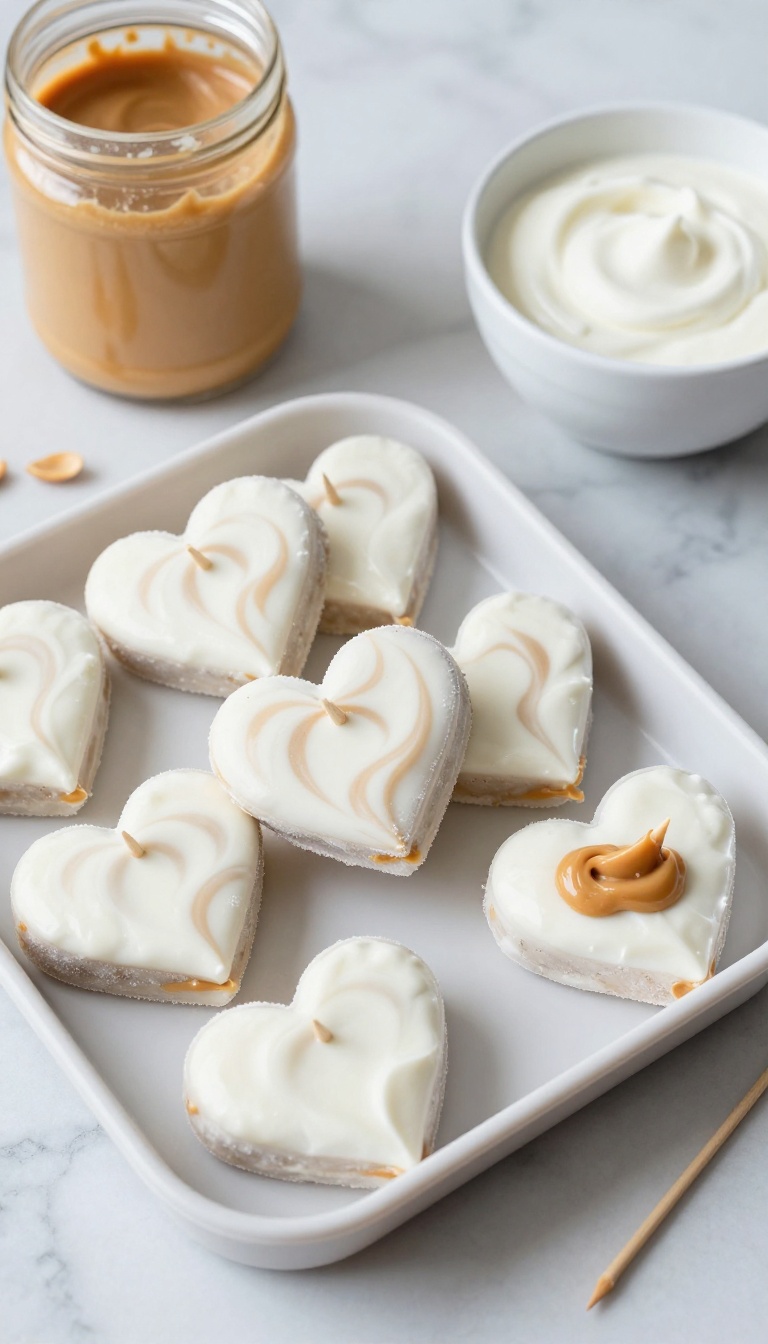
When the afternoon slump hits and your pup gives you those hopeful eyes, these frozen swirls are the perfect pick-me-up. They come together in minutes with just two ingredients you probably already have, and the freezer does all the work. The creamy yogurt and rich peanut butter create a smooth, satisfying texture that dogs love, and the little swirl pattern makes each treat feel special without any extra effort.
Whether you're cooling down after a walk or just want to spoil your furry friend, these are a go-to for busy days.
Ingredients
- 1 cup plain, unsweetened yogurt (Greek or regular, no xylitol)
- 1/2 cup natural, unsalted peanut butter (no xylitol)
- Small silicone molds or paper cups
Instructions
- In a small bowl, stir the peanut butter until smooth. If it's thick, warm it for a few seconds in the microwave to make it easier to swirl.
- Spoon a layer of yogurt into each mold or cup, filling them about halfway.
- Add a dollop of peanut butter on top of the yogurt, then use a toothpick or skewer to gently swirl the two together.
- Place the molds on a flat surface in the freezer and freeze for at least 3 hours, or until completely solid.
- Once frozen, pop the treats out of the molds and store them in an airtight container or zip-top bag in the freezer.
Serving Tip
These frozen treats are best served straight from the freezer, especially on warm days. For smaller dogs, cut each swirl in half or use mini molds. Store any leftovers in the freezer for up to two months—just let them soften for a minute or two before serving if they're too hard for your pup.
FAQ
Are no-bake dog treats safe for all dogs?
Most no-bake treats are safe for healthy adult dogs, but always check with your vet if your dog has allergies or health conditions. Avoid ingredients like xylitol, chocolate, grapes, and onions, and introduce new treats gradually.
How long do no-bake dog treats last?
It depends on the ingredients. Frozen treats can last up to 3 months in the freezer, while refrigerated treats are best within 5-7 days. Always store them in airtight containers and check for spoilage.
Can I substitute ingredients in these recipes?
Absolutely! Many ingredients can be swapped based on your dog's preferences or dietary needs. For example, use unsweetened applesauce instead of banana, or try a different nut butter (make sure it's xylitol-free).
Just keep proportions similar.
Do I need special molds for frozen treats?
No, you can use ice cube trays, silicone molds, or even small paper cups. Just make sure they are clean and food-safe. Silicone molds are easiest for popping treats out.
How many treats can I give my dog per day?
Treats should make up no more than 10% of your dog's daily calorie intake. Start with one small treat and adjust based on your dog's size, activity level, and overall diet. Always monitor your dog for any adverse reactions.
Conclusion
Making no-bake dog treats is a wonderful way to provide your pup with healthy, homemade snacks without the hassle of baking. These 10 recipes are simple, quick, and packed with dog-safe ingredients that your furry friend will adore.
Whether you're cooling down with frozen bites or whipping up a batch of savory balls, you'll love the convenience and the joy it brings to your dog. Remember to always consider your dog's individual needs and consult your vet if you have any concerns.

I’m Pallab Kishore, the owner of Little Pets Realm — an animal lover and pet care enthusiast sharing easy tips, healthy recipes, and honest advice to help every small pet live a happy, healthy, tail-wagging life.