
Peanut butter earns its spot in the treat jar for good reason: most dogs go wild for it, and it makes homemade treats genuinely simple. A spoonful adds flavor and healthy fats, so even basic recipes feel like a win for your pup.
You don't need fancy equipment or a baking background to pull these off. Most ideas here use a handful of ingredients and a few minutes of hands-on time, with plenty of room to swap things around.
Below are nine peanut butter dog treats worth trying, plus notes on choosing safe peanut butter and keeping portions sensible. Pick one to start this week and see which tail-wagging favorite sticks.
1. Frozen Peanut Butter Banana Bites
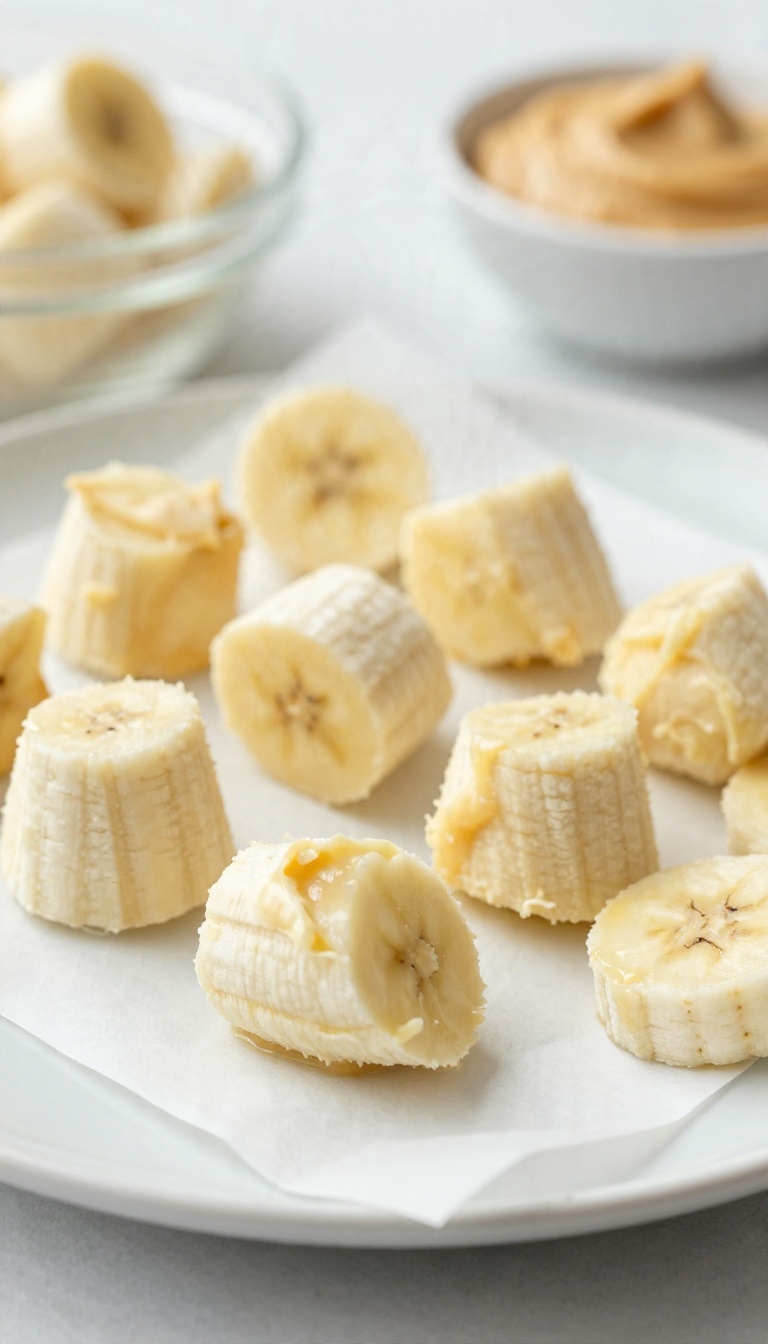
Hot afternoons and a pup who wants a snack are a tough combo. These frozen bites solve both problems at once. You mash ripe banana with peanut butter, freeze the mixture in small dollops, and end up with a cool, creamy treat that takes almost no effort.
No oven, no baking soda, no waiting around for dough to chill. Just three ingredients and a freezer.
The whole thing comes together in about ten minutes of hands-on work, and most of that is mashing. Ripe bananas do the heavy lifting here, so let yours go spotty before you start. The natural sweetness means you don't need to add anything else, and the peanut butter brings that salty-savory edge dogs love.
Once frozen, the bites hold their shape nicely and store well in a zip-top bag. They're a solid everyday reward, a good distraction during nail trims, and a welcome cool-down on a warm day.
What You'll Need
One ripe banana, about two tablespoons of peanut butter, and an optional spoonful of plain yogurt or a splash of water to loosen things up. That's it. Skip the yogurt if your dog has a sensitive stomach, and make sure your peanut butter is xylitol-free (more on that below).
A fork for mashing and a small silicone mold, ice cube tray, or parchment-lined plate will get the job done. No special tools required.
How To Make Them
Mash the banana in a bowl until it's mostly smooth. A few lumps are fine and actually give the bites some texture. Stir in the peanut butter until everything is evenly combined.
Spoon the mixture into your mold or drop small mounds onto parchment paper. Aim for bite-sized portions, roughly a teaspoon to a tablespoon depending on your dog's size. Freeze for at least two hours, or until solid.
Pop them out and store in a freezer bag for up to two months.
Serving And Storage Tips
Serve one or two at a time, and watch your dog the first time around so they don't gulp a frozen chunk whole. Letting the bite sit out for a minute softens it slightly, which is easier on smaller dogs and seniors. Keep them in the freezer rather than the fridge, since the banana mixture gets soft fast at room temperature.
If your freezer runs cold, a quick tap on the counter loosens stubborn bites from the mold.
2. Three-Ingredient Peanut Butter Biscuits
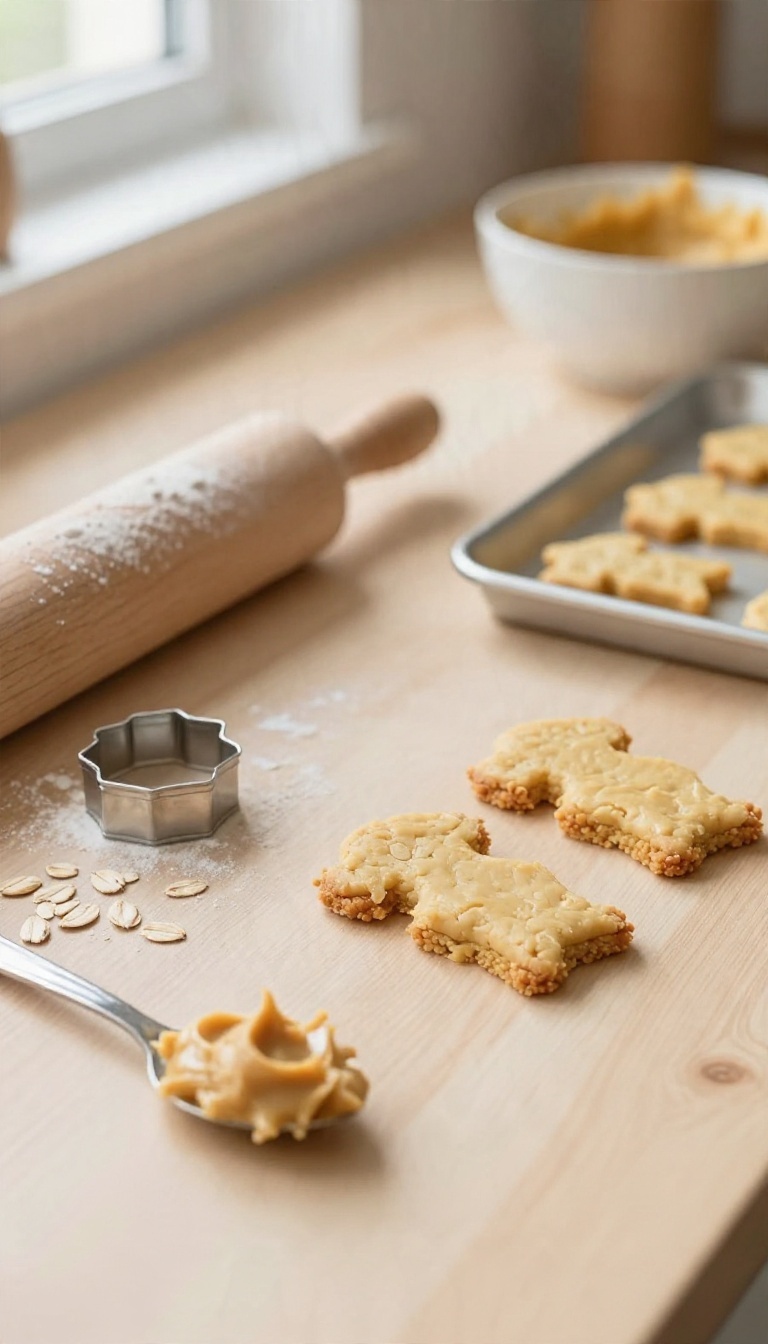
Three ingredients, one bowl, and a baking sheet. These biscuits come together with peanut butter, oats, and an egg, and the dough rolls out without any fuss. They're the kind of treat you can make on a random Tuesday and feel good about handing over.
The dough is forgiving, so don't stress about exact measurements. You want it firm enough to roll but soft enough to hold together. If it crumbles, add a splash of water.
If it sticks, sprinkle in more oats. Bake them until they're dry and lightly golden. They'll crisp up more as they cool, which gives you that satisfying snap dogs seem to love.
What You'll Need
One cup of oats, a quarter cup of peanut butter, and one egg. That's it. Use a peanut butter that's just peanuts and salt, and skip anything with xylitol, which is dangerous for dogs.
You can use quick oats or rolled oats. Rolled oats give a heartier texture, while quick oats blend into a smoother dough. Either works fine.
Making The Dough
Stir the peanut butter and egg together first, then fold in the oats. Mix until it looks like a stiff cookie dough. Let it rest for five minutes so the oats soak up some moisture.
Roll it out to about a quarter inch thick on a lightly floured surface. Cut shapes with a cookie cutter or just slice it into squares with a knife.
Baking And Storing
Bake at 350°F for about 15 minutes, flipping halfway through. They're done when the edges look dry and the centers feel set. Let them cool completely before storing.
Keep them in an airtight container for up to a week, or freeze the baked biscuits for longer storage. They thaw quickly, so you can pull out a few at a time.
3. Peanut Butter and Pumpkin Soft Chews
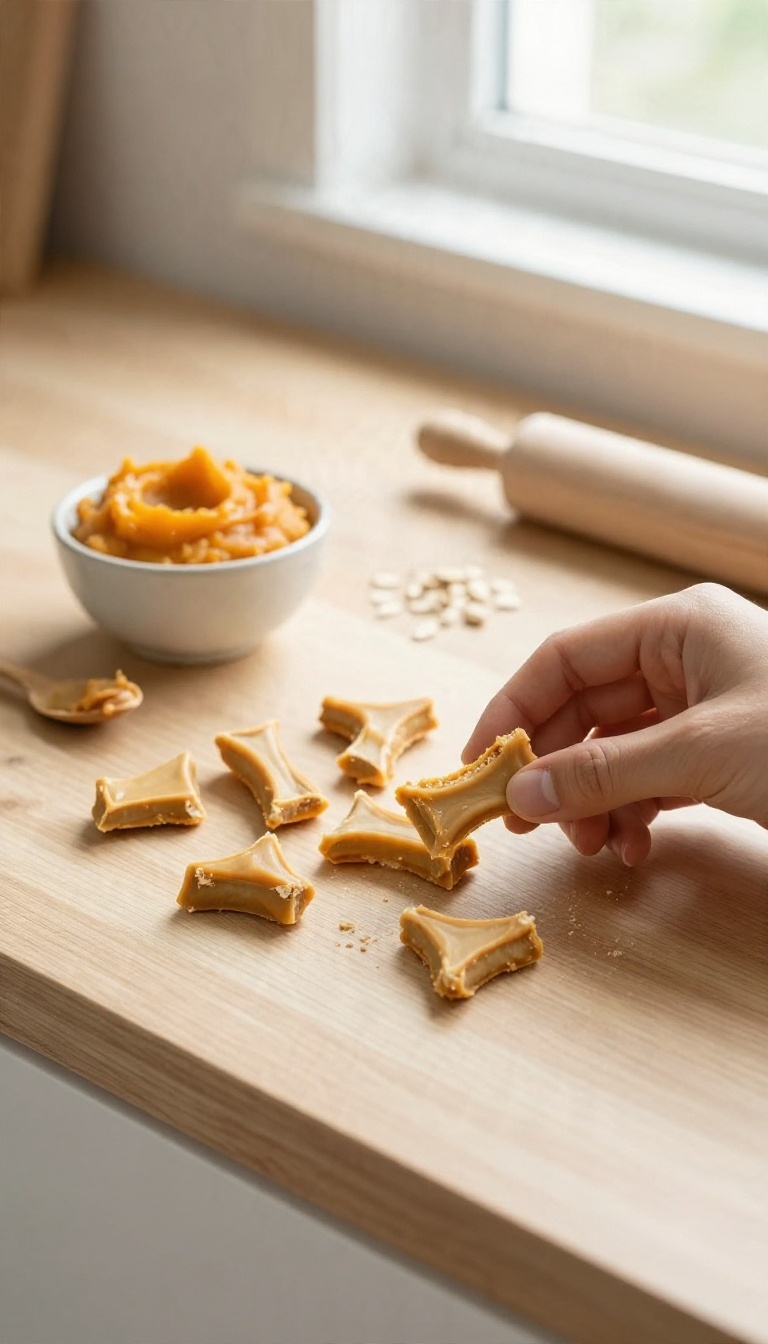
Soft chews solve a problem crunchy biscuits can't: they're gentle on teeth and easy for older dogs or small pups to manage. Pumpkin brings moisture and fiber to the mix, while peanut butter handles the flavor. The result is a chewy treat that holds together without turning into a crumbly mess.
These come together in one bowl with no special tools. You'll chill the dough briefly, roll it out, and cut small pieces. No baking required, which keeps the texture soft and the process quick.
Pumpkin puree does double duty here. It adds body so the chews hold their shape, and it brings a subtle sweetness dogs tend to like. Stick with plain canned pumpkin, not pie filling, since the spiced version often contains sugar and other additives you don't need.
The peanut butter you choose matters too. Look for a jar where the only ingredient is peanuts, or maybe peanuts and salt. Sweetened brands often contain xylitol, which is toxic to dogs, so read the label every time.
A quick scan takes seconds and saves you a headache. Once you've got your ingredients, the process is mostly stirring and shaping. The dough is forgiving, so don't stress about exact measurements.
If it feels too sticky, add a spoonful of oat flour; if it's crumbly, a splash of water or another spoon of pumpkin fixes it.
What You'll Need
Grab a cup of plain pumpkin puree, half a cup of natural peanut butter, and about two and a half cups of oat flour. You can use whole wheat flour if that's what's in the pantry, but oat keeps the texture softer. A tablespoon of honey is optional for extra appeal, though many dogs are happy without it.
Have a mixing bowl, a spoon, and a flat surface ready. A rolling pin helps, but your hands work fine too. Parchment paper makes cleanup easier and keeps the dough from sticking.
Making The Dough
Stir the pumpkin and peanut butter together until smooth. Add the flour a half cup at a time, mixing until a soft dough forms. It should feel like playdough, not sticky batter.
If it's too wet, sprinkle in more flour; too dry, add water a teaspoon at a time. Shape the dough into a ball, wrap it, and chill for about 20 minutes. This step makes rolling easier and helps the chews hold their shape.
Skip it if you're short on time, but expect a slightly tackier dough.
Shaping And Storing
Roll the dough to about a quarter-inch thickness and cut small shapes with a knife or cookie cutter. Tiny squares work well for training treats. Place them on a parchment-lined tray and refrigerate for an hour to firm up.
Store the chews in an airtight container in the fridge for up to a week, or freeze them for longer storage. They thaw quickly, so you can pull out a few at a time. These soft bites suit older dogs, puppies, and any pup who turns up their nose at crunchy biscuits.
4. No-Bake Peanut Butter Oat Balls

No oven, no fuss, no problem. These no-bake oat balls come together in one bowl with ingredients you probably already have. They're perfect for a quick treat stash or a last-minute reward.
The texture is soft and chewy, which makes them a hit with dogs of all sizes. Plus, you can easily tweak the recipe to suit your pup's taste or dietary needs.
No-bake treats are a lifesaver when you want homemade goodness without heating up the kitchen. These oat balls rely on peanut butter as the glue, so they hold their shape with just a quick chill. They're also a great way to use up leftover oats or add a little fiber to your dog's day.
Making them is as simple as mixing, rolling, and chilling. The hardest part is waiting for them to set—and keeping your dog from stealing a few before they're ready.
What You'll Need
The base is rolled oats and peanut butter, but you can add a little honey for sweetness or a sprinkle of cinnamon for flavor. Just make sure your peanut butter is xylitol-free—that's non-negotiable for dog safety. You'll also want a mixing bowl, a spoon, and a container for chilling.
That's it. No special tools required.
How To Make Them
Start by mixing 1 cup of rolled oats with 1/2 cup of peanut butter. If the mixture feels too dry, add a tablespoon of water or a little more peanut butter until it holds together when pinched. Roll the mixture into small balls—about the size of a marble for small dogs or a golf ball for larger ones.
Place them on a parchment-lined tray and refrigerate for at least 30 minutes to firm up. Store them in an airtight container in the fridge for up to a week, or freeze for longer storage.
Tips For Picky Eaters
If your dog turns up their nose at plain oats, try adding a mashed banana or a spoonful of pumpkin puree for extra appeal. You can also roll the balls in crushed freeze-dried liver or a little shredded cheese for a savory twist. Just remember to adjust the consistency—if the mixture gets too wet, add more oats until it's easy to handle.
5. Peanut Butter Stuffed Kong Freezer Treats
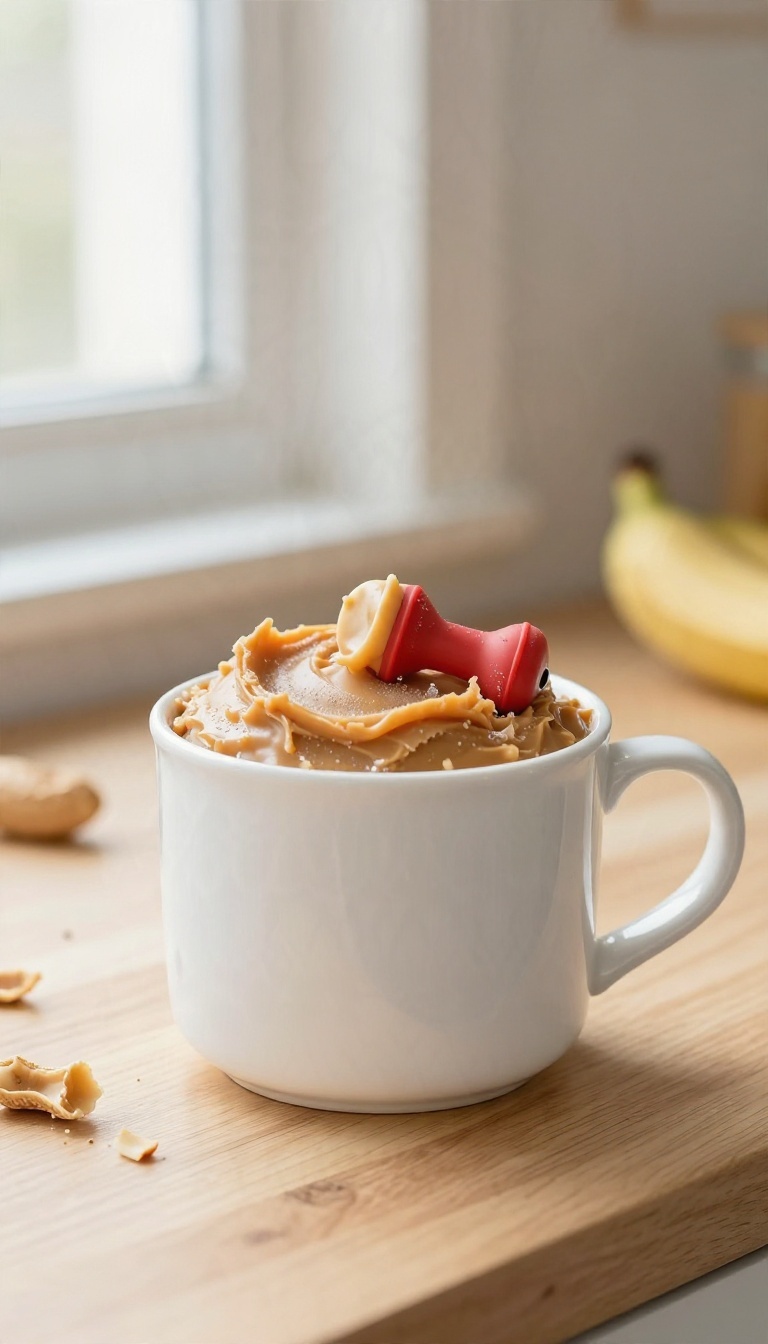
A stuffed Kong pulled straight from the freezer buys you a solid stretch of quiet. The cold feels good on gums, the peanut butter takes real effort to dig out, and your dog stays happily occupied instead of eyeing your shoes. It's the kind of treat that works double duty: a snack and a boredom buster in one.
You don't need a special recipe for this one. Grab your dog's Kong, fill it with a peanut butter mix, and freeze it until solid. The result is a long-lasting chew that keeps your pup focused and calm.
This is a go-to for crate training, alone time, or anytime you need a few minutes of peace. Just make sure the peanut butter is safe and the portion fits your dog's daily calories.
How To Stuff And Freeze
Start with a clean Kong and a simple peanut butter mixture. You can use plain peanut butter or blend it with a little mashed banana or plain yogurt for variety. Spoon it in, packing it down to avoid air pockets, then seal the small end with a dab of peanut butter.
Freeze for at least 4 hours, or until firm. For easier filling, place the Kong upright in a mug. If you want to stretch the treat, layer in some kibble or small treats before adding more peanut butter.
The freezing step is key—it turns a quick snack into a long-lasting challenge.
Best Times To Use Them
Frozen Kongs shine during crate time, especially for puppies learning to settle. The cold soothes sore gums during teething, and the effort of licking and chewing helps release calming endorphins. They're also great for keeping your dog busy while you work or when guests come over.
Just remember to adjust meals if your dog gets these often. A stuffed Kong can pack a fair number of calories, so subtract a little from dinner or use it as part of the daily food ration.
Safety And Portion Tips
Always check that your peanut butter is xylitol-free—this sweetener is toxic to dogs. Also, choose a Kong size that's appropriate for your dog's weight and chewing style. Too small, and it's a choking hazard; too big, and it's frustrating.
Supervise the first few times your dog uses a frozen Kong. Once you know they won't try to swallow it whole, you can feel comfortable leaving them alone with it. And if your dog has a sensitive stomach, introduce rich fillings slowly.
6. Peanut Butter and Applesauce Training Bites
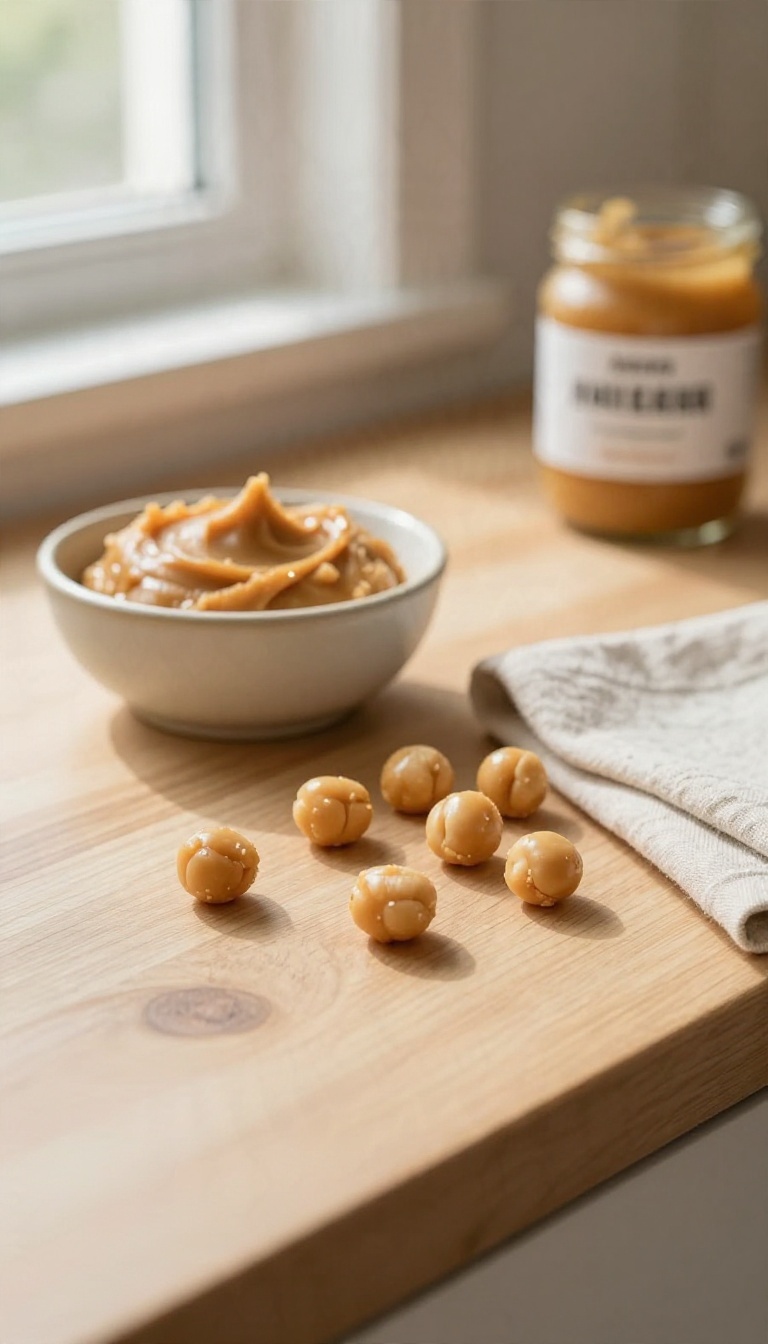
Training sessions live and die by timing, and timing works a lot better when the reward is small enough to swallow in one gulp. These bites fit that job perfectly. They're soft, bite-sized, and mild enough that most dogs stay focused on the next cue instead of chewing.
Applesauce keeps the dough moist without adding much sugar, and unsweetened peanut butter brings the flavor that makes your dog want to work for it. The result is a low-crumb treat you can pull from a pocket mid-session without leaving a mess behind.
The whole point here is speed. A reward your dog has to chew gives them time to lose focus, so these bites stay small, roughly the size of a pea. You can make a batch on a Sunday and have rewards ready for the whole week.
They also hold up well in a treat pouch, which matters more than people realize. Crumbly biscuits turn into dust by the second cue, but a soft applesauce bite stays intact and easy to grab.
What You'll Need
Grab a cup of oat flour, a quarter cup of unsweetened applesauce, and two tablespoons of unsweetened peanut butter. Add one egg if you want a slightly firmer bite that holds its shape better in a pouch. Check the peanut butter label before you start.
Xylitol, sometimes listed as birch sugar, is toxic to dogs, so skip any jar that contains it. Applesauce should be plain and unsweetened too, since the sweetened kind adds sugar your dog doesn't need.
Mixing And Baking
Stir the peanut butter and applesauce together first, then fold in the flour until a soft dough forms. If it feels sticky, add flour a spoonful at a time until it stops clinging to your fingers. Roll the dough into thin ropes and cut them into small pieces, or press it flat and slice into tiny squares.
Bake at 350°F for about 12 to 15 minutes, until the edges look set but the centers stay soft. Let them cool completely before the first reward.
Using Them In Training
Keep portions tiny so you can reward often without overloading your dog's stomach. Five or six of these bites add up to less than a single biscuit, which means you can run a full session without worrying about the calorie count. Store extras in the fridge for about a week, or freeze them on a tray and pull out what you need each day.
A frozen bite works well on warm days and slows down a dog who tends to inhale rewards.
7. Peanut Butter Sweet Potato Chews

Sweet potatoes bring a soft, chewy texture that biscuits just can't match, and peanut butter makes them impossible to ignore. You mash the two together, spread the mix, and slice it into strips once it sets. The result is a treat that feels substantial in your dog's mouth without being tough on teeth.
These chews work well for dogs who turn their nose up at crunchy snacks or who need something they can gnaw on for a minute. They also hold up nicely in the fridge for a week, so you can make a batch and forget about it.
The method is simple: cook a sweet potato until it's soft, mash it smooth, and stir in peanut butter until you get a thick, scoopable paste. Spread that mixture thin on parchment, let it firm up in the fridge, and cut it into chew-sized strips. No dehydrator required, though one helps if you want a firmer bite.
What You'll Need
One medium sweet potato and a couple of tablespoons of peanut butter cover a small batch. Pick a natural peanut butter with just peanuts and salt, and skip anything sweetened with xylitol, which is dangerous for dogs. A fork or potato masher handles the sweet potato fine.
Parchment paper and a baking sheet do the rest. If your mash feels too loose, a spoonful of oat flour tightens it up without changing the flavor.
Making The Chews
Bake or microwave the sweet potato until a knife slides through easily, then let it cool enough to handle. Scoop out the flesh, mash it until smooth, and mix in the peanut butter. You want a texture like thick cookie dough, not a wet puree.
Spread the mixture about a quarter inch thick on parchment and smooth the top. Chill for at least an hour, then slice into strips or small squares with a knife or pizza cutter. For a chewier finish, bake the strips at 250°F for 25 to 30 minutes, flipping once.
Storing And Serving
Keep the chews in a sealed container in the fridge for up to a week, or freeze them in a single layer and bag them for longer storage. Frozen chews double as a cooling snack on hot days. Sweet potato is starchy, so these add up fast in the calorie department.
One or two strips make a sensible treat for a medium dog, and smaller pups should get half that. Cut back slightly on regular meals if you're handing these out often.
8. Peanut Butter Yogurt Pops
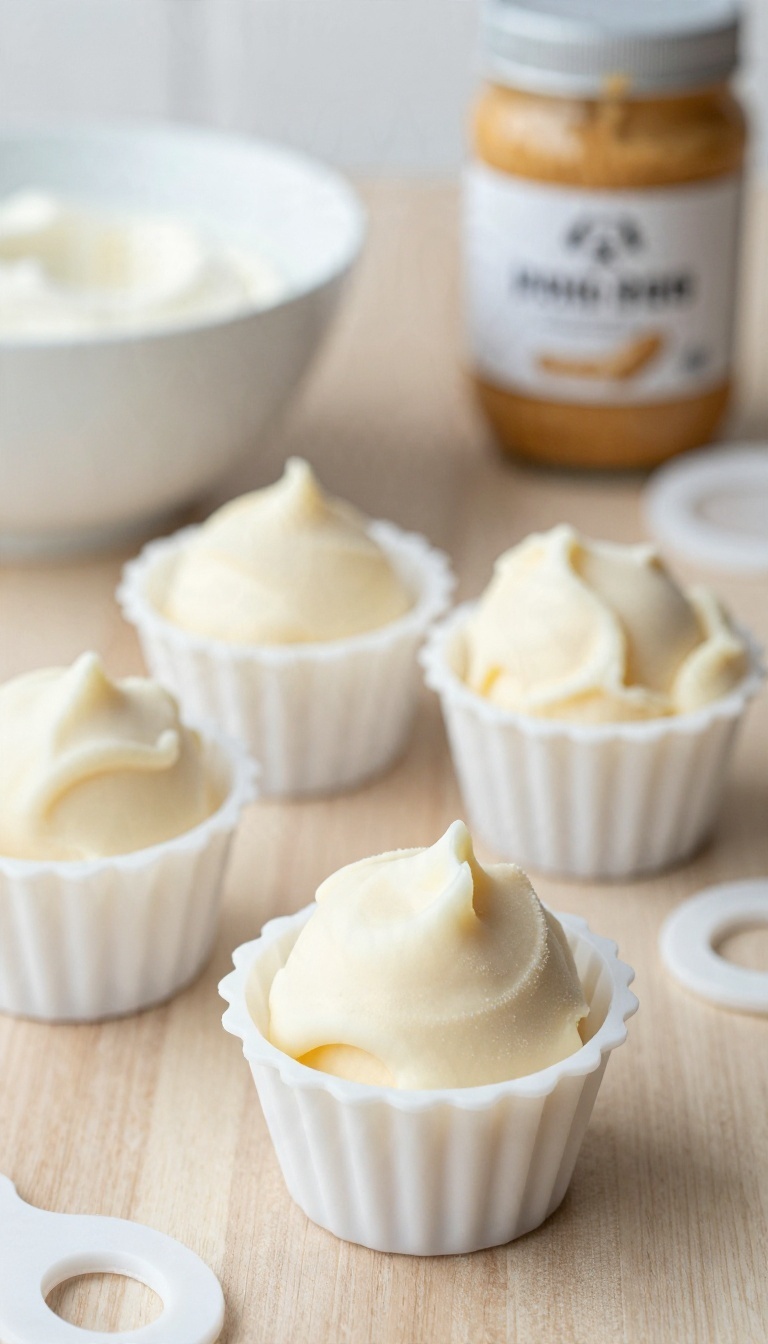
When the temperature climbs, your dog wants something cold and satisfying. These frozen pops combine plain yogurt with peanut butter for a creamy, refreshing treat that doubles as a fun activity. They're simple to make and perfect for hot afternoons.
You only need three ingredients: plain yogurt, peanut butter, and a little water or broth to thin things out. Use a silicone mold or small paper cups, and you're set. The result is a smooth, icy pop that dogs love to lick and chew.
Yogurt brings a tangy creaminess and beneficial probiotics, while peanut butter adds richness and that irresistible flavor. Together, they create a texture that's firm enough to hold its shape but soft enough for easy licking. It's a treat that feels special but takes minutes to prepare.
Choosing The Right Yogurt And Peanut Butter
Plain, unsweetened yogurt is key. Avoid any with added sugar, artificial sweeteners, or flavorings—especially xylitol, which is toxic to dogs. Greek yogurt works well because it's thicker, but regular plain yogurt is fine too.
For peanut butter, check the label to make sure it doesn't contain xylitol. Many natural brands are safe, but always verify. You want just peanuts and maybe a little salt—nothing else.
How To Make The Pops
Start by mixing equal parts yogurt and peanut butter in a bowl. If the mixture is too thick, add a splash of water or unsalted broth to get a pourable consistency. Spoon it into silicone molds or small paper cups.
Freeze for at least 4 hours, or until solid. To serve, pop them out of the mold or peel away the paper cup. For a fun twist, press a small dog biscuit into the top before freezing for an extra crunch.
Serving And Storage Tips
These pops are best served outside or on a wipeable surface, as they can get a little messy as they melt. They're a great way to help your dog cool down after a walk or play session. Store the pops in an airtight container in the freezer for up to two weeks.
If you use paper cups, you can keep them in the cups until serving. Just make sure they're fully frozen before transferring to a container to prevent sticking.
9. Peanut Butter and Carrot Crunch Squares
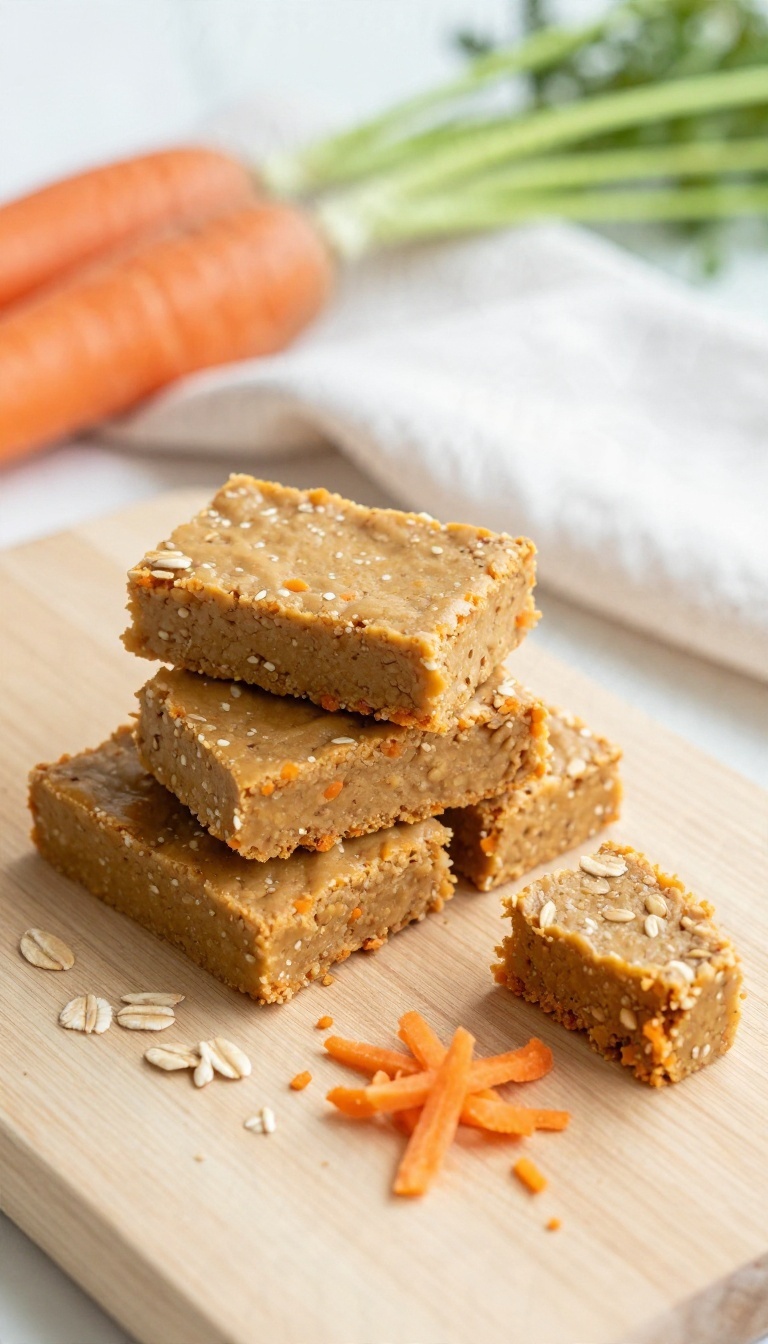
Carrots don't get nearly enough credit in the dog treat world. Grated fine and baked into a peanut butter dough, they add a gentle crunch and a little natural sweetness that dogs seem to pick up on right away. These squares also happen to be one of the sturdiest treats on this list.
They firm up nicely after cooling, stack in a container without crumbling, and hold their shape for weeks, which makes them a solid batch-and-store option for busy weeks. The method is simple: mix, press, bake, cut. No rolling pin, no cookie cutters, no fussy shaping required.
You'll want a fairly thick dough here so the squares stay dense and crunchy rather than cakey. The carrot does most of the texture work, so grate it on the fine side and squeeze out any excess moisture before it goes in the bowl. A food processor makes quick work of the carrot, but a box grater is totally fine.
Just watch your knuckles near the end of the carrot, because nobody wants that kind of excitement mid-recipe.
What You'll Need
Gather one cup of whole wheat flour, half a cup of rolled oats, one medium carrot grated fine, a third of a cup of natural peanut butter, one egg, and a splash of water if the dough needs loosening. Double-check your peanut butter label first. It should list peanuts and maybe salt, nothing else.
Xylitol is the ingredient to avoid completely, since it's dangerous for dogs even in small amounts. If your dog has a sensitive stomach, swap the whole wheat for oat flour. The squares come out a touch softer but still hold together well.
Mixing And Baking
Stir the flour and oats together, then work in the peanut butter and egg until the mixture looks like coarse crumbs. Add the carrot and knead briefly until a firm dough forms, adding water a teaspoon at a time only if it stays crumbly. Press the dough into a parchment-lined square pan, aiming for about half an inch thick.
Score it into small squares with a knife before baking so they break apart cleanly later. Bake at 350°F for roughly 25 minutes, until the edges turn golden and the center feels set. Let everything cool completely in the pan, then snap along the score lines.
Storage And Serving
These squares keep in an airtight container at room temperature for about a week, or up to two weeks in the fridge. For longer storage, freeze them in a single layer first, then bag them up for up to three months. Because they're denser than a thin biscuit, keep portions modest.
One or two small squares is plenty for most dogs, and you can break them in half for smaller pups or training rewards. They also travel well, so they're a good pick for the car, the trail, or a treat pouch that sits in the sun for an afternoon.
FAQ
Is peanut butter safe for dogs?
Plain peanut butter is generally safe in small amounts, but check the label for xylitol, which is toxic to dogs. Skip any brand that lists it and choose unsalted, no-sugar-added options when you can.
How much peanut butter is too much for a dog?
Peanut butter is calorie-dense, so keep treats small and treat them as extras, not meals. A teaspoon or two for most dogs is plenty, and you should adjust regular food portions if treats add up.
Can I use crunchy peanut butter in dog treats?
Yes, crunchy works fine in most recipes, though smooth blends more easily into doughs and frozen mixes. Just make sure the crunchy version has no xylitol or added sweeteners.
How long do homemade peanut butter treats last?
Baked treats usually keep about a week in an airtight container, while frozen ones last a few weeks in the freezer. Soft or no-bake treats are best used within a few days and stored cold.
What can I use instead of peanut butter?
If your dog can't have peanut butter, try plain pumpkin puree, mashed banana, or a dog-safe nut butter without xylitol. Check with your vet first if your dog has allergies or a special diet.
Conclusion
Peanut butter earns its spot in the treat drawer for good reason: most dogs love it, and it turns a few pantry staples into something worth wagging about. Pick one idea from this list, keep portions sensible, and double-check your jar is free of xylitol before you start. Once you find a favorite, small batches and proper storage keep things easy.
Your dog gets a fresh, simple reward, and you get a routine that fits real life. That's a pretty good trade.