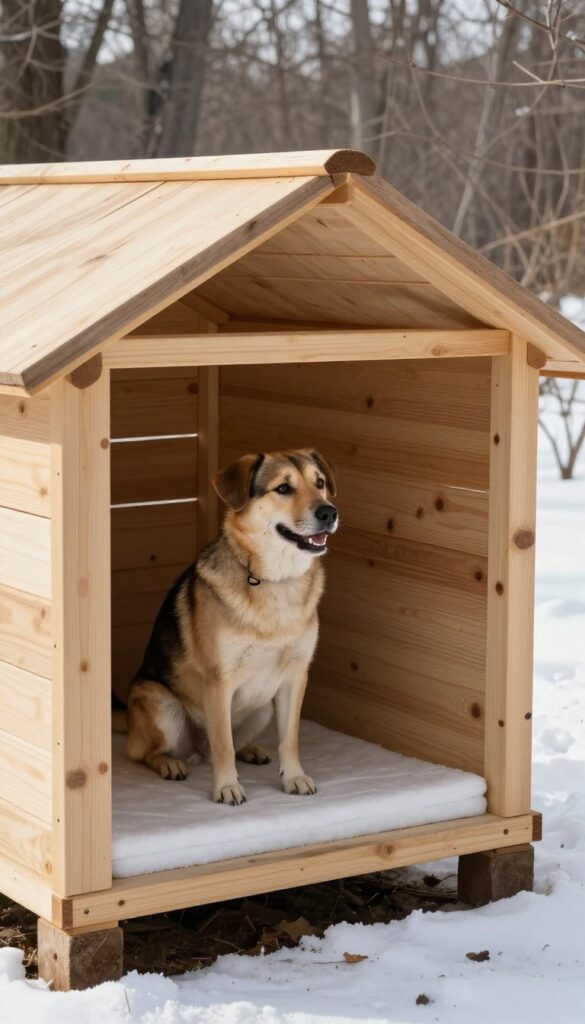
When temperatures drop, your dog's outdoor shelter needs more than just four walls and a roof. A properly insulated dog house can mean the difference between shivering through the night and sleeping soundly.
These ten DIY ideas focus on real-world solutions for cold climates, using materials that trap heat and block drafts. From recycled denim to solar panels, each design tackles winter in a practical way.
Whether you're building from scratch or upgrading an existing house, these options will help your pup stay warm without breaking the bank. Let's explore how to turn a basic dog house into a cozy winter retreat.
1. Foam Board Insulation Upgrade
Rigid foam board is one of the easiest ways to add serious warmth to an existing dog house. It's lightweight, cuts with a utility knife, and provides excellent thermal resistance. Dog owners love that this upgrade takes just a few hours and costs under $50.
Why It Works
Foam board traps air in tiny closed cells, creating a barrier that keeps heat inside and cold out. Sealing the edges with caulk prevents drafts, making the interior up to 15 degrees warmer than the outside air.
Best For
This idea works best for medium to large dogs who already have a solid wooden dog house. It's perfect for owners on a budget who want a quick, effective insulation fix without major construction.
Practical Tip
Measure each interior surface carefully before cutting the foam. Use construction adhesive or double-sided tape to secure panels, then run a bead of silicone caulk along all seams for an airtight seal.
Budget-Friendly Option
If rigid foam is too pricey, try reflective foil bubble insulation instead. It's cheaper and easier to cut, though not quite as effective in extreme cold.
2. Heated Dog House with a Pet-Safe Heating Pad
Adding a low-wattage heating pad under the floor is a game-changer for cold-weather dog houses. It provides consistent warmth without the fire risks of space heaters or heat lamps. This setup gives your dog a toasty spot to curl up on even the chilliest nights.
Why It Works
A chew-resistant, thermostat-controlled heating pad maintains a safe temperature around 100°F—warm enough to take the edge off, but not hot enough to burn. Placing it under a removable floor panel concentrates heat where your dog lies, while the insulation traps it inside.
Best For
Ideal for short-haired breeds like Chihuahuas, Greyhounds, or senior dogs who feel the cold more. Also great if your dog spends several hours outdoors during winter and needs reliable supplemental heat.
Practical Tip
Use a removable floor panel so you can clean or replace the pad easily. Run the cord through a weatherproof grommet and secure it with cable clips to prevent chewing. Test the temperature with your hand before letting your dog in.
Budget-Friendly Option
If a pet-specific heating pad is out of budget, use a reptile heating pad (also low-wattage and chew-resistant) or a microwavable pet-safe heat pack wrapped in a towel—just reheat it every few hours.
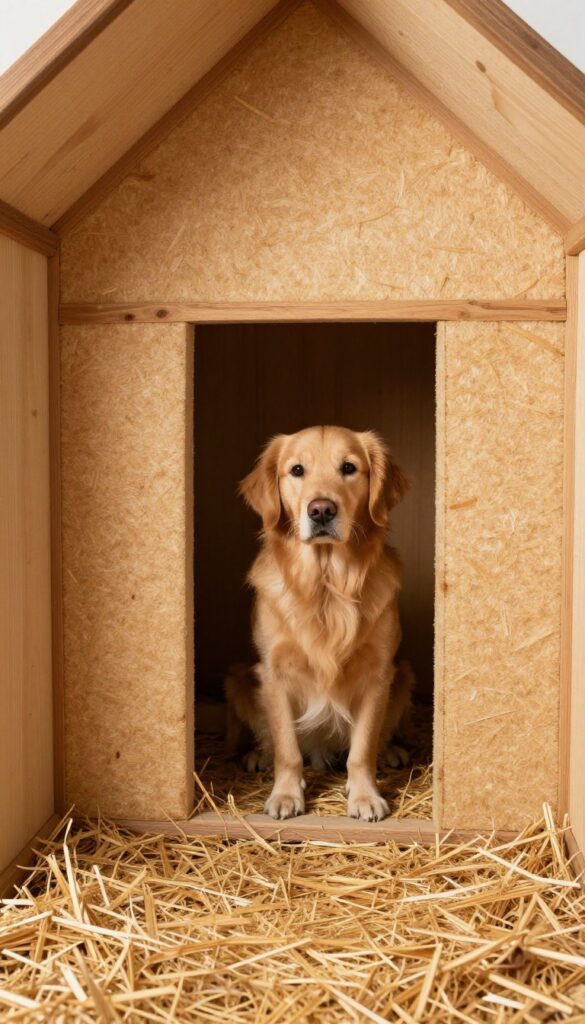
3. Straw-Bale Dog House for Extreme Cold
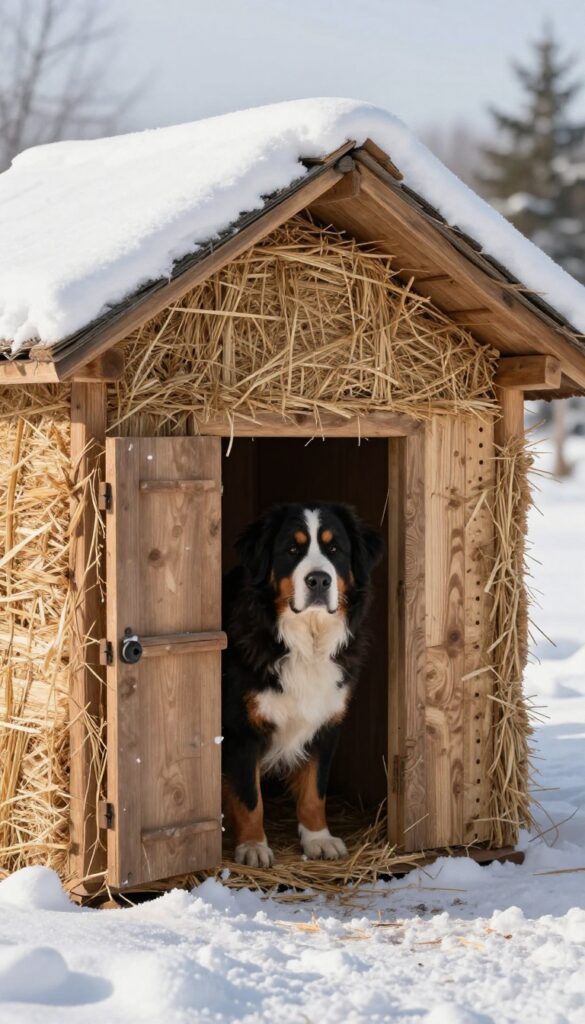
Straw bales might seem old-fashioned, but they’re one of the best natural insulators out there. This design uses a simple wooden frame as the skeleton, then packs straw bales around the outside for serious warmth. A plywood skin and waterproof paint keep everything dry and durable.
It’s a low-cost, eco-friendly way to create a toasty shelter that stands up to harsh winters.
Why It Works
Straw traps air in its hollow stems, creating a thick insulating layer that holds in body heat and blocks wind. The bales also provide excellent thermal mass, so the interior stays warmer longer when your dog is inside. Plus, straw breathes naturally, reducing condensation that can lead to mold or mildew.
Best For
This setup is ideal for large breeds like Huskies, Malamutes, or Bernese Mountain Dogs that already tolerate cold but need a dry refuge from extreme wind and snow. It also suits owners in rural or farm settings where straw is readily available and cheap.
Practical Tip
Elevate the floor slightly on pressure-treated skids to keep moisture from wicking up into the straw. Use a removable plywood panel on one side for easy cleaning inside—just lift it off to sweep out bedding or debris. Also, add a heavy-duty flap door made of rubber or canvas to block drafts while letting your pup come and go.
Budget-Friendly Option
If straw bales are hard to find in your area, substitute with compressed hay bales (ensure no mold) or even stacked wood pallets filled with leaf litter for similar insulation at a lower cost.
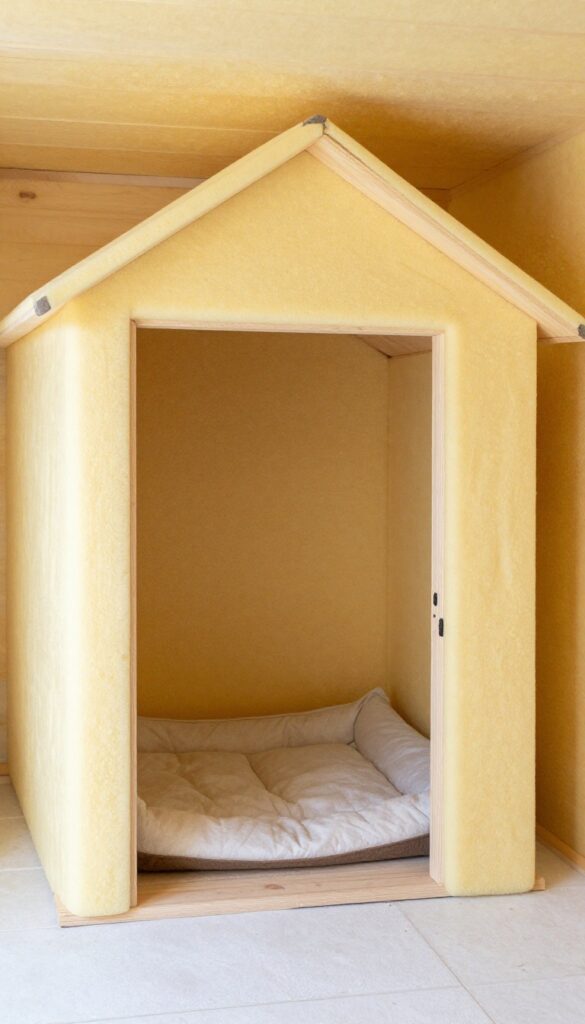
4. Double-Wall Construction with Reflective Insulation
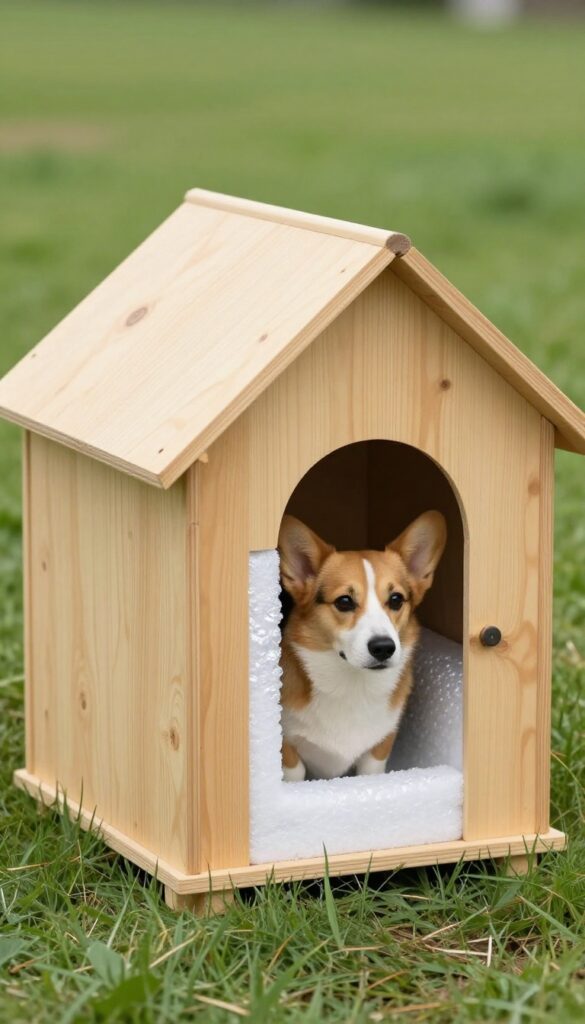
Think of this design as a thermos for your dog. By building two walls with a gap in between, you create an air pocket that stops cold from seeping in. The reflective bubble insulation sits inside that gap, bouncing your dog's body heat back toward them.
It's simple physics that makes a huge difference.
Why It Works
The double-wall setup creates a dead air space that slows heat transfer. The reflective layer adds another barrier by radiating warmth inward. Together, they keep the interior noticeably warmer than single-wall designs, even when the wind is howling.
Best For
This is ideal for small to medium breeds like Beagles, Corgis, or Boston Terriers who feel the cold quickly and need extra warmth without relying on electricity. It also works well for dog houses placed in exposed yards where wind chill is a problem.
Practical Tip
Use plywood for both inner and outer walls, leaving a 2-inch gap. Cut the reflective bubble insulation to fit snugly between layers—no gaps allowed. Seal all edges with foil tape to keep moisture out and maximize reflectivity.
Budget-Friendly Option
If you're on a tight budget, skip the plywood for the inner wall and use 1/2-inch foam board instead. It still creates an insulating gap, but costs less than a second sheet of plywood.
5. Recycled Denim Insulation Dog House
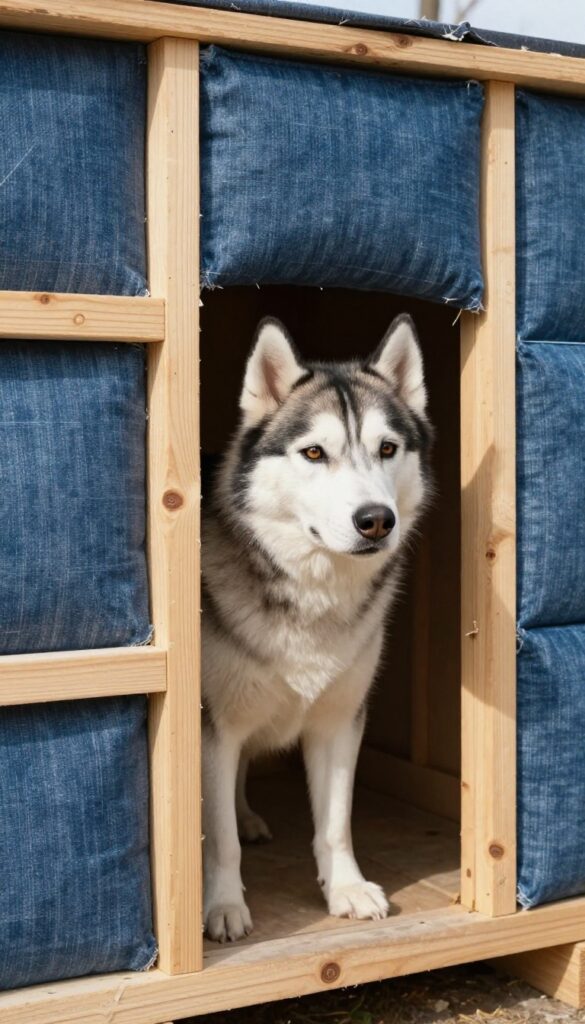
Old jeans get a second life in this eco-friendly insulation project. Denim batts are treated with borates for fire and pest resistance, making them safe for pets. They trap heat just as well as fiberglass but without the itch or harmful particles.
Why It Works
Denim insulation has a high R-value per inch and naturally muffles wind noise, which helps anxious dogs settle. It also wicks moisture away instead of absorbing it, preventing mold and mildew in damp climates.
Best For
Eco-conscious owners who want to reduce waste and avoid chemical-laden materials. Ideal for dogs that spend long hours outdoors in cold, wet winters—especially breeds like Huskies, Malamutes, or any thick-coated dog that needs extra warmth without overheating.
Practical Tip
Cut denim batts to fit snugly between studs, then cover with plywood or pet-safe paneling to keep your dog from pulling at the fabric. Seal all edges with caulk to block drafts and add a waterproof exterior layer like vinyl siding or marine-grade paint.
Budget-Friendly Option
If recycled denim batts are hard to find or pricey in your area, use old denim jeans shredded into strips as a loose-fill alternative. Stuff the strips into heavy-duty garbage bags, seal them tight, and place them inside the walls for similar insulation at near-zero cost.
6. Heated Floor with Hydronic Tubing
Imagine your dog walking into a warm, toasty floor on a freezing winter morning. That's exactly what hydronic radiant heating delivers. This system uses PEX tubing embedded in a concrete or sand base, connected to a small water heater, to circulate warm water beneath the floor.
It's like a fancy heated bathroom floor—but for your pup. Dog owners who build this setup rave about how evenly it distributes heat without hot spots or cold zones. No noisy fans, no dry air—just steady, comfortable warmth from the ground up.
Why It Works
Radiant heat rises naturally and warms your dog from the paws upward, which is exactly how dogs prefer to stay cozy. Concrete or sand acts as a thermal mass, absorbing heat during the day and releasing it slowly through the night. Because the tubing is sealed and buried, there's no risk of chewing or damage.
The system can run on a simple thermostat, keeping the floor at a consistent 70–80°F even when outdoor temps drop below zero.
Best For
This is a permanent solution best for dedicated dog houses in very cold regions like Alaska, Canada, or the northern US. It's ideal for large breeds (think Huskies, Malamutes, or Great Pyrenees) that spend significant time outdoors but still need a retreat from extreme cold. Not recommended for portable setups or temporary shelters.
Practical Tip
Use a closed-loop system with antifreeze (propylene glycol) to prevent freezing in the lines. Insulate under the concrete slab with rigid foam board to direct heat upward rather than into the ground. Pair with a programmable thermostat and set it to run only when your dog is inside—saves energy and keeps bills low.
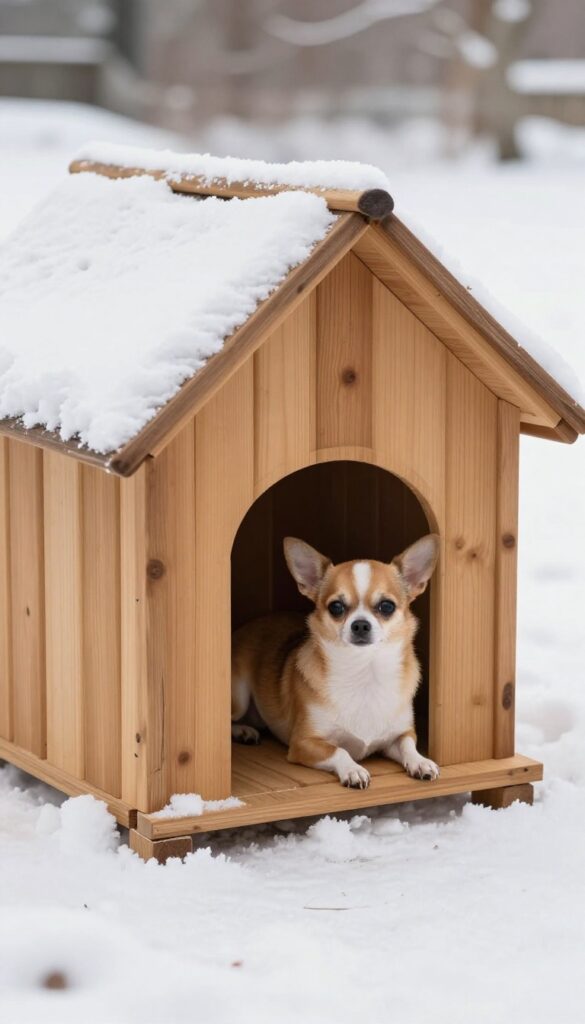
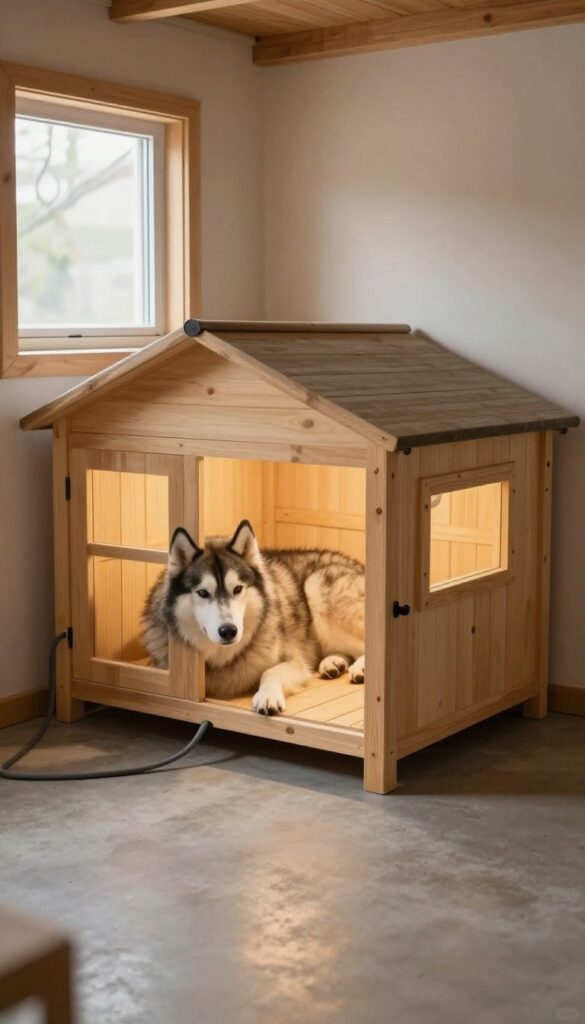
7. Insulated Dog House with a Heated Door Flap
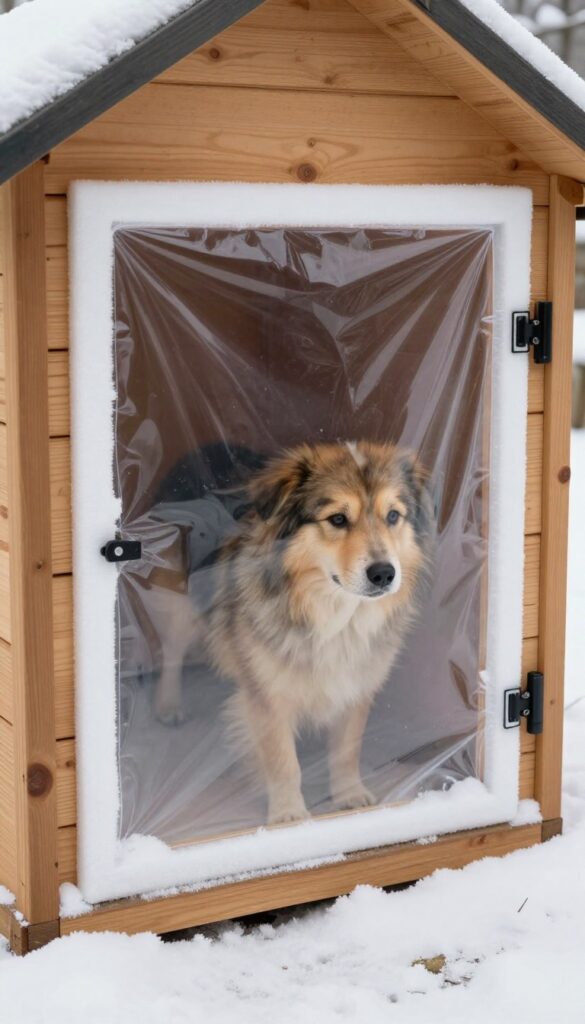
A heavy-duty, insulated door flap is one of the simplest ways to stop heat from escaping every time your dog goes in or out. This idea pairs that flap with foam insulation in the walls to create a snug, draft-free space.
The flap hangs over the entrance and seals shut behind your pup, blocking wind and snow while still letting them come and go freely. It's a low-effort upgrade that makes a big difference in how warm the house stays.
Why It Works
The insulated flap acts like a weatherstripping for the door, preventing warm air from leaking out and cold air from sneaking in. Combined with foam board insulation in the walls and ceiling, you create a sealed thermal envelope that holds body heat much longer than an uninsulated house.
Best For
This setup is ideal for dogs who are used to going in and out on their own, especially medium to large breeds that generate enough body heat to warm up a small space quickly. It works great for existing dog houses that just need a winter boost.
Practical Tip
Use a clear vinyl or heavy canvas flap with a magnetic closure so it falls back into place automatically. Make sure the flap is long enough to overlap the opening by at least two inches on each side. Add a small bead of silicone caulk around the frame where the flap attaches to prevent drafts.
Budget-Friendly Option
If you don't want to buy a pre-made heated flap, you can sew your own using two layers of denim with a sheet of bubble wrap sandwiched between them for insulation. Use Velcro strips to attach it to the door frame so it's easy to remove for cleaning.
8. Solar-Powered Heated Dog House
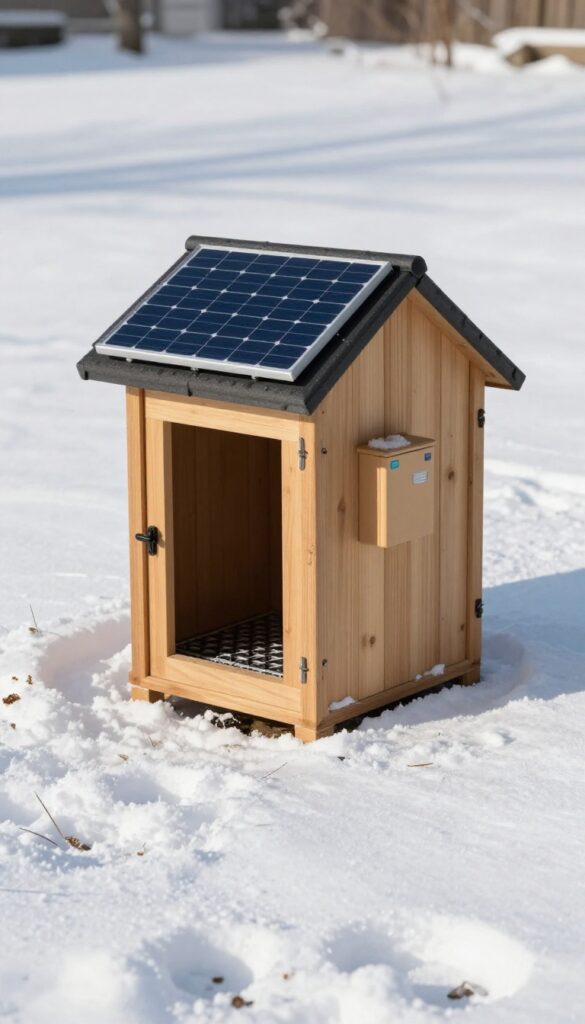
Harness the sun to keep your dog warm without hiking up your electric bill. A small solar panel mounted on the roof charges a battery that powers a low-voltage heating mat or a gentle fan. It’s a quiet, sustainable setup that works great in sunny cold areas, even off-grid.
The system is surprisingly simple to put together and can run for hours after sunset with a decent battery backup. Your dog gets steady warmth without any cords or noise.
Why It Works
The solar panel captures free energy during the day, storing it in a battery so the heating mat or fan keeps running all night. It’s silent and produces no fumes, making it safe for enclosed dog houses. The low-voltage components are also energy-efficient and won’t overheat.
Best For
Ideal for dogs that spend time outdoors in sunny but cold climates, like the Rocky Mountain region or high desert. Perfect for owners who want an eco-friendly solution or have no easy access to outdoor electrical outlets.
Practical Tip
Position the solar panel at a south-facing angle for maximum sun exposure. Use a weatherproof battery box and secure all wiring out of your dog’s reach. Test the system on a sunny day before relying on it overnight.
9. Insulated Dog House with a Raised Floor
Cold ground is a major source of heat loss in any dog house. By raising the floor and adding an air gap, you create a barrier that keeps the chill from seeping up into your pup's sleeping area. This simple design change makes a huge difference in comfort.
A raised floor also helps keep bedding dry by preventing moisture from the ground from soaking through. Pairing it with rigid foam insulation between the joists locks warmth inside and blocks drafts from below. It's one of the most effective upgrades you can make for winter.
Why It Works
The 4-inch air gap acts as a thermal break, stopping cold from transferring directly from the ground to the floor. Rigid foam insulation between the joists adds another layer of protection, trapping heat inside the dog house. This combination keeps the floor surface significantly warmer than a standard design.
Best For
This idea is ideal for dogs that sleep directly on the floor or on thin bedding, especially breeds with short coats or low body fat like Greyhounds, Chihuahuas, or Boxers. It's also great for dog houses placed on concrete, gravel, or bare dirt where ground moisture is an issue.
Practical Tip
Use pressure-treated lumber for the floor frame to resist rot and moisture. Cut rigid foam board to fit snugly between the joists, then cover with exterior-grade plywood as the finished floor. Add a removable top layer of linoleum or vinyl for easy cleaning when muddy paws come in.
Budget-Friendly Option
If rigid foam is out of budget, use multiple layers of cardboard or old blankets sandwiched between plastic sheeting as a temporary insulator. Replace yearly as needed.
10. DIY Dog House with Spray Foam Insulation
Spray foam insulation is one of the most effective ways to seal a dog house against freezing temperatures. The closed-cell variety expands to fill every nook and cranny, creating an airtight barrier that keeps warmth in and cold out. Dog owners love it because it provides a high R-value in a single application, saving time and effort compared to layering other materials.
Why It Works
Closed-cell spray foam forms a rigid, moisture-resistant layer that stops drafts and blocks heat loss through gaps. It bonds directly to wood, so there's no shifting or settling over time, and its insulating power stays consistent even in extreme cold.
Best For
This method is ideal for people building a new plywood dog house from scratch or retrofitting an existing structure with lots of seams and corners. It works well for larger breeds that need more space, where covering every gap is crucial for maintaining warmth.
Practical Tip
Apply spray foam only to the interior walls, ceiling, and floor joints—avoid the area where your dog sleeps directly. Let it cure fully before adding a plywood liner or heavy-duty vinyl flooring to protect the foam from scratches. Always wear gloves, goggles, and a respirator during application.
Budget-Friendly Option
If spray foam kits are too pricey, use rigid foam board cut to fit each section instead. Seal the edges with caulk or expanding foam in a can to achieve similar draft-proofing at a lower cost.
FAQ
What is the best insulation for a dog house?
Rigid foam board (like XPS or EPS) is a top choice because it's moisture-resistant, easy to cut, and provides high R-value per inch. For extreme cold, spray foam or straw bales work well.
How do I keep my dog house warm without electricity?
Use passive insulation like foam board, straw, or denim. Add a heated door flap and raise the floor off the ground. Position the house to block wind and face south for solar gain.
Can I use a heating pad in a dog house?
Yes, but only use pet-safe, chew-resistant heating pads with a thermostat. Place it under a removable floor panel or inside a waterproof cover. Never use human heating pads.
How thick should insulation be in a dog house?
For cold climates, aim for at least 2 inches of rigid foam board or equivalent. In extreme cold (below 0°F), 3-4 inches is better. More insulation means more warmth.
Should I insulate the floor of a dog house?
Absolutely. The floor is a major source of heat loss. Use rigid foam under a plywood floor, or build a raised floor with an air gap.
Add thick bedding like straw or cedar shavings.
Conclusion
Keeping your dog warm in winter doesn't have to be complicated or expensive. These DIY insulated dog house ideas range from simple upgrades to full builds, so you can choose what fits your skills and budget. A warm, dry shelter is one of the best gifts you can give your outdoor pup.
Pick a project, gather your materials, and get building. Your dog will thank you with wagging tails and cozy naps.

I’m Pallab Kishore, the owner of Little Pets Realm — an animal lover and pet care enthusiast sharing easy tips, healthy recipes, and honest advice to help every small pet live a happy, healthy, tail-wagging life.