
Your walls work hard—collecting fingerprints, dust, and the occasional mystery splatter. But scrubbing them down doesn't have to be a weekend ordeal.
With the right homemade cleaning mix, you can tackle everything from greasy kitchen smudges to stubborn crayon marks without harsh chemicals or endless elbow grease. These 10 easy-to-mix solutions target specific wall woes, using ingredients you likely already have in your pantry.
Whether you're dealing with light dust or tough stains, there's a formula here that'll make your walls look fresh and keep your care routine simple.
1. All-Purpose Vinegar and Water Mix
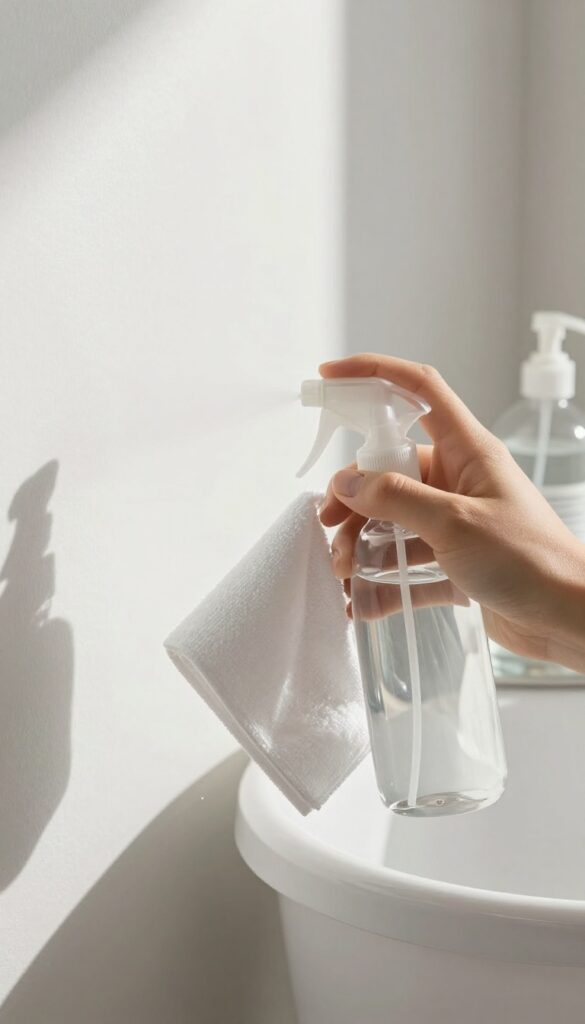
This classic combo is the workhorse of wall cleaning. It cuts through everyday grime without leaving behind harsh fumes or residue. Just mix equal parts white vinegar and warm water in a spray bottle, and you’ve got a go-to cleaner for most painted surfaces.
The mild acidity of vinegar breaks down dirt and grease, while the water dilutes it enough to be safe on walls.
For best results, spray the solution lightly onto a microfiber cloth, not directly onto the wall. Wipe in gentle, overlapping strokes, working from top to bottom to avoid streaks. Then go over the area with a dry cloth to catch any remaining moisture.
This mix works wonders on general dust, light fingerprints, and kitchen smudges. Just steer clear of unsealed or matte paint—vinegar can dull the finish. Always test in an inconspicuous spot first.
Why Vinegar Works So Well
White vinegar is a mild acid that dissolves alkaline residues like soap scum and mineral deposits. It also has natural antibacterial properties, making it a safe choice for kitchens and bathrooms. Unlike commercial cleaners, it won’t leave a sticky film that attracts more dust.
The Right Way To Apply
Use a soft microfiber cloth, not a sponge or paper towel, which can leave lint or scratch the paint. Mist the cloth until damp, then wipe in long, straight strokes. Overlap each pass slightly to avoid missing spots.
For stubborn spots, let the solution sit for 30 seconds before wiping.
When To Skip This Mix
Avoid this solution on unsealed, matte, or flat paint. The vinegar can strip the finish or create light spots. Also skip it on walls with wax or polish coatings.
If you’re unsure, test on a hidden corner first. For delicate surfaces, consider a gentler dish soap mix instead.
2. Dish Soap and Warm Water for Grease
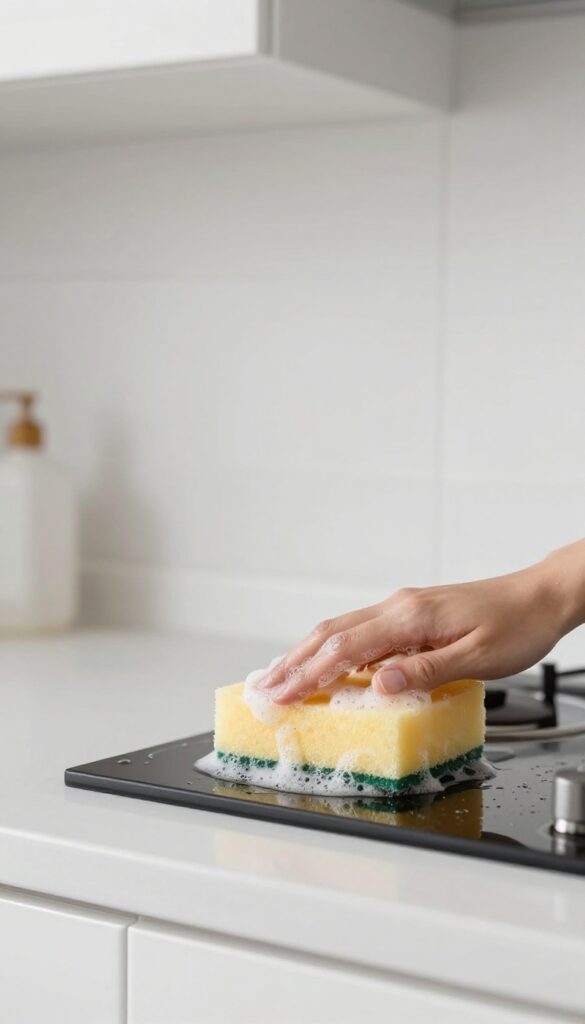
Kitchen walls take a beating from cooking grease, steam, and splatters. A simple mix of mild dish soap and warm water cuts through that grime without damaging paint or leaving residue. It's gentle enough for regular use but tough on the sticky buildup that clings above stoves and around countertops.
This mix works on most painted walls, but test an inconspicuous spot first—especially on flat or matte finishes. Use a soft sponge, not a scrubber, to avoid rubbing off paint. Work in small sections, rinsing your sponge often so you're not just moving grease around.
Follow up with a damp cloth rinse and a dry towel to prevent water marks.
Why Dish Soap Works On Grease
Dish soap is designed to break down fats and oils, making it ideal for kitchen walls. Unlike all-purpose cleaners, it's mild enough that it won't strip paint or leave a chemical film. A few drops in warm water creates a solution that lifts grease without heavy scrubbing.
Best Technique For Stubborn Spots
For dried-on grease, let the soapy water sit on the stain for a minute before wiping. Use a microfiber cloth or soft sponge, and avoid circular motions that can create streaks. Rinse with a separate damp cloth, then dry immediately with a clean towel.
When To Avoid This Mix
Skip this on unsealed or very porous walls, as moisture can cause damage. Also avoid it on walls with paper-based wallpaper or delicate finishes. Stick to dry methods or specialized cleaners for those surfaces.
3. Baking Soda Paste for Stubborn Marks
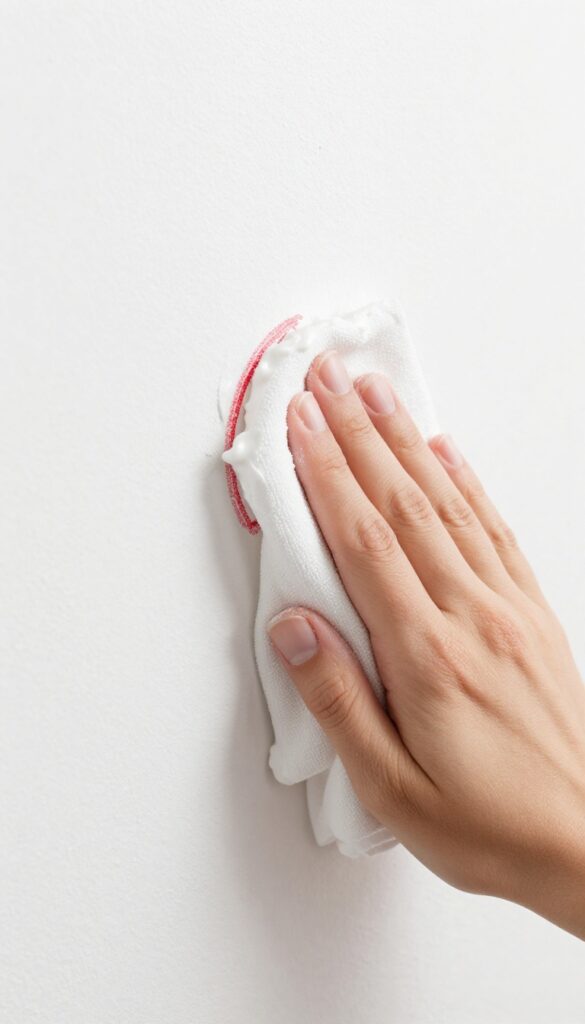
Some marks just won't budge with a simple wipe. Crayon masterpieces, pencil lines, and scuff marks from shoes or furniture can leave you frustrated. That's where a simple baking soda paste comes in—it's gentle enough for most painted walls but tough on stains.
Baking soda is a mild abrasive that lifts stubborn marks without damaging the paint. To make the paste, mix three parts baking soda with one part water until it forms a thick, spreadable consistency. Apply a small amount to a soft, damp cloth and gently rub the mark in a circular motion.
The paste breaks down the stain without scratching. Once the mark is gone, wipe the area with a clean, damp cloth to remove any residue. Always test on an inconspicuous spot first, especially on flat or matte finishes, as over-scrubbing can create a shiny patch.
Why It Works So Well
Baking soda's fine particles act like a gentle scrub that physically lifts pigment and wax from the wall's surface. Unlike harsh chemical cleaners, it won't strip paint or leave behind a sticky film. It's also non-toxic, so it's safe around kids and pets.
Best For These Marks
This paste is especially effective on crayon, pencil, and light scuff marks. It can also handle dried-on food splatters and light grease spots. For older or set-in stains, let the paste sit for a couple of minutes before wiping.
Application Tips
Use a white cloth to avoid color transfer. Work from the outside of the stain inward to prevent spreading. Rinse your cloth frequently and change the water if it gets dirty.
For large areas, make a fresh batch as needed.
4. Rubbing Alcohol for Ink and Marker
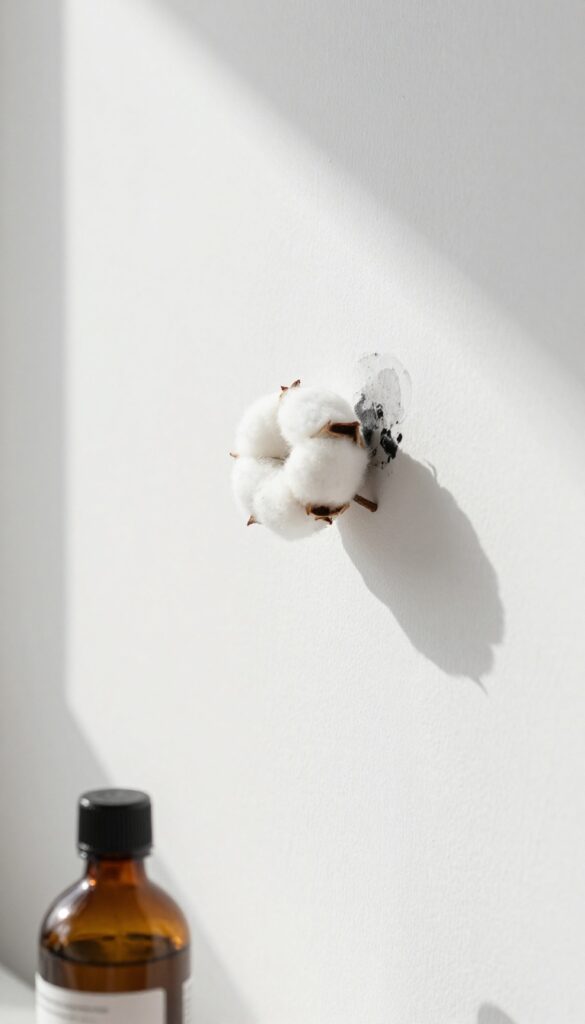
Ink and permanent marker can seem like a wall's worst nightmare, but rubbing alcohol makes quick work of them. This common household item dissolves the pigments in many stains without damaging the paint underneath—as long as you use a light touch.
Dab a cotton ball with rubbing alcohol and blot the stain. Works on ink, permanent marker, and some lipstick. Avoid rubbing too hard to protect the paint finish.
Why It Works
Rubbing alcohol is a solvent that breaks down the oils and resins in ink and marker pigments. It evaporates quickly, so it won't soak into the wall and cause damage. This makes it ideal for spot-treating fresh stains.
How To Apply
Start by testing a hidden area. Then dip a cotton ball or soft cloth in rubbing alcohol and gently blot—don't rub—the stain. The ink should transfer to the cotton.
Repeat with a fresh cotton ball until the stain lifts. Finish with a damp cloth to remove any residue.
Safety Tips
Always work in a well-ventilated area. Keep rubbing alcohol away from heat sources and open flames. If the wall has a delicate finish like flat paint, test first and blot very lightly to avoid removing paint.
5. Hydrogen Peroxide for Mold and Mildew
Mold and mildew on walls aren't just unsightly—they can affect indoor air quality. Bathrooms, basements, and laundry rooms are common hotspots, but any damp area can become a breeding ground. Hydrogen peroxide offers a simple, bleach-free solution that kills mold spores without releasing harsh fumes.
Mix equal parts hydrogen peroxide (3%) and water in a spray bottle. Spray on affected areas, let sit 10 minutes, then wipe. Safe for most paints but test first.
Why Hydrogen Peroxide Works
Hydrogen peroxide is a natural disinfectant that breaks down into water and oxygen, making it environmentally friendly. It kills mold and mildew by oxidizing the cell walls of fungi, effectively destroying them. Unlike bleach, it doesn't produce toxic fumes, and it's less likely to discolor painted surfaces.
How To Apply It Safely
Start by testing the solution on an inconspicuous area to ensure it doesn't damage the paint or finish. Spray the mixture directly onto the moldy spots, covering them thoroughly. Let it sit for about 10 minutes to allow the peroxide to penetrate and kill the mold.
Then, wipe the area clean with a damp cloth. For stubborn mold, you can use a soft brush to gently scrub before wiping.
When To Avoid This Method
Avoid using hydrogen peroxide on unsealed wood or drywall that is heavily saturated, as moisture can cause further damage. Also, don't use it on walls painted with flat or matte finishes if you're unsure about colorfastness. If the mold covers a large area (more than 10 square feet), consider consulting a professional, as it may indicate a deeper moisture issue.
6. Ammonia and Water for Heavy-Duty Grime
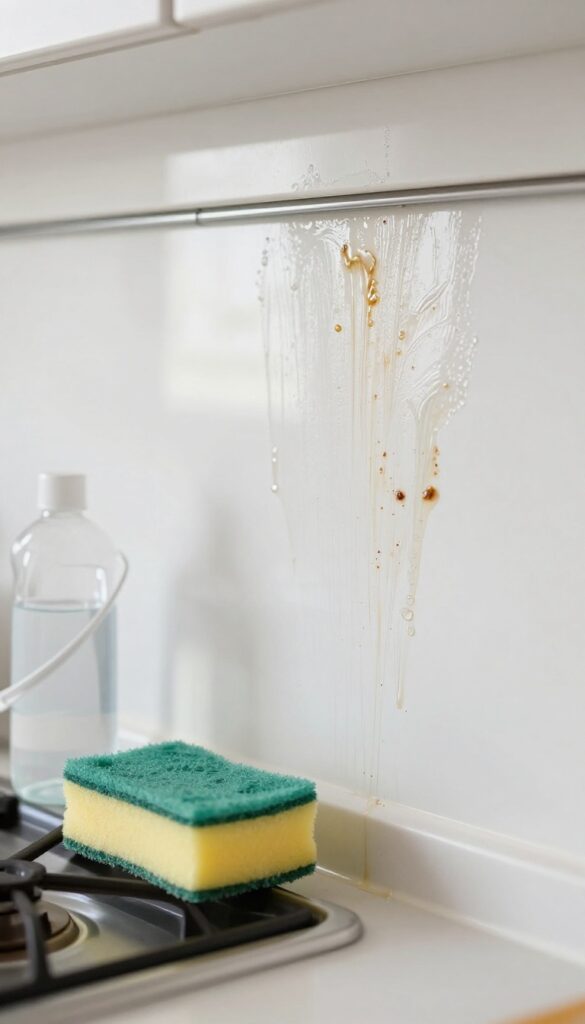
When walls have layers of grime that elbow grease alone can't beat, it's time for ammonia. This old-school cleaner cuts through tough grease, nicotine stains, and sticky residue that milder mixes leave behind. Used correctly, it's a game-changer for deep cleaning sessions.
Ammonia is powerful, so a little goes a long way. For heavy-duty cleaning, mix 1 tablespoon of clear ammonia per gallon of warm water. Always wear rubber gloves and open windows for ventilation.
Dip a sponge into the solution, wring it out well, and wipe walls from bottom to top to avoid streaks. Rinse thoroughly with a clean damp sponge afterward to remove any ammonia residue.
Safety First
Ammonia fumes are strong, so never mix it with bleach or other cleaners. Work in a well-ventilated space and take breaks if needed. Keep kids and pets away until the area is dry.
Best Uses
This mix is perfect for kitchen walls near the stove, bathroom walls with soap scum, or any surface with built-up grime. It also works wonders on painted walls—just test a hidden spot first to ensure the paint is durable.
Application Tips
For stubborn spots, let the solution sit for a minute before wiping. Use a soft sponge or microfiber cloth to avoid damaging paint. Rinse well to prevent ammonia from dulling the finish over time.
7. Castile Soap and Essential Oils for Gentle Cleaning
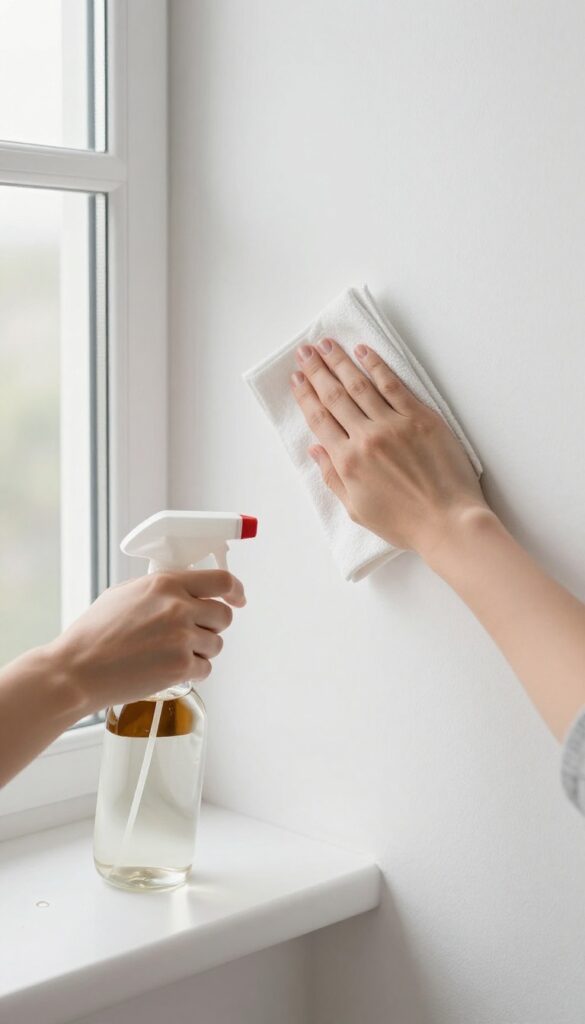
Delicate wall finishes need a gentle touch, but that doesn't mean you have to skip a thorough clean. Castile soap is a plant-based cleanser that lifts dirt without stripping paint or leaving residue. Paired with a few drops of essential oil, this mix cleans effectively while leaving behind a natural, pleasant scent.
This solution is perfect for painted walls, wallpaper, and any surface that might react poorly to harsher chemicals. The castile soap breaks down grime gently, while the essential oils add antibacterial properties and a fresh aroma. It's a go-to for regular maintenance cleaning.
Why Castile Soap Works
Castile soap is made from vegetable oils, so it's biodegradable and non-toxic. Unlike detergents, it doesn't create excessive suds, making it easier to rinse off walls. Its mild formula cleans effectively without damaging paint or leaving a sticky film.
Choosing Your Essential Oils
Lavender oil offers a calming scent and mild antiseptic qualities, while tea tree oil is a powerful natural disinfectant. For a fresh, clean smell, try lemon or eucalyptus. Just a few drops are enough—too much can leave a strong fragrance.
How To Use The Mix
Combine 1 tablespoon of liquid Castile soap with 2 cups of warm water in a spray bottle. Add 5–10 drops of your chosen essential oil. Shake gently, then spray onto a microfiber cloth (not directly on the wall) and wipe in sections.
Rinse the cloth often to avoid spreading dirt.
8. White Vinegar and Baking Soda for Tough Stains
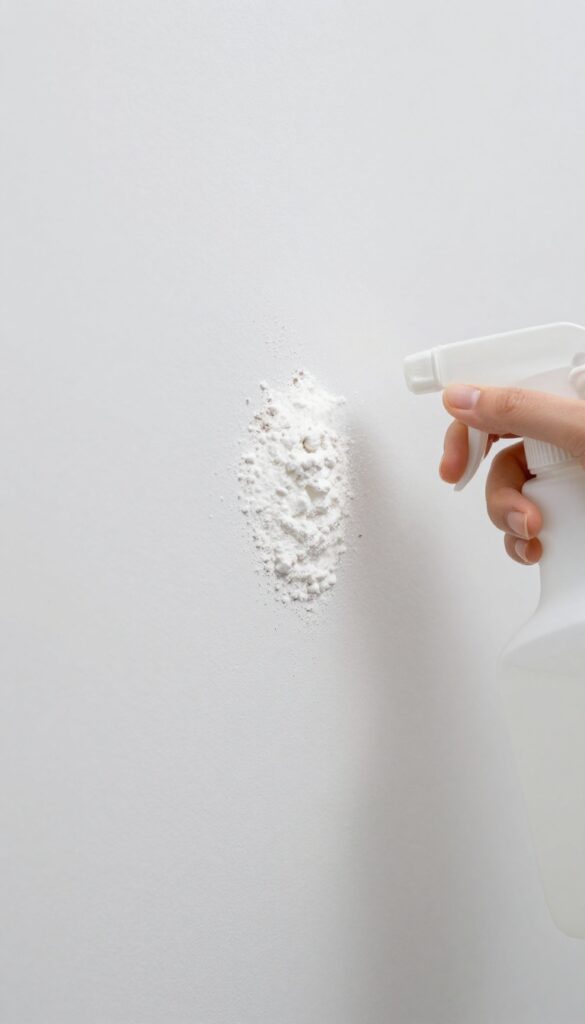
Some stains are stubborn enough to survive a basic wipe-down. That's where the fizzy duo of white vinegar and baking soda comes in. The chemical reaction between the two helps lift grime from the wall's surface, making it easier to scrub away without damaging the paint.
This method works especially well on grease spots, crayon marks, and mystery smudges that have been sitting for a while.
To use this method, start by spraying the stained area with undiluted white vinegar. Let it sit for a minute to penetrate the mark. Then sprinkle a generous layer of baking soda directly over the vinegar.
You'll see it start to fizz—that's the cleaning action at work. Let the mixture bubble for 2 to 3 minutes, then gently scrub with a soft-bristled brush or sponge. Wipe the area clean with a damp cloth and dry with a microfiber towel.
Repeat if needed for particularly tough stains. This technique is safe for most painted walls, but always test in an inconspicuous spot first.
Why This Combo Works So Well
White vinegar is acidic, which helps break down grease and dissolve mineral deposits. Baking soda is a mild alkali that acts as a gentle abrasive. When combined, they create carbon dioxide bubbles that help lift dirt from the pores of the paint.
This fizzy reaction also helps neutralize odors, so your walls end up smelling fresh.
Best Stains To Tackle
This mixture is ideal for greasy kitchen splatters, crayon marks, and dried-on food spills. It also works well on water-based stains like coffee or tea drips. Avoid using it on unsealed or flat paint, as the abrasiveness of baking soda can leave a dull mark.
For delicate surfaces, try a paste of baking soda and water instead.
Application Tips For Best Results
Always test on a hidden area first. Work in small sections so the mixture stays wet and active. Use a soft brush or sponge—never a scouring pad, which can scratch.
Rinse thoroughly with a damp cloth to remove any residue, then dry completely. If the stain persists, repeat the process or try a stronger solution like rubbing alcohol.
9. Lemon Juice and Water for Brightening
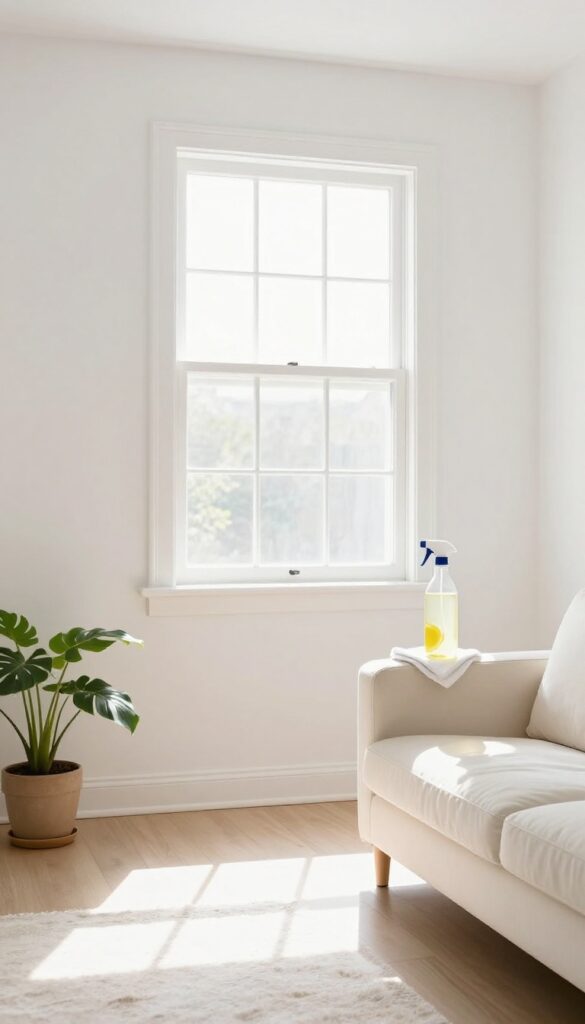
White and light-colored walls can start to look dingy over time, but before you reach for bleach, try this natural brightener. Lemon juice is a mild acid that helps lift stains and restore a fresh appearance without the harsh fumes. It's especially effective on walls that have yellowed from sunlight or accumulated grime.
To make this solution, combine 1/4 cup of fresh lemon juice with 2 cups of warm water in a spray bottle. Shake gently to mix. Lightly spray the solution onto the wall, focusing on areas with visible discoloration or light stains.
Let it sit for a minute or two, then wipe with a clean, damp cloth. Follow up by rinsing the wall with plain water to remove any residual lemon juice, which could attract dust if left on.
Best For Light-colored Walls
This mix works wonders on white, cream, or pastel walls. It can brighten up a room without the need for repainting. Avoid using it on dark or brightly colored walls, as the acid might lighten the paint unevenly.
Spot Test First
Always test the solution on a small, inconspicuous area before applying it to the whole wall. Some paint finishes may react to the acidity. Wait a few minutes to make sure there's no discoloration or damage.
Rinse Thoroughly
Lemon juice leaves a sticky residue if not rinsed off. After cleaning, go over the wall with a damp cloth dipped in plain water. Dry with a soft towel to prevent water spots.
10. Borax and Warm Water for Deep Cleaning
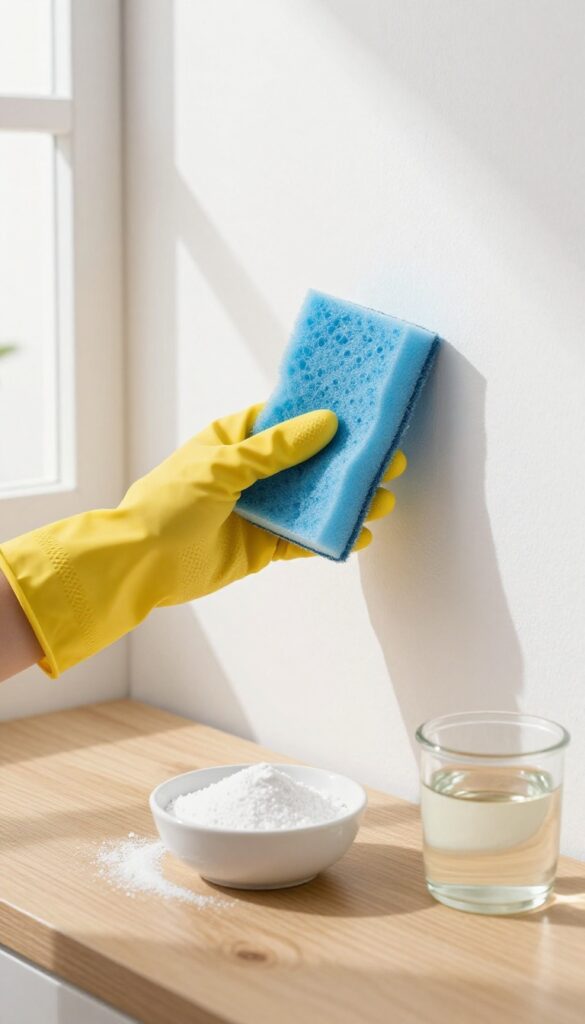
When walls have years of grime built up from cooking, pets, or just daily life, a simple wipe with soap and water might not cut it. Borax, a naturally occurring mineral, steps in as a powerful cleaner that breaks down grease and neutralizes odors without the harshness of bleach or ammonia.
Why Borax Works So Well
Borax has a high pH, which helps it cut through greasy residues and lift embedded dirt. It also acts as a deodorizer, making it perfect for kitchens or rooms with musty smells. Unlike some commercial cleaners, it leaves no sticky film behind when rinsed properly.
How To Mix And Apply
Dissolve 1/2 cup of borax in a gallon of warm water. Stir until fully dissolved to avoid grit scratching the paint. Dip a soft sponge into the solution, wring it out until damp, and wash the wall in sections from bottom to top to prevent streaks.
Rinse each section with a clean damp sponge and dry with a microfiber cloth.
Safety And Surface Tips
Borax is safe for most painted walls, but test a small hidden area first. Wear gloves to protect your hands, and keep the room ventilated. Avoid using this mix on unsealed wood or wallpaper, as moisture can damage them.
FAQ
Can I use these mixes on all paint types?
Most are safe for satin, semi-gloss, and gloss finishes. Avoid on flat or matte paint unless tested, as they can leave marks or remove paint.
How often should I wash my walls?
High-traffic areas like kitchens and hallways every 3-6 months. Other rooms once a year or as needed.
What's the best way to dry walls after cleaning?
Use a clean, dry microfiber cloth or let air dry. Avoid leaving water to drip, which can cause streaks or damage.
Can I mix vinegar and bleach?
No. Mixing vinegar and bleach creates toxic chlorine gas. Never combine them.
Will these solutions remove wallpaper?
Some may loosen wallpaper adhesive. Test in an inconspicuous spot first, and avoid soaking the paper.
Conclusion
Your walls don't need harsh chemicals to stay clean—just the right mix from your kitchen. These 10 solutions make it easy to keep them looking fresh without the fuss. Pick the one that fits your cleaning style and give it a try.
A few simple ingredients are all it takes to keep your walls bright and your home feeling fresh. Start with the easiest recipe today and see how effortless wall care can be.


