Last updated on June 27th, 2026 at 03:17 pm
You walk into your room and instantly feel overwhelmed by the mess. Clothes are everywhere, papers cover the desk, and you can't even see the floor.
It's time to stop feeling stressed and start taking action. These 13 easy decluttering steps will transform your space in a manageable way.
From clearing the floor to finding a home for everything, each step builds on the last. No need to tackle it all at once—just follow along and watch your room become a place you actually enjoy being in.
1. Clear the Floor Completely
The floor is your room's foundation. When it's covered in clutter, the whole space feels chaotic and cramped. By starting here, you create instant visual relief and a clean canvas to work with.
This one move can shift your mindset from overwhelmed to ready.
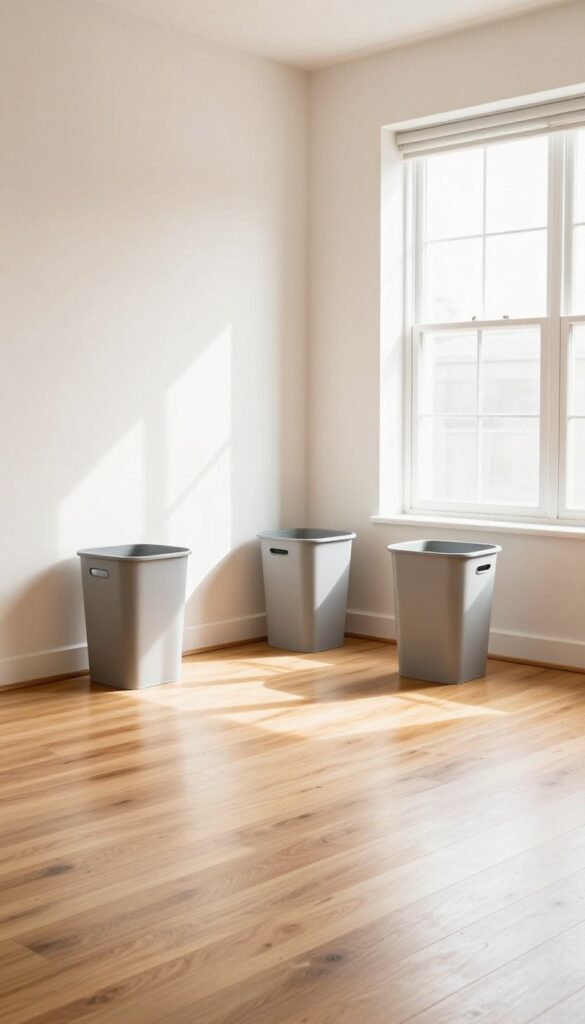
Grab Three Bags Or Bins
Before you touch anything, grab three containers: one for trash, one for donate or sell, and one for things that belong elsewhere (like dishes or books for another room). This keeps you from getting sidetracked. As you pick items off the floor, sort them immediately into the right bag.
No second-guessing—just quick decisions.
Work In A Single Pass
Don't stop to organize or clean anything yet. Your only job is to clear the floor. Start at one corner and move methodically across the room.
If you find something that belongs on a shelf or in a drawer, toss it into the "belongs elsewhere" bin. You'll put everything away later. Right now, you're just reclaiming the floor.
Give The Floor A Quick Sweep Or Vacuum
Once the floor is bare, take two minutes to sweep or vacuum. You'll be amazed at how much dust and debris was hiding under the clutter. A clean floor instantly makes the room feel fresher and gives you a psychological boost.
It also sets the stage for the next steps, where you'll start putting things back intentionally.
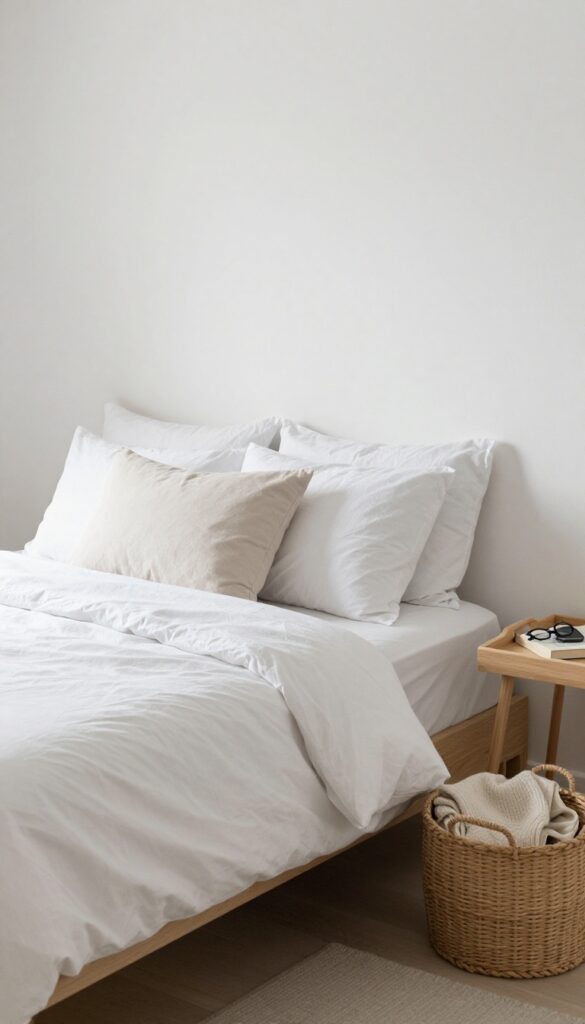
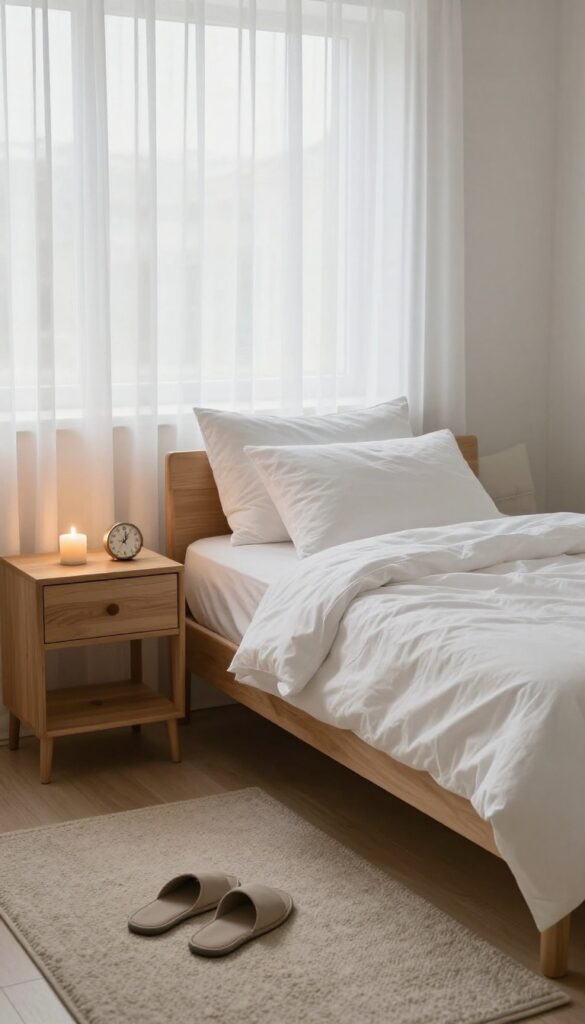
2. Make Your Bed First
There's a reason why successful people and military trainers swear by making the bed. It's a small win that sets a productive tone for the rest of the day. When your bed is made, your room instantly looks 50% tidier, and you've already accomplished one task before you've even started.
Making your bed is the anchor of order in your room. It takes less than two minutes, but the visual impact is huge. A made bed signals that this space is cared for, and it makes the mess around it feel more manageable.
Plus, it's a psychological trigger: once you've done this one thing, you're more likely to keep going.
The Two-minute Rule In Action
Set a timer for two minutes and smooth out your sheets, fluff your pillows, and pull up your comforter. That's it. You don't need hospital corners or decorative pillows.
Just a neat, flat surface. If you have a duvet, give it a good shake and spread it evenly. This small effort pays off immediately.
Why It Works
A made bed creates a focal point of order in a chaotic room. Your brain registers that one area is under control, which reduces the feeling of being overwhelmed. It also makes the rest of the mess look less intimidating because you've already proven you can fix something.
Think of it as the first domino falling in the right direction.
Make It A Habit
The key is consistency. Make your bed every morning, even if you're running late. It becomes automatic after a week.
If you share a bed, split the task: one person pulls up the sheets, the other arranges the pillows. Soon, you won't even think about it—you'll just do it, and your room will thank you.
3. Gather All Trash and Recycling
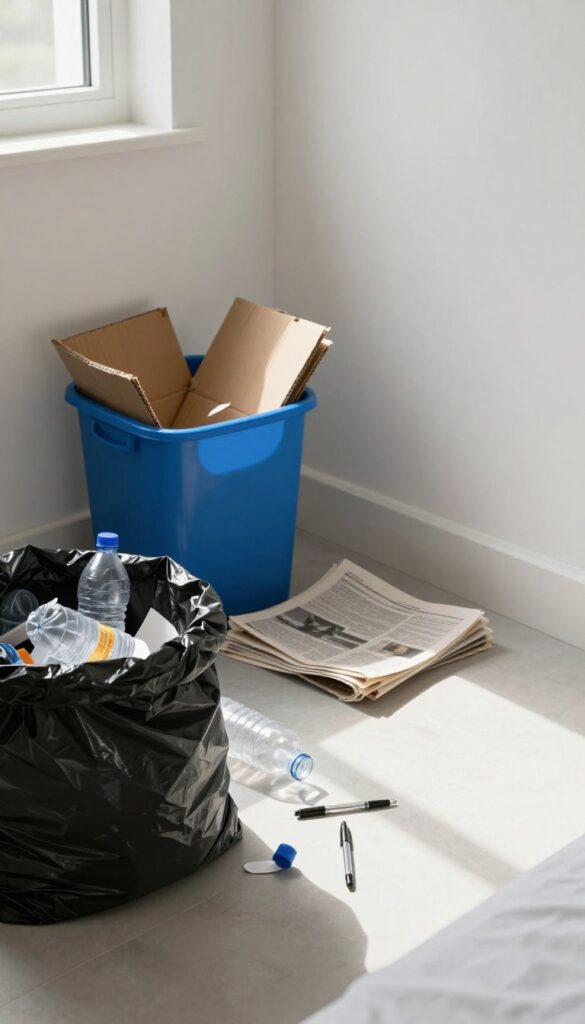
Trash is the easiest thing to remove because you don't have to decide where it goes—it just leaves. Grab a trash bag and do a quick sweep for anything that's obviously garbage. This step alone can make a huge dent in the mess.
What Counts As Trash?
Wrappers, empty bottles, old receipts, broken pens, dead batteries, and anything you wouldn't think twice about throwing away. If it's clearly useless, don't overthink it—just toss it.
Don't Forget Hidden Spots
Check under the bed, inside drawers, and on nightstands. Crumpled papers and random packaging tend to accumulate in corners. A quick pass through these areas removes visual clutter you didn't even notice.
Recycling Goes In A Separate Bag
Keep a second bag for paper, cardboard, and plastic that can be recycled. This prevents guilt about throwing away something reusable and makes the final disposal easier.
4. Collect Dishes and Laundry
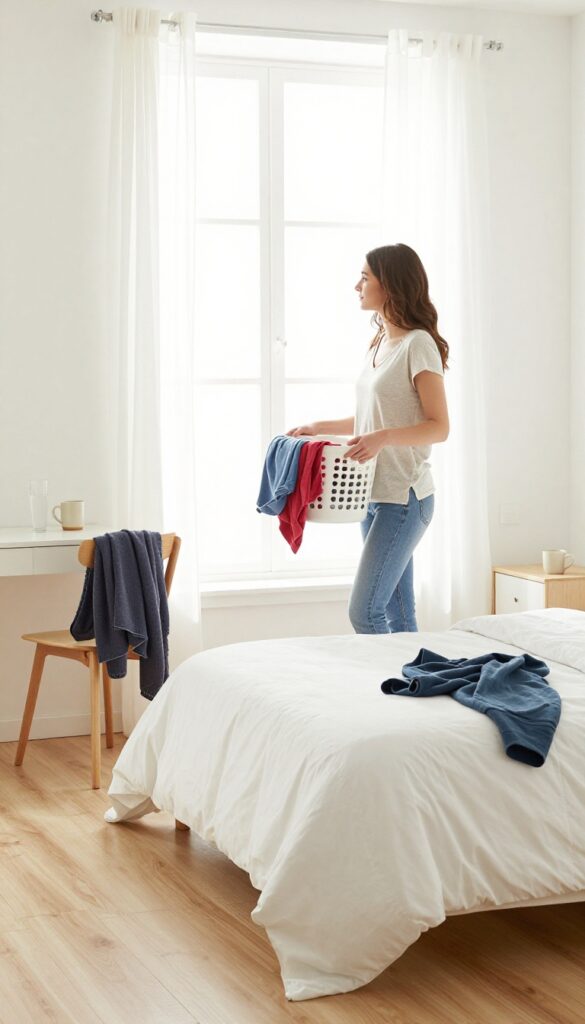
Once the floor is clear and the bed is made, your next target is the scattered dishes and laundry. These items tend to multiply on nightstands, desks, and chairs, making the room feel lived-in in a chaotic way. Gathering them up is a quick win that instantly reduces visual clutter.
Start by doing a sweep of your room for any dirty dishes, cups, or glasses. Check under the bed, on shelves, and next to your computer. Carry everything to the kitchen in one trip—no need to rinse or sort yet, just get them out of your room.
Then, grab a laundry basket or bag and collect all dirty clothes, towels, and linens. Look in the usual spots: the floor, the foot of the bed, the back of the chair. If you have a hamper, bring it to the laundry area and start a load right away.
This two-step process clears surfaces and removes the biggest sources of odor and mess. You'll be amazed at how much cleaner the room looks with just these items gone.
The Dish Roundup
Walk around your room with a small bin or your hands and collect every dish, mug, and water bottle. Don't forget the ones hiding behind books or under pillows. Take them to the kitchen and place them in the sink or dishwasher.
If you have a few minutes, rinse them off—it makes washing later easier. The goal is to remove all food-related items from your room, which also discourages pests.
Laundry Sweep
Grab a laundry basket and do a quick pass through your room. Pick up socks, shirts, jeans, and any fabric items that belong in the wash. Check the closet floor and under the bed.
Separate lights and darks if you can, but don't overthink it—just get the clothes into the basket. Then, take the basket to your washing machine and start a load. Even if you don't finish the laundry today, starting the process breaks the cycle of dirty clothes piling up.
Why This Matters
Dishes and laundry are the two biggest contributors to a room feeling dirty. They attract smells, bugs, and that sticky feeling on surfaces. By removing them, you immediately improve the air quality and make the room feel fresher.
Plus, you're creating a habit of not letting these items linger, which saves time later.
5. Create a Sorting Station
Decision fatigue is real when you're decluttering. Without a system, you'll hold up an old T-shirt, stare at it for five minutes, and end up shoving it back in the drawer. A sorting station eliminates that paralysis.
Grab three boxes, bins, or even sturdy garbage bags. Label them Keep, Donate, and Trash. That's it.
Now every item you pick up has a clear destination, and you can work through piles without losing momentum.
Setting up a sorting station is the single most effective way to speed up your decluttering. It forces you to make quick decisions and prevents the dreaded 'maybe' pile from taking over your room. Place your station in the center of the room or near the doorway so it's always within arm's reach.
As you sort, be honest with yourself: if you haven't used it in a year, it probably belongs in Donate or Trash.
Label Everything Clearly
Don't rely on memory. Use sticky notes, masking tape, or even a permanent marker to label each container. Seeing 'Donate' in bold letters makes it harder to talk yourself into keeping something you don't need.
If you're short on boxes, trash bags work fine—just tie the Donate bag shut once it's full so you don't accidentally rummage through it later.
Keep The Station Accessible
Place your sorting station where you can reach it without stepping over piles. A clear path keeps you moving. If your room is small, use the hallway just outside your door.
The goal is to minimize friction—bending down or walking across the room every time you pick up an item will wear you out fast.
Set A Timer For Each Pile
To avoid overthinking, give yourself a time limit for each category. Spend 10 minutes on Trash, then 15 on Donate, then the rest on Keep. This keeps you from getting stuck on one sentimental item.
When the timer rings, move on—even if the pile isn't perfect. You can always do a second pass later.
6. Tackle One Surface at a Time
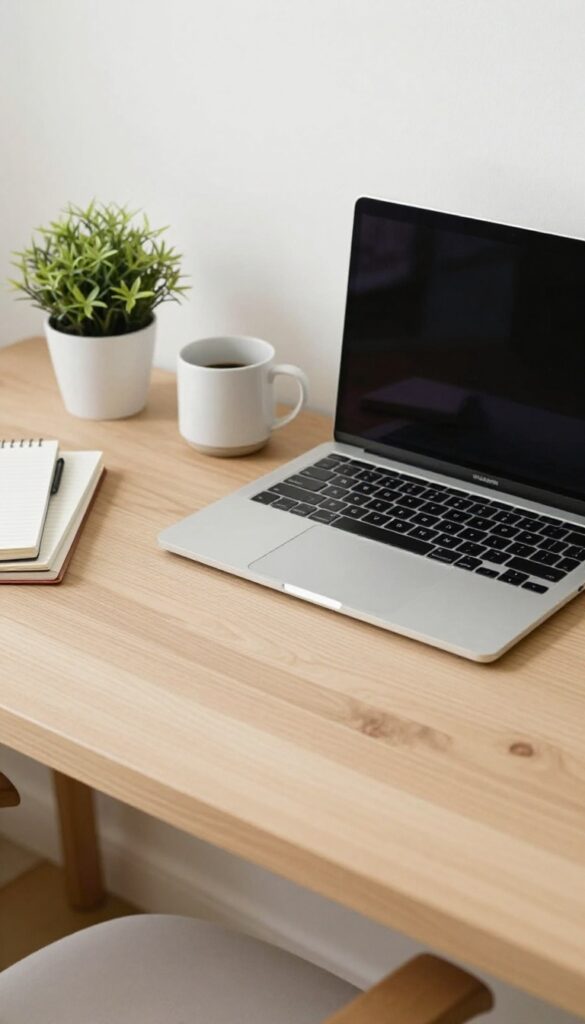
Desks, dressers, and nightstands can quickly become catch-all surfaces. Instead of trying to clear everything at once, pick just one surface and finish it completely. This focused approach turns a daunting task into a series of small wins.
When you zero in on a single surface, you get immediate visual feedback. That cleared desk or tidy nightstand becomes a powerful motivator to keep going. It also prevents the common mistake of jumping between spots, which often leaves everything half-done.
Start With Your Desk
Your desk is often the most cluttered surface. Begin by removing everything that doesn't belong there—old coffee mugs, random papers, gadgets. Wipe it down, then only put back what you actually use daily.
A clear desk instantly makes the room feel more organized.
Move To The Dresser
Once the desk is done, shift your focus to the dresser. Clear off jewelry, loose change, and any items that have migrated there. Give the top a quick dusting, then arrange only the essentials—maybe a lamp or a small tray for daily items.
The key is to keep it minimal.
Finish With The Nightstand
Your nightstand should be a calm spot, not a dumping ground. Remove books, glasses, chargers, and any clutter. Wipe it down, then place only what you need before bed—a lamp, a book, maybe a glass of water.
A tidy nightstand helps you wind down better.
7. Use the One-Year Rule for Clothes
Clothes have a way of multiplying in your closet, especially the ones you never wear. The one-year rule cuts through the indecision: if you haven't worn it in the past twelve months, it's time to let it go. This simple guideline helps you break the emotional attachment and free up space for pieces you actually love.
Start by pulling everything out of your closet and drawers. Try on each item and ask yourself honestly: have I worn this in the last year? If the answer is no, place it in a donate or sell pile.
Be ruthless—sentimental items or "someday" pieces are the biggest space hogs. Once you've sorted everything, take the pile out of your room immediately so you're not tempted to retrieve anything.
Why A Year Works
A full year covers all seasons and occasions. If that fancy dress or heavy coat hasn't seen daylight through one complete cycle of holidays, weather, and events, it's unlikely to be missed. This timeframe removes the excuse of "I might need it next month.
"
The Try-on Test
Don't just eyeball the hanger—put the garment on. Fit and style change over time. If it's too tight, too loose, or just doesn't feel like you anymore, it's a candidate for removal.
Be honest with yourself about how it makes you feel.
Where To Send It
Clothes in good condition can go to a local charity, consignment shop, or online resale platform. For worn-out items, look for textile recycling programs. The key is to get them out of your room quickly so you don't second-guess your decisions.
8. Organize Drawers with Dividers
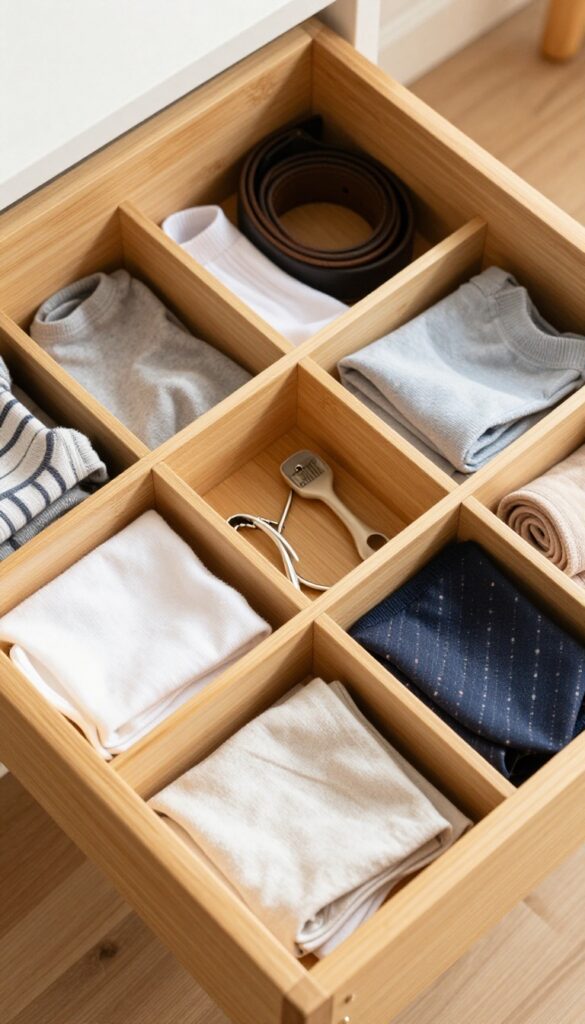
Drawers are notorious for becoming chaotic black holes where socks lose their partners and charging cables tangle into knots. The fix is surprisingly simple: dividers. You don't need fancy store-bought organizers—cardboard, old shoeboxes, or even repurposed takeout containers work just as well.
Dividers create designated zones inside each drawer, so items stay separated and easy to grab. Start by emptying one drawer completely. Group similar items together: socks, underwear, accessories, or whatever else lives there.
Then measure the drawer and cut or arrange your dividers to create compartments that fit those groups. Drop each category into its own section. Now when you open the drawer, everything has a place and nothing gets buried.
Choose Your Divider Material
You can buy adjustable plastic or bamboo dividers online, but cardboard is free and works great. Cut strips from old boxes and tape them into a grid that fits your drawer. Shoebox lids are perfect for smaller compartments.
For a more permanent solution, try adhesive drawer dividers that snap together.
Sort Before You Insert
Don't just toss dividers in and hope for the best. Take everything out, purge what you don't use, and group like items. Fold socks into pairs, roll underwear, and gather belts or ties.
Then place each group into its compartment. This prevents the drawer from becoming a jumble again within days.
Maintain The System
Once your drawer is organized, the key is to put things back in their designated spot every time. It takes only a few seconds. If you notice a category overflowing, adjust the divider size or purge duplicates.
A quick weekly check keeps the system working without extra effort.
9. Digitize Paper Clutter
Paper piles are one of the sneakiest sources of visual mess. Even a small stack of mail, receipts, and old notes can make your desk or dresser feel chaotic. The fix is simpler than you think: go digital.
By scanning or photographing important documents and recycling the originals, you can cut paper clutter by 90% in one afternoon.
Start by gathering every piece of paper in your room into one pile. Sort them into three categories: keep (tax returns, contracts, IDs), shred (bank statements, old bills with personal info), and recycle (junk mail, flyers, outdated notes). For the keep pile, scan each document using a scanner or a smartphone app like Adobe Scan or CamScanner.
Save them to a secure cloud folder (Google Drive, Dropbox, or iCloud) with clear file names. Once scanned, shred or recycle the originals. For bills and quick notes, just take a photo and toss the paper.
You'll free up drawer space and stop tripping over stray papers.
What To Keep Vs. What To Toss
Not every piece of paper needs to be saved. Keep only what you legally need (tax records for 7 years, contracts, IDs) and what has sentimental value (a few letters or drawings). Everything else—old receipts, expired coupons, bank statements older than a year—can be digitized and recycled.
If you haven't looked at a paper in over a year, it's safe to let it go.
The Best Tools For Going Paperless
You don't need an expensive scanner. Free smartphone apps like Google Drive (scan feature), Adobe Scan, or Microsoft Lens work great. They automatically crop, enhance, and save PDFs.
For bulk scanning, a basic sheet-fed scanner costs under $100 and can process a stack in minutes. Store files in cloud folders organized by year or category (e. g. , “2024 Taxes, ” “Warranties”).
One-time Vs. Ongoing System
The initial digitization is a one-time purge. After that, set up a simple habit: when new paper comes in (mail, receipts), process it immediately. Open mail over the recycling bin, scan what's needed, and toss the rest.
Keep a small tray for “to scan” items and clear it weekly. This prevents future piles from forming.
10. Find a Home for Everything
You've sorted, purged, and organized—but if items don't have a designated spot, they'll end up right back on the floor. Giving each category a permanent home is the secret to keeping your room tidy long-term. It's not about being rigid; it's about creating a system that works for your daily habits.
Assigning a home for everything means you always know where to put things away and where to find them. This eliminates the 'I'll just leave it here for now' mentality that leads to clutter. Start with the items you use most often and give them the most accessible spots.
Think By Zone, Not By Room
Divide your room into zones based on activities: sleeping, dressing, working, relaxing. Each zone gets its own storage solutions. For example, keep bedtime essentials like books and glasses on your nightstand, not scattered across the desk.
This zoning prevents cross-contamination of items.
Use Containers That Fit Your Life
Bins, trays, and drawer dividers are your best friends. Choose containers that match the size and frequency of use of the items. A small tray for jewelry keeps it from spreading across the dresser.
A charging station drawer with dividers stops cables from tangling. The container should make putting away easier, not harder.
Label Everything (even If You Think You'll Remember)
Labels remove the guesswork for you and anyone else who lives with you. Use a label maker or simple sticky notes. Label bins for cables, accessories, or paperwork.
When everything has a label, you're more likely to return items to their correct spot. Plus, it looks neat and intentional.
Adopt The 'one In, One Out' Rule
Once every item has a home, maintain it by following the one-in-one-out rule. When you buy something new, remove something similar to make space. This keeps your system from overflowing and forces you to be intentional about new purchases.
Your room stays clutter-free without constant reorganizing.
11. Use Vertical Space
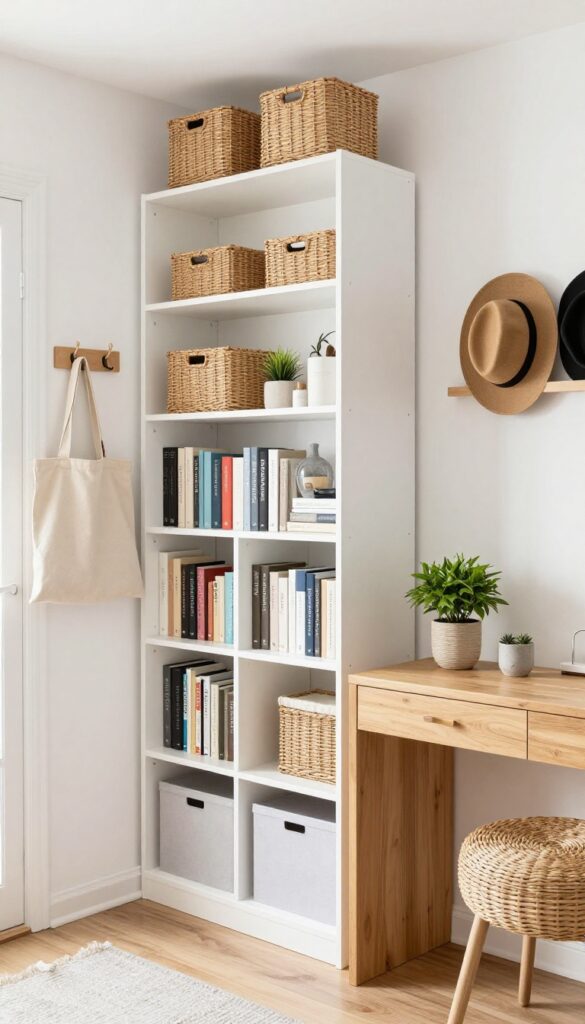
When floor space is limited, look up. Walls, doors, and even the backs of furniture offer prime real estate for storage. By going vertical, you keep surfaces clear and make your room feel larger and more organized.
Shelves That Work
Floating shelves are a game-changer for small rooms. Install them above your desk, bed, or dresser to hold books, decor, or everyday items. Use sturdy brackets for heavier loads like electronics or storage bins.
Keep them tidy by grouping items in baskets or using bookends.
Hooks And Racks
Hooks aren't just for coats. Mount them on the back of your door for bags, hats, or jewelry. Use a peg rail along a wall for hanging towels, robes, or even backpacks.
Over-the-door organizers with clear pockets work wonders for shoes, accessories, or cleaning supplies.
High And Low Storage
Don't ignore the space near the ceiling or the floor. Tall bookcases or modular shelving units maximize vertical capacity. Use stackable bins on top of cabinets or in closets for seasonal items.
Under-bed risers lift your bed a few inches, creating room for low-profile storage bins.
12. Do a Final Wipe-Down
After all that sorting, purging, and organizing, your room should look much better. But there's one more step that makes a huge difference: a thorough cleaning. Dust, smudges, and crumbs can still make a tidy room feel messy.
A final wipe-down is the finishing touch that transforms your space from cluttered to truly clean.
Grab a microfiber cloth, all-purpose cleaner, and a vacuum or broom. Work from top to bottom: dust ceiling fans, light fixtures, and window sills. Wipe down desks, shelves, and nightstands.
Use a glass cleaner on mirrors and windows. Finally, vacuum carpets or sweep and mop hard floors. Don't forget baseboards and corners.
This last pass removes the invisible grime and leaves your room feeling fresh and polished.
Dust From Top To Bottom
Start high and work your way down. Dust ceiling fans, light fixtures, and the tops of tall furniture first. Then move to shelves, picture frames, and desk surfaces.
Finish with baseboards and low furniture. This prevents dust from settling on already-cleaned areas.
Wipe Down Surfaces And Mirrors
Use a damp cloth with a mild cleaner to wipe all hard surfaces—desks, dressers, nightstands, and windowsills. For mirrors and glass, use a streak-free glass cleaner. A clean mirror instantly makes the room feel brighter and more spacious.
Vacuum Or Sweep The Floor
Now that everything is off the floor, give it a good cleaning. Vacuum carpets thoroughly, especially under furniture and along edges. If you have hard floors, sweep or mop.
This final step removes dust bunnies and debris, leaving your room spotless.
13. Maintain with a 10-Minute Reset
The final step is the one that keeps everything you've done from unraveling. A 10-minute reset each evening is a small investment that pays off big. It's not about deep cleaning—just a quick sweep to return items to their homes.
This habit prevents clutter from building up again and keeps your room consistently tidy.
Think of the 10-minute reset as a nightly closing ritual for your room. It's the easiest way to maintain the order you've worked so hard to create. Set a timer, put on a song, and move through your space returning things to their designated spots.
Over time, this becomes automatic, and you'll never need another big decluttering session.
Why 10 Minutes Works
Ten minutes is short enough to avoid feeling like a chore but long enough to make a visible difference. It's the sweet spot for building a habit. When you commit to just 10 minutes, you're more likely to do it consistently.
And consistency is what keeps your room clean.
What To Do During The Reset
Focus on the main surfaces: bed, desk, floor, and dresser. Put clothes in the hamper or closet, return books to the shelf, and toss trash. Don't reorganize or deep clean—just restore order.
If something doesn't have a home, decide on one quickly or set it aside for later.
Make It Enjoyable
Pair your reset with something pleasant. Listen to a podcast, play your favorite playlist, or light a candle. The more you associate the reset with relaxation, the more likely you'll stick with it.
Soon, it'll feel weird to skip it.
FAQ
How long does it take to clean a room using these steps?
It depends on the size and mess level, but most people can finish in 2-4 hours. Breaking it into steps makes it feel faster.
What if I get overwhelmed during the process?
Take a break and focus on just one small area, like a single drawer. Progress is progress, even if it's slow.
Should I buy storage bins before decluttering?
No, declutter first. You might find you need fewer bins than you think. Buy storage only after you know what you're keeping.
How do I decide what to keep?
Ask yourself: Do I use it? Do I love it? Does it serve a purpose?
If the answer is no, it's time to let it go.
How can I keep my room clean long-term?
Adopt the 10-minute nightly reset and the one-in-one-out rule: for every new item you bring in, remove one old one.
Conclusion
Cleaning your room doesn't have to be overwhelming. By breaking it down into these 13 steps, you've turned a big task into manageable chunks that build momentum with each small win.
Now that your space is decluttered, you'll find it easier to keep it that way. Stick with a simple daily reset—like making your bed and putting one thing away—and your room will stay fresh without needing another full overhaul anytime soon.

I’m Pallab Kishore, the owner of Little Pets Realm — an animal lover and pet care enthusiast sharing easy tips, healthy recipes, and honest advice to help every small pet live a happy, healthy, tail-wagging life.