Last updated on June 27th, 2026 at 03:17 pm
Your room has been through a lot. Dust has settled in corners you forgot existed, and that 'organized chaos' is starting to feel less organized by the day. A deep clean doesn't have to mean an all-day ordeal—it just takes the right sequence of steps.
These 15 steps are designed to reset your space without burning you out. We'll start by clearing the clutter so you can actually see what you're working with, then move through each zone methodically. By the end, your room will feel fresher, lighter, and genuinely clean.
No marathon cleaning sessions here. Just a straightforward plan that turns your room into a sanctuary you'll look forward to walking into.
1. Clear the Clutter First
Before you can deep clean, you need to see what you're working with. Clutter hides dirt, makes surfaces harder to wipe, and kills motivation before you even start. This step is about stripping your room down to its essentials so every scrub and sweep actually counts.
Start by grabbing three bags or boxes: one for trash, one for items that belong in another room, and one for donations or things you no longer need. Work through your room systematically—bedside table, dresser top, floor, desk—and make quick decisions. Don't overthink it; if you haven't used it in six months and it doesn't spark joy, let it go.
Once everything that doesn't belong is removed, you'll have a clear, open space that's ready for a proper deep clean.
The Three-bag Method
Trash, relocate, donate. Label your bags and stick to them. Trash gets tossed, relocate items go to their proper home after you finish, and donate bags leave your room immediately.
This keeps you from getting sidetracked.
Surface Sweep
Hit every flat surface: nightstands, shelves, desks, and window sills. Pick up stray items, toss receipts, and return books to their shelves. A quick surface sweep reveals what's actually dirty underneath.
Floor Reset
Clear the floor of shoes, bags, laundry, and random objects. Vacuum or sweep the bare floor afterward to pick up dust and debris that was hiding under the clutter. This alone makes the room feel instantly cleaner.
2. Strip the Bed and Launder Linens
Your bed is the centerpiece of your room, and it's also a magnet for dust, sweat, and allergens. Before you tackle surfaces or floors, pull off all the bedding and get a load of laundry going. While the washer does its thing, you can move on to other tasks without that pile of linens staring at you.
Taking the time to wash your sheets, pillowcases, and duvet cover makes a huge difference in how fresh your room feels. Dust mites and dead skin cells accumulate fast, and a hot wash eliminates them. Plus, making the bed later with clean linens is one of the most satisfying finishing touches of a deep clean.
Check Care Labels First
Not all fabrics handle hot water the same way. Look at the tags on your sheets and duvet cover. Most cotton and polyester blends can take a warm or hot cycle, but delicate materials like silk or bamboo may need cold water and a gentle cycle.
Sorting by care instructions now prevents shrinkage or damage.
Pre-treat Stains And Spots
If you see any makeup marks, sweat stains, or mystery spots, apply a small amount of laundry pre-treater or a dab of dish soap directly to the stain. Let it sit for five minutes before tossing everything in the machine. This extra step ensures your linens come out truly clean, not just rinsed.
Don't Forget Pillow Protectors
While you're at it, wash any removable pillow protectors or mattress pad covers. These often get overlooked but collect just as much grime. If your pillows are machine washable, throw them in too—two at a time to keep the load balanced.
Fluff them in the dryer with a couple of tennis balls to restore loft.
Set A Timer For The Dryer
Once the wash cycle ends, transfer everything to the dryer promptly to prevent mildew. Use a low or medium heat setting to avoid shrinking elastic edges on fitted sheets. If you're short on time, you can also line-dry your linens for a crisp, fresh scent.
Either way, having them ready before you finish the rest of the room means you can make the bed right away.
3. Dust from Top to Bottom
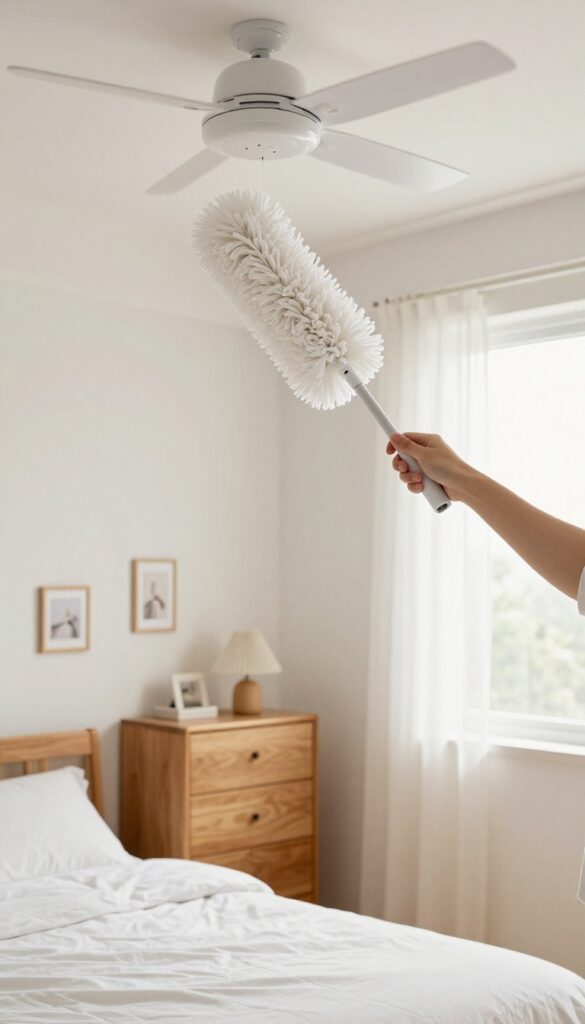
Dusting might feel like a never-ending chore, but doing it in the right order makes a huge difference. When you start high and work your way down, you avoid kicking dust onto already-cleaned surfaces. This simple trick saves time and keeps you from having to redo any work.
Grab a microfiber cloth or an extendable duster—these trap dust instead of just moving it around. Begin with ceiling fans and light fixtures, then move to shelves, picture frames, and window sills. Finish with baseboards and floor vents.
Work methodically around the room, and don't forget often-missed spots like the tops of door frames and behind furniture.
Why Microfiber Works Best
Microfiber cloths have tiny fibers that grab and hold dust particles, rather than pushing them into the air. They're reusable, washable, and gentle on most surfaces. Avoid feather dusters—they tend to scatter dust rather than remove it.
The High-to-low Rule
Start at the highest point in the room—usually the ceiling fan—and work your way down. Dust falls as you go, so by the time you reach the floor, you've captured most of it. This prevents you from having to dust the same surfaces twice.
Don't Skip The Hidden Spots
Baseboards, window tracks, and the tops of door frames collect surprising amounts of dust. Use a damp cloth for stubborn grime on baseboards, and a small brush or vacuum attachment for window tracks. These details make the whole room feel cleaner.
4. Wipe Down All Surfaces
Now that the dust has settled—literally—it's time to tackle the surfaces that collect daily grime. Desks, nightstands, dressers, and windowsills often harbor sticky spots, smudges, and fingerprints that a quick dusting won't fix. A thorough wipe-down with the right cleaner makes everything look and feel fresh.
Grab an all-purpose cleaner and a microfiber cloth. Start at the highest surface and work your way down to avoid dripping onto already-cleaned areas. For mirrors and glass, a dedicated glass cleaner or a vinegar-water solution will leave them streak-free.
Pay extra attention to areas around handles and edges where grime builds up.
Tackle Desks And Nightstands
Clear everything off your desk and nightstand. Spray the cleaner directly onto the cloth rather than the surface to avoid overspray. Wipe in straight lines, covering the entire surface.
Don't forget the sides and edges—they collect dust too. For stubborn sticky spots, let the cleaner sit for a minute before wiping.
Don't Skip The Windowsills
Windowsills are dust magnets, especially if you keep your windows open. Use a slightly damp cloth to pick up the dust, then follow with a dry cloth to prevent water spots. For painted sills, avoid harsh chemicals that might strip the paint.
A mild soap solution works well.
Mirrors And Glass Like New
Spray glass cleaner onto a lint-free cloth or use a microfiber cloth with a bit of water. Wipe in a zigzag or S-pattern to avoid streaks. For mirrors, check for smudges from hands or hair products.
A final buff with a dry section of the cloth will give you a crystal-clear finish.
5. Vacuum or Sweep the Floor
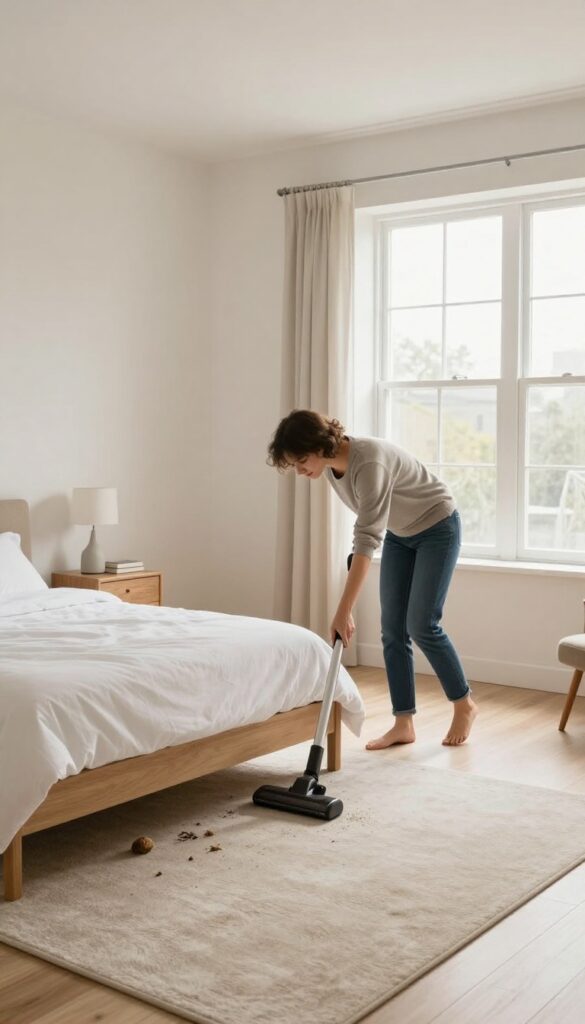
Once the dust and clutter are gone, the floor is finally visible—and probably dirtier than you expected. This step is about more than a quick once-over; it's about pulling out hidden grime that's been building up for weeks. Whether you have carpet or hard flooring, a thorough vacuum or sweep makes the whole room feel instantly fresher.
Move Furniture First
Don't just vacuum around the edges. Slide your bed, dresser, and nightstand away from the wall to reach the dust bunnies lurking underneath. If you can't move heavy pieces alone, use a crevice tool to get as far under as possible.
You'll be surprised how much debris collects in those hidden zones.
Corners And Baseboards Matter
Use a crevice attachment for corners and along baseboards where dust tends to pile up. For hard floors, a microfiber mop or damp cloth after sweeping picks up the fine particles that a broom leaves behind. Pay special attention under the bed—it's often the most neglected spot in the room.
Finish With A Fresh Scent
If you have carpet, sprinkle baking soda or a carpet powder before vacuuming to neutralize odors. Let it sit for 15 minutes, then vacuum slowly in overlapping passes. For hard floors, a few drops of essential oil in your mop water leaves a light, natural fragrance.
6. Mop Hard Floors
Hard floors take a beating, but they also show dirt fast. After sweeping and spot-cleaning, mopping is the final step that makes tile, wood, or laminate look brand new. A quick pass with the right technique removes sticky residue and grime without leaving streaks.
Mopping doesn't have to be a messy chore. Use a microfiber mop and a bucket with a wringer to control water. For wood floors, choose a pH-neutral cleaner; for tile, a gentle all-purpose cleaner works.
Work in sections, rinsing the mop head often, and let floors air-dry completely before walking on them.
Choose The Right Cleaner
Not all floor cleaners are created equal. For sealed hardwood, use a wood-specific cleaner or a mix of water and a few drops of dish soap. Laminate floors need a damp—not wet—mop and a cleaner labeled safe for laminate.
Tile and vinyl can handle a stronger solution, but avoid bleach or ammonia that might dull the finish.
Mop In The Right Pattern
Start at the farthest corner of the room and work your way toward the door. Use a figure-eight motion to pick up dirt without spreading it. Rinse the mop head after every few passes, especially if the water looks dirty.
For large rooms, change the water halfway through.
Dry For A Streak-free Shine
After mopping, go over the floor with a dry microfiber cloth or a clean, dry mop head. This absorbs excess moisture and prevents water spots. Open windows or turn on a fan to speed up drying.
Avoid walking on the floor until it's completely dry to avoid footprints.
7. Clean Windows and Mirrors
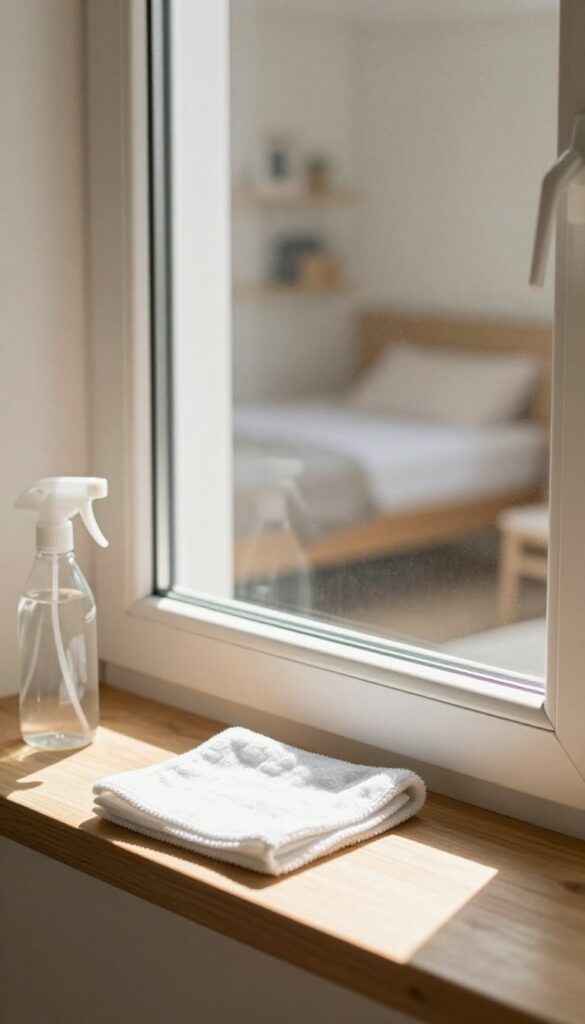
Windows and mirrors are like the eyes of your room—when they're smudged and dusty, the whole space feels dull. A quick polish does more than just remove fingerprints; it lets natural light flood in and makes every corner look brighter and more open. This step is simple but transformative, and it only takes a few minutes.
Don't let dirty glass be the thing that drags your freshly cleaned room down. Start by dusting the frames and sills with a microfiber cloth or a vacuum brush attachment. Then spray your glass cleaner directly onto a lint-free cloth—not the glass itself—to avoid drips and overspray.
Wipe in a zigzag or S-pattern to prevent streaks, and finish with a dry section of the cloth for a crystal-clear shine. For mirrors, the same technique works perfectly. Pro tip: use a coffee filter or newspaper instead of paper towels for an even better streak-free result.
Choose The Right Cleaner
You don't need a fancy product to get sparkling results. A simple mix of equal parts white vinegar and distilled water in a spray bottle works wonders and leaves no chemical residue. If you prefer a commercial cleaner, go for one that's ammonia-free to avoid damaging mirror coatings or window tints.
For stubborn spots like dried toothpaste on a mirror, a dab of rubbing alcohol on a cotton ball will lift it right off.
Tackle Hard-to-reach Spots
High windows and large mirrors can be tricky. Use an extendable squeegee with a microfiber pad to reach the top without stretching or climbing. For sliding glass doors, remove the track debris first with a vacuum crevice tool, then clean the glass panels one at a time.
If you have blinds, dust them before you clean the glass so you don't transfer dust back onto the clean surface.
Don't Forget The Details
The frames and sills often get overlooked, but they collect a surprising amount of grime. Wipe down wooden or metal frames with a damp cloth and dry them immediately to prevent water damage. For stubborn buildup on window tracks, use an old toothbrush dipped in soapy water to scrub the corners, then wipe away the residue.
A clean frame makes the glass look even brighter.
8. Organize Drawers and Closets
Drawers and closets are where chaos hides. Once you've cleared the surfaces, it's time to tackle these hidden zones. A few simple systems can transform them from catch-all pits into functional storage.
Empty And Sort
Pull everything out of one drawer or closet shelf at a time. Lay items on your bed or floor so you can see what you have. Group like items together—shirts with shirts, socks with socks.
This is also the moment to toss anything worn out, stained, or never used.
Fold And Hang With Purpose
Use the KonMari fold for clothes that belong in drawers—it lets you see every item at a glance. For hanging items, group by type (shirts, pants, dresses) and then by color. This makes getting dressed faster and keeps your closet looking tidy.
Add Dividers And Bins
Drawer dividers stop stacks from toppling over. Small bins or baskets corral accessories, underwear, and socks. In closets, shelf dividers keep stacks of sweaters or jeans neat.
Clear bins for off-season items let you see what's inside without digging.
Maintain With A One-in-one-out Rule
To keep drawers and closets from reverting to chaos, adopt a simple rule: every time you bring something new in, let something old go. It only takes a second, and it prevents overflow. Your organized system will stay intact much longer.
9. Refresh Upholstery and Curtains
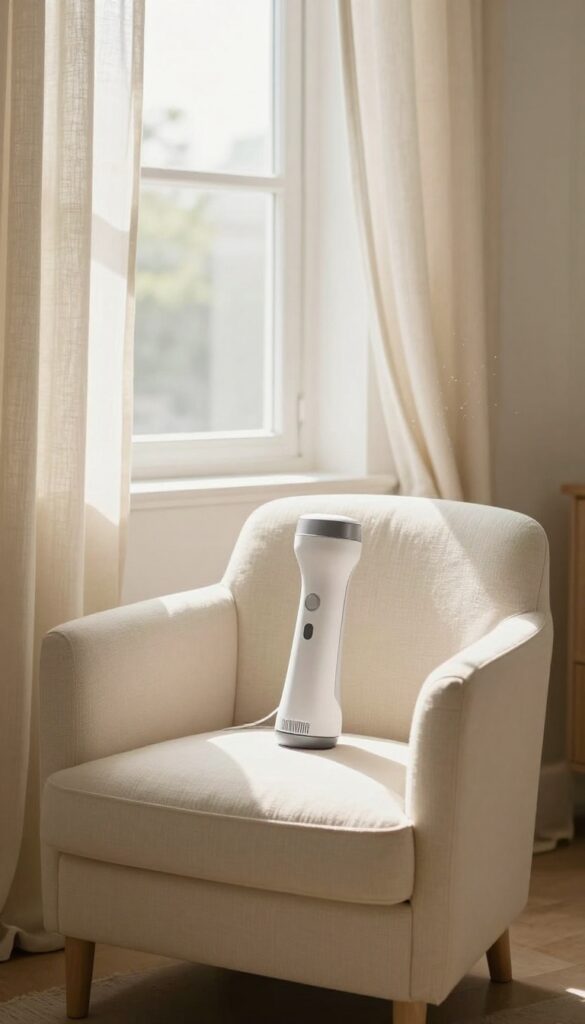
Fabric surfaces trap dust, allergens, and odors over time. Your upholstered chair, bed frame, and curtains have been silently collecting everything floating in the air. Giving them attention makes the whole room feel fresher without much effort.
Vacuum First, Spot-clean Second
Use the upholstery attachment on your vacuum to go over sofas, chairs, and curtains. Pay extra attention to crevices where crumbs and dust settle. If you spot a stain, treat it with a gentle fabric cleaner—test on a hidden area first.
Fabric Spray For A Quick Refresh
A light mist of fabric refresher (like Febreze or a DIY mix of water and a few drops of essential oil) can neutralize odors. Spray lightly from a distance and let air dry. This works especially well for curtains that can't be washed often.
Steam Cleaning For Deep Germs
If you have a handheld steamer, run it over upholstery and curtains to kill dust mites and loosen dirt. Steam also helps remove wrinkles from curtains, giving them a crisp, clean look. Let everything dry completely before using the room.
10. Tackle Electronics and Cords
Electronics are dust magnets, and tangled cords make any room feel messier than it is. Once you've cleared surfaces, it's time to give your tech some love. A quick wipe-down and cord management session can instantly make your space look more organized and feel cleaner.
Dust And Wipe Down Devices
Start by unplugging everything. Use a microfiber cloth to dust monitors, TVs, keyboards, and speakers. For screens, a dry or slightly damp cloth (water only) works best—avoid harsh cleaners that can damage coatings.
Don't forget the backs of devices and the areas around vents where dust collects.
Clean Keyboards And Mice
Keyboards harbor crumbs and grime. Turn it upside down and shake gently, then use compressed air or a soft brush to dislodge debris. Wipe keys with a cloth lightly dampened with rubbing alcohol.
For mice, clean the sensor and buttons with a cotton swab.
Tame The Cord Chaos
Untangle cords and group them with clips, Velcro ties, or cable sleeves. Route them along desk edges or behind furniture to keep them out of sight. Label chargers if needed so you know which is which.
A tidy cord setup reduces visual clutter and makes cleaning easier next time.
11. Deep Clean the Mattress
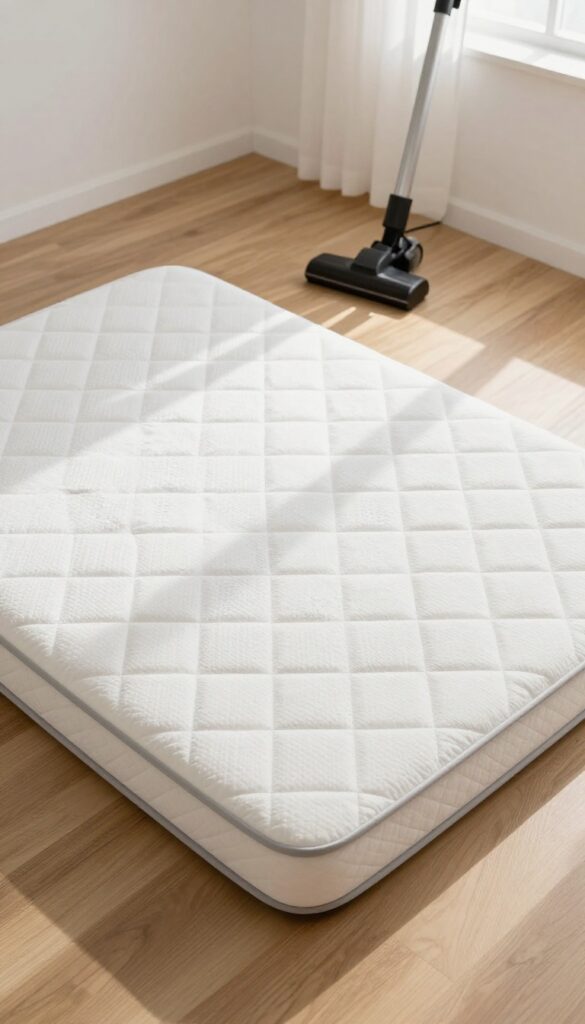
Your mattress works hard every night, but it rarely gets any attention during a cleaning session. Over time, it collects dead skin cells, dust mites, and sweat, which can affect your sleep quality and even trigger allergies. Giving your mattress a proper deep clean is easier than you think and pays off in better rest.
Start by stripping all bedding and washing it in hot water. Then vacuum the entire mattress surface using the upholstery attachment, paying extra attention to seams and crevices where dust accumulates. Sprinkle a generous layer of baking soda over the mattress and let it sit for at least 30 minutes—longer if you have time.
Baking soda naturally absorbs odors and moisture. Finally, vacuum the mattress again to remove all the powder. For extra freshness, you can add a few drops of essential oil to the baking soda before sprinkling.
Why Mattress Care Matters
A clean mattress isn't just about hygiene—it directly impacts how well you sleep. Dust mites and allergens can build up quickly, leading to congestion or itchy eyes at night. Regular cleaning also helps prevent stains and extends the life of your mattress, saving you money in the long run.
Spot Cleaning Stains
For fresh stains, blot with a clean cloth and a mild detergent solution—never soak the mattress. For urine or sweat stains, a mixture of hydrogen peroxide and baking soda works wonders. Apply the paste, let it dry, then vacuum.
Always test a small area first.
Maintenance Between Deep Cleans
Use a mattress protector to shield against spills and dust. Vacuum the mattress every time you change your sheets, and flip or rotate it every three months to prevent uneven wear. These small habits keep your mattress fresh for years.
12. Scrub Baseboards and Trim
Baseboards and trim are the unsung heroes of a clean room. They frame your space, yet they often get ignored until they're visibly grimy. A quick scrub can make the entire room look sharper and more cared for, without much effort.
Grab a damp cloth or sponge and a mild detergent. Work your way around the room, wiping down baseboards, door frames, and window trim. Pay extra attention to corners and edges where dust bunnies love to hide.
For stubborn marks, a soft-bristled brush or an old toothbrush works wonders. This step takes just a few minutes but delivers a noticeable freshness.
What You’ll Need
A bucket of warm water, a squirt of dish soap or all-purpose cleaner, a microfiber cloth or sponge, and optionally a soft brush for crevices. Keep a dry cloth handy to wipe away excess moisture.
Pro Tips For Best Results
Start at the top of the baseboard and work downward to avoid dripping onto already-cleaned areas. For painted trim, test your cleaner on an inconspicuous spot first to ensure it won't strip the paint. Wipe with the grain of the wood or along the trim's length for a streak-free finish.
How Often To Do This
Incorporate baseboard cleaning into your monthly deep cleaning routine. High-traffic rooms or homes with pets may need it every two weeks. Regular wipes prevent buildup and make each session quicker.
13. Disinfect High-Touch Areas
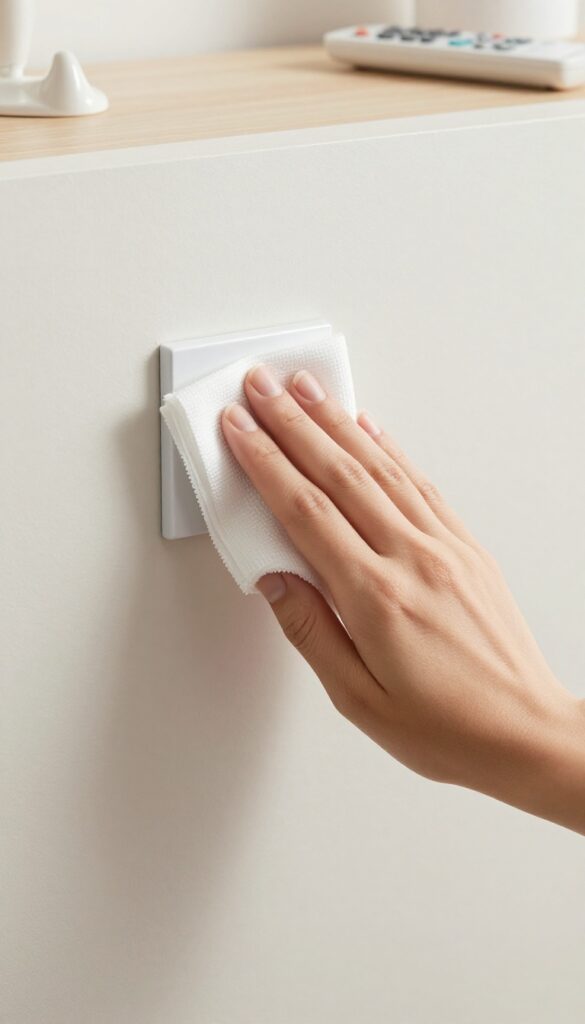
You've scrubbed surfaces and vacuumed floors, but germs love to hide on the spots your hands touch dozens of times a day. Light switches, doorknobs, remote controls, and phone chargers are germ hotspots that get overlooked in a routine clean. Giving them a quick disinfectant wipe-down is a simple way to keep your room healthier without extra effort.
High-touch surfaces are the main pathways for germs to spread, so targeting them is key to a truly deep clean. Focus on areas you and your family touch frequently: light switches, doorknobs, remote controls, phone chargers, and even drawer pulls. Use a disinfectant wipe or a cloth with a cleaning solution that's safe for the material.
Let the surface stay wet for the recommended contact time (usually a few minutes) to kill germs effectively. Don't forget less obvious spots like the edges of your phone case or the power button on your laptop. This step takes just a few minutes but makes a big difference in reducing illness-causing bacteria and viruses in your space.
Which Spots To Prioritize
Start with the most frequently touched items: light switches and doorknobs are touched every time you enter or leave the room. Remote controls and phone chargers are handled constantly, often without washing hands first. Also include drawer pulls, cabinet handles, and the edges of your desk or nightstand.
If you have a gaming controller or a tablet, add those to the list too.
Choosing The Right Disinfectant
Not all cleaners are created equal. Look for disinfectants that are EPA-registered and effective against common germs like influenza and cold viruses. Bleach-based wipes work well on hard, non-porous surfaces, but for electronics, use alcohol wipes (70% isopropyl) or a microfiber cloth lightly dampened with a gentle cleaner.
Always check the manufacturer's guidance for electronics to avoid damage.
How To Wipe For Maximum Effectiveness
For disinfectants to work, the surface needs to stay wet for the time listed on the label—usually 3 to 5 minutes. Wipe the area thoroughly, then let it air dry. Don't wipe it off immediately or you'll reduce the germ-killing power.
For small items like remote controls, you can place them in a bag with a disinfectant wipe for a few minutes. Remember to wash your hands after handling dirty wipes.
Maintaining A Clean Routine
Make disinfecting high-touch areas a regular habit. Aim to do it once a week, or more often if someone in the house is sick. Keep a pack of disinfectant wipes in your room for quick touch-ups.
This small effort keeps your space feeling fresh and reduces the spread of germs, making your deep clean last longer.
14. Add a Final Touch of Freshness
You've scrubbed, dusted, and organized every corner. Now it's time for the finishing flourish that makes all that effort noticeable. A fresh scent signals to your brain that the space is clean and inviting, completing the psychological reset.
Let The Air Flow
Open all windows for at least 10 minutes, even in cold weather. Cross-ventilation pushes out stale air and any lingering cleaning product fumes. If outdoor air quality is poor, run a fan or air purifier instead.
Choose Your Scent Wisely
A light, natural room spray works wonders—think citrus, lavender, or eucalyptus. Avoid heavy artificial fragrances that can clash with the clean smell. A few spritzes on curtains or upholstery, not just in the air, will last longer.
Odor Absorbers For Ongoing Freshness
Place a small bowl of baking soda in a discreet corner, or tuck a charcoal bag behind furniture. These quietly absorb odors for weeks, keeping your room smelling fresh without any effort.
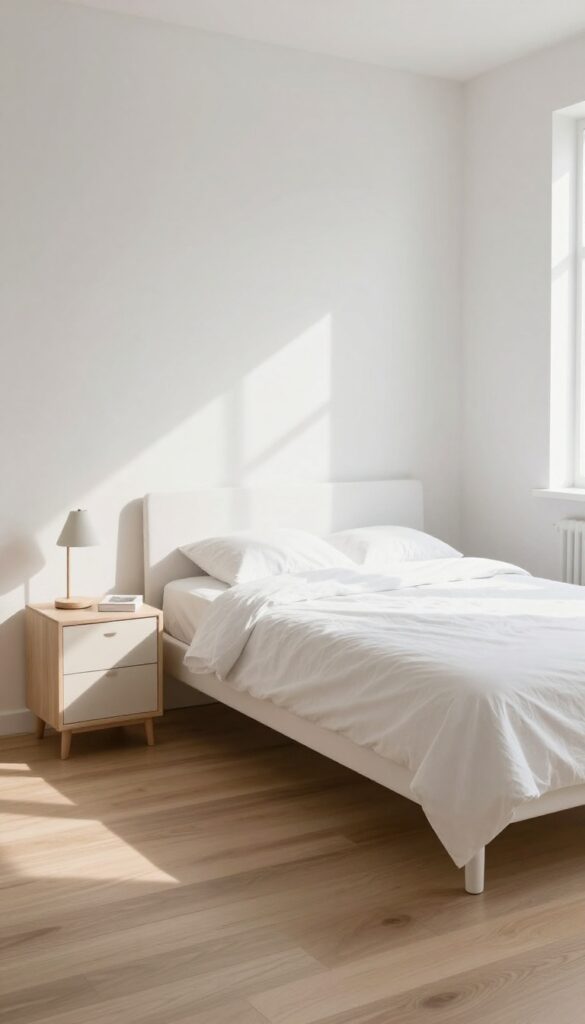
15. Make the Bed and Arrange Decor
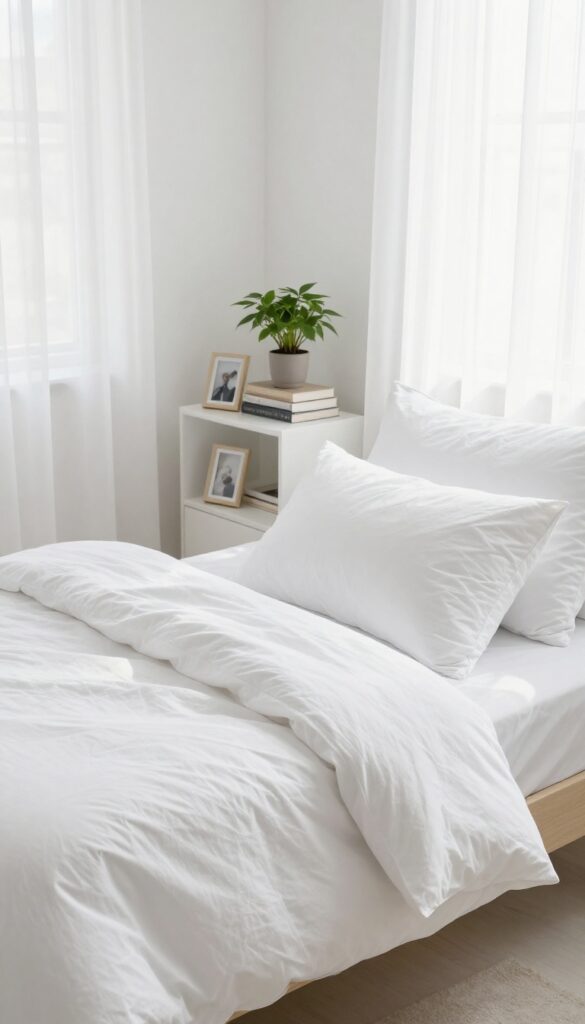
There’s a reason hotel rooms feel instantly put-together: the bed is always made. After all that scrubbing and organizing, finishing with a neatly made bed signals that the cleaning is truly done. It’s the final touch that pulls the whole room together.
Start by stripping off the old sheets and replacing them with fresh, clean linens. Smooth out wrinkles, tuck in corners, and layer a lightweight blanket or duvet at the foot. Fluff your pillows and arrange them symmetrically—two for a twin bed, three or four for a queen or king.
Then step back and take in the transformation. A made bed is the anchor of a tidy room; it makes everything else look intentional. Next, turn your attention to decor.
Less is more here. Remove any knickknacks that have accumulated and only return a few meaningful pieces—a small plant, a stack of books, a single framed photo. Wipe down surfaces as you go, and place items in groups of odd numbers for a balanced look.
Finally, adjust lighting: open curtains to let in natural light, or switch on a warm lamp to create a cozy evening vibe. The goal is a space that feels clean, calm, and ready for you to enjoy.
Fresh Linens Make The Difference
Nothing beats the feeling of clean sheets. Choose a set that’s been freshly laundered with a scent you love—lavender or eucalyptus works wonders. Make sure the fitted sheet is snug, the top sheet is straight, and the pillowcases are smooth.
A well-made bed invites you to relax the moment you see it.
Curate, Don’t Clutter
After deep cleaning, your surfaces are pristine. Keep them that way by being selective with decor. Pick two or three items per surface—like a candle, a small vase, and a coaster set.
Rotate seasonal pieces if you like, but resist the urge to overcrowd. Negative space is your friend.
Final Visual Check
Walk to the doorway and look back at your room. Does anything feel out of place? Straighten a crooked picture frame, align your rug, and make sure cords are hidden.
This last pass ensures the room not only is clean but looks clean from every angle.
FAQ
How often should I deep clean my room?
Aim for a deep clean every 1-3 months, depending on your lifestyle. If you have allergies or pets, you may want to do it more frequently.
What’s the best order to deep clean a room?
Start with decluttering, then work from top to bottom: dust high surfaces, clean windows, wipe furniture, and finish with floors. This prevents re-dusting.
Do I need special products for deep cleaning?
Not necessarily. All-purpose cleaner, microfiber cloths, a vacuum, and a mop are sufficient. For specific surfaces like wood or glass, use appropriate cleaners.
How can I make deep cleaning less overwhelming?
Break it into small tasks or set a timer for 15 minutes per step. Playing music or a podcast can also make the process more enjoyable.
What’s the most important step in deep cleaning?
Decluttering is crucial because it makes every other step easier and more effective. Without clutter, dusting and organizing become much simpler.
Conclusion
These 15 steps show that a deep clean isn't about perfection—it's about resetting your space so it works for you. Each small action builds momentum, turning chaos into calm without burning you out.
Now that your room feels fresh, keep it that way with a simple daily habit: make your bed and put one thing away before bed. That tiny ritual will preserve your reset for weeks.

I’m Pallab Kishore, the owner of Little Pets Realm — an animal lover and pet care enthusiast sharing easy tips, healthy recipes, and honest advice to help every small pet live a happy, healthy, tail-wagging life.