
You slide open a window expecting fresh air, but instead it sticks and scrapes. That gritty resistance comes from years of dirt packed into the tracks. Window tracks are magnets for dust, pollen, and even mold, yet they're often ignored during routine cleaning.
These narrow channels hide grime that can affect air quality and window function. The good news? You don't need special products or professional help.
With a few household items and a bit of patience, you can restore your window tracks to like-new condition. Here are 15 practical methods to banish hidden grime for good.
1. Vacuum First with a Crevice Tool
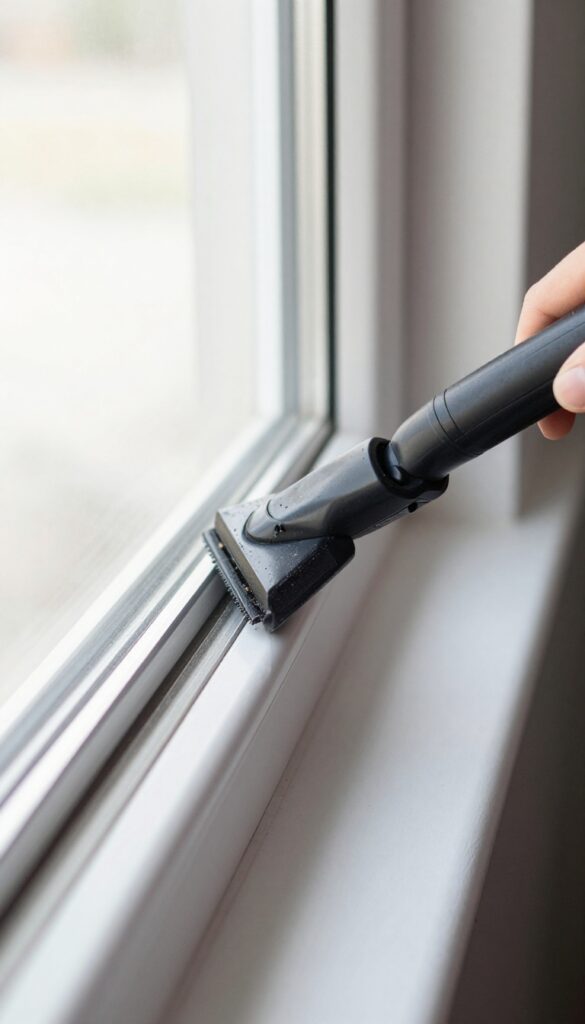
Before you introduce any liquid into the equation, grab your vacuum cleaner. A dry first pass removes loose dirt, dust, and debris that would otherwise turn into a muddy paste. This simple step makes every subsequent cleaning method more effective and less messy.
Start by fitting your vacuum with a narrow crevice attachment. Run it along the entire length of the track, paying special attention to corners and the edges where the window slides. For stubborn debris, use a stiff brush attachment to loosen particles before vacuuming.
This dry cleaning step prevents clogs and ensures that wet methods can focus on dissolving stuck-on grime rather than pushing around loose dirt.
Why Dry First Matters
Wet cleaning without vacuuming first often spreads dirt further into the track's crevices. By removing loose particles upfront, you avoid creating a muddy residue that can be harder to remove. It also reduces the risk of scratching the track surface when you scrub.
Best Vacuum Attachments For Tracks
A crevice tool is essential for reaching deep into narrow tracks. If your vacuum has a brush attachment, use it to agitate embedded dust before switching to the crevice tool. For tight corners, a thin paintbrush or an old toothbrush can help loosen debris before vacuuming.
When To Vacuum Again
After you finish wet cleaning and drying the tracks, do a final vacuum pass. This picks up any remaining loose particles that were loosened during scrubbing. It also helps remove moisture from hard-to-reach spots, preventing mold growth.
2. Baking Soda and Vinegar Fizz
If you want a deep clean without harsh chemicals, the classic baking soda and vinegar combo is your friend. The fizzy reaction helps break down stubborn grime that's been sitting in those narrow tracks for months. It's cheap, non-toxic, and surprisingly effective.
Start by sprinkling a generous layer of baking soda along the entire length of the track. Make sure it covers all the dirty areas. Then, fill a spray bottle with white vinegar and spritz it over the baking soda.
You'll see it start to bubble and fizz immediately—that's the reaction working to loosen the dirt. Let it sit for about 5 minutes so the fizz can penetrate the grime.
Scrubbing The Fizz
After the waiting period, grab an old toothbrush or a small scrub brush. Dip it in water and start scrubbing the track. The fizz will have softened the grime, so it should come off easily.
Focus on corners and edges where dirt tends to hide. Rinse the brush frequently to avoid redepositing dirt.
Rinsing And Drying
Once you've scrubbed the entire track, rinse it with clean water. You can use a damp cloth or a spray bottle to remove any residue. Then dry the track with a lint-free cloth or paper towel.
Leaving it wet can lead to mold or rust, so make sure it's completely dry before closing the window.
3. Old Toothbrush Scrub
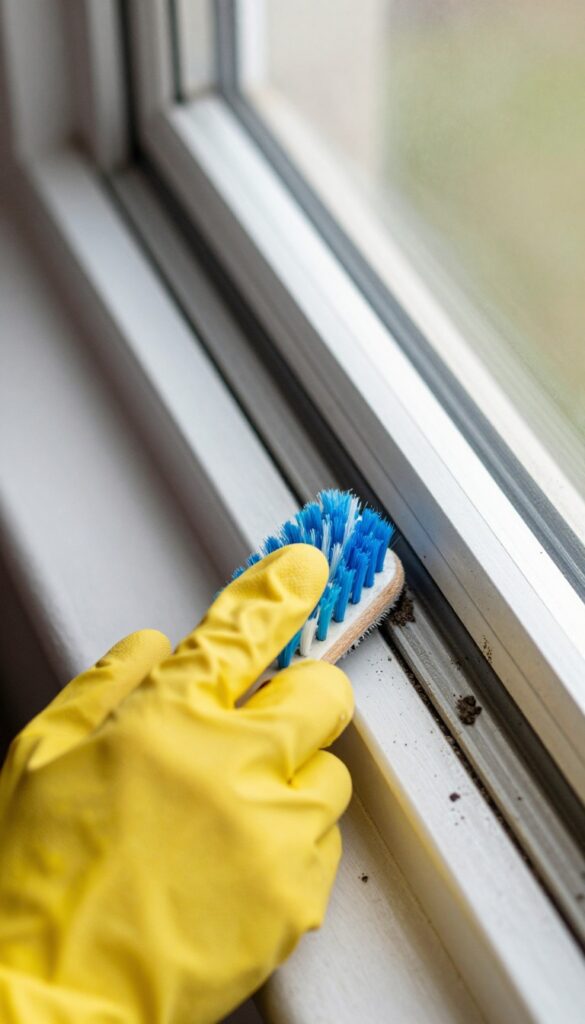
Sometimes the simplest tools work best, and an old toothbrush is a perfect example. Its stiff bristles can reach into the tight corners and grooves of window tracks where cloths and sponges can't. This method is especially effective for loosening dried-on grime and dirt that has settled into the crevices.
To get started, grab a toothbrush with firm bristles—an old one you no longer use is ideal. Dip it into a mixture of warm water and a few drops of dish soap, or use a 50/50 vinegar and water solution for extra cleaning power. Scrub the entire track, focusing on the corners and any visible buildup.
The bristles will work the solution into the grime, breaking it loose. After scrubbing, wipe away the loosened dirt with a damp cloth or paper towel. For stubborn spots, let the solution sit for a few minutes before scrubbing again.
This method is gentle enough for most track materials, including aluminum and vinyl.
Why A Toothbrush Works Best
The shape and bristle stiffness of a toothbrush are ideal for window tracks. The narrow head fits into the channel, and the angled bristles can scrub both the bottom and sides simultaneously. Unlike a sponge, which can leave dirt in corners, a toothbrush digs it out.
Plus, it's easy to control the pressure, so you won't damage the track.
Step-by-step Technique
Start by removing any loose debris with a vacuum or dry cloth. Dip the toothbrush in your cleaning solution and shake off excess liquid. Scrub the track in a back-and-forth motion, paying extra attention to the ends where dirt accumulates.
For tracks with multiple channels, scrub each one separately. Rinse the toothbrush frequently to avoid spreading dirt. After scrubbing, wipe the track with a damp cloth to remove residue.
Repeat if necessary.
Pro Tips For Best Results
Use a toothbrush with a long handle to reach deeper tracks. If the bristles are too soft, trim them slightly with scissors for extra stiffness. For mold or mildew, add a few drops of tea tree oil to your cleaning solution.
Always test a small area first if you're unsure about the track's finish. Finally, dry the track with a clean cloth to prevent water spots.
4. Q-Tip for Tight Spots
Not every part of a window track is easy to reach. The corners and ends where the track meets the frame are often the most neglected, collecting stubborn grime that a brush or cloth can't touch. That's where a humble cotton swab comes in.
Cotton swabs are perfect for precision cleaning. They fit into the tightest gaps without scratching paint or aluminum. You can control exactly where the cleaner goes and how much pressure you apply.
Plus, they're disposable—just toss them when they get dirty.
Why Q-tips Work So Well
The small, soft tip can slide into crevices that are too narrow for a toothbrush or rag. The cotton absorbs dirt and moisture without leaving lint behind. And because you hold the stick, you have fine control over the scrubbing motion.
Best Cleaners To Use
Dampen the swab with your preferred cleaner—diluted dish soap, white vinegar, or a dedicated window track spray. Avoid soaking it; a slightly damp tip is enough. For really stuck-on grime, dip the swab in baking soda paste for gentle abrasion.
Step-by-step For Corners
Start at one end of the track and work the swab into the corner. Use a twisting motion to lift dirt. Wipe the swab on a paper towel as you go, and replace it when it gets too dirty.
Finish by running a dry swab through to pick up any leftover moisture.
5. Dish Soap and Warm Water Soak
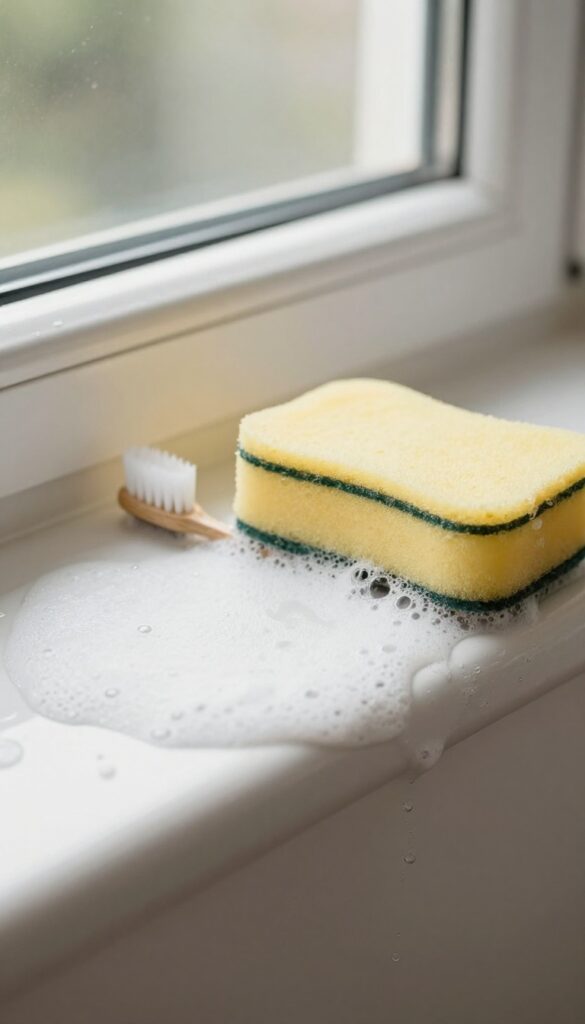
Sometimes the most straightforward methods are the most effective. A simple soak with dish soap and warm water can loosen years of built-up grime without any harsh chemicals. This gentle approach works wonders on plastic and vinyl tracks that might be damaged by stronger cleaners.
The key is giving the solution enough time to penetrate the dirt. After applying, let it sit for a full 10 minutes before scrubbing. This dwell time allows the surfactants in the dish soap to break down oily residues and soften crusted debris, making the scrubbing phase much easier.
Mixing The Solution
Fill a bowl or spray bottle with warm water—not hot, as extreme temperatures can warp some track materials. Add a few drops of mild dish soap and stir or shake gently. You don't need a lot; a teaspoon per cup of water is plenty.
Too much soap can leave a sticky residue.
Application And Soak
Dip a sponge or soft cloth into the solution and apply it generously along the track grooves. Make sure the liquid seeps into corners and crevices. Let it sit undisturbed for at least 10 minutes.
For extra-stubborn spots, you can lightly agitate with a soft brush after a few minutes.
Scrubbing And Rinsing
After the soak, use an old toothbrush or a small scrub brush to work the loosened grime out of the channels. Rinse the brush frequently in clean water. Once you've scrubbed all areas, wipe away the soapy residue with a damp cloth, then dry the track with a lint-free towel to prevent water spots.
6. Hydrogen Peroxide for Mold
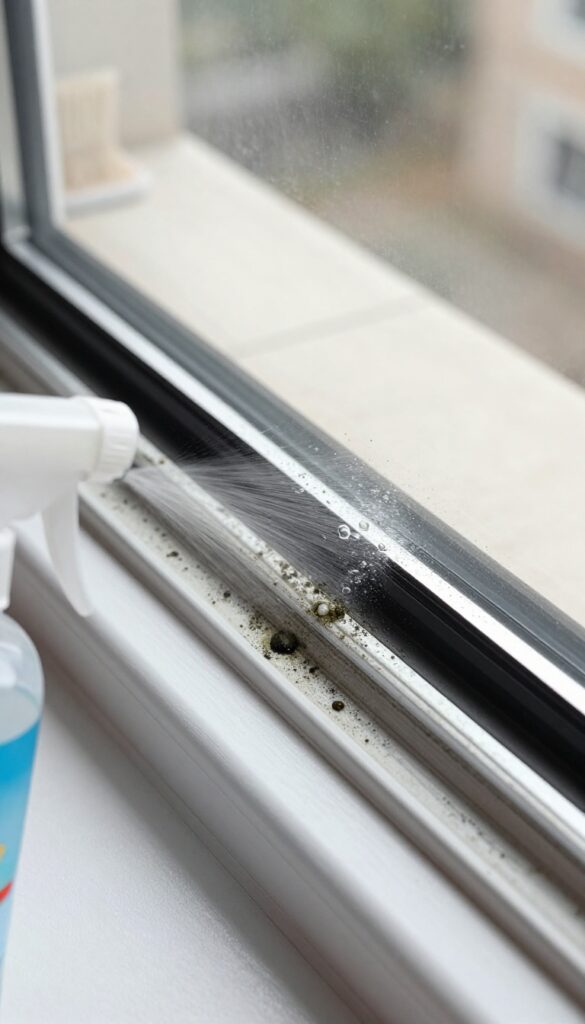
Black mold in window tracks isn't just unsightly—it can trigger allergies and spread to other surfaces. Hydrogen peroxide offers a simple, non-toxic solution that kills mold on contact without harsh fumes. This method works especially well on stubborn spots that resist soap and scrubbing.
Hydrogen peroxide is a powerful oxidizer that breaks down mold at the cellular level. Unlike bleach, it doesn't release toxic vapors, making it safe for indoor use. Plus, it's cheap and easy to find at any drugstore.
Why Hydrogen Peroxide Works
Mold spores are living organisms that thrive in damp, dark environments like window tracks. Hydrogen peroxide kills them by disrupting their cell walls and oxidizing the organic matter. The fizzing action you see is the peroxide breaking down into water and oxygen—harmless to you but deadly to mold.
How To Apply It
Pour 3% hydrogen peroxide directly onto the moldy areas of the track. Let it sit and bubble for about 10 minutes—longer if the mold is thick. The bubbles help lift the mold from the surface.
After the fizzing stops, scrub with a stiff brush (an old toothbrush works great) and rinse with water. Repeat if any dark spots remain.
Safety Tips
Wear gloves to protect your skin from prolonged contact, and open the window for ventilation. Don't mix hydrogen peroxide with vinegar or bleach—combining them can create harmful gases. Keep it away from colored fabrics or carpets, as it can bleach them.
7. Steam Cleaner Blast
If you've ever used a steam cleaner on kitchen grout, you know how satisfying it is to watch gunk dissolve on contact. The same magic works on window tracks. A handheld steam cleaner blasts away grease and dirt without chemicals, and the high heat kills mold and loosens debris in seconds.
It's especially useful for tracks with stubborn buildup that scrubbing alone can't touch.
Why Steam Works So Well
Steam cleaners heat water to over 200°F, producing pressurized vapor that penetrates cracks and crevices. The heat softens caked-on dirt, grease, and even old adhesive residues. Unlike chemical sprays, steam leaves no residue and dries quickly, so you can close the window sooner.
How To Steam Clean Window Tracks
Start by removing loose debris with a vacuum or brush. Then fit your steamer with a small nozzle or brush attachment. Direct the steam along the track, moving slowly to allow heat to work.
Wipe away loosened grime with a microfiber cloth. For deep grooves, use a steam brush to agitate while steaming.
Safety Tips For Steam Cleaning
Always test a small hidden area first, especially on older windows with paint or sealant that might peel. Wear gloves to avoid burns from hot steam. Keep the nozzle moving to prevent heat damage to plastic or vinyl tracks.
Allow tracks to cool before wiping or closing the window.
8. Rubbing Alcohol for Sticky Residue
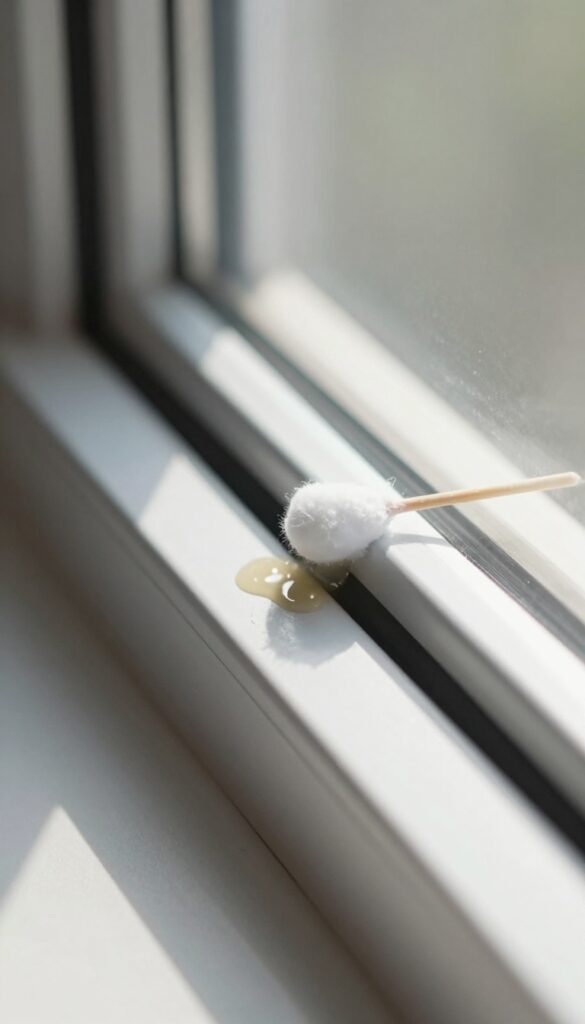
Sticky residue in window tracks often comes from old lubricants, tape adhesive, or greasy dust. Water and soap might not cut it, but rubbing alcohol dissolves that gunk fast. It evaporates quickly, so you won't have to worry about moisture sitting in the track.
Rubbing alcohol is a powerful degreaser that breaks down sticky and oily buildup without leaving a trace. It's safe on most surfaces, including vinyl, aluminum, and painted wood. Plus, it dries in seconds, so you can move on to the next step without waiting.
How To Apply
Dab a clean cloth or cotton ball in rubbing alcohol (70% or higher works best). Wipe down the track, focusing on areas with visible residue. For tight corners, use a cotton swab.
The alcohol will lift the grime, and you'll see it dissolve almost instantly.
When To Use This Method
This method shines when you've already cleaned the track but still feel a tacky film. It's also great for removing sticker residue or old weatherstripping adhesive. Avoid using it on painted tracks if the paint is already chipping, as alcohol can soften it.
Safety Tips
Work in a well-ventilated area and keep rubbing alcohol away from open flames. It's flammable until it evaporates. Wear gloves if you have sensitive skin, and test on a small hidden spot first to make sure it doesn't damage the finish.
9. Magic Eraser Sponge
Melamine foam sponges, often sold as Magic Erasers, are surprisingly effective at lifting embedded dirt and scuff marks from window tracks. Their micro-abrasive texture acts like ultra-fine sandpaper, scrubbing away grime without scratching most surfaces. You just need to wet the sponge, squeeze out excess water, and start cleaning.
These sponges work best on stubborn stains that resist regular cleaners. They're especially good at removing dark scuff marks left by shoes or furniture that rubbed against the track. The foam breaks down as you scrub, so you'll go through a few sponges for a full window set, but the results are worth it.
How To Use A Magic Eraser On Window Tracks
Cut the sponge into smaller pieces to fit narrow tracks. Wet it with water until it's damp but not dripping. Gently rub the stained areas—no need for extra cleaner.
Rinse the track with a damp cloth afterward to remove any residue. The sponge will wear down; flip to a fresh side as needed.
Where It Works Best
Magic Erasers excel on painted or coated metal tracks where gentle abrasion is safe. Avoid using them on raw aluminum or unsealed wood, as they can dull the finish. Test on a small hidden spot first if you're unsure.
They're also great for removing sticky adhesive residue from old weatherstripping.
Tips For Best Results
Work in one direction to avoid spreading grime. For deep grooves, wrap the sponge around a popsicle stick or a small flat tool to reach the bottom. Rinse the track thoroughly after scrubbing, because leftover sponge particles can attract more dust.
Store unused sponges in a dry place so they don't deteriorate.
10. Toothpick or Paperclip for Deep Crevices
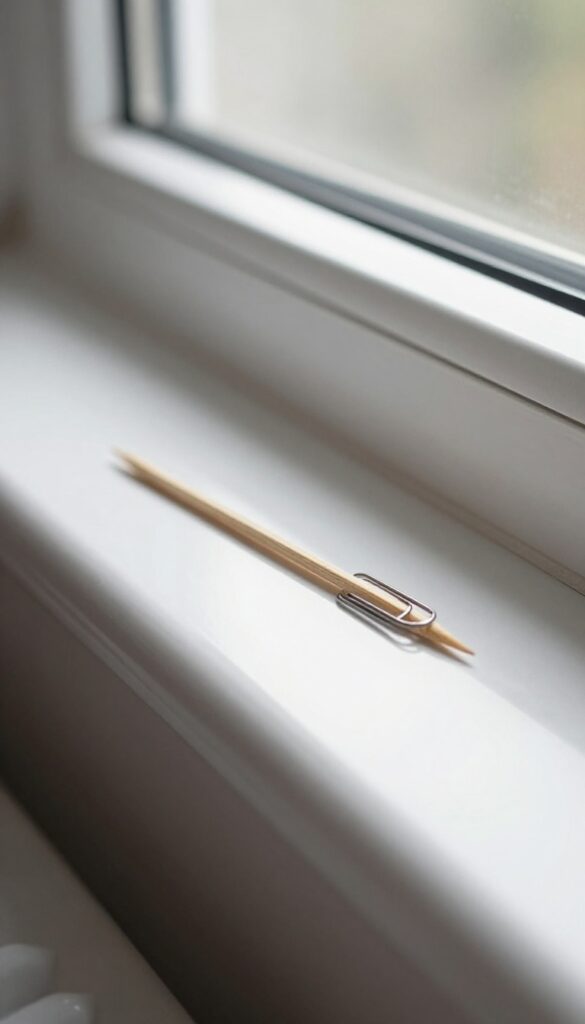
Even after a thorough wipe-down, window tracks often harbor stubborn dirt in their tiniest corners and drainage holes. That's where a wooden toothpick or a bent paperclip becomes your best friend. These simple tools can reach into crevices that no brush or cloth can access, making quick work of compacted grime.
Toothpicks and paperclips are perfect for precision cleaning. They allow you to dislodge dirt without scratching the track surface. Plus, they're disposable or reusable, so you can keep a few handy for regular maintenance.
Why These Tools Work So Well
The narrow, pointed tip of a toothpick fits perfectly into the tiny drainage holes and corner joints of window tracks. A paperclip, when bent into a small hook, can scrape out dirt from tight angles. Both are firm enough to break up dried debris but soft enough not to damage the finish.
How To Use A Toothpick
Simply insert the tip into the crevice and gently scrape or scoop out the dirt. Work along the entire track, focusing on corners and holes. Use a fresh toothpick for each track to avoid spreading grime.
For stubborn spots, slightly moisten the tip with water or a mild cleaner.
How To Use A Paperclip
Unfold a paperclip into a straight wire, then bend one end into a small hook. Use the hook to scrape out dirt from narrow gaps and around screws. You can also use the straight end to poke through drainage holes, clearing any blockages.
Dispose of the paperclip after use or rinse it for reuse.
11. WD-40 for Lubrication and Cleaning
WD-40 is a household staple that does more than silence squeaky hinges. When applied to window tracks, it cuts through greasy grime and leaves behind a slick, protective film. This method is especially useful for tracks that have been neglected for years, where dirt has bonded with old lubricants.
How It Works
WD-40 is a solvent-based cleaner that breaks down sticky residues, wax, and grease. The spray also contains light lubricating oils that reduce friction, making windows glide open and closed. It's a two-in-one solution: clean and lubricate in one step.
Step-by-step Application
Start by removing loose debris with a vacuum or brush. Spray WD-40 onto a clean microfiber cloth, not directly into the track, to avoid overspray. Wipe the track thoroughly, paying attention to corners.
For stubborn spots, let the WD-40 sit for a minute before wiping. Finish by wiping away any excess with a dry cloth.
When To Avoid
WD-40 can attract more dust over time if applied too heavily. Use it sparingly, and only on metal or plastic tracks. Avoid using it on wooden tracks, as the solvents may damage the finish.
For vinyl tracks, test on a hidden spot first.
12. Vinegar and Water Spray Routine
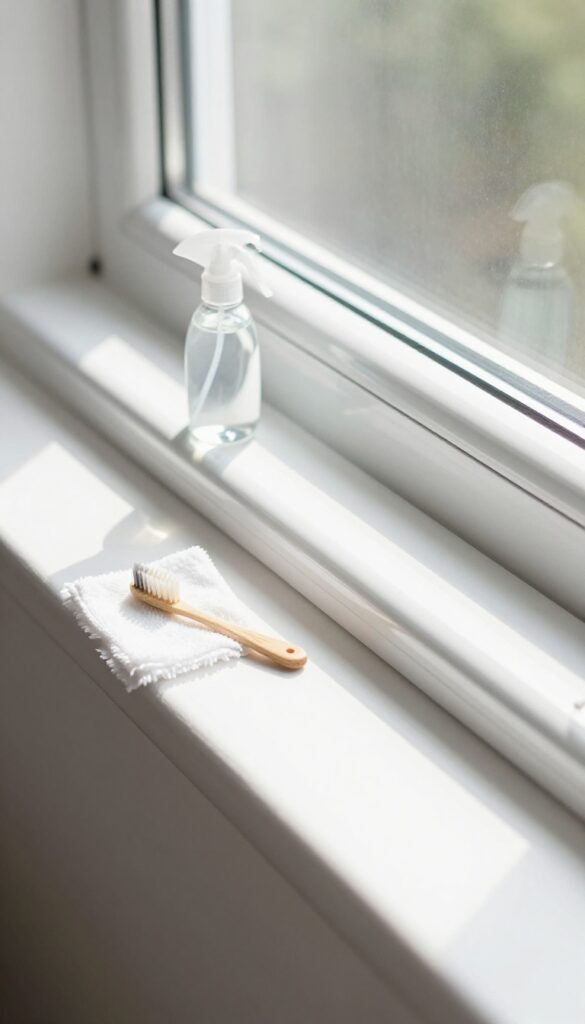
White vinegar is a powerhouse cleaner that cuts through grime without harsh chemicals. When combined with water, it creates a simple yet effective solution for loosening caked-on dirt in window tracks. This method is especially useful for regular maintenance and works on both metal and vinyl tracks.
The vinegar and water spray routine is one of the easiest ways to keep window tracks clean. Start by mixing equal parts white vinegar and water in a spray bottle. Spray the solution liberally along the tracks, making sure to saturate all the crevices.
Let it sit for about five minutes to allow the vinegar to break down the grime. Then, wipe the tracks clean with a microfiber cloth or an old toothbrush for stubborn spots. For heavily soiled tracks, you may need to repeat the process or let the solution sit longer.
This method is safe, inexpensive, and leaves tracks fresh and residue-free.
Why Vinegar Works So Well
White vinegar is acidic, which helps dissolve mineral deposits, soap scum, and grease that accumulate in window tracks. It also has mild antibacterial properties, making it effective against mold and mildew. Unlike commercial cleaners, vinegar leaves no toxic residue, so it's safe for homes with kids or pets.
Tips For Best Results
Use distilled white vinegar for consistent acidity. Avoid using vinegar on natural stone or unsealed surfaces nearby, as it can etch them. For extra cleaning power, add a few drops of dish soap to the solution.
After wiping, dry the tracks thoroughly to prevent moisture buildup.
When To Use This Method
This routine is perfect for monthly maintenance or as a first step before deeper cleaning. It's also great for refreshing tracks after winter or before summer. If tracks are extremely dirty, follow up with a scrub brush or a steam cleaner for best results.
13. Dishwasher Tablet Trick
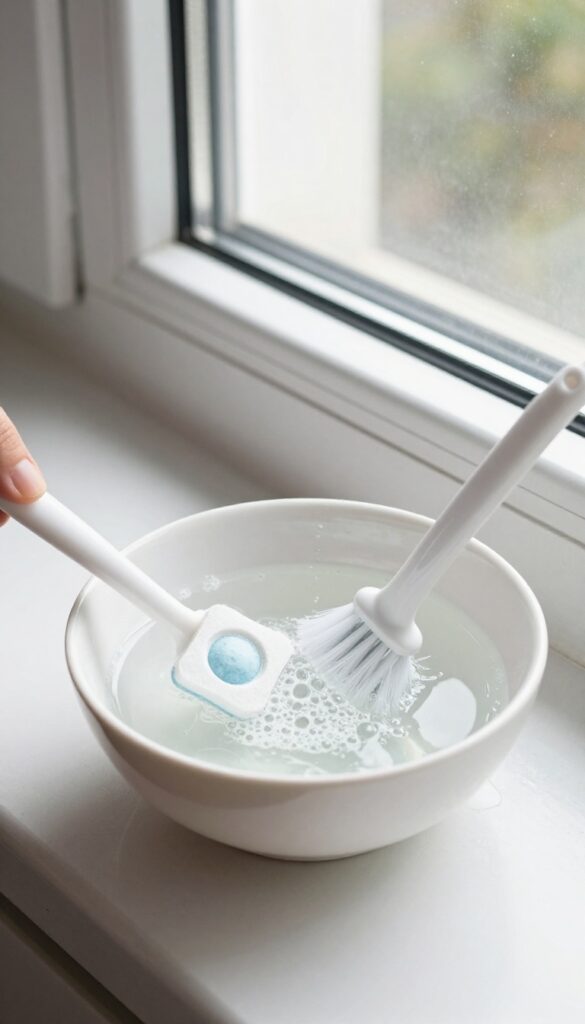
Dishwasher tablets aren't just for your machine. These powerful little cubes contain enzymes and surfactants designed to break down baked-on food and grease. That same chemistry works wonders on the greasy, grimy buildup in window tracks.
Drop one tablet into a bowl of hot water, let it fizz and dissolve, then dip a stiff brush into the solution. The enzymes go to work cutting through years of accumulated grime without you having to scrub hard.
This method is especially effective for kitchen window tracks where cooking grease and dust combine into a stubborn paste. The tablet's active ingredients lift that sticky layer quickly. Use an old toothbrush or a small detail brush to work the solution into corners and crevices.
After scrubbing, wipe away the loosened dirt with a damp cloth. For extra-stubborn spots, let the solution sit for a few minutes before scrubbing. Rinse with clean water and dry the track to prevent residue from attracting more dust.
Why Dishwasher Tablets Work
Dishwasher tablets contain enzymes that target proteins and starches, plus surfactants that reduce surface tension so water can penetrate grime. This combination is ideal for breaking down the oily, sticky residue common in window tracks. Unlike all-purpose cleaners, these tablets are formulated to dissolve tough, baked-on messes without excessive foaming, making them easy to use in narrow channels.
Step-by-step Application
Fill a small bowl with very hot water (not boiling) and drop in one dishwasher tablet. Wait for it to fully dissolve, which takes about a minute. Dip a stiff-bristled brush into the solution and scrub the track thoroughly.
Pay extra attention to corners and drainage holes. Let the solution sit for 2–3 minutes on heavy buildup. Wipe away the loosened grime with a microfiber cloth or paper towel.
Repeat if needed, then rinse the track with clean water and dry completely.
Safety And Precautions
Wear gloves to protect your skin, as dishwasher tablets can be irritating. Avoid using this method on aluminum tracks if you're unsure about the finish—test on a small hidden area first. Keep the solution away from children and pets.
After cleaning, dispose of any leftover solution down the drain with plenty of running water.
14. Paintbrush Dusting
A dry paintbrush with soft bristles sweeps out loose dust without scratching. Great for a quick maintenance clean between deep scrubs. It's a gentle way to keep tracks tidy without pulling out the heavy-duty gear.
Sometimes all your window tracks need is a light dusting to stay functional. A paintbrush is perfect for this because its bristles can reach into narrow crevices without damaging the surface. This method works best for routine upkeep, preventing grime from building up into a stubborn mess.
Choosing The Right Brush
Opt for a natural-bristle brush, like a 1-inch or 2-inch angled brush. Synthetic bristles can be too stiff and might scratch painted tracks. A brush with a pointed tip helps you get into corners and along the bottom edge.
Technique For Best Results
Hold the brush at a slight angle and sweep from one end of the track to the other. Use short, gentle strokes to lift dust without scattering it. For stubborn spots, lightly tap the brush handle to dislodge particles, then sweep them out.
When To Use This Method
Paintbrush dusting is ideal for weekly or bi-weekly maintenance. It's also a great first step before deeper cleaning methods, as it removes loose debris that could turn into mud when wet. Use it whenever you notice visible dust but no sticky grime.
15. Silicone Spray for Future Protection
Once your tracks are spotless, the last thing you want is for grime to settle back in right away. A simple silicone spray creates a slick barrier that repels dust and keeps the window moving smoothly. It’s a quick step that pays off every time you slide the window open.
Silicone spray isn’t just a lubricant—it forms a thin, invisible film that dust and dirt can’t cling to easily. That means less frequent cleaning and a smoother glide. Plus, it protects the track material from moisture and wear, extending the life of your windows.
Just make sure you use a spray labeled 100% silicone, not a petroleum-based one, which can attract grime.
How To Apply It Right
Start with a completely dry and clean track. Spray a light, even coat along the entire length of the track, focusing on the sliding channels. Use a clean cloth to spread it thinly if needed.
Let it dry for a few minutes before closing the window—it should feel dry to the touch but leave a slick surface.
Which Silicone Spray To Choose
Look for a spray that’s designed for household use, like those for garage doors or drawer slides. Avoid sprays with added fragrances or dyes, as they can leave residue. A clear, odorless silicone spray works best and won’t stain your window frames.
When To Reapply
Depending on how often you open the window and your local climate, reapply every three to six months. If you notice the window starting to stick or dust building up faster, it’s time for another coat. A quick refresh takes just a minute and keeps your tracks in top shape.
FAQ
How often should I clean window tracks?
Every 3 to 6 months is ideal, but if you live in a dusty area or near a busy road, consider cleaning them every 2 months.
Can I use bleach on window tracks?
Bleach can damage the finish of metal or painted tracks and release fumes. Stick to vinegar or hydrogen peroxide for mold.
What if my window tracks are rusty?
For light rust, scrub with a vinegar-soaked brush. For heavy rust, use a commercial rust remover and then lubricate the track.
How do I prevent window tracks from getting dirty quickly?
Apply a thin layer of silicone spray after cleaning. It creates a barrier that repels dust and makes future cleaning easier.
Is it safe to use a pressure washer on window tracks?
No, pressure washers can force water into the window frame and cause damage. Stick to gentle methods like steam or manual scrubbing.
Conclusion
Cleaning window tracks doesn't have to be a dreaded chore. With these 15 methods, you can tackle any level of grime using items you probably already have at home. Start with the gentlest approach and work your way up for stubborn spots.
Your windows will slide smoothly, and your home will feel fresher. Make track cleaning a regular part of your routine, and you'll never have to deal with hidden grime again.


