
That stubborn grease splatter on your kitchen backsplash has been mocking you for weeks. The crayon masterpiece on your living room wall wasn't quite the artistic statement you'd hoped for.
Instead of reaching for harsh chemicals or resigning yourself to permanent stains, you can whip up effective cleaning solutions from everyday household items. These 13 recipes target specific types of marks—from permanent marker to sticky residue—using ingredients you probably already have in your pantry.
No more scrubbing in vain or damaging your paint. Each formula is tested, simple to mix, and designed to lift the toughest marks without the toxic fumes.
1. Baking Soda Paste for Grease and Grime
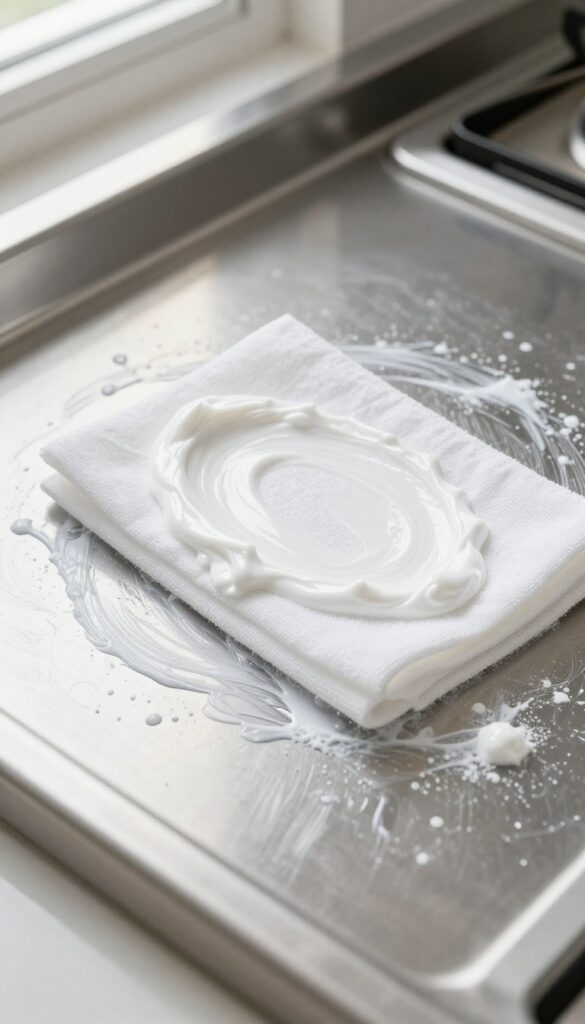
Grease splatters and grime buildup are some of the toughest marks to remove from walls, especially in kitchens or near stoves. A simple paste made from baking soda and water can cut through that oily film without damaging your paint or requiring harsh scrubbing. This gentle abrasive is a go-to for many stubborn kitchen stains.
To make the paste, mix three parts baking soda with one part water in a small bowl. Stir until it forms a thick, spreadable consistency. Apply the paste directly to the greasy spots using a soft cloth or sponge, focusing on the worst areas.
Let it sit for about five minutes to allow the baking soda to absorb the grease. Then gently rub in a circular motion—the mild abrasiveness lifts the grime without scratching. Finally, rinse the area with a damp sponge and wipe dry.
For extra stubborn marks, add a drop of dish soap to the paste.
Why It Works On Grease
Baking soda is alkaline, which helps break down fatty acids in grease. Its fine grit provides gentle scrubbing power that dislodges grime without the need for strong chemicals. This makes it safe for most painted walls, especially when used with a soft cloth.
Best Surfaces And Precautions
This paste works well on latex and satin paints, but test on an inconspicuous area first. Avoid using on flat or matte finishes, as the abrasion may leave a shiny spot. Also, do not scrub too hard on wallpaper or delicate surfaces.
When To Add A Little Extra
For old, baked-on grease, let the paste sit for 10 minutes instead of five. You can also add a teaspoon of white vinegar to the mix for extra degreasing power. Just be aware that vinegar may cause bubbling, so rinse thoroughly afterward.
2. White Vinegar and Water for General Marks
Not every wall stain calls for a heavy-duty cleaner. For everyday smudges like fingerprints, light scuffs, or small mystery marks, a simple vinegar solution often does the trick. White vinegar is mildly acidic, which helps break down grime without stripping paint or leaving a sticky residue.
Plus, it’s cheap and already in your cabinet.
Mix equal parts white vinegar and water in a spray bottle. Shake gently to combine. Spray the solution directly onto the mark, let it sit for about a minute, then wipe with a clean microfiber cloth.
For stubborn spots, a soft sponge works too. Avoid using abrasive scrubbers that could damage the paint finish.
Why Vinegar Works
Vinegar’s acetic acid cuts through light grease and dirt, making it ideal for everyday marks. It’s also a natural disinfectant, so you get a clean surface without harsh chemicals.
Best Surfaces For This Mix
This solution is safe for most painted walls, including matte, eggshell, and satin finishes. Avoid using it on unsealed wood or delicate wallpapers, as the moisture could cause damage.
When To Skip It
For heavy grease or set-in stains, vinegar alone may not cut it. In those cases, try a stronger recipe from this list. Also, test in an inconspicuous area first, especially if your paint is old or fragile.
3. Dish Soap and Warm Water for Crayon
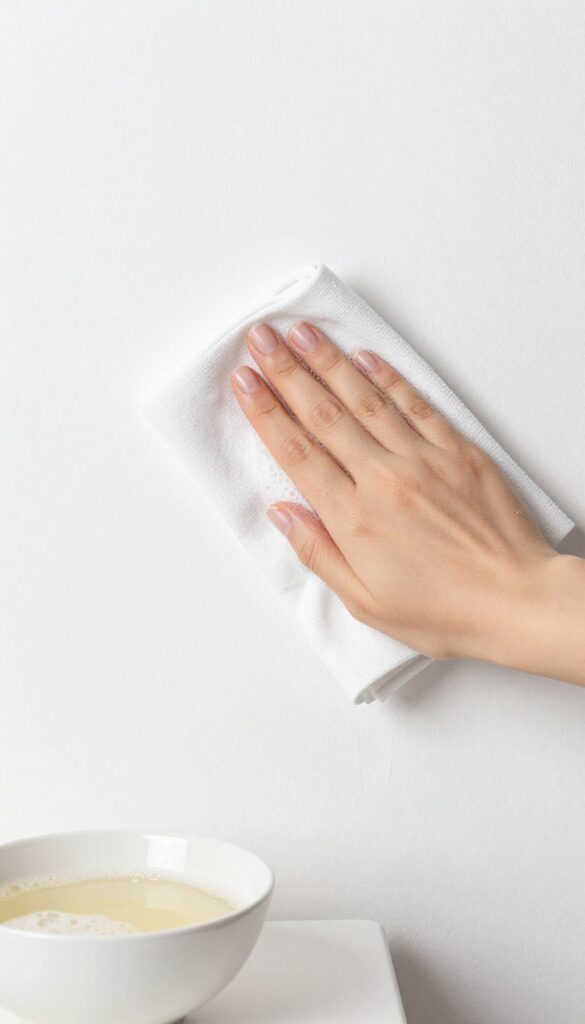
Crayon marks on walls are a classic parenting headache. The waxy texture makes them tricky, but dish soap cuts through grease and wax effortlessly. This gentle solution works on most painted walls without damaging the finish.
Mix a few drops of liquid dish soap into a bowl of warm water. Dip a soft cloth, wring it out well, and gently scrub the crayon marks in a circular motion. The soap breaks down the wax, while the warm water helps lift it from the paint.
Rinse the area with a clean damp cloth and pat dry. For stubborn spots, let the solution sit for a minute before scrubbing.
Why Dish Soap Works
Dish soap contains surfactants that break down oils and waxes. Crayons are essentially colored wax, so the soap molecules attach to the wax and allow it to be wiped away. This is the same reason dish soap is great for greasy pans.
Best Cloth To Use
A microfiber cloth is ideal because it grabs onto the wax particles without scratching the paint. Avoid abrasive sponges or scrub brushes, as they can remove paint or leave a dull finish. If you don't have microfiber, an old cotton t-shirt works too.
When To Add Baking Soda
If the crayon mark is extra stubborn, sprinkle a little baking soda onto your damp cloth before scrubbing. The mild abrasiveness helps lift the wax without damaging the wall. Test on an inconspicuous spot first, especially on flat or matte paint.
4. Rubbing Alcohol for Permanent Marker
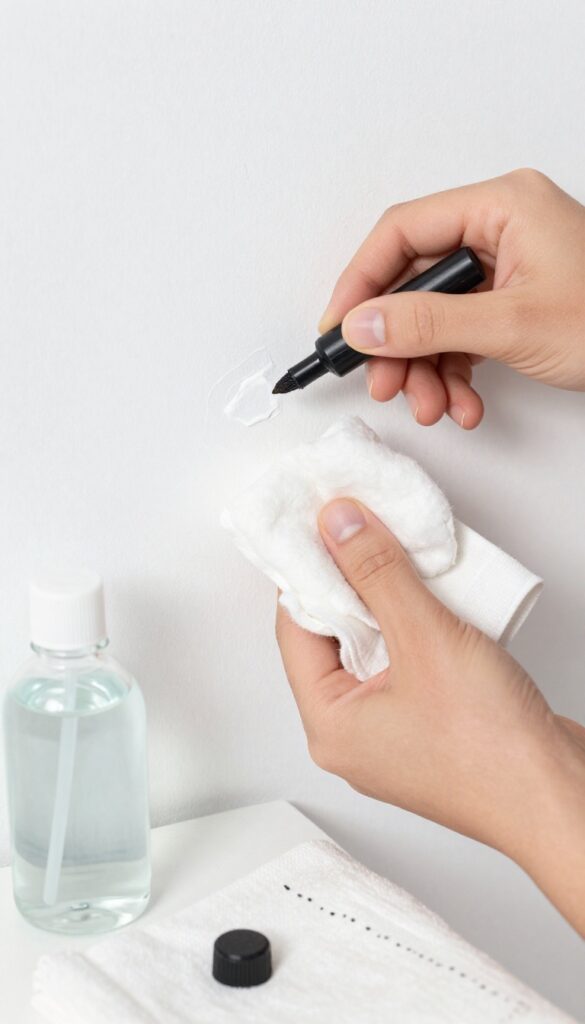
Permanent marker on walls is one of those stains that makes you want to scream. But before you panic, grab a bottle of rubbing alcohol from your medicine cabinet. It's surprisingly effective at dissolving the ink without damaging most painted surfaces.
Rubbing alcohol works because it breaks down the solvents in permanent marker ink. The key is to blot—never rub—to avoid smearing the stain further. With a little patience, the ink will transfer from the wall to your cotton ball.
What You'll Need
Grab a bottle of 70% or 90% isopropyl alcohol, a few cotton balls or a soft cloth, and a damp towel for the final wipe. That's it. No fancy tools required.
Step-by-step Instructions
Dab a cotton ball with rubbing alcohol so it's damp but not dripping. Blot the marker stain gently, starting from the outer edge and working inward. Replace the cotton ball as it picks up ink.
Keep blotting until no more color transfers. Finally, wipe the area with a damp cloth to remove any residue.
Tips For Best Results
Test the alcohol on an inconspicuous spot first, especially if your wall is painted with flat or matte finish. For stubborn stains, let the alcohol sit on the mark for 30 seconds before blotting. Work in a well-ventilated room and keep alcohol away from open flames.
5. Magic Eraser (DIY Version) for Scuffs
Scuff marks from shoes or furniture can make walls look neglected. You don't need a brand-name product to erase them. A simple melamine sponge works wonders and costs pennies when you buy generic.
Cut a melamine sponge into small pieces so you can use a fresh bit for each mark. Dampen it slightly—too much water can drip and damage paint. Gently rub the scuff in a circular motion.
The sponge acts like fine sandpaper, lifting the mark without heavy scrubbing. Use light pressure; pressing hard can remove paint. Test on an inconspicuous spot first, especially on flat or matte finishes.
Why Melamine Works
Melamine foam has a micro‑structure that's harder than many stains but softer than paint. When dampened, it creates a mild abrasive action that lifts scuffs without scratching. It's the same material used in commercial erasers, just without the brand markup.
Avoiding Paint Damage
Always use a light touch. If you see color coming off on the sponge, stop immediately. For delicate or old paint, try a damp microfiber cloth first.
Melamine can dull glossy finishes, so reserve it for semi‑gloss or satin paints.
Reusing Vs. Fresh Pieces
Once the sponge gets dirty, flip to a clean side or cut a new piece. Reusing a grimy sponge can redeposit dirt. A single sponge can handle dozens of scuffs if you keep it clean.
Let it dry between uses to prevent mold.
6. Baking Soda and Vinegar for Tough Stains
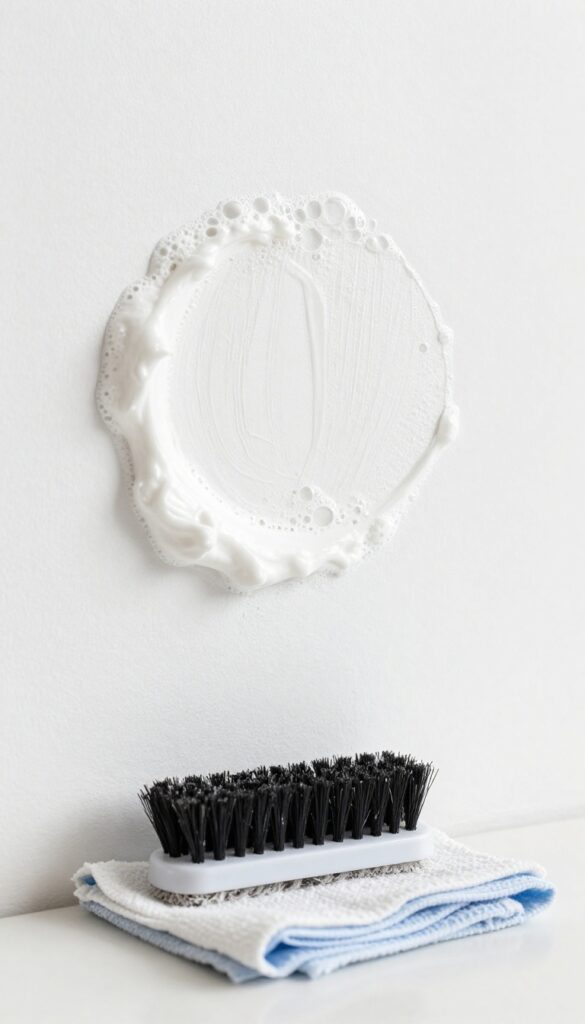
When a stain is really dug in, you need a combo that actually reacts. Baking soda and vinegar create a fizzy action that helps lift gunk from the surface without you having to scrub your arm off. This duo is especially good for old, set-in marks that have been ignored for too long.
Mix equal parts baking soda and white vinegar to form a thick paste. The mixture will bubble immediately, so work fast. Apply it directly to the stain and let it sit for a few minutes while the fizz does its job.
Then scrub gently with a soft brush or sponge, and wipe away with a damp cloth. For extra stubborn spots, let the paste dry completely before wiping—it'll pull the stain out as it dries.
Why This Combo Works
The chemical reaction between the acidic vinegar and alkaline baking soda creates carbon dioxide bubbles. These bubbles help loosen dirt and grease from the wall's surface, making it easier to wipe away without damaging the paint.
Best Stains To Target
This paste is ideal for grease splatters, dried food spills, and mystery marks that won't budge with regular cleaners. It's also great for lightening nicotine stains on walls, though you may need a few applications.
Tips For Best Results
Test on an inconspicuous area first, especially on flat or matte paint. Don't scrub too hard—let the fizz do the work. Rinse thoroughly with water afterward to remove any residue, or you'll be left with a chalky film.
7. Lemon Juice for Water Stains
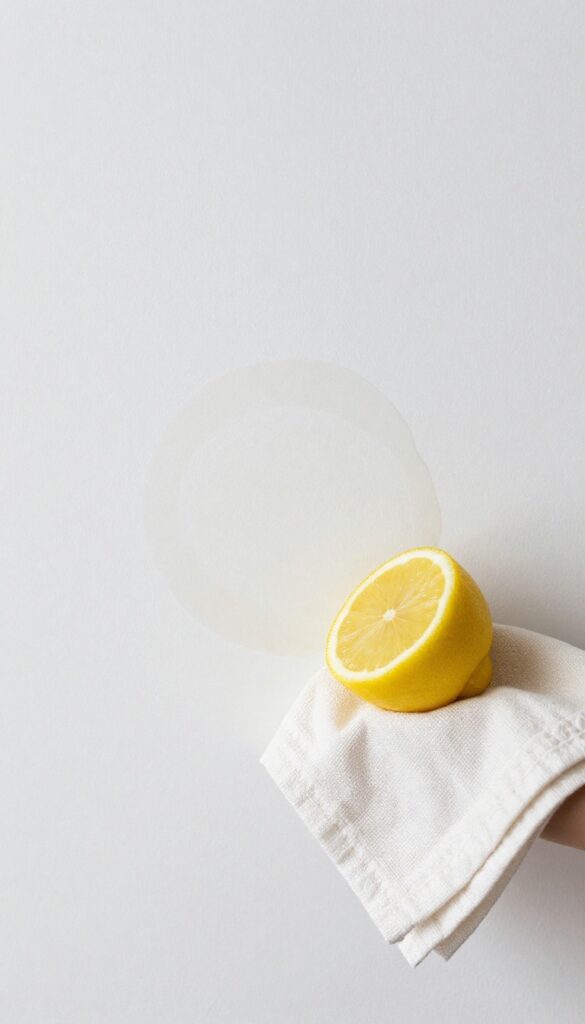
Water stains on walls can be surprisingly stubborn. They often leave behind cloudy white rings or drips from hard water minerals that bond to the paint. Lemon juice cuts through those deposits naturally without damaging the finish.
Fresh lemon juice is a mild acid that dissolves calcium and lime buildup. It's gentle enough for most painted walls but effective enough to lift set-in water marks. This method works best on flat, satin, or semi-gloss paints.
How It Works
The citric acid in lemon juice breaks down the alkaline mineral deposits left by hard water. Unlike vinegar, lemon juice has a pleasant scent and won't leave a strong odor behind. It's also safe for most wall surfaces when used sparingly.
Step-by-step Application
Squeeze fresh lemon juice onto a clean, soft cloth—don't soak the wall. Dab the stain gently, letting the juice sit for 10 minutes. Then wipe with a damp cloth and pat dry.
For tougher stains, repeat or let the juice sit a few minutes longer.
Tips For Best Results
Test on an inconspicuous area first, especially if your walls are painted with matte or flat finish. Avoid using on unsealed surfaces or wallpaper. If residue remains, rinse with a bit of water and dry thoroughly to prevent new marks.
8. Hydrogen Peroxide for Mold Spots
Mold spots on walls aren't just unsightly—they can be a health concern, especially in damp areas like bathrooms or basements. Before you reach for bleach, try hydrogen peroxide, a gentler yet effective alternative that kills mold without releasing harsh fumes. It's also safe for most painted surfaces when used correctly.
Hydrogen peroxide works by oxidizing the mold, breaking down its cell structure and lifting the stain from the wall. Unlike bleach, it doesn't produce toxic gases and is less likely to damage paint or wallpaper. For best results, use 3% hydrogen peroxide straight from the bottle—no dilution needed.
Always test on a hidden area first, as it may lighten some fabrics or delicate paints.
How To Apply
Pour a small amount of 3% hydrogen peroxide into a spray bottle. Spray directly onto the mold spots, saturating them thoroughly. Let it sit for 10 minutes to allow the peroxide to penetrate and kill the mold.
After the wait, scrub the area gently with a soft-bristled brush or sponge. Wipe away any residue with a damp cloth, then dry the wall with a clean towel.
When To Use This Method
This recipe is ideal for small to medium mold patches on painted walls, tile grout, or sealed wood. It's particularly effective in bathrooms, kitchens, or basements where moisture lingers. For large or recurring mold issues, you may need to address the underlying moisture problem first.
Hydrogen peroxide is also great for mold on fabric or upholstery, but test a hidden spot first.
Safety Tips
Wear gloves to protect your skin, as hydrogen peroxide can cause mild irritation. Keep the area ventilated by opening a window or turning on a fan. Do not mix hydrogen peroxide with vinegar or bleach, as this can create harmful fumes.
Store the bottle in a cool, dark place to maintain its effectiveness.
9. Cornstarch for Grease Splatters
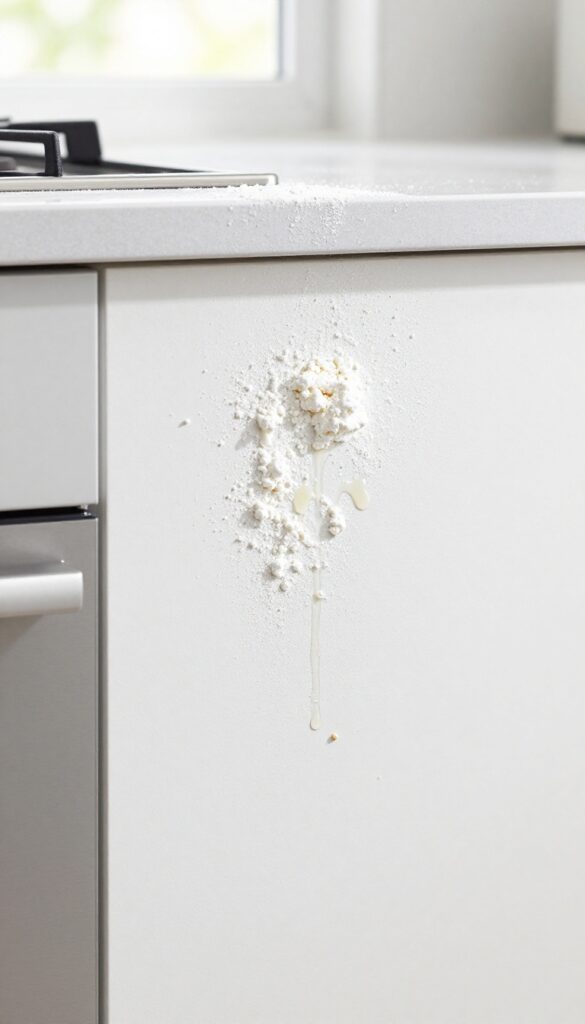
Grease splatters on your kitchen walls can feel impossible to remove without smearing them further. But if you catch them fresh, cornstarch is a surprisingly effective first responder. It works like a dry sponge, pulling the oil out of the paint before it sets in.
Cornstarch is a gentle, non-abrasive powder that absorbs grease on contact. It's perfect for painted walls because it won't damage the finish or leave streaks. The key is to act quickly while the splatter is still fresh and sticky.
How It Works
Cornstarch is a fine, absorbent powder that soaks up oil and grease. When you sprinkle it on a fresh splatter, it pulls the grease out of the wall surface. After a short wait, you simply brush it away, taking the grease with it.
Step-by-step Instructions
First, blot any excess grease with a paper towel without rubbing. Then, generously sprinkle cornstarch over the splatter until it's completely covered. Let it sit for 15 minutes to absorb the oil.
After that, use a soft brush or a dry cloth to gently brush off the cornstarch. Finally, wipe the area with a damp cloth to remove any remaining residue.
When To Use This Method
This technique works best on fresh grease splatters from cooking, like bacon or frying oil. It's ideal for painted kitchen walls, but avoid using it on unfinished wood or porous surfaces where the powder might get trapped. For older, dried-on grease, try a different method first.
10. Toothpaste for Small Scratches
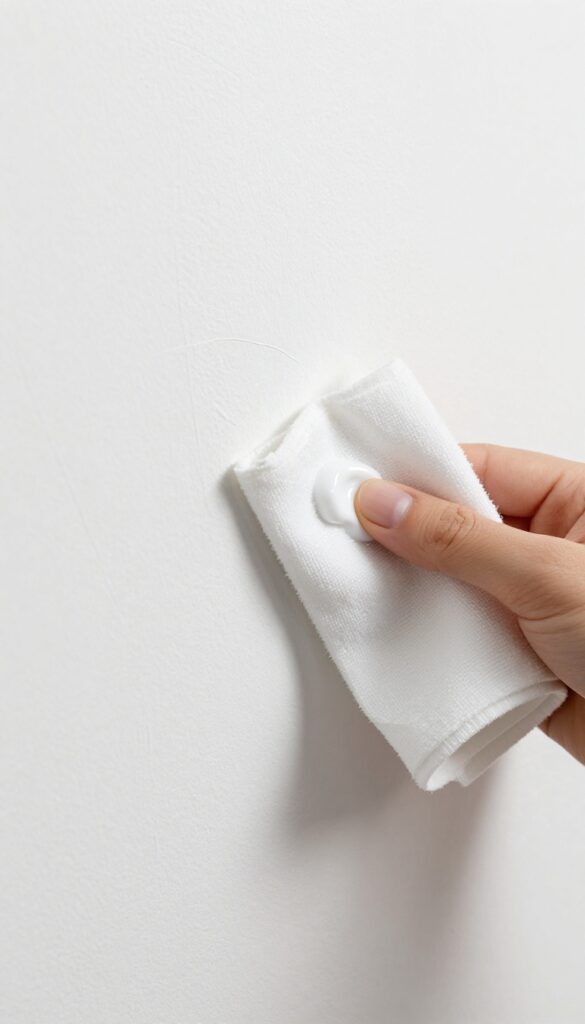
Not every wall mark is a stain—some are actually tiny scratches from moving furniture, pet claws, or accidental bumps. Before you break out the spackle and paint, try a surprising fix: toothpaste. The mild abrasives in non-gel white toothpaste can buff out shallow scratches on painted walls, leaving them smooth and less noticeable.
Toothpaste works because it contains fine polishing agents that gently wear down the raised edges of a scratch, blending it with the surrounding paint. It's a quick, no-mess trick that costs pennies and takes just a minute.
Choosing The Right Toothpaste
Stick with plain white toothpaste—gel varieties or those with whitening crystals can be too harsh or leave a residue. Avoid any with stripes or colors, as they might transfer pigment to your wall. A basic paste like original Crest or Colgate works perfectly.
How To Apply
Squeeze a pea-sized amount onto a soft, clean cloth (microfiber is ideal). Gently rub the toothpaste into the scratch using small circular motions for about 30 seconds. The friction generates heat and allows the abrasives to smooth the scratch.
Wipe away the excess with a damp cloth and let the area dry.
When It Works Best
This method is most effective on flat or eggshell paint finishes and on light-colored walls. Deep gouges that expose bare drywall or dark scratches on dark paint may still need touch-up paint, but for everyday scuffs and hairline scratches, toothpaste is a surprisingly effective first line of defense.
11. Dryer Sheet for Crayon and Scuffs
Crayon on the wall is a classic childhood moment—until you realize it's not coming off with soap and water. Scuffs from shoes or furniture can be just as stubborn. Before you reach for the paint can, grab a used dryer sheet from the laundry room.
The combination of static electricity and mild abrasives in the sheet works like a gentle eraser, lifting waxy crayon and rubber scuffs without damaging the paint finish.
This trick is almost too easy. Simply take a used dryer sheet (the softer, the better) and rub it directly over the mark in a circular motion. You'll see the color transfer onto the sheet within seconds.
For tougher crayon marks, you can also place the dryer sheet over the stain and gently press with a warm iron on low heat—the heat melts the wax, and the sheet absorbs it. No chemicals, no scrubbing, no fuss.
Why It Works
Dryer sheets are coated with fabric softener that contains surfactants and mild abrasive particles. When rubbed against a surface, they create friction that loosens waxy or rubbery residues. The static charge also helps attract and lift particles away from the wall, so they stick to the sheet instead of smearing further.
Best For Painted Walls And Baseboards
This method is safe for most painted walls, especially satin or semi-gloss finishes. Avoid using it on flat or matte paint, as the friction might leave a shiny spot. Always test on an inconspicuous area first.
For baseboards, the dryer sheet works wonders on scuff marks from shoes or vacuum cleaners.
What To Do If The Mark Persists
If a crayon mark is especially thick and the dryer sheet alone doesn't lift it all, try dabbing a bit of white vinegar on the sheet first. The acidity helps break down the wax. Then rub gently.
For scuffs, you can also use a magic eraser afterward, but the dryer sheet usually does the job without needing extra tools.
12. Baking Soda and Coconut Oil for Sticky Residue
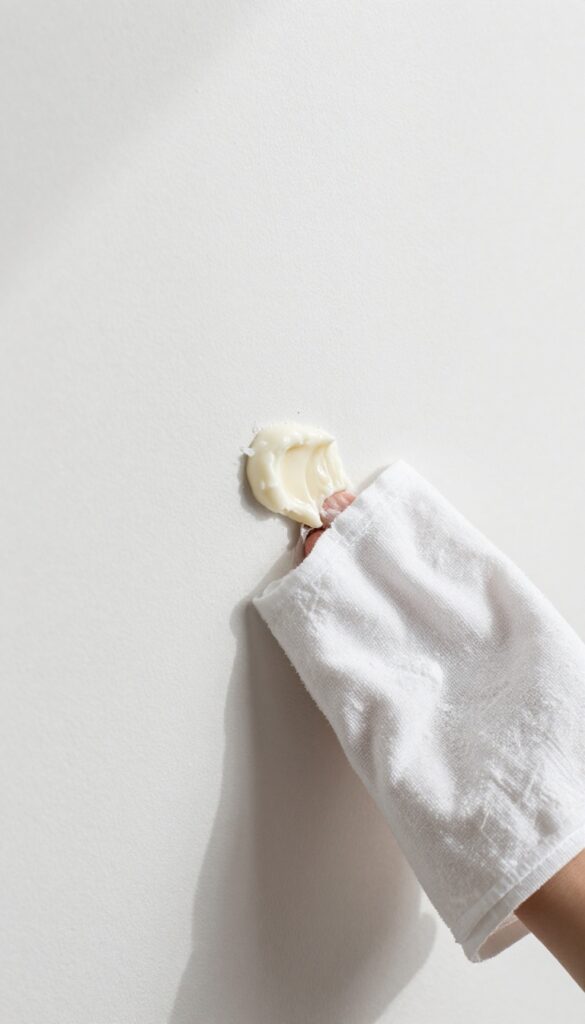
Sticky residue from tape, stickers, or labels can be a real pain to remove without damaging your wall paint. The combination of baking soda and coconut oil creates a gentle yet effective paste that breaks down the adhesive without harsh scrubbing. This recipe is especially useful for renters who want to remove sticky marks without leaving behind any damage or chemical smell.
To make this paste, simply mix equal parts baking soda and coconut oil until it forms a spreadable consistency. Apply a thin layer directly onto the sticky residue and let it sit for about 5 minutes. The oil penetrates the adhesive while the baking soda provides gentle abrasion.
Then, using a soft cloth or sponge, rub the area in a circular motion. The residue should lift off easily. Wipe away any excess paste with a damp cloth, and your wall will be clean and residue-free.
Why This Combo Works
Coconut oil is a natural solvent that dissolves sticky adhesives, while baking soda acts as a mild abrasive to help lift the gunk without scratching paint. Together, they form a non-toxic paste that’s safe for most wall surfaces, including painted drywall and wallpaper.
Best Uses And Tips
This paste works wonders on sticker residue, tape marks, and even stubborn glue from price tags. For best results, test on an inconspicuous area first. If the residue is old or thick, let the paste sit for up to 10 minutes.
Avoid using on unsealed wood or delicate surfaces like silk wallpaper.
13. Club Soda for Ink Stains
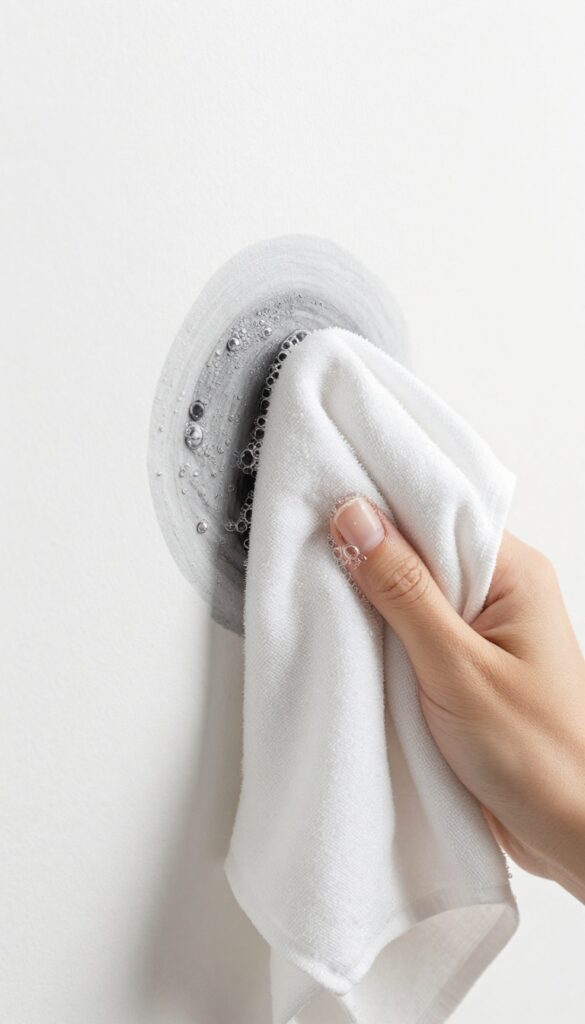
Ink stains on walls can feel permanent, especially if they've had time to set. But before you reach for harsh solvents, try a simple bottle of club soda. The carbonation and mild acidity work together to loosen ink particles without damaging paint.
Club soda is a surprisingly effective cleaner for fresh or dried ink marks. Its bubbles help lift the stain from the wall fibers, while the slight acidity breaks down the ink's binding agents. This method works best on flat or matte paint, but test on an inconspicuous area first.
How It Works
The carbon dioxide in club soda creates tiny bubbles that penetrate the ink stain and push it away from the wall surface. The mild acidity (from carbonic acid) helps dissolve ink compounds, making them easier to blot away. Unlike rubbing alcohol, club soda is gentle on paint and won't cause fading or peeling.
Step-by-step Application
Start by blotting the stain with a dry cloth to remove any excess ink. Pour club soda directly onto a clean white cloth—not onto the wall—and dab the stain gently. Work from the outside in to prevent spreading.
Continue blotting until the stain lightens, then rinse the area with a damp cloth and pat dry.
Tips For Tough Stains
For stubborn ink marks, let the club soda sit on the stain for a minute before blotting. You can also make a paste by mixing club soda with a small amount of baking soda for extra scrubbing power. Always use a white cloth to avoid transferring dye from colored fabrics.
FAQ
Will these solutions damage my wall paint?
Most are safe for latex and semi-gloss paints, but always test on a hidden area first. Avoid abrasive scrubbing on flat or matte finishes.
Can I use these on wallpaper?
Be cautious. Test on a small, inconspicuous spot. Avoid excessive moisture, which can loosen wallpaper adhesive.
How do I remove crayon from textured walls?
Use a soft-bristled toothbrush with the baking soda paste. Gently scrub the texture to lift the crayon without damaging the surface.
What if the stain doesn't come out?
For persistent stains, try a stronger solution like rubbing alcohol or hydrogen peroxide. If still stubborn, consider repainting the area.
Are these solutions safe for kids and pets?
Yes, most use natural ingredients like vinegar and baking soda. Keep cleaning areas well-ventilated and store solutions out of reach.
Conclusion
Your walls don't have to show the wear and tear of daily life. With these 13 simple recipes, you can tackle almost any mark using ingredients already in your pantry. Start with the gentlest solution and work your way up for tougher stains.
A little patience and the right mixture can make your walls look fresh again. So next time you spot a mystery smudge, you'll know exactly what to do.


