
You pull back the curtains expecting a flood of sunlight, but instead you're greeted by smudges, streaks, and a hazy film. Dirty windows don't just block the view—they dim the entire room.
The good news is that achieving crystal-clear glass doesn't require professional help or expensive products. With the right approach, you can transform your windows and let the sunshine pour in.
These 15 steps break down the process into manageable tasks, from prepping your tools to perfecting that final polish. Each step targets a common problem, ensuring you get spotless results every time.
1. Gather the Right Tools and Supplies
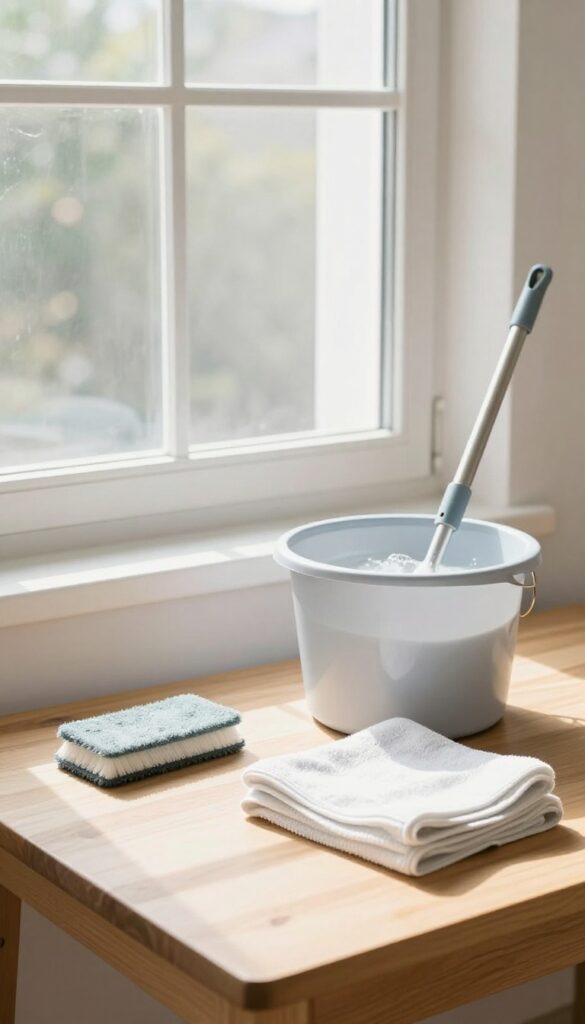
Before you even think about spraying or wiping, take a moment to assemble everything you'll need. Nothing slows down a cleaning session like hunting for a missing rag or realizing you're out of soap. Having your tools within arm's reach keeps the momentum going and makes the whole process feel effortless.
The right tools make all the difference between a streak-free shine and a frustrating mess. Start with a good squeegee—it's the secret weapon for professional-looking results. Pair it with a scrubber or sponge for applying soapy water.
Microfiber cloths are your best friend for detailing edges and corners, as they trap dirt without leaving lint behind. A bucket, mild dish soap, and warm water complete your basic kit. Avoid paper towels and old t-shirts; they often leave fibers and smears that defeat the purpose.
Why Microfiber Matters
Microfiber cloths are engineered to pick up dust and grime rather than push it around. Their split fibers create a static charge that attracts dirt like a magnet. Plus, they're reusable—just toss them in the wash after each use.
For windows, use a fresh, dry microfiber for buffing after squeegeeing to catch any leftover moisture.
The Squeegee Technique
A squeegee with a rubber blade is non-negotiable for large panes. Before you start, make sure the blade is clean and free of nicks—any imperfection will leave streaks. Use a smooth, continuous motion from top to bottom, wiping the blade with a cloth after each pass.
This removes excess water and soap film for a crystal-clear finish.
Soap Solution Secrets
Mild dish soap is ideal because it cuts grease without leaving a residue. Add just a few drops to warm water—too much soap creates a film that's hard to rinse. For extra stubborn grime, a splash of white vinegar or rubbing alcohol can help dissolve mineral deposits and speed up drying.
2. Remove Window Screens and Dust Them
Window screens are silent culprits when it comes to dirty glass. They trap dust, pollen, and even tiny bugs that can easily blow onto your freshly cleaned windows. Before you start washing the glass, take a few minutes to deal with the screens—it makes a huge difference.
Removing screens is usually straightforward: most have clips or tabs that release them from the frame. Once they're out, give them a good dusting. A soft brush attachment on a vacuum works great for loosening embedded dirt.
For a deeper clean, rinse them with a garden hose or wipe them down with a damp cloth. Let them dry completely before putting them back—otherwise, you risk trapping moisture against the glass.
Why Screens Matter
Screens act like filters, catching airborne particles before they reach your glass. If you clean the windows but leave the screens dusty, the next breeze will deposit that grime right back onto your panes. It's a simple step that saves you from repeating work.
How To Remove Screens Safely
Most screens lift up and out, or slide sideways. Look for spring-loaded pins or clips at the top or sides. Gently pull the screen toward you and tilt it out.
Be careful not to bend the frame. If it's stuck, check for paint or debris along the edges.
Cleaning Methods That Work
For light dust, a vacuum with a brush attachment is quick and effective. For heavier buildup, take the screen outside and spray it with a hose. You can also use a mild soap solution and a soft sponge.
Rinse thoroughly and shake off excess water. Let screens dry flat or lean them against a wall in a shaded area.
3. Dust and Vacuum the Window Frame and Sill
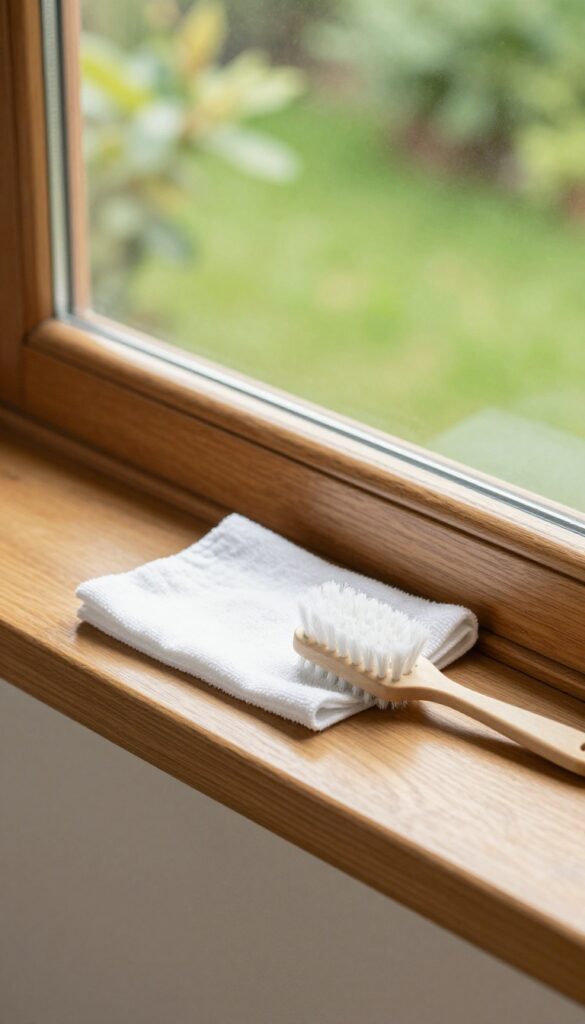
It's tempting to grab a spray bottle and start wiping, but that's a mistake if the frame and sill are covered in loose dirt. That debris will mix with your cleaning solution and turn into mud, making everything messier. A quick dry clean-up first saves you time and prevents streaks.
Before any liquid touches the window, remove every bit of dust, cobwebs, and grit from the frame, sill, and tracks. Use a vacuum with a soft brush attachment to suck up loose particles without scratching surfaces. For tight corners and crevices, a microfiber duster or an old paintbrush works wonders.
Pay special attention to the bottom track where grime tends to accumulate. This simple step ensures your wet cleaning step is effective and leaves no muddy residue behind.
Why Dry Cleaning Comes First
Wet cleaning pushes dirt around if you haven't removed the loose stuff first. Dust and cobwebs turn into a paste that smears across the glass and frame. Taking two minutes to vacuum or dust prevents that and makes the whole job easier.
Best Tools For The Job
A vacuum with a brush attachment is ideal for sucking up fine dust from sills and tracks. For a quick alternative, a microfiber duster traps particles without flinging them into the air. An old toothbrush or small paintbrush helps dislodge stubborn grime in corners.
Don't Forget The Tracks
Window tracks are magnets for dirt, dead bugs, and grit. Use the crevice tool on your vacuum to clean them out, then follow up with a damp cloth if needed. Clean tracks also help your window slide smoothly.
4. Prepare a Simple Cleaning Solution
You don't need a cabinet full of specialized cleaners to get sparkling windows. A basic homemade solution works just as well—if not better—than store-bought options. It's gentler on your windows and much easier on your wallet.
Mix a few drops of dish soap with warm water in a bucket. Avoid harsh chemicals that can damage window seals or leave residue. For extra shine, add a splash of white vinegar.
Why Simple Works Best
Commercial glass cleaners often contain ammonia or alcohol, which can strip protective coatings on modern windows. A mild dish soap solution cleans effectively without harming seals or frames. Plus, it's less likely to cause streaks.
The Vinegar Boost
Adding about a quarter cup of white vinegar per gallon of water helps cut through grease and mineral deposits. The vinegar evaporates quickly, leaving a streak-free finish. Your windows will look clear without any chemical haze.
Water Temperature Matters
Use warm—not hot—water. Hot water can cause the solution to dry too fast, leaving streaks. Warm water helps the soap dissolve and lifts dirt more easily.
Test the temperature with your wrist; it should feel comfortable, not scalding.
5. Wet the Window with the Scrubber
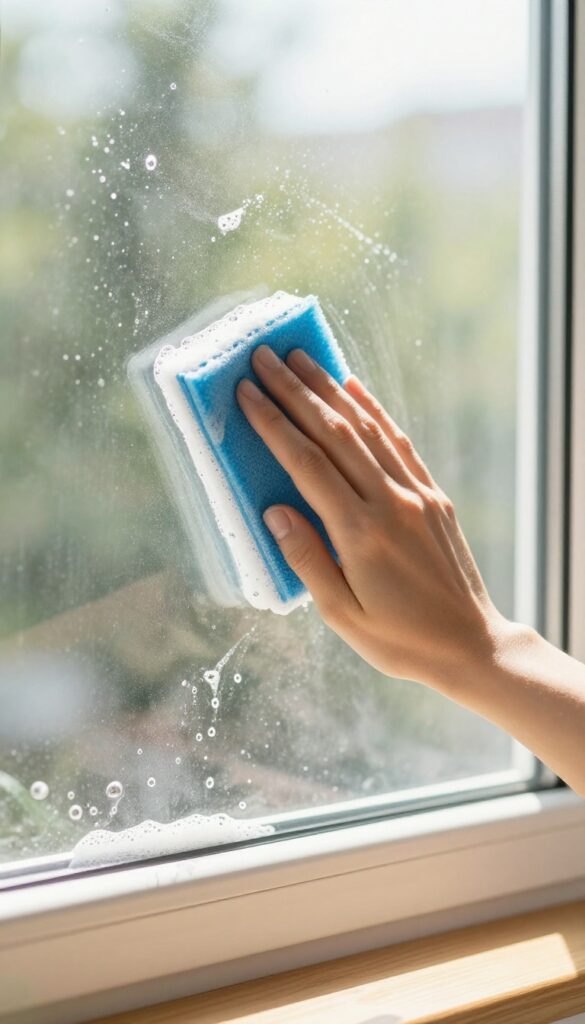
Once your cleaning solution is ready, it's time to get the glass wet. This step is all about applying the liquid evenly so the dirt has nowhere to hide. A good soak makes the next pass with the squeegee much more effective.
Dip your scrubber into the bucket and let it absorb the solution. Start at the top corner of the window and work horizontally across, then move down in overlapping strokes. This top-to-bottom method prevents drips from running over already-cleaned areas.
Make sure the entire glass surface is thoroughly soaked—any dry spots will leave dirt behind. Pay extra attention to edges and corners where grime tends to build up. A well-wetted window means the scrubber's fibers can loosen stubborn particles without you having to scrub hard.
Why Top To Bottom Matters
Starting at the top ensures that any excess solution drips down onto unwashed glass, not onto a clean section. This simple habit saves you from having to re-clean streaks later. It also helps you keep a rhythm, making the job feel less tedious.
Don't Skimp On The Soak
A light mist won't cut it. The glass needs to be visibly wet so the solution can break down oils and dirt. If the scrubber starts to dry out, dip it again.
You want a consistent layer of moisture across the whole pane.
Watch For Drips On The Frame
As you work, excess liquid may run down onto the window sill or frame. That's okay as long as you wipe it up afterward. If your frame is wood, be extra careful to avoid prolonged soaking—use a slightly drier scrubber or wipe drips immediately.
6. Scrub Away Dirt and Grime
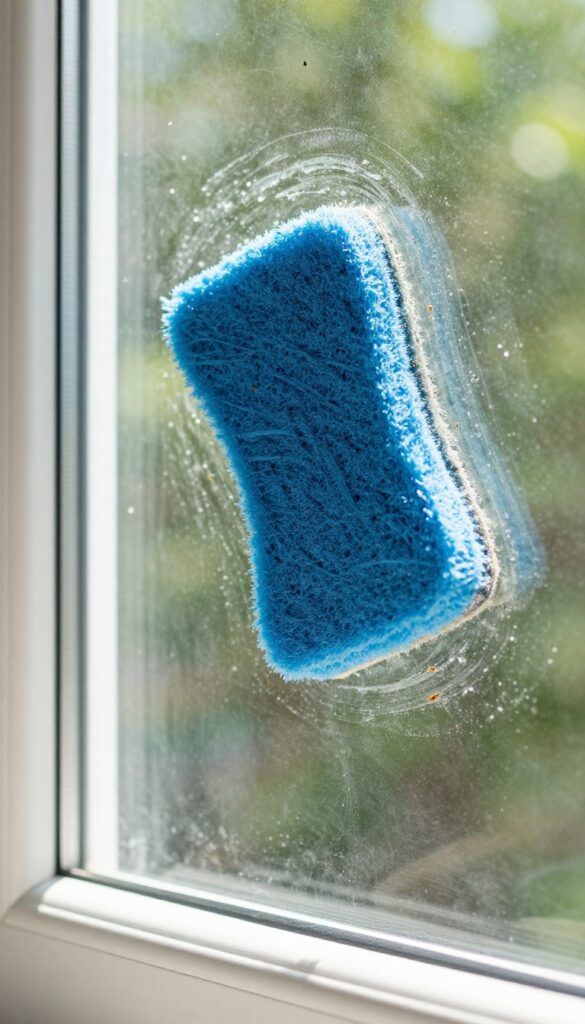
Now that your window is wet with cleaning solution, it's time to tackle the stubborn stuff. Bird droppings, dried bugs, and sticky tree sap won't budge with just a spray and wipe. A dedicated scrub step ensures every last bit of grime is lifted before you move on to polishing.
Working in small sections, use a soft scrubber or sponge in a circular motion to break up stuck-on debris. Focus on corners and edges where dirt tends to hide. Rinse the scrubber frequently in clean water to avoid redepositing grime.
This step is especially important for windows that face busy streets or are near trees.
Choose The Right Scrubber
A soft-bristled brush or a non-scratch scrub pad works best. Avoid abrasive sponges that can scratch glass. For extra-tough spots, a plastic scraper can be used carefully at a 45-degree angle.
Work In Small Sections
Divide the window into quadrants and scrub one area at a time. This prevents the cleaning solution from drying before you can rinse it off, which can leave streaks.
Don't Forget The Edges
Dirt loves to collect in the corners and along the frame. Use the tip of your scrubber or an old toothbrush to reach those tight spots. A clean edge makes the whole window look better.
7. Squeegee from Top to Bottom in a Single Motion
This is where technique really matters. A good squeegee stroke prevents streaks and saves you from going back over the same spot. The key is to start at the top corner and pull down in one smooth, continuous motion without stopping.
Once you get the hang of it, you'll finish each pane in seconds.
Start at the top corner and pull the squeegee down in a straight line. Wipe the blade clean with a cloth after each pass. Overlap strokes slightly to avoid streaks.
Start At The Top Corner
Position the squeegee blade flush against the glass at the top corner. Keep it straight and apply even pressure as you pull downward. Don't stop mid-stroke—a single motion prevents lines from forming.
Wipe The Blade After Every Pass
After each stroke, use a lint-free cloth to wipe the rubber blade clean. This removes excess water and dirt that would otherwise redeposit on the glass. A dry blade gives a streak-free finish every time.
Overlap Strokes Slightly
When you start the next stroke, overlap the previous one by about an inch. This ensures no missed spots and blends the strokes together seamlessly. The result is a uniformly clean pane with no visible lines.
8. Wipe the Squeegee Blade After Each Stroke
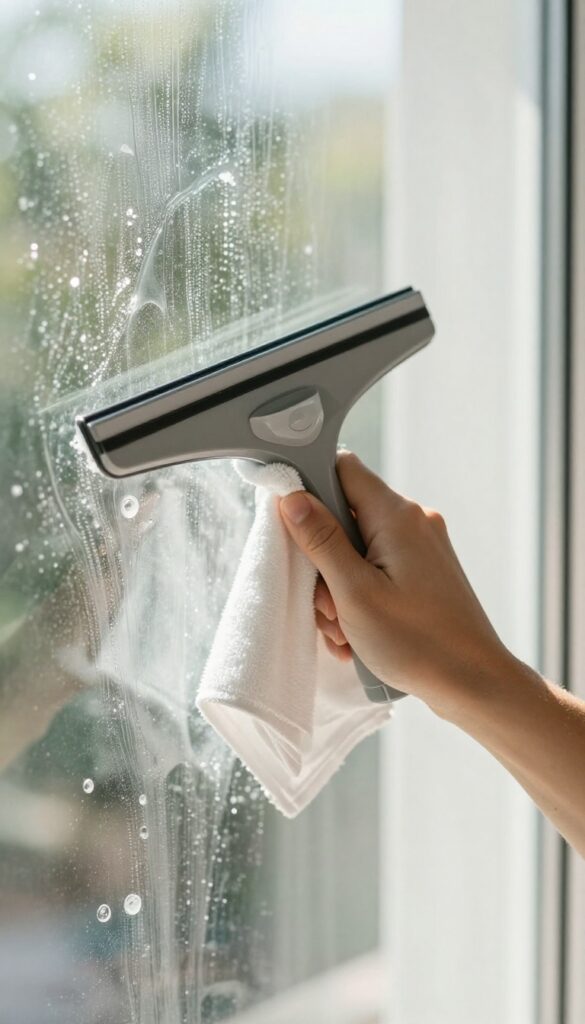
Ever notice how even the best squeegee can leave streaks if you don't clean the blade? It's a small oversight that ruins all your hard work. A dirty blade drags leftover water, soap, and grime back across the glass, creating those annoying lines that catch the light.
The fix is simple: keep a dry microfiber cloth in your free hand and wipe the rubber edge after every single pass. This one habit separates pro-level results from average ones.
Why The Blade Gets Dirty Fast
As you pull the squeegee down, it collects dissolved dirt, cleaning solution residue, and tiny particles from the glass. If you don't clean it off, the next stroke smears that grime right back onto the window. The bottom of the blade is especially prone to buildup because it contacts the dirtiest part of the glass.
A quick wipe after each stroke prevents this transfer.
The Right Cloth For The Job
Not every cloth works well for blade wiping. Microfiber is ideal because it absorbs moisture without linting. Keep a dedicated dry microfiber cloth in your pocket or on your tool belt.
Avoid paper towels, which can leave fibers on the blade, and never use a wet cloth—it defeats the purpose. The cloth should be dry and clean so it picks up residue without adding moisture.
How To Wipe Without Slowing Down
You don't need to stop completely. After each downward stroke, quickly run the cloth along the rubber edge from end to end. This takes about two seconds.
If you're using a channel squeegee, you can also wipe the channel at the same time. With practice, it becomes an automatic motion that keeps your rhythm fast and your windows streak-free.
9. Dry the Edges and Corners with a Microfiber Cloth
You've squeegeed the main pane and it looks great, but those edges and corners are still holding onto water. Left alone, that moisture will drip down and create new streaks or hard water spots. A quick pass with a dry microfiber cloth is all it takes to finish the job cleanly.
Even the best squeegee technique leaves a thin film of water along the edges and in the corners. Gravity pulls that water down, causing drips that can ruin your streak-free work. By dabbing these areas with a clean, dry microfiber cloth immediately after squeegeeing, you absorb the excess moisture before it has a chance to run.
This simple step ensures your windows stay spotless and dry faster, without unsightly marks.
Why Edges Collect Water
Squeegees are designed for flat surfaces, but the rubber blade can't conform perfectly to corners or the frame's edge. Water naturally pools there, especially if you're working on a humid day. The surface tension of the water holds it in place until gravity eventually pulls it down.
That's why you often see a drip line forming minutes after you think you're done.
Best Cloth For The Job
Microfiber is ideal because it's highly absorbent and lint-free. A standard terry cloth towel can leave behind tiny fibers that stick to the damp glass. Use a separate dry microfiber cloth—one that hasn't been used for cleaning solutions—to avoid transferring any residue.
Keep it folded into a small square so you can reach into corners precisely.
Technique Tips
Work from top to bottom, dabbing rather than wiping. Wiping can spread the water back onto the clean glass. Pay special attention to the bottom edge where the most water collects.
If you're cleaning multiple windows, have a few dry cloths on hand; once a cloth becomes damp, switch to a fresh one for best results.
10. Polish the Glass for a Streak-Free Finish

Even after a thorough cleaning, light streaks can dull your windows. These are often leftover residue from the cleaning solution or minerals in hard water. The fix is simple: a quick polish with the right material removes those streaks without damaging the glass.
This final step ensures your windows are truly clear and let in maximum sunlight.
Polishing is the cherry on top of window cleaning. It removes any remaining film and gives the glass a brilliant shine. The key is using the right tool—crumpled newspaper or a dry microfiber cloth—and a gentle touch.
Why Newspaper Works So Well
Newspaper has a slightly abrasive texture that buffs away residue without scratching. The ink also adds a bit of cleaning power. Just crumple a few pages into a ball and rub the glass in circular motions.
It's cheap, effective, and leaves no lint behind.
Using Microfiber Cloths
If you prefer a reusable option, a clean, dry microfiber cloth is perfect. It traps dust and absorbs moisture without leaving streaks. Use a fresh cloth for the final polish to avoid transferring dirt back onto the glass.
Technique For Best Results
Work in small sections, using firm but gentle pressure. Buff in circles, then follow with horizontal or vertical strokes to finish. Check your work by looking at the window from different angles—any remaining streaks will show up in the light.
11. Clean the Window Tracks and Channels
While you focus on the glass, the tracks and channels silently collect dust, mold, and grime. Over time, this buildup can make your windows harder to open and even cause musty odors. Giving them a proper scrub not only improves function but also prevents mildew from spreading to the glass.
Start With A Dry Brush
Before introducing any moisture, use a stiff brush or an old toothbrush to loosen all the loose dirt and debris from the tracks. Vacuum up the dry mess with a crevice tool attachment. This prevents turning the grime into mud when you add water.
Scrub With Soapy Water
Dip your brush in warm water mixed with a few drops of dish soap. Scrub the entire track, paying special attention to corners and the weep holes (the small openings that let water drain). These holes often get clogged, causing water to pool and damage the frame.
Rinse And Dry Thoroughly
Wipe away the soapy residue with a damp cloth, then follow up with a dry microfiber cloth. Use a cotton swab or a dry brush to reach into tight spots. Leave the window open for a few minutes to air dry completely.
This step is crucial to prevent mold and mildew from returning.
12. Reinstall Screens and Check for Spots

After all that effort cleaning the glass, the last thing you want is to put dirty screens back on. But even clean screens can hide tiny spots you missed. This step is your final quality check before you call the job done.
Pop Screens Back In Gently
Make sure your screens are completely dry before reinstalling. Wet screens can drip onto clean glass and leave new marks. Align the screen with the frame and press it into place evenly.
Avoid forcing it—if it sticks, check for debris in the track.
Inspect From Every Angle
Step outside and look at the window from different angles, especially when the sun is hitting it. Then go inside and do the same. Light reveals streaks and spots you might have missed.
If you see any, grab a microfiber cloth and buff them out right away.
Touch Up Immediately
Don't wait for the glass to dry completely. Spots are easier to remove when they're still fresh. Use a dry microfiber cloth for light smudges or a dab of cleaning solution on a cloth for stubborn marks.
A quick touch-up now saves you from redoing the whole pane.
13. Use a Vinegar Solution for Hard Water Stains
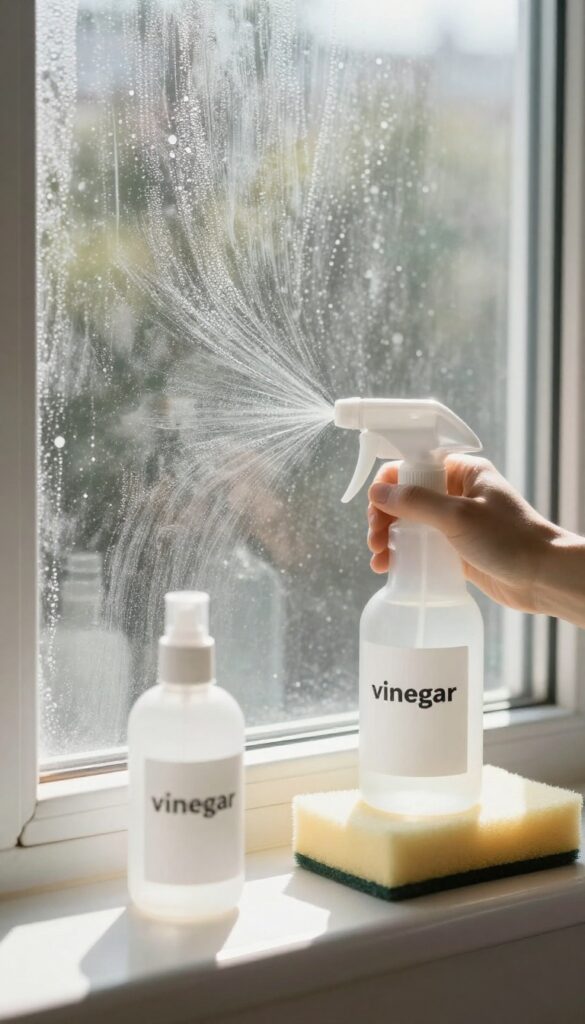
Hard water stains are those stubborn white spots that seem impossible to remove. They form when mineral-rich water dries on the glass, leaving behind calcium and magnesium deposits. Regular glass cleaners often fail against these stains, but a simple household ingredient can do the trick.
White vinegar is your best friend when it comes to hard water stains. Its mild acidity breaks down the mineral deposits without damaging the glass. For best results, use undiluted white vinegar directly on the spots.
Let it sit for a few minutes to dissolve the minerals, then scrub gently with a non-abrasive pad. Rinse thoroughly and squeegee as usual to reveal clear, spotless glass.
Why Vinegar Works
The acetic acid in vinegar reacts with the alkaline minerals in hard water stains, neutralizing and dissolving them. This makes it highly effective against calcium and lime deposits that ordinary cleaners can't touch.
Application Tips
Spray undiluted white vinegar directly onto the stained areas. Let it sit for 3–5 minutes—longer for heavy buildup. Use a soft sponge or microfiber cloth to gently scrub in circular motions.
Avoid steel wool or abrasive pads that can scratch the glass.
Rinsing And Drying
After scrubbing, rinse the window thoroughly with clean water to remove any vinegar residue. Follow up with a squeegee to prevent new water spots. For extra shine, wipe the glass with a dry microfiber cloth.
14. Clean Windows on a Cloudy Day
Direct sunlight might seem like the perfect companion for window cleaning, but it actually works against you. When the sun beats down, cleaning solution evaporates before you can squeegee it off, leaving stubborn streaks behind. A cloudy day gives you a much wider window of opportunity.
The slower drying time means you can work methodically without rushing, and the diffused light makes it easier to spot missed spots or smudges as you go.
Choosing the right weather is a simple but powerful trick for streak-free windows. On sunny days, the heat causes the cleaning solution to dry almost instantly, especially on south-facing windows. That leaves a film of residue that no amount of buffing can fully remove.
Overcast skies or working in the shade slows evaporation, so you have time to squeegee each pane clean. Plus, the soft light reveals streaks and smudges that would be hidden in harsh sunlight, letting you catch them immediately. If you can't wait for a cloudy day, clean early in the morning or late in the afternoon when the sun is low and less intense.
Why Sunlight Causes Streaks
Heat accelerates evaporation. When the sun hits wet glass, water and cleaning solution dry unevenly, leaving mineral deposits and soap residue behind. The faster it dries, the harder it is to remove those residues with a squeegee.
This is especially problematic on hot summer days or windows that face the sun for most of the day.
How To Work In The Shade
If you must clean on a sunny day, work on the shaded side of the house first. Rotate around the building as the shade moves. You can also use an umbrella or a temporary shade cloth to block direct light on the window you're cleaning.
Just make sure the glass itself is not in direct sun.
Best Times Of Day For Cleaning
Early morning and late afternoon offer cooler temperatures and softer light. Even if the sky is clear, the sun's angle is lower, so the glass heats up less. Check your local weather—a forecast with partial clouds or a light breeze is ideal.
Breeze helps drying but doesn't bake the solution onto the glass.
15. Establish a Regular Cleaning Schedule
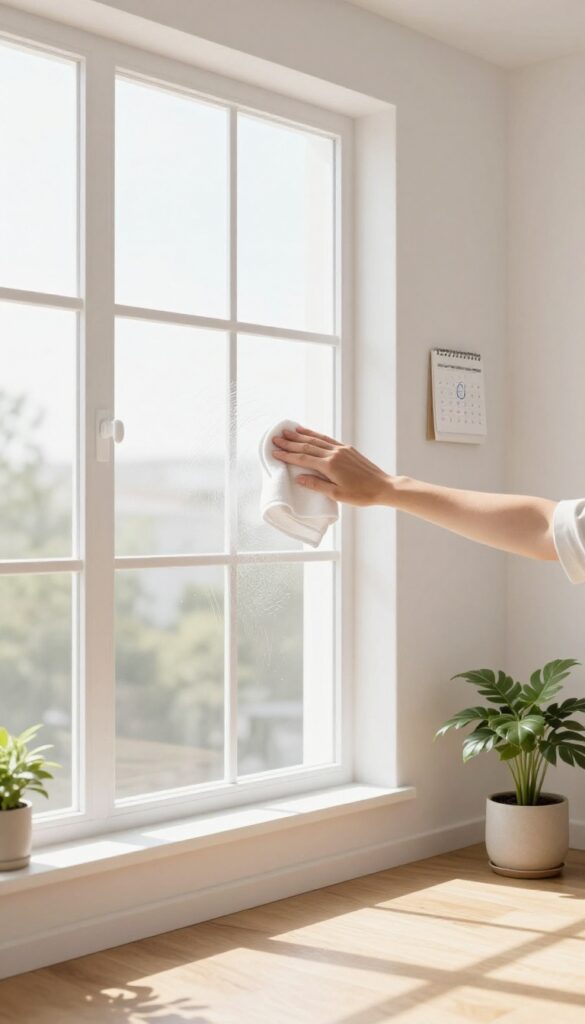
Consistency is the secret to windows that stay clear longer. Instead of waiting until grime is obvious, set a routine that keeps buildup manageable. A regular schedule also helps you spot small issues like cracked seals or loose frames before they become bigger problems.
A simple calendar reminder can make all the difference. For interior windows, a monthly wipe-down prevents dust and fingerprints from accumulating. Exterior windows face rain, pollen, and pollution, so a seasonal deep clean—spring, summer, fall, and winter—keeps them sparkling.
If you live in a dusty area or near construction, increase the frequency as needed.
Interior Windows: Monthly Maintenance
Mark the first weekend of each month for a quick interior clean. Use a microfiber cloth and a gentle glass cleaner to remove smudges and dust. This routine takes only 10–15 minutes per window and prevents heavy buildup that requires scrubbing.
Exterior Windows: Seasonal Deep Cleans
Plan your exterior cleaning around the changing seasons. Spring washes away winter grime and pollen, summer tackles dust and bugs, fall removes leaf residue, and winter preps for frost. Use a squeegee and a mild soap solution for best results.
Adjust For Your Environment
If you live near the ocean, salt spray may require more frequent cleaning. In urban areas, pollution can leave a film that needs monthly attention. Pay attention to how quickly your windows get dirty and tweak your schedule accordingly.
FAQ
What is the best homemade window cleaning solution?
A mixture of warm water, a few drops of mild dish soap, and a splash of white vinegar works well for most windows. Avoid using too much soap, as it can leave a film.
How do I prevent streaks when cleaning windows?
Use a squeegee with a clean blade, wipe the blade after each stroke, and work on a cloudy day to prevent the solution from drying too fast. Finish by buffing edges with a microfiber cloth.
Can I use newspaper to clean windows?
Yes, crumpled newspaper is effective for polishing glass and leaves no lint. However, it can be messy with ink, so many prefer microfiber cloths.
How often should I clean my windows?
Interior windows benefit from monthly cleaning, while exterior windows should be cleaned every season. Adjust frequency based on your environment, such as near busy roads or trees.
What is the best tool for cleaning window tracks?
A small stiff brush, like an old toothbrush, works well for scrubbing tracks. For stubborn grime, use a vacuum with a crevice tool first to remove loose debris.
Conclusion
Clean windows do more than improve your view—they brighten your entire home and lift your mood. By following these 15 steps, you can achieve professional-quality results without the cost or hassle. Remember to work methodically, use the right tools, and clean on a cloudy day for best results.
With a little practice, streak-free windows will become a regular part of your cleaning routine. Enjoy the extra sunlight and the fresh, open feel it brings to every room.


