
You're dusting the living room, and your eyes land on the baseboards. They're coated in a fine layer of dust, maybe some scuff marks. It's one of those chores that's easy to put off, but once you tackle it, the whole room feels cleaner.
Baseboards are like the frame of a room. When they're dirty, even the tidiest space looks neglected. The good news is you don't need harsh chemicals or hours of scrubbing to keep them spotless.
These 11 secrets will change how you approach baseboard cleaning. They're simple, effective, and designed to fit into your regular routine without adding extra stress.
1. Use a Dryer Sheet for Static-Free Dusting
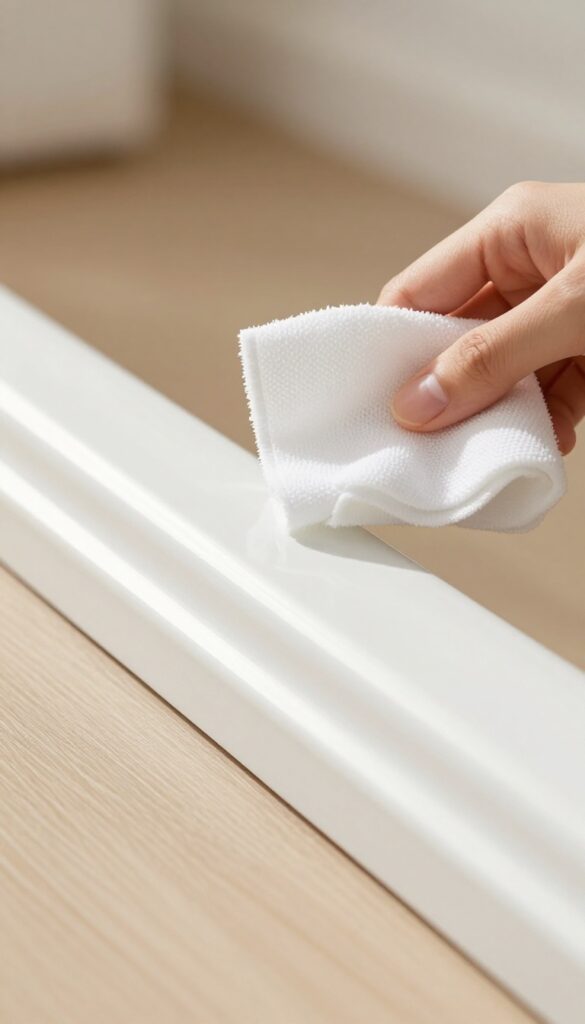
Dryer sheets aren't just for laundry. Run one along your baseboards, and the anti-static properties repel dust, keeping them cleaner longer. It's a quick, cheap trick that works wonders.
Why Static Matters
Dust clings to baseboards because of static electricity. Dryer sheets contain cationic surfactants that neutralize that charge, so dust doesn't stick as easily. This means less frequent dusting and a longer-lasting clean.
How To Do It Right
Grab a used dryer sheet from the laundry—it still has plenty of power. Wipe the baseboard from top to bottom, applying light pressure. For tough spots, use a new sheet.
No need for water or spray; the sheet works dry.
Bonus: Freshens The Room
The same dryer sheet leaves a light, pleasant scent behind. It's a subtle way to keep your baseboards smelling fresh without heavy perfumes. Just make sure to test on a hidden spot first to avoid any residue on painted surfaces.
2. The Sock Method: Slip on an Old Sock for Quick Wipes
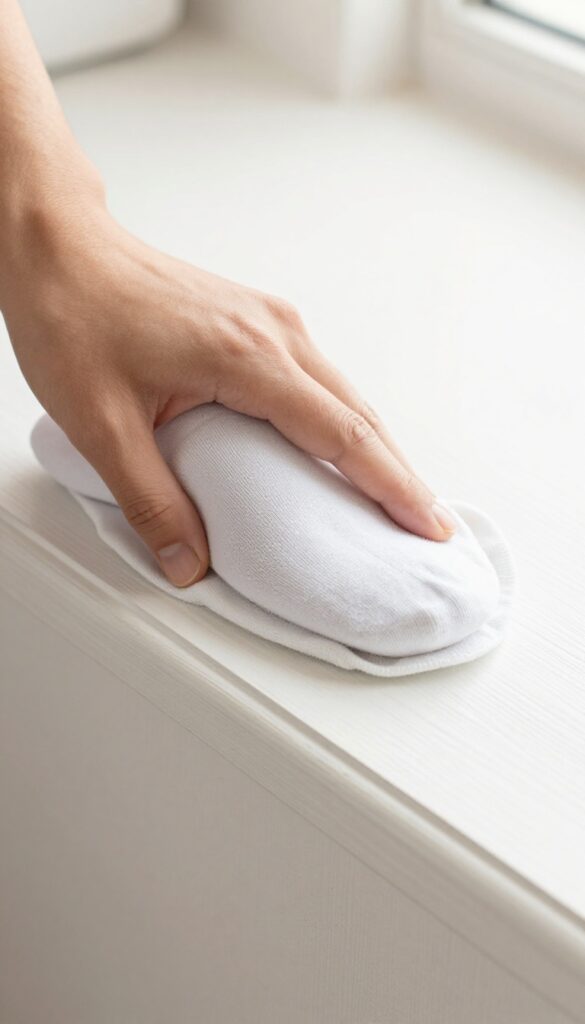
Sometimes the best cleaning tools are already in your drawer. The sock method is a favorite among cleaning pros because it's fast, free, and requires zero bending. Just grab an old clean sock, slip it over your hand or a broom head, give it a light spritz of cleaner, and wipe.
You'll hit every inch of the baseboard in seconds without straining your back or getting on your knees.
This trick works because the sock's fabric traps dust and grime rather than pushing it around. It conforms to the baseboard's shape, getting into grooves and corners that a cloth might miss. Plus, you can flip the sock inside out for a fresh side, or swap it for a clean one when it gets dirty.
No special equipment needed.
Why A Sock Works Better Than A Rag
A sock fits snugly over your hand, giving you better control and feel. Unlike a bulky rag, it doesn't bunch up or leave streaks. The fabric's texture grabs dust instead of just moving it.
And because it's already tubular, it slides easily along the baseboard without slipping off.
Sock Over Hand Vs. Over Broom
For quick touch-ups, wearing the sock like a glove is ideal—you can feel the pressure and angle. But if you have a long stretch of baseboard or want to avoid bending, slip the sock over the head of a broom or a Swiffer. This extends your reach so you can stand upright and wipe in one smooth motion.
Best Cleaners To Spray On The Sock
You don't need a heavy-duty cleaner. A mix of water and a few drops of dish soap works fine. Or use a diluted all-purpose spray.
Avoid soaking the sock—just a light mist is enough. Too much liquid can drip onto the floor or leave a residue on the baseboard.
3. Microfiber Mop Pads for Speed Cleaning
If you've been using a rag and bending down to wipe each baseboard by hand, it's time for an upgrade. A microfiber mop pad can cut your cleaning time in half while picking up more dust. This method works especially well for long stretches of baseboard in hallways or open-concept rooms.
Why Microfiber Works Better
Microfiber fibers are split to create tiny hooks that trap dust particles instead of pushing them around. A dry pad creates static electricity that pulls dust off the baseboard and holds it until you rinse the pad. This means less airborne dust settling back onto furniture.
How To Use It Right
Attach a clean dry microfiber pad to your Swiffer or flat mop. Start at one end of the room and glide the mop along the baseboard in one smooth motion. Overlap each pass slightly to avoid missing spots.
For scuff marks or sticky residue, swap to a slightly damp pad—just mist it with water or a gentle cleaner.
Maintenance Tips
Wash microfiber pads separately from cotton towels to avoid lint transfer. Use a liquid detergent without fabric softener, which clogs the fibers. Air-dry or tumble on low heat.
Replace pads when they start to lose their grip or leave streaks.
4. Paintbrush for Crevices and Corners
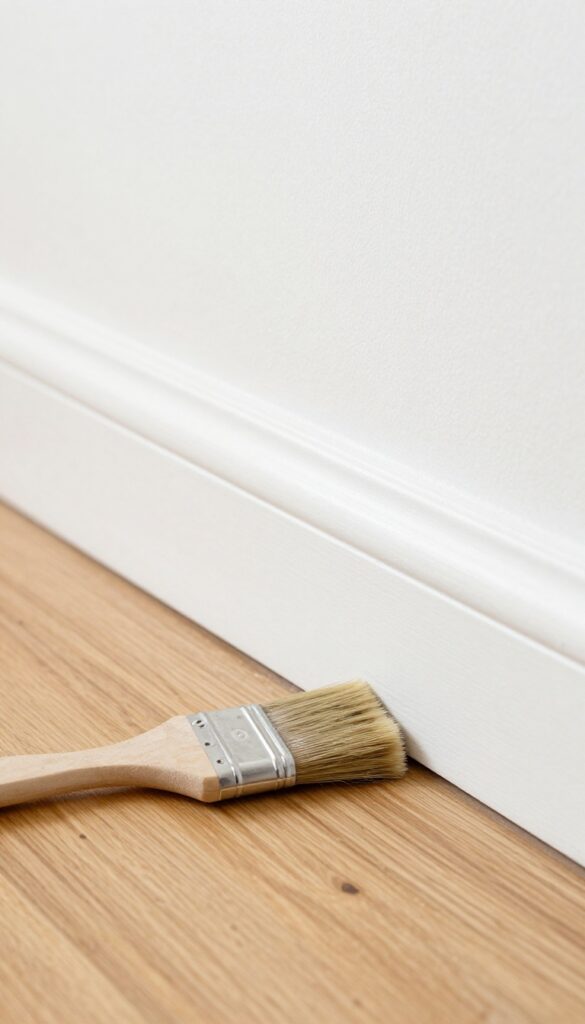
That narrow gap between the baseboard and the floor is a magnet for dust and grime. A cloth can't reach in there, and a vacuum attachment might be too bulky. But a small, dry paintbrush?
It slides right in and sweeps everything out. This trick is especially handy for textured walls or uneven floors where dust loves to hide.
Grab a 1- or 2-inch paintbrush with firm bristles—nothing fancy. Use it dry to whisk away dust from the top edge of the baseboard and the bottom seam. The bristles dig into corners without scratching the paint.
For stubborn cobwebs, a quick flick of the brush knocks them loose. Follow up with a microfiber cloth or vacuum to collect the debris.
Why A Paintbrush Works Best
Unlike a rag, a paintbrush gets into tight spaces without pushing dust deeper. The bristles trap particles and release them when you shake or tap the brush. It's also gentle on painted surfaces—no scratches or smears.
Plus, it's cheap and easy to clean.
How To Use It Effectively
Hold the brush like a pencil and run it along the crevice in one direction. Work in small sections so dust doesn't resettle. For corners, use the tip to dig out clumps.
After each pass, tap the brush against a trash can or wipe it on a rag. For extra stubborn dirt, lightly dampen the bristles—but don't soak them.
Pair It With A Vacuum
For the best results, use the brush to loosen dust, then immediately vacuum it up with a crevice tool. This prevents dust from floating back onto the baseboard. If you don't have a crevice tool, hold the vacuum hose close to where you're brushing.
It's a one-two punch that leaves baseboards spotless.
5. Magic Eraser for Scuff Marks
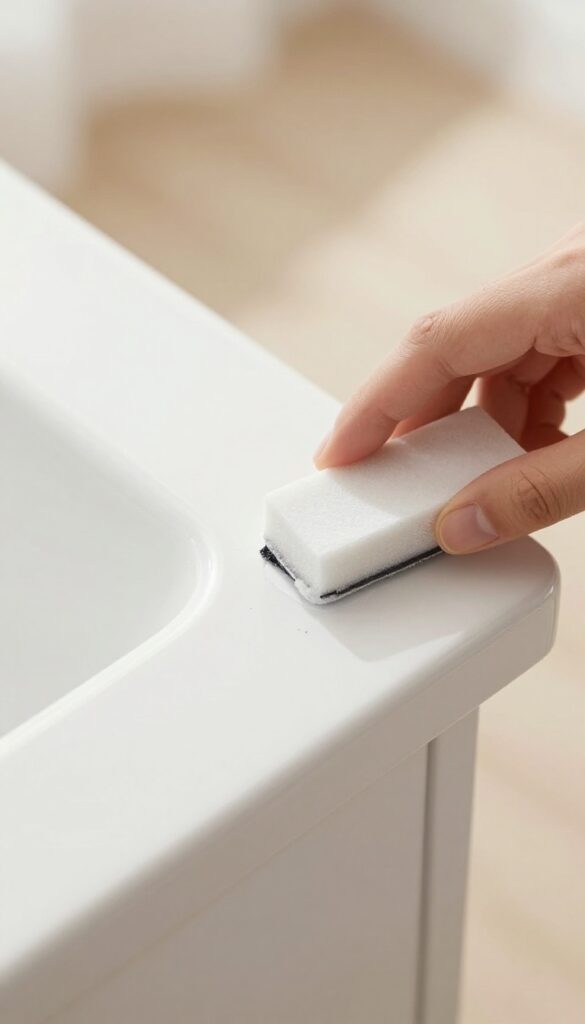
White scuffs on painted baseboards can make a clean room look messy. A magic eraser is a simple fix that requires almost no effort. Just dampen it, give the mark a few gentle swipes, and watch it disappear.
Always test on a hidden spot first to make sure it won't damage the paint.
Magic erasers work because they're made of melamine foam, which acts like fine sandpaper. When wet, it gently buffs away scuff marks without the need for harsh chemicals. This makes it a go-to tool for quick touch-ups on baseboards, especially in high-traffic areas like hallways and kids' rooms.
How To Use It Right
Dip the magic eraser in water and squeeze out excess so it's damp, not soaking. Gently rub the scuff mark in a back-and-forth motion. You'll see the mark lift away.
Rinse the eraser as needed to avoid spreading dirt. Once done, wipe the baseboard with a dry cloth to remove any residue.
When To Avoid It
Magic erasers can be abrasive, so avoid using them on glossy or delicate paint finishes. Stick to flat or satin paints. If you're unsure, test on a small, hidden area first.
Also, don't use them on unfinished wood or surfaces that scratch easily.
Alternative For Stubborn Marks
For scuffs that don't budge, try a paste of baking soda and water. Apply it with a soft cloth and rub gently. Rinse and dry.
This is a milder option that still works well on most painted baseboards.
6. Vacuum Attachment First, Then Wipe
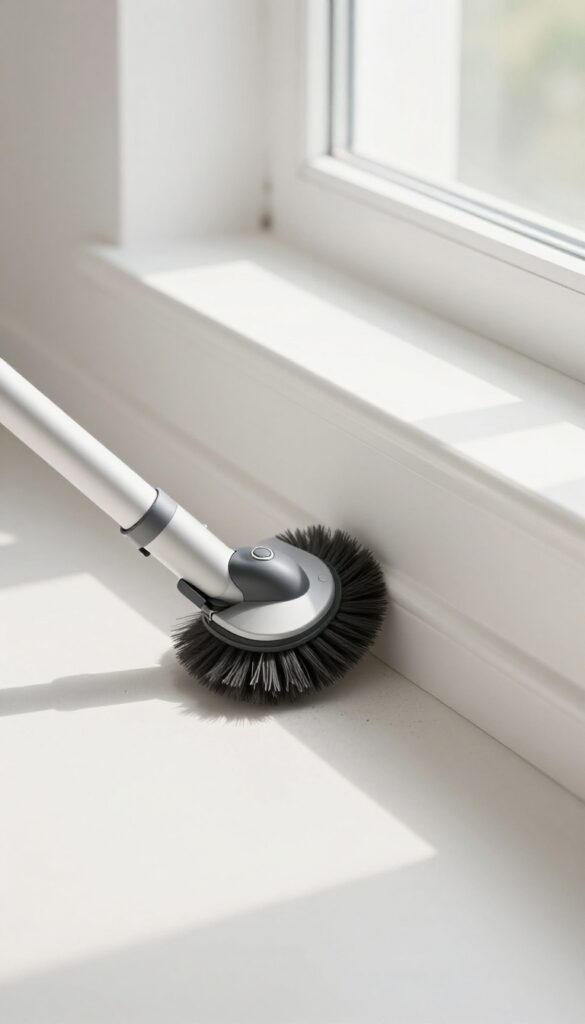
You might be tempted to grab a damp cloth and start scrubbing, but that often just pushes dust into a muddy smear. Instead, take 30 seconds to vacuum first. A quick pass with the right attachment removes loose particles, so your wipe step is faster and leaves no streaks.
Why Vacuuming First Matters
When you wipe a dusty baseboard with a wet cloth, the moisture turns fine dust into a paste that gets ground into the paint or wood. This can leave a dull film or even cause scratches over time. Vacuuming first lifts that dust away entirely, so your cloth only deals with stuck-on grime.
The Right Attachment Makes It Easy
Use the soft brush attachment on your vacuum. It’s gentle enough not to scratch paint but stiff enough to dislodge dust from crevices. Run it along the top edge of the baseboard, then down the face, and finally along the bottom where the floor meets the trim.
This takes less than a minute per room.
When To Skip The Vacuum
If your baseboards are only lightly dusty, a microfiber duster or dry Swiffer can work as a pre-wipe step. But for heavy buildup or after renovations, vacuuming is non-negotiable. It prevents the dreaded mud effect and saves you from having to rewash your cleaning cloths mid-task.
7. DIY Cleaning Solution with Vinegar and Dish Soap
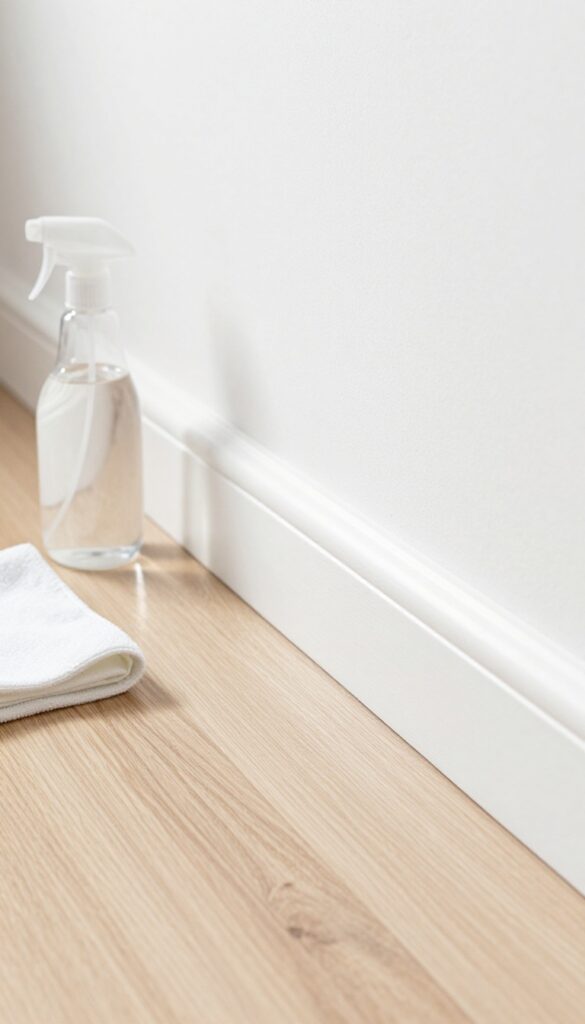
Why spend money on specialty cleaners when you can whip up something just as effective from pantry staples? A simple mix of vinegar, warm water, and dish soap cuts through greasy grime and dust without leaving a sticky film. It's gentle enough for most painted surfaces but tough on the dirt that builds up along baseboards.
This homemade solution is not only cheap but also reliable. The vinegar breaks down grime, the dish soap lifts dirt, and the water dilutes everything to a safe strength. You'll have sparkling baseboards without harsh fumes or residue.
The Perfect Ratio
Start with a 1: 1 ratio of white vinegar to warm water in a spray bottle. Add just one drop of liquid dish soap—too much soap leaves a film. Shake gently to combine.
For extra cleaning power on tough spots, you can increase the vinegar slightly.
How To Apply It
Spray the solution lightly onto a microfiber cloth, not directly onto the baseboard. This prevents drips and overspray onto walls or floors. Wipe along the baseboard, applying a bit of pressure on scuffs.
The cloth will trap dirt instead of pushing it around.
Safety Check For Your Paint
Test the solution on an inconspicuous spot first, especially if your baseboards have a matte or flat finish. Vinegar is mildly acidic, so it's safe for most latex and oil-based paints, but a quick test gives peace of mind. Avoid using it on unsealed wood or waxed surfaces.
8. Use a Squeegee for Pet Hair
Pet hair has a way of clinging to baseboards like static glue. You wipe, and it just moves around or sticks to your cloth. A rubber squeegee changes the game entirely.
One quick swipe, and the hair rolls into a clump you can pick up or vacuum. It works on smooth painted baseboards and even textured ones where dust likes to hide.
The rubber blade creates static that attracts hair and dust, pulling it off the surface instead of pushing it around. It's faster than a rag and doesn't leave lint behind. For best results, use a dry squeegee—no water or spray needed.
Start at the top of the baseboard and pull down in one smooth motion. The debris collects at the bottom edge, ready to be swept or vacuumed.
Why Rubber Works Best
Rubber has natural grip and static properties. It lifts pet hair from the surface without scratching paint. Unlike microfiber cloths that get clogged, a squeegee sheds hair easily with a quick wipe of your hand.
It's also gentle on textured baseboards where bristles might snag.
Technique For Textured Baseboards
Textured baseboards trap dust in their grooves. A squeegee's flexible blade conforms to the texture, pulling debris from the crevices. Use a slightly angled pull to follow the grain.
For stubborn spots, a second pass in the opposite direction catches anything left behind.
Pair With A Vacuum For Best Results
After squeegeeing, a quick pass with a vacuum hose attachment picks up the clumped hair and dust. This two-step method leaves baseboards nearly spotless. It's especially handy in homes with multiple pets, cutting cleaning time in half.
9. Apply a Thin Layer of Wax for Future Dust Repelling
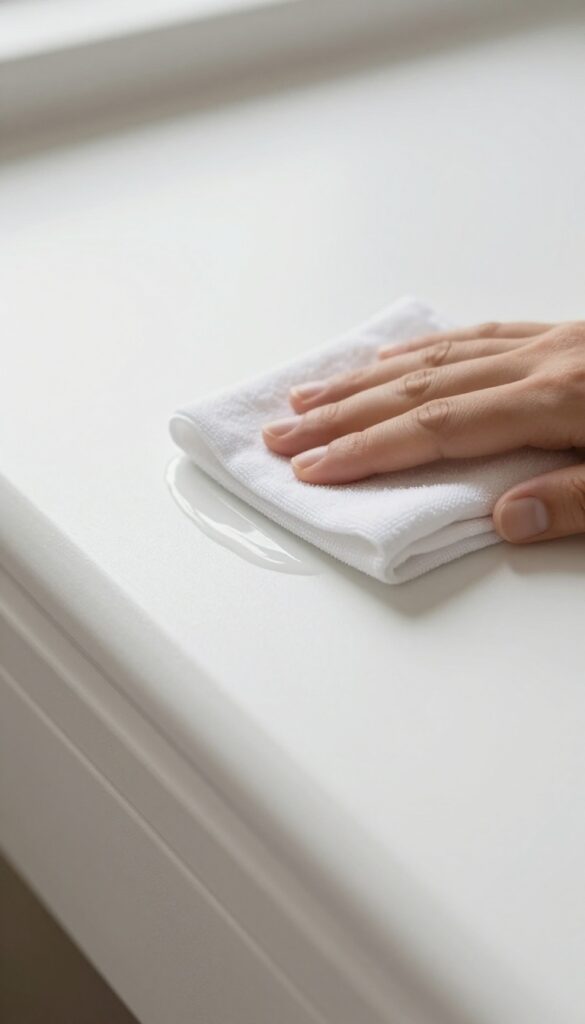
You've scrubbed your baseboards until they shine, but dust seems to settle back within days. There's a simple trick to make that dust slide right off: a thin layer of wax. Car wax or furniture polish creates a slick barrier that dust can't cling to, so your next cleaning is just a quick wipe.
After your baseboards are clean and dry, apply a tiny amount of car wax or furniture polish with a soft cloth. Use a circular motion to buff it in, then let it dry to a haze. Buff again with a clean cloth for a smooth finish.
This coating fills microscopic pores in the paint, making the surface non-stick for dust. You'll notice dust collects more slowly and wipes away without smearing.
Choose The Right Wax
Not all waxes are equal. Car wax (like Turtle Wax) works great because it's designed to repel dirt and water. Furniture polish with beeswax or silicone is also effective.
Avoid spray waxes with strong solvents that might damage paint. Test on an inconspicuous spot first, especially on matte or colored baseboards.
Application Tips For Best Results
Less is more. A pea-sized amount per foot of baseboard is plenty. Apply with a microfiber cloth, working in small sections.
Let the wax dry for about 10 minutes until it looks hazy, then buff with a clean cloth. For high-touch areas like door frames, reapply every few months. In low-traffic rooms, once a year is enough.
Why This Beats Dusting Alone
Without wax, dust clings due to static and microscopic roughness. Wax neutralizes static and creates a slick surface. When you dust next, a dry microfiber cloth will glide over the baseboard, lifting dust without pushing it around.
This method also protects paint from scuffs and makes cleaning less frequent.
10. Clean Baseboards Before Mopping the Floor
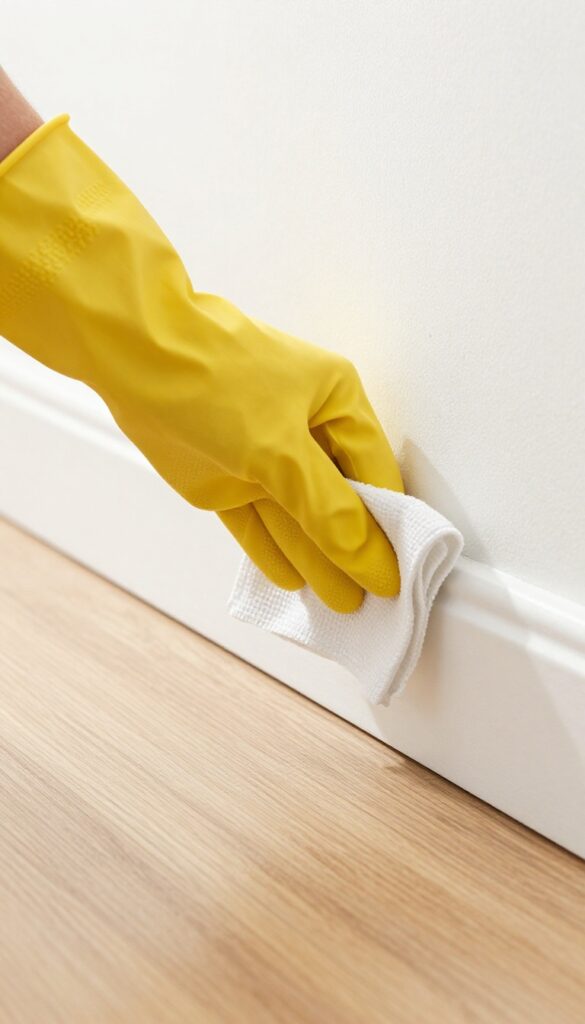
It's a small change in order, but it makes a big difference. If you mop first, any dust or debris knocked off the baseboards will land on your clean floor, forcing you to mop again. By cleaning baseboards first, you let the mess fall where it will be cleaned up anyway.
This simple sequencing trick saves time and effort. When you dust or wipe baseboards before mopping, any particles that fall are swept up with the floor cleaning. No double work, no frustration.
It's a classic efficiency hack that professional cleaners swear by.
Why Order Matters
Think of it as working from top to bottom. Baseboards are higher than the floor, so gravity pulls debris downward. If you clean the floor first, you'll have to re-clean it after tackling the baseboards.
Doing baseboards first means you only clean the floor once.
How To Make It A Habit
Pair baseboard dusting with your regular mopping routine. Keep a microfiber cloth or a dusting wand handy near your cleaning supplies. When you're about to mop, take two minutes to run the cloth along the baseboards first.
It becomes second nature quickly.
The Best Tools For The Job
A microfiber cloth or a long-handled duster works well. For stuck-on grime, use a slightly damp cloth or a cleaning wipe. Avoid soaking the baseboard, as water can damage paint or wood.
A quick dry dust or gentle wipe is all you need before mopping.
11. Schedule a Monthly Baseboard Blitz
Let's be honest—baseboards are easy to ignore until they're visibly grimy. The trick to keeping them crisp without a big ordeal is consistency. A short, regular session prevents dust and scuffs from building up into a daunting task.
Why 10 Minutes Works
Ten minutes is long enough to hit every baseboard in an average room but short enough that it won't feel like a chore. Set a timer and move quickly with a microfiber cloth or a dusting wand. You'll be surprised how much you can cover when you're focused.
What To Do During The Blitz
Start by dry dusting all baseboards in the room—top edge, face, and bottom corner. Then spot-clean any visible marks with a damp cloth or a magic eraser. Finish by vacuuming the floor along the baseboard line to catch fallen debris.
That's it.
Make It A Habit
Attach the blitz to an existing routine, like the first Saturday of the month or right after you change your air filter. Use a phone reminder or a calendar alert. After a couple of months, it'll become automatic, and your baseboards will stay noticeably cleaner.
FAQ
How often should I clean my baseboards?
Aim for a light dusting every two weeks and a deeper clean once a month. High-traffic areas or homes with pets may need more frequent attention.
Can I use bleach on baseboards?
Bleach is too harsh for most painted baseboards and can cause discoloration. Stick to mild cleaners like vinegar and water or a gentle all-purpose cleaner.
What's the best way to clean textured baseboards?
Use a soft-bristled brush or a dry paintbrush to loosen dust from the texture, then vacuum with a brush attachment. Follow up with a damp microfiber cloth.
How do I remove yellowing from white baseboards?
Mix baking soda with water to form a paste, apply it to the yellowed areas, let it sit for a few minutes, then scrub gently with a soft cloth. Rinse with water.
Is it necessary to clean behind baseboards?
Yes, dust and debris can accumulate in the gap between the baseboard and the wall. Use a vacuum crevice tool or a thin duster to reach that area periodically.
Conclusion
Baseboards don't have to be a forgotten corner of your cleaning routine. With just a few of these secrets in your arsenal, you can keep them crisp and dust-free without breaking a sweat. Start with the methods that fit your schedule and home—whether that's a quick dry dust or a deeper scrub.
Your reward is a room that looks finished, polished, and genuinely clean from floor to ceiling. Pick one tip, try it this weekend, and see how much of a difference those little details make.


