
Your favorite armchair or dining chair goes through a lot. Coffee spills, pet hair, dust, and everyday grime gradually turn that once-vibrant fabric dull and dingy.
But you don't need to replace it or call a pro to bring back its charm. A few simple cleaning techniques can make a world of difference.
Whether you're dealing with a mysterious stain or just want to refresh the whole piece, these 15 upholstery chair cleaning tips will help you restore your fabric seats to a cleaner, fresher state. Let's dive into practical methods that actually work, using supplies you probably already have at home.
1. Vacuum Thoroughly Before You Do Anything Else
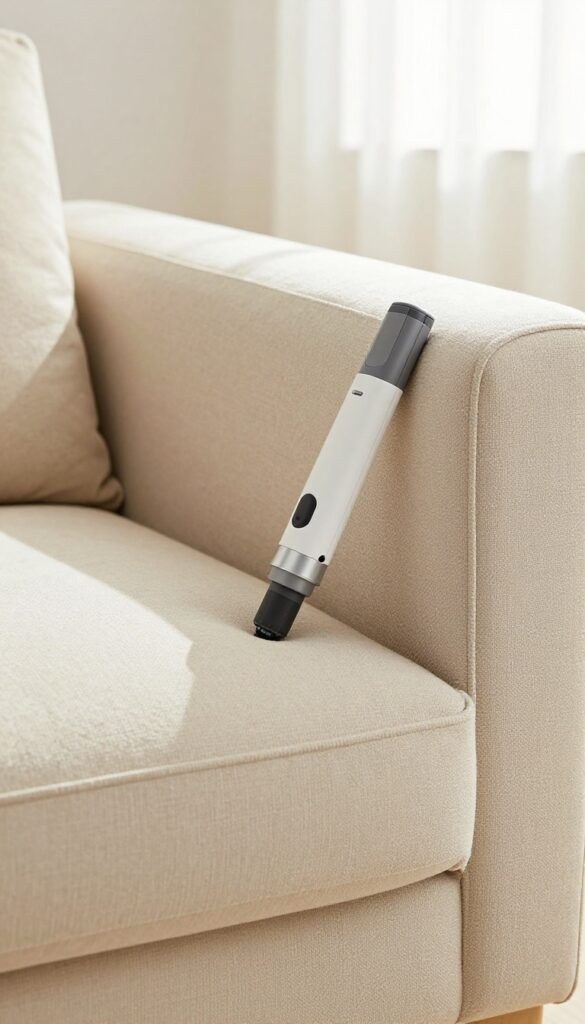
Before you reach for any spray, brush, or cloth, grab your vacuum. Dry soil and loose debris are the biggest enemies of clean upholstery. If you start wet cleaning without removing them first, you're basically grinding dirt deeper into the fabric fibers.
Use the upholstery attachment with the brush nozzle. Go over the entire chair surface in slow, overlapping passes. Don't forget the crevices, seams, and the space under the cushions where crumbs and dust bunnies hide.
Flip the cushions and vacuum both sides. This simple step lifts out grit that would otherwise turn into mud when you add moisture. It also helps your cleaning solution work more effectively because it can reach the fibers instead of sitting on top of a layer of dirt.
Choose The Right Attachment
Most vacuums come with a wide upholstery brush and a crevice tool. Use the brush for flat surfaces and the crevice tool for tight spots like along the piping, under the seat cushion, and around the armrests. If your vacuum has a turbo brush, use it carefully on durable fabrics only—it can snag delicate threads.
Work In A Pattern
Start at the top of the chair and work your way down. This way, any dust that falls gets picked up later. Vacuum the backrest, then the seat, then the arms, and finally the base.
Do each section twice—once in one direction, once in the opposite direction—to lift embedded particles.
Don't Forget The Cushions
Remove all removable cushions and vacuum both sides. Pay extra attention to the seam where the cushion meets the welt cord. This area collects pet hair and lint.
Also vacuum the exposed decking (the fabric under the cushions) and the inner frame where dust settles.
2. Check the Cleaning Code on Your Chair's Tag
That little tag tucked under your chair cushion isn't just for show—it's your fabric's instruction manual. Ignoring it can turn a simple cleaning session into a disaster. Before you mix any solution or grab a sponge, flip the chair over and locate the tag.
It usually has a code like W, S, WS, or X. Each letter tells you exactly which cleaning method is safe. Follow the code, and you'll avoid shrinking, fading, or damaging the fabric.
What Each Code Means
W stands for water-based cleaners only. Use mild soap and water or a water-based upholstery shampoo. S means solvent-based cleaners only.
That includes dry-cleaning solvents or alcohol-based foams. Never use water on an S code—it can cause rings or shrinkage. WS means you can use either water or solvent cleaners, but always test a hidden area first.
X means vacuum only. Never apply any liquid or solvent to an X code fabric. Call a professional for deep cleaning.
How To Find The Tag If It's Missing
Sometimes the tag gets cut off or fades. Check under the seat cushion, along the zipper, or on the dust cover beneath the chair. If you can't find it, take a photo of the fabric and search online for the manufacturer's care instructions.
When in doubt, test any cleaner on a hidden spot like the back of the chair or under an armrest. Wait for it to dry and check for color change or texture damage.
Common Mistakes To Avoid
Don't assume all fabrics are the same. Using water on an S code can ruin the backing or cause permanent water stains. Also, avoid scrubbing vigorously even if the code allows water—blot instead.
Never mix water and solvent cleaners on a WS fabric; stick to one method per cleaning session. And never use bleach or harsh chemicals unless the tag explicitly says so.
3. Blot Spills Immediately – Don't Rub
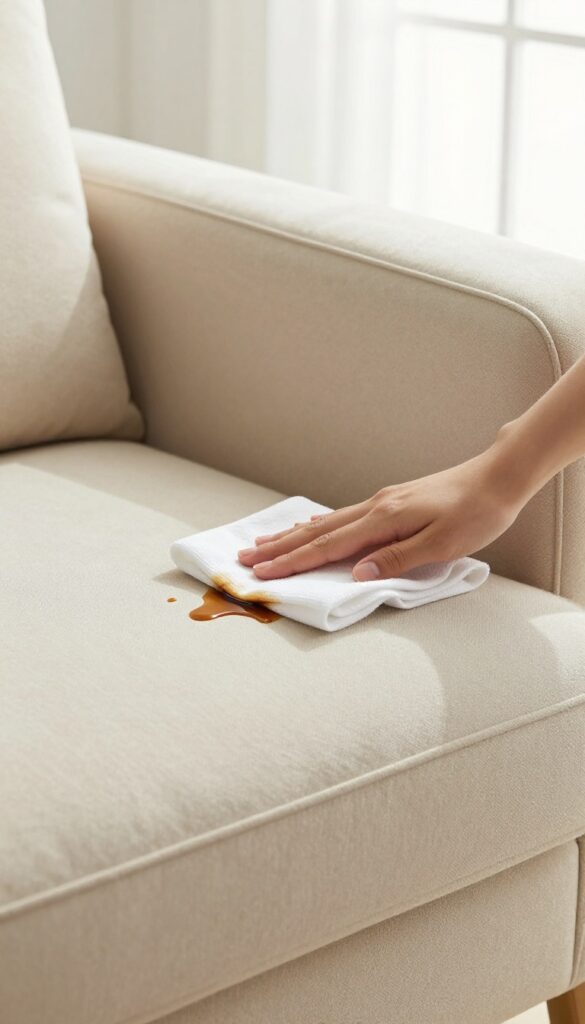
Spills are inevitable, but how you react in the first few seconds determines whether that coffee splash becomes a permanent stain. The golden rule is simple: blot, don't rub. Rubbing grinds the liquid deep into the fabric fibers, spreading the stain and making it nearly impossible to remove.
A gentle blotting motion lifts the spill from the surface before it sets in.
Why Rubbing Makes It Worse
When you rub a spill, you're essentially pushing the liquid deeper into the cushion. The friction also loosens fabric fibers, creating a fuzzy or worn spot. Worse, rubbing can spread the stain outward, turning a small dot into a large, ugly patch.
Always resist the urge to scrub.
The Right Blotting Technique
Grab a clean, dry cloth or paper towel. Start at the outer edge of the spill and work your way inward. This prevents the stain from spreading.
Press down gently and lift—don't wipe. Repeat with a fresh section of cloth until no more liquid transfers. For sticky spills, follow up with a damp cloth and blot again.
What To Do If The Stain Remains
If blotting alone doesn't remove the stain, mix a tiny drop of mild dish soap with water. Dip a cloth in the solution, wring it out well, and blot the spot. Then blot with a dry cloth to absorb the soapy water.
Always test on a hidden area first to avoid discoloration.
4. Use a DIY Baking Soda Deodorizer for Musty Smells
Musty odors can linger in upholstery from moisture, pets, or just time. Before you reach for a chemical spray, grab a box of baking soda from your pantry. It's a natural deodorizer that lifts smells without leaving behind any residue or strong fragrance.
Baking soda works by absorbing the odor molecules trapped in the fabric fibers. It's gentle enough for most upholstery types and costs just pennies per use. For best results, test a small hidden area first to make sure the fabric doesn't react.
How To Apply It Right
Sprinkle a generous, even layer of baking soda over the entire fabric surface. Use your hands or a soft brush to work it into the fibers gently. Let it sit for at least 15-20 minutes—overnight if the smell is really stubborn.
Then vacuum thoroughly with the upholstery attachment.
Boost The Power With Essential Oils
If you want a light fresh scent, mix 10-15 drops of lavender or lemon essential oil into a cup of baking soda before sprinkling. Stir well to break up clumps, then apply as usual. The oil adds a pleasant aroma while the baking soda does the heavy lifting.
When To Skip This Method
Avoid baking soda on delicate fabrics like silk or velvet, as the powder can get trapped in the fibers and be hard to remove. Also, skip it if your upholstery has a waterproof coating—the powder won't penetrate and may just sit on top.
5. Tackle Grease Stains with Dish Soap and Warm Water
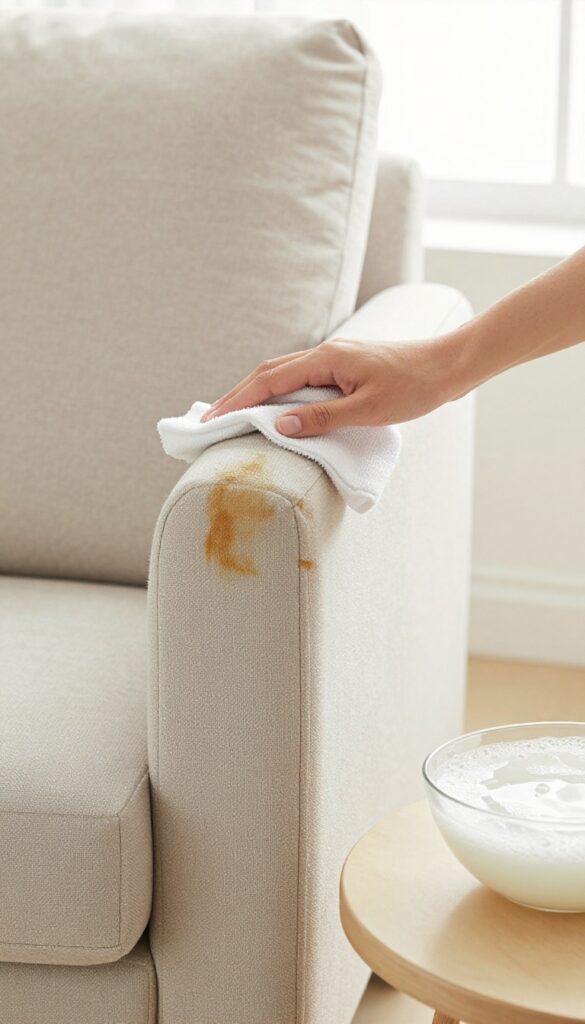
Grease stains from cooking, lotions, or even hair products can leave stubborn marks on upholstery. But you don't need harsh chemicals to break them down. A simple mix of dish soap and warm water works wonders on fresh or set-in grease.
Mix a few drops of mild dish soap with warm water. Dip a microfiber cloth into the solution, wring it out, and gently dab the stain. Blot with a dry cloth afterward to lift the grease.
Why Dish Soap Works
Dish soap is designed to cut through grease on plates, and it does the same on fabric. The surfactants in the soap break down oil molecules, making them easier to lift away. Just avoid using too much soap, or you'll leave a sticky residue.
Step-by-step Application
Start by blotting any excess grease with a paper towel. Then dip a clean microfiber cloth in the soapy water and wring it until damp, not wet. Gently dab the stain from the outside in to prevent spreading.
Continue until the stain lifts, then blot with a dry cloth. Let the area air dry completely.
When To Call It Quits
If the stain doesn't come out after two or three attempts, don't oversaturate the fabric. Too much moisture can lead to mold or damage. At that point, consider a professional cleaner or a solvent-based upholstery cleaner for stubborn grease.
6. Remove Pet Hair with a Damp Rubber Glove
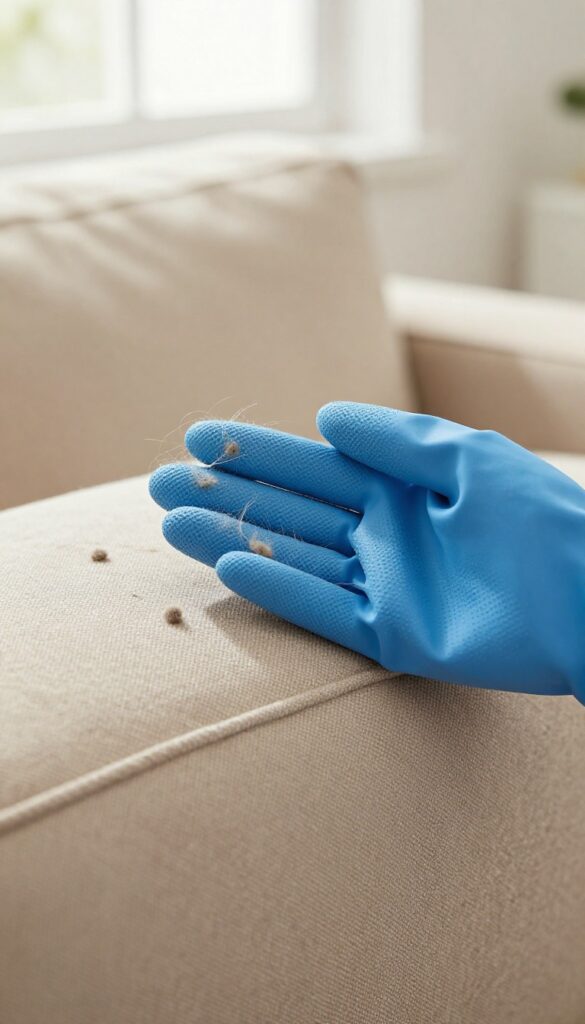
Pet hair clings to upholstery like static electricity gone wild. You brush, you vacuum, but those stubborn strands stay woven into the fabric. A damp rubber glove is a simple trick that works better than most gadgets.
The rubber creates friction and static that pulls hair loose, while the moisture helps clump it together. No sticky rollers or expensive tools needed.
Why It Works So Well
Rubber naturally generates static electricity when rubbed against fabric. The dampness adds grip, making it easier to gather hair into manageable clumps. Plus, the glove conforms to curves and crevices.
Step-by-step Method
Lightly dampen a clean rubber glove (not dripping wet). Put it on and run your hand firmly over the upholstery in one direction. The hair will ball up.
Pick off the clumps by hand or vacuum them up. Repeat until the fabric is hair-free.
Best Fabrics For This Technique
Works great on cotton, linen, polyester, and microfiber. Avoid using on delicate fabrics like velvet or silk, as moisture may cause water spots. Test on an inconspicuous area first.
Alternative Tools You Can Use
No glove? Try a slightly damp sponge or a rubber squeegee. The same static principle applies.
A fabric softener sheet also reduces static and helps loosen hair.
7. Refresh Fabric with a Steam Cleaner (If Safe)
Steam cleaning is a powerful way to deep clean upholstery without harsh chemicals. The high temperature kills dust mites, bacteria, and mold spores while loosening embedded dirt. But not all fabrics can handle the moisture and heat, so check your chair's cleaning code first.
If it says "W" or "S/W, " you're good to go.
Using a handheld steam cleaner is straightforward, but technique matters. Move the steamer in slow, overlapping strokes to avoid soaking the fabric. Over-wetting can lead to mold or shrinkage, so keep the steamer moving and let the fabric dry completely between passes.
Prep The Fabric
Vacuum the chair thoroughly to remove loose dirt and debris. This prevents mud from forming when steam hits the surface. Spot-test a hidden area first to ensure the fabric doesn't discolor or shrink.
Steam In Sections
Work on one seat cushion or armrest at a time. Hold the steamer a few inches from the fabric and glide it slowly. Use a microfiber cloth to blot away lifted dirt as you go.
Repeat if needed, but let the area dry between passes.
Dry Completely
After steaming, open windows or use a fan to speed up drying. Never sit on the chair until it's fully dry. To prevent mildew, ensure the fabric feels completely dry to the touch before using the chair again.
8. Treat Ink Stains with Rubbing Alcohol
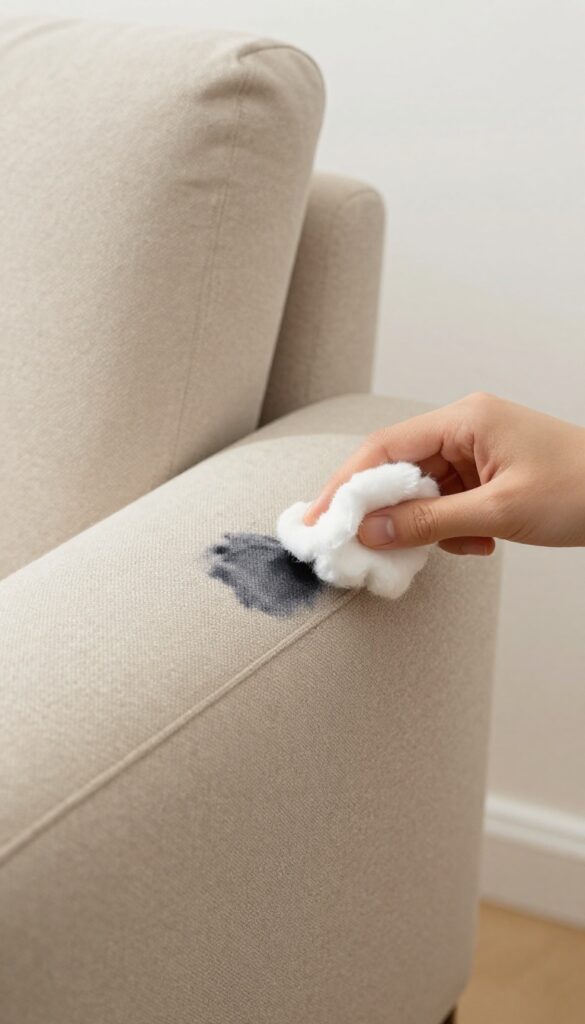
Ink stains on upholstery can feel like a disaster, especially if a pen leaks or a child gets creative on your chair. But before you panic, grab a bottle of rubbing alcohol from your medicine cabinet. This common household item is surprisingly effective at lifting ink from fabric without damaging the fibers, as long as you act carefully.
The key is to blot, not rub. Rubbing can spread the ink and push it deeper into the padding. Start by testing the alcohol on a hidden area to ensure it doesn't discolor the fabric.
Then, dampen a cotton ball or clean cloth with rubbing alcohol and gently blot the stain. You'll see the ink transfer to the cloth—keep switching to a fresh area of the cloth as it picks up color. Once the stain is gone, rinse the area with a little water and blot dry.
Why Rubbing Alcohol Works
Ink is typically dye-based or pigment-based, and rubbing alcohol acts as a solvent that breaks down those dyes. It evaporates quickly, so it won't soak the upholstery too much. This makes it ideal for spot-treating without leaving a wet ring.
Step-by-step Blotting Technique
Place a clean towel under the fabric if possible to catch any ink that bleeds through. Dip a cotton ball in rubbing alcohol, squeeze out excess, and dab the stain from the outer edge toward the center. Replace the cotton ball as it gets dirty.
Continue until no more ink transfers.
Aftercare And Drying
Once the ink is gone, use a damp cloth to rinse away any alcohol residue. Blot with a dry towel to absorb moisture. Let the area air-dry completely before sitting on it.
If a faint shadow remains, repeat the process.
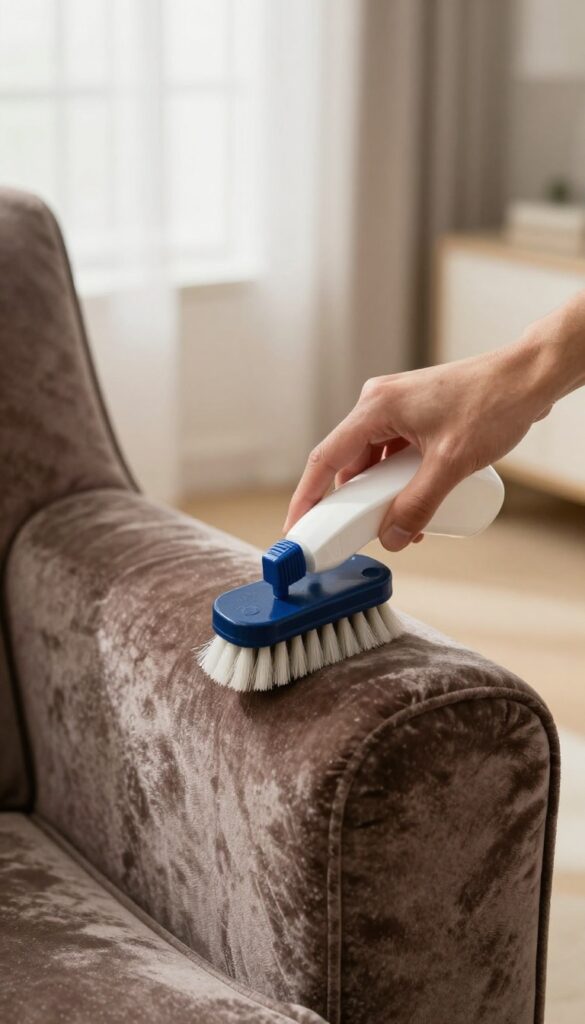
9. Use a Soft Brush to Restore Flattened Fibers
After you've cleaned your upholstery, the fabric might look a bit matted or lifeless. That's because moisture and agitation can flatten the fibers, leaving them pressed down. A simple brushing step can bring back that plush, textured look and even help the fabric dry faster by separating the strands.
Choose The Right Brush
Not all brushes are safe for upholstery. A soft-bristled brush—like a clean toothbrush, a dedicated upholstery brush, or even a soft nail brush—works best. Avoid stiff brushes that could snag or damage delicate fabrics.
For velvet or microfiber, use an extra-soft brush or a dry sponge to prevent scratching.
Brush In One Direction
Always brush in the same direction, following the natural grain of the fabric. This aligns the fibers uniformly, giving the seat a consistent, tidy appearance. Brushing back and forth can create a messy, uneven texture.
For pile fabrics like velvet, brush against the grain first to lift the fibers, then smooth them back into place.
Focus On High-traffic Areas
The seat cushion, armrests, and headrests usually show the most flattening. Give these spots extra attention. If the fabric is still damp, brushing also helps the fibers stand up as they dry, preventing that stiff, crusty feel.
Let the piece air dry completely after brushing for best results.
10. Make a Vinegar Solution for General Freshening
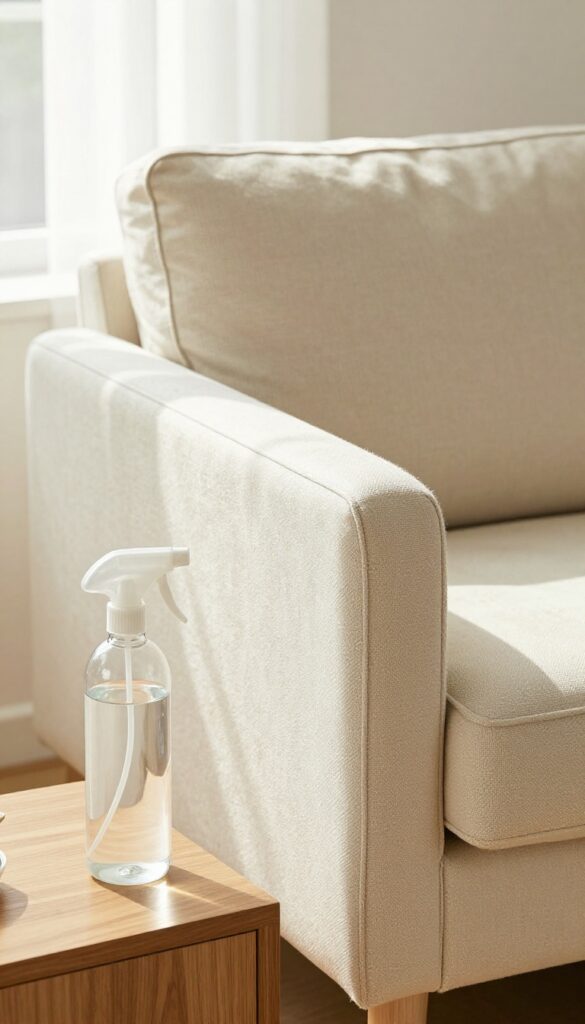
Sometimes your upholstery doesn't have a visible stain but just smells a bit off or feels stale. That's where a simple vinegar solution comes in. White vinegar is a natural deodorizer and mild cleaner that's safe for most fabrics.
Mix equal parts white vinegar and water in a spray bottle. Lightly mist the fabric—don't soak it—and let it air dry. The vinegar smell disappears as it dries, taking odors with it.
This is a great go-to for a quick refresh between deep cleans.
Why Vinegar Works So Well
Vinegar is acidic, which helps break down odor-causing compounds and mild dirt without harsh chemicals. It's also safe for most upholstery fabrics, though you should always test on a hidden area first.
How To Apply It Right
Fill a clean spray bottle with a 50/50 mix of white vinegar and water. Lightly mist the fabric until it's slightly damp, not wet. Let it air dry completely—open windows or use a fan to speed things up.
The vinegar scent will vanish as it dries.
When To Use This Method
Use it for general freshening, after removing a stain, or between deep cleans. It's perfect for chairs that get daily use but aren't heavily soiled. Avoid using it on silk or delicate fabrics unless the manufacturer approves.
11. Spot Clean with a Commercial Upholstery Cleaner
Sometimes a DIY solution just won't cut it, especially for stubborn stains like red wine or grease. That's when a commercial upholstery cleaner steps in. These products are formulated to tackle specific types of dirt and fabric, making them a reliable option when home remedies fail.
Commercial cleaners can be a lifesaver for tough stains, but you need to use them correctly to avoid damaging your fabric. Start by checking the care code on your chair's tag—codes W, S, WS, and X each require different cleaning methods. For example, code S (solvent only) means you should avoid water-based cleaners.
Once you've chosen a compatible product, always test it on an inconspicuous area first. Apply a small amount to a clean cloth, blot the stain gently—never rub—and follow the product's instructions precisely. Over-wetting is a common mistake that can lead to water rings or mildew, so go easy on the liquid.
Let the area air dry completely before using the chair again.
Choosing The Right Cleaner
Not all upholstery cleaners are created equal. Look for one that matches your fabric's code. For water-safe fabrics (code W), a water-based foam cleaner works well.
For solvent-only fabrics (code S), opt for a dry-cleaning solvent. If your fabric is code WS (water or solvent), you have more flexibility, but still test first. Avoid all-purpose cleaners that might contain bleach or harsh chemicals.
Proper Application Technique
Apply the cleaner sparingly to a microfiber cloth, not directly onto the fabric. Blot the stain from the outside in to prevent spreading. Let the cleaner sit for the recommended time, then blot again with a dry cloth to lift the residue.
If the stain persists, repeat the process, but don't oversaturate.
Drying And Aftercare
After spot cleaning, speed up drying by opening windows or using a fan. Avoid sitting on the chair until it's completely dry to prevent the stain from setting deeper. If you notice any residue, lightly vacuum the area with an upholstery attachment to restore the fabric's texture.
12. Dry Chairs Quickly to Prevent Mold and Mildew
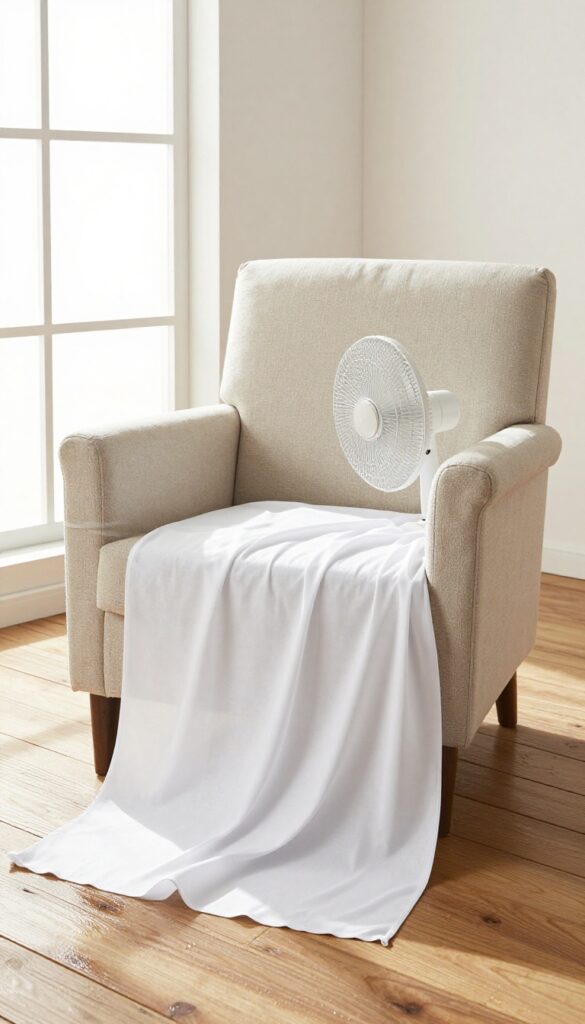
After any wet cleaning, speed up drying by opening windows, using fans, or placing the chair in a sunny spot. Damp fabric can develop musty odors and mold within 24 hours. Taking a few extra minutes to dry your chairs thoroughly can save you from bigger problems down the road.
Moisture is the enemy of upholstery. Even after a careful cleaning, trapped water in the cushions or padding can lead to mold, mildew, and unpleasant smells. The key is to act fast and use simple techniques to pull moisture out before it settles in.
Why Drying Matters
Damp fabric creates the perfect breeding ground for mold spores, which can start growing in as little as 24 hours. Mold not only ruins the look and smell of your chair but can also trigger allergies and respiratory issues. Quick drying prevents these problems and keeps your fabric fresh.
Best Drying Methods
Open windows and doors to increase airflow. Place a fan pointed directly at the wet area, or use a hair dryer on a cool setting held a few inches away. If the weather permits, move the chair outside into direct sunlight—UV rays help kill bacteria and speed evaporation.
For cushions, remove them and stand them on their edges to allow air circulation on all sides.
What To Avoid
Don't use high heat from a hair dryer or heater, as it can shrink or damage the fabric. Avoid leaving the chair in a damp, closed room. And never put a wet cushion back on the chair until it's completely dry—trapped moisture will cause mildew deep inside.
13. Protect Fabric with a Fabric Protector Spray
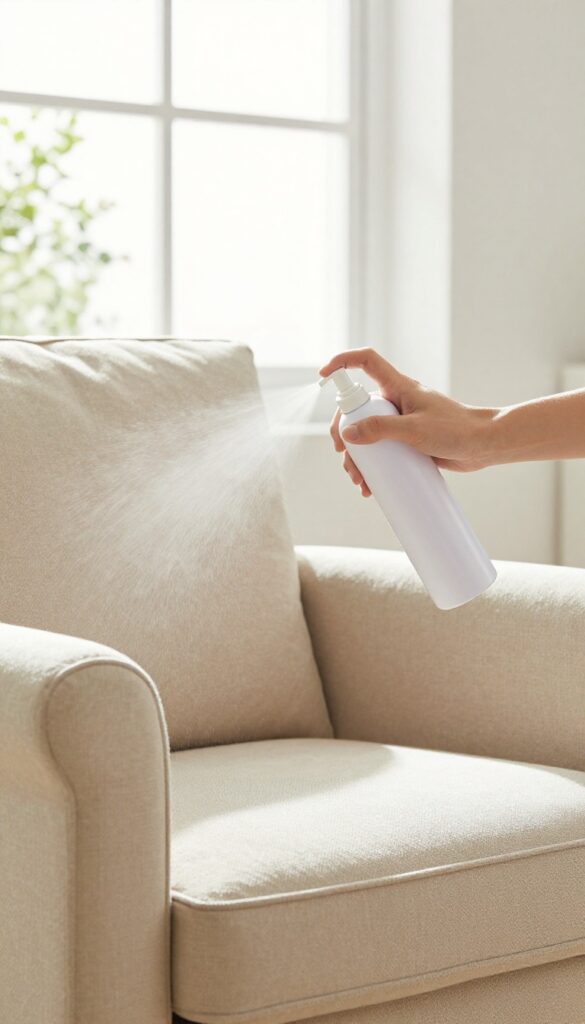
You've put in the work to deep clean your upholstery chair, and now it looks fresh and bright. But without a little extra protection, that clean state won't last long against daily life—coffee drips, pet accidents, or muddy shoes brushing against the fabric. A fabric protector spray is like an invisible shield that buys you time to blot spills before they set in.
Applying a fabric protector is a simple step that pays off every time something lands on your chair. It doesn't make the fabric waterproof, but it does make liquids bead up and sit on the surface rather than soaking in immediately. That extra moment is often all you need to blot away a spill without leaving a stain.
Plus, the treatment doesn't change the look or feel of the fabric, so your chair stays soft and natural.
Choosing The Right Protector
Not all fabric protectors are the same. Look for a product specifically designed for upholstery, like Scotchgard Fabric & Upholstery Protector or a similar brand. Avoid protectors meant for outdoor gear or carpets, as they might be too harsh or leave a residue.
Check the label to make sure it's safe for your fabric type—most are fine on cotton, polyester, and blends, but always test on a hidden area first.
How To Apply It Right
Start with a clean, completely dry chair. Work in a well-ventilated area and cover the floor with a drop cloth. Hold the can about 6 to 8 inches from the fabric and spray in a steady, even motion, keeping the can moving to avoid soaking any one spot.
Apply a light, even coat—more isn't better. Let it dry for the time recommended on the can, usually a few hours, before using the chair. For best results, apply two thin coats, letting the first dry completely before the second.
When To Reapply
Fabric protector isn't permanent. It wears off over time due to use, cleaning, and exposure to sunlight. As a rule of thumb, reapply after every deep cleaning or every six months for chairs that get heavy use.
If you notice liquids starting to soak into the fabric instead of beading up, that's your cue to respray. Keeping up with reapplication ensures your chair stays protected and easier to clean for years.
14. Rotate Cushions to Even Out Wear and Dirt
Your favorite spot on the couch or chair gets the most use, and that cushion shows it. Over time, one side can become flattened, faded, or dirtier than the rest. A simple rotation habit solves this.
Flip and rotate removable cushions regularly. This distributes dirt and wear more evenly, so one side doesn't get overly soiled or faded. It also extends the life of the foam.
How Often To Rotate
Aim to rotate cushions every month or two. If you use the chair daily, monthly is better. Mark your calendar or do it when you change your bedsheets as a reminder.
The Right Way To Flip
Remove the cushion and turn it over so the bottom becomes the top. Also, swap cushions from left to right if they are different sizes. This evens out pressure and sun exposure.
Bonus: Fluff The Fill
While the cushion is off, give it a few good shakes or press down to redistribute the filling. For foam cushions, you can also gently knead the foam to restore its shape.
15. Know When to Call a Professional Cleaner
You've tried everything—baking soda, vinegar, enzyme sprays—but that stubborn stain won't budge. Or maybe your chair has delicate silk or velvet upholstery that makes you nervous about using any DIY method. That's when it's smart to step back and let a pro handle it.
Professional cleaners have industrial-grade equipment and specialized solvents that can safely remove deep-set dirt and stains without damaging the fabric. They also know how to treat different materials correctly, so you don't accidentally shrink or discolor your chair. Knowing when to call in an expert saves you time, frustration, and the risk of making a stain permanent.
Here's how to decide if it's time to pick up the phone.
You've tried everything—baking soda, vinegar, enzyme sprays—but that stubborn stain won't budge. Or maybe your chair has delicate silk or velvet upholstery that makes you nervous about using any DIY method. That's when it's smart to step back and let a pro handle it.
Professional cleaners have industrial-grade equipment and specialized solvents that can safely remove deep-set dirt and stains without damaging the fabric. They also know how to treat different materials correctly, so you don't accidentally shrink or discolor your chair. Knowing when to call in an expert saves you time, frustration, and the risk of making a stain permanent.
Here's how to decide if it's time to pick up the phone.
Persistent Stains That Won't Lift
Some stains are just too tough for home remedies. Red wine, grease, ink, and pet accidents often require professional-grade solvents and extraction tools. If you've tried two or three methods and the stain hasn't faded, stop before you damage the fabric further.
A pro can assess the stain type and apply the right treatment without spreading or setting it.
Delicate Or High-end Fabrics
Silk, rayon, velvet, and antique upholstery need gentle handling. Using water or household cleaners on these materials can cause water rings, shrinkage, or permanent texture changes. Professional cleaners know how to test fabric for colorfastness and use dry-cleaning solvents or low-moisture methods that protect the fibers.
If your chair has a manufacturer's tag that says "S" (solvent only) or "W-S" (water or solvent), it's safer to call a pro.
Large Or Multiple Pieces
If you're cleaning a whole living room set or a large sectional, renting a machine and doing it yourself can be exhausting and time-consuming. Professionals have truck-mounted units that extract more water and dirt than consumer machines, leaving your furniture drier and cleaner. Plus, they can finish the job in a fraction of the time, so you can enjoy your fresh chairs sooner.
Signs Of Mold Or Mildew
Musty smells or visible mold spots mean moisture has gotten deep into the cushion foam or backing. DIY cleaning might not fully kill the mold, and it can return worse. Professional cleaners use antimicrobial treatments and high-powered drying equipment to eliminate mold at the source.
This is especially important if anyone in your home has allergies or asthma.
FAQ
Can I use bleach on upholstery fabric?
No, bleach can discolor and weaken most upholstery fabrics. Stick to mild detergents or cleaners recommended for your fabric type.
How often should I clean my upholstery chairs?
Vacuum weekly and spot clean as needed. Deep clean every 6 to 12 months, depending on usage and exposure to spills or pets.
What does the cleaning code 'W' mean?
Code 'W' means you can use water-based cleaners (like mild detergent and water) on the fabric. Always test in a hidden area first.
How do I remove old, set-in stains from fabric chairs?
Try a mixture of baking soda and water to form a paste, apply it to the stain, let it dry, then vacuum. For stubborn stains, a professional cleaner may be needed.
Is it safe to use a steam cleaner on all upholstery?
No, steam cleaners are only safe for fabrics with code 'W' or 'WS'. Avoid steam on delicate fabrics like silk or those labeled 'S' (solvent only).
Conclusion
Your upholstery chairs don't need a complicated cleaning routine—just the right techniques and a little consistency. Start with a few tips that match your fabric type and biggest stains, and build from there.
Regular maintenance keeps fabric fresher and extends the life of your furniture. Try one new method this week and see the difference it makes.


