You flush, close the lid, and hope for the best. But that lingering smell or stubborn ring tells you it's time for a deeper clean. Toilet duty isn't anyone's favorite chore, but a few smart tricks can make it almost painless.
Most people reach for the same bleach-based cleaner and scrub until their arms ache. There's a better way. With the right tools and a little know-how, you can keep your toilet fresh without the elbow grease.
These 20 tips cover everything from daily habits to deep cleaning hacks. Pick the ones that fit your routine and say goodbye to toilet troubles for good.
1. Let the Cleaner Soak Before You Scrub
Most people grab a brush and start scrubbing the moment they squirt cleaner into the bowl. That's a waste of effort. The chemicals need time to work.
Giving your cleaner a 10- to 15-minute soak can dissolve stains and mineral buildup with almost no scrubbing on your part.
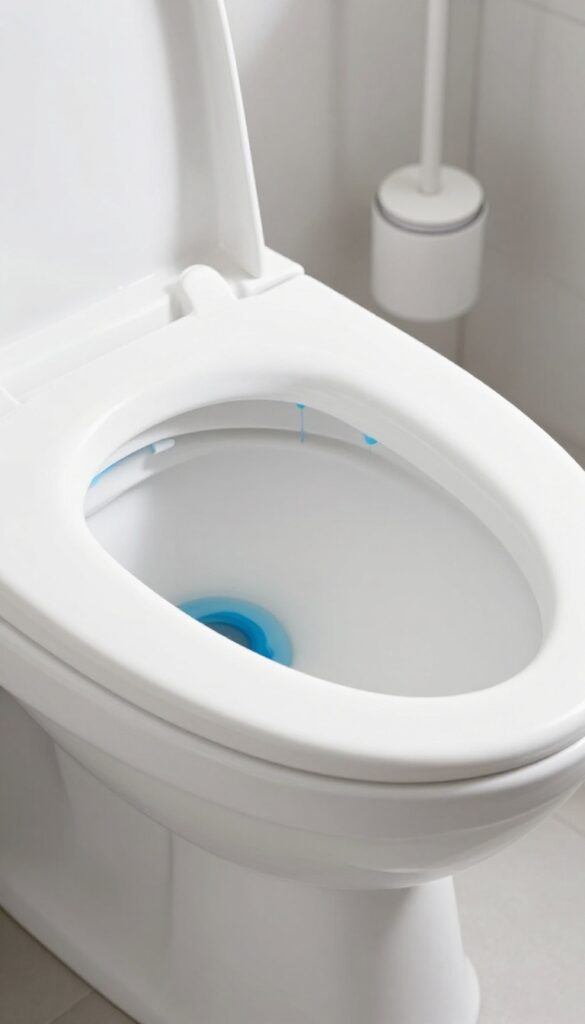
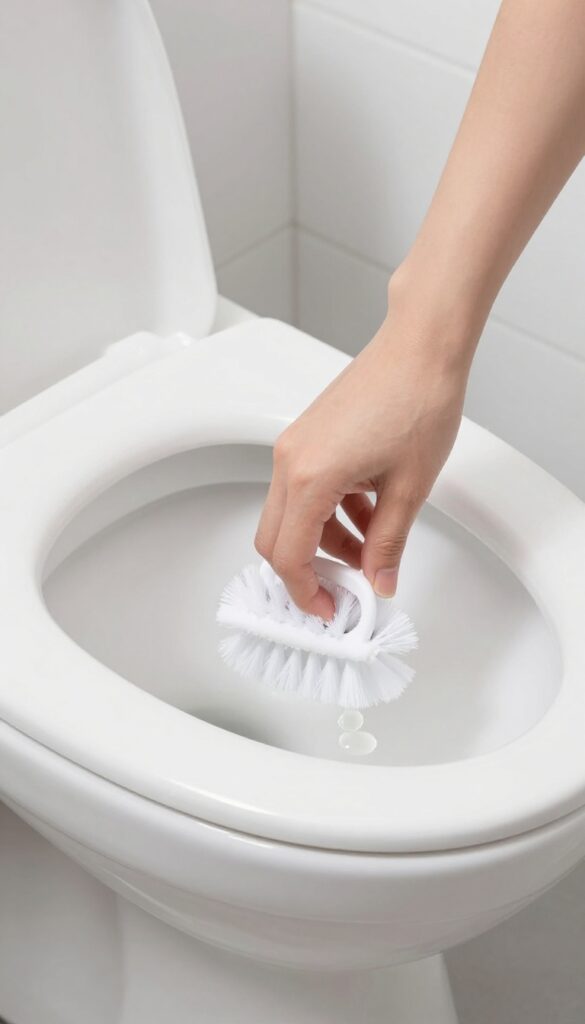
The key is applying the cleaner strategically and then walking away. Spray or pour it under the rim and let it run down the sides, coating the entire bowl. For stubborn rings, add a little extra directly on the stain.
Then close the lid and let gravity and chemistry do their thing. When you come back, a quick swish with the brush is usually all it takes to reveal a sparkling bowl.
Why Soaking Works
Toilet bowl cleaners contain acids or bleaches that break down organic matter, limescale, and hard-water deposits. These reactions aren't instant. Given time, the active ingredients penetrate and loosen the gunk, so your brush can lift it away easily.
Scrubbing immediately just spreads the cleaner around without letting it fully work.
Best Cleaners For Soaking
Thick gel-based cleaners cling to the bowl and stay put, making them ideal for soaking. Look for ones with hydrochloric acid for tough mineral stains or bleach for whitening. For a natural option, pour a cup of white vinegar and let it sit for 20 minutes.
Avoid mixing different cleaners, especially bleach and ammonia.
Don't Forget The Rim
The area under the rim is a prime spot for mold and grime. Lift the seat and squirt cleaner all around the rim channel. Let it drip down and soak.
After 10 minutes, use a rim brush or an old toothbrush to scrub the hidden nooks. This simple step prevents odors and keeps the flush water clean.
2. Use a Pumice Stone for Stubborn Rings
Hard water rings and rust stains can look like permanent residents in your toilet bowl. A pumice stone is the secret weapon that removes them without scratching the porcelain. It's a simple fix that saves you from scrubbing endlessly with harsh chemicals.
A pumice stone is a natural volcanic rock that's abrasive yet gentle on porcelain. When wet, it grinds away mineral deposits and rust without damaging the surface. This makes it perfect for those stubborn rings that won't budge with a brush.
How To Use A Pumice Stone Safely
Always wet the stone and the toilet bowl first. Gently rub the stain in a circular motion, letting the stone do the work. Don't press hard—let the abrasion lift the buildup.
Rinse and check your progress often.
When To Avoid A Pumice Stone
Skip the stone on colored porcelain or fiberglass toilets, as it may scratch or dull the finish. Stick to white porcelain only. Also, avoid using it on the tank or seat—it's strictly for the bowl.
Where To Find Pumice Stones
You can buy pumice stones at hardware stores, home improvement centers, or online. Some are even designed specifically for toilet cleaning with a handle for easier grip. They're cheap and last for many uses.
3. Drop a Denture Tablet in the Bowl Overnight

Denture tablets aren't just for false teeth—they're surprisingly effective at cleaning toilet bowls. The effervescent action targets hard-to-reach stains and leaves the water looking crystal clear. Best of all, it requires almost zero effort on your part.
Drop two effervescent denture tablets into the toilet bowl before bed. Let them fizz overnight. In the morning, the bubbling action will have loosened grime, mineral deposits, and stubborn rings.
Give the bowl a quick swish with the brush and flush. You'll be amazed at the result.
Why It Works So Well
Denture tablets contain sodium bicarbonate, citric acid, and other cleaning agents that create a fizzy reaction. This helps break down calcium deposits and organic stains without harsh scrubbing. The prolonged contact time (overnight) makes them more effective than a quick cleaner.
Best For Hard Water Rings
If you have hard water, you've probably seen those stubborn rings at the water line. Denture tablets are especially good at dissolving these mineral deposits. For extra tough rings, drop the tablets directly onto the stain and let them sit for a few hours before the overnight soak.
A Few Tips For Best Results
Make sure the bowl water is fresh—don't add tablets to a bowl that already has cleaner in it. For a deeper clean, scrub the bowl first, then drop the tablets. If you have a septic system, check that the tablets are septic-safe (most are).
And always close the lid to keep the fizz contained.
4. Clean Under the Rim with a Specialty Brush
That stubborn ring under the toilet rim isn't just unsightly—it's a breeding ground for bacteria and mold. A standard toilet brush can't reach that curved crevice, so it stays damp and dirty no matter how much you scrub. The fix is simple: use a tool designed to get into that hidden space.
A small angled brush or a rim-specific cleaner makes all the difference. These tools are narrow enough to slide under the rim and scrub where the brush can't go. You'll be surprised how much grime comes off once you target that area directly.
Why The Rim Gets Overlooked
Most toilet brushes are straight and bulky, so they only clean the bowl's sides and bottom. The rim's underside is a curved ledge that traps water, urine splashes, and mineral deposits. Over time, that buildup turns into a dark, smelly ring that's hard to ignore.
Best Tools For The Job
Look for a small toilet brush with a bent neck or a dedicated rim cleaning tool. Some have a scrubby pad on one end and a pointed tip for tight spots. You can also use an old toothbrush or a bottle brush in a pinch—just make sure it's dedicated to toilet duty.
How To Scrub Effectively
Apply your regular toilet cleaner or a paste of baking soda and vinegar under the rim. Let it sit for a few minutes, then scrub with your angled brush in a circular motion. Focus on the entire rim circumference, not just the front.
Flush and repeat if needed.
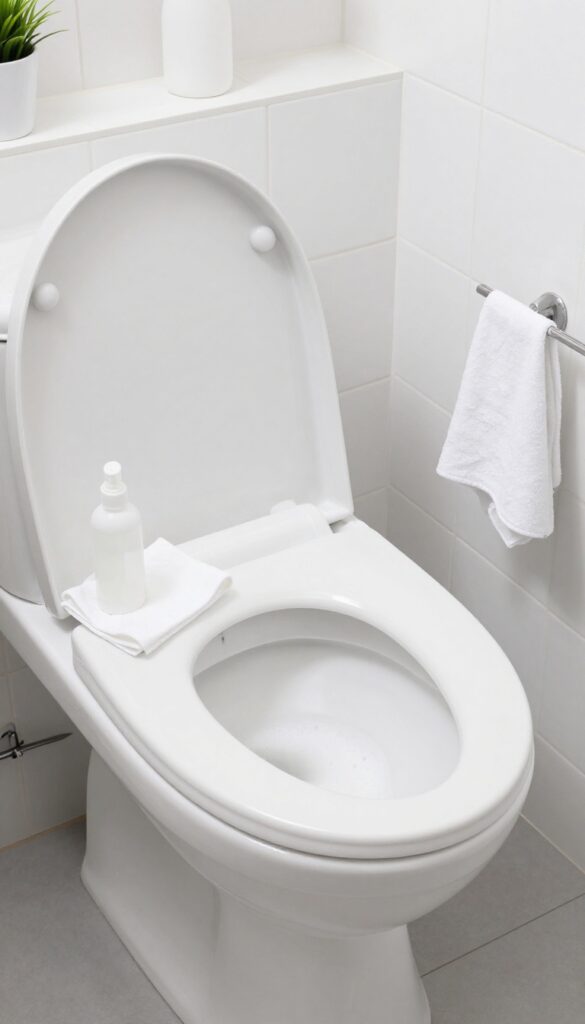
5. Disinfect the Exterior with a Microfiber Cloth
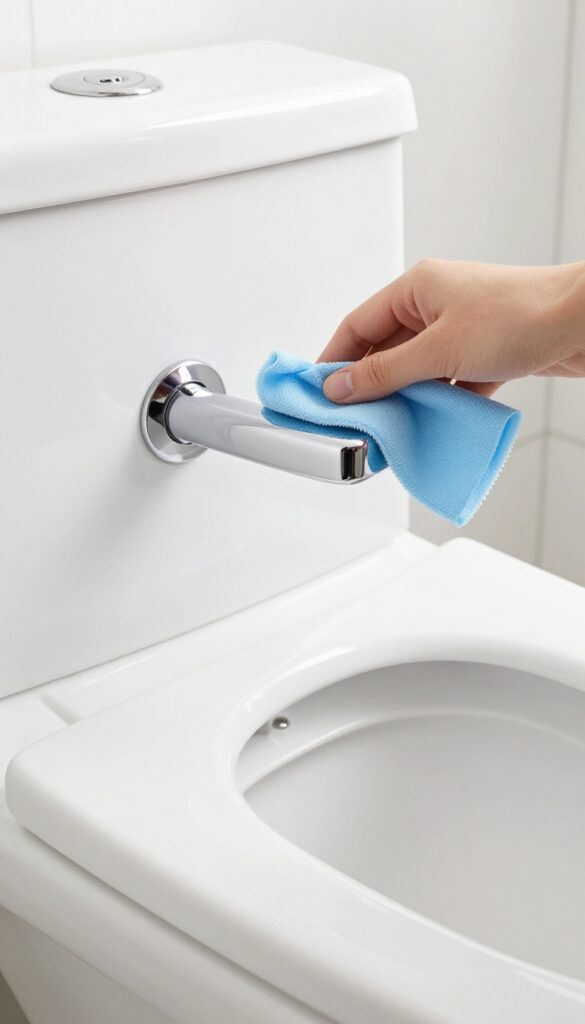
You scrub the bowl until it gleams, but what about the parts you touch every day? The lid, seat, handle, and base are germ magnets. A quick wipe with a microfiber cloth and disinfectant spray makes a huge difference.
Don't let the exterior be an afterthought. High-touch areas collect bacteria and grime, especially the flush handle. A microfiber cloth traps particles better than a sponge and won't leave lint.
Pair it with a disinfectant spray that kills 99. 9% of germs for best results.
Start From The Top
Begin with the lid and seat. Wipe the top, underside, and hinges. These spots catch dust and splashes.
Use a fresh section of the cloth for each area to avoid spreading germs.
Don't Forget The Handle
The flush handle is one of the germiest surfaces in the bathroom. Spray it directly and wipe thoroughly. For a deep clean, unscrew it occasionally and soak in warm soapy water.
Clean The Base And Floor
The base of the toilet collects dust, hair, and urine splatters. Wipe around the bottom and the floor nearby. A microfiber cloth picks up more than a paper towel and is reusable after washing.
6. Tackle Urine Smell with Baking Soda and Vinegar

Urine smell can linger even after a thorough scrub, especially in households with boys or pets. The combination of baking soda and white vinegar creates a fizzing reaction that lifts residue and neutralizes odors naturally. This two-ingredient method is cheap, non-toxic, and surprisingly effective.
Start by sprinkling a generous amount of baking soda around the inside of the toilet bowl, focusing on the rim and waterline. Then pour about a cup of white vinegar directly into the bowl. The mixture will fizz and bubble for several minutes, loosening grime and breaking down uric acid crystals.
Let it sit for 10 minutes, then scrub with a toilet brush and flush. For extra stubborn smells, repeat the process or let the solution sit overnight.
Why This Combo Works
Baking soda is a mild alkali that reacts with the acetic acid in vinegar to produce carbon dioxide gas. This fizzing action helps dislodge dirt and mineral deposits while neutralizing acidic odors. Unlike harsh chemicals, it's safe for septic systems and won't damage porcelain.
Best Practices For Maximum Effect
For the best results, make sure the toilet bowl is dry before adding baking soda so it sticks to the surface. Use white vinegar—not apple cider or balsamic—since it's clear and has the right acidity. Avoid mixing with bleach or other cleaners, as this can create harmful fumes.
When To Use This Method
This technique is ideal for regular maintenance between deep cleans or when you notice a persistent ammonia-like smell. It's also a great option if you prefer eco-friendly cleaning products. Use it weekly to keep odors at bay.
7. Use a Toilet Brush with Replaceable Heads
Your toilet brush might be dirtier than the bowl itself. Standard brushes trap bacteria and moisture, turning into a germ factory between uses. Switching to a brush with disposable heads solves that problem neatly.
Disposable-head brushes let you snap off the used head and toss it after each cleaning. No more storing a wet, smelly brush in a caddy. The handle stays clean, and you always start with a fresh, effective scrubber.
Many models come with a docking station that stores replacement heads and keeps the handle dry.
Why Disposable Heads Are More Hygienic
Traditional brushes harbor E. coli and other bacteria in their bristles. Even after rinsing, moisture lingers and promotes growth. With disposable heads, you use a clean one every time and throw it away immediately.
No cross-contamination, no lingering odors.
How To Choose The Right One
Look for brushes with sturdy handles and heads that are thick enough to scrub effectively. Some brands offer angled heads for under-rim cleaning. Check that replacement heads are readily available and reasonably priced.
A good set will pay for itself in peace of mind.
Disposal And Eco-friendliness
Most disposable heads are biodegradable or made from recycled materials. Check the packaging to confirm. Even if they're not fully compostable, the reduction in bacteria and the convenience often outweigh the environmental cost for many households.
8. Clean the Flush Valve and Handle
The flush valve and handle are high-touch surfaces that often get overlooked during cleaning. Every time you flush, you transfer germs from your hands to these parts. A quick wipe-down with a disinfectant can make a big difference in bathroom hygiene.
Plus, a clean handle feels more pleasant to touch and keeps your toilet looking well-maintained.
Why These Parts Get Grimy
The flush handle is touched multiple times a day, often with unwashed hands. Over time, dirt, oils, and bacteria build up. The flush valve, located inside the tank, can also collect mineral deposits and grime from water exposure.
Neglecting these areas can lead to unpleasant odors and potential germ spread.
How To Clean Them Properly
Start by turning off the water supply to the toilet and flushing to empty the tank. Use a disinfectant wipe or a cloth dampened with rubbing alcohol to thoroughly clean the handle and the flush valve. For stubborn grime, a small brush or old toothbrush works well.
Rinse with a damp cloth and dry. Turn the water back on and check for leaks.
Preventive Tips
Make it a habit to wipe the flush handle with a disinfectant wipe every few days. If you have a dual-flush button, clean it gently to avoid damage. Consider using a touchless flush kit for a more hygienic option.
Regular maintenance keeps these parts functioning smoothly and reduces germ buildup.
9. Pour a Cup of Hydrogen Peroxide Monthly
You scrub the bowl, but what about the parts you can't see? The inner workings of your toilet—the overflow tube and the rim jets—can harbor bacteria and mineral buildup over time. A monthly pour of hydrogen peroxide is an easy, chemical-free way to keep those hidden areas fresh.
Hydrogen peroxide is a powerful oxidizer that kills germs and breaks down organic matter without the harsh fumes of bleach. Pouring one cup of 3% hydrogen peroxide into the overflow tube (the small hole in the bowl) lets it flow through the rim jets and into the trapway, sanitizing the entire system. Let it sit for 30 minutes before flushing.
This simple step helps prevent stains and odors from forming deep in the toilet.
Why The Overflow Tube?
The overflow tube is the direct path to the toilet's internal plumbing. When you pour liquid into it, it travels through the rim jets and down into the bowl, reaching areas a brush can't touch. Hydrogen peroxide's bubbling action helps dislodge grime and kill bacteria along the way.
How Often And What To Expect
Once a month is plenty for most households. You might notice some fizzing as the peroxide works—that's normal. After 30 minutes, flush and admire a cleaner bowl.
Over time, you'll see less ring buildup and fewer odors.
Safety And Storage Tips
Always use 3% hydrogen peroxide (the standard drugstore kind). Store it in a cool, dark place—light breaks it down. Avoid mixing with bleach or other cleaners, as that can create toxic fumes.
Keep it out of reach of kids and pets.
10. Squeegee the Bowl After Heavy Use
Think of your toilet bowl like a nonstick pan. The moment something sits, it bonds. A quick swipe right after flushing prevents stains from ever forming.
No soaking, no scrubbing later.
Why It Works
Residue from waste and hard water minerals starts sticking immediately. By squeegeeing while the bowl is still wet, you remove particles before they dry and cement themselves. It's the same principle as rinsing a dish right after use.
What To Use
A small silicone squeegee with a curved head works best. It reaches under the rim and glides smoothly without scratching porcelain. If you don't have one, a dedicated toilet brush with soft bristles does the job too.
Just keep it exclusively for this purpose.
How To Make It A Habit
Store the squeegee in a caddy or holder right next to the toilet. After a heavy flush, give the bowl one full sweep from top to bottom. It takes five seconds.
Do it consistently for a week and it becomes automatic.
11. Make Your Own Natural Toilet Bombs
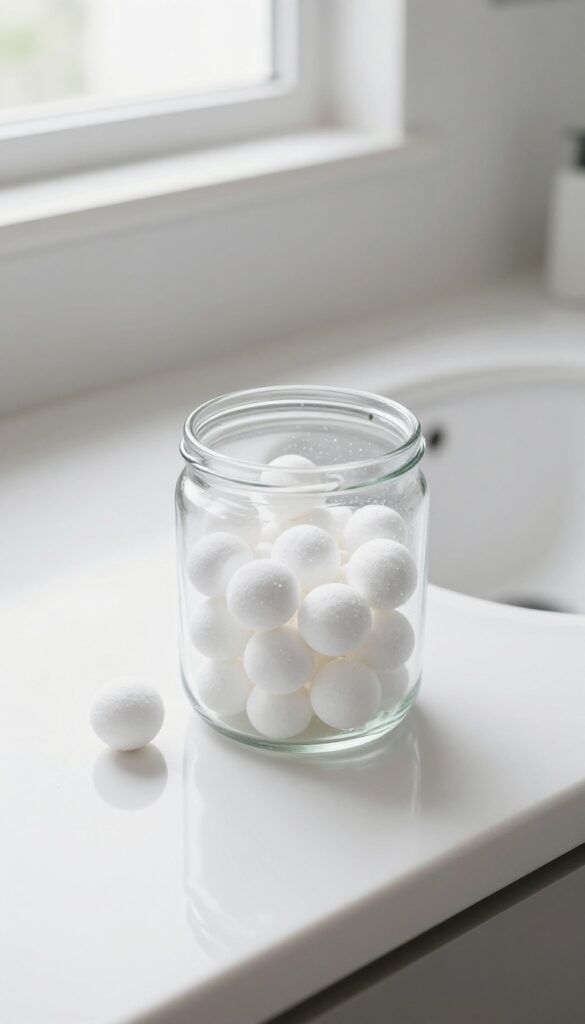
Store-bought toilet cleaners are packed with chemicals that can be harsh on your septic system and the environment. If you prefer a gentler approach, DIY toilet bombs are a fun and effective alternative. They fizz, clean, and deodorize with natural ingredients you probably already have in your pantry.
These little fizzing tablets are surprisingly easy to make and work wonders for weekly maintenance. Drop one in the bowl before bed, let it fizz overnight, and give a quick swish in the morning. The citric acid and baking soda combination breaks down stains and neutralizes odors without the bleach fumes.
What You Need
Gather 1 cup baking soda, 1/4 cup citric acid, 1 tablespoon hydrogen peroxide (or water), and 15-20 drops of your favorite essential oil (like lemon, tea tree, or lavender). You'll also need a silicone mold or an ice cube tray.
How To Make Them
Mix the dry ingredients in a bowl. Slowly add the hydrogen peroxide while stirring until it forms a damp sand-like texture. Add the essential oil and mix well.
Press the mixture firmly into molds and let them dry for at least 24 hours. Pop them out and store in an airtight jar.
How To Use
Drop one bomb into the toilet bowl and let it fizz for 15 minutes or overnight for tough stains. Scrub lightly with a brush and flush. Use weekly for a fresh, clean bowl without harsh chemicals.
12. Don't Forget the Toilet Base and Floor
The base of your toilet is a magnet for dust, grime, and urine splashes. It's easy to overlook because it's low and out of sight, but that buildup can cause odors and even damage the seal over time. A quick scrub of the base and the floor around it makes a big difference.
Grab a small scrub brush or an old toothbrush and some all-purpose cleaner. Work your way around the base, paying extra attention to the back where dirt hides. Then wipe the area with a damp cloth to remove residue.
For the floor, a quick mop or a wipe with a disinfectant cloth keeps the whole area fresh.
Why The Base Gets So Grimy
Every time you flush, tiny droplets of water and bacteria spray onto the floor and base. Over time, dust sticks to that moisture, creating a stubborn layer. Plus, if you have boys or aim-impaired guests, urine splashes add to the mess.
Regular attention prevents that crusty buildup.
The Right Tools For The Job
A dedicated toilet brush with stiff bristles works for the base, but a smaller brush or an old toothbrush lets you get into crevices. Pair it with a spray cleaner that cuts through grime—something with bleach or a natural disinfectant. Keep a microfiber cloth handy for wiping.
How Often To Clean This Area
Aim to scrub the base and floor every time you do a deep toilet clean, which for most people is once a week. If you notice visible dirt or odor between cleanings, give it a quick wipe. A few seconds of maintenance saves you from a heavy scrub later.
13. Use a Toilet Wand for Hard-to-Reach Spots
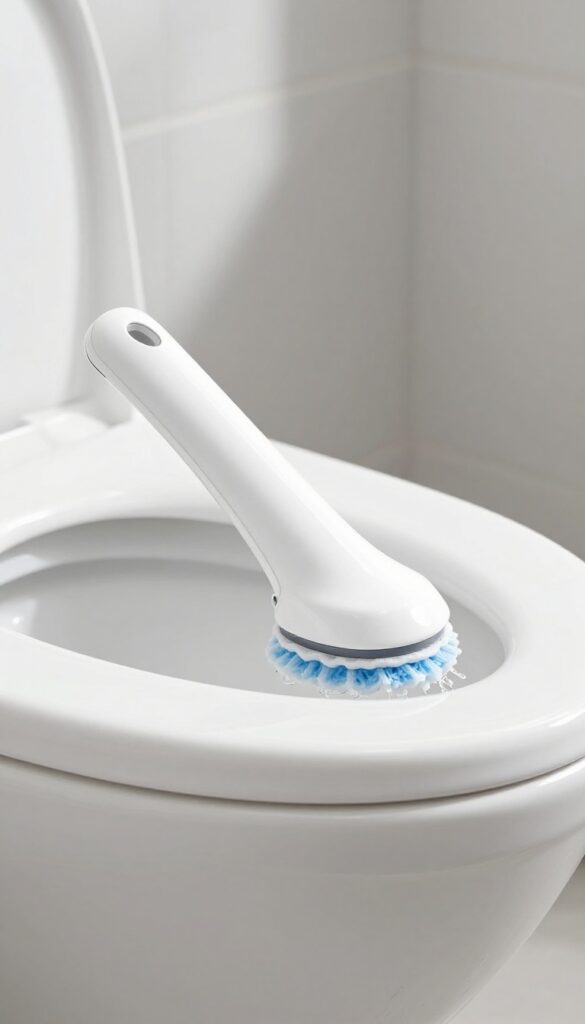
Standard toilet brushes are fine for the bowl's main surface, but they often miss the tricky areas. The rim underside, the trap, and that little ledge near the waterline can stay dirty no matter how much you scrub. A toilet wand changes the game with its curved, angled head that reaches where a straight brush can't.
It's a simple upgrade that makes a big difference.
Why A Wand Works Better
A toilet wand typically has a slim, flexible neck and a curved head that fits under the rim and into the trap. This design lets you scrub the entire bowl surface without straining your wrist. Many wands also have disposable heads with built-in cleaner, so you get fresh cleaning solution with every use.
No more dipping a dirty brush back into the water.
How To Use It Effectively
Start by flushing to lower the water level. Then, insert the wand and angle it upward to scrub under the rim. Move it in a circular motion to dislodge hidden grime.
For the trap, gently push the wand into the opening and twist. Rinse the wand head by swishing it in clean water before disposing or storing.
Choosing The Right Wand
Look for a wand with a sturdy handle and replaceable heads. Some models come with a caddy for storage. Avoid wands with heads that are too large—they may not fit under tight rims.
Also, check that the cleaning solution is effective against hard water stains and bacteria.
14. Switch to a Gel Bleach Dispenser
If you're tired of scrubbing the bowl every few days, a gel bleach dispenser might be your new best friend. It clips under the rim and releases a small amount of cleaning gel with each flush. That means less manual scrubbing and a bowl that stays fresher between deep cleans.
A gel bleach dispenser is a simple plastic device filled with a bleach-based gel. You attach it to the inside of the toilet rim, and every time you flush, water flows through it and releases a cleaning dose. This helps prevent stains, kills bacteria, and keeps the water in the bowl clear.
It's not a replacement for a thorough scrub, but it definitely cuts down on how often you need to do one.
How It Works
The dispenser uses a slow-release mechanism. The gel is thick enough that it doesn't dissolve all at once, but thin enough to mix with flush water. Most dispensers last about a month before you need to replace them.
They're designed to clip securely under the rim so they don't get in the way or fall off.
Installation Tips
Make sure the rim is clean and dry before attaching the dispenser. Press it firmly into place. If your toilet has a curved rim, look for a dispenser with a flexible clip.
Also, avoid touching the gel directly—it's strong bleach and can irritate your skin.
What To Watch Out For
Some dispensers can leave a residue or cause the flush valve to wear out faster if used continuously. To avoid issues, use them for a few weeks, then take a break. Also, if you have a septic system, choose a septic-safe formula.
And never mix bleach-based products with other cleaners.
15. Clean the Seat Hinges with a Cotton Swab

Seat hinges are one of the most overlooked spots in the bathroom. They trap grime, urine, and even mold over time. A quick clean with a cotton swab can make a big difference in both hygiene and appearance.
To clean the hinges, dip a cotton swab in rubbing alcohol or your favorite all-purpose cleaner. Run the swab along the hinge crevices, moving it back and forth to loosen buildup. Repeat with a fresh swab until it comes out clean.
This takes less than a minute and prevents that nasty yellow crust from forming.
Why Hinge Buildup Happens
Every time you lift or lower the seat, tiny particles of urine and dust get wedged into the hinge joints. Over time, they harden into a stubborn residue that can even cause the seat to loosen or squeak. Regular cleaning prevents this.
The Best Tools For The Job
Cotton swabs are perfect because they're small enough to reach tight spaces. For extra stubborn grime, use an old toothbrush or a pipe cleaner. Rubbing alcohol works well because it disinfects and evaporates quickly without leaving moisture behind.
How Often To Clean
Aim to clean the hinges every two weeks or whenever you do a deep bathroom clean. If you have boys in the house, you might need to do it weekly. It's a quick habit that keeps your toilet looking and smelling fresh.
16. Use a Steam Cleaner for a Deep Sanitize
If you want to go beyond surface cleaning, a handheld steam cleaner is a game-changer. It uses high-temperature steam to kill bacteria and loosen grime without any chemicals. This method is especially effective for the toilet seat, lid, and hard-to-reach crevices where germs hide.
Steam cleaning is not only eco-friendly but also incredibly thorough. The heat penetrates porous surfaces, eliminating odors and sanitizing without leaving residue. It's a great option for households with children or pets who might be sensitive to harsh cleaners.
Why Steam Works On Toilets
Steam reaches temperatures above 212°F, which is hot enough to kill most bacteria and viruses instantly. Unlike bleach, it doesn't corrode plastic parts or discolor surfaces. The steam also melts away stubborn stains and buildup, making wiping effortless.
Best Areas To Steam
Focus on the seat, lid, and hinge area. The steam nozzle can target tight spots where a cloth can't reach. For the bowl, use a steam mop attachment or a directed jet to clean under the rim.
Always let the surface cool before wiping to avoid burns.
Safety Tips
Always read the manufacturer's instructions for your steam cleaner. Use distilled water to prevent mineral buildup. Keep the nozzle moving to avoid heat damage.
Never steam the wax ring or internal components, as moisture can cause issues.
17. Keep a Spray Bottle of Vinegar and Water Handy
A simple spray bottle can be your best defense against toilet grime. Mix equal parts white vinegar and water, and you've got a natural cleaner that's safe, cheap, and surprisingly effective. Keep it on the back of the toilet or under the sink so it's always within reach.
Daily spritzing takes just seconds and prevents stains and odors from building up. Vinegar is acidic enough to break down mineral deposits and kill many bacteria, but gentle on porcelain and plumbing. No harsh fumes, no plastic waste from disposable wipes.
How To Make The Mix
Use a clean spray bottle and combine one part white vinegar with one part water. Shake gently. That's it.
You can add a few drops of essential oil like tea tree or lemon if you want a fresher scent, but it's optional.
Where To Spritz
Hit the inside of the bowl, the rim, the seat, and the lid. Don't forget the outside of the bowl and the base where splashes land. Let it sit for a minute or two, then wipe with a cloth or flush.
For stubborn rings, let it soak longer before scrubbing.
When To Use It
Use it daily as a maintenance spray, or after each use if you're dealing with hard water stains or frequent odor. It's also perfect for a quick freshen-up before guests arrive. Just a few spritzes and a wipe make the toilet look and smell clean.
18. Scrub the Inside of the Tank Twice a Year
Most people forget about the toilet tank until something goes wrong. But that hidden reservoir can collect sediment, mineral deposits, and even mold over time. A quick biannual scrub keeps the tank clean and helps your toilet flush properly.
Turn off the water supply valve behind the toilet, then flush to empty the tank. Use a soft brush or an old sponge with white vinegar to scrub the interior walls and bottom. Pay extra attention to corners and around the fill valve.
Rinse by turning the water back on and flushing a few times. This simple step prevents mineral buildup that can clog jets and weaken flushes.
Why It Matters
Mineral deposits from hard water can accumulate on the tank's inner surfaces and inside the flush valve. Over time, this buildup restricts water flow and reduces flushing power. A clean tank also means fewer odors and less grime in the bowl.
What You'll Need
White vinegar, a soft scrub brush or sponge, and a towel for any drips. Avoid harsh chemicals that can damage rubber seals and gaskets. Vinegar is gentle but effective at dissolving mineral scale.
Step-by-step
- Shut off the water supply. 2.
Flush to drain the tank. 3. Scrub all interior surfaces with vinegar.
- Let it sit for 10 minutes. 5.
Turn the water back on and flush to rinse. Repeat if heavy buildup remains.
19. Use a Toilet Cleaning Tablet in the Tank
Drop a cleaning tablet into the tank and let every flush do the scrubbing for you. These tablets dissolve slowly, releasing cleaning agents that keep the bowl fresh and reduce stains. It's a set-it-and-forget-it solution that cuts down on manual cleaning.
Toilet tank tablets are a popular choice for ongoing maintenance, but not all tablets are created equal. The key is choosing a non-bleach formula to protect the rubber seals, flapper, and other internal components. Bleach-based tablets can cause premature wear and lead to leaks or costly repairs.
Look for enzyme-based or oxygen-bleach tablets that are safe for all parts. Drop one in every few months as directed, and you'll notice less scrubbing needed between deep cleans.
Why Non-bleach Matters
Bleach is harsh on rubber and plastic parts inside the tank. Over time, it can degrade the flapper, causing water to run continuously. Non-bleach tablets use gentler ingredients that still fight stains and odors without damaging your toilet's internals.
How Often To Replace
Most tablets last about three months, but it depends on usage and water conditions. Check the tank every few weeks to see if the tablet has dissolved completely. If the bowl starts to show stains, it's time for a fresh tablet.
Watch For Blue Water
Some tablets turn the tank water blue, which can stain the bowl if left too long. Choose clear or neutral-colored formulas to avoid any tinting issues. Also, flush once before using the toilet after installing a new tablet to prevent concentrated dye from splashing.
20. Schedule a Monthly Deep Clean Routine
Daily wipes and weekly scrubs are great, but they can miss the buildup that happens over time. That’s why a monthly deep clean is a game-changer. Set a recurring reminder on your phone and treat it like a non-negotiable appointment.
This one habit keeps your toilet looking and smelling its best without any last-minute panic before guests arrive.
A monthly deep clean doesn't have to take all day. Block out 20 to 30 minutes and follow a simple sequence. Start by pouring a cup of white vinegar or a toilet-specific soak into the bowl and let it sit while you work on the exterior.
Then scrub the bowl thoroughly, flush, and move on to disinfecting the outside. Finally, tackle the tank. Consistency is key—once it becomes routine, it feels effortless.
The Soak Phase
Begin by adding a cleaning solution to the bowl. White vinegar mixed with baking soda works wonders, or use a commercial toilet cleaner. Let it sit for at least 10 minutes to break down stains and mineral deposits.
While it soaks, you can prep your other supplies.
Scrub And Flush
After the soak, scrub the entire bowl with a toilet brush, paying extra attention under the rim and around the siphon jet. Flush to rinse. If stubborn rings remain, use a pumice stone (wet it first) to gently buff them away without scratching the porcelain.
Disinfect The Exterior
Don't forget the outside. Spray a disinfectant cleaner on the lid, seat, base, and handle. Let it sit for a few minutes, then wipe everything down with a microfiber cloth.
This step removes germs and dust that accumulate between cleanings.
Clean The Tank
The tank is often neglected. Turn off the water supply, flush to empty the tank, then scrub the inside walls with a sponge or soft brush. Avoid harsh chemicals that can damage rubber parts.
Rinse by turning the water back on and flushing a couple of times.
FAQ
How often should I clean my toilet?
For most households, a quick wipe of the seat and handle daily and a full scrub once a week is enough. If you have multiple users or hard water, increase frequency.
Can I use bleach in my toilet tank?
Bleach can damage rubber seals and gaskets in the tank. Use a non-bleach tablet or a vinegar rinse instead to avoid costly repairs.
What's the best natural cleaner for toilet stains?
Baking soda and white vinegar work well for most stains. For hard water rings, a pumice stone or citric acid solution is more effective.
How do I remove a stubborn toilet ring?
Let a cleaner soak for 15 minutes, then scrub with a pumice stone or a brush. For tough rings, use a commercial product with hydrochloric acid, but follow safety instructions.
Why does my toilet smell even after cleaning?
The smell may come from bacteria in the overflow tube or under the rim. Clean those areas with a brush and disinfectant. Also check for cracks in the wax ring at the base.
Conclusion
Keeping your toilet clean doesn't have to be a dreaded chore. With these 20 tips, you can cut down on scrubbing time and keep things fresh with minimal effort. Pick a few that fit your routine and see how much easier bathroom maintenance becomes.
Start with the tricks that solve your biggest headaches, whether that's hard water stains or lingering odors. A little consistency goes a long way, and soon you'll have a sparkling toilet without breaking a sweat.


