
You close the door on a messy room and promise yourself you'll deal with it tomorrow. Tomorrow comes, and the pile of clothes seems to have multiplied overnight. Starting is the hardest part, but it doesn't have to be.
The secret is to break the chaos into tiny, manageable steps. Forget marathon cleaning sessions—this is about building momentum one small win at a time.
These 20 steps are designed to help you clean any messy room without feeling overwhelmed. Grab a trash bag, put on some music, and let's get started.
1. Clear a Landing Zone
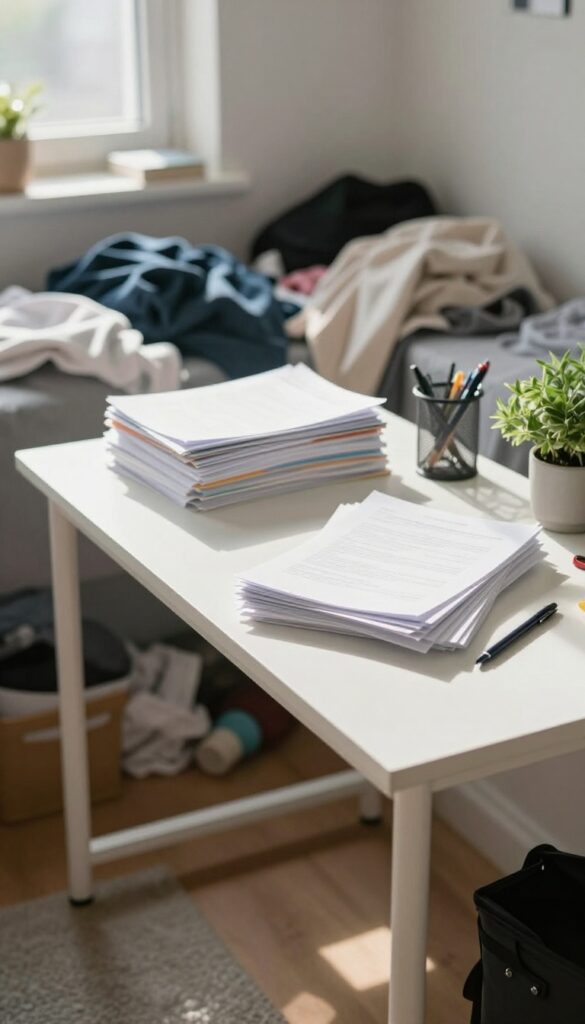
Before you dive into the deep end, pick one small surface to clear completely. Maybe it's a desk, a nightstand, or just a corner of your bed. This spot becomes your command center—a clean base where you can sort items, set down tools, and take a breather.
Psychologically, seeing that one clear area gives you a quick win and a visual reminder that progress is possible.
Starting with a tiny, manageable area prevents that familiar overwhelmed feeling. It's like drawing a circle of order in the middle of chaos. Once you have that landing zone, you'll have a dedicated place to put things as you work through the rest of the room.
Plus, it's satisfying to see immediate results.
Why A Landing Zone Works
A landing zone creates a psychological anchor. When the rest of the room feels like a disaster, that one clean spot proves you can make a difference. It also gives you a functional workspace—you can set down a trash bag, a laundry basket, or a "keep" pile without losing track of it.
How To Choose The Right Spot
Look for a surface that's not buried under too much stuff. A desk, a dresser top, or even a chair can work. The goal is something you can clear in under five minutes.
Avoid starting with the floor—it's usually the most overwhelming. Pick a smaller, elevated surface for that instant payoff.
What To Do With The Stuff You Remove
As you clear the landing zone, you'll have to move items elsewhere. Don't overthink it—just put them in a temporary pile nearby. You'll sort them later.
The point is to create that clean space, not to organize everything yet. Keep a trash bag handy for obvious garbage.
2. Grab the Right Supplies
Nothing kills momentum like having to search for a trash bag halfway through. Before you touch a single item, gather everything you'll need. This five-minute prep saves you from endless interruptions.
What You'll Actually Need
Keep it simple: a few trash bags for obvious junk, a laundry basket or hamper for clothes, an all-purpose cleaning spray, and a pack of microfiber cloths. If you have surfaces that need special care (like wood or glass), grab the appropriate cleaner too. A pair of gloves can make handling grime less gross, and a small box or bin works great for random items that belong in other rooms.
Why This Matters
When you have everything within arm's reach, you don't break your flow. Each time you stop to find a spray bottle or a bag, you risk getting sidetracked—checking your phone, noticing another mess, or just losing steam. Having supplies ready keeps you in cleaning mode and turns the task into a straight shot.
Pro Tip: Create A Cleaning Caddy
If you clean often, keep a small caddy or tote stocked with your go-to supplies. That way you can grab it and go without rethinking what you need. For this one room, just set everything on a cleared spot like a desk or the bed so it's visible and easy to reach.
3. Set a Timer for 10 Minutes
The hardest part of cleaning a messy room is simply starting. Your brain sees a disaster zone and goes into overwhelm mode. That's where a timer becomes your secret weapon.
By committing to just 10 minutes, you bypass that mental resistance.
A short timer tricks your brain into thinking the task is small and doable. Once you start, momentum often carries you past the 10-minute mark. Even if you stop exactly when the timer rings, you've made progress.
That's a win.
Why 10 Minutes Works
Ten minutes is long enough to make a visible dent but short enough not to feel daunting. It lowers the barrier to entry. You can do almost anything for 10 minutes, even sorting a pile of laundry.
The key is to set the timer and start immediately—no overthinking.
What To Do In Those 10 Minutes
Pick one small zone: a corner of the floor, a nightstand, or a chair. Focus only on that area. Clear trash into a bag, put stray items in a bin, and don't worry about perfection.
The goal is motion, not a magazine-worthy result.
Extending The Session Naturally
Once the timer goes off, check in with yourself. If you're on a roll, reset the timer for another 10 or 15 minutes. If you're done, stop without guilt.
Over time, these short bursts add up to a clean room without the dread.
4. Trash First, Everything Else Later
Walk through the room and toss obvious trash: empty wrappers, old receipts, broken items. This instantly reduces visual clutter. It's the fastest way to see progress and build momentum.
Why Trash Comes First
Trash is the low-hanging fruit of cleaning. It requires zero decision-making—just grab and toss. Removing it clears physical and mental space, making the rest of the room feel more manageable.
What Counts As Trash
Be ruthless: empty food containers, used tissues, expired coupons, broken pens, packaging you don't need. If it's obviously garbage, don't second-guess. Have a bag ready and move quickly.
The One-bag Rule
Commit to filling one entire trash bag before you do anything else. This gives you a clear goal and a visible win. Once that bag is full and tied, you'll feel a surge of motivation to keep going.
5. Gather All Dishes and Cups
Dishes and cups have a way of spreading throughout a messy room like they're on a mission. You'll find them on nightstands, desks, under the bed, and even in the closet. Collecting every single one in one trip is a quick win that instantly makes the room look cleaner and removes sticky, germy surfaces.
Start by scanning the room systematically. Look on every flat surface, inside drawers, and under furniture. Grab a laundry basket or a sturdy box to carry everything in one go.
Don't stop to sort or rinse—just gather. Once you've got them all, head straight to the kitchen and unload. This single action eliminates a major source of clutter and makes the rest of the cleaning easier.
Why Dishes Multiply In A Messy Room
It's easy to bring a snack or a drink to your room and forget about it. Over time, those single items turn into a collection. The sight of dirty dishes can make the room feel even messier than it is.
Removing them is a psychological boost—you're not just cleaning, you're reclaiming your space.
The One-trip Rule
Resist the urge to make multiple trips. The goal is efficiency. By gathering everything at once, you save time and keep your focus.
Use a large container so you don't have to balance items in your hands. This method also prevents you from getting sidetracked by other messes along the way.
What About Sticky Or Spilled Drinks?
If you find cups with leftover liquid, dump them into a sink or toilet before adding them to the collection. For sticky residue, a quick wipe with a damp cloth will do. But don't get bogged down—the deep clean happens in the kitchen.
Your only job here is to remove them from the room.
6. Collect Laundry in One Go
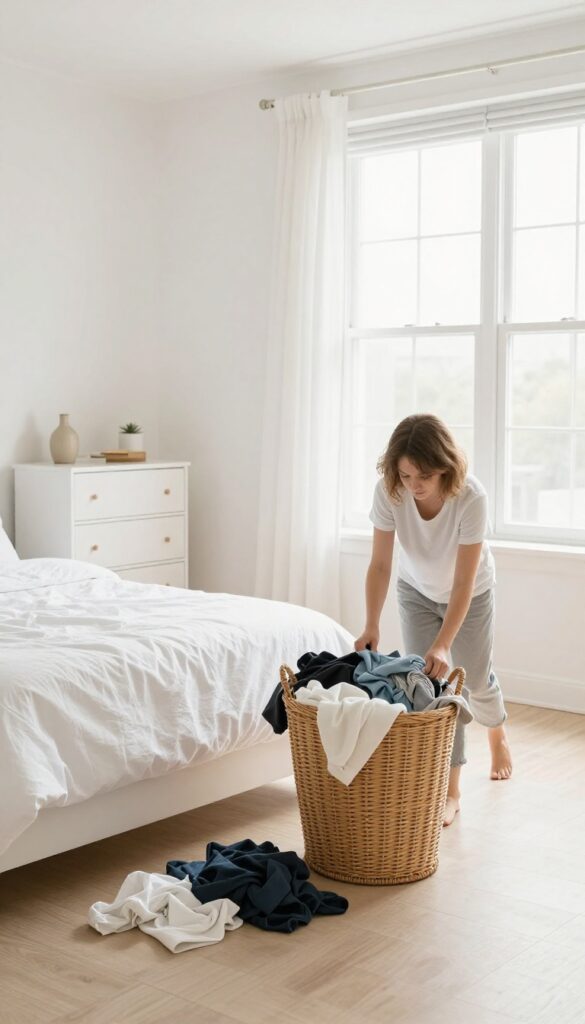
Laundry is often the biggest visual clutter in a messy room. Instead of picking up items one by one as you go, do a single sweep for every piece of fabric. This prevents you from getting sidetracked and makes the rest of the room instantly feel more open.
Grab a laundry basket or a large bag and walk around the room collecting all clothes, towels, linens, and any other washable fabrics. Don't stop to sort yet—just gather everything in one go. Once you have it all, take a few minutes to separate items into three categories: washing, donating, and putting away.
This quick triage keeps you from re-washing clean clothes or holding onto things you no longer need.
The One-sweep Rule
Resist the urge to pick up individual items as you clean other areas. Instead, dedicate this step solely to fabric. Move methodically around the room—bed, floor, chair, closet floor—and toss everything into your basket.
This single pass saves time and mental energy.
Sort On The Spot
Once your basket is full, sort items into three piles: wash (dirty clothes and linens), donate (items you no longer wear or use), and put away (clean clothes that belong in drawers or closet). This prevents you from mixing clean and dirty laundry or holding onto clutter.
Clear The Floor For Progress
Removing all fabric from the floor instantly makes the room look less chaotic. It also frees up space to move around and tackle the next steps. If you have a lot of laundry, start a load right away so it's done by the time you finish the rest of the room.
7. Make the Bed
Once the obvious trash and laundry are handled, there's one move that instantly shifts the room's energy: making the bed. A made bed is like a clean slate—it transforms the largest piece of furniture from a dumping ground into a functional surface. Plus, it gives you a psychological win that makes the rest of the room feel more manageable.
Start by stripping off any sheets, blankets, or pillows that are piled on. If the bedding needs washing, toss it in the laundry pile you already started. Otherwise, smooth out the fitted sheet, pull up the flat sheet, and add blankets and pillows back in a neat arrangement.
Even a simple tuck-and-fluff job works wonders. Once the bed is made, use it as a staging area for folding clothes or sorting items you plan to keep. That clear, flat surface is prime real estate for organizing.
Why It Works
A made bed tricks your brain into seeing progress. It breaks the visual chaos and gives you a clean anchor point. Research even suggests that people who make their bed are more productive throughout the day.
In a messy room, that one tidy spot can motivate you to keep going.
Quick Tips For A Fast Make
Don't stress about hospital corners. Just pull the sheets straight, fluff the pillows, and smooth the comforter. If you're short on time, focus on the top layer—a neat duvet or quilt hides a lot.
And if your bed is against a wall, you only need to make the visible side look good.
8. Clear Horizontal Surfaces
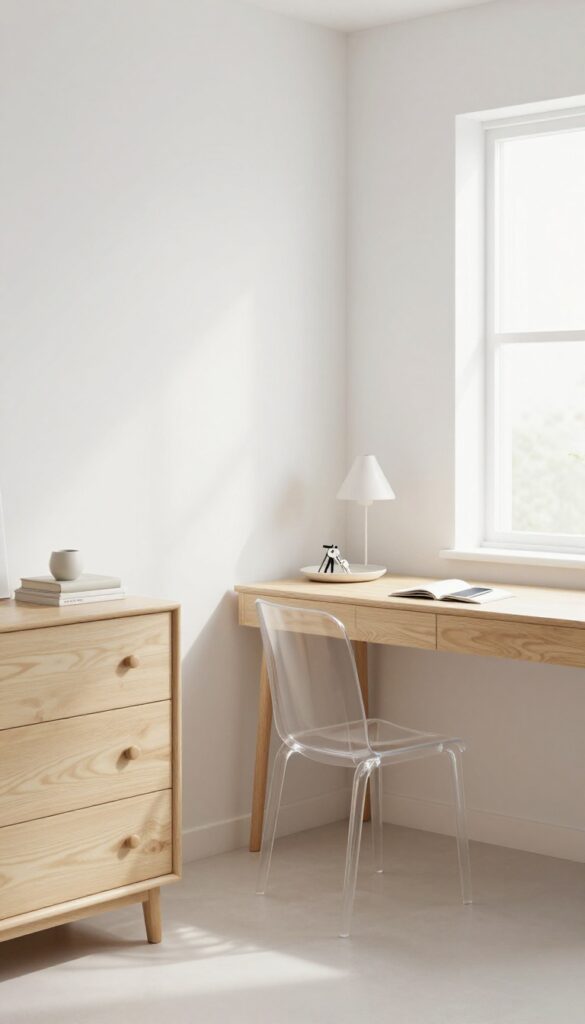
Flat surfaces like desks, nightstands, and dressers are magnets for clutter. They collect everything from mail to random knick-knacks, making the room feel chaotic even after you've tackled the floor. Clearing them off is a quick win that instantly makes the space feel more organized and peaceful.
Start by removing everything from each surface and placing it in a pile on the floor or a nearby chair. Then wipe down the surface with a damp cloth or all-purpose cleaner. As you put items back, only keep what belongs there—your lamp, a book you're reading, or a small decorative piece.
Everything else goes to its proper home or into a donate/trash pile. This step takes just a few minutes per surface but has a huge visual payoff.
The One-touch Rule
As you handle each item, decide immediately: keep, toss, or relocate. Don't set things down to decide later—that's how piles reform. The one-touch rule keeps the process moving and prevents you from getting stuck.
Create Landing Zones
Designate a small tray or dish on high-use surfaces like your nightstand or entry table for daily essentials: keys, wallet, phone. This prevents random clutter from spreading and gives you a clear spot for items you use every day.
Don't Forget The Top Of Furniture
The tops of dressers, bookshelves, and even the fridge are prime clutter zones. Wipe them down and only return items that are either decorative or functional. If it's dusty and hasn't been touched in months, it's probably time to let it go.
9. Create a 'Maybe' Box
Decision fatigue is real when you're sorting through a messy room. You pick up an item and freeze—do I keep this? Will I use it again?
That uncertainty can stall your entire cleanup. Instead of agonizing over every questionable possession, give yourself permission to defer the decision.
Grab a cardboard box or plastic bin and label it "Maybe. " As you sort through your room, toss in anything you're not 100% sure about keeping. This includes clothes you haven't worn in a year, gadgets you might repair someday, or gifts you feel guilty donating.
The key is to keep moving—don't overthink each item. Once the box is full, seal it with tape and write today's date on the side. Store it in a closet or garage.
Set a reminder for three months from now. If you haven't opened the box by then, donate the entire contents without looking inside. This trick helps you break the paralysis of indecision while still leaving room for second thoughts.
Why It Works
The 'Maybe' box removes the pressure of making permanent choices in the moment. You're not committing to keep or discard—you're just postponing. This psychological trick keeps your sorting momentum high because you're not getting stuck on tough calls.
Plus, the three-month rule is surprisingly effective: most items you haven't needed in 90 days you'll never miss.
What Goes In
Think of items that trigger hesitation: that sweater you've never worn but still has tags, the bread maker from your aunt, old textbooks you might reference, or hobby supplies for a project you started and abandoned. If you find yourself arguing with yourself about it, it belongs in the box. Avoid putting in truly sentimental items (photos, heirlooms) or things you know you'll use soon.
After The Box Is Sealed
Once taped and dated, put the box out of sight. Out of sight truly helps you forget. When the three-month mark arrives, don't open it—just drive it to a donation center or list it for free online.
If you absolutely need something from it, you'll remember before then. Spoiler: you probably won't.
10. Sort Items into Zones
Once you've cleared the obvious trash and laundry, the room may still feel chaotic because everything is mixed together. Sorting items into zones is like giving each object a temporary home before it finds its permanent one. This step prevents you from bouncing around the room and helps you see exactly what you're working with.
Group like items together: electronics, books, toiletries, papers, and miscellaneous. This makes it easier to decide where each category should live. You'll also spot duplicates or things you forgot you owned, which speeds up decluttering later.
Create Physical Piles
Use the floor, a bed, or large boxes to create distinct piles for each category. Don't worry about being perfect—just get similar items in the same area. For example, gather all charging cables, remotes, and gadgets into an electronics zone.
Books and magazines go in another pile. Toiletries and personal care items form a third. This visual separation instantly reduces overwhelm.
Use Bags Or Bins As Placeholders
If floor space is limited, grab a few laundry baskets, trash bags, or storage bins. Label each one with a sticky note or just remember what's inside. This keeps piles contained and prevents them from spreading back into the mess.
You can even use different colored bags for different zones—blue for electronics, green for books, etc.
Keep A 'maybe' Pile Handy
As you sort, you'll come across items you're unsure about. Instead of stalling, toss them into a designated 'maybe' zone. This keeps the sorting process moving.
You can revisit these items later when you have more mental energy to decide.
11. Use the One-Touch Rule
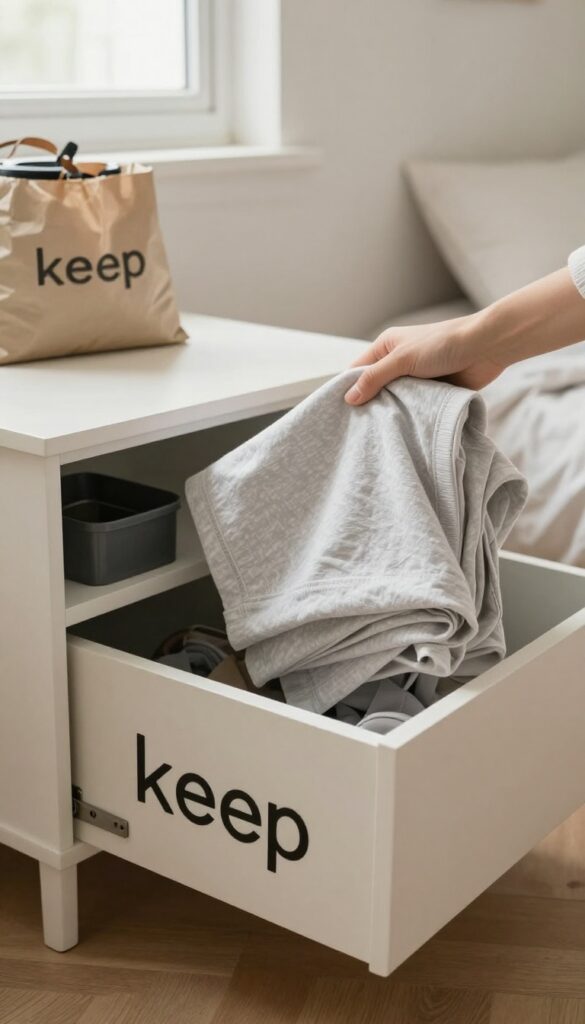
When you pick up an item, decide immediately: put it away, toss it, or donate it. Avoid setting things down to deal with later. This simple rule stops the cycle of moving clutter from one spot to another.
Why The One-touch Rule Works
Every time you handle an item without deciding its fate, you waste mental energy and time. The one-touch rule forces a decision on the spot, eliminating the need to revisit the same item. It turns cleaning into a series of quick decisions rather than a long, draining process.
How To Apply It In Practice
As you move through the room, pick up each item only once. If it belongs in the bedroom, walk it there now. If it's trash, toss it.
If it's donate, put it in the bag. Don't set it down "for now"—that's how piles grow.
Common Pitfalls To Avoid
The biggest trap is telling yourself you'll sort things later. That leads to stacks of "maybe" items that linger for weeks. Also, don't try to organize before decluttering—first decide what stays, then find a home for it.
12. Wipe Down All Surfaces
Once the clutter is gone, dust and grime are often what make a room feel dirty. A quick wipe-down of all flat surfaces can transform the space instantly. You don't need a deep clean—just a spray and a cloth to remove the layer of neglect.
Grab an all-purpose cleaner or a microfiber cloth dampened with water. Start with the highest surfaces like shelves and windowsills, then work your way down to desks and nightstands. This prevents dust from settling on already-cleaned areas.
Pay special attention to spots where grime builds up: light switches, door handles, and the tops of picture frames.
Choose The Right Cleaner
A simple vinegar-water solution works wonders for most surfaces. For glass or mirrors, use a streak-free glass cleaner. Avoid harsh chemicals on delicate wood—stick to a gentle wood polish or a damp cloth.
Don't Forget The Details
Wipe down the base of lamps, the edges of drawers, and the backs of chairs. These small touches make the room feel thoroughly clean. Also, clean the remote controls and phone chargers—they collect dust and fingerprints.
13. Vacuum or Sweep the Floor
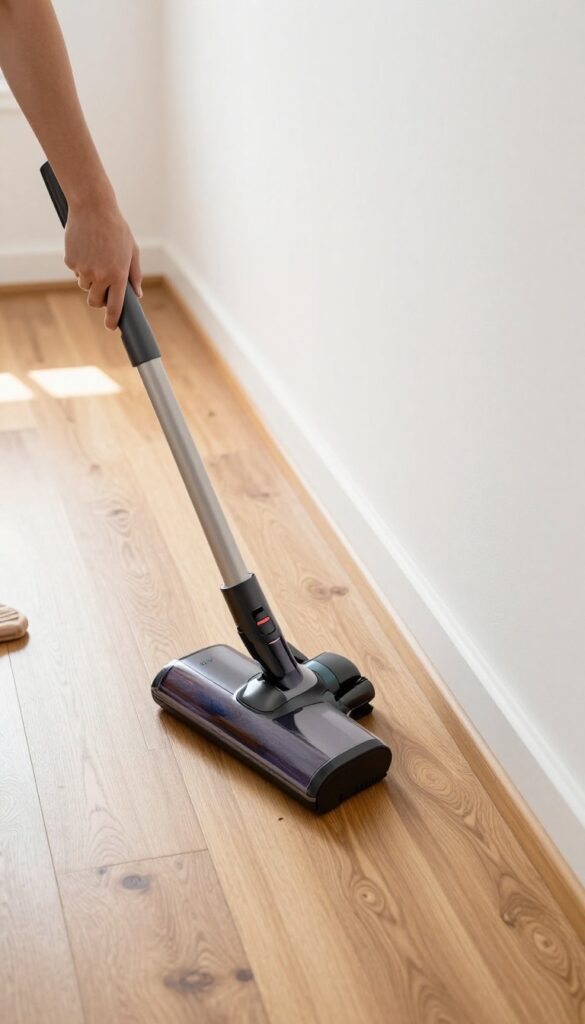
With surfaces cleared and dusted, the floor is the last frontier. It's amazing how much dirt, crumbs, and hair accumulate on the ground, making the room feel grimy even when everything else is tidy. Vacuuming or sweeping is the final step that transforms a clean-looking room into a truly fresh-smelling space.
Pick The Right Tool
If you have carpet, a vacuum with a HEPA filter is best for trapping allergens. For hard floors, a microfiber mop or a vacuum with a hard floor setting works wonders. Sweeping is fine, but use a dustpan with a rubber edge to get every last bit.
Work In Sections
Start at the farthest corner and work your way toward the door. This way you're not walking over clean areas. Overlap your strokes slightly to avoid missing spots.
Pay extra attention under furniture and along baseboards.
Don't Forget The Details
Use a crevice tool for corners and along walls. If you have pets, a rubber brush can lift stubborn hair from carpets. For hard floors, a quick damp mop after sweeping picks up fine dust and leaves a subtle shine.
14. Organize One Drawer or Shelf
After tackling the floor and surfaces, your room might still feel cluttered because of small items stuffed into drawers and shelves. Picking just one small zone—like a junk drawer or a single bookshelf—can give you a quick win without overwhelming you. This focused approach builds confidence and shows you exactly what an organized space should look like.
Choose a drawer or shelf that's causing the most visual chaos. Empty it completely, wipe it down, and sort items into keep, relocate, or toss piles. Only put back what belongs there, using simple dividers or small containers to keep things tidy.
This micro-project takes 10–15 minutes but delivers a huge motivational boost.
Start With The Worst Offender
Look for the drawer that's hardest to close or the shelf where things keep falling out. That's your target. By taming the messiest spot first, you'll feel immediate relief and see what a difference organization makes.
Use What You Have
Don't rush out to buy organizers. Shoeboxes, mason jars, or even empty tissue boxes can work as dividers. The goal is to create defined homes for each category of item—pens, cables, receipts—so you can find them later.
Set A Benchmark
Once that drawer or shelf is perfectly arranged, take a photo. Use it as a reference for the rest of the room. Every time you organize another area, ask yourself: does this meet the same standard?
It keeps you from settling for half-done work.
15. Add a Scent Booster

You've put in the work, and the room looks a million times better. But does it smell clean? That's the final touch that tells your brain the job is done.
A pleasant scent seals the deal and makes the space feel fresh and inviting.
Scent is a powerful cue. When you walk into a room that smells like lemon, lavender, or clean linen, your brain registers it as clean and comfortable. It's the easiest way to elevate your cleaning results without any extra scrubbing.
Light A Candle
A candle does double duty: it adds a warm glow and a consistent scent. Choose a fragrance that matches the mood you want—citrus for energy, lavender for calm, or fresh cotton for that just-cleaned vibe. Keep it on a safe surface and never leave it unattended.
Use A Room Spray
If you're short on time or don't want an open flame, a room spray is perfect. A few spritzes on curtains, upholstery, or the air can instantly refresh the space. Look for natural sprays with essential oils to avoid synthetic smells.
Open A Window
Nothing beats fresh air. Even if it's cold outside, cracking a window for five minutes can push out stale odors and bring in oxygen. It's free, chemical-free, and instantly makes the room feel lighter.
16. Put Away Items You Use Daily
The items you reach for every day—your phone charger, coffee mug, keys, or laptop—tend to be the biggest culprits in a messy room. They land on the nearest surface and stay there, creating a clutter magnet that attracts more stuff. By giving each daily essential a permanent home, you stop the mess before it starts.
Why Daily Items Need A Designated Spot
When you don't have a specific place for everyday items, they end up scattered on desks, nightstands, or the floor. This not only looks messy but also makes it harder to find things when you need them. A designated spot—like a tray by the door for keys or a charging station for electronics—keeps these items organized and accessible.
How To Choose The Right Spot
Think about where you naturally use or put down each item. Your phone charger should be near your bed or desk, not across the room. Your coffee mug belongs in the kitchen or on a coaster on your nightstand, not on a bookshelf.
Place items where they make sense for your daily routine, so putting them away becomes effortless.
Make It A Habit To Return Items Immediately
The key to preventing clutter buildup is to put things back right after use. When you come home, hang your keys on the hook, not toss them on the counter. After charging your phone, unplug it and place it on the nightstand.
This small habit takes seconds but keeps your room tidy without extra cleaning sessions.
17. Create a Drop Zone for Tomorrow
You've made it through the hard part, but the mess can creep back if everyday items don't have a home. A drop zone keeps your daily essentials in check and stops small piles from forming. It's a tiny habit that pays off every morning.
A drop zone is a designated spot where you place your keys, wallet, phone, and other items you grab on your way out. It prevents these things from ending up on tables, counters, or the floor. By making it a habit to use the drop zone, you'll keep surfaces clear and reduce morning stress.
Pick The Right Spot
Choose a location near the door you use most often. A small table, shelf, or even a wall-mounted organizer works. The key is convenience—if it's not easy to reach, you won't use it.
Keep It Simple
Limit the drop zone to just a few essentials. A tray or small basket is enough. Avoid turning it into a dumping ground for random items.
If it gets cluttered, clear it out daily.
Make It A Habit
When you walk in, immediately place your items in the drop zone. In the morning, everything is ready to grab. This small routine saves time and keeps your room tidy.
18. Take Out the Trash
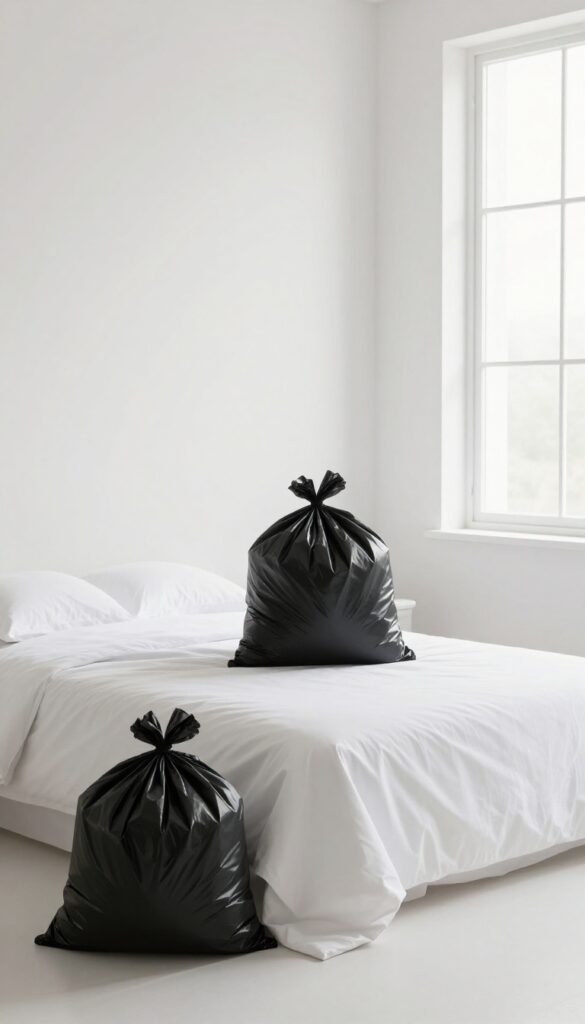
Trash bags can pile up fast when you're decluttering. Once you've filled a bag, don't let it sit in the corner—it'll just remind you of the mess you're escaping. Removing trash immediately keeps the room fresh and your motivation high.
Trash is the easiest win in any cleaning session. It's obvious, it's simple, and it makes an instant difference. But if you leave full bags inside, smells develop and clutter reappears.
Make it a rule: once a bag is full, take it straight to the outdoor bin. This small habit prevents the room from feeling like a garbage dump halfway through your cleanup. Plus, walking the bag out gives you a quick mental break and a sense of accomplishment.
The One-bag Rule
Don't let multiple half-filled bags linger. Commit to filling one bag completely before starting another. This forces you to be decisive about what's trash and keeps the process streamlined.
When that bag is full, tie it off and remove it immediately.
What Actually Counts As Trash
Be ruthless. Expired products, broken items, old receipts, wrappers, and anything you haven't used in a year—toss it. If you hesitate, ask yourself: 'Would I buy this again today? ' If the answer is no, it's trash.
Don't Forget Hidden Spots
Trash hides under beds, in drawers, and behind furniture. Check under the bed for old water bottles and snack wrappers. Empty wastebaskets from nightstands and desks.
Even a single stray wrapper can make a room feel dirty.
19. Do a Final Scan
You've put in the work, and the room looks a million times better. But before you call it done, take a moment to do a final scan from the doorway. This last pass catches small things that can make the space feel truly polished instead of just clean.
Stand at the entrance and look around with fresh eyes. Notice any stray items that ended up on the floor or surfaces—a lone sock, an empty water bottle, a book that didn't make it back to the shelf. Grab those and put them where they belong.
Then shift your focus to the soft touches: fluff the pillows on your bed or chair, straighten any rugs that got kicked out of place, and adjust curtains or blinds so they hang evenly. These tiny adjustments take less than two minutes but have a big impact on the overall feel of the room. The goal is a space that looks intentional and inviting, not just cleared out.
Check The Floor And Surfaces
Walk the perimeter of the room and scan the floor for any items that escaped earlier rounds. Check under the bed, behind the door, and in corners. Wipe down any visible dust or smudges on nightstands, dressers, or shelves.
A quick once-over ensures nothing was missed.
Tidy Up The Details
Fluff pillows, fold throws neatly, and straighten the duvet or bedspread. Align rugs so they sit flat and centered. Adjust picture frames or wall decor that might have shifted.
These finishing touches make the room feel cared for and complete.
20. Celebrate Your Progress

You've made it to the last step, and that alone is worth acknowledging. Too often, we finish a big task and immediately move on to the next without pausing to appreciate what we've accomplished. Taking a moment to celebrate your progress isn't just a feel-good exercise—it reinforces positive habits and makes you more likely to keep your room tidy in the future.
Celebration doesn't have to be elaborate. It's about recognizing the effort you put in and letting yourself feel proud of the transformation. This simple act can boost your motivation for future cleaning sessions and help you associate tidying up with a sense of reward rather than dread.
Snap A Before-and-after Photo
You probably forgot to take a "before" picture when you started, but that's okay. Take an "after" photo now and store it somewhere you can see it—like your phone's wallpaper or a note on your fridge. When you feel unmotivated to clean next time, look at that photo.
It's a powerful reminder of what you're capable of.
Treat Yourself (within Reason)
Reward yourself with something small that fits your budget and lifestyle. Maybe it's a fancy coffee, a new scented candle for the room, or an episode of your favorite show guilt-free. The key is to make the reward immediate and tied to the accomplishment.
Over time, your brain will start to crave that positive reinforcement, making cleaning feel less like a chore.
Share Your Win (if You Want)
Not everyone needs to broadcast their success, but telling a friend or family member can make the achievement feel more real. You might even inspire someone else to tackle their own messy room. If you're private, just enjoy the calm space in silence—sometimes the best celebration is simply breathing in the clean air.
FAQ
How long does it take to clean a messy room using these steps?
It depends on the room size and mess level, but most people can complete the 20 steps in 1–3 hours. The key is to work in short bursts and not rush.
What if I get overwhelmed halfway through?
Take a 5-minute break, then reset your timer for another 10 minutes. Focus on just one small area, like a single drawer, to rebuild momentum.
Should I declutter before cleaning?
Yes, decluttering is built into the steps. Steps 4, 9, and 11 help you remove trash and unwanted items, which makes cleaning much easier.
How do I maintain a clean room after this?
Spend 5–10 minutes each day tidying up. Use the one-touch rule and put things back immediately. A daily reset prevents mess from piling up.
Can I skip steps if my room isn't that messy?
Absolutely. The steps are designed to be flexible. If your room is only slightly messy, focus on steps 2, 4, 7, 12, and 13 for a quick refresh.
Conclusion
Cleaning a messy room doesn't have to be a dreaded chore. By breaking it down into 20 small, manageable steps, you can make steady progress without feeling overwhelmed. Each step builds on the last, turning chaos into calm one action at a time.
The best part is that you can adapt these steps to any room or schedule. Whether you have 10 minutes or a whole afternoon, you now have a clear path forward. Enjoy your fresh, tidy space—you earned it.


