
Staying on top of home cleaning can feel like a never-ending battle, but breaking it down into daily, weekly, and monthly tasks makes it manageable. Instead of spending your whole weekend scrubbing, you can spread out the work so your home stays consistently fresh.
These 15 ideas cover everything from quick morning habits to deeper monthly chores. They're designed to fit into real life, not to add more stress.
Pick a few that work for your schedule and watch how small, consistent efforts keep your space looking great without the overwhelm.
1. Make Your Bed Every Morning

It takes less than a minute, but making your bed every morning is one of the most impactful daily cleaning habits. This simple act instantly transforms a messy bedroom into a tidy, calming space. Plus, it sets a productive tone for the rest of your day, giving you a small win right after you wake up.
Making your bed is the quickest way to make your whole bedroom look cleaner. It also has psychological benefits: completing this small task can boost your mood and motivation. Over time, it becomes an automatic habit that supports a more organized home.
Why It Works
A made bed is the visual anchor of your bedroom. Even if the rest of the room is slightly cluttered, a neatly made bed makes the space feel intentional and put-together. It also prevents dust and pet hair from settling on your sheets, reducing allergen buildup.
How To Make It Stick
Keep your bedding simple so making the bed is fast. Use a duvet or a bedspread that you can just pull up and smooth out. Store extra pillows in a basket or closet so you don't have to arrange a pile every morning.
Set a reminder on your phone for the first week until it becomes automatic.
Bonus Benefits
This habit also encourages you to keep nightstands and floors clear because a made bed makes clutter more noticeable. You'll naturally start tidying up other surfaces, leading to a cleaner room overall. And it only takes 30 seconds—a tiny investment for a big payoff.
2. Wipe Down Kitchen Counters After Each Meal
The kitchen counter is the hardest-working surface in your home. It catches coffee spills, bread crumbs, mail, and everything in between. A quick wipe after each meal stops stains from setting and clutter from taking over, so your kitchen always feels ready for unexpected guests.
What You Need
Keep a dedicated counter spray or a simple vinegar-water solution under the sink, along with a microfiber cloth. Microfiber grabs grime without scratching, and it dries quickly so it's ready for the next use. Avoid sponges that can harbor bacteria.
The Two-minute Routine
After you finish eating, clear everything off the counter. Spray the surface and wipe in long, overlapping strokes. Pay extra attention to areas near the sink and stove where grease and moisture collect.
That's it – two minutes max.
Make It A Habit
Tie the wipe-down to an existing habit, like washing your hands before a meal or starting the dishwasher. Over time, it becomes automatic. You'll stop leaving sticky spots or piles of mail, and your counter will always look clean.
When To Deep Clean
Once a week, move everything off the counter – appliances, utensil holders, fruit bowls – and give the entire surface a thorough scrub. Check corners and backsplashes for splatters. This keeps your daily wipe effective and prevents buildup in hidden spots.
3. Do a 10-Minute Evening Tidy-Up

Evenings are for winding down, not for cleaning marathons. But a quick 10-minute reset before bed can make a huge difference in how you feel the next morning. It's about clearing the visual clutter so you wake up to a calm, ready-for-the-day space.
You don't need to deep clean—just put things back where they belong and give surfaces a quick wipe.
Tackle The Hotspots First
Focus on the areas that accumulate the most clutter during the day: the kitchen counter, coffee table, and entryway. Put away mail, remotes, books, and random items. Wipe down the kitchen counter with a damp cloth.
This takes 5 minutes and instantly makes the room look neater.
Give Floors A Quick Sweep
Use a cordless stick vacuum or a broom to quickly sweep high-traffic areas like the kitchen and living room. You're not aiming for perfection—just picking up crumbs, dust bunnies, and pet hair. Another 3 minutes and your floors will look fresh for the morning.
Reset The Living Room And Bedroom
Fluff and arrange throw pillows, fold blankets, and straighten up any shoes or clothes lying around. In the bedroom, pull the duvet up neatly and clear the nightstand. This final 2-minute step creates a sense of order that helps you relax and sleep better.
4. Sweep or Vacuum High-Traffic Areas Daily
Dirt, dust, and debris love to gather where you walk the most. By giving high-traffic zones a quick daily once-over, you stop mess from migrating to the rest of your home. It’s a small habit that saves you from deep-cleaning entire rooms later.
Focus on entryways, kitchen floors, and hallways. These spots collect outdoor grime, crumbs, and pet hair fast. A two-minute sweep or vacuum pass keeps them presentable and reduces allergens.
You’ll also notice less dust settling on furniture in adjacent rooms.
Why Daily Matters
Letting dirt sit for a week means it gets ground into floors or spreads via shoes and pets. Daily removal cuts down on scrubbing and protects your flooring. It also keeps your home feeling fresh without a major time commitment.
Tools That Make It Fast
Keep a cordless vacuum or a small broom and dustpan near the entryway. A quick grab-and-go tool means you’re more likely to actually do it. If you have hard floors, a dry mop or dust mop works wonders in seconds.
Spot-check Problem Areas
Pay extra attention to doormats, under the kitchen table, and mudroom floors. These spots trap the most debris. A daily once-over prevents buildup that can attract pests or cause wear on your floors.
5. Wash Dishes or Load the Dishwasher Right Away
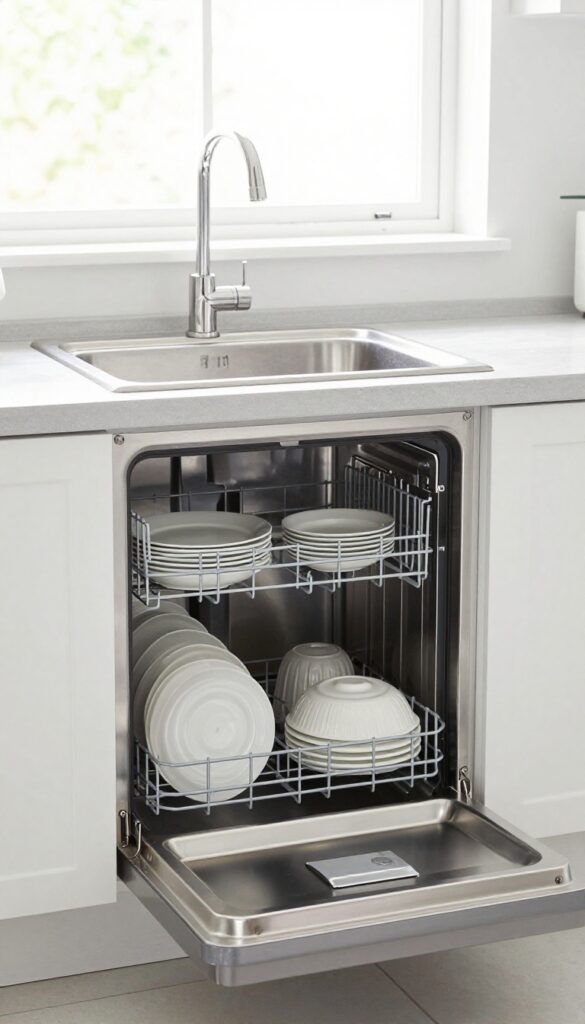
A sink full of dirty dishes can make the whole kitchen feel chaotic. The trick is to tackle them as you cook or immediately after eating, so they never pile up. This simple habit keeps your kitchen looking tidy and makes meal cleanup feel effortless.
When you wash dishes or load the dishwasher right after use, you prevent food from drying and sticking, which saves scrubbing time later. It also eliminates odors and discourages pests. Plus, a clean sink is a psychological win—it makes the whole kitchen feel fresh and ready for the next meal.
Clean As You Cook
While your food simmers or bakes, use those few minutes to rinse and load used pots, pans, and utensils. Wash cutting boards and wipe down counters between steps. This way, by the time dinner is ready, most of the mess is already handled.
Make It A Post-meal Routine
Set a rule: no sitting down until the dishes are done. Enlist family members to help—one person scrapes and rinses, another loads the dishwasher, and a third wipes the table. With everyone pitching in, it takes just five minutes.
Use A Dishwasher Efficiently
Scrape off food scraps rather than rinsing (modern dishwashers handle it better). Load strategically: plates on the bottom, bowls and cups on the top, and utensils in the basket with handles down. Run the dishwasher at night so you wake up to clean dishes ready to put away.
6. Deep Clean the Bathroom Once a Week
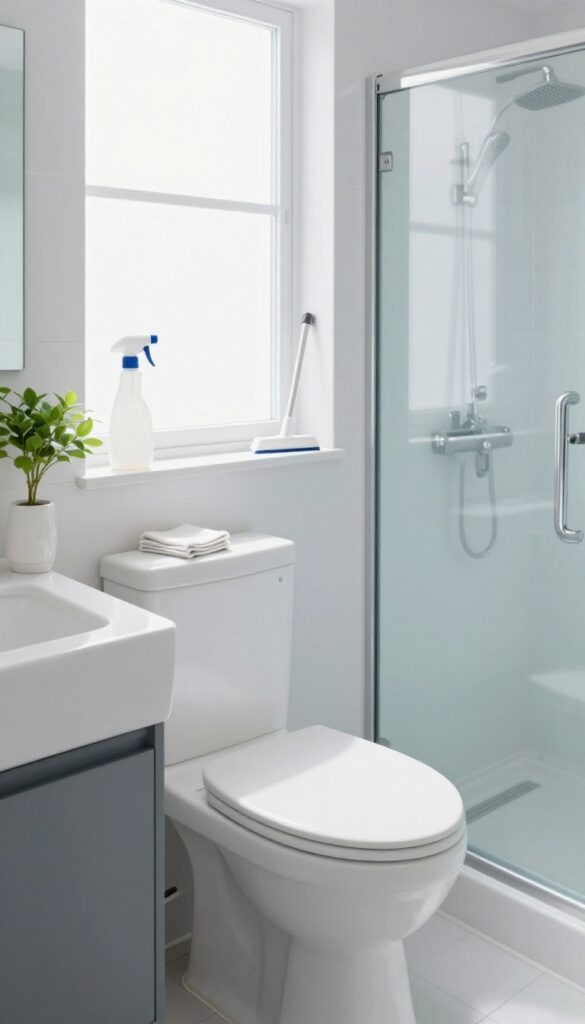
Bathrooms get grimy fast—soap scum, toothpaste splatters, and damp towels create a breeding ground for mold and mildew. A weekly deep clean keeps everything fresh without needing a marathon scrub session later. Pick one day, maybe Saturday morning, and knock it out in under 30 minutes.
Focus on the toilet, sink, shower, and floor. Use a disinfectant spray or bleach cleaner for the toilet bowl and seat. For the shower, a squeegee after each use helps, but a weekly scrub with a bathroom cleaner removes soap scum.
Don't forget the sink—wipe down the basin, faucet, and counter. Finish by mopping or wiping the floor with a disinfectant.
Tackle The Toilet First
Start with the toilet because it needs the most soak time. Spray cleaner inside the bowl and let it sit while you clean the exterior. Scrub the bowl with a toilet brush, then wipe down the seat, lid, and base with a disinfectant wipe or cloth.
Shower And Tub: No More Soap Scum
Spray a bathroom cleaner or vinegar solution on shower walls and tub surfaces. Let it sit for a few minutes, then scrub with a sponge or brush. Rinse thoroughly.
For glass doors, use a squeegee to prevent water spots.
Sink And Counter: Quick Wipe Down
Clear the counter of toiletries, then spray and wipe the sink, faucet, and countertop. Pay attention to the area around the drain and the base of the faucet where grime hides. Wipe mirrors with a glass cleaner for a streak-free shine.
Floor: Finish With A Fresh Sweep
Sweep or vacuum the floor to remove hair and dust, then mop with a floor cleaner or disinfectant. If you have a small bathroom, a spray mop works great. Let it air dry while you put away cleaning supplies.
7. Change Bed Linens Weekly
Your bed is where you spend a third of your life, so keeping the sheets fresh is a no-brainer. Weekly linen changes cut down on dust mites, sweat, and oils that build up fast. Plus, climbing into clean sheets is one of the simplest luxuries you can give yourself.
Make it a habit to strip the bed first thing on laundry day, then wash and dry your sheets on the same day so they're ready to go back on. If you have multiple sets, rotate them to extend their life. And don't forget pillowcases—they collect face oils and bacteria, so swap them weekly too.
Why Weekly Matters
Sweat, dead skin cells, and dust mites accumulate quickly in bedding. Weekly washing keeps allergens low and your sleep environment hygienic. It also prevents that musty smell that develops when sheets go too long between washes.
Make It Easy
Keep a spare set of sheets in the linen closet so you can make the bed right away while the dirty set is in the wash. Use a laundry bag or hamper specifically for bedding to keep it separate from clothes. Set a recurring reminder on your phone until it becomes automatic.
Bonus Tip: Wash At The Right Temperature
Hot water (130°F or higher) kills dust mites and bacteria, but check the care label first. For delicate fabrics, warm water with a good detergent works fine. Add a half-cup of white vinegar to the rinse cycle to soften sheets naturally and remove residue.
8. Mop All Hard Floors Weekly
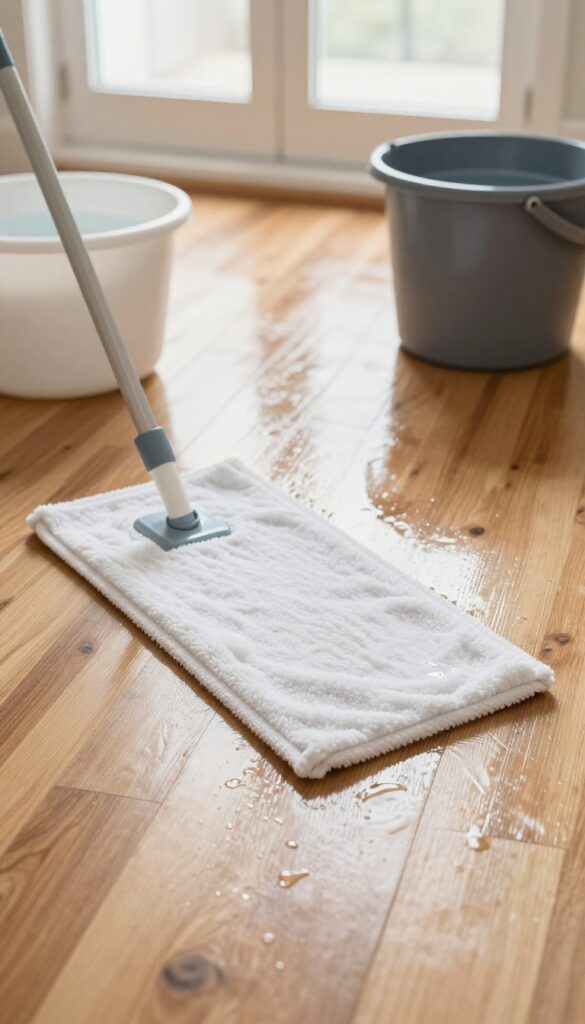
Sweeping or vacuuming hard floors gets the surface debris, but it doesn't remove the sticky film, dried spills, or grime that builds up over a week. A weekly mop session lifts that invisible layer, leaving your floors truly clean and safe for bare feet. It also prevents the dirt from being ground into the finish over time, which keeps your flooring looking newer longer.
Choose The Right Mop And Solution
Not all mops are created equal. A microfiber flat mop with a washable pad is gentle on most floors and picks up grime effectively. Avoid string mops that can leave excess water and damage wood or laminate.
For the cleaning solution, use a pH-neutral cleaner formulated for your floor type—harsh chemicals can strip sealants. A simple mix of warm water and a few drops of dish soap works for tile and vinyl.
Work In Sections For Best Results
Don't try to mop the whole house in one go without a plan. Start in the farthest corner of a room and work your way toward the exit so you don't walk on wet floors. Use a figure-eight motion to avoid streaks, and rinse the mop pad or change the water when it gets dirty.
For large areas, divide the room into quadrants and tackle one at a time.
Don't Forget Baseboards And Corners
While you're down there, give the baseboards a quick wipe with the mop's edge or a damp cloth. Dust and grime love to cling to these ledges, and they make clean floors look dirty fast. Also, pay extra attention to corners where debris tends to gather.
A small detail brush or an old toothbrush can help dislodge stubborn dirt before mopping.
9. Dust Surfaces and Electronics Weekly
Dust doesn't just look bad—it can affect your indoor air quality and trigger allergies. A weekly dusting routine keeps your home feeling fresh and your electronics running smoothly. The key is using the right tools and technique so you're not just moving dust around.
Grab a microfiber cloth (dry for dusting, slightly damp for sticky spots) and start from the top of each room—ceiling fans, tall shelves, then down to tables and electronics. For screens, use a dedicated electronics wipe or a dry microfiber cloth to avoid scratches. Don't forget baseboards and window sills, which collect a surprising amount of dust.
This once-a-week pass takes 15–20 minutes and makes a huge difference in how clean your home feels.
Work Top To Bottom
Start with high surfaces like ceiling fans, crown molding, and tall shelves. Dust falls downward, so you'll catch it as you go. Use an extendable duster for hard-to-reach spots.
Don't Forget Electronics
TV screens, computer monitors, and gaming consoles attract static dust. Turn them off first so you can see the dust clearly. Use a dry microfiber cloth or an anti-static wipe designed for screens.
Quick Tips For Better Results
Avoid feather dusters—they just fling dust into the air. Microfiber traps and holds dust. If surfaces are sticky, lightly dampen the cloth with water or a gentle cleaner.
Wash your microfiber cloths after each use to keep them effective.
10. Clean Out the Refrigerator Weekly

The refrigerator is one of those places where small messes snowball fast. A spilled jar of sauce hides behind a container, and before you know it, you're dealing with sticky shelves and mystery smells. A weekly five-minute check keeps everything fresh and makes it easy to see what you actually have.
Make it a habit to scan your fridge every week, ideally right before your grocery run. Toss anything that's past its prime, and give shelves a quick wipe with a damp cloth. This small routine prevents odors, reduces food waste, and saves you from deep-cleaning a science experiment later.
Toss Expired Items First
Start by checking labels for expiration dates, especially on dairy, meats, and leftovers. If you can't remember when you cooked that casserole, it's time to let it go. A quick purge clears space and keeps your fridge from turning into a forgotten-food museum.
Wipe Spills Before They Set
Use a microfiber cloth or sponge with a little mild cleaner to wipe up any sticky spots or crumbs. Pay attention to the door shelves and crisper drawers where spills often hide. A minute of wiping now saves you from scrubbing dried-on gunk later.
Organize As You Go
Group similar items together—dairy on one shelf, leftovers on another—so you can find things quickly. This also helps you notice when you're low on staples. A tidy fridge makes meal prep faster and reduces the chance of buying duplicates.
11. Wipe Down Baseboards and Trim Monthly
Baseboards and trim are easy to overlook, but they collect dust and grime over time. A once-a-month wipe-down keeps them looking fresh without requiring a deep scrub. This small habit makes a big difference in how clean your home feels.
Why Monthly Matters
Baseboards and trim don't get dirty as fast as countertops, but dust settles on them constantly. Monthly cleaning prevents buildup that can become sticky or hard to remove. It's also a chance to spot any scuffs or damage early.
What You'll Need
Grab a microfiber cloth, a bucket of warm water, and a mild cleaner. For painted trim, avoid harsh chemicals that can strip the finish. A vacuum with a brush attachment works well for quick dust removal before wiping.
How To Do It Efficiently
Start at one corner of a room and work your way around. Wipe from top to bottom to avoid dripping onto already cleaned areas. For stubborn spots, let the cleaner sit for a minute before wiping.
Don't forget door and window trim too.
Make It A Routine
Tie this task to another monthly chore you already do, like changing air filters or cleaning the fridge. Set a recurring reminder on your phone. Once it's part of your routine, it takes just a few minutes per room.
12. Deep Clean the Oven and Microwave Monthly
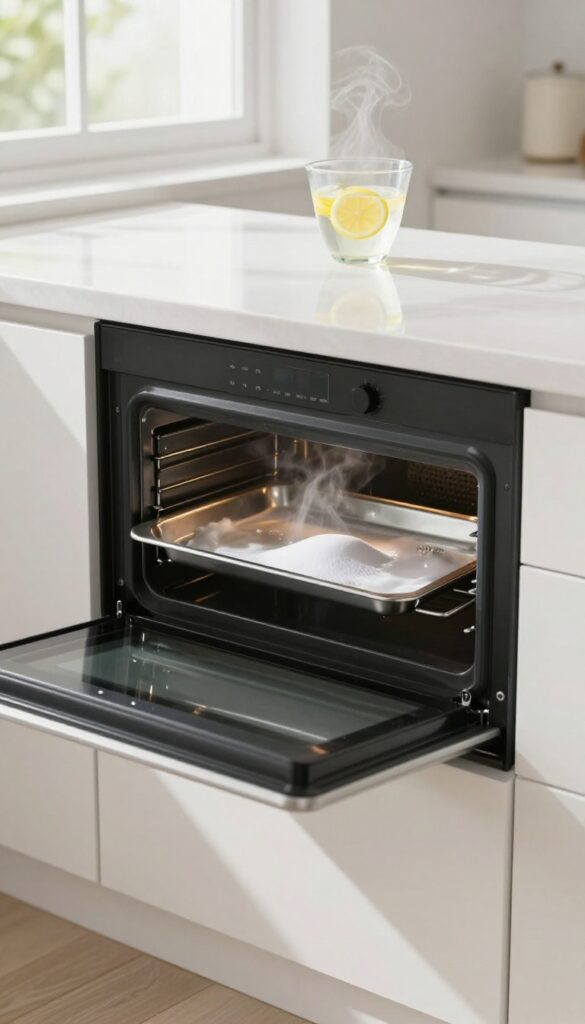
The oven and microwave take a beating from splatters and spills, but they don't get the same attention as countertops or sinks. A monthly deep clean prevents baked-on grime from becoming a stubborn problem and keeps your appliances working efficiently. You don't need harsh chemicals—simple household ingredients do the job.
Monthly deep cleaning of your oven and microwave removes grease, food residue, and odors that build up over time. For the oven, a baking soda paste left overnight breaks down tough stains without fumes. For the microwave, steaming with lemon or vinegar loosens splatters instantly.
These methods are safe, inexpensive, and effective.
Baking Soda Paste For The Oven
Mix a paste of baking soda and water, spread it over the interior surfaces, and let it sit overnight. The next day, wipe away the paste and grime with a damp cloth. For stubborn spots, spray a little white vinegar to reactivate the baking soda.
Avoid using abrasive scrubbers that could damage the enamel.
Steam Clean The Microwave
Place a bowl of water with a few slices of lemon or a tablespoon of vinegar inside the microwave. Heat on high for 3–5 minutes until the window steams up. Let it sit for a couple of minutes, then wipe down the interior with a soft cloth.
The steam loosens food particles, and the lemon leaves a fresh scent.
Don't Forget The Exterior And Seals
Wipe down the outside of both appliances with a mild cleaner. Pay special attention to the control panels and door handles. For the microwave, check the door seal for trapped food debris; a toothpick or damp cloth can clean the crevices.
Keeping seals clean ensures proper closure and efficiency.
13. Wash Windows and Mirrors Monthly
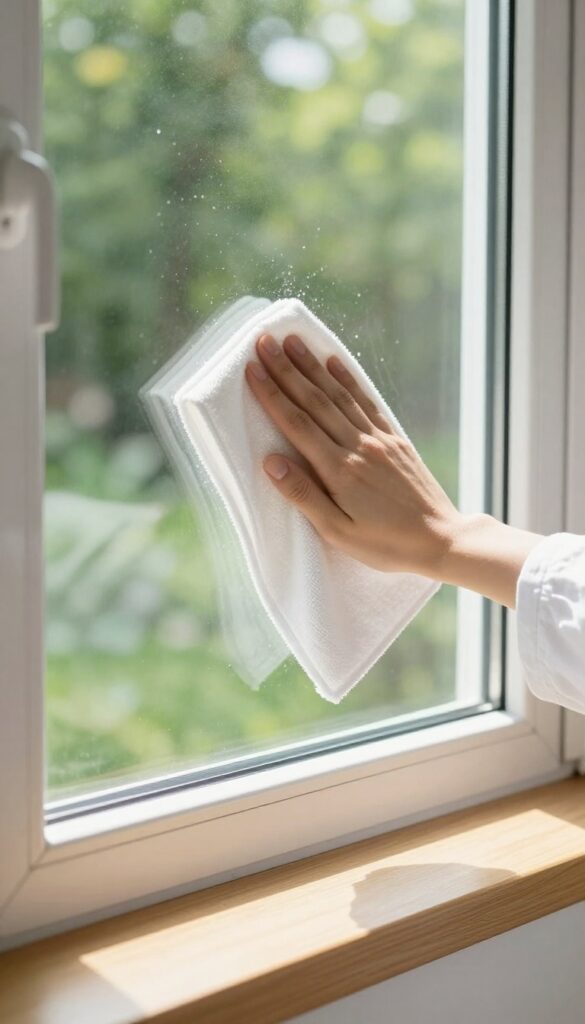
Windows and mirrors collect dust, smudges, and grime that dull their shine and make rooms feel darker. A monthly deep clean removes buildup and restores clarity. Streak-free glass lets in more light and makes every room feel brighter.
Gather The Right Tools
You don't need fancy products. A squeegee, microfiber cloth, bucket, and a simple solution of water with a few drops of dish soap work perfectly. Avoid paper towels—they leave lint and streaks.
Microfiber is lint-free and absorbs better.
Work From Top To Bottom
Start at the top of the window and work your way down. This prevents drips from ruining already-clean areas. For mirrors, spray the cleaner onto the cloth, not directly on the glass, to avoid overspray on the frame.
Don't Forget The Tracks And Frames
Dust and debris accumulate in window tracks and on mirror frames. Use a vacuum with a brush attachment or a damp cloth to clean these areas. A clean frame makes the whole window look finished.
Dry And Buff For A Streak-free Finish
After wiping, use a dry microfiber cloth to buff away any remaining moisture or streaks. This final step ensures crystal-clear glass that sparkles. Wipe in a zigzag pattern to avoid leaving lines.
14. Organize One Closet or Drawer Monthly
Closets and drawers have a way of collecting clutter without you even noticing. One month it's a junk drawer, the next it's the hall closet stuffed with random items. By tackling just one small storage area each month, you prevent the chaos from spreading.
Pick a single closet, drawer, or cabinet at the start of each month. Empty it completely, wipe down the surfaces, and sort everything into keep, donate, and toss piles. Only put back what you truly use or love.
This keeps your home from ever reaching a point where every drawer is a disaster zone.
Start Small And Stay Consistent
You don't need to overhaul your entire house in one weekend. Choose a drawer in your kitchen, a bathroom cabinet, or a small coat closet. Set a timer for 30 minutes if that helps.
The goal is progress, not perfection.
Use Clear Containers And Labels
Once you've decluttered, group similar items together. Clear bins or drawer dividers make it easy to see what you have. A label maker or simple sticky labels help everyone in the household know where things belong.
Maintain The System Year-round
After you organize a space, spend a minute each week to keep it tidy. If something doesn't belong, put it away immediately. This small habit prevents the drawer from becoming a mess again before its next monthly check-in.
15. Vacuum Upholstery and Curtains Monthly
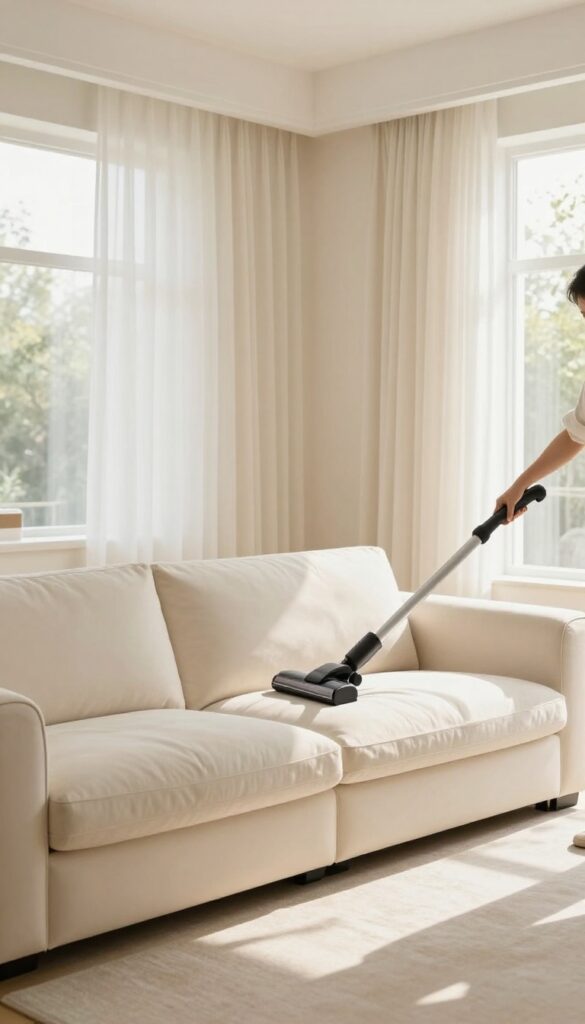
Your sofa and drapes might look clean, but they trap dust, pet dander, and allergens deep in the fibers. A monthly vacuum session keeps them fresh and helps your upholstery last longer. It's a quick win that makes a big difference in indoor air quality.
Use an upholstery attachment to remove dust and allergens from sofas and drapes.
Why Monthly Matters
Weekly dusting misses the deep stuff. Over a month, enough debris settles into fabric to trigger allergies or cause odors. A dedicated monthly pass keeps your furniture and curtains feeling cleaner and looking newer.
How To Do It Right
Start by removing loose cushions and vacuum both sides. Use the crevice tool along seams and under cushions. For curtains, vacuum from top to bottom with a soft brush attachment—no need to take them down unless they're heavily soiled.
Bonus Tips For Pet Owners
If you have pets, sprinkle baking soda over upholstery before vacuuming to neutralize odors. Let it sit for 15 minutes, then vacuum thoroughly. For curtains, a lint roller works wonders on stubborn pet hair.
FAQ
How do I start a cleaning schedule without feeling overwhelmed?
Begin with just one daily habit, like making your bed or a 10-minute evening tidy. Add tasks gradually over a few weeks.
Can I combine daily and weekly tasks on the same day?
Absolutely. Most people do daily quick cleans plus one or two weekly chores each day to spread the load.
What if I miss a day or week in my schedule?
Don't stress. Just pick up where you left off. Consistency over perfection keeps your home clean long-term.
Should I clean the same rooms every week or rotate?
Rotating can work, but for high-use areas like kitchens and bathrooms, weekly cleaning is best. Rotate less-used spaces monthly.
How long should each daily cleaning task take?
Aim for 5–15 minutes per daily task. Weekly chores might take 20–30 minutes, and monthly projects 30–60 minutes.
Conclusion
Sticking to a cleaning schedule doesn't require perfection—just consistency. Start with one daily task, add a weekly chore, and build from there. The key is finding a rhythm that works for your lifestyle, not copying someone else's routine.
Pick one idea from this list and try it for a week. You'll likely notice how small, regular efforts keep your home feeling fresh without overwhelming your weekends. That steady progress is what makes a real difference.


