
Your bedroom should be a place to unwind, not a source of stress. But when clutter piles up and dust gathers, it's hard to relax. The good news?
You don't need hours of scrubbing to keep it tidy.
These 17 cleaning hacks are designed for real life. They're quick, budget-friendly, and focus on high-impact areas. Whether you're short on time or just want a smarter way to clean, these tips will help you reclaim your space.
No complicated routines or expensive products here. Just practical, effort-aware strategies that actually work. Let's dive in and make your bedroom a cleaner, calmer place.
1. Strip the Bed and Let It Breathe
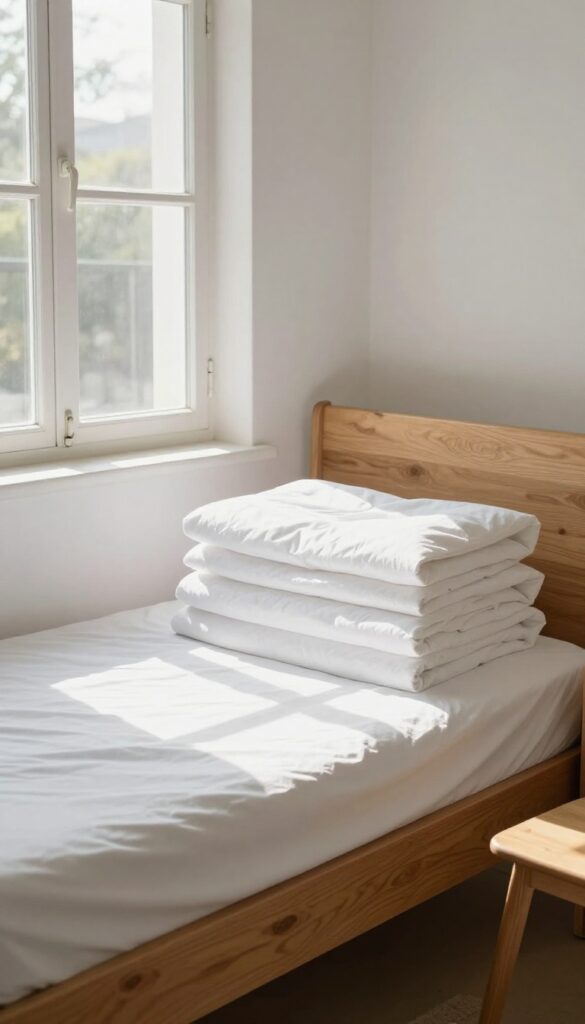
Your bed is the centerpiece of the room, but it also traps dust, sweat, and odors. Starting your cleaning session by stripping all bedding exposes surfaces and makes everything else easier. It also gives your mattress a chance to air out, which helps reduce moisture and keeps it fresher longer.
Why Stripping First Helps
When you remove sheets, pillowcases, and duvet covers, you uncover every surface that needs attention. Dusting the headboard and nightstands becomes straightforward, and you can easily fluff pillows without fabric getting in the way. Plus, vacuuming the mattress top is more effective when it's bare.
Let The Mattress Breathe
While you clean the rest of the room, leave the mattress exposed for at least 15–20 minutes. This allows trapped body moisture to evaporate, reducing musty smells and discouraging dust mites. If possible, open a window to improve airflow.
Quick Bedding Refresh
While the mattress airs, toss your bedding in the laundry. Use a warm wash with a gentle detergent, and add a half-cup of baking soda to the load to neutralize odors. This small step leaves your bed feeling truly clean.
2. Use a Lint Roller for Lampshades and Baseboards
Lint rollers aren't just for clothes. They're surprisingly effective for grabbing dust and pet hair from fabric lampshades, baseboards, and even window blinds. One quick swipe and the mess sticks to the sheet instead of floating into the air.
It's faster than a cloth and way less messy.
A lint roller is a cheap, disposable tool that picks up fine particles without redistributing them. For fabric lampshades, gently roll over the surface to lift dust and hair. For baseboards, run the roller along the edge to catch cobwebs and dirt.
Blinds? Just roll each slat. The adhesive sheets trap everything, so you're not just pushing dust around.
Keep one in your cleaning caddy for quick touch-ups between deep cleans.
Why It Works So Well
Fabric surfaces like lampshades have a texture that traps dust. A cloth often just smears it. The lint roller's adhesive grabs particles directly, lifting them away.
It's especially good for pet owners—hair clings to the sticky sheets instead of floating onto furniture.
Best Places To Use It
Fabric lampshades are the obvious target, but don't stop there. Use it on baseboards to catch dust bunnies, on window blinds to clean each slat, on upholstered headboards, and even on the top of picture frames. It's gentle enough for delicate surfaces but strong enough for stubborn grime.
Pro Tips For Maximum Efficiency
Keep a lint roller in your nightstand drawer for a quick pre-sleep tidy. For larger areas like baseboards, use a wide roller to cover more ground. If the adhesive loses stickiness, tear off the used sheet.
You can also reuse sheets for multiple passes until they're full.
3. Declutter Surfaces with a 'Ten-Minute Tidy'
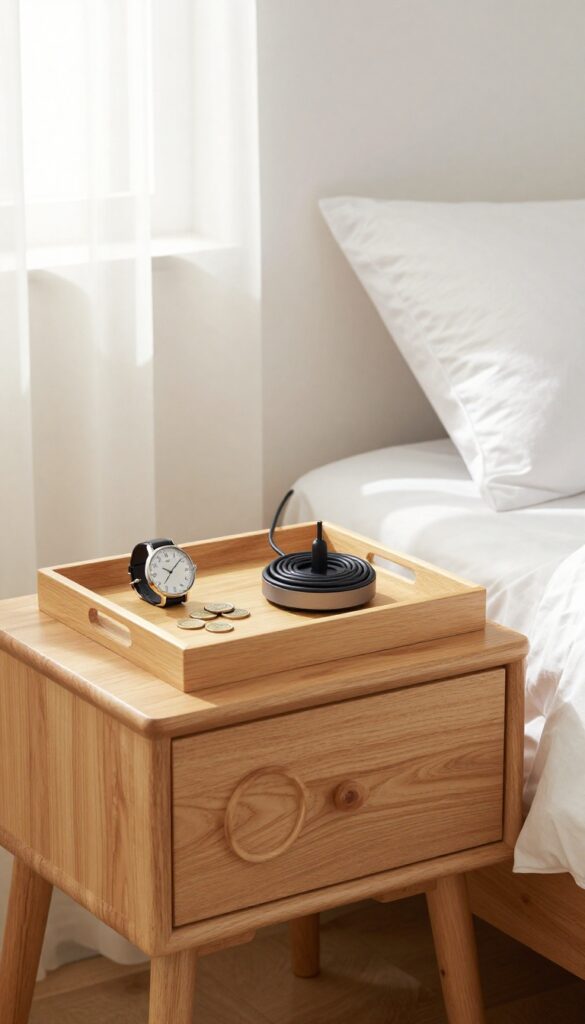
Flat surfaces have a way of collecting random stuff—mail, charging cables, water glasses, that book you swear you'll finish. Before you know it, your nightstand and dresser look like a storage unit exploded. The ten-minute tidy is a low-pressure way to hit reset without committing to a full cleaning session.
Set a timer for ten minutes and grab a small basket or laundry hamper. Start with one surface—say, your nightstand—and quickly sort everything into three piles: put away, trash, or belongs elsewhere. Wipe the surface with a microfiber cloth or a dusting spray, then move to the next area.
The goal isn't deep cleaning; it's visual clarity. When the timer goes off, stop. Even if you only cleared one dresser, the room will feel noticeably calmer.
Keep A 'home' For Everything
To make the ten-minute tidy sustainable, every item on your surfaces needs a designated spot. Use small trays for jewelry, a dish for pocket change, and a dedicated charger station. When everything has a home, putting things away takes seconds instead of mental effort.
Work Top To Bottom
Start with the highest surface (like a tall dresser) and work downward. That way, any dust or crumbs that fall won't land on already-cleaned areas. It's a simple order-of-operations trick that saves you from re-cleaning.
Make It A Daily Habit
The ten-minute tidy works best when it's part of your evening wind-down. Do it right before bed: clear surfaces, fluff pillows, and put away stray items. In just ten minutes, you wake up to a bedroom that feels fresh and ready for the day.
4. Vacuum Under the Bed Without Moving Furniture
That dark space under your bed is a dust bunny breeding ground. But you don't have to wrestle with heavy furniture to clean it. A few simple tools make the job quick and painless.
Under-bed dust doesn't just look bad—it can trigger allergies and make your room feel stuffy. The trick is to use the right attachment and work in sections. No heavy lifting required.
Use A Flat Attachment On Your Vacuum
Most vacuums come with a crevice tool or a flat floor nozzle. Attach it and slide it under the bed in a sweeping motion. The flat profile reaches deep without bumping the bed frame.
For extra reach, attach an extension wand.
Try A Microfiber Duster On An Extendable Pole
If your vacuum can't get low enough, grab a microfiber duster with an extendable handle. The fluffy head traps dust instead of pushing it around. Slide it under from all four sides, then rinse or shake the duster outside.
Slide Out Storage Boxes One By One
If you store bins under your bed, don't pull them all out at once. Slide out one box, vacuum the exposed floor, then push it back and move to the next. This keeps the job manageable and prevents dust from scattering.
5. Wash Pillows and Comforters on a Hot Cycle
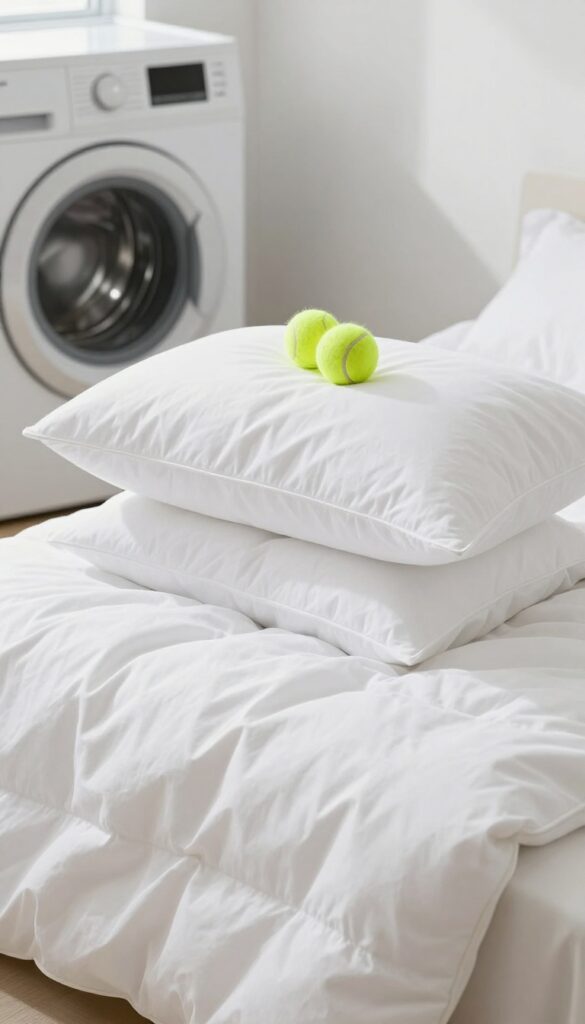
Your bed might look clean, but pillows and comforters are silent sponges for sweat, dead skin, and dust mites. Washing them regularly not only freshens your sleep space but also helps with allergies. The trick is using the right heat and drying method to keep them fluffy.
How Often To Wash
Pillows should be washed every three to six months. Comforters can go a bit longer, about twice a year, unless you eat in bed or have pets. If you wake up sneezing or with a stuffy nose, it's time for a wash.
The Hot Cycle And Extra Rinse
Set your washer to the hottest water setting that's safe for the fabric (check the care tag). The heat kills dust mites and allergens. Add an extra rinse cycle to ensure all detergent is removed—leftover soap can irritate skin.
Drying With Tennis Balls
After washing, fluff pillows and comforters in the dryer on low heat. Toss in two clean tennis balls or dryer balls. They break up clumps of filling, restore loft, and speed up drying.
Stop when everything is completely dry to prevent mildew.
6. Wipe Down Light Switches and Door Handles
Light switches and door handles are some of the most touched surfaces in your bedroom, yet they rarely get cleaned. Think about it: you flip the switch first thing in the morning and last thing at night, and you grab the handle every time you enter or leave. Over time, these spots collect oils, dirt, and germs.
A quick wipe-down takes seconds but makes a big difference in how fresh your room feels.
Grab a disinfectant wipe or a cotton ball with a dab of rubbing alcohol. Give each light switch plate and door handle a thorough wipe, paying attention to the edges and crevices where grime hides. Let them air dry for a few seconds, and you're done.
Do this once a week, and you'll keep germs at bay and prevent that sticky buildup that can make a clean room feel dirty.
Why It Matters More Than You Think
These high-touch areas are a hotspot for bacteria, especially during cold and flu season. A quick disinfecting routine reduces the spread of germs in your personal space. Plus, clean switches and handles make the whole room feel more polished without any extra effort.
The Right Tools For The Job
Disinfectant wipes are convenient, but a microfiber cloth with a dab of rubbing alcohol works just as well and creates less waste. For intricate switch plates, use a cotton swab dipped in alcohol to get into tight corners. Avoid harsh chemicals that might damage paint or finishes.
Make It A Habit Without Thinking
Tie this task to an existing routine, like after you make your bed or before you leave the room. Keep a small pack of wipes in your nightstand drawer so you can grab one without hunting for supplies. Consistency is key, but it only takes 30 seconds.
7. Use a Squeegee on Carpets for Pet Hair
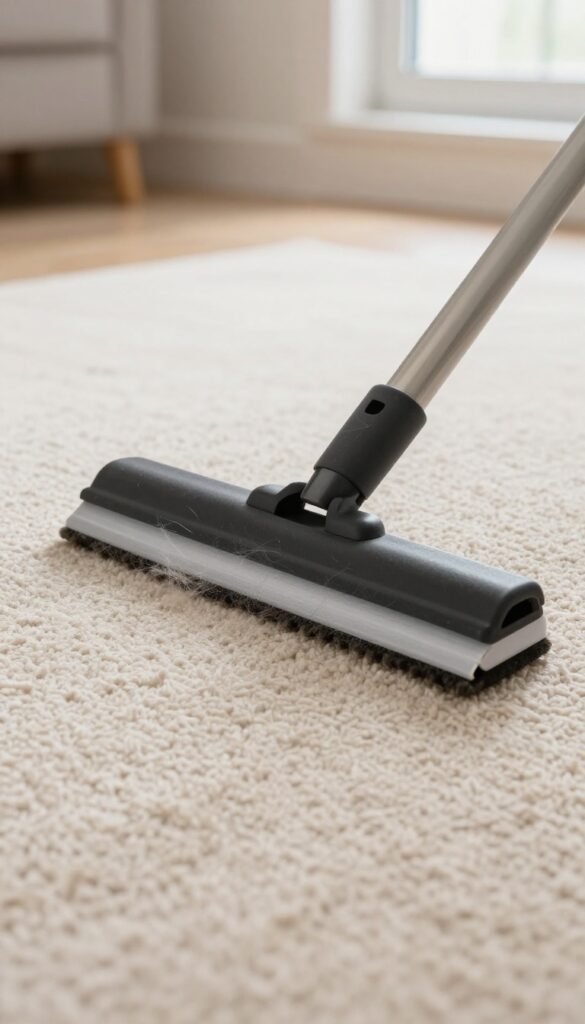
Pet hair on carpets can feel like a losing battle. Even after vacuuming, you might still see clumps of fur stuck in the fibers. Before you buy another specialized tool, grab a rubber squeegee from your window-cleaning supplies.
It's a game changer for lifting embedded hair without spending extra money.
A standard rubber squeegee works because the rubber creates friction that pulls pet hair and lint to the surface. Drag it across the carpet in long, even strokes, and you'll see a pile of hair gather in front of the blade. It's especially effective on low-pile carpets and rugs, and it's much cheaper than a dedicated pet hair rake.
Why It Works So Well
Rubber naturally attracts hair through static electricity and friction. Unlike vacuum brushes that can push hair deeper, a squeegee's edge scoops it up. Plus, the rubber blade is gentle on carpet fibers, so you won't damage them even with regular use.
How To Use It
Start by clearing the floor of any large debris. Then, with the squeegee at a slight angle, pull it toward you in overlapping rows. Collect the hair pile with your hand or a dustpan.
For best results, use a damp squeegee—moisture helps the rubber grip better. Finish by vacuuming as usual to pick up any remaining dust.
Bonus: Works On Upholstery Too
Don't stop at carpets. Run the squeegee over fabric headboards, chairs, or even your mattress to remove dust and pet hair. It's a quick way to freshen up furniture between deep cleans.
8. Organize Nightstand Drawers with Small Boxes
Nightstand drawers are notorious for becoming a jumble of charging cables, reading glasses, lip balm, and half-read books. When you're already half-asleep, digging through that mess is the last thing you want. The fix is simple: small boxes or dividers that give every item its own spot.
By dedicating a small container for each category of item, you prevent the drawer from turning into a black hole. This hack takes five minutes to set up and saves you frustration every single night.
Pick Your Dividers
You don't need fancy organizers. Reuse small cardboard boxes from packaging, use plastic craft bins, or even repurpose takeout containers. The key is to choose containers that fit snugly inside your drawer so they don't slide around.
Sort By Use
Group items by when you use them. Keep phone chargers and earbuds in one box, glasses and a case in another, and books or a journal in a third. This way, you can grab what you need without rummaging.
Maintain The System
Once a week, take two minutes to reset the drawer. Put stray items back in their boxes and toss any trash. The visual order makes it easy to spot when something is out of place, so clutter never builds up again.
9. Freshen the Mattress with Baking Soda
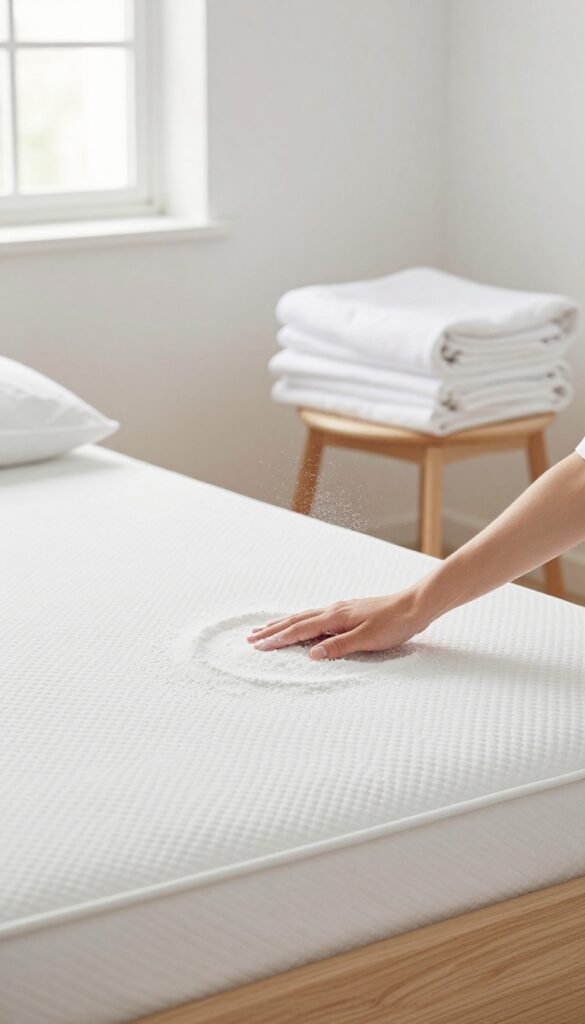
Your mattress works hard every night, absorbing sweat, oils, and dead skin cells. Over time, that can lead to musty odors and even dust mite issues. A simple sprinkle of baking soda is an easy, chemical-free way to reset it.
Why Baking Soda Works
Baking soda is a natural deodorizer and mild abrasive. It neutralizes acidic odors and lifts away moisture trapped in the fabric. Unlike sprays, it won't leave a sticky residue or introduce synthetic fragrances.
How To Do It Right
Strip the bed completely. Sprinkle a generous, even layer of baking soda over the entire mattress surface. Let it sit for at least 15 minutes—30 minutes if the mattress is older or heavily used.
Then vacuum thoroughly with the upholstery attachment, making sure to get into seams and crevices.
Bonus Boost With Essential Oils
Add 10–15 drops of lavender or tea tree oil to the baking soda before sprinkling. Stir well to distribute. Lavender promotes relaxation, while tea tree has natural antimicrobial properties.
Just test a small spot first to avoid staining.
How Often To Do This
Aim to freshen your mattress every three months. If you have allergies, pets, or eat in bed, consider doing it monthly. It's a quick habit that pays off in a cleaner, more inviting sleep space.
10. Clean Windows and Mirrors with Microfiber Cloths
Streaks on windows and mirrors can make a whole room feel grimy, even if everything else is spotless. The fix is simpler than you think: ditch the paper towels and spray cleaners for a pair of microfiber cloths. One damp, one dry, and you'll get a crystal-clear finish in under a minute.
Microfiber cloths are designed to trap dust and absorb moisture without leaving lint or streaks behind. When you use them with just water and a tiny drop of dish soap, you avoid the residue that commercial glass cleaners can leave. This method works on both windows and mirrors, and it's fast enough to do while you're waiting for your morning coffee to brew.
Why Microfiber Beats Paper Towels
Paper towels often leave tiny fibers and can actually push dirt around instead of picking it up. Microfiber has split fibers that grab dust and grime, holding it until you rinse the cloth. Plus, it's reusable—just toss it in the wash after a few uses.
The Simple Two-cloth Technique
Start with a damp microfiber cloth (spray it lightly with water mixed with a drop of dish soap) and wipe the entire surface. Immediately follow with a dry microfiber cloth to buff away any moisture. Work in a zigzag or S-pattern to avoid missing spots.
Pro Tips For A Perfect Finish
Clean windows on a cloudy day if possible—direct sunlight dries the cleaner too fast and causes streaks. For mirrors, use vertical strokes on one side and horizontal on the other so you can easily spot any missed areas. Wash your microfiber cloths without fabric softener to keep them effective.
11. Rotate and Flip Your Mattress
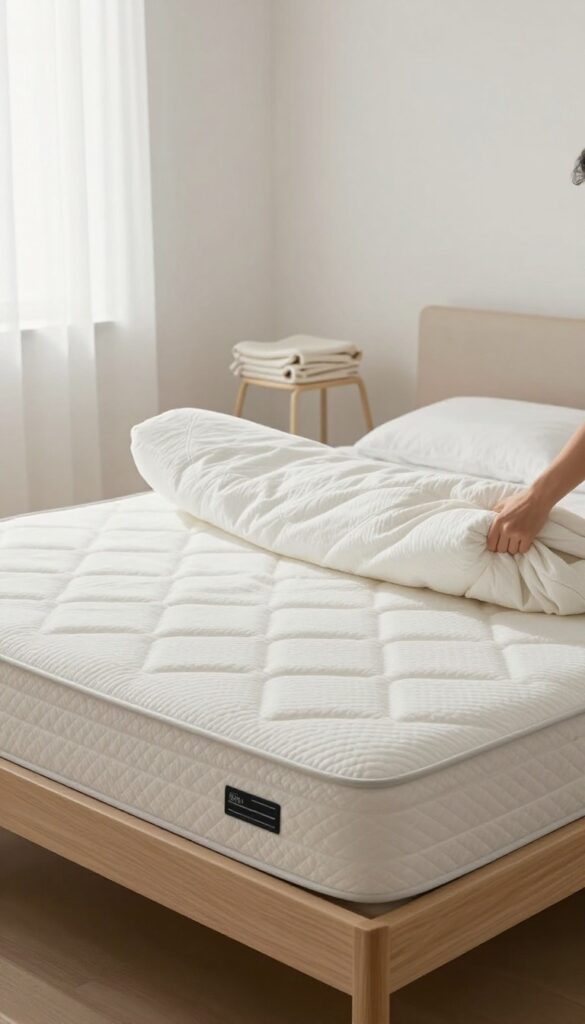
While you have the bed stripped, rotate or flip the mattress according to manufacturer instructions. This extends its life and prevents sagging, making your bed more comfortable. It's a simple step that pays off in better sleep and fewer dips.
Rotating and flipping your mattress is often overlooked, but it's one of the easiest ways to maintain comfort and support. Most mattresses need to be rotated every 3-6 months to distribute wear evenly. Some can also be flipped, but check the label first.
Check The Manufacturer's Guide
Not all mattresses are designed to be flipped. Memory foam and pillow-top models typically have a specific top and bottom. Rotating them head-to-foot is usually fine.
For innerspring or double-sided mattresses, flipping is recommended. Always read the tag or manual to avoid damaging your mattress.
How To Rotate And Flip
Start by stripping the bed completely. If your mattress is heavy, ask for help. To rotate, simply spin it 180 degrees so the head becomes the foot.
To flip, turn it over so the bottom becomes the top. Some mattresses can be both rotated and flipped – do one each time to keep wear even.
Why It Matters For Cleanliness
Rotating and flipping also helps prevent dust mites and allergens from settling in one spot. While you're at it, vacuum the mattress surface with an upholstery attachment. This simple habit keeps your sleep environment fresher and extends the life of your mattress.
12. Dust Ceiling Fans and Light Fixtures
Ceiling fans and light fixtures are often overlooked, but they collect dust that can recirculate every time you flip the switch or turn on the breeze. Cleaning them doesn't have to be a messy chore. With a couple of clever tools, you can knock out this task in minutes and keep your bedroom air cleaner.
Dusting ceiling fans and light fixtures is a quick win for a cleaner bedroom. The key is to trap the dust so it doesn't fall onto your floor or furniture. An old pillowcase works wonders for fan blades, while a microfiber duster on an extension pole makes light fixtures easy to reach.
Do this every few weeks to prevent buildup.
Pillowcase Trick For Fan Blades
Grab a clean, old pillowcase and slip it over one fan blade at a time. Gently pull the pillowcase toward you, trapping the dust inside. Then, carefully remove the pillowcase and shake it out over a trash can.
This method keeps dust from scattering around the room. Repeat for each blade, and you're done in under five minutes.
Microfiber Duster For Light Fixtures
For ceiling lights or wall sconces, a microfiber duster with an extendable pole is your best friend. The microfiber material grabs and holds dust instead of pushing it around. Extend the pole to reach high fixtures, and gently wipe the surface.
For glass globes, you can remove them and wash with warm soapy water if needed.
Safety First: Turn Off Power
Before you start, always turn off the fan and light switches to avoid accidents. If you need to clean bulbs or fixtures that might be hot, wait until they cool down. Use a sturdy step stool if you can't reach comfortably, and never overreach.
A quick, safe cleaning session keeps your bedroom fresh without risk.
13. Sort Clothes into 'Keep,' 'Donate,' and 'Trash'
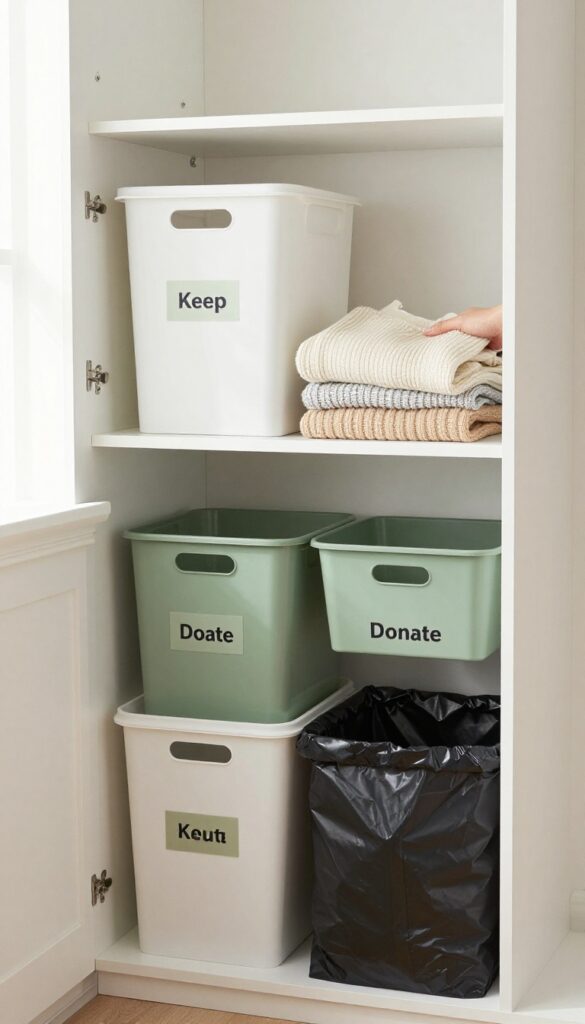
Closet clutter is one of the biggest time-wasters when cleaning. The faster you can decide what stays and what goes, the quicker your bedroom will feel organized. This hack is all about speed and decisiveness.
By sorting into just three piles, you avoid the paralysis of overthinking. You'll be amazed how much space you free up in under an hour.
Set A Timer For Urgency
Give yourself 15 minutes per drawer or closet section. A timer creates a sense of urgency that stops you from holding onto items out of nostalgia or guilt. Stick to the rule: if you haven't worn it in a year, it goes.
The One-touch Rule
Once you pull an item out, decide immediately. Don't put it aside to think about later. Touch it once, assign it to a pile, and bag it.
This prevents the dreaded 'maybe' pile that never gets dealt with.
Bag And Remove Right Away
Have trash bags and donation boxes ready. As soon as a bag is full, take it out of the room. If you leave bags sitting, you'll be tempted to dig through them.
Out of sight, out of mind—and out of your bedroom.
14. Use a Fabric Steamer to Refresh Curtains
Curtains tend to trap odors, dust, and wrinkles over time, but washing them is a hassle. A handheld fabric steamer offers a quick fix: it smooths wrinkles, kills bacteria and dust mites, and leaves fabric smelling fresh—all without removing the curtains from the rod.
Steaming curtains is a fast, low-effort way to keep them looking crisp and clean. It’s especially useful for heavy drapes or delicate fabrics that can’t go in the washer. Just fill the steamer, run it over the fabric in vertical passes, and let the heat do the work.
Why Steaming Beats Washing
Washing curtains can shrink, fade, or damage them, plus it requires taking them down and waiting for them to dry. Steaming sanitizes without water saturation, so curtains stay intact and ready to hang. It also reaches deep into fibers to remove allergens.
How To Steam Curtains Properly
Start at the top and work your way down in smooth strokes. Keep the steamer head a few inches from the fabric to avoid water spots. For pleated or lined curtains, steam the back side first, then the front.
Let them air dry for a minute before closing.
When To Steam Instead Of Wash
Use the steamer for routine maintenance between deep cleans. It’s ideal for curtains that aren’t visibly dirty but smell stale or have light wrinkles. For heavy stains or strong odors, a full wash is still necessary.
15. Vacuum Baseboards with a Brush Attachment
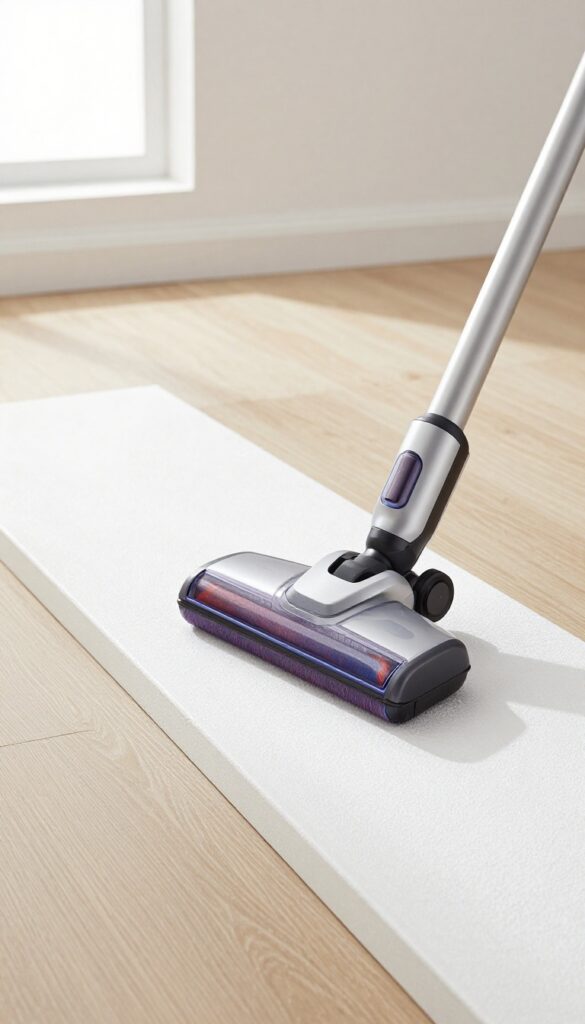
Baseboards are one of those spots you don't notice until they're dusty—then suddenly they stand out. Running a vacuum with a brush attachment along the perimeter of your room takes just a couple of minutes but makes the entire space look fresher. It's a low-effort, high-visibility win.
Dust and cobwebs love baseboards. They settle in the corners and along the top edge, especially if you don't clean them often. A quick pass with a soft brush attachment lifts the debris without scratching the paint.
This small step can make the whole room feel cleaner, even if you haven't touched the rest of the floor.
Why Baseboards Matter
Clean baseboards create a visual boundary that makes the room look well-maintained. When they're dusty, it's like a frame around a dirty picture. By hitting them regularly, you prevent buildup that can become stubborn and require scrubbing later.
The Right Tool For The Job
Use the brush attachment that came with your vacuum—it's designed to be gentle yet effective. If you don't have one, a microfiber cloth or a dusting wand works too, but the vacuum is faster and traps the dust so it doesn't just float elsewhere.
How To Make It A Habit
Incorporate baseboard vacuuming into your weekly cleaning routine. Do it right before you vacuum the floor so any fallen dust gets picked up. It's a two-minute task that pays off in a noticeably cleaner room.
16. Keep a Small Trash Can Handy
Trash has a way of accumulating in the bedroom faster than you'd expect. Tissues, mail, snack wrappers, and random odds and ends end up on nightstands or dressers because there's no convenient place to toss them. A small trash can solves that instantly.
Choose The Right Spot
Place the can near your bed or desk—wherever you tend to generate waste. Keep it within arm's reach so you don't have to get up to throw something away. That small convenience makes a big difference in keeping surfaces clear.
Pick A Can That Blends In
You don't want an eyesore. Look for a compact, minimalist design in a neutral color or a material that matches your decor. A lidded can is great for hiding unsightly trash and containing odors.
Empty It Weekly
Set a reminder to empty the can every week, even if it's not full. This prevents overflow, keeps smells at bay, and stops you from accidentally letting trash pile up. A quick weekly dump takes less than a minute.
17. End with a Pleasant Scent
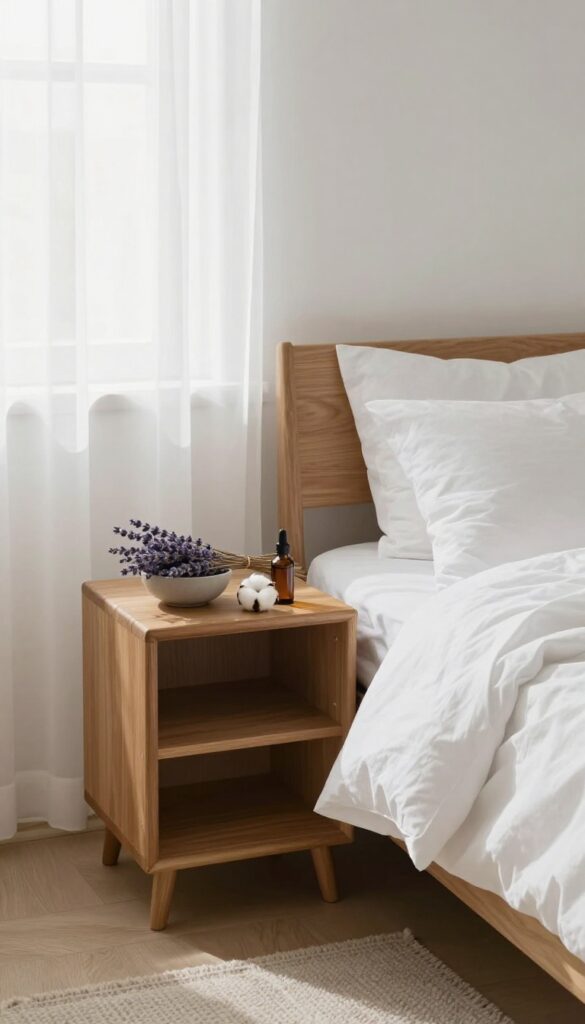
You've dusted, vacuumed, and put everything in its place. But something still feels missing. That final touch—a clean, inviting scent—can transform how your bedroom feels.
A pleasant aroma signals to your brain that the space is fresh and ready for rest.
Choose Your Scent Signature
Pick a scent that matches the vibe you want. Lavender, chamomile, and vanilla are calming and sleep-friendly. Citrus or eucalyptus can feel more energizing for mornings.
Stick to one or two scents to avoid overwhelming the room.
Easy Ways To Add Fragrance
A light linen spray is the quickest option—just mist over your pillows and sheets. For a longer-lasting effect, place a small bowl of dried lavender or a few drops of essential oil on a cotton ball on your nightstand. Scented candles work too, but never leave them burning unattended.
Don't Overdo It
The goal is a subtle, natural scent, not a perfume counter. Heavy artificial fragrances can cause headaches or disrupt sleep. A light spritz or a small sachet is plenty.
Your nose should notice it only when you take a deep breath.
FAQ
How often should I deep clean my bedroom?
Aim for a deep clean every 1-2 months. This includes washing bedding, vacuuming under furniture, and dusting all surfaces. Weekly maintenance like making the bed and quick decluttering keeps it manageable.
What's the best way to remove dust from electronics?
Use a microfiber cloth slightly dampened with water or a screen-safe cleaner. Avoid paper towels or harsh chemicals that can damage screens. For crevices, a soft brush or compressed air works well.
How can I keep my bedroom smelling fresh without candles?
Open windows daily for fresh air, use baking soda on carpets and mattresses, and place bowls of white vinegar or activated charcoal to absorb odors. Essential oil diffusers also work well.
What's the fastest way to declutter a bedroom?
Set a timer for 15 minutes and focus on one area, like a nightstand or dresser top. Grab a trash bag and a donate box. Put away anything that belongs elsewhere, and toss obvious trash.
How do I clean a memory foam mattress?
Spot clean with a mild detergent and water, then blot dry. Avoid soaking the foam. Sprinkle baking soda, let it sit, and vacuum.
Never use harsh chemicals or steam cleaners on memory foam.
Conclusion
A clean bedroom doesn't require hours of scrubbing or expensive products. These 17 hacks focus on high-impact, low-effort tasks that make a real difference. By incorporating even a few into your routine, you'll notice a calmer, more inviting space.
Remember, consistency beats perfection.
A quick daily tidy and a weekly deeper clean will keep your bedroom feeling fresh. Start with one or two hacks that appeal to you, and build from there. Your peaceful sanctuary awaits.


