
You don't need to spend every Saturday scrubbing to have a clean home. A monthly cleaning schedule breaks down big tasks into manageable chunks, so your space stays fresh without the burnout. Think of it as a gentle rhythm rather than a rigid checklist.
Each month, you tackle one or two deeper cleans while keeping daily and weekly habits in place. This approach turns cleaning from a dreaded marathon into a series of small wins.
Ready to build a plan that actually works for your life? Let's dive into 15 ideas that will transform your home and your mindset.
1. Start with a Room-by-Room Audit

Before you assign tasks to specific months, take a walk through your entire home. Grab a notepad and jot down what each room actually needs—not what you think it should need. This simple audit gives you a realistic picture of your cleaning priorities and prevents you from overcommitting or forgetting hidden trouble spots.
A room-by-room audit is the foundation of any successful monthly cleaning schedule. It helps you see your home with fresh eyes and identify tasks that often get overlooked. By the end, you'll have a clear list of what needs attention and when it makes sense to tackle it.
What To Look For In Each Room
In every room, check for dust buildup on ceiling fans, baseboards, and blinds. Look under furniture for lost items or dirt. Note any stains on carpets or upholstery that need special treatment.
Also check windows for smudges and hardware for grime. Don't forget light fixtures, switch plates, and door frames.
How To Organize Your Findings
Group tasks by frequency: some need monthly attention (like wiping down kitchen cabinets), while others can wait for quarterly or seasonal deep cleans. Create a simple list with columns for each month and assign tasks based on priority and season. For example, clean windows in spring and tackle oven grease in fall.
Turning The Audit Into Action
Once you have your list, transfer it to a calendar or planner. Be realistic—don't pack too many heavy tasks into one month. Spread them out so each month feels manageable.
The audit also helps you spot patterns, like which rooms collect the most dust or which areas you tend to avoid.
2. Create a Monthly Master List
Instead of winging it each month, start by writing down every deep-cleaning task you can think of for the whole year. This master list becomes your roadmap, so you never have to wonder what to tackle next. It also keeps you from piling everything into one exhausting weekend.
Grab a notebook or open a simple spreadsheet. List tasks like washing windows, deep-cleaning the oven, shampooing carpets, wiping baseboards, and organizing closets. Aim for 12 to 15 bigger jobs, plus a handful of medium ones.
Once you have your list, spread them evenly across 12 months. For example, assign oven cleaning to January, window washing to April, and carpet shampooing to October. The goal is balance: no month gets more than two major tasks.
This system turns a year of cleaning into a manageable, predictable rhythm.
How To Build Your List
Start by walking through each room and jotting down tasks you usually skip during weekly cleaning. Think about things like cleaning behind the fridge, dusting ceiling fans, washing throw pillows, and scrubbing grout. Don't forget seasonal items like patio furniture or holiday decorations.
Group tasks by room or by type (e. g. , all window treatments, all appliances) to make assignment easier.
Spreading Tasks Across Months
Once your list is complete, assign each task to a specific month. Consider natural seasons: deep-clean the kitchen in January after holiday cooking, tackle outdoor areas in spring, and focus on cozy indoor tasks like carpet cleaning in fall. Avoid putting two huge jobs in the same month.
If a month feels heavy, shift a task to a lighter one. The goal is to keep each month feeling doable, not daunting.
Keeping Your List Alive
Your master list isn't set in stone. At the start of each month, review the assigned tasks and adjust if life gets busy. Maybe swap a task with a later month or break a big job into smaller steps.
The list is a guide, not a prison. Over time, you'll learn what works for your home and your schedule, and you can tweak it accordingly.
3. Tackle the Kitchen in January
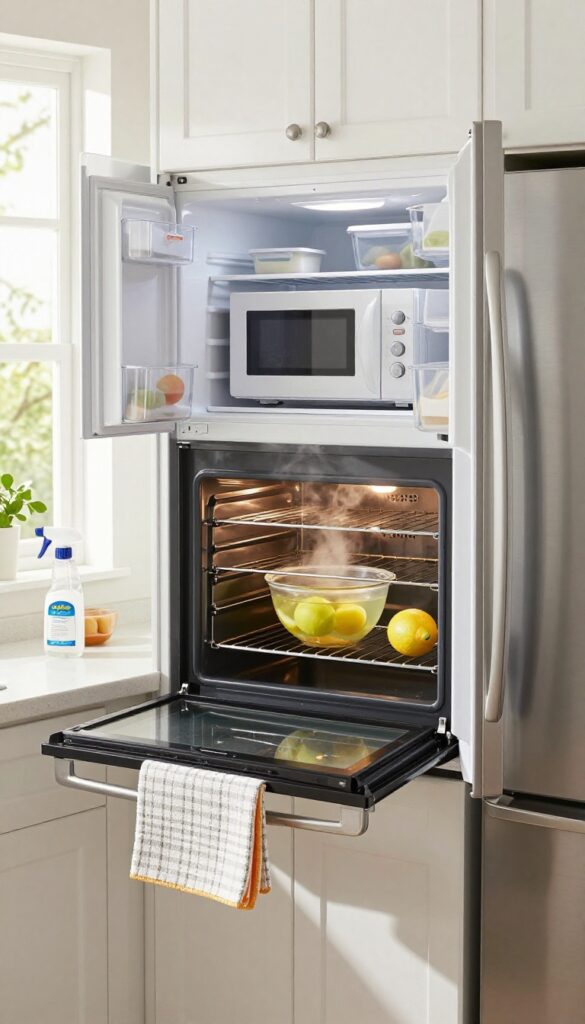
January is the perfect time to give your kitchen some serious attention. After all the holiday cooking and entertaining, it’s likely due for a deep reset. Plus, starting the year with a clean, organized kitchen sets a positive tone for healthier eating and meal prep.
Focus on the big appliances first. Your oven and microwave have probably seen heavy use, so give them a thorough clean. For the oven, use a natural cleaner or self-cleaning cycle, then wipe down the door and racks.
For the microwave, steam a bowl of water with lemon to loosen grime, then wipe clean. Next, tackle the refrigerator: pull everything out, toss expired items, and wipe down shelves and drawers. Finally, wipe down all cabinet fronts and handles, and take a few minutes to organize your pantry.
Group similar items together, use clear bins for snacks, and label shelves to keep things tidy all year.
Deep Clean The Oven And Microwave
Start with the oven. If it has a self-cleaning cycle, run it while you work on other tasks. Otherwise, make a paste of baking soda and water, spread it inside, let it sit overnight, then wipe clean.
For the microwave, heat a bowl of water with lemon slices for 3 minutes, then let it sit for 5. The steam will loosen food residue, making it easy to wipe down.
Reset The Refrigerator
Empty the fridge completely. Check expiration dates and toss anything old. Wipe down all shelves and drawers with a mild cleaner.
Before putting items back, group them: dairy together, condiments on the door, produce in the crisper. Use clear bins to keep small items from getting lost.
Wipe Down Cabinets And Organize The Pantry
Use a damp cloth with a bit of dish soap to clean cabinet fronts and handles. Pay attention to areas near the stove where grease builds up. For the pantry, pull everything out, wipe shelves, and group items by type.
Use baskets or bins for snacks, baking supplies, and canned goods. Label shelves so everyone knows where things go.
4. Focus on Bathrooms in February
After tackling the kitchen in January, February is the perfect month to give your bathrooms some TLC. This is the time to go beyond the weekly wipe-down and address the grime that builds up over time. By the end of the month, your bathrooms will feel like a personal spa retreat.
Scrub Grout And Tile
Grout lines can trap soap scum and mildew, making them look dingy. Use a small brush and a baking soda paste or a commercial grout cleaner to scrub the lines. For tough stains, let the paste sit for 10 minutes before scrubbing.
Rinse well and seal the grout if needed to prevent future buildup.
Descale Showerheads And Faucets
Mineral deposits can clog showerheads and reduce water pressure. Remove the showerhead and soak it in a bag filled with white vinegar for a few hours. For fixed heads, fill a plastic bag with vinegar and tie it around the head.
Wipe faucets with a vinegar-soaked cloth to restore their shine.
Wash Or Replace Shower Curtains
Shower curtains and liners collect soap scum and mildew. Machine wash fabric curtains with a bit of bleach or vinegar, or toss plastic liners in the wash with a few towels to scrub them clean. If they're beyond saving, replace them with new ones for a fresh look.
Refresh Medicine Cabinets And Toothbrush Holders
Go through your medicine cabinet and toss expired products. Wipe down shelves and organize items by category. Replace old toothbrushes or electric toothbrush heads, and clean the toothbrush holder with hot soapy water.
Add a small tray or basket to keep daily essentials tidy.
5. Give Living Areas a Spring Refresh in March

March is the perfect month to wake up your living spaces after winter. By now, dust has settled into corners, and sunlight streaming through windows reveals smudges you missed. A focused spring refresh makes your main rooms feel brighter and more inviting without a full overhaul.
Start with windows—inside and out if weather permits. Clean glass lets in more light and instantly lifts the room. Then vacuum under sofas, chairs, and heavy furniture where dust bunnies hide.
Use an extendable duster on ceiling fans, light fixtures, and blinds. Finally, fluff and rotate sofa cushions and throw pillows to distribute wear and give seating a plumper look.
Windows And Light Fixtures
Wash windows with a squeegee or microfiber cloth and a simple vinegar-water solution. Don't forget tracks and sills. While you're up, dust ceiling fans, chandeliers, and lampshades—this cuts glare and makes the whole room feel cleaner.
Under Furniture And Baseboards
Move lightweight furniture to vacuum or mop underneath. Use a crevice tool along baseboards and corners. This is also a good time to wipe down baseboards with a damp cloth to remove scuffs and dust.
Cushions, Pillows, And Decor
Remove cushion covers if washable and launder them. Fluff and rotate cushions to even out wear. Rearrange pillows and throws for a fresh look.
Dust decorative items like picture frames, vases, and shelves.
6. Deep Clean Bedrooms in April
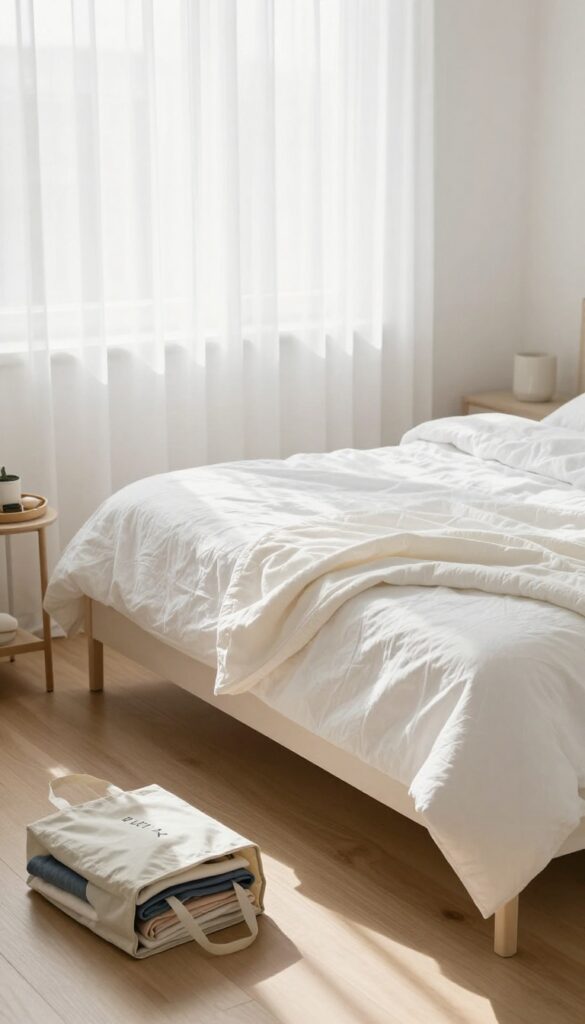
April is the perfect month to refresh your bedroom after the long winter. With spring in full swing, it's time to flip mattresses, wash bedding on hot, and vacuum under the bed. Declutter nightstands and donate clothes you no longer wear to create a serene, restful space.
Flip And Refresh The Mattress
Start by stripping all bedding and washing it in hot water to kill dust mites. Flip or rotate your mattress according to the manufacturer's instructions. While the mattress is bare, vacuum the entire surface with an upholstery attachment to remove dust and allergens.
Declutter Nightstands And Dressers
Empty nightstands and dresser tops. Wipe down surfaces and sort through items. Toss expired medications, old receipts, and dried-out pens.
Organize remaining items in trays or small bins. This simple step makes your bedroom feel instantly more peaceful.
Donate Clothes You No Longer Wear
Go through your closet and drawers. Pull out anything you haven't worn in the past year, doesn't fit, or is damaged beyond repair. Bag these items for donation.
Not only does this free up space, but it also makes getting dressed easier every morning.
7. Tackle Home Office and Entryway in May
May is the month when the weather warms up and you start spending more time outdoors. That makes it the perfect time to clear out the entryway and get your home office in shape before summer distractions kick in. These two spaces often get overlooked, but they set the tone for your daily routine and first impressions.
Deep Clean Electronics And Desk
Start by unplugging everything and wiping down monitors, keyboards, and mice with a microfiber cloth and a gentle electronics-safe cleaner. Don't forget the underside of your desk and the crevices where crumbs and dust collect. Organize loose cords with velcro ties or cable clips to reduce visual clutter and make vacuuming easier.
Sanitize High-touch Surfaces
Doorknobs, light switches, and remote controls are germ magnets that rarely get a proper cleaning. Use a disinfectant wipe or a spray with a microfiber cloth to sanitize every switch plate and door handle in your home office and entryway. This simple step can cut down on illness spreading through your household.
Edit The Entryway Closet
Swap out winter coats, boots, and scarves for lighter jackets, sneakers, and umbrellas. Donate anything your family hasn't worn in the past year. Add a few sturdy hangers and a shoe rack to keep the space organized.
A tidy entryway makes coming and going feel smoother every day.
8. Focus on Outdoor Spaces in June

June is when summer really kicks in, and your outdoor spaces become an extension of your home. Whether you're hosting barbecues or just enjoying a quiet morning coffee, a clean patio and tidy yard make all the difference. This month, shift your cleaning energy outside to get everything ready for the warm months ahead.
Wash And Refresh Patio Furniture
Start by wiping down all outdoor furniture with a mild soap and water solution. For plastic or resin pieces, a quick spray with the hose works wonders. Cushions can be spot-cleaned or machine-washed if the covers are removable.
Let everything dry completely before putting them back in place.
Sweep Decks And Pressure Wash Paths
Decks and patios collect dirt, pollen, and debris over spring. Give them a good sweep, then break out the pressure washer for a deeper clean. Focus on high-traffic areas and any mold or mildew spots.
If you don't have a pressure washer, a stiff broom and a bucket of soapy water will do the trick.
Wash Exterior Windows And Check Gutters
Clean windows let in more light and make your home look cared for. Use a squeegee or a hose attachment with a window-cleaning solution. While you're outside, take a look at your gutters—remove any leaves or debris that have accumulated, especially if spring storms left a mess.
Trim Overgrown Bushes And Tidy The Yard
Overgrown shrubs and bushes can make your home feel unkempt. Spend an hour trimming back branches that are touching the house or blocking walkways. Edge the lawn along driveways and flower beds for a crisp, finished look.
A tidy yard boosts curb appeal instantly.
9. Deep Clean the Kitchen Again in July
By July, your kitchen has been through six months of daily use. The dishwasher filter might be hiding food debris, the garbage disposal could use a refresh, and the range hood has probably collected a layer of grease. This month, give these hardworking appliances the attention they deserve.
A mid-year kitchen deep clean doesn't have to take all day. Focus on the spots that accumulate grime quietly, and you'll notice the difference immediately. Plus, organizing spice racks now makes cooking in summer heat a little more pleasant.
Start with the dishwasher. Remove the bottom rack and unscrew the filter cover. Rinse the filter under hot water, scrubbing away any stuck-on bits.
Wipe the rubber gasket around the door with a vinegar-soaked cloth to prevent mold. Run an empty cycle with a cup of white vinegar on the top rack to freshen the interior. Next, tackle the garbage disposal.
Drop in a few ice cubes and a handful of coarse salt, then run it with cold water. The ice helps dislodge debris, while the salt scrubs the blades. Follow up with lemon peels for a fresh scent.
Avoid using harsh chemicals that could damage the unit. Now move to the range hood. Remove the metal mesh filter and soak it in hot, soapy water for 15 minutes.
Scrub with a soft brush, rinse, and let it dry completely before reinstalling. Wipe down the exterior and control panel with a degreaser. For stainless steel, use a microfiber cloth and a cleaner made for that finish.
Finally, tackle the spice rack. Pull everything out and check expiration dates—spices lose potency after a year. Wipe down the shelves and jars.
Group spices by cuisine or alphabetically for easy access. Consider a lazy Susan for corner cabinets or magnetic strips for wall storage.
Dishwasher Filter Deep Clean
Most people forget the dishwasher filter until it starts smelling. Remove it, rinse under hot water, and use an old toothbrush to dislodge stubborn gunk. Wipe the door seal and run a cleaning cycle with vinegar or a dishwasher cleaner.
This simple step improves performance and extends the machine's life.
Garbage Disposal Refresh
Ice cubes and salt work wonders for cleaning disposal blades. Drop them in with cold water, run it, then flush with lemon or orange peels. Avoid fibrous foods like celery or potato peels that can jam the unit.
A monthly clean prevents odors and keeps the disposal running smoothly.
Range Hood Degreasing
Grease buildup on the range hood filter reduces efficiency and can be a fire hazard. Soak the mesh filter in hot, soapy water or a degreaser solution. Scrub gently, rinse, and dry.
Wipe the fan blades and interior with a damp cloth. Your kitchen will smell fresher, and the hood will work better.
Spice Rack Organization
Take everything off the spice rack and check expiration dates. Discard old spices and wipe down the shelves. Group spices by type (baking, Italian, Indian) or alphabetically.
Use small bins or tiered shelves to maximize space. A tidy spice rack makes cooking faster and more enjoyable.
10. Refresh Bathrooms in August

August heat and humidity can turn bathrooms into a breeding ground for mold and mildew. This month, give your bathrooms a deep refresh that goes beyond surface wiping. Focus on the areas that collect moisture and grime, and you'll keep the space feeling clean and fresh for months.
Wash And Refresh Fabric Items
Start by tossing bath mats, shower curtains, and fabric liners in the washing machine. Use hot water and a little bleach or vinegar to kill bacteria and remove soap scum. While they're drying, wipe down the shower rod and curtain rings.
Replace any liners that are starting to show wear or mildew stains.
Deep Clean Tile And Grout
Spray tile and grout with a mixture of baking soda and hydrogen peroxide or a commercial grout cleaner. Let it sit for 10 minutes, then scrub with a stiff brush. Rinse thoroughly and dry with a microfiber cloth.
Pay special attention to corners and edges where mold likes to hide. For stubborn spots, a steam cleaner works wonders.
Organize Under-sink Cabinets
Pull everything out from under the sink. Toss expired products, consolidate half-empty bottles, and wipe down the cabinet interior. Use stackable bins or a tension rod to hang spray bottles.
Group items by category—cleaners, toilet paper, extra toiletries—so you can grab what you need without a mess.
Check For Mold And Leaks
Inspect caulking around the tub, shower, and sink for cracks or discoloration. Re-caulk if needed. Check under the sink for leaks and wipe down any damp areas.
Look behind the toilet and around the base for signs of mold. A quick fix now prevents bigger problems later.
11. Prepare for Fall in September
September is that transitional month when summer starts to fade and fall creeps in. It's the perfect time to give your home a seasonal reset before the cooler weather arrives. A little effort now means you can cozy up later without worrying about dust or grime.
Start by giving your carpets and rugs a deep clean. Rent a steam cleaner or use a rental machine from the grocery store. This removes summer dirt, pollen, and any lingering sand from beach trips.
While you're at it, wash your windows inside and out. Clean glass lets in more of that soft autumn light. Dust ceiling fans thoroughly before you stop using them for the season.
Then reverse the fan direction to clockwise for winter warmth. Finally, swap out summer clothes and gear for fall essentials in your closets. Store shorts, swimsuits, and sandals in bins, and bring out sweaters, boots, and jackets.
This keeps your closet organized and makes morning dressing easier.
Carpet And Rug Revival
Rent a carpet cleaner or use a portable upholstery cleaner to tackle high-traffic areas. Focus on spots near doors where summer dirt accumulates. Let carpets dry completely before moving furniture back.
Window And Ceiling Fan Refresh
Wash windows with a vinegar-water solution for a streak-free shine. For ceiling fans, use a pillowcase to trap dust as you wipe each blade. Don't forget to clean the light fixtures too.
Closet Season Swap
Pull everything out of your closet and sort by season. Donate items you didn't wear this summer. Store off-season clothes in labeled bins.
Arrange fall items by type and color for easy access.
12. Focus on the Garage and Basement in October
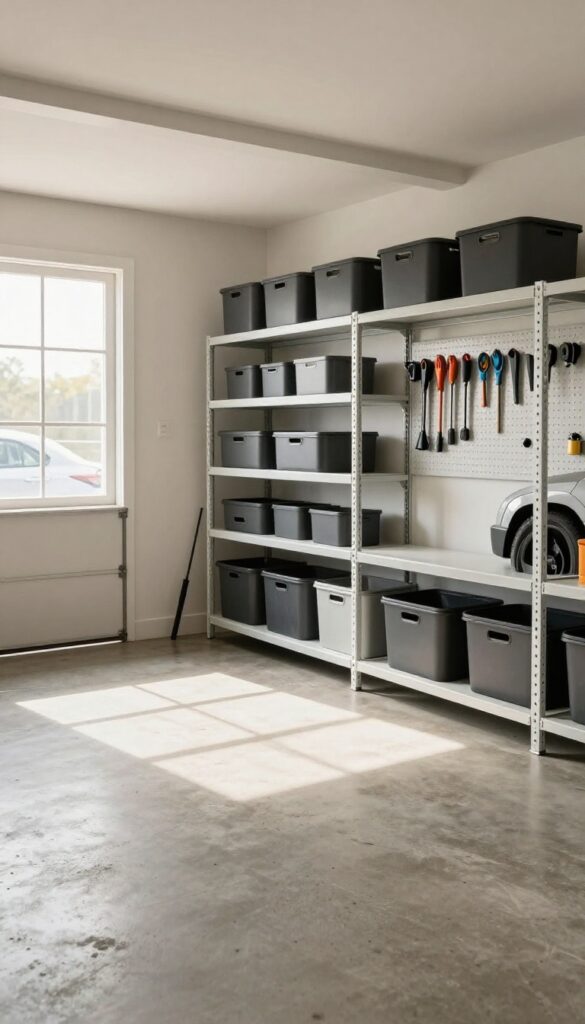
October is the perfect time to tackle those storage spaces you've been ignoring all year. With the holidays approaching, you'll want a clean, organized garage and basement to store seasonal decorations and welcome guests. Plus, cooler weather makes it easier to work in these areas without breaking a sweat.
Clear And Sweep First
Start by removing everything from the floor and sorting items into piles: keep, donate, recycle, and trash. Sweep away dust, cobwebs, and debris. If you have concrete floors, consider giving them a good scrub with a degreaser to remove oil stains or grime.
Dispose Of Hazardous Waste Properly
Old paint cans, batteries, pesticides, and other hazardous materials shouldn't go in the regular trash. Check your local waste management guidelines for drop-off locations or special collection events. Proper disposal keeps your family safe and protects the environment.
Donate Or Sell Unused Items
That treadmill you never use or the boxes of baby clothes your kids outgrew? Donate them to a local charity or sell them online. Clearing out unused items frees up space and makes it easier to find what you actually need.
Aim to fill at least one donation box.
13. Deep Clean the Kitchen and Dining Room in November
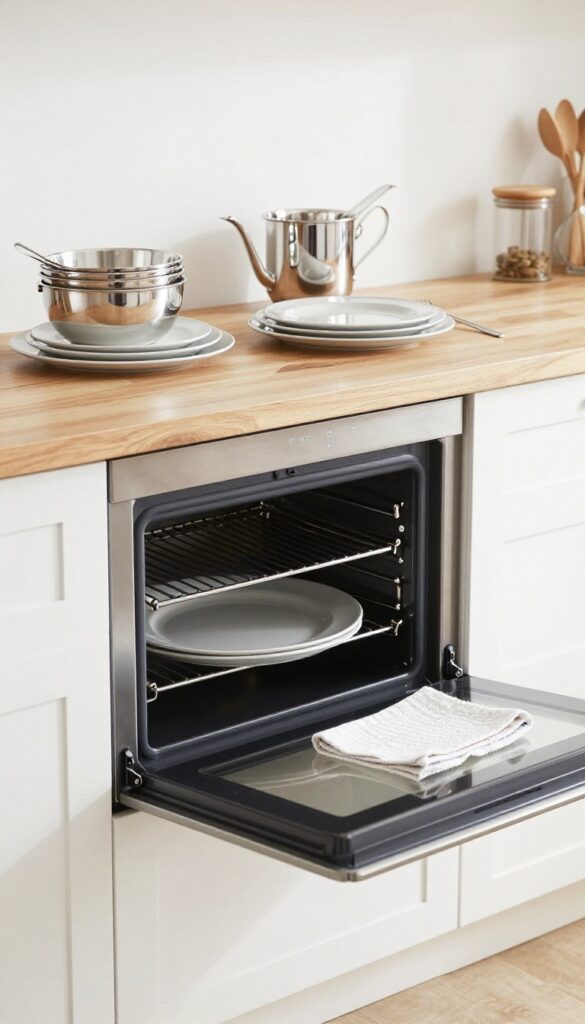
November is the month when your kitchen and dining room become the heart of the home. With holiday gatherings on the horizon, now is the time to give these spaces a thorough deep clean. You'll not only make them sparkle but also set yourself up for stress-free entertaining.
Polish Silverware And Serving Pieces
Dig out your silverware, serving platters, and any special occasion dishes. Give them a good polish or wash so they're ready for holiday meals. Check for tarnish on silver and use a gentle polish to restore shine.
This small effort makes a big difference when you set the table.
Give The Oven A Second Deep Clean
Your oven has likely seen heavy use throughout the year. Give it another deep clean now to remove baked-on grease and food residue. Use a natural cleaner or the self-cleaning cycle, but don't forget to wipe down the exterior and knobs too.
A clean oven cooks more evenly and smells better.
Wipe Down Baseboards And Crown Molding
Baseboards and crown molding in the kitchen and dining room collect dust and grime. Use a damp microfiber cloth or a gentle all-purpose cleaner to wipe them down. Pay special attention to corners and areas near the stove where grease splatters.
This detail makes the whole room feel fresher.
Organize Serving Dishes And Linens
Take stock of your serving dishes, platters, and table linens. Wash any that are dusty or stained, and organize them so you can easily grab what you need. Consider grouping items by use—like salad bowls, main course platters, and dessert plates.
This prep saves time when you're hosting.
14. Holiday Prep and Deep Clean in December
December is a whirlwind of holiday gatherings, gift wrapping, and extra cooking. Your home will likely see more traffic than usual, so a focused deep clean early in the month can save you from last-minute panic. This isn't about scrubbing every baseboard—it's about prepping the spaces your guests will actually use and making them feel welcome.
Guest Room Refresh
Start by stripping all bedding and washing it in a fresh, lightly scented detergent. While the linens are in the wash, vacuum under the bed, inside the closet, and along baseboards. Dust every surface, including lampshades and window sills.
Fluff pillows, make the bed with clean sheets, and add a couple of extra blankets for chilly nights. A small vase of greenery or a bowl of mints on the nightstand adds a thoughtful touch.
Bathroom Deep Clean
Guest bathrooms need extra attention. Scrub the toilet, sink, and shower thoroughly, paying special attention to grout and corners. Wipe down mirrors until they sparkle, and replace the shower curtain if it's looking tired.
Stock the bathroom with fresh hand towels, a new bar of soap, and a small bottle of lotion. Don't forget to empty the trash can and put out a fresh liner.
Entryway And Living Area Tidy
Your entryway is the first thing guests see. Clear clutter from the hall table, wipe down the front door, and shake out the doormat. In the living room, vacuum or sweep thoroughly, paying attention to corners and under furniture.
Fluff couch cushions, fold throws neatly, and dust all surfaces. Consider adding a seasonal candle or a diffuser with a festive scent like cinnamon or pine to create a welcoming aroma.
Kitchen Prep For Entertaining
The kitchen will likely be the hub of activity. Clean out the refrigerator, tossing old items and wiping down shelves. Organize pantry shelves so you can easily find ingredients for holiday recipes.
Wipe down cabinets, countertops, and the stovetop. Make sure you have enough clean dish towels and that your dishwasher is empty and ready to handle extra loads.
15. Review and Adjust Your Schedule Year-Round

A cleaning schedule that works in January might feel stale by July. That's okay. The best plans are living documents, not carved in stone.
Taking a few minutes each month to reflect keeps your routine relevant and effective.
At the end of each month, grab a notebook or open a note on your phone. Jot down what felt easy, what got skipped, and what took way longer than expected. Then adjust your master list for the next year based on real-life experience.
Over time, you'll build a schedule that fits your home like a glove.
What To Track Each Month
Note three things: tasks you completed without stress, tasks you procrastinated on, and any new cleaning needs that popped up (like a pet shedding season or extra guests). This simple log reveals patterns and helps you tweak your plan.
How To Adjust Without Overhauling
Small tweaks go a long way. Swap a deep-cleaning task from a busy month to a lighter one. Combine two small tasks into a single session.
Or swap the order of seasonal chores to match your energy levels. No need to rewrite the whole year.
Turning Notes Into Next Year's Plan
At year's end, compile your monthly notes into a revised master schedule. You'll know exactly which months need extra dusting, which rooms collect clutter fastest, and which tasks you can safely skip. This living document becomes more accurate every cycle.
FAQ
How do I start a monthly cleaning schedule?
Begin by listing all deep-cleaning tasks you want to do each year. Then assign them to specific months, balancing heavy and light tasks. Start with the current month and work through the list.
Can I combine monthly tasks with weekly cleaning?
Absolutely. Weekly cleaning covers basics like vacuuming, dusting, and bathroom wipe-downs. Monthly tasks add deeper work like oven cleaning or window washing.
They complement each other.
What if I miss a month?
Don't stress. Just carry the task over to the next month or skip it if it's not critical. The schedule is a guide, not a strict rule.
Consistency over perfection is key.
How long should monthly cleaning take?
Plan for 1-3 hours per month depending on your home size and the tasks. Break it into smaller sessions if needed. The goal is progress, not exhaustion.
Do I need special tools for monthly deep cleaning?
Basic supplies like microfiber cloths, all-purpose cleaner, a scrub brush, and a vacuum with attachments cover most tasks. For specific jobs like oven cleaning, you might need a dedicated product.
Conclusion
A monthly cleaning schedule is your best ally against chaos—it turns a daunting task into a steady, manageable rhythm. Start with just one or two ideas from this list and build from there, adjusting as your life changes.
The goal isn't a spotless showroom but a home that feels calm and functional every day. Pick a strategy that clicks with you, give it a month, and watch how small, consistent efforts transform your space without stealing your weekends.


