
You don't need to spend hours scrubbing to keep a tidy home. The secret is working smarter, not harder—by setting up systems that practically run themselves. These 20 cleaning organization ideas are designed to cut down your daily effort and make your space feel calmer without the overwhelm.
Think of it as giving your home a routine upgrade. Each idea targets a common pain point, from cluttered counters to lost items, and offers a simple fix that sticks. No complicated systems, just practical steps that fit into real life.
Ready to trade chaos for calm? Let's dive into the ideas that will transform how you clean and organize, one small change at a time.
1. Create a Daily Reset Routine

Evenings can feel like the last thing you want to do is clean, but a quick 10-minute reset makes mornings so much better. The goal isn't a deep clean—just enough to return your space to neutral. Think of it as closing the loop on your day so tomorrow starts fresh.
A daily reset routine is your secret weapon against clutter creep. By dedicating a small window each evening to tidying high-traffic zones, you prevent mess from piling up. This habit takes less than a quarter of an hour but saves you from weekend catch-up marathons.
Focus On The Hot Spots
Not every room needs attention. Target the areas that collect the most daily debris: the kitchen counter, the living room coffee table, and the entryway. Clear surfaces, put away stray items, and give these spots a quick wipe.
You'll be amazed how much calmer the whole house feels.
Set A Timer And Go
Grab your phone, set a timer for 10 minutes, and work through your reset list without overthinking. The time limit keeps you efficient and stops you from getting sidetracked. When the timer goes off, you're done—even if something isn't perfect.
Consistency matters more than perfection.
Make It A Family Habit
Get everyone involved by assigning simple tasks. Kids can put away toys, partners can clear the dining table, and you can handle the kitchen. A shared reset routine builds teamwork and teaches responsibility.
Plus, it's faster when multiple hands pitch in.
2. Use Clear Bins for Pantry Storage
Pantry chaos often leads to buying duplicates and wasting food. Clear bins solve this by making everything visible at a glance. When you can see exactly how many cans of beans or boxes of pasta you have, you stop overbuying and start using what you already own.
Group similar items together in clear, stackable bins. Think snacks in one bin, baking supplies in another, canned goods in a third. This system not only looks tidy but also saves time when you're meal planning or grabbing a quick snack.
No more digging through piles to find that one spice.
Choose The Right Bins
Opt for bins that are sturdy, stackable, and have smooth sides for easy cleaning. Measure your pantry shelves before buying to ensure a snug fit. Clear plastic or acrylic bins work best because they let you see contents without opening.
Label Everything
Labels take this system to the next level. Use a label maker or simple chalkboard stickers to mark each bin. This helps everyone in the household know where things go, making it easier to maintain the organization over time.
Rotate Stock Like A Pro
When you unpack groceries, place newer items behind older ones. This first-in, first-out approach reduces waste and keeps your pantry fresh. Clear bins make it easy to spot expiration dates and grab what needs using first.
3. Implement the One-Minute Rule
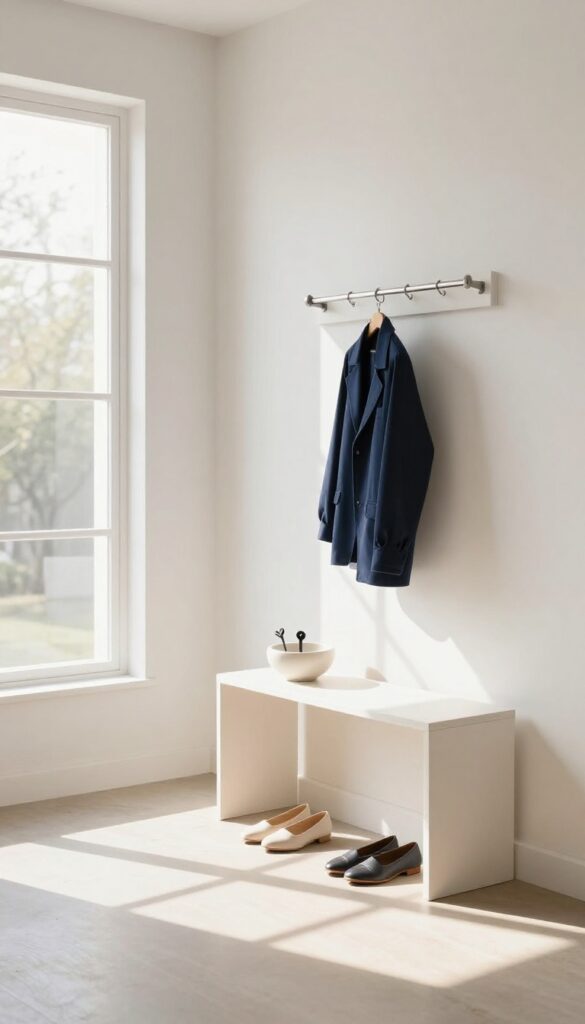
Clutter often piles up because we keep postponing tiny tasks. A jacket draped over a chair, a coffee mug left on the counter, a mail envelope tossed on the table—each one takes seconds to fix, but together they create visual chaos. The one-minute rule is a simple mindset shift: if a task takes less than sixty seconds, do it right away.
No thinking, no debating, just action.
This rule works because it removes the mental friction of deciding when to do something later. By handling small tasks instantly, you prevent them from snowballing into a bigger mess. Over time, this habit keeps surfaces clear and your home consistently tidier without setting aside extra time for cleaning.
Where To Start
Pick a few high-traffic areas like the entryway, kitchen counter, and bathroom vanity. Notice the small items that tend to accumulate: shoes, keys, dirty dishes, toiletries. Commit to dealing with each one as soon as you see it.
After a week, this will feel automatic.
Common One-minute Tasks
Hanging up your coat, putting a dish in the dishwasher, wiping a spill, throwing away junk mail, making the bed, putting a book back on the shelf, or fluffing a cushion. These actions take hardly any time but make a huge difference in how your home looks and feels.
When To Break The Rule
The one-minute rule isn't meant to interrupt focused work or family time. If you're in the middle of something important, it's okay to let a small task wait. The goal is to build a habit, not a source of stress.
Use it during natural transitions, like when you walk through a door or finish a meal.
4. Label Everything
Labels are the unsung heroes of an organized home. They turn chaos into clarity in seconds, making it obvious where every item belongs. When bins, shelves, and drawers are labeled, everyone in the family can put things back without guessing—and without you having to nag.
Labels remove the mental load of remembering where things go. They're especially helpful in shared spaces like the pantry, laundry room, or kids' play area. A simple label maker or even handwritten tags can transform a cluttered cabinet into a system that practically maintains itself.
Plus, labels make it easy to spot when supplies are running low, so you can restock before you run out.
Choose The Right Label Type
Not all labels are created equal. For bins and baskets, use durable, waterproof labels that can withstand wiping. For shelves, consider removable options if you rearrange often.
Chalkboard labels are great for frequently changing contents, like freezer bags or pantry jars. And for drawers, simple adhesive labels work fine—just make sure they're easy to read.
Label Zones, Not Just Items
Instead of labeling every single container, label the zones where items live. For example, put a "Snacks" label on a shelf rather than on each snack box. This gives flexibility to swap products without relabeling.
Zone labels also help kids and guests understand the big picture, so they can return things to the right area even if the specific bin changes.
Keep It Consistent And Visible
Use the same font, color, and placement style throughout your home for a cohesive look. Place labels at eye level or on the front edge of shelves so they're easy to spot. Avoid overcrowding—one clear label per zone is better than a dozen tiny ones.
Consistency trains your brain to follow the system automatically.
5. Designate a Landing Zone
The front door is ground zero for daily clutter. Keys, mail, bags, jackets—they all land there, and if there's no designated spot, they spread to the kitchen counter, dining table, or hallway floor. A landing zone gives everything a home right where you walk in, so clutter stops before it starts.
Setting up a landing zone doesn't require a major renovation. A small table, a wall-mounted shelf, or even a tray on a console can work. The key is to make it convenient and consistent.
When you walk in, you have a place to drop your keys, sort mail, and hang your bag. In the morning, everything is right where you left it, so you're not scrambling to find your wallet or phone.
Choose The Right Spot
Pick a location that's as close to the main entry point as possible. If you have a mudroom, that's ideal. If not, a corner of the entryway or even a wall near the door works.
The spot should be visible and easy to access, not tucked away in a closet where you'll ignore it.
Add Practical Storage
Include hooks for coats and bags, a small bowl or tray for keys and loose change, and a basket for mail or outgoing packages. A charging station for phones and devices is a game-changer, so you never leave the house with a dead battery.
Keep It Minimal
A landing zone works best when it's not overcrowded. Resist the urge to pile on decor or extra storage. Stick to the essentials—only items you use daily.
If you find the zone getting cluttered, do a quick weekly purge to reset it.
6. Use Drawer Dividers
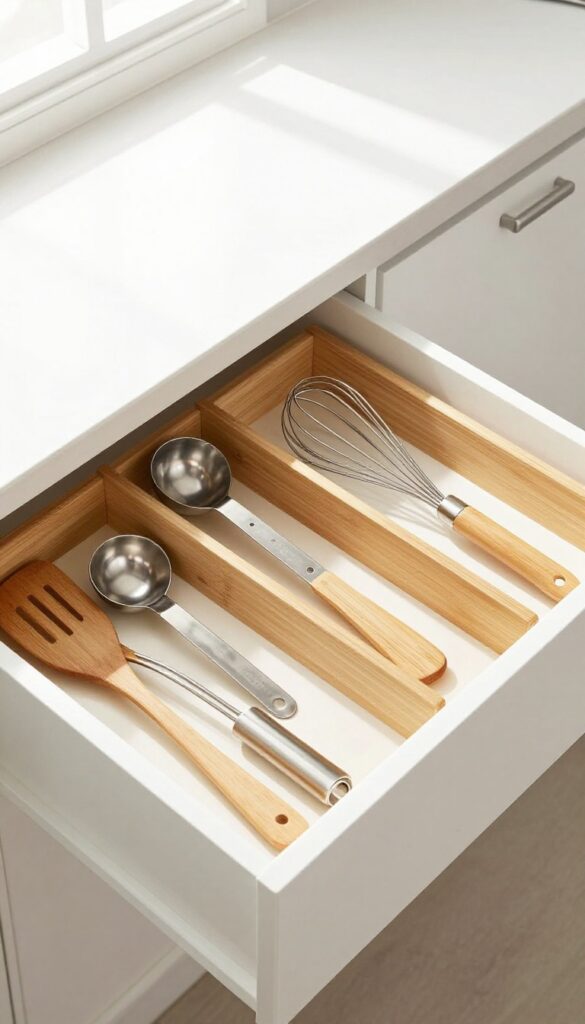
Drawers are notorious for turning into black holes where small items go to disappear. A jumble of utensils, tools, or accessories not only wastes time when you're searching but also creates unnecessary frustration. Drawer dividers are a simple fix that brings instant order to any drawer, no matter its size or purpose.
Adjustable dividers let you customize compartments to fit your specific items, whether it's kitchen utensils, office supplies, or bathroom toiletries. They prevent items from shifting around when you open and close the drawer, keeping everything in its designated spot. This small investment pays off daily by saving you minutes of rummaging and keeping your space looking tidy.
Choose The Right Dividers
Not all dividers are created equal. For deep drawers, look for expandable bamboo or plastic dividers that can be cut to size. For shallow drawers, adhesive grid organizers work well.
Measure your drawer interior before buying to ensure a snug fit.
Categorize Before Dividing
Before placing dividers, sort everything that belongs in the drawer into groups. For example, in a kitchen drawer, separate spatulas from measuring spoons. This way, you'll know exactly how many compartments you need and their ideal widths.
Maintain The System
Once dividers are in place, make it a habit to return items to their assigned spots. A quick weekly check ensures nothing has migrated. If you find a category isn't working, adjust the dividers—they're designed to be flexible.
7. Adopt the 'One In, One Out' Rule
It’s easy to let stuff pile up when you’re not paying attention. The 'one in, one out' rule is a simple way to keep your home from overflowing without constant purges. Every time you bring something new home, you commit to letting go of something old.
This habit maintains a natural balance and prevents clutter from creeping back in.
Make It A Habit At The Door
Keep a donation box or bag near your entryway. As soon as you bring in a new purchase, immediately place an old item in the box. This makes the rule automatic and removes the mental load of deciding later.
Apply It To Every Category
The rule works for clothes, kitchen gadgets, books, and even toys. If you buy a new sweater, donate one you haven’t worn in a year. When a new pan arrives, pass along the scratched one.
Consistency across categories stops any single area from becoming a problem.
Handle Gifts Gracefully
Gifts can throw off the balance. When you receive something new, choose a similar item you already own to donate. It’s not about being ungrateful—it’s about honoring your space and keeping your home functional.
8. Create a Cleaning Caddy for Each Floor
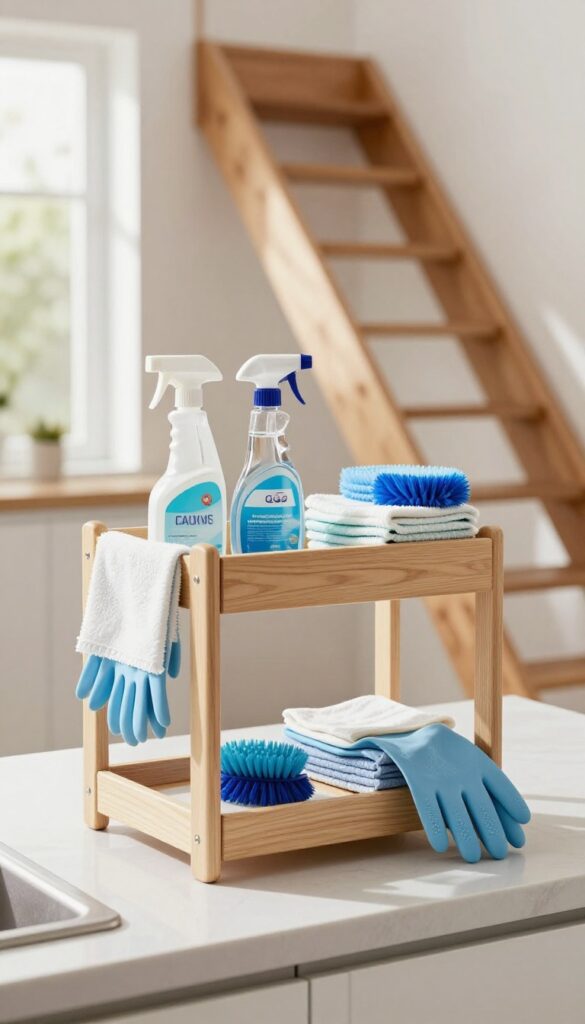
Running up and down the stairs for a spray bottle or a rag wastes time and energy. A cleaning caddy for each floor solves that problem by keeping supplies right where you need them. Stock it with the basics, and you'll be ready for quick wipe-downs without the extra steps.
What To Put In Your Caddy
A good caddy holds an all-purpose cleaner, glass spray, microfiber cloths, a scrub brush, and gloves. Add a small trash bag and a duster for quick touch-ups. Keep it lightweight so you can grab it and go.
Where To Store Each Caddy
Tuck one under the kitchen sink, another in a bathroom cabinet, and a third in a laundry room or hall closet. For upper floors, place caddies in a linen closet or on a shelf. The goal is easy access—no bending or digging.
How To Keep It Stocked
Check caddies weekly and refill anything running low. Store backup supplies in a central spot so restocking is quick. A simple checklist on the inside lid helps you remember what's needed.
9. Use Vertical Space with Wall Hooks
Floors and countertops aren't the only real estate in your home. Walls offer prime organizing space that often goes unused. By mounting hooks, you can instantly clear clutter from high-traffic areas and keep daily essentials within arm's reach.
Where To Install Hooks
Focus on entryways, mudrooms, bathrooms, and bedrooms. A row of hooks near the front door catches coats, bags, and dog leashes before they land on a chair. In the bathroom, hooks on the back of the door hold towels and robes.
Bedroom hooks work well for pajamas, robes, or bags.
Choosing The Right Hooks
Go for sturdy hooks that match your decor and can handle weight. Command hooks are renter-friendly and damage-free. For heavy items like backpacks, use screw-in hooks.
Consider double hooks to maximize capacity without taking up more wall space.
Arranging For Efficiency
Space hooks at least 6 inches apart to avoid crowding. Place them at different heights for kids and adults. Group hooks by purpose: one section for coats, another for bags.
This creates a visual system that makes putting things away as easy as grabbing them.
10. Set Up a Laundry Sorting System
Laundry day can feel like a drag when you have to sort through a mountain of mixed clothes before you even start the wash. The fix is simple: give each load its own home before it hits the hamper. A dedicated sorting system cuts out the sorting step entirely, so you can toss a load in and go.
The goal is to make laundry as mindless as possible. When every item lands in the right bin from the start, you never have to dig through a pile again. It’s a small upfront investment that pays off every single wash day.
Choose Your Hampers
You don’t need anything fancy. Grab three lightweight hampers or laundry bags—one for lights, one for darks, and one for delicates. If space is tight, look for stackable or collapsible options that tuck away easily.
Label each one clearly so everyone in the household knows where things go.
Place Them Strategically
Put the hampers where you actually undress: the bedroom, bathroom, or mudroom. If you have multiple floors, consider a small sorting station on each level. The closer the hamper, the more likely clothes will land inside instead of on the floor.
Make It A Habit
Train yourself and your family to sort as you go. It takes two seconds to drop a white tee in the lights bin instead of the darks. After a week, it becomes automatic.
You’ll notice the difference on laundry day when you can grab a full load without any extra work.
11. Rotate Seasonal Items
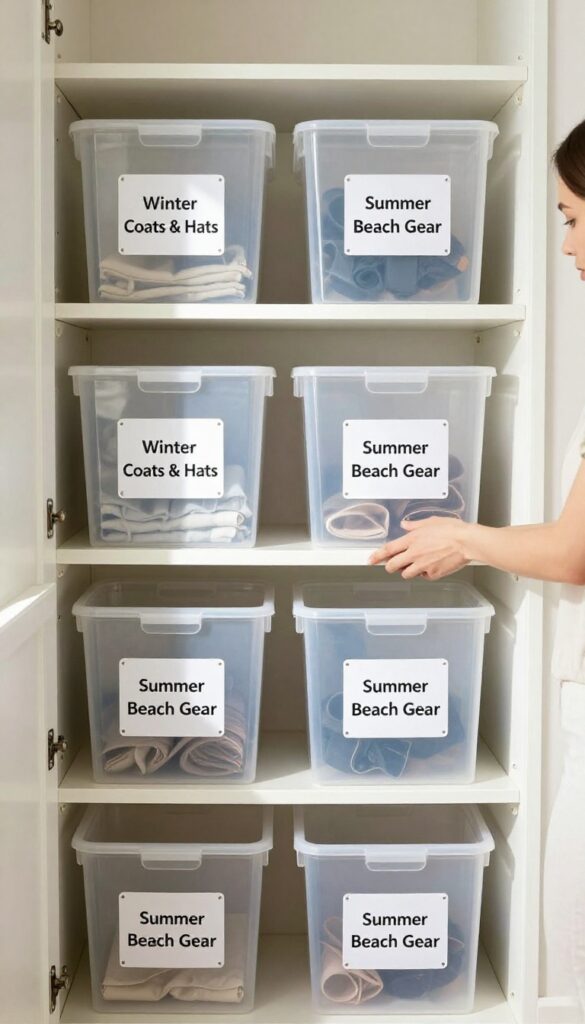
Seasonal clutter is sneaky. You keep things you might need later, and before you know it, your closet is packed with heavy coats in July and swimsuits in January. Rotating items by season clears visual noise and makes daily life easier.
Label Everything Clearly
Use clear plastic bins with large, readable labels. Mark each bin with the season and contents, like 'Winter Coats & Hats' or 'Summer Beach Gear. ' Stack them in a basement, attic, or high closet shelf. When the season changes, swap the bins so only current items are accessible.
Create A Swap Routine
Set a reminder on your phone for the first weekend of each season. Spend 30 minutes pulling out the new season's bin and storing the old one. This keeps the process automatic and prevents piles of out-of-season stuff from taking over your space.
Declutter Before Storing
Before you pack away off-season items, quickly sort through them. Donate anything you didn't use last season or that no longer fits. This keeps your storage bins from becoming time capsules of forgotten junk and saves you space for things you actually need.
12. Use a Timer for Decluttering
Decluttering feels overwhelming when you think about tackling the whole house. But what if you only had to do it for 15 minutes? Setting a timer shifts your mindset from "I need to clean everything" to "I just need to work until the bell rings.
" It's amazing how much you can accomplish in a short, focused burst.
The timer method works because it creates a sense of urgency without pressure. You're not committing to an afternoon of sorting—just a quick sprint. This makes it easier to start, and once you're in motion, you often keep going past the buzzer.
Even if you stop, you've made progress.
Pick One Small Zone
Choose a single drawer, a shelf, or a corner of a room. Don't try to do the whole kitchen or closet. Narrowing your focus prevents decision fatigue and gives you a clear finish line.
For example, tackle the junk drawer or the top of your dresser.
Sort Into Three Boxes
Grab a trash bag, a donate box, and a "keep but relocate" bin. As you work, quickly decide where each item belongs. The timer keeps you moving, so you don't overthink.
If you're unsure about something, toss it in the donate box—you can always retrieve it later.
Stop When The Timer Rings
Resist the urge to keep going just because you're on a roll. Stopping on time builds consistency and prevents burnout. You'll look forward to the next session because it feels manageable.
Over a week, those 15-minute blocks add up to serious change.
13. Keep a Donation Bag Handy
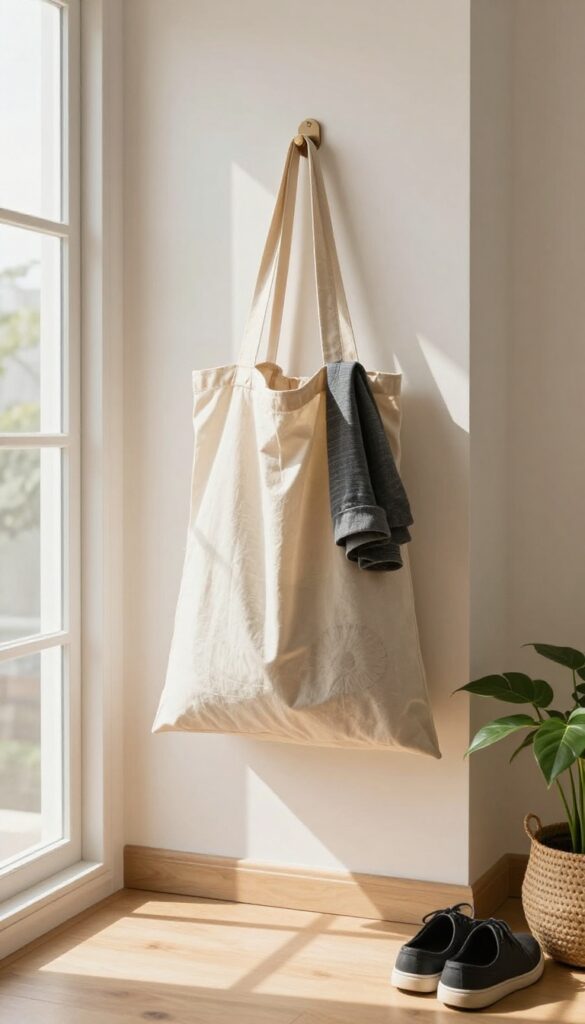
Clutter often lingers because we don't have a designated spot for items we no longer want. When something is worn, outgrown, or just not your style, it's easy to push it aside and forget about it. A simple donation bag solves that by giving those things a temporary home until you're ready to pass them along.
Place a reusable bag or bin in your closet, garage, or mudroom. Every time you come across something you don't need, drop it in immediately. No second-guessing, no piles on the floor.
When the bag is full, schedule a drop-off or pickup with a local charity. This habit keeps clutter from accumulating and makes donating a seamless part of your routine.
Where To Put It
Choose a spot you pass daily, like the back of your closet door or near the laundry room. The easier it is to access, the more likely you'll use it. Avoid tucking it away in a basement or attic, out of sight often means out of mind.
What Goes In
Clothing, shoes, books, small kitchen gadgets, and linens are all great candidates. Check your local charity's guidelines before dropping off. If something is broken or stained, trash or recycle it instead.
Keep the bag for items that are still usable.
Staying Consistent
Set a recurring reminder on your phone to check the bag every two weeks. If it's full, take action right away. If it's not, that's fine too.
The goal is to prevent the bag from becoming a permanent storage spot. A full bag is your cue to donate.
14. Organize Cords and Cables
Tangled cords are more than just an eyesore—they make vacuuming harder and add stress to your mornings. A few simple tools can turn that mess into a clean, manageable setup that actually feels good to look at.
Zip Tie Bundles
Group cords that live behind your TV or desk with reusable zip ties. Keep each bundle loose enough to add or remove a cord later. Label the ends with small tags so you know which cord goes where without unplugging everything.
Clip Them In Place
Adhesive cable clips along the edge of your desk or baseboard keep charging cables within reach but off the floor. Stick one near your nightstand for your phone charger and another by the couch for a laptop cord.
Hide The Hub
A cable box or a simple basket can hide power strips and excess cord length. Place it behind your entertainment center or under your desk. Just make sure the box has ventilation holes to prevent overheating.
15. Create a Paper Management System
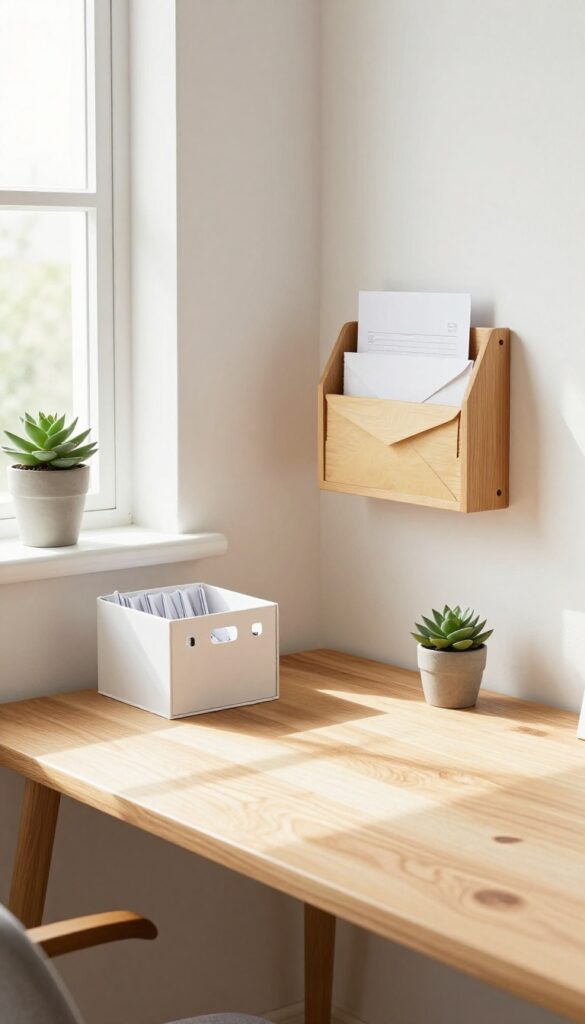
Paper clutter is one of those things that sneaks up on you. A few stray bills, a couple of receipts, and suddenly your counter is buried. The fix is a simple system that catches paper before it piles up.
A paper management system doesn't have to be complicated. The goal is to have a designated home for every piece of paper that comes through your door. Start with a small desktop file box or a wall-mounted sorter near where you usually drop mail.
Then, set up a few key categories: action items (bills to pay, forms to fill), reference (receipts, warranties), and long-term storage (tax documents, contracts).
Sort As You Go
The moment you bring mail or papers into the house, sort them into your categories. Toss junk immediately, put action items in a visible spot, and file reference papers right away. This habit takes 30 seconds but prevents piles from forming.
Set A Weekly Paper Date
Pick one day a week to process your action items. Pay bills, fill out forms, and then move them to the reference or storage section. This keeps your system from backing up and ensures nothing gets forgotten.
Digitize What You Can
For receipts and documents you rarely need, scan them and store digitally. Use a simple folder system on your computer or cloud drive. Then shred the originals.
This cuts down physical clutter while keeping important info accessible.
16. Use Baskets for Quick Cleanups
Baskets are the unsung heroes of a tidy home. They catch the random items that don't have a home and keep surfaces clear until you can put things away. The beauty is in the simplicity—no sorting, no decision-making, just a quick toss and move on.
Place a basket in each room where clutter tends to accumulate. When you spot an item that belongs elsewhere, drop it in the basket instead of leaving it out. Later, take the basket and return everything to its proper place in one trip.
This system prevents small messes from snowballing and saves you from multiple back-and-forth trips. For best results, choose baskets that are sturdy and easy to carry, like those with handles. You can also use different baskets for different purposes, such as a basket for mail in the entryway or a basket for toys in the living room.
Where To Place Baskets
Think about the spots where clutter magically appears: the coffee table, kitchen counter, entryway bench, and bedside table. Place a basket in each of these high-traffic areas. The goal is to have a basket within arm's reach so you can instantly stash items without breaking your stride.
How To Make It A Habit
Set a daily routine to empty the baskets. For example, do a basket round before bed or during a commercial break. The key is consistency—once it becomes a habit, you'll wonder how you ever lived without baskets.
Involve family members by assigning each person a basket to manage.
Choosing The Right Basket
Pick baskets that match your decor and are easy to clean. Open baskets are best for quick tosses, while lidded baskets can hide clutter if you prefer a cleaner look. Consider size—a basket that's too small will overflow quickly, while one that's too large may encourage hoarding.
Woven baskets add warmth, while plastic or metal are more durable for heavy use.
17. Schedule Weekly Deep Clean Tasks
Deep cleaning doesn't have to mean dedicating an entire Saturday to scrubbing every surface. By breaking it into small, focused tasks spread across the week, you can keep your home genuinely clean without the burnout. The key is to assign one specific area or task to each day, so nothing gets overlooked and everything stays manageable.
Pick Your Daily Focus
Start by listing the main zones in your home—bathrooms, kitchen, living areas, bedrooms, and floors. Assign each to a weekday. For example, Monday could be bathrooms (scrub toilets, sinks, and mirrors), Tuesday the kitchen (wipe down cabinets, clean the oven, and mop), Wednesday living areas (dust shelves, vacuum sofas, and wipe baseboards), Thursday bedrooms (change sheets, dust, and vacuum under beds), and Friday floors (deep vacuum and mop all hard surfaces).
This rotation ensures every space gets attention without any single day feeling overwhelming.
Keep The Tasks Bite-sized
Each daily deep clean task should take no more than 30 minutes. If you find yourself running over, you're probably trying to do too much. Narrow the focus: instead of "clean the kitchen, " break it into "wipe down all cabinet fronts and handles" or "scrub the stovetop and backsplash.
" Small, specific tasks are easier to start and finish, which builds momentum and keeps you consistent.
Pair Deep Cleaning With Your Routine
Tie each deep clean task to an existing habit. For instance, do the bathroom deep clean right after your morning shower, or tackle the kitchen while waiting for your coffee to brew. Linking the new task to something you already do makes it feel less like an extra chore and more like a natural part of your day.
Over time, it becomes automatic.
18. Store Cleaning Supplies Near the Point of Use
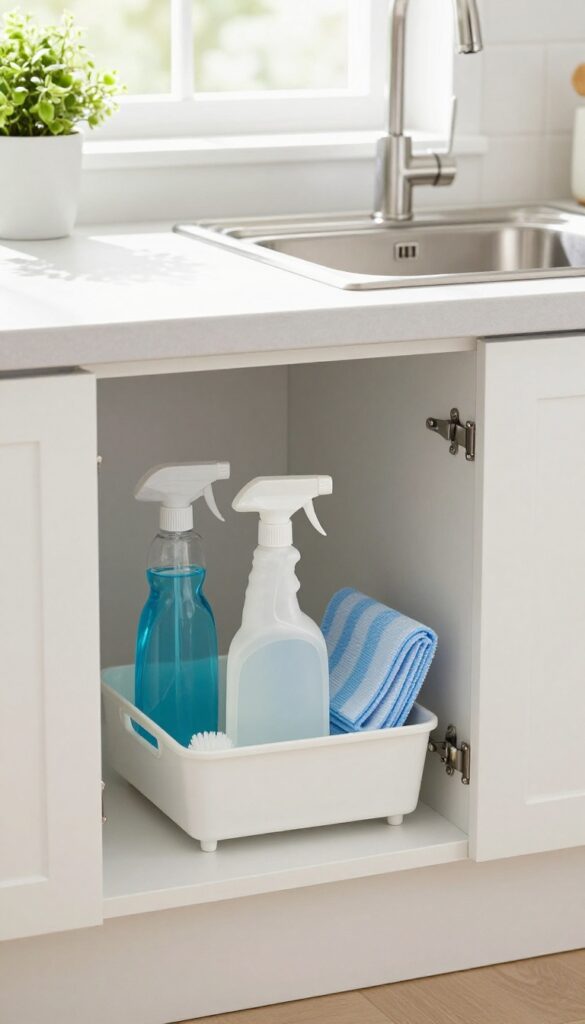
Ever notice how a small spill can turn into a sticky mess because you have to walk to the other end of the house to grab a cloth? The solution is simple: keep cleaning supplies exactly where you need them. By placing a spray bottle and microfiber cloth under each sink, you can wipe down counters, sinks, and mirrors the moment they get dirty—no excuses.
This strategy eliminates the friction that often leads to procrastination. When the cleaner is right there, you'll instinctively grab it and tidy up in seconds. Over time, this habit keeps surfaces cleaner with less effort, and you'll spend less time on deep cleaning because messes never get a chance to set in.
What To Keep Under Each Sink
For the kitchen, include an all-purpose cleaner, a degreaser, and a stack of microfiber cloths. In bathrooms, add a glass cleaner, a disinfectant spray, and a small scrub brush for quick sink touch-ups. Store everything in a small caddy or bin so it stays organized and easy to grab.
Don't Forget Other High-traffic Zones
Think beyond sinks. Keep a mini cleaning kit in the laundry room for spills, near the coffee station for drips, and even in the garage for muddy shoes. A small caddy with a spray bottle and rags can live on a shelf or in a cabinet, ready for action.
Make It A Family Habit
Label the supplies or use color-coded cloths so everyone knows what goes where. Encourage family members to wipe down the sink after brushing teeth or clean up spills immediately. When the tools are within arm's reach, it becomes second nature.
19. Use a Family Command Center
A family command center is like mission control for your home. It centralizes schedules, chores, and paperwork so everyone knows what's happening and what's expected. No more missed appointments or nagging about chores—just a simple wall setup that keeps the whole household on track.
Pick The Right Spot
Choose a high-traffic area like the kitchen, mudroom, or hallway. You want it visible but not in the way. A wall near the door or beside the fridge works well.
Make sure there's enough space for a calendar, a few hooks, and a small tray or bin.
Must-have Components
Start with a large wall calendar for appointments and events. Add a chore chart with magnets or dry-erase markers so tasks are clear. Include a mail organizer with slots for each family member and a tray for bills or action items.
A small corkboard or clip system can hold permission slips and reminders.
Keep It Updated
The command center only works if you use it. Set a weekly reset—maybe Sunday evening—to update the calendar, rotate chores, and clear out old papers. Involve the kids by letting them check off their own tasks.
A quick five-minute habit keeps everything running smoothly.
20. Declutter Before You Organize

It's tempting to rush out and buy matching bins and baskets the moment you feel overwhelmed by mess. But that approach often backfires—you end up with neatly hidden piles of stuff you don't actually need. The real game-changer is removing excess before you add any storage solutions.
Organizing clutter doesn't solve the problem; it just hides it behind a pretty label. When you take the time to declutter first, you free up space and make your systems actually work. Plus, you'll save money by not buying containers for things you should have tossed or donated anyway.
Sort Everything Into Three Piles
Grab a trash bag, a donate box, and a keep bin. Go through one category at a time—like kitchen gadgets, bathroom products, or clothes—and be ruthless. If you haven't used it in the past year, it's probably safe to let it go.
This simple sorting step prevents you from holding onto items out of guilt or habit.
One In, One Out Rule
Once you've decluttered, commit to a simple maintenance rule: every time you bring something new into your home, remove one old item. This keeps your space from gradually filling back up. It works especially well for clothes, books, and kitchen tools—areas where accumulation happens fast.
Only Then Buy Storage
After you've pared down, you'll have a clear picture of what actually needs a home. Now you can choose storage that fits your remaining items, not the other way around. You might find you need far fewer bins than you thought—and the ones you do buy will work perfectly because they're sized for what's left.
FAQ
How long does it take to see results from these cleaning organization ideas?
Many ideas show immediate results, like the one-minute rule or a landing zone. For bigger changes like decluttering, you'll notice a difference within a week of consistent effort.
Do I need to buy expensive storage solutions?
Not at all. Many ideas use items you already have, like baskets, hooks, or clear bins from dollar stores. Focus on function over fancy.
How do I get my family to follow these systems?
Keep it simple and label everything. Involve everyone in setting up the systems so they feel ownership. Start with one or two ideas and build from there.
What if I feel overwhelmed by the number of ideas?
Pick just one or two that address your biggest pain points. Once those become habits, add more. Small steps lead to lasting change.
Can these ideas work in a small apartment?
Absolutely. Ideas like vertical storage, drawer dividers, and a landing zone are perfect for small spaces. They maximize every inch without clutter.
Conclusion
A smoother home routine isn't about perfection—it's about finding small, repeatable systems that work for your actual life. Pick one or two ideas from this list that feel doable right now, and try them for a week.
You'll likely notice less friction in your daily flow. Over time, these small tweaks add up to a home that practically runs itself, freeing up energy for what truly matters.


