
Last updated on August 22nd, 2026 at 03:44 pm
If your dog can demolish a store-bought chew in minutes, you know the struggle. Homemade treats can be tougher, healthier, and way more affordable—especially when you prep them in batches.
These recipes are built for serious chewers, using dense ingredients and simple techniques that stand up to determined jaws. Best of all, they fit neatly into your meal-prep routine, so you can make a week’s worth of chews in one go.
Let’s get your pup’s tail wagging with treats that actually last.
1. Sweet Potato Jerky Strips
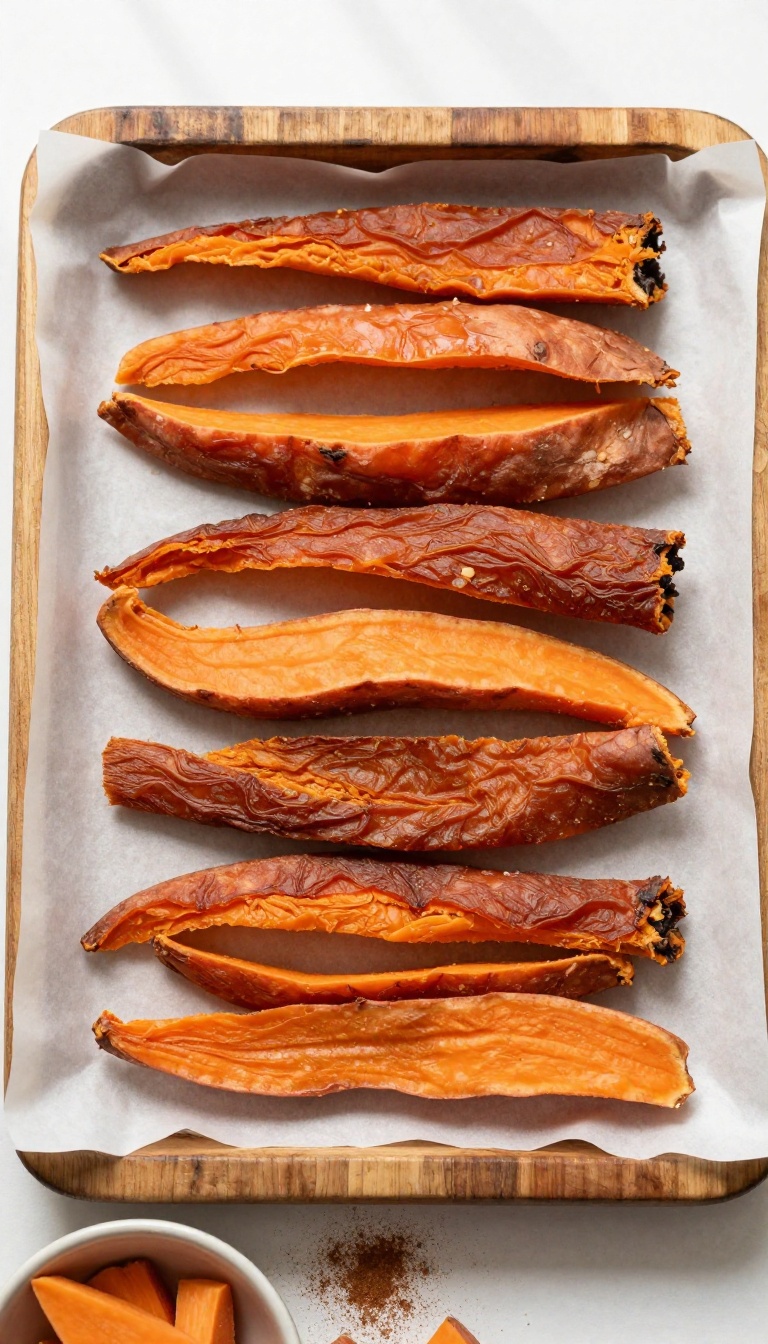
When you need a chew that lasts, sweet potato jerky is a game-changer. These thick strips are dehydrated until they're chewy and tough, giving your dog a satisfying snack that stands up to serious chewing. Best of all, they're made with just one ingredient, so you can batch-prepare them without any fuss.
Whether you're meal-prepping for the week or stocking up for a road trip, these strips are a practical, budget-friendly option that your pup will love.
Ingredients
- 2 large sweet potatoes, scrubbed and peeled
- Optional: a light sprinkle of cinnamon (dog-safe, but skip if your dog has a sensitive stomach)
- 1 cup prepared cooked sweet potato in small dog-safe pieces
- 1 cup oat flour or finely ground oats
- 1 egg or 2 tablespoons unsweetened applesauce for binding
Instructions
- Preheat your oven to 200°F (95°C) or set your dehydrator to 135°F (57°C). Line a baking sheet with parchment paper if using the oven.
- Slice the sweet potatoes into 1/4-inch thick strips. For tougher chews, cut them into wider, thicker strips; for softer treats, slice thinner.
- Arrange the strips in a single layer on the baking sheet or dehydrator trays, leaving space between each piece for air circulation.
- Bake or dehydrate for 3 to 4 hours, flipping halfway through, until the strips are dry and chewy but not brittle. They should bend without snapping.
- Let the jerky cool completely before serving. Store in an airtight container in the refrigerator for up to two weeks, or freeze for longer storage.
- Mix the prepared cooked sweet potato with the oat flour and binder until a soft dough or spoonable mixture forms.
- Shape into small treat portions, bake on a lined tray at 325°F until firm, then cool completely before serving.
Serving Tip
These jerky strips are perfect for long-lasting chewing sessions. For smaller dogs, cut the strips into shorter pieces to prevent choking. Always supervise your dog while they enjoy this treat, and adjust chew time based on your dog's chewing style—some pups may need a softer texture, so reduce the dehydrating time if needed.
2. Peanut Butter & Oat Chew Bars
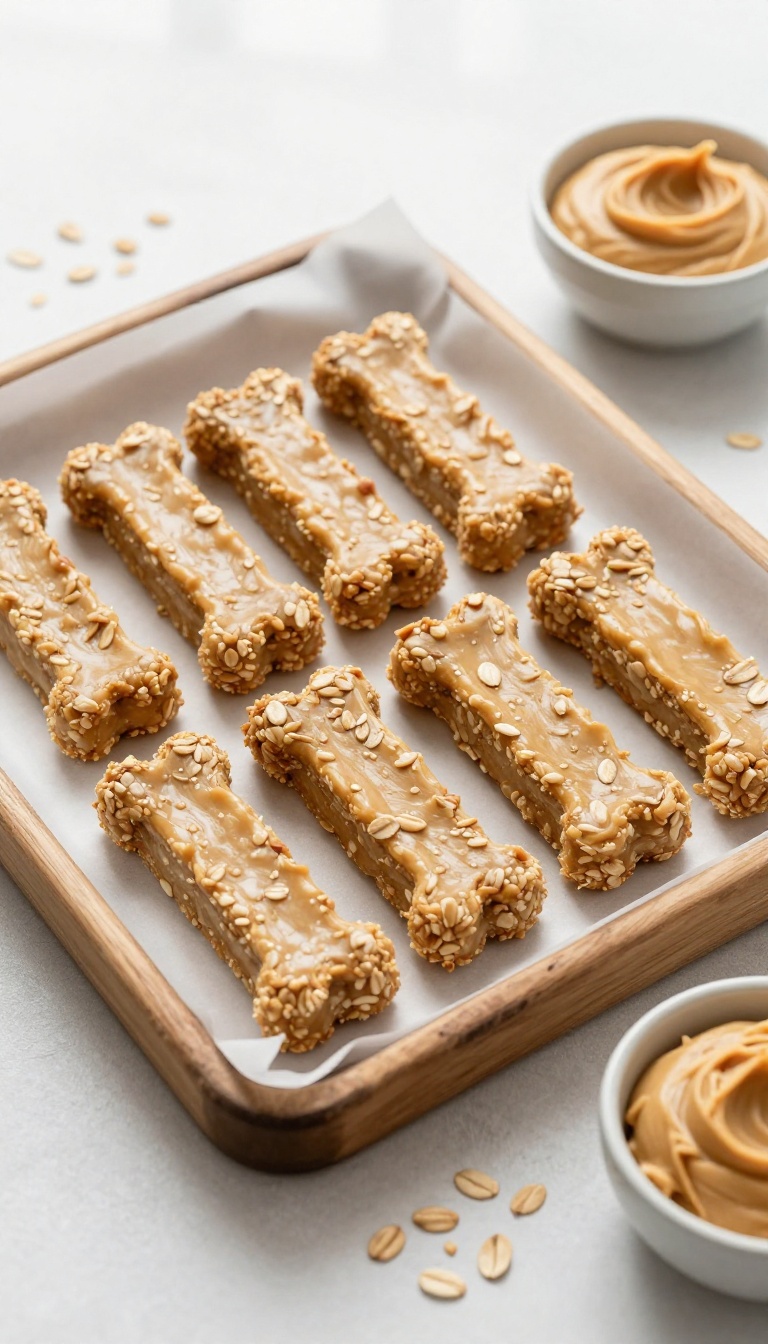
For serious chewers, a treat that disappears in seconds is a wasted effort. These dense bars are built to last, with oats and peanut butter baked until firm and chewy. They're perfect for shaping into bone-like sticks that keep your dog busy and satisfied.
Plus, they're simple to make in batches, so you can prep a week's worth of chewing fun in one go.
Ingredients
- 2 cups old-fashioned rolled oats
- 1 cup natural peanut butter (unsalted, no xylitol)
- 1/2 cup water (or more as needed)
- 1/4 cup oat flour (or ground oats) for dusting
Instructions
- Preheat your oven to 325°F (165°C) and line a baking sheet with parchment paper.
- In a large bowl, mix the oats and peanut butter until well combined. Gradually add water, stirring until a stiff dough forms. If it's too crumbly, add a little more water, a tablespoon at a time.
- Turn the dough out onto a lightly floured surface and knead a few times. Roll it out to about 1/2-inch thickness.
- Cut into bone shapes or long bars, or simply shape into sticks with your hands. Place them on the prepared baking sheet.
- Bake for 30-35 minutes, then flip and bake for another 20-25 minutes until the bars are firm and lightly browned. They will harden as they cool.
- Let cool completely before serving to your dog.
Serving Tip
- These bars are dense and long-lasting, perfect for a good chew session. Store them in an airtight container at room temperature for up to a week, or freeze for up to three months. For extra durability, you can dehydrate them at a low temperature after baking.
- Always supervise your dog while they chew, and adjust the size of the treats to your dog's chewing strength.
3. Frozen Beef Broth Pupsicles
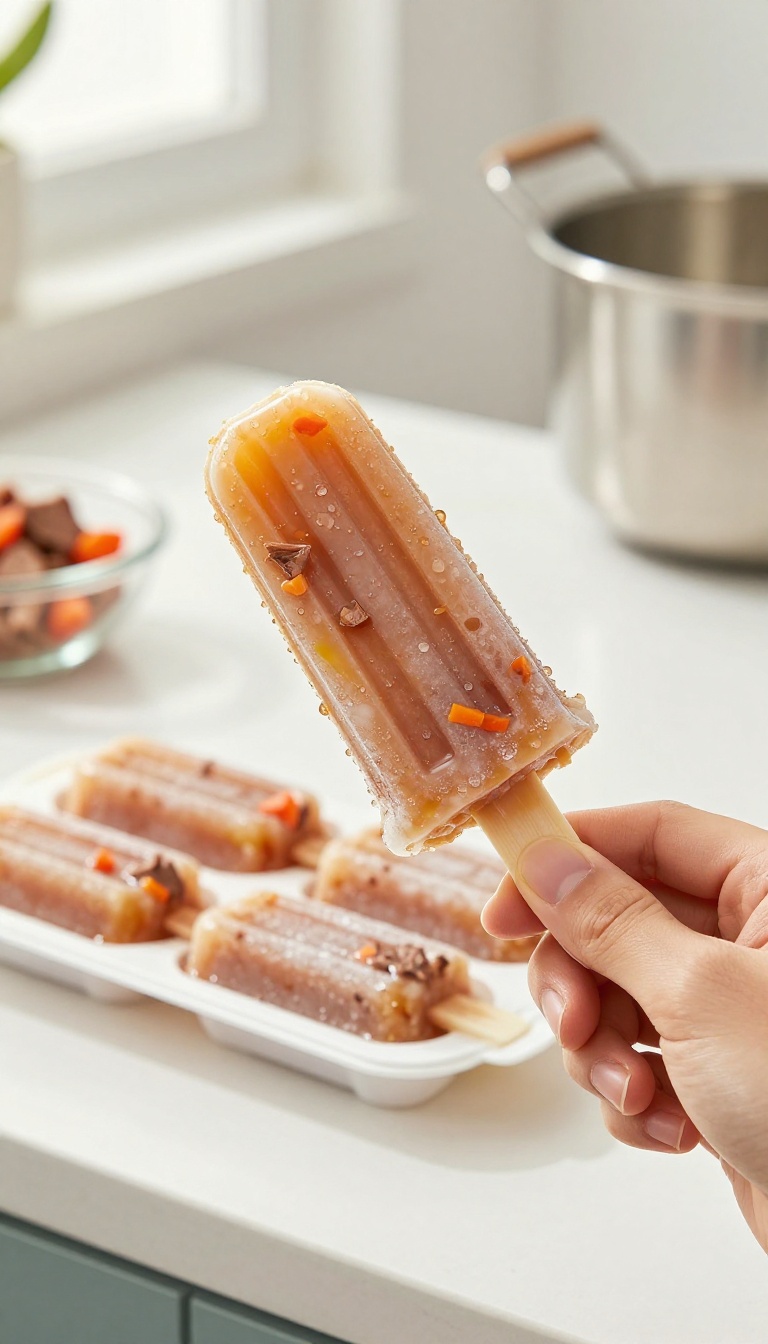
When the temperature climbs, your dog still wants something to chew on—but a hard biscuit might not feel as refreshing. These frozen pupsicles turn a simple beef broth into a cool, soothing treat that keeps your pup busy for a while. They're perfect for meal-prepping: just make a big batch on the weekend and pull them out whenever your dog needs a break from the heat.
The best part? You control the ingredients, so you know exactly what your dog is licking and chewing.
Ingredients
- 4 cups unsalted beef broth (make sure it's onion-free and garlic-free)
- 1/2 cup cooked, chopped beef (or chicken, turkey, or canned pumpkin)
- 1/4 cup chopped carrots or green beans (optional, for extra crunch)
- Silicone molds (bone-shaped or any fun shape)
Instructions
- Pour the beef broth into a large mixing bowl. If you're using store-bought broth, double-check that it doesn't contain onion or garlic powder, which are toxic to dogs.
- Stir in the chopped beef and veggies (if using). This gives your dog something to find and nibble on as the pupsicle melts.
- Carefully spoon the mixture into silicone molds, filling each cavity to the top. If you don't have molds, you can use an ice cube tray or even small paper cups.
- Place the molds on a flat tray and freeze for at least 4 hours, or until completely solid.
- Pop the pupsicles out of the molds and store them in a zip-top bag or airtight container in the freezer.
Serving Tip
- Give your dog one pupsicle at a time, especially on hot days. For smaller dogs, break a pupsicle in half or use smaller molds to avoid overfeeding. These treats are best served outdoors or on a washable surface, as they can get drippy.
- They'll last for up to 3 months in the freezer, so you can always have a cooling treat ready.
4. Bully Stick Alternative: Beef Tendon Twists
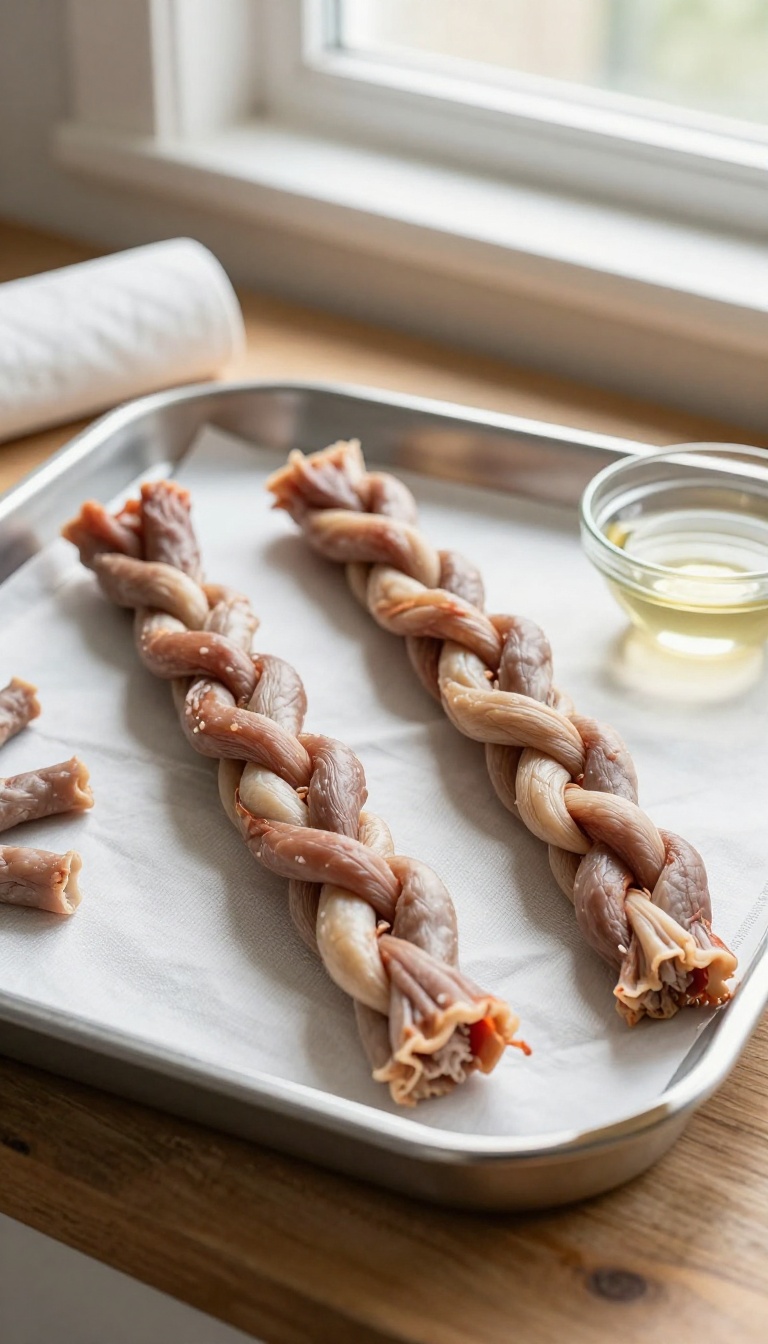
If your dog demolishes bully sticks in minutes, these beef tendon twists are a game-changer. They're made from natural beef tendons that are twisted and dehydrated until rock-hard, giving your pup a long-lasting chew that satisfies their urge to gnaw. Plus, they're a great way to save money by making them at home in bulk, perfect for meal-prepping a week's worth of chews.
Ingredients
- 1 lb beef tendons (from a butcher or online)
- 1 tablespoon apple cider vinegar (for cleaning)
- Water for soaking
Instructions
- Soak the beef tendons in cold water with apple cider vinegar for 30 minutes to clean and soften them slightly.
- Rinse the tendons thoroughly and pat them dry with paper towels.
- Twist two tendons together tightly, like a rope, and secure the ends with kitchen twine if needed.
- Place the twisted tendons on a dehydrator tray and dehydrate at 160°F (71°C) for 12-24 hours, or until they are completely hard and dry. Alternatively, bake in an oven at the lowest setting (around 170°F/75°C) with the door slightly ajar for 4-6 hours, checking frequently.
- Once fully dehydrated, let them cool completely before giving one to your dog.
Serving Tip
Store these chews in an airtight container at room temperature for up to 2 weeks, or freeze them for longer storage. Always supervise your dog while they chew, and discard any small, broken pieces to prevent choking hazards.
5. Pumpkin & Coconut Oil Biscuits
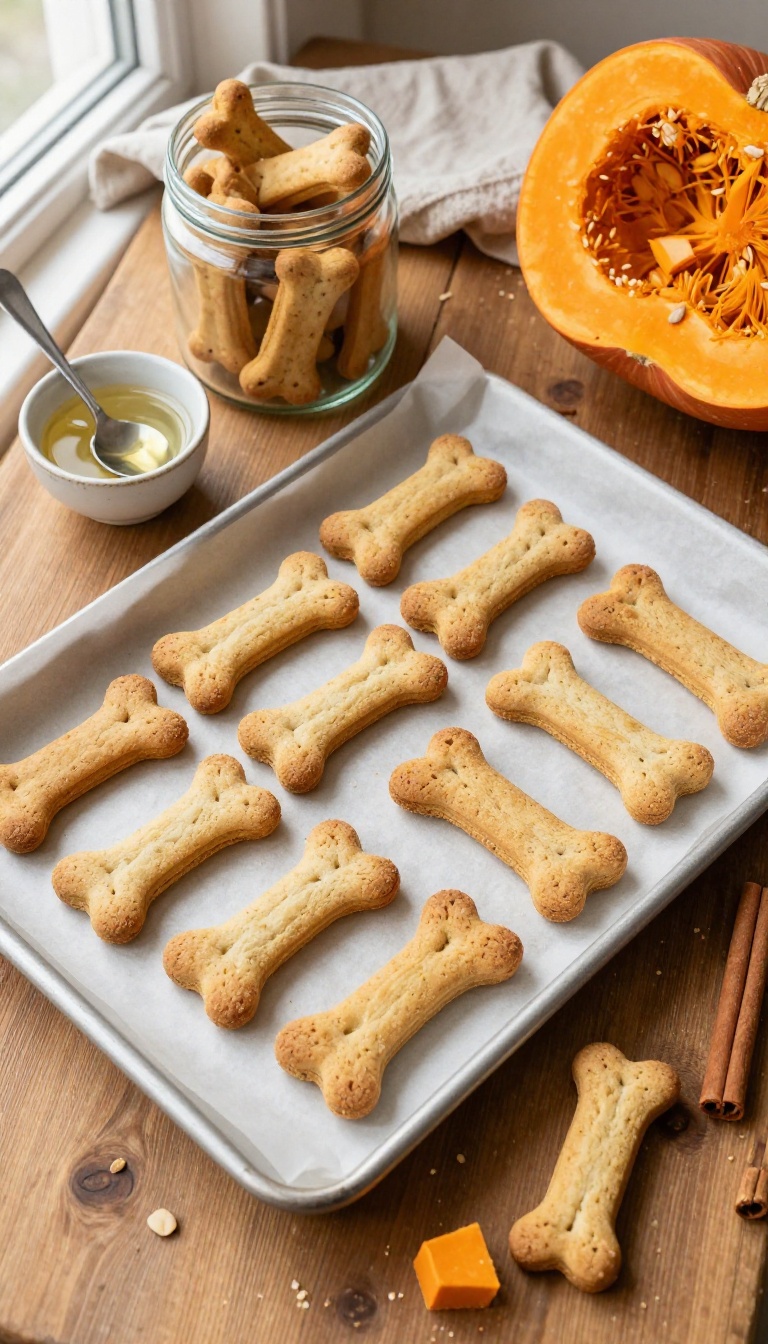
When your dog chews through store-bought treats in minutes, it's time to bring out the big guns. These twice-baked biscuits are sturdy enough to satisfy even the most determined chewers, thanks to a long, slow dehydration in the oven. Pumpkin puree adds natural sweetness and fiber, while coconut oil supports a shiny coat and healthy digestion.
Best of all, they're simple to make in big batches, so you can keep a jar ready for those extra-chewy days.
Ingredients
- 2 ½ cups whole wheat flour (or oat flour for a grain-free option)
- 1 cup canned pumpkin puree (unsweetened, not pumpkin pie filling)
- 2 large eggs
- 3 tablespoons coconut oil, melted
- ½ teaspoon ground cinnamon (optional, for flavor)
- ¼ cup water (as needed)
Instructions
- Preheat your oven to 350°F (175°C) and line a baking sheet with parchment paper.
- In a large bowl, mix the flour and cinnamon. Add the pumpkin puree, eggs, and melted coconut oil, and stir until a dough forms. If the dough is too dry, add water one tablespoon at a time until it comes together.
- Turn the dough onto a floured surface and roll it out to about ¼-inch thickness. Cut into bone shapes or use a pizza cutter for simple squares.
- Place the biscuits on the prepared baking sheet and bake for 25 minutes.
- After the first bake, reduce the oven temperature to 200°F (95°C) and flip the biscuits. Bake for another 60–90 minutes, or until they are completely dry and hard when tapped. Let them cool completely on a wire rack before serving.
Serving Tip
- Store these biscuits in an airtight container at room temperature for up to two weeks, or freeze them for up to three months. Because they're extra hard, they're perfect for supervised chewing sessions. For smaller dogs, break them into smaller pieces to avoid any choking risk.
- Always provide fresh water nearby.
6. Chicken Feet Chips
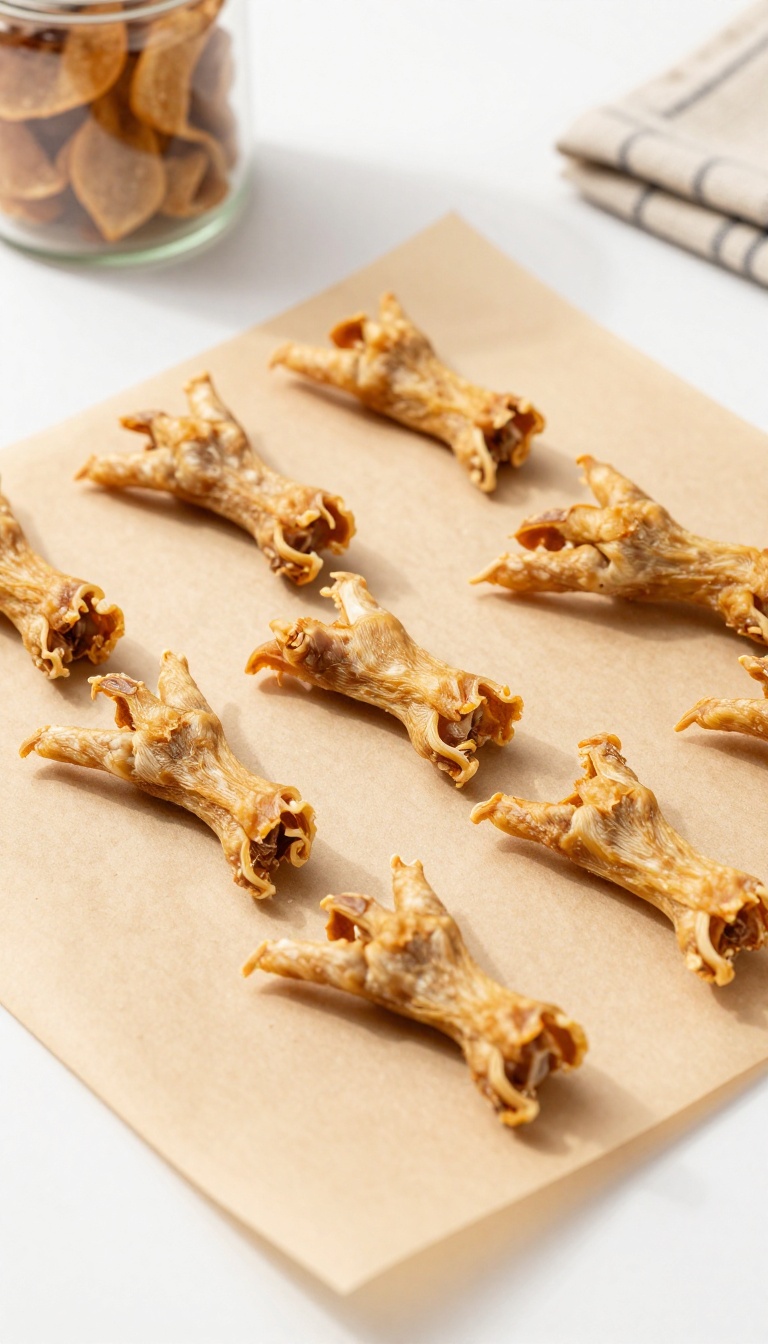
For serious chewers, chicken feet chips are a game-changer. They’re baked or dehydrated until brittle, giving your dog a satisfying crunch that also supports their joints with natural glucosamine. This recipe is a meal-prep dream—you can make a big batch in advance and store them for weeks.
Your dog will love the rich, meaty flavor, and you’ll love how easy they are to pack into lunchboxes or grab for a quick reward.
Ingredients
- 10 raw chicken feet (cleaned and nails trimmed)
- 1 tablespoon apple cider vinegar (optional, for soaking)
- Water (for soaking)
Instructions
- Soak the chicken feet in a bowl of water with apple cider vinegar for 30 minutes, then rinse and pat dry thoroughly.
- Preheat your oven to 200°F (95°C) or set your dehydrator to 160°F (70°C).
- Arrange the chicken feet in a single layer on a baking sheet lined with parchment paper or on dehydrator trays.
- Bake for 6-8 hours, or dehydrate for 12-24 hours, until the feet are completely dry, brittle, and snap easily when bent.
- Let cool completely before serving or storing.
Serving Tip
Store these chips in an airtight container at room temperature for up to 2 weeks, or freeze for up to 3 months. Because they’re brittle, they’re great for portioning into treat pouches for walks or training sessions. Always supervise your dog while chewing, and adjust the size if needed for smaller dogs.
7. Sweet Potato & Apple Chews
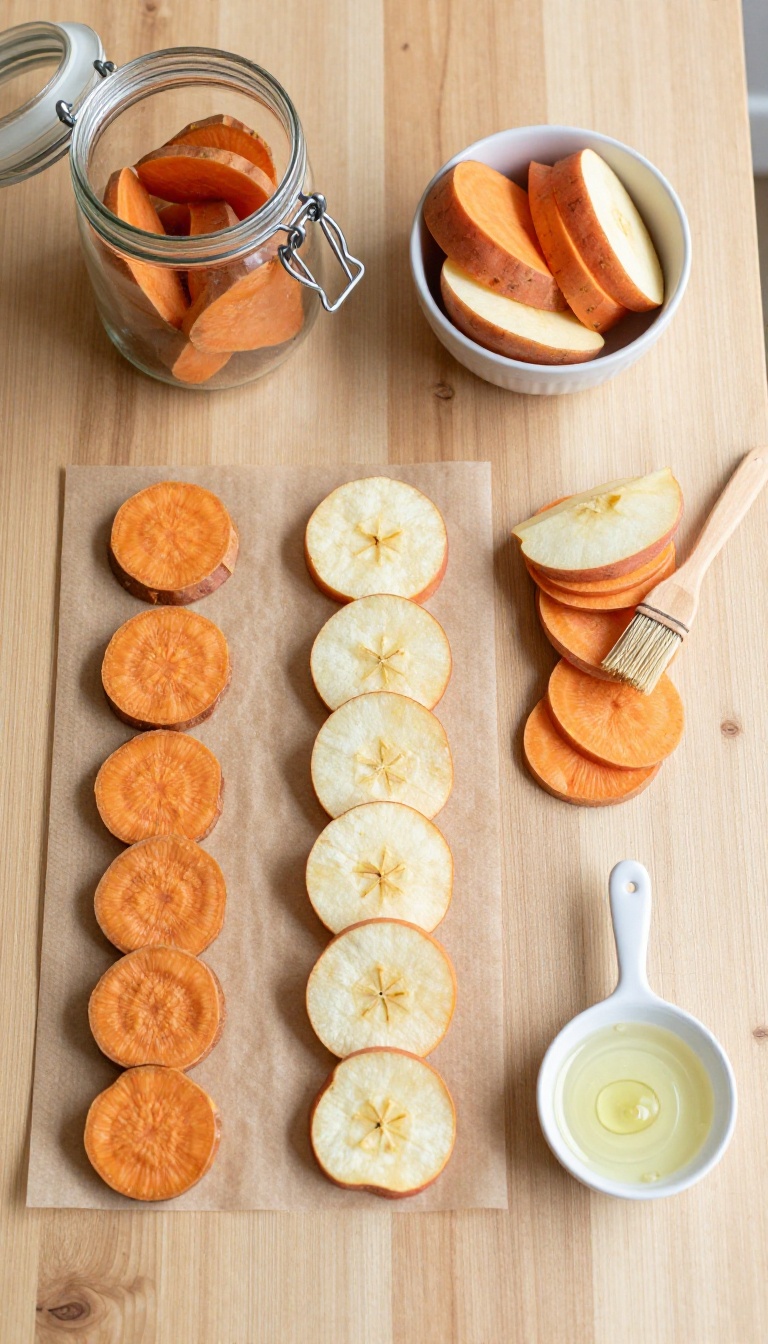
Chewy, naturally sweet, and surprisingly simple to make, these layered sweet potato and apple chews are a great option when you want a long-lasting treat without turning your kitchen upside down. Since they're dehydrated rather than baked, they keep their satisfying, leathery texture that serious chewers love. Plus, they're easy to prep in batches, so you can make a big stash for the week and keep them ready in the fridge.
Ingredients
- 1 large sweet potato, peeled and sliced into 1/4-inch rounds
- 1 large apple, cored and sliced into 1/4-inch rounds
- 1 tablespoon coconut oil, melted (optional, for brushing)
Instructions
- Preheat your dehydrator to 135°F (57°C) or your oven to its lowest setting (usually around 170°F/77°C) if using the oven method.
- Brush each sweet potato slice lightly with coconut oil on both sides, then layer a slice of apple on top of each sweet potato slice.
- Place the layered slices on dehydrator trays or a baking sheet lined with parchment paper, leaving space between them for airflow.
- Dehydrate for 6 to 8 hours, or until the slices are leathery and pliable but not brittle. If using an oven, prop the door open slightly to let moisture escape and rotate the trays halfway through.
- Let cool completely before serving. Store in an airtight container in the refrigerator for up to two weeks.
Serving Tip
For portion control, break each chew into smaller pieces for smaller dogs, or keep them whole for larger breeds. These chews are best served at room temperature, and you can extend their shelf life by freezing them in a zip-top bag—just thaw a few at a time as needed.
8. Liver & Brown Rice Bars
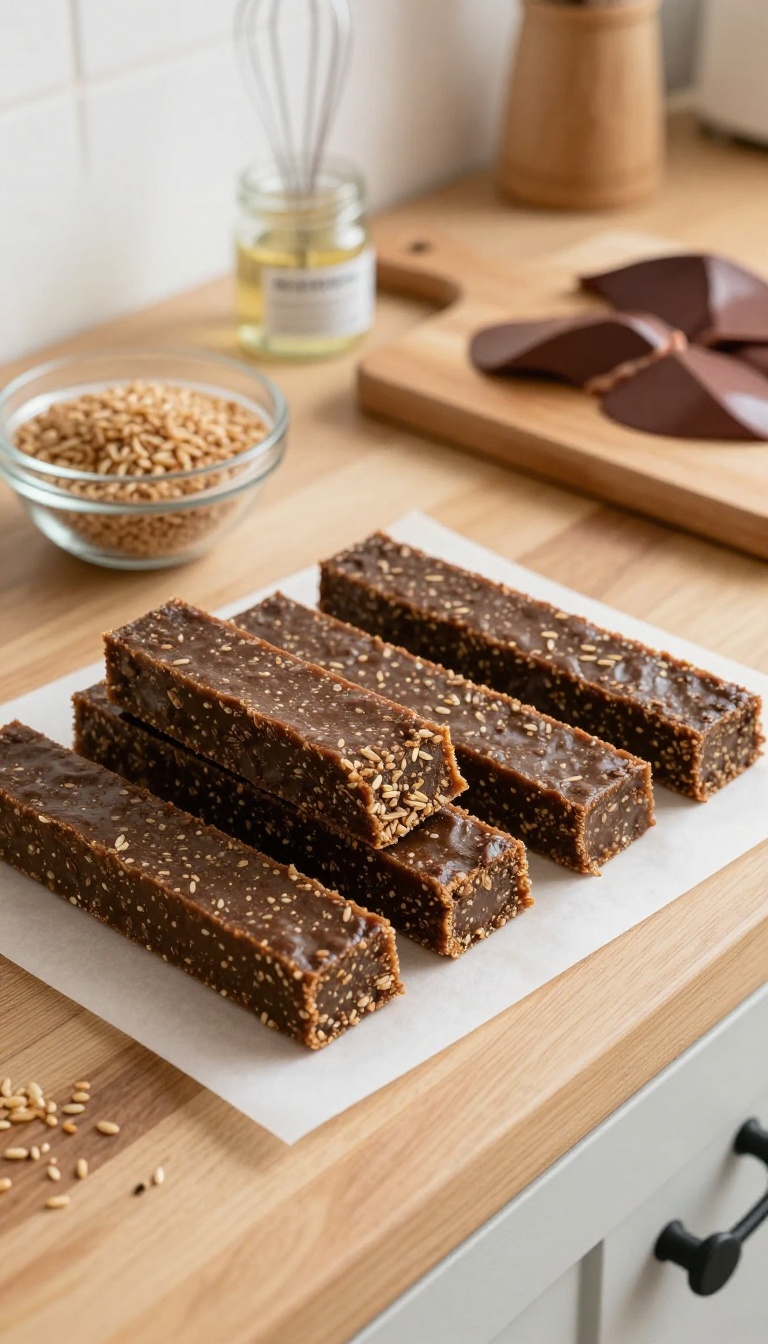
These dense bars are a meal-prep dream for busy dog owners. By blending liver with brown rice and baking until firm, you get a chewy, protein-packed treat that holds up to serious chewing. They slice cleanly, store well, and give your dog a satisfying, nutrient-rich snack without the hassle of constant batch baking.
Ingredients
- 1 cup cooked brown rice
- 1/2 pound beef or chicken liver, trimmed and chopped
- 1 large egg
- 1/4 cup oat flour (or more as needed)
- 1 tablespoon coconut oil, melted
Instructions
- Preheat your oven to 350°F (175°C) and line an 8×8-inch baking dish with parchment paper.
- In a food processor, combine the cooked rice, liver, egg, and coconut oil. Blend until mostly smooth, scraping down the sides as needed.
- Add oat flour gradually until the mixture forms a thick, spreadable dough. It should hold together when pressed.
- Press the mixture evenly into the prepared dish. Bake for 30–35 minutes, until the edges are golden and the center feels firm to the touch.
- Let cool completely, then slice into bar-shaped pieces. For extra hardness, return the slices to a low oven (200°F) for 20–30 minutes, flipping once.
Serving Tip
These bars are dense and chewy, so they're perfect for dogs who love to gnaw. Store them in an airtight container in the fridge for up to a week, or freeze for up to three months. For meal prep, portion them into daily snack bags—one bar per medium-sized dog is a good starting point, adjust based on your pup's size and activity level.
9. Frozen Yogurt & Berry Bites
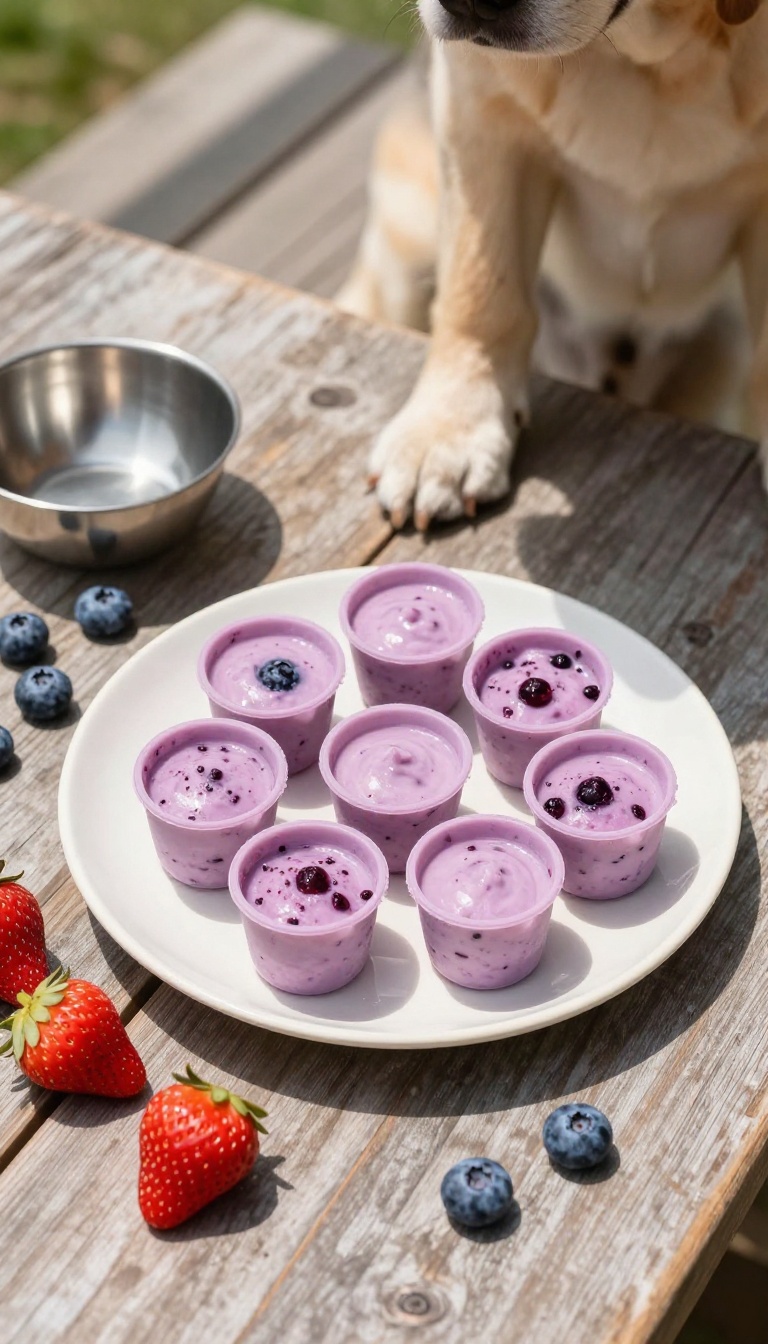
When the summer heat hits, these frozen bites are a game-changer for keeping your dog cool and entertained. They're incredibly easy to make ahead and store, so you always have a refreshing snack ready when your pup needs a break from the sun. The creamy yogurt and sweet berries make a combo most dogs go wild for, and the freezing process turns them into a longer-lasting treat that will keep your chewer busy for a while.
Ingredients
- 2 cups plain Greek yogurt (unsweetened, no xylitol)
- 1/2 cup fresh or frozen blueberries (no added sugar)
- 1/2 cup fresh or frozen strawberries, hulled and chopped (no added sugar)
- 1 tablespoon honey (optional, for extra sweetness – check with your vet if your dog is diabetic)
Instructions
- In a blender or food processor, combine the Greek yogurt, blueberries, strawberries, and honey (if using). Blend until smooth, but leave a few small berry chunks for texture if you like.
- Pour the mixture evenly into silicone ice cube trays or small silicone molds. You can also use a regular ice cube tray lined with plastic wrap for easier removal.
- Place the trays in the freezer for at least 4 hours, or until completely solid.
- Once frozen, pop the bites out of the trays and store them in a freezer-safe bag or container. They'll keep for up to 3 months.
Serving Tip
Serve these frozen bites straight from the freezer as a refreshing treat on a hot day. Because they're frozen, they last longer than soft treats, but they're still softer than baked chews, so they're great for puppies or senior dogs with sensitive teeth. Always supervise your dog while they enjoy any treat, and store leftovers in the freezer to keep them from melting.
10. Carrot & Banana Hard Cookies
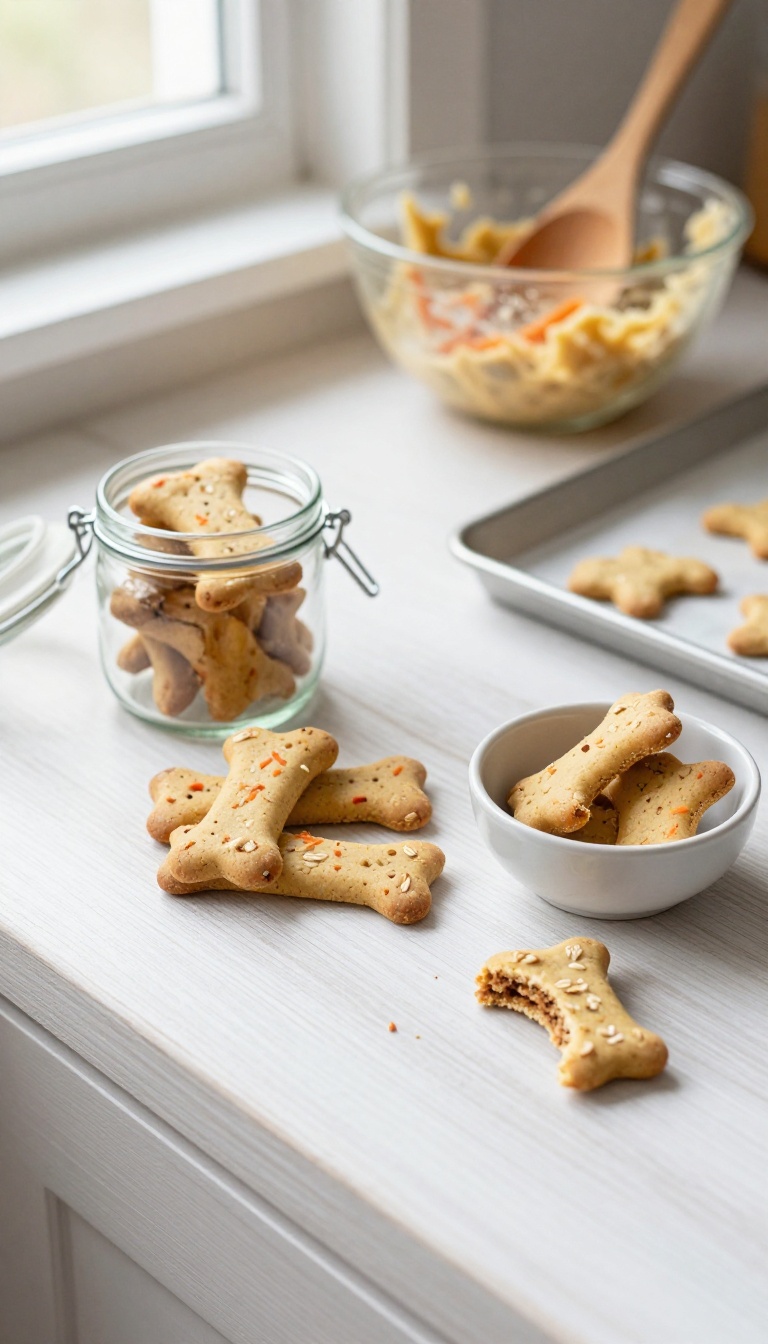
For dogs who chew like it's their job, these hard cookies are a meal-prep dream. You can mix up a big batch on Sunday, bake them until they're rock-solid, and have a jar of crunchy snacks ready for the whole week. The combo of shredded carrot and mashed banana gives them a naturally sweet, veggie-packed flavor that most dogs absolutely love.
Plus, the hard texture helps satisfy that urge to gnaw while keeping their teeth cleaner.
Ingredients
- 2 cups whole wheat flour
- 1 cup rolled oats
- 1 cup shredded carrot
- 1 ripe banana, mashed
- 1/4 cup unsweetened applesauce
- 1/4 cup water (or more as needed)
Instructions
- Preheat your oven to 300°F (150°C) and line a baking sheet with parchment paper.
- In a large bowl, mix the whole wheat flour and rolled oats. Add the shredded carrot, mashed banana, and applesauce, then stir until a stiff dough forms. If it's too dry, add water a tablespoon at a time.
- Roll the dough out to about 1/4-inch thickness on a floured surface. Cut into bone or circle shapes (or any shape you like) and place them on the prepared baking sheet.
- Bake for 50–60 minutes, then turn off the oven and leave the cookies inside for another hour or until they are completely hard and dry. This extra step makes them extra crunchy and long-lasting.
Serving Tip
These cookies are meant to be tough, so they're perfect for aggressive chewers. Store them in an airtight container at room temperature for up to two weeks, or freeze them for up to three months. Because they're dense, start with one cookie per day for small dogs and adjust based on your pup's chewing style.
FAQ
How long do homemade dog treats last?
It depends on the recipe. Dehydrated or baked treats can last up to two weeks in an airtight container, while frozen treats last for months. Always check for signs of spoilage.
Can I use any peanut butter for dog treats?
Use natural, unsweetened peanut butter that does not contain xylitol, which is toxic to dogs. Check the label carefully.
Are these treats safe for puppies?
Most are safe for puppies, but hard chews may be too tough for baby teeth. Supervise your puppy and choose softer options like frozen yogurt bites.
How can I make treats last longer?
Dehydrating or baking treats longer makes them harder and extends shelf life. Store in a cool, dry place or freeze for maximum longevity.
Can I substitute ingredients?
Yes, but keep dog-safe substitutions in mind. For example, swap sweet potato for pumpkin or use oat flour instead of wheat if your dog has sensitivities.
Conclusion
These homemade treats are a game-changer for serious chewers. They’re not only durable but also healthier than many store-bought options, and you can prep them in bulk to save time.
Start with one or two recipes, see what your pup loves, and tweak as needed. Your dog will thank you with a wagging tail and a busy jaw—and you’ll enjoy the peace of mind knowing exactly what’s in every bite.

I’m Pallab Kishore, the owner of Little Pets Realm — an animal lover and pet care enthusiast sharing easy tips, healthy recipes, and honest advice to help every small pet live a happy, healthy, tail-wagging life.


