Last updated on June 27th, 2026 at 03:17 pm
You don't need to scrub for hours to get oven racks sparkling again. With the right tricks, even baked-on grease lifts off in minutes—not hours.
These 15 methods cut through grime using stuff you probably already have in your kitchen. From overnight ammonia soaks to a surprising dryer sheet hack, each approach tackles tough residue without turning cleanup into a workout.
Pick the one that fits your timeline and supplies, and watch those racks go from crusty to like-new.
1. The Ammonia Overnight Soak
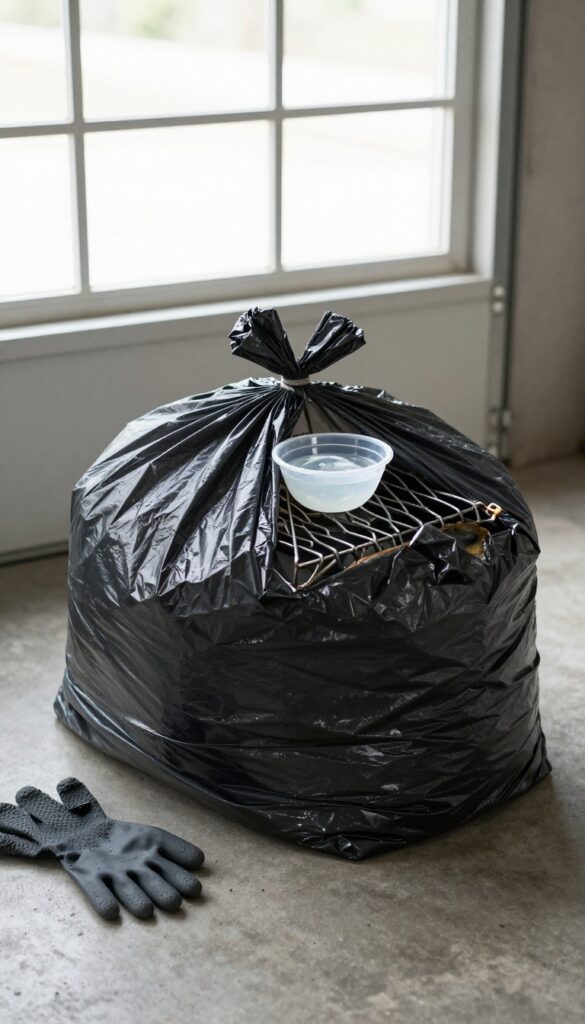
Let chemistry do the heavy lifting. The ammonia overnight soak is a favorite among cleaning pros because it requires almost zero elbow grease. You just seal the racks in a bag, let the fumes work, and rinse clean the next day.
This method is ideal for heavily caked-on grease that has been baked on over months of use. It’s also a great option when you don’t want to scrub or use harsh abrasive cleaners. The key is patience—letting the ammonia fumes sit overnight is what breaks down the stubborn residue.
What You’ll Need
Gather a large heavy-duty trash bag (contractor grade works best), 1/2 cup of clear household ammonia, and a pair of rubber gloves. Make sure the bag is big enough to hold your oven racks without tearing. You’ll also need a well-ventilated area or a spot outdoors.
Step-by-step Process
Place the racks inside the trash bag. Pour the ammonia into a small bowl or directly into the bag, being careful not to splash. Seal the bag tightly with a twist tie or knot.
Let it sit overnight (at least 8 hours) in a garage, on a balcony, or in a well-ventilated room. The next day, open the bag outdoors to avoid strong fumes. Rinse the racks thoroughly with warm water and dish soap.
Wipe dry with a clean cloth.
Safety Tips
Ammonia fumes are strong, so never use this method indoors without ventilation. Wear gloves to protect your skin. If you’re sensitive to smells, consider wearing a mask.
Keep the bag away from children and pets. After rinsing, air out the racks before placing them back in the oven.
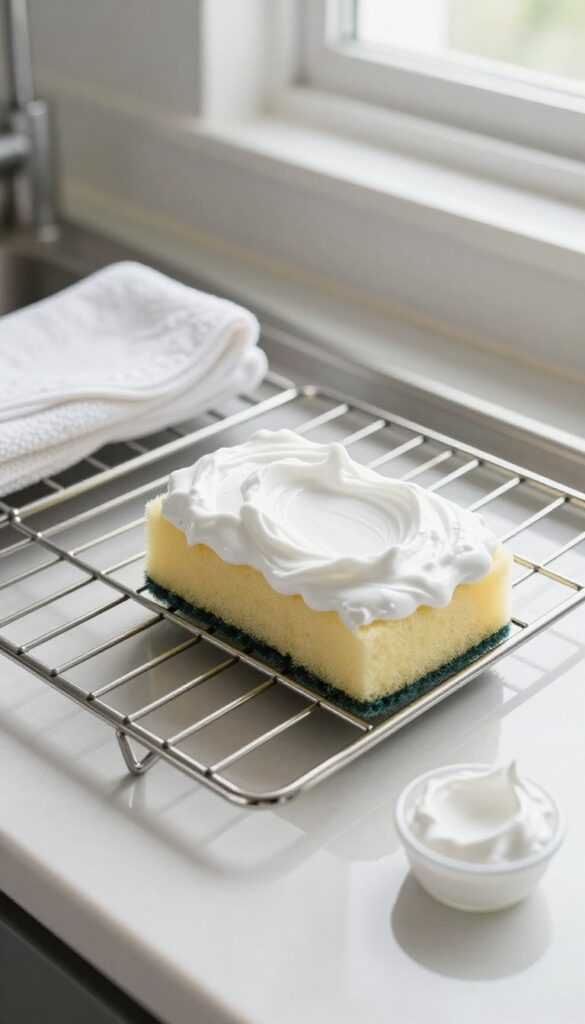
2. Baking Soda and Vinegar Paste
If you want a cleaner that's gentle but tough on grease, baking soda and vinegar are your go-to. This dynamic duo creates a fizzing reaction that helps lift burnt-on grime without harsh chemicals. It's cheap, non-toxic, and you probably already have both in your pantry.
This method works best for moderately dirty racks. It's not as fast as some commercial sprays, but it's safer for you and your oven. Plus, the fizzing is oddly satisfying to watch.
Make The Paste
Mix about ½ cup of baking soda with 2–3 tablespoons of water in a small bowl. Stir until it forms a thick, spreadable paste—think toothpaste consistency. If it's too runny, add more baking soda; too thick, add a drop more water.
Coat The Racks
Use your hands or a brush to slather the paste all over the oven racks. Don't be shy—cover every nook and cranny, especially the greasy spots. Let the paste sit for 10–15 minutes so it can start breaking down the grime.
Spray And Fizz
Fill a spray bottle with white vinegar and mist it generously over the coated racks. You'll see it bubble and fizz immediately. Let it sit for another 15 minutes.
The reaction helps loosen stuck-on grease.
Wipe Clean
After the fizzing dies down, take a damp cloth or sponge and wipe the racks clean. Most of the gunk should come off easily. For stubborn spots, scrub gently with a non-abrasive pad.
Rinse with water and dry before putting them back.
3. Dishwasher Pod Dissolve
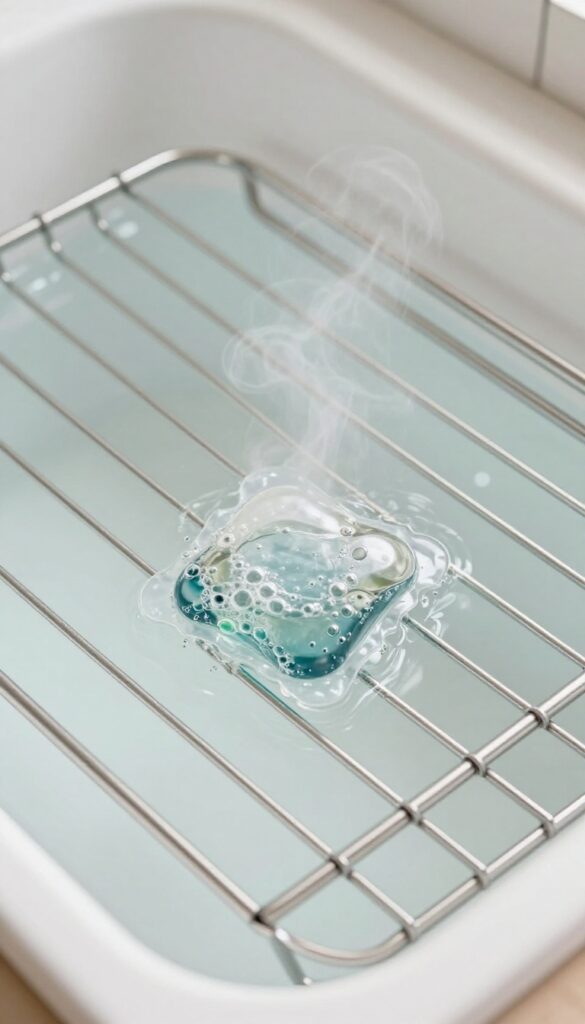
Dishwasher pods aren't just for dishes. Drop one into a hot bath and let the enzymes eat through baked-on grease. It's almost too easy.
Why It Works
Modern dishwasher pods contain powerful enzymes and surfactants designed to break down food residue. In hot water, these ingredients attack grease on oven racks just as effectively as they do on plates. No scrubbing needed.
How To Do It
Fill your bathtub or a large plastic bin with the hottest tap water possible. Drop in one dishwasher pod and stir until dissolved. Submerge the oven racks completely, making sure no metal parts stick out.
Let them soak for 4 to 6 hours – overnight is even better.
Rinse And Dry
After soaking, lift the racks out and rinse thoroughly with clean water. Any remaining grease should wipe off easily with a sponge. Dry with a towel to prevent water spots, then slide them back into the oven.
4. Dryer Sheet Surprise
Dryer sheets are great for softening laundry, but they also work wonders on baked-on oven grime. The softening agents help loosen stubborn residue without harsh scrubbing. All you need is a bathtub or large sink, hot water, and a few sheets.
Fill your sink or tub with the hottest tap water you can manage. Submerge the oven racks and toss in 4 to 6 unused dryer sheets. Let everything soak for at least 4 hours or overnight.
The fabric softeners break down grease and carbon deposits, so when you pull the racks out, most of the grime wipes away with a sponge. Rinse thoroughly and dry.
Why It Works
Dryer sheets contain surfactants and softening agents that reduce surface tension, helping water penetrate baked-on grease. The heat activates these compounds, making them more effective at lifting burnt residue.
Best Sheets To Use
Any brand works, but unscented or hypoallergenic sheets are best if you're sensitive to fragrances. Avoid using sheets that have already been through a dryer cycle—they lose their cleaning power.
Pro Tips
For extra stubborn spots, lay a dryer sheet directly on the grime and pour hot water over it. Let it sit for 30 minutes before scrubbing. Always rinse racks well to remove any sheet residue.
5. Commercial Oven Cleaner Spray
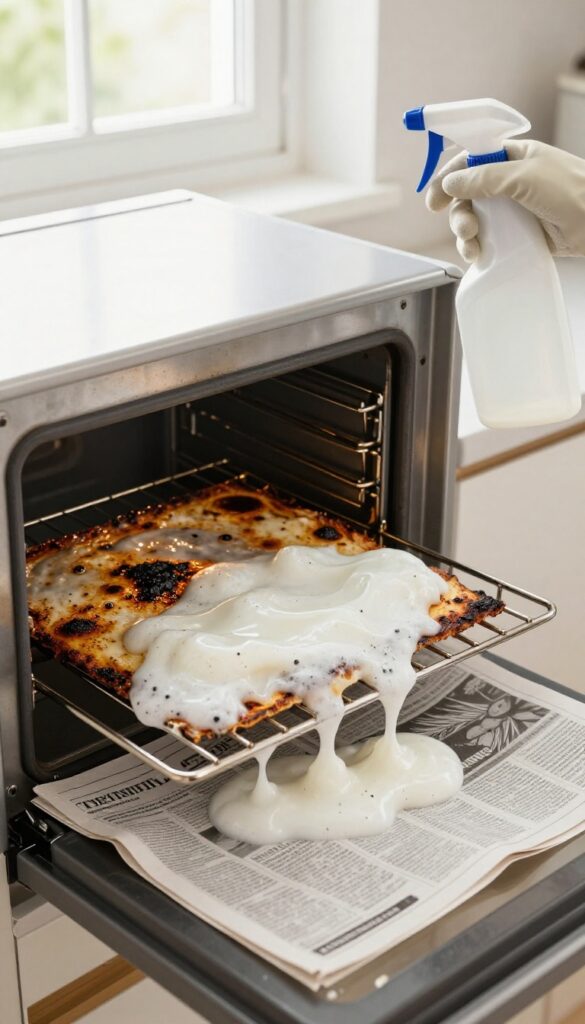
When you need serious firepower against baked-on grease, a commercial oven cleaner with lye is your best bet. These heavy-duty sprays break down carbonized grime in minutes, saving you from hours of scrubbing. Just be sure to suit up with gloves and open a window—this stuff works fast but demands respect.
Commercial oven cleaners are formulated to tackle the toughest grease and burnt-on food. The active ingredient, lye (sodium hydroxide), dissolves organic residue on contact. For best results, spray the cleaner generously on cold racks, let it sit for 20 minutes, then rinse thoroughly with hot water.
Always work in a well-ventilated area and wear rubber gloves to protect your skin. Avoid using on self-cleaning oven racks or aluminum surfaces, as the chemicals can cause damage.
Safety First
Before you start, put on rubber gloves and safety goggles. Open windows or turn on a vent fan to avoid inhaling fumes. Keep the cleaner away from children and pets.
If you have sensitive skin or respiratory issues, consider a gentler method instead.
Application Tips
Place the racks on newspaper or in a plastic trash bag to catch drips. Spray evenly, covering all greasy areas. Let the foam sit for the recommended time—usually 15 to 20 minutes.
For extra-stubborn spots, use a soft brush or sponge to gently agitate before rinsing.
Rinsing And Drying
Rinse racks thoroughly with hot water to remove all cleaner residue. Use a hose or shower head for best results. Dry with a clean towel or let air dry completely before returning to the oven.
A final wipe with vinegar water helps neutralize any remaining chemicals.
6. Self-Cleaning Oven Cycle Trick
Your oven’s self-cleaning cycle is a powerhouse for burning off grease. When you run it with the racks inside, the intense heat turns baked-on grime into fine ash that wipes away effortlessly. Just be sure to check your manual first—some manufacturers advise removing racks to prevent discoloration or warping.
How It Works
The self-cleaning cycle heats your oven to between 800°F and 1000°F. At those temperatures, food residue and grease carbonize into ash. Once the cycle finishes and the oven cools, you simply wipe the racks with a damp cloth.
No scrubbing, no chemicals.
Before You Start
First, remove any large food debris from the racks. Then read your oven’s manual—some brands recommend taking racks out to avoid damaging the enamel or causing the racks to become brittle. If your manual says it’s safe, go ahead and leave them in.
After The Cycle
Let the oven cool completely before opening the door. Then use a damp microfiber cloth or sponge to wipe the ash off the racks. For stubborn spots, a gentle scrub with a soft brush helps.
Rinse the racks with water and dry them thoroughly before putting them back.
7. Bar Keepers Friend Scrub
Bar Keepers Friend is a classic powder cleanser that handles tough grease without scratching stainless steel. It’s a favorite for good reason—the oxalic acid cuts through baked-on grime fast. You probably have a can under your sink already.
This method works best on stainless steel racks because Bar Keepers Friend is gentle enough not to damage the finish but strong enough to dissolve stubborn residue. It’s also a great option if you prefer a non-toxic approach over harsh chemical sprays.
How To Make The Paste
Sprinkle a small amount of Bar Keepers Friend powder into a bowl. Add just enough water to form a thick paste—think toothpaste consistency. Stir until smooth, and you’re ready to apply.
Applying And Scrubbing
Use a soft sponge or a non-abrasive scrub pad to spread the paste over the greasy areas. Work in small sections, using gentle circular motions. Let the paste sit for about 5 minutes to let the oxalic acid break down the grime.
Rinsing And Drying
Rinse the rack thoroughly with warm water to remove all paste residue. Dry with a clean towel to prevent water spots. Your rack should look noticeably brighter and feel smooth to the touch.
8. Lemon and Salt Degreaser
Lemons aren't just for lemonade or garnishing fish. Their natural acidity makes them surprisingly effective at cutting through baked-on grease, and when you pair that with the abrasive power of salt, you get a simple, non-toxic scrub that really works. This method is especially handy when you want to avoid harsh chemicals but still need serious cleaning power.
Why This Combo Works
The citric acid in lemon juice breaks down grease molecules, making them easier to wipe away. Salt acts as a gentle scrubbing agent that helps lift grime without scratching the metal. Together, they create a paste-like friction that tackles even stubborn spots.
How To Do It
Cut a lemon in half and sprinkle a generous amount of coarse salt onto the cut surface. Scrub the oven rack firmly, focusing on greasy areas. The salt will dissolve slightly as you work, but you can reapply more as needed.
Rinse the rack with warm water and dry it immediately to prevent any salt residue from causing corrosion.
Best For Light To Medium Grease
This method works great for racks that aren't caked with years of buildup. If you're dealing with heavy, blackened grease, you might need to pair this with a longer soak or a stronger cleaner first. But for routine maintenance, lemon and salt are a quick, fresh-smelling solution.
9. Hydrogen Peroxide and Baking Soda
When plain baking soda paste isn't quite enough, hydrogen peroxide gives it a boost. The peroxide reacts with the baking soda to create a fizzing action that helps lift stubborn, baked-on spots. It's a simple two-ingredient solution that works like a gentle scrub without harsh fumes.
Mix baking soda with enough hydrogen peroxide to form a spreadable paste—think thick toothpaste consistency. Apply it generously to the greasy areas, especially focusing on any tough spots that didn't come off with other methods. Let it sit for about 30 minutes; you might see some bubbling as the peroxide works.
Then scrub gently with a non-abrasive sponge or brush and rinse thoroughly with warm water. The paste breaks down residue without scratching the metal finish. For extra-stubborn spots, let it sit longer or apply a second coat.
This method is safe for most oven racks, including stainless steel and chrome, but always check your manufacturer's guidelines first.
Why This Combo Works
Hydrogen peroxide is a mild oxidizer that helps dissolve organic grime, while baking soda provides gentle abrasion. Together, they create a fizzy reaction that lifts grease from the surface, making it easier to wipe away. Unlike bleach or ammonia, hydrogen peroxide breaks down into water and oxygen, so it's safer for household use and leaves no toxic residue.
Tips For Best Results
Use 3% hydrogen peroxide (the standard kitchen grade) for safety. Apply the paste with a brush or gloved hand to avoid skin irritation. Let it sit uncovered so the reaction can happen—don't wrap in plastic.
Rinse thoroughly after scrubbing; any leftover paste might leave a white film if not removed. For vertical rack bars, tilt the rack or apply paste in sections to keep it from dripping off.
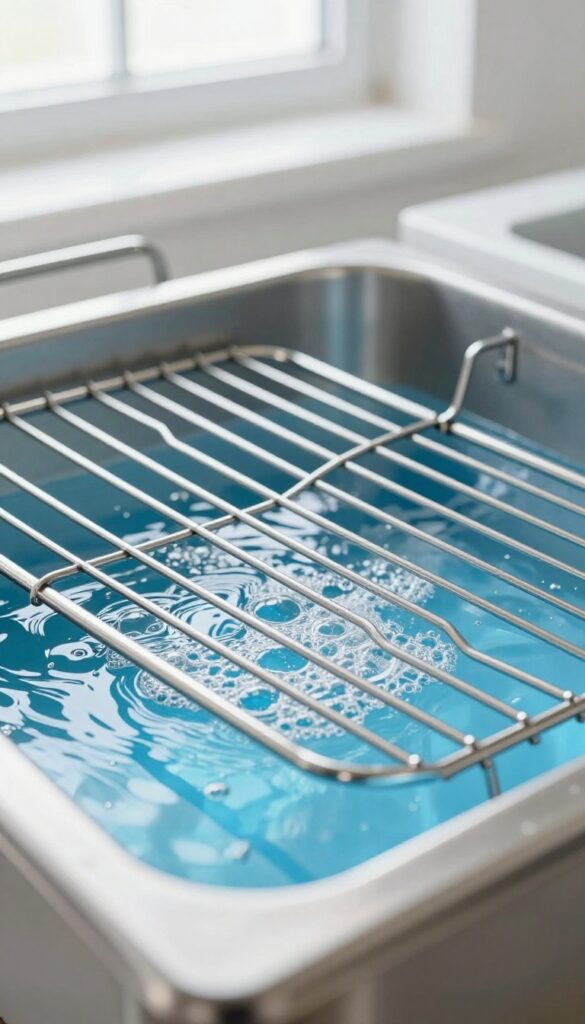
10. Dish Soap and Hot Water Soak
Sometimes the simplest method works best. A hot water and dish soap soak loosens grease without harsh chemicals. It's gentle on the racks and easy on your hands.
This method is perfect when you have a little time but want minimal effort. The heat and soap work together to break down grease, making scrubbing almost effortless.
What You'll Need
Grab a large tub or your bathtub, hot tap water, and a good grease-cutting dish soap. A non-abrasive scrub sponge or soft brush will finish the job.
The Soak
Fill the tub with the hottest water possible. Add a few generous squirts of dish soap and swirl to mix. Submerge the racks completely.
Let them soak for at least an hour—longer for heavily soiled racks.
Scrubbing And Rinsing
After soaking, lift the racks out. Most grease will wipe away easily. Use your sponge to scrub any stubborn spots.
Rinse thoroughly with clean water and dry with a towel.
11. Steam Cleaning with a Pot of Water
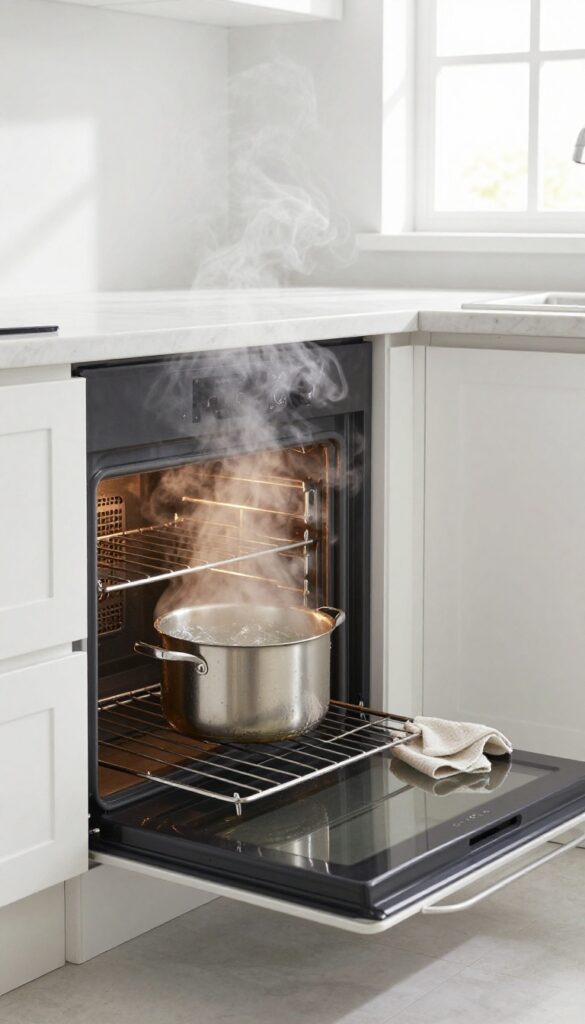
Steam is a powerful, chemical-free way to loosen baked-on grease. This method uses nothing but water and heat—perfect for when you want a quick, gentle clean without harsh fumes. The steam softens grime so you can wipe it away with minimal effort.
Fill an oven-safe pot with water and place it on the lowest rack. Set the oven to 400°F and let it run for 20–30 minutes. The steam will condense on the racks, softening grease.
After the oven cools, remove the racks and wipe them down with a sponge or cloth. For stubborn spots, a gentle scrub with a non-abrasive pad may help.
Why Steam Works So Well
Heat and moisture combine to break down grease molecules without harsh scrubbing. The steam penetrates baked-on layers, making them slippery and easy to remove. It's also safe for all rack types, including coated or stainless steel.
Tips For Best Results
Use a wide pot to maximize steam output. Add a splash of vinegar to the water for extra degreasing power. Don't open the oven door during steaming—let the heat build up.
After steaming, let the racks cool completely before handling.
When To Use This Method
Steam cleaning is ideal for light to moderate grease buildup. For heavy, crusted-on grime, you might need a stronger method first. It's also great for routine maintenance between deep cleans.
12. Ketchup Acid Treatment
Ketchup isn't just for fries—it's a surprisingly effective cleaner for greasy oven racks. The combination of vinegar and tomato acids in ketchup works to break down baked-on residue without harsh chemicals. This method is especially handy when you're out of commercial cleaners but have a bottle of ketchup in the fridge.
To use this method, apply a generous layer of ketchup directly onto the greasy areas of the oven rack. Let it sit for about 30 minutes to allow the acids to penetrate and loosen the grime. Then, scrub with a sponge or brush and rinse thoroughly with warm water.
The result is a clean rack with minimal effort.
Why Ketchup Works
Ketchup contains acetic acid (vinegar) and citric acid (from tomatoes), both of which are mild acids that dissolve grease and burnt-on food. The thick consistency helps the ketchup cling to vertical surfaces, giving it time to work. Plus, it's non-toxic and safe to use around food.
Best Practices For Best Results
For heavy buildup, let the ketchup sit longer—up to an hour. Cover the rack with plastic wrap to prevent drying out. Use an old toothbrush to scrub crevices.
Rinse well to avoid any sticky residue. This method works best on light to moderate grease; for stubborn spots, repeat or combine with baking soda.
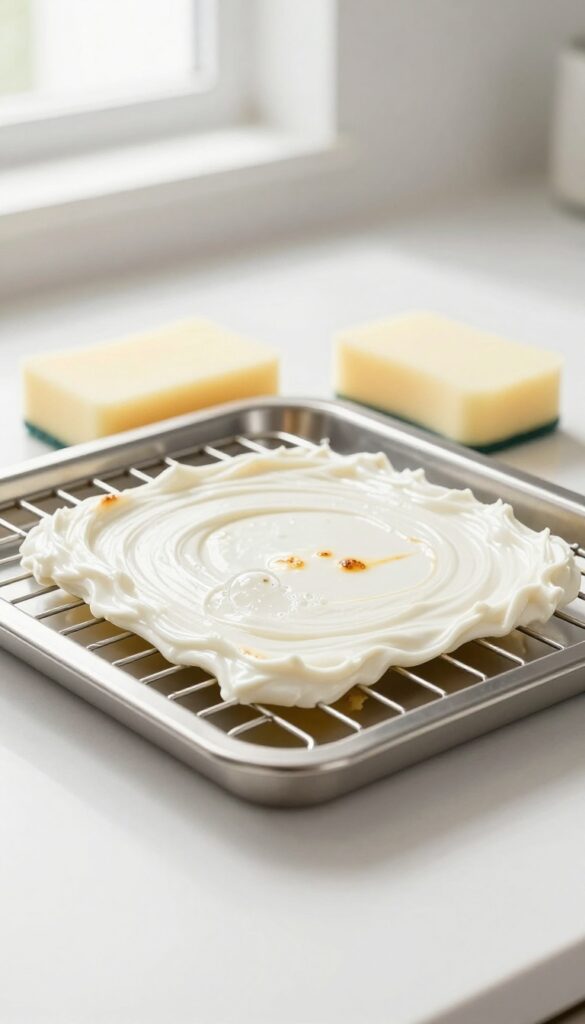
13. Cream of Tartar Paste
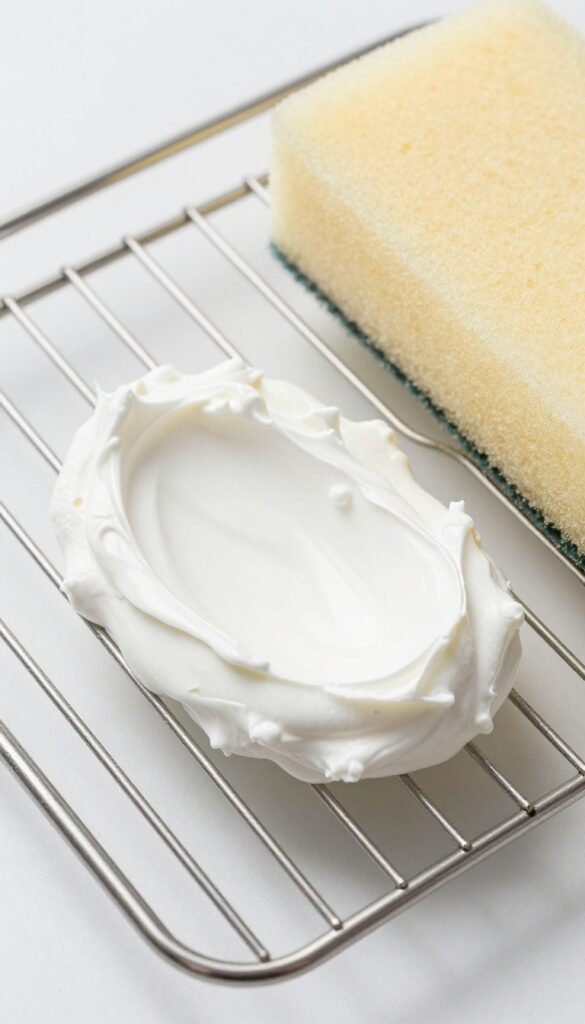
Cream of tartar is a pantry staple that pulls double duty as a gentle abrasive cleaner. Mixed with water, it forms a paste that tackles baked-on grease without scratching aluminum racks. This method is especially handy when you need a non-toxic option that still packs a punch.
To make the paste, combine cream of tartar with just enough water to create a spreadable consistency. Apply a thick layer over the greasy spots on your racks, then let it sit for about 20 minutes. The acid in the cream of tartar works to break down stubborn residue.
After the wait, scrub with a non-abrasive sponge or brush—the paste lifts grime with minimal effort. Rinse thoroughly and dry. This method is particularly effective on aluminum racks because it won't cause discoloration or damage.
It's also safe for use around food, making it a great choice if you're avoiding harsh chemicals.
Why Cream Of Tartar Works
Cream of tartar is a mild acid (potassium bitartrate) that reacts with grease and grime, loosening their grip on metal surfaces. Unlike harsh abrasives, it's gentle enough for delicate aluminum finishes. Its fine powder texture provides just enough scrubbing power without scratching.
Application Tips For Best Results
For maximum effectiveness, apply the paste to warm (not hot) racks—heat helps activate the acid. Focus on the dirtiest areas and reapply if the paste dries out during the 20-minute wait. Use an old toothbrush for crevices and corners.
Rinse with warm water and dry immediately to prevent water spots.
When To Use This Method
This method shines for light to moderate grease buildup. For heavily caked-on grime, you may need to repeat the process or combine it with a longer soak. It's ideal for quick touch-ups between deep cleans and works well on racks that haven't seen a cleaner in a while but aren't completely encrusted.
14. Pressure Washer Blast
If you have a pressure washer sitting in the garage, it's time to put it to work on those grimy oven racks. This method is fast, satisfying, and requires almost no scrubbing. Just be prepared for a mess—grease and grime will fly everywhere, so do this outdoors and wear old clothes.
Pressure washing is the ultimate shortcut for heavy buildup. The high-pressure water stream dislodges caked-on grease that would take hours of scrubbing to remove. It's especially effective on racks with years of accumulated residue.
Just make sure you have a clear outdoor space and a drain or gravel area where the runoff won't create a slippery hazard.
Safety First
Wear safety glasses and closed-toe shoes. The pressure can send grease particles flying at high speed, and you don't want that in your eyes. Also, keep children and pets away from the spray zone.
Technique Tips
Hold the nozzle about 6–12 inches from the rack, and use a wide fan spray to avoid damaging the metal. Work in long, even strokes, moving from top to bottom. For stubborn spots, switch to a narrow jet but keep the nozzle moving to prevent etching.
Drying And Finishing
After blasting, rinse the racks with plain water to remove any loosened debris. Pat dry with a clean cloth or let them air dry in the sun. If any grease remains, a quick wipe with a degreaser will finish the job.
15. Professional Ultrasonic Cleaning
When every DIY method feels like too much work, it's time to call in the pros. Ultrasonic cleaning uses high-frequency sound waves to create microscopic bubbles that implode on contact, blasting away grease from every nook and cranny. No scrubbing, no soaking, no elbow grease—just like-new racks in under an hour.
How Ultrasonic Cleaning Works
The racks are submerged in a tank filled with a specialized cleaning solution. Transducers in the tank emit sound waves that cause cavitation—tiny bubbles form and collapse rapidly, lifting grease and carbon deposits off the metal. The process reaches into crevices that brushes can't touch, leaving racks spotless without any abrasion.
What To Expect At The Shop
Most auto parts stores, jewelry cleaners, or industrial cleaning services offer ultrasonic cleaning for a fee. Drop off your racks, and they'll typically be ready in 30 to 60 minutes. Costs vary but often range from $10 to $30 per rack, depending on size and grime level.
Call ahead to confirm they can handle oven racks.
When To Choose This Method
This is your best bet if your racks are heavily caked with burnt-on grease that won't budge with soaking or scrubbing. It's also ideal for people with mobility issues or anyone who simply hates cleaning. Just make sure the rack fits in their tank—some extra-wide racks may need a specialty shop.
FAQ
Can I clean oven racks without removing them?
Yes, but it's less effective. Use a steam cleaner or wipe with a baking soda paste while racks are still in the oven. Rinse with a damp cloth.
How often should I clean oven racks?
Every 3-6 months, or whenever you notice heavy grease buildup. Regular cleaning prevents stubborn stains.
Is it safe to use ammonia on oven racks?
Yes, as long as you work in a well-ventilated area and wear gloves. Never mix ammonia with bleach or other cleaners.
Will oven cleaner damage my racks?
Most oven cleaners are safe for metal racks, but avoid using them on aluminum or non-stick coatings. Check the label first.
Can I put oven racks in the dishwasher?
Only if they are labeled dishwasher-safe. Many racks are too large or have coatings that can be damaged by dishwasher detergent.
Conclusion
With these 15 steps, you can tackle even the most stubborn grease without harsh chemicals or endless scrubbing. Your oven racks will look brand new, and the whole process fits neatly into a single afternoon.
Next time you cook a messy meal, you won't dread cleanup. A quick wipe-down after each use keeps the racks in good shape, so deep cleaning stays a rare, easy task.

I’m Pallab Kishore, the owner of Little Pets Realm — an animal lover and pet care enthusiast sharing easy tips, healthy recipes, and honest advice to help every small pet live a happy, healthy, tail-wagging life.


