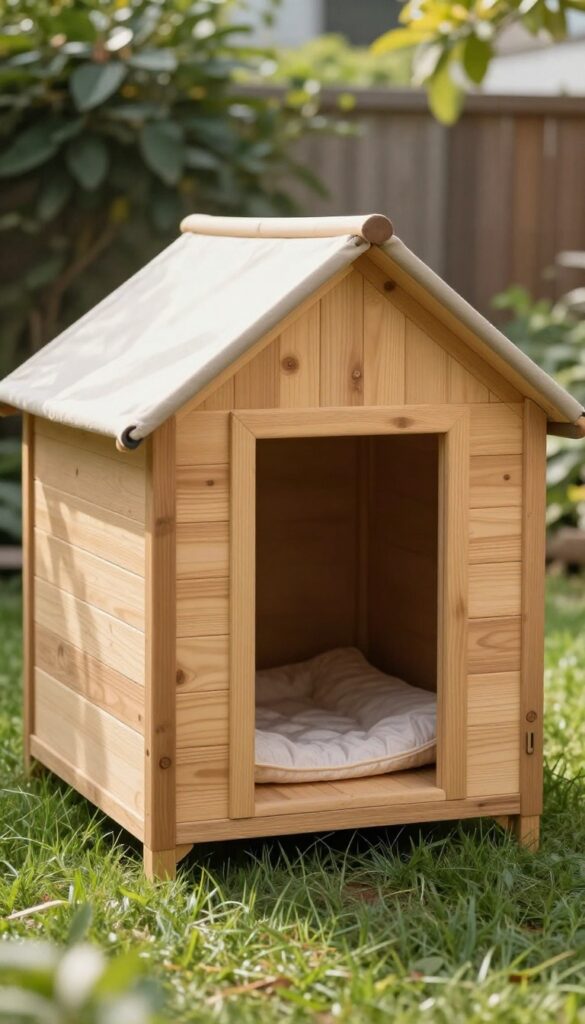
Building a dog house with basic tools is easier than you might think. You don't need a workshop full of expensive equipment—just a few essentials and a weekend afternoon. Your pup will thank you for a sturdy, cozy shelter that's built to last.
Start by measuring your dog from nose to tail and paw to shoulder. That ensures the house is roomy enough for them to stand, turn around, and stretch out comfortably. A well-sized house keeps your dog happy and safe from the elements.
This guide walks you through nine practical steps, from choosing the right dimensions to adding insulation and a sloped roof. Each tip focuses on simplicity and durability, so you can build with confidence.
1. Choose the Right Size for Your Dog
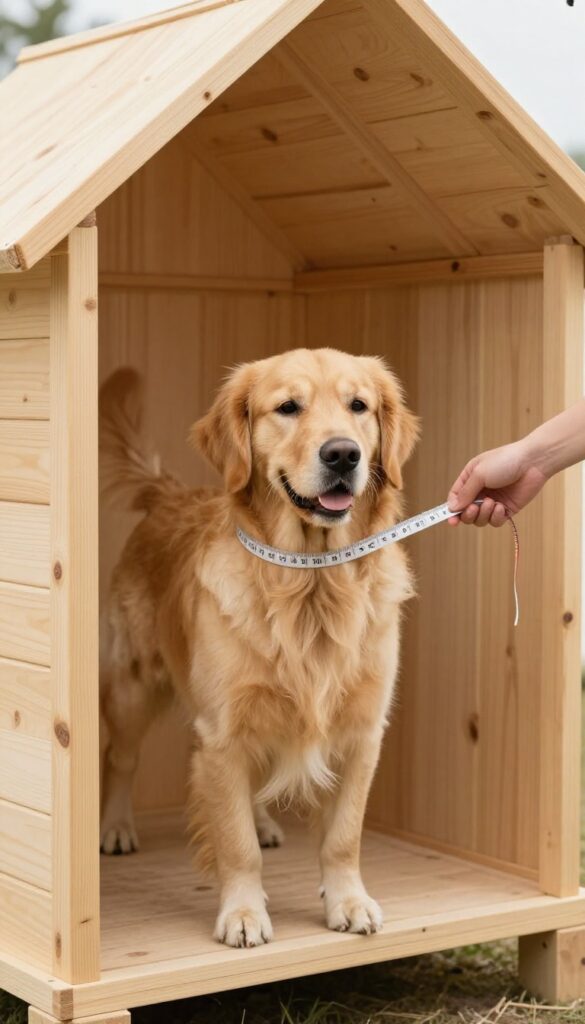
Getting the dimensions right is the most important step in building a dog house. A properly sized house keeps your dog comfortable and helps regulate temperature. Measure your dog from nose to tail and from floor to shoulder, then add a few inches for wiggle room.
Why It Works
A house that's too large loses your dog's body heat in cold weather, making it drafty and cold. One that's too small feels cramped and stressful. The right size lets your dog stand up, turn around, and lie down comfortably while retaining warmth.
Best For
This tip works for all dog breeds and sizes. It's especially important for large breeds like Labradors or Huskies that need more space, and for short-haired dogs that rely on body heat in cooler climates.
Practical Tip
When measuring, have your dog stand naturally on all fours. For the door height, measure from floor to the top of their shoulder and subtract an inch or two—this keeps wind out while allowing easy entry.
2. Gather Your Basic Tools and Materials
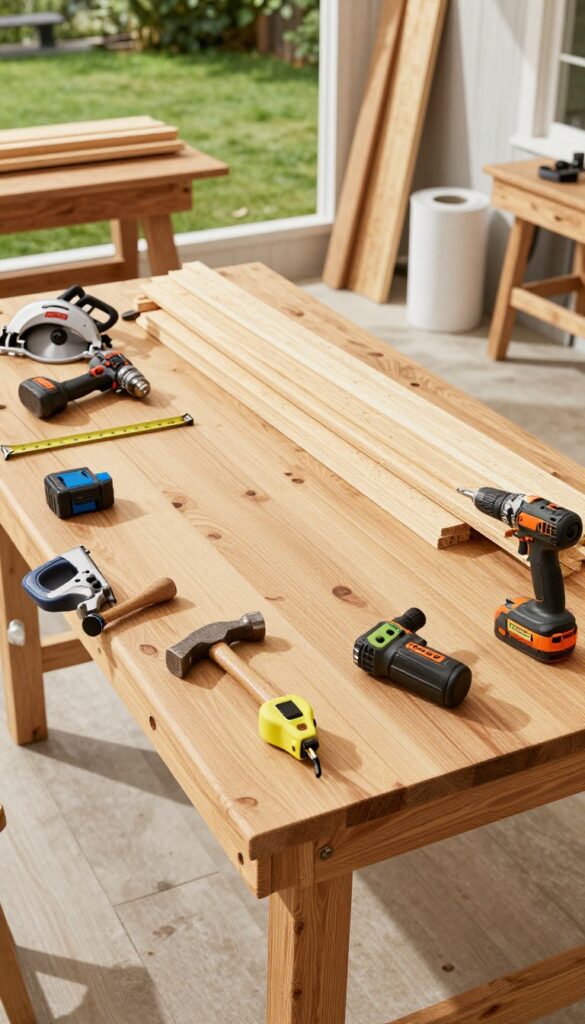
Before you start cutting wood, get all your tools and supplies together. Having everything on hand makes the build go smoothly without frustrating trips to the hardware store mid-project. You'll feel more confident when you know exactly what you're working with.
Why It Works
Using basic tools like a circular saw, drill, tape measure, hammer, and screws keeps the project accessible for any DIYer. Plywood, 2x4s, and roofing material are affordable and easy to find at any lumberyard. This combination gives you a sturdy dog house without needing specialized equipment.
Best For
This setup works for any dog owner who wants to build a simple, durable shelter in a weekend. It's perfect for beginners or those with limited workshop space. The materials suit most moderate climates and can be adapted for extra insulation later.
Practical Tip
Lay out your plywood and 2x4s on a flat surface before cutting. Mark all measurements with a pencil and double-check them against your dog's dimensions. Pre-drill screw holes to prevent splitting the wood, especially near edges or corners.
Budget-Friendly Option
If you don't own a circular saw, a handsaw works fine—just allow extra time for cutting. You can also use leftover lumber from other projects or reclaimed pallet wood (make sure it's untreated). For roofing, asphalt shingles are cheap; even corrugated plastic panels can work in mild weather.
3. Plan the Floor and Raise It Off the Ground
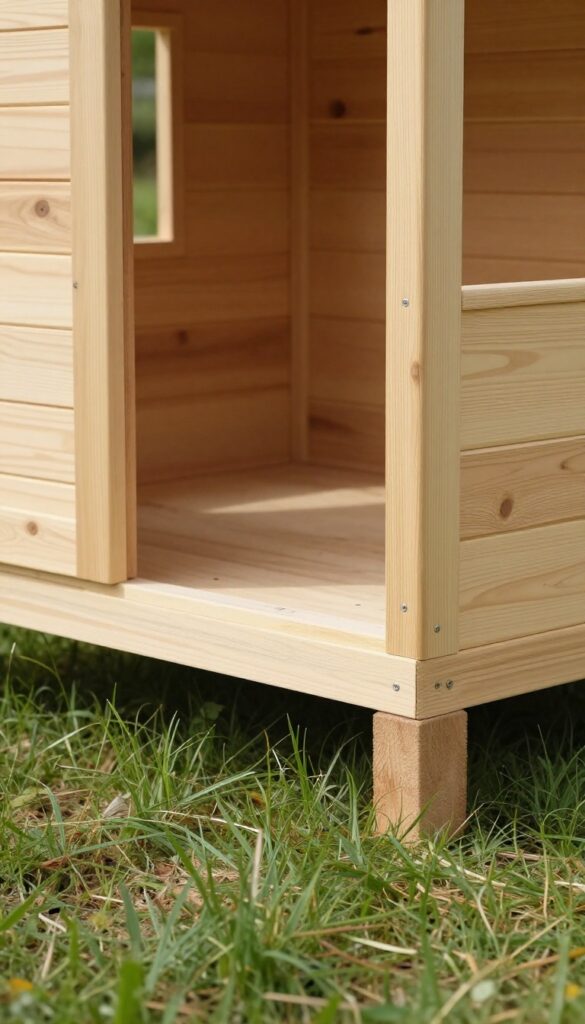
A solid floor is the foundation of a good dog house. But simply placing it on the ground invites moisture, cold, and pests. Raising the floor a few inches solves these problems and adds years to your build.
Pressure-treated lumber resists rot and decay, making it ideal for the base. Adding small feet or skids lifts the structure, allowing air to circulate underneath and keeping the interior dry.
Why It Works
Moisture from rain or snow can seep into a floor that sits directly on the ground, leading to mold, mildew, and a chilly sleeping surface. By raising the floor, you create an air gap that prevents dampness from transferring upward. This keeps your dog warm and dry, especially in wet or cold climates.
Best For
This technique works well for outdoor dog houses in any climate, but it's especially important in regions with heavy rain, snow, or humid summers. It's also ideal for dogs that spend extended time outdoors or sleep in their house overnight.
Practical Tip
Cut four pieces of pressure-treated 2×4 lumber about 6 inches long to use as feet. Attach one at each corner of the base frame using exterior screws. For extra stability on soft ground, use wider skids—two long 2x4s running the full length of the house work great.
Budget-Friendly Option
If pressure-treated wood is out of your budget, use regular lumber and apply a thick coat of exterior-grade wood sealer or paint to all bottom surfaces. Replace any rotting wood as needed.
4. Build the Walls with a Slight Overhang
Once your floor is ready, it's time to frame up the walls. This step is where your dog house really starts to take shape. A slight overhang at the top might seem like a small detail, but it makes a big difference in keeping rain and snow away from the sides.
The idea is simple: cut your wall panels a couple of inches taller than the frame, so they extend past the top plate. That extra lip helps water drip off instead of running down the walls and seeping into the joints.
Dog owners love this trick because it adds weather protection without complicated flashing or extra materials. It's a smart upgrade that costs nothing but a little forethought.
Why It Works
The overhang acts like a tiny roof for each wall, directing water away from vulnerable seams. This prevents moisture from rotting the wood or seeping into your pup's living space. Combined with proper sealing, it can add years to your dog house.
Best For
This method works well for any dog house placed outdoors, especially in rainy or snowy climates. It's ideal for medium to large breeds that need a sturdy, weatherproof shelter. If your yard doesn't have much natural cover, this overhang gives you extra peace of mind.
Practical Tip
When attaching wall panels to the frame, use exterior-grade screws and pre-drill holes to avoid splitting. Leave about an inch of overhang on all sides—top and sides—for consistent protection. Caulk any gaps where panels meet for a tighter seal.
Budget-Friendly Option
If you don't have plywood for the walls, consider using recycled pallet wood or salvaged siding. Just make sure it's untreated and free of chemicals. You can also use exterior-grade OSB as a cheaper alternative—just seal it well with paint or waterproof stain.
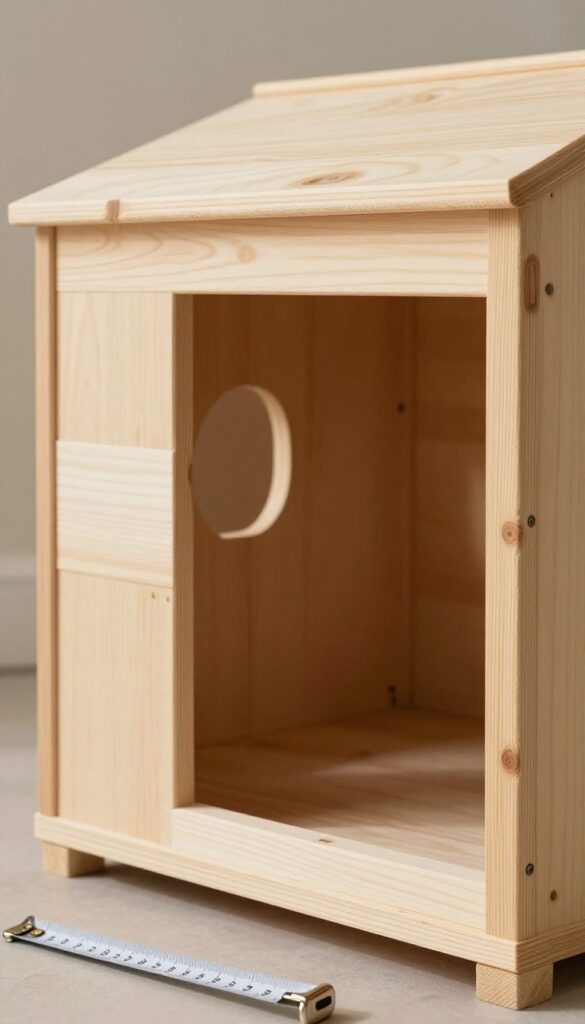
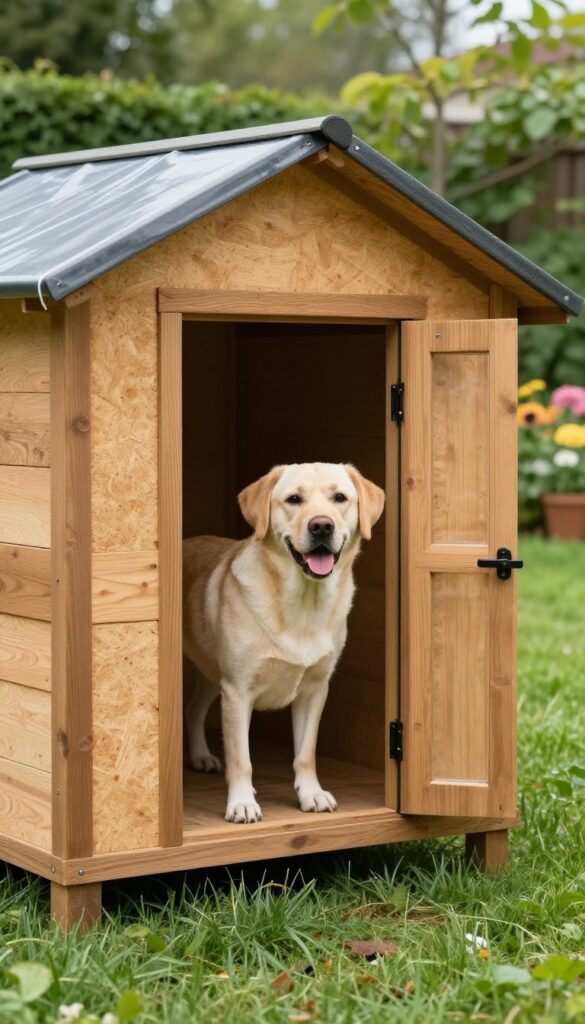
5. Cut a Doorway That's Easy to Enter
The doorway is the gateway to your dog's new retreat. Position it off-center to create a natural windbreak inside the house. This simple trick blocks drafts and gives your pup a cozier spot to curl up.
Why It Works
An off-center door forces wind to travel around the interior wall before reaching your dog, reducing chill. It also creates a sheltered nook where your dog can feel secure while still having easy access in and out.
Best For
Medium to large breeds that need a bit more protection from the elements. This setup works great for dogs who love to stick their head out but also want a warm, draft-free corner to nap in.
Practical Tip
Cut the opening about an inch wider than your dog's chest width and an inch taller than their shoulder height. Sand the edges smooth to avoid splinters, and consider adding a flexible vinyl flap for extra insulation.
Budget-Friendly Option
Instead of buying a pre-made door flap, use a heavy piece of rubber or thick canvas curtain from a hardware store. Cut it to size and staple it above the opening for a low-cost weather barrier.
6. Add a Sloped Roof for Rain and Snow
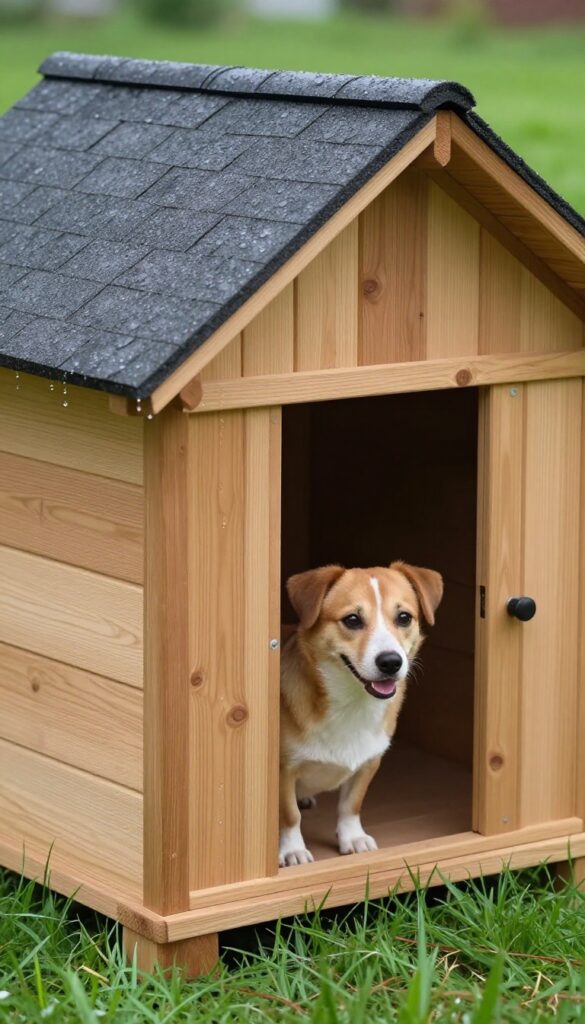
A good roof keeps your dog dry and comfortable in any weather. Sloped roofs let rain and snow slide off easily, preventing leaks and water damage. Plus, they give the dog house a classic, finished look that fits right into your backyard.
Why It Works
Sloped roofs shed water and snow much better than flat roofs, which can pool moisture and eventually rot. By directing runoff away from the entrance, you also keep the doorway area drier, so your dog won't have to step through mud or puddles.
Best For
This roof style works for any outdoor dog house, especially in regions that get rain or snow. It's ideal for medium to large breeds that need extra headroom inside.
Practical Tip
Build your roof with a single slope (shed style) or a gable (peak) design. Use exterior-grade plywood and cover it with asphalt shingles or metal roofing. Make sure the roof overhangs at least 2 inches on all sides to protect the walls and entrance from rain.
Budget-Friendly Option
If you're on a tight budget, use leftover plywood scraps for the roof deck and cover it with rolled roofing material or heavy-duty tarps secured with battens. You can also find discounted asphalt shingles at home improvement stores.
7. Insulate for Year-Round Comfort
A dog house isn't just a place to get out of the rain—it needs to be comfortable in both summer and winter. Insulation helps regulate temperature, keeping the interior cooler in hot months and warmer when it's cold. Adding insulation is a simple upgrade that makes a huge difference in your dog's comfort.
Why It Works
Foam board or reflective insulation creates a barrier against extreme temperatures. It prevents heat from escaping in winter and reflects radiant heat in summer, so your dog stays cozy year-round. Plus, it's inexpensive and easy to install with basic tools.
Best For
This idea is best for dogs that spend a lot of time outdoors, especially in regions with hot summers or cold winters. It's also great for short-haired breeds or senior dogs that are more sensitive to temperature changes.
Practical Tip
Cut foam board insulation to fit snugly between wall studs, then cover with plywood or weatherproof panels. For the door, attach a heavy-duty vinyl flap that hangs down past the opening—this blocks drafts while allowing your dog to push through easily.
8. Sand Edges and Use Pet-Safe Paint or Stain
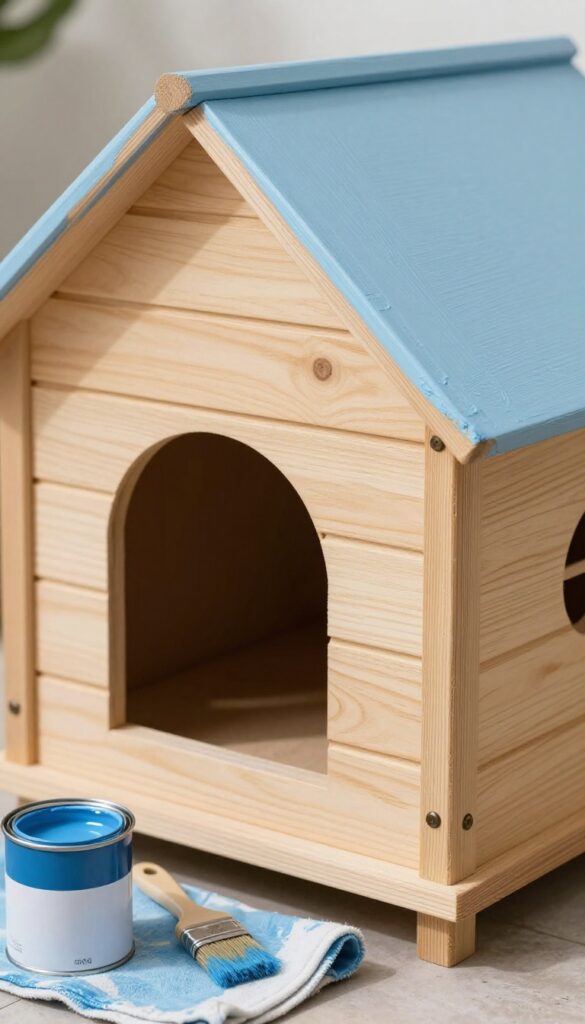
Before you add the final touches, take a few minutes to smooth out all the rough edges. Splinters are no fun for a dog's nose or paws, and a quick sanding makes the house safer and more comfortable. Once the wood is smooth, it's time to protect it from rain, snow, and sun with a coat of pet-safe paint or stain.
Why It Works
Sanding eliminates sharp splinters that can cause injuries, while a non-toxic, water-based exterior paint or stain seals the wood against moisture and UV damage. This simple step extends the life of your dog house and keeps your pup safe from harmful chemicals.
Best For
This step is essential for any dog house, especially if your dog loves to lean against walls or chew on edges. It's also great for wooden houses in rainy or humid climates where untreated wood rots quickly.
Practical Tip
Use fine-grit sandpaper (120-150 grit) to smooth all exposed edges, corners, and surfaces. After sanding, wipe away dust with a damp cloth. Apply at least two coats of outdoor-grade, water-based paint or stain labeled non-toxic or pet-safe.
Let each coat dry completely before adding the next.
Budget-Friendly Option
If you're on a tight budget, you can skip the paint and just sand thoroughly. The natural wood will weather over time, but you can always seal it later with a cheap exterior-grade clear coat.
9. Add Bedding and a Cozy Touch
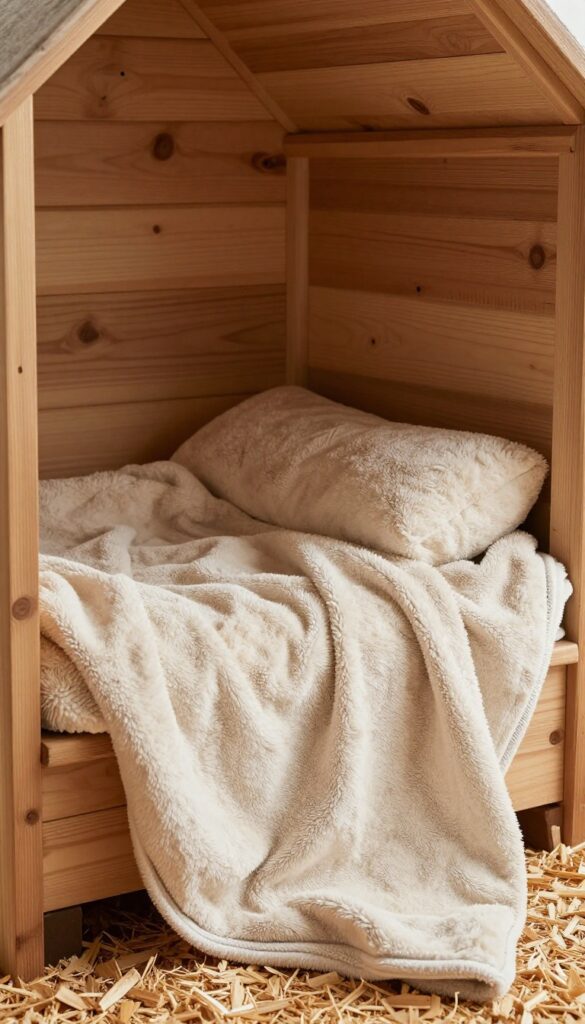
Once the structure is up, it's time to make the inside inviting. Your dog will spend plenty of time in there, so comfort matters. A little effort on bedding turns a basic house into a favorite hangout.
Why It Works
Soft bedding cushions joints and provides insulation against cold floors. It also gives your dog a clear signal that this is their personal space, which helps them settle in faster.
Best For
All dogs, especially those who sleep outdoors or in drafty spaces. It's ideal for short-haired breeds, senior dogs, or puppies that need extra warmth.
Practical Tip
Choose a washable bed with a removable cover so you can keep it clean easily. Add cedar shavings or straw between the bed and walls for extra insulation—just avoid materials that could mold or irritate skin.
Budget-Friendly Option
Skip expensive pet beds and use an old blanket or towel folded thickly. Replace it as needed; it's cheap and easy to wash.
FAQ
What type of wood is best for a dog house?
Plywood or exterior-grade pine works well. Avoid treated wood with chemicals that could be harmful if chewed.
How do I keep the dog house warm in winter?
Insulate walls with foam board, add a door flap, and raise the floor off the ground. Straw or cedar bedding also helps retain heat.
Do I need a permit to build a dog house?
Most small dog houses don't require a permit, but check local zoning laws, especially if it's a permanent structure.
How long does it take to build a dog house?
With basic tools and a weekend, you can complete a simple dog house in 4–6 hours, not counting paint drying time.
Can I build a dog house without power tools?
Yes, a handsaw, hammer, and screwdriver can do the job. It will take longer, but it's definitely possible.
Conclusion
Building a dog house with basic tools is totally doable, and your pup will love having their own space. Start with a simple design that matches your skill level and your dog's size. Even a basic plywood box with proper ventilation makes a world of difference.
Grab your tools, pick a plan, and get started. Your furry friend will thank you with happy tail wags.

I’m Pallab Kishore, the owner of Little Pets Realm — an animal lover and pet care enthusiast sharing easy tips, healthy recipes, and honest advice to help every small pet live a happy, healthy, tail-wagging life.