Your floors take a beating every day—scuff marks, sticky spills, and dull patches can make even the cleanest home feel tired. You don't need a cabinet full of specialty products to bring back that fresh, bright shine.
With everyday ingredients like vinegar, baking soda, and a few surprising staples, you can tackle any floor type from hardwood to tile. These 17 cleaning solutions are practical, budget-friendly, and designed to deliver real results without harsh chemicals.
Whether you're dealing with grease in the kitchen or dullness in the living room, each idea offers a straightforward fix. Let's get your floors gleaming.
1. Classic Vinegar and Water Mix
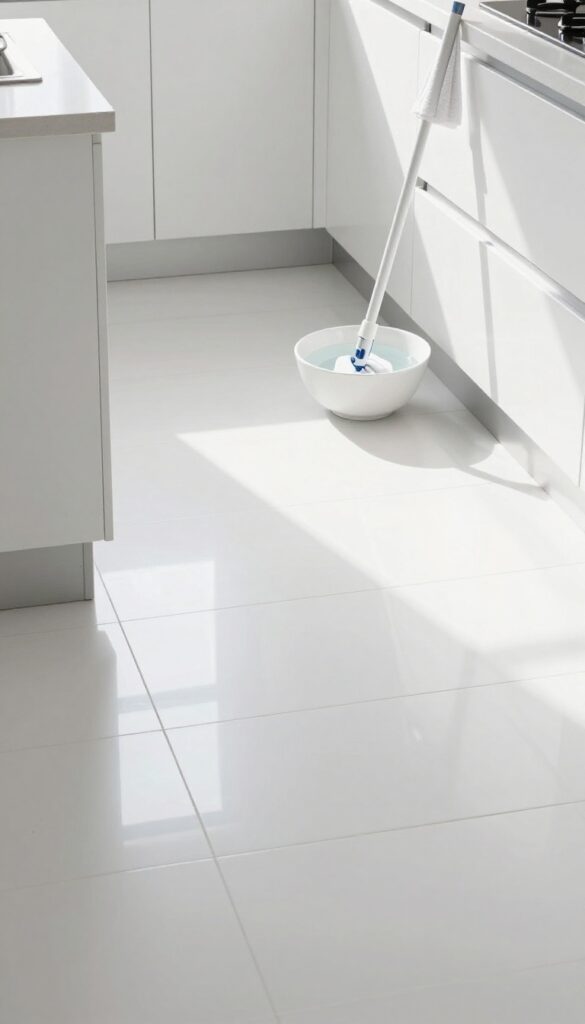
White vinegar is a powerhouse cleaner that often gets overlooked. Mixed with warm water, it cuts through grease, lifts dirt, and leaves tile and linoleum floors looking refreshed. No harsh fumes, no expensive bottles—just a simple solution that works.
The beauty of this mix is its simplicity. A 1: 1 ratio of white vinegar to warm water creates a solution that dissolves grime without leaving a sticky residue. It's safe for most sealed hard floors, and the vinegar smell disappears as it dries.
Just mop as usual, and you'll see the difference.
Why It Works So Well
Vinegar is acidic enough to break down mineral deposits and soap scum, but gentle on finishes when diluted. Warm water helps activate the cleaning power and speeds up drying. Together, they tackle everyday dirt without the need for commercial degreasers.
Best Floor Types For This Mix
This solution is ideal for ceramic tile, vinyl, linoleum, and sealed laminate. Avoid it on unsealed wood, stone, or waxed floors—the acid can damage those surfaces. Always test a small spot first if you're unsure.
Pro Tips For Best Results
Use a microfiber mop to avoid streaks and excess water. Change the solution if it gets dirty, and never let puddles sit. For extra shine, add a few drops of essential oil to mask the vinegar scent while mopping.
2. Baking Soda Paste for Stubborn Spots
Sticky spots and scuff marks can make your floors look grimy even after a good sweep. Baking soda steps in as a gentle abrasive that lifts grime without scratching most surfaces. A simple paste is all you need to target those trouble areas.
Mix three parts baking soda with one part water to form a thick paste. Apply it directly to the spot, let it sit for 5 to 10 minutes, then wipe away with a damp cloth. For tougher marks, gently scrub with a soft sponge before rinsing.
This works wonders on tile, vinyl, and laminate floors.
How To Make The Paste
In a small bowl, combine 3 tablespoons of baking soda with 1 tablespoon of water. Stir until you get a spreadable paste. Adjust the ratio if needed—add more water for thinner consistency or more baking soda for thicker coverage.
Where It Works Best
This paste is ideal for sticky residue from spilled juice, dried food, or adhesive tape. It also lifts scuff marks from shoes on tile and laminate. Avoid using it on unsealed wood or delicate surfaces that may scratch.
Tips For Best Results
Always test on a small hidden area first. Let the paste sit for at least 5 minutes to break down the grime. Rinse thoroughly with clean water to avoid a powdery residue.
For extra stubborn spots, add a drop of dish soap to the paste.
3. Rubbing Alcohol for a Streak-Free Shine
Rubbing alcohol isn't just for first aid kits—it's a secret weapon for spotless floors. Its rapid evaporation means no lingering moisture, which prevents streaks and water spots on surfaces like glass tile or sealed hardwood. Mixing it with water creates a simple, effective solution that cuts through grime without leaving a dull film behind.
This solution works best on non-porous surfaces where streaks are most noticeable. The alcohol breaks down oils and sticky residues quickly, while the water dilutes it enough to be safe for sealed floors. Just remember to test in an inconspicuous area first, especially on colored grout or delicate finishes.
The Perfect Ratio
Combine 1/2 cup of rubbing alcohol (70% or 90% isopropyl) with 1 gallon of warm water. This concentration is strong enough to disinfect and degrease but gentle on most sealed surfaces. For tougher spots, you can increase the alcohol to 1 cup, but avoid going higher to prevent damage to floor finishes.
Application Tips
Use a microfiber mop or spray bottle for best results. Spray the solution lightly onto the floor, then mop in a figure-eight pattern to avoid streaks. Work in small sections to ensure the solution doesn't dry before you spread it.
No rinsing is needed—just let it air dry for a brilliant shine.
Where It Shines Best
Glass tile, ceramic, porcelain, and sealed hardwood are ideal candidates. Avoid using on unsealed wood, laminate, or natural stone like marble or travertine, as alcohol can penetrate and cause damage. Always check your floor's warranty or manufacturer guidelines before trying new cleaning methods.
4. Dish Soap and Warm Water for Grease
Kitchen floors take the brunt of cooking splatters, oil spills, and greasy footprints. A simple solution of mild dish soap and warm water cuts through that buildup without leaving residue. It's gentle enough for daily use on tile, vinyl, and sealed hardwood.
Dish soap is designed to break down grease, making it perfect for kitchen floors. Mix a few drops into a bucket of warm water—hot water activates the soap's degreasing power. Mop as usual, then follow with a plain water rinse to remove any soap film.
This leaves floors clean, not sticky.
Why It Works
Dish soap contains surfactants that lift grease and oil from surfaces. Warm water helps emulsify the grease so it rinses away easily. Unlike harsh degreasers, dish soap is pH-neutral and safe for most floor finishes.
Best Floor Types
This solution works wonders on ceramic tile, vinyl, linoleum, and sealed hardwood. Avoid it on unsealed wood or laminate, where excess moisture can cause damage. Always test in a hidden spot first.
Pro Tips For Best Results
Use a microfiber mop to avoid leaving excess water on the floor. Change the water if it gets dirty to prevent spreading grease around. For stubborn spots, let the soapy water sit for a minute before mopping.
5. Hydrogen Peroxide for Disinfecting
When you want a disinfectant that's tough on germs but gentle on your family and pets, hydrogen peroxide is a fantastic choice. This common pantry staple works as a mild bleach alternative, making it perfect for brightening grout and lifting stains without the harsh fumes of ammonia or chlorine. It's especially useful in kitchens and bathrooms where sanitation matters most.
Hydrogen peroxide is a versatile cleaner that kills bacteria, viruses, and mold on contact. It's also a natural deodorizer, so it leaves your floors smelling fresh without masking odors. Best of all, it breaks down into water and oxygen, so there's no toxic residue left behind.
How To Make The Solution
For a general floor disinfectant, mix 1/2 cup of 3% hydrogen peroxide with a gallon of warm water. Use a mop or a spray bottle for application. Always test on a small, hidden area first, especially on colored grout or delicate flooring, because peroxide can have a slight bleaching effect.
Where It Works Best
This solution shines on tile, grout, and sealed hardwood. It's excellent for high-traffic areas like entryways and kitchen floors where germs accumulate. For tough grout lines, apply the mixture directly, let it sit for five minutes, then scrub with a soft brush before rinsing.
Safety Tips
Never mix hydrogen peroxide with vinegar or bleach—this creates toxic gases. Keep it in a dark bottle away from light to maintain its potency. And always ventilate the room while cleaning, even though it's non-toxic.
6. Essential Oils for a Fresh Scent
A clean floor should smell as good as it looks, but many commercial cleaners leave behind a chemical scent that lingers. Essential oils offer a natural way to infuse your cleaning solution with a pleasant, lasting fragrance while adding antibacterial power. Just a few drops can transform your everyday mopping routine into an aromatherapy session.
Adding essential oils to your floor cleaner is simple and effective. Start with a base of warm water and a gentle cleaner like castile soap or vinegar. For every gallon of water, add 10–15 drops of lemon or tea tree oil—both are known for their antibacterial and antifungal properties.
Lemon oil cuts through grease and leaves a bright, citrusy scent, while tea tree oil provides a fresh, medicinal aroma that signals cleanliness. You can also experiment with lavender for a calming effect or eucalyptus for a crisp, invigorating smell. Always shake or stir the solution well before mopping to disperse the oils evenly.
Note that essential oils can be strong, so start with fewer drops and adjust to your preference. This approach is especially great for households with pets or children, as it avoids harsh synthetic fragrances.
Choosing The Right Oil
Not all essential oils are floor-friendly. Stick with oils that have proven antibacterial properties, like lemon, tea tree, lavender, eucalyptus, or peppermint. Avoid oils that can stain or leave residue, such as cinnamon or clove, especially on light-colored floors.
If you have hardwood, check that the oil is safe for sealed surfaces—dilute well to prevent any dulling.
Mixing And Application Tips
For best results, mix your essential oil solution just before mopping. Use a spray mop or a bucket with a microfiber mop head. Spray the solution lightly onto the floor or dip the mop and wring it well to avoid excess moisture.
Essential oils can separate in water, so give the bucket a quick stir before each dip. For a quick refresh between deep cleans, add a few drops to a spray bottle with water and mist over the floor, then dry mop.
Safety Considerations
Essential oils are potent, so always dilute them properly. Undiluted oils can damage floor finishes or cause skin irritation. If you have pets, be aware that some oils (like tea tree) can be toxic to cats and dogs in high concentrations.
Use a conservative amount and ensure the floor is dry before allowing pets back into the room. Test a small hidden area first to confirm the oil doesn't affect the floor's appearance.
7. Castile Soap for Gentle Cleaning
Castile soap is a plant-based powerhouse that cleans without the harshness of synthetic detergents. It's perfect for homes with kids, pets, or anyone sensitive to strong chemicals. A little goes a long way, and it works beautifully on sealed wood, tile, and laminate.
Why Castile Soap Works
Castile soap is made from vegetable oils, so it's biodegradable and non-toxic. It breaks down grease and dirt without stripping the finish off your floors. Plus, it rinses clean, leaving no sticky residue behind.
How To Mix And Use
Add 1/4 cup of liquid castile soap to a gallon of warm water. Stir gently to avoid sudsing too much. Mop as usual, but be careful not to over-wet the floor.
For extra fragrance, add a few drops of your favorite essential oil.
Best Floor Types And Tips
This solution is safe for sealed hardwood, tile, vinyl, and laminate. Avoid using it on unsealed wood or stone, as the soap can penetrate and cause damage. Always test in an inconspicuous area first.
8. White Vinegar and Olive Oil for Hardwood
Hardwood floors need a gentle touch. Harsh cleaners can strip the finish, while plain water may leave them looking dull. A simple blend of white vinegar and olive oil offers a natural way to clean and condition at the same time.
The vinegar cuts through grime, and the oil adds a subtle sheen that helps protect the wood.
This two‑ingredient solution is surprisingly effective. Mix 1 cup of white vinegar with 1 cup of warm water, then add a few drops of olive oil. Shake or stir well before each use.
Lightly dampen a microfiber mop—never soak the floor—and go over the surface following the grain of the wood. The vinegar disinfects and removes dirt without leaving residue, while the oil sinks into the wood to restore a healthy glow.
Why This Combo Works
Vinegar is acidic enough to break down everyday dirt and sticky spots, but it's mild on sealed hardwood. Olive oil acts as a natural conditioner, filling tiny scratches and giving the floor a warm luster. Together, they create a quick, affordable polish that doesn't rely on synthetic waxes.
Best Practices For Application
Always test the mixture on a hidden corner first. Use only a few drops of oil—too much can leave a slippery film. Mop in small sections and buff with a dry cloth if you notice any streaks.
Avoid using this on unsealed or waxed floors, as the oil may not absorb evenly.
When To Use This Method
This solution is ideal for routine cleaning between deeper treatments. Use it once every two to four weeks to maintain shine without over‑conditioning. For heavily soiled areas, spot‑clean with a little extra vinegar first, then go over the whole floor with the vinegar‑oil mix.
9. Club Soda for Stain Lifting
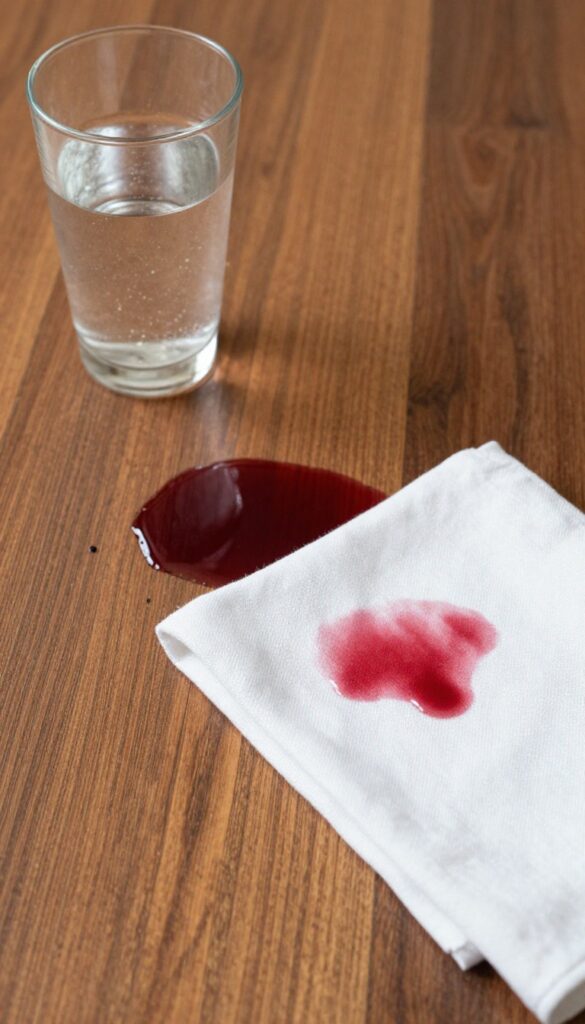
Club soda isn't just a mixer—it's a surprisingly effective stain fighter for sealed floors. The carbonation creates tiny bubbles that help lift fresh spills away from the surface without scrubbing or harsh chemicals. Keep a bottle handy for quick cleanups on tile, vinyl, or sealed hardwood.
When a spill happens, grab club soda immediately. Pour a small amount directly onto the stain, let it fizz for a few seconds, then blot with a clean cloth. The carbonation helps dissolve the stain while the mild salts in the soda aid in lifting it.
For dried-on messes, let the club soda sit for a minute before blotting. This method works best on sealed floors—unsealed wood or natural stone may absorb the liquid, so test in an inconspicuous spot first.
Why Carbonation Works
The bubbles in club soda act like tiny scrubbers, physically pushing stain particles away from the floor's surface. This makes it ideal for lifting wine, coffee, or juice spills without damaging the sealant. The sodium bicarbonate also helps neutralize odors, leaving your floor fresh.
Best Floors For Club Soda
Club soda is safe for most sealed floors, including ceramic tile, luxury vinyl plank, and engineered hardwood. Avoid using it on unsealed natural stone or unfinished wood, as the liquid can seep in and cause damage. Always check your floor manufacturer's guidelines first.
Quick Cleanup Tips
For best results, use chilled club soda—the cold temperature helps prevent the stain from setting. Blot, don't rub, to avoid spreading the spill. If you're out of club soda, sparkling water works too, though it may be slightly less effective due to lower mineral content.
10. Lemon Juice for Brightening
Lemon juice isn't just for lemonade—it's a natural brightener that can revive dull floors. The citric acid cuts through grease and grime without harsh chemicals, leaving a fresh citrus scent. This simple solution works wonders on sealed hardwood, tile, and vinyl floors.
Mix 1/2 cup lemon juice with a gallon of warm water. Mop as usual, but avoid soaking the floor—excess moisture can damage some surfaces. For stubborn spots, apply the solution directly and let it sit for a minute before wiping.
Why It Works
Citric acid breaks down dirt and soap residue that cause dullness. It also neutralizes odors, so your floor smells clean without fake fragrances. Plus, it's safe for pets and kids when used in small amounts.
Best Floor Types
Lemon juice is ideal for sealed hardwood, ceramic tile, and vinyl. Avoid using it on unsealed wood, marble, or natural stone—the acid can etch or dull those surfaces.
Pro Tips
Always test in a hidden area first. Use fresh lemon juice, not bottled, for best results. Rinse with plain water if you notice any stickiness.
For extra shine, add a few drops of olive oil to the mixture.
11. Borax for Deep Cleaning
When everyday spills turn into stubborn grime, borax steps in as a heavy-duty cleaner that's still gentle on your floors. This natural mineral powder cuts through grease, soap scum, and ground-in dirt that vinegar or dish soap can't always handle. It's especially effective on ceramic tile and vinyl flooring, where deep cleaning is needed without damaging the surface.
Borax works by softening water and boosting the cleaning power of hot water, making it easier to lift embedded dirt. For a deep clean, mix 1/2 cup of borax into a gallon of hot water until fully dissolved. Apply the solution with a mop or sponge, let it sit for a few minutes, then scrub any tough spots before rinsing thoroughly.
Avoid using borax on unsealed wood or natural stone, as it can be too abrasive. Always test a small hidden area first.
Why Borax Works So Well On Grime
Borax has a high pH that helps break down acidic dirt and grease. It also acts as a mild disinfectant, killing bacteria and mold spores that can hide in grout lines. When combined with hot water, it creates an alkaline solution that loosens sticky residues without harsh fumes.
Best Floor Types For Borax Cleaning
Ceramic tile, porcelain, and vinyl floors handle borax beautifully. It's also safe for linoleum and sealed concrete. Skip it on unfinished or waxed wood, and dilute it extra if you have sensitive finishes.
Rinsing is key—leftover residue can attract dirt.
Step-by-step Borax Deep Clean
Sweep or vacuum first. Mix the borax solution in a bucket. Dip a microfiber mop, wring well, and mop in sections.
Let the solution sit for 3–5 minutes on heavily soiled areas. Scrub grout lines with a soft brush if needed. Rinse with clean water and dry with a towel to prevent streaks.
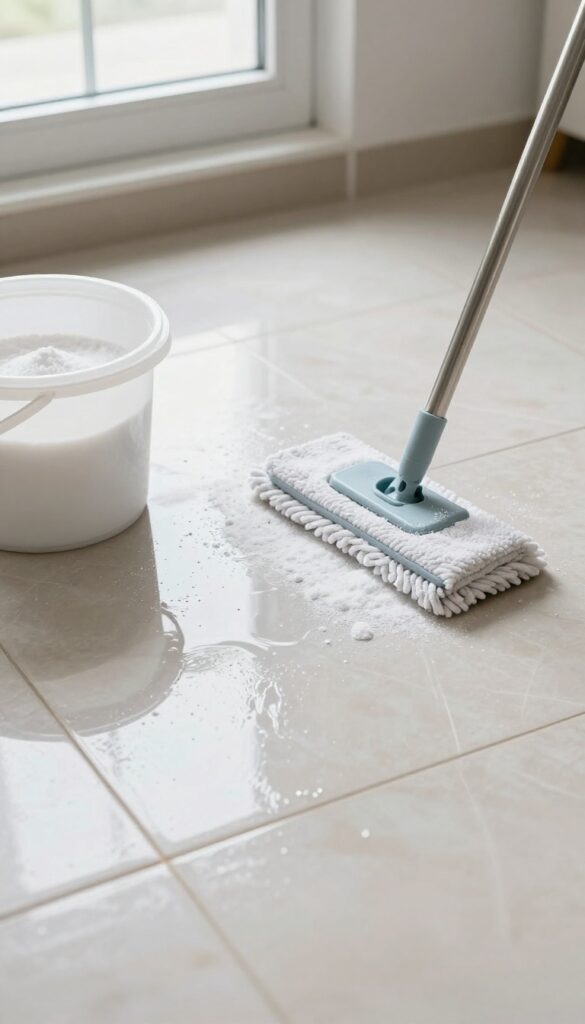
12. Steam Cleaning with Water Only
Sometimes the simplest solution is the best—and that's exactly what steam cleaning offers. A steam mop uses nothing but plain water to produce high-temperature vapor that loosens dirt, kills bacteria, and leaves sealed floors sparkling. It's a chemical-free method that's especially handy for quick refreshes between deeper cleans.
Steam cleaning works by heating water to around 200°F, creating steam that penetrates grime and evaporates quickly, so floors dry in minutes. It's safe for sealed hardwood, tile, vinyl, and laminate—just avoid unsealed wood or delicate surfaces. The heat sanitizes without leaving any residue, making it ideal for kitchens and bathrooms where you want a truly clean feel.
For best results, sweep or vacuum first to remove loose debris, then glide the steam mop in overlapping passes. No need for special pads or detergents—just refill the tank and go.
Why Water-only Works
Heat is a powerful cleaner. Steam loosens sticky spills, lifts dried-on grime, and kills up to 99. 9% of common household germs without any chemicals.
That's great news if you're sensitive to fragrances or want to minimize what goes down your drain. Plus, you save money on cleaning solutions.
Best Floor Types For Steam
Sealed ceramic tile, porcelain, vinyl plank, laminate, and engineered hardwood with a strong finish handle steam well. Always check your floor's warranty—some manufacturers caution against steam. Avoid unsealed wood, bamboo, or laminate with damaged seams where moisture could seep in.
Quick Touch-up Routine
For daily shine, keep your steam mop handy. After sweeping, run it over high-traffic areas in about 5 minutes. No rinsing, no waiting for floors to dry—just a clean, streak-free finish.
It's perfect for between deep cleans or when company's coming.
13. Baby Oil for a Polished Look
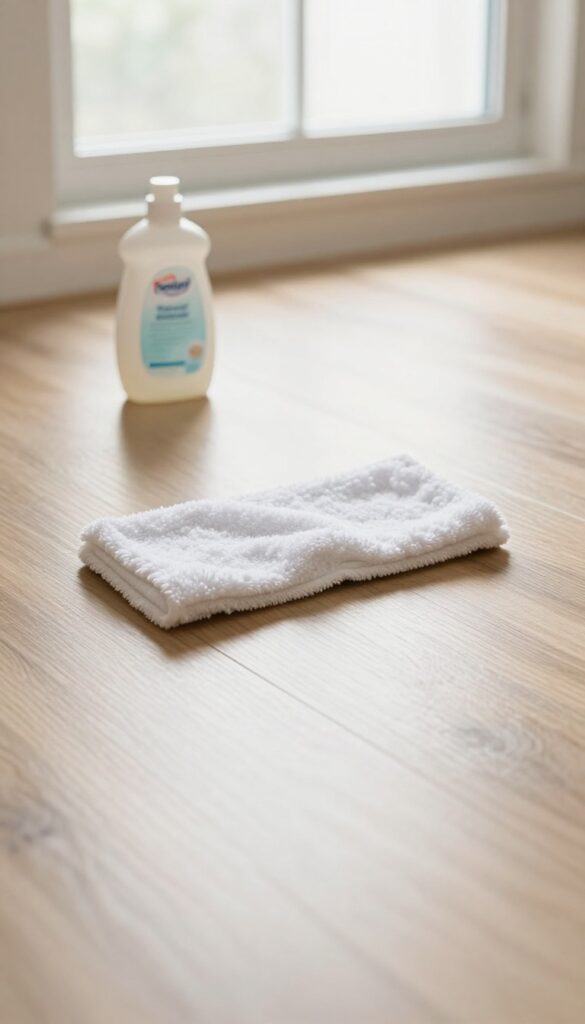
Baby oil isn't just for delicate skin—it can also give your laminate or vinyl floors a soft, polished finish. A tiny amount added to your mop water helps reduce water spots and leaves behind a subtle shine that makes floors look well cared for. The key is using it sparingly so you don't create a slippery surface.
How It Works
Baby oil is a lightweight mineral oil that fills in tiny scratches and imperfections on sealed floors. When diluted in water, it leaves a thin protective film that repels dust and adds a gentle glow without the greasy residue of heavier oils.
Best Practices
Use only a few drops per gallon of warm water—about 5 to 10 drops is plenty. Mop as usual, then let the floor air dry. Avoid using on unsealed or waxed floors, as baby oil can damage the finish.
Always test in a hidden corner first.
Safety Tips
Too much baby oil can make floors dangerously slick, especially in kitchens or bathrooms. Stick to the recommended amount and walk on the floor after drying to check for slipperiness. If it feels greasy, rinse with plain water.
14. Salt for Grease Absorption
Grease splatters on kitchen floors can feel impossible to lift, especially after a big fry-up. But before you reach for a heavy degreaser, grab the salt shaker. Coarse salt acts like a magnet for grease, pulling it away from the surface so your mop can finish the job.
Sprinkle a generous layer of salt directly onto any greasy spots. Let it sit for at least five minutes—this gives the salt time to absorb the oil. Then mop the area with a mild soap solution (a few drops of dish soap in warm water works great).
The salt will have lifted most of the grease, so your mop just needs to wipe away the residue. Rinse with clean water afterward to avoid any sticky film.
Why Salt Works So Well
Salt is a natural desiccant, meaning it draws moisture and oil out of porous surfaces. When you sprinkle it on a greasy spot, the salt crystals soak up the liquid grease, making it easy to sweep or mop away. Unlike chemical degreasers, salt won't damage your floor's finish or leave behind harsh fumes.
Best Floor Types For This Method
This trick works beautifully on ceramic tile, vinyl, and linoleum. It's also safe for sealed hardwood, but avoid using salt on unsealed wood or natural stone, as the crystals can scratch or absorb into the surface. Always test a small patch first if you're unsure.
Tips For Stubborn Grease
For dried-on or baked-on grease, let the salt sit for 10–15 minutes. You can also sprinkle a little water on top to create a paste, then scrub gently with a soft brush before mopping. For extra tough spots, add a splash of white vinegar to your mop water—the acid helps cut through remaining oil.
15. Cornstarch for Carpet Freshening
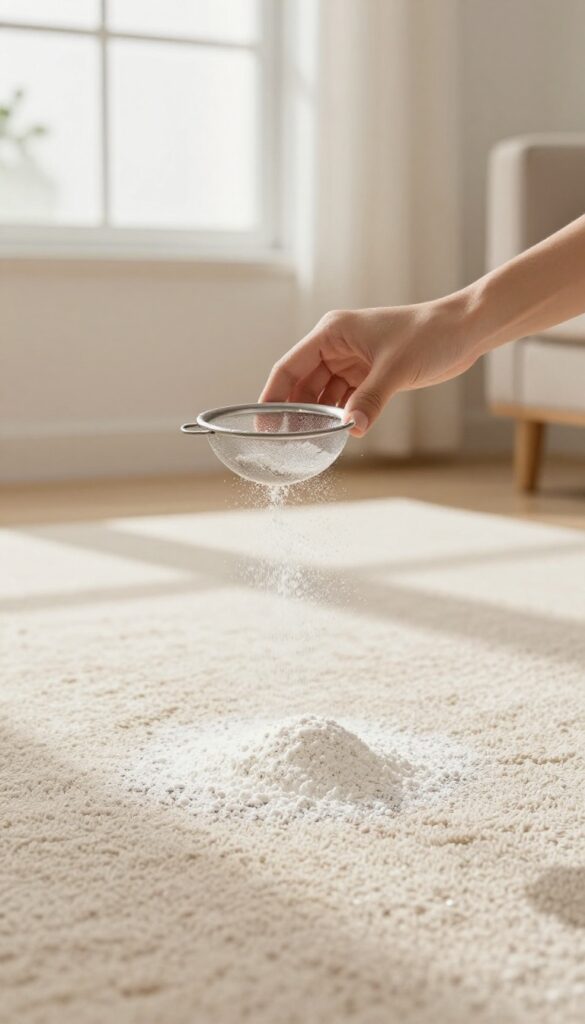
Carpets trap odors and dust over time, but you don't need chemical sprays to refresh them. Cornstarch, a pantry staple, works as a gentle deodorizer that lifts smells and leaves the fibers feeling softer. It's safe for pets and kids, and costs pennies per use.
Sprinkle a generous layer of cornstarch over your carpet, focusing on high-traffic areas or spots where odors linger. Let it sit for at least 15 minutes—longer for stronger smells. Then vacuum thoroughly.
The cornstarch absorbs oils and moisture that cause mustiness, leaving the carpet fresh and clean. For a light scent, mix in a few drops of essential oil before sprinkling.
Why Cornstarch Works
Cornstarch is a fine powder that clings to carpet fibers and absorbs odors and moisture. Unlike baking soda, it's less likely to leave a white residue, especially on dark carpets. It also helps loosen dirt for easier vacuuming.
Best Practices For Application
Test on a small, hidden area first to ensure no discoloration. Use a sieve or shaker for even distribution. Let it sit for at least 15 minutes, but overnight for tough odors.
Vacuum slowly in multiple directions to pick up all the powder.
Avoid Common Mistakes
Don't use too much cornstarch—a thin, even layer is enough. Overloading can clog your vacuum filter. Also, make sure the carpet is completely dry before application; moisture can turn cornstarch into a paste that's hard to remove.
16. Apple Cider Vinegar for Grout
Grout lines can be the toughest part of any tile floor to keep clean. They trap dirt and stains, making the whole floor look dingy. Apple cider vinegar offers a natural way to brighten them up without harsh chemicals.
Mix equal parts apple cider vinegar and water in a spray bottle. Spray the solution directly onto the grout lines and let it sit for a few minutes to break down grime. Scrub gently with an old toothbrush or a stiff grout brush, then wipe away with a damp cloth.
The mild acidity of apple cider vinegar helps lift stains and restore the grout's original color. For tougher stains, add a sprinkle of baking soda to the grout before spraying the vinegar mixture—the fizzing action helps loosen dirt.
Why Apple Cider Vinegar Works
Apple cider vinegar contains acetic acid, which cuts through grease and mineral deposits without damaging tile or grout. It's also a natural deodorizer, leaving your floors smelling fresh. Unlike bleach, it won't discolor colored grout.
Best Practices For Grout Cleaning
Always test the solution on a small, hidden area first to ensure it doesn't affect the grout color. Avoid using on unsealed grout too often, as acidity can wear down the surface over time. Rinse thoroughly with water after cleaning to remove any residue.
When To Use This Method
This is perfect for routine grout maintenance—use it every few weeks to keep grout lines bright. For heavily stained grout, you may need to repeat the process or let the solution sit longer. It's safe for ceramic, porcelain, and stone tiles, but avoid on natural stone like marble or limestone.
17. Rubbing Alcohol and Vinegar for Glass Tile
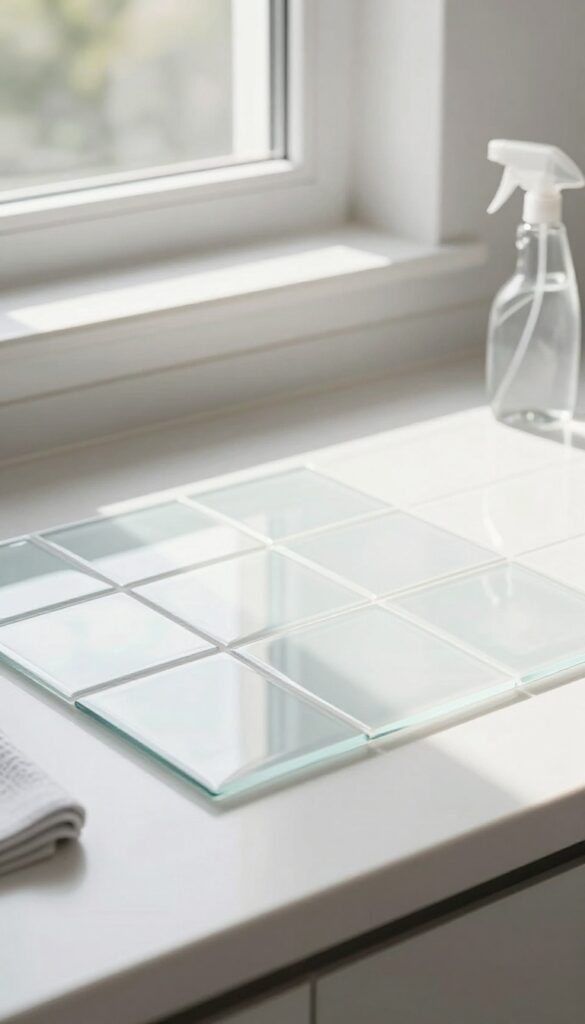
Glass tile backsplashes and floors look stunning when they're clean, but they show every fingerprint, water spot, and smudge. Commercial glass cleaners work, but they can leave a hazy residue if you use too much. A simple mix of rubbing alcohol and vinegar cuts through grime and evaporates fast, so you get a brilliant, streak-free shine without any elbow grease.
To make this solution, combine 1 cup rubbing alcohol, 1 cup water, and 1/2 cup white vinegar in a spray bottle. Shake gently to mix. Spray the solution onto the glass tile surface, then wipe with a microfiber cloth or a squeegee.
The alcohol speeds up drying, preventing streaks, while the vinegar dissolves hard water deposits and grease. This solution is safe for sealed glass tiles and won't damage the grout if used occasionally.
Why It Works So Well
Rubbing alcohol is a solvent that evaporates quickly, so it doesn't leave behind the streaks that water-based cleaners often do. Vinegar is acidic and breaks down mineral deposits, soap scum, and oily fingerprints. Together, they create a fast-drying, residue-free cleaner that's perfect for glass surfaces.
How To Apply For Best Results
Spray the solution lightly onto the glass tile—you don't need to soak it. Wipe immediately with a clean, dry microfiber cloth in a circular motion, then buff with a second cloth for extra shine. For large areas, use a squeegee after spraying to pull the solution off without streaks.
Avoid using paper towels, as they can leave lint.
Safety Tips And Precautions
Always test the solution on a small, hidden area first to ensure it doesn't damage the tile or grout. Rubbing alcohol is flammable, so keep the solution away from open flames and heat sources. Ventilate the room while cleaning.
Do not use on unsealed or natural stone tiles, as the acidity can etch the surface.
FAQ
Can I use vinegar on hardwood floors?
Yes, but only on sealed hardwood. Use a diluted solution (1/4 cup vinegar per gallon of water) to avoid damaging the finish.
How often should I mop my floors?
High-traffic areas may need mopping every 2-3 days, while less-used rooms can go a week. Adjust based on dirt and foot traffic.
What is the best natural disinfectant for floors?
Hydrogen peroxide mixed with water (1: 10 ratio) is an effective natural disinfectant safe for most sealed floors.
Can I mix vinegar and baking soda for floor cleaning?
It's not recommended for mopping because they neutralize each other. Use them separately—baking soda for scrubbing spots, vinegar for general mopping.
How do I prevent streaks on my floors?
Use a microfiber mop and a solution with a drying agent like rubbing alcohol. Wring the mop well to avoid excess water.
Conclusion
From vinegar-based sprays to eco-friendly microfiber mops, these 17 floor cleaning ideas give you real options for every surface and mess. Pick the ones that fit your routine and watch your floors go from dull to dazzling without extra effort.
Consistent small habits make the biggest difference over time. Try a new approach this week and enjoy the brighter daily shine you deserve.


