
Your floors work hard every day, but harsh chemicals aren't the only way to keep them shining. From hardwood to tile, each surface has its own cleaning sweet spot—and you probably have the ingredients in your pantry.
These 17 recipes use everyday staples like vinegar, baking soda, and dish soap to tackle grime without the toxic fumes or high price tags. Whether you're fighting grease on concrete or restoring luster to marble, there's a simple, effective solution here.
Let's get your floors looking their best with nothing more than a few basic supplies and a little know-how.
1. All-Purpose Hardwood Cleaner with Vinegar and Olive Oil
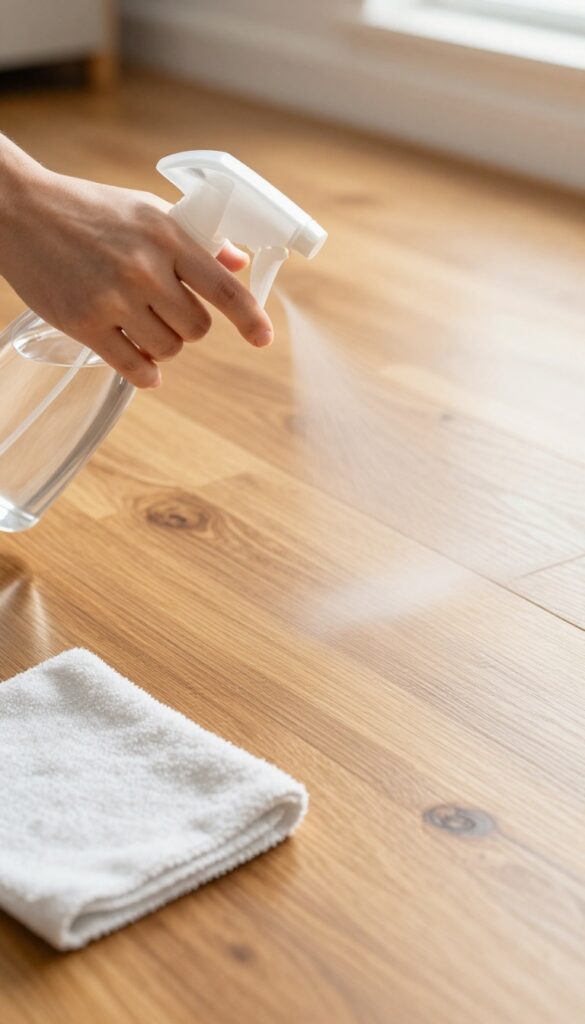
Hardwood floors add warmth to any home, but they need gentle care to stay beautiful. This simple DIY cleaner cuts through dirt without stripping the finish or leaving behind a dull film. The vinegar disinfects and degreases, while a touch of olive oil adds a light polish that keeps wood looking healthy.
Best of all, it costs pennies per batch and takes just seconds to mix.
To make this cleaner, combine 1/2 cup white vinegar, 1 cup warm water, and a few drops of olive oil in a spray bottle. Shake gently to blend. Mist the solution lightly onto the floor—never soak it—and wipe with a microfiber mop or cloth.
Work in small sections to avoid puddles. The vinegar smell fades quickly as it dries, leaving behind a clean, subtle shine. This recipe is safe for sealed hardwood but should be avoided on unsealed or waxed floors.
Always test in an inconspicuous spot first.
Why Vinegar Works Without Damage
White vinegar is mildly acidic, which helps dissolve grease, grime, and sticky residues without the harshness of bleach or ammonia. When diluted with water, it's gentle enough for most sealed hardwood finishes. The key is using the right ratio—too much vinegar can dull the finish over time, so stick to the 1: 2 ratio with water.
Vinegar also naturally deodorizes, so your floors smell fresh without artificial fragrances.
The Role Of Olive Oil
A few drops of olive oil serve as a natural conditioning agent. It fills in microscopic scratches and adds a soft luster, similar to a furniture polish but much lighter. Don't overdo it—too much oil can leave a greasy film that attracts dust.
One or two drops per batch is plenty. For an even lighter touch, you can substitute with mineral oil or skip it entirely if your floors already have a high-gloss finish.
Application Tips For Best Results
Always use a microfiber mop or soft cloth—cotton towels can leave lint. Spray the solution onto the mop head rather than directly on the floor to control moisture. Work in the direction of the wood grain to prevent streaks.
Let the floor air dry completely before walking on it. For routine maintenance, use this cleaner every two to four weeks. For deeper cleaning, follow with a dry microfiber buffing pass.
2. Gentle Laminate Floor Spray with Rubbing Alcohol
Laminate floors look great but hate excess water. Too much moisture can seep into seams and cause swelling or warping. That's why a fast-drying spray is your best friend.
This recipe uses rubbing alcohol to speed up evaporation, so you can clean without worrying about damage. It's gentle enough for regular use and leaves behind a streak-free shine.
Why Rubbing Alcohol Works
Rubbing alcohol evaporates much faster than water. When you add it to your cleaner, the solution dries in seconds rather than minutes. This minimizes the time moisture sits on your laminate floors, reducing the risk of water damage.
Plus, alcohol helps cut through grease and grime without harsh scrubbing.
The Perfect Ratio
Mix 1/4 cup rubbing alcohol, 1/4 cup white vinegar, 1 teaspoon dish soap, and 1 gallon of warm water. The vinegar disinfects and deodorizes, while the dish soap lifts dirt. Warm water helps everything blend smoothly.
Pour into a spray bottle for easy application.
How To Apply Without Overwetting
Lightly mist the floor—don't soak it. Use a microfiber mop or cloth to spread the solution evenly. Work in small sections, and dry immediately with a clean microfiber cloth if you see puddles.
Avoid using excessive liquid, and never pour the mixture directly onto the floor.
3. Tile and Grout Paste with Baking Soda and Hydrogen Peroxide
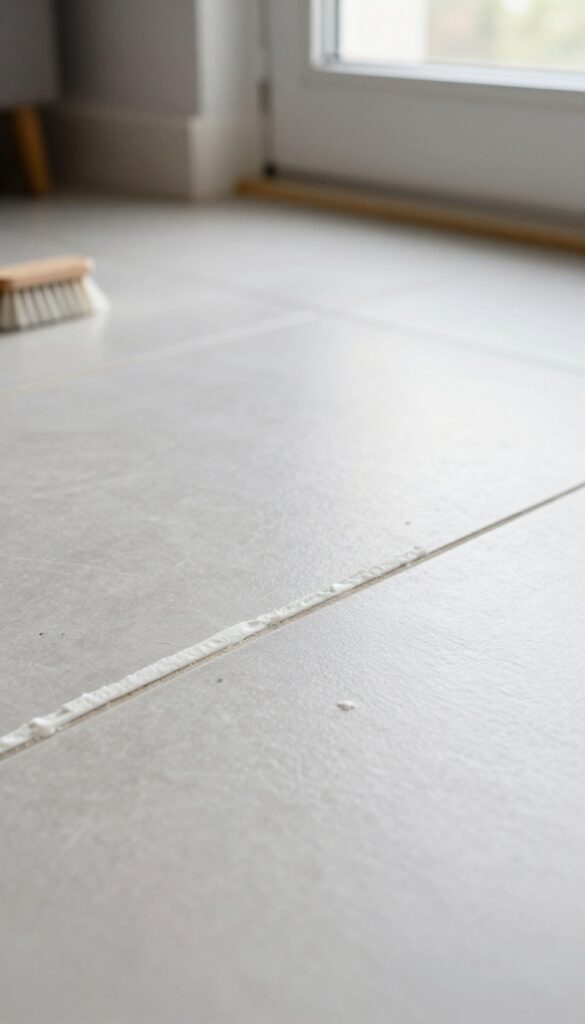
Tile floors can look dingy even after mopping because the grout lines trap dirt and stains. A simple paste made from two pantry staples tackles that grime without bleach or harsh chemicals. Baking soda acts as a gentle abrasive, while hydrogen peroxide lifts discoloration and kills mold spores.
This recipe works on ceramic, porcelain, and stone tiles, but test it on an inconspicuous spot first, especially on natural stone.
Mix ½ cup baking soda with ¼ cup hydrogen peroxide (3% solution) to form a thick paste. Add a few drops of liquid dish soap if you want extra grease-cutting power. Apply the paste directly to grout lines using an old toothbrush or a small grout brush.
Let it sit for 10 minutes—don't let it dry completely, so cover with plastic wrap if needed. Scrub vigorously in circular motions, then rinse with warm water and wipe away residue with a damp cloth. For stubborn stains, let the paste sit longer or add a second application.
Avoid using this on unsealed grout too often, as the peroxide can lighten it over time.
Why This Paste Works
Baking soda is mildly alkaline and gently scours without scratching tile surfaces. Hydrogen peroxide is an oxidizing agent that breaks down organic stains and kills bacteria and mold. Together, they create a fizzing action that helps lift dirt from porous grout.
Unlike chlorine bleach, hydrogen peroxide breaks down into water and oxygen, making it safer for your home and the environment.
Best Surfaces And Precautions
This paste is ideal for ceramic and porcelain tiles with sanded or unsanded grout. It's also safe for most natural stone tiles like slate or travertine, but always test a hidden area first because peroxide can etch some stones. Avoid using it on unsealed or damaged grout, as the moisture can seep in and cause mold issues.
If your grout is already light, test to ensure the peroxide doesn't lighten it further.
Tips For Best Results
For heavy buildup, let the paste sit for up to 20 minutes and cover with plastic wrap to keep it moist. Use a stiff-bristled brush for deep grout lines. Rinse thoroughly to avoid a white residue.
After cleaning, seal the grout to protect it from future stains. This paste can also be used on tile surfaces for spot cleaning, but avoid letting it dry on the tile face.
4. Vinyl Floor Cleaner with Vinegar and Dish Soap
Vinyl flooring is tough, but it can get dull fast when residue builds up. The right cleaner cuts through grease without leaving a sticky film. This simple recipe uses two pantry staples to restore your floor's natural shine.
White vinegar breaks down grime, while a tiny bit of dish soap handles oily spots. Together, they create a solution that cleans effectively without damaging the vinyl's protective layer. No harsh chemicals, no expensive specialty products—just a clean floor that looks great.
Why This Combo Works
Vinegar is a mild acid that dissolves dirt and kills some bacteria. Dish soap acts as a surfactant, lifting grease so it rinses away. The key is using just a teaspoon of soap—too much leaves a residue that attracts more dirt.
Warm water helps everything mix and evaporates quickly, preventing water spots.
How To Mix And Mop
Fill a bucket with 1 gallon of warm water. Add 1/2 cup white vinegar and 1 teaspoon of mild dish soap. Stir gently to combine.
Dip your mop, wring it well so it's damp, not soaking wet. Mop in sections, rinsing the mop frequently. Let the floor air dry—no need to rinse again.
Tips For Best Results
Test on a hidden spot first, especially if your vinyl is older or has a matte finish. Avoid using too much water—vinyl can warp if moisture seeps into seams. For extra shine, add a few drops of lemon essential oil (optional).
Never use abrasive scrubbers or bleach-based cleaners on vinyl.
5. Stone Floor Cleaner with Mild Dish Soap and Water
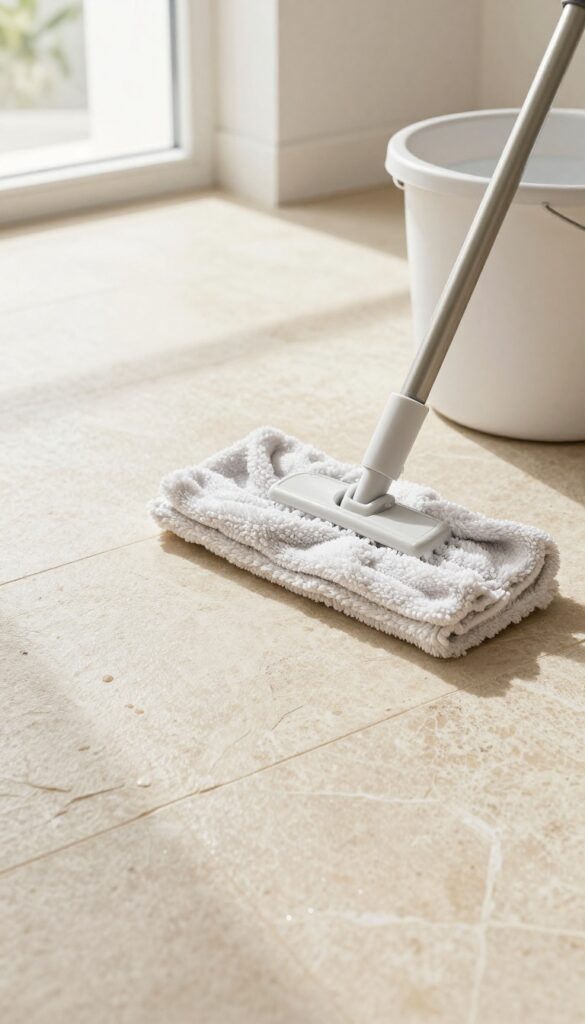
Natural stone floors—like marble, granite, travertine, or slate—add elegance but demand a gentle touch. Harsh chemicals or acidic cleaners can etch the surface, leaving permanent dull spots. The safest solution is surprisingly simple: a few drops of pH-neutral dish soap mixed into warm water.
This mild blend cleans away dirt without stripping sealants or damaging the stone. It's the go-to recipe for everyday mopping that keeps your stone looking rich and polished.
For stone floors, skip the vinegar, lemon, or any citrus-based cleaners—they're too acidic and will eat away at the finish. Instead, fill a bucket with warm water and add just a teaspoon of pH-neutral dish soap. Swirl to mix, then mop using a well-wrung microfiber mop to avoid soaking the stone.
Rinse the mop frequently and change the water if it gets dirty. Dry the floor with a clean microfiber cloth to prevent water spots. For deeper cleaning, you can add a few drops of rubbing alcohol to boost grease-cutting power without harming the stone.
Why Ph-neutral Matters
Stone is porous and reactive. Acidic or alkaline cleaners can cause chemical reactions that etch or discolor the surface. pH-neutral dish soap (around 7 on the pH scale) is safe for all natural stone types. Check the label—if it says "gentle" or "mild, " it's likely pH-neutral.
Avoid anything with degreasers or antibacterial additives, which can be too harsh.
Step-by-step Mopping Routine
Sweep or vacuum first to remove grit that can scratch stone. Mix 1 teaspoon pH-neutral dish soap per gallon of warm water. Dip a microfiber mop, wring it until damp (not wet), and mop in sections.
Rinse the mop often to avoid spreading dirty water. Let the floor air-dry or buff with a clean dry cloth for a streak-free shine. Repeat weekly or as needed.
What To Avoid On Stone Floors
Never use vinegar, lemon juice, bleach, ammonia, or all-purpose cleaners with acids. Also avoid abrasive scrub brushes or scouring pads—they can scratch the stone. If you have unsealed stone, test any cleaner in an inconspicuous spot first.
For stubborn stains, use a poultice made from baking soda and water, but keep it off the rest of the floor.
6. Streak-Free Glass Tile Cleaner with Rubbing Alcohol
Glass tile backsplashes and shower walls look stunning when they're clean, but they also show every single streak and smudge. Commercial glass cleaners work, but they often leave a hazy film or contain harsh chemicals you might want to avoid. This three-ingredient recipe cuts through grease and grime while evaporating quickly, so you get that crystal-clear finish without any elbow grease.
Mixing rubbing alcohol with water and a splash of white vinegar creates a solution that cleans and shines in one step. The alcohol evaporates fast, preventing streaks, while the vinegar cuts through soap scum and hard water spots. Just spray it on, wipe with a microfiber cloth, and watch the glass go from foggy to flawless.
Why Rubbing Alcohol Works Best
Rubbing alcohol is the secret weapon here. It evaporates much faster than water, so it doesn't leave those annoying streaks that appear when you use too much liquid. It also disinfects and breaks down oily fingerprints and cooking grease, which are common on kitchen backsplashes.
Plus, it's safe on glass and won't damage the grout or tile edges.
The Right Wiping Technique
How you wipe matters as much as what you spray. Use a clean, dry microfiber cloth and work in a zigzag pattern from top to bottom. This prevents drips and ensures you catch any residue before it dries.
Avoid paper towels—they can leave lint and tiny scratches on glass over time. For large areas, a microfiber mop or squeegee works great.
When To Skip The Vinegar
If your glass tile has natural stone accents or is set in a soft stone like marble, skip the vinegar. The acid can etch or dull the stone. Instead, use a mix of 1 cup rubbing alcohol and 1 cup water with a drop of mild dish soap.
This still gives you streak-free results without risking damage to delicate surfaces.
7. Bamboo Floor Cleaner with Vinegar and Water
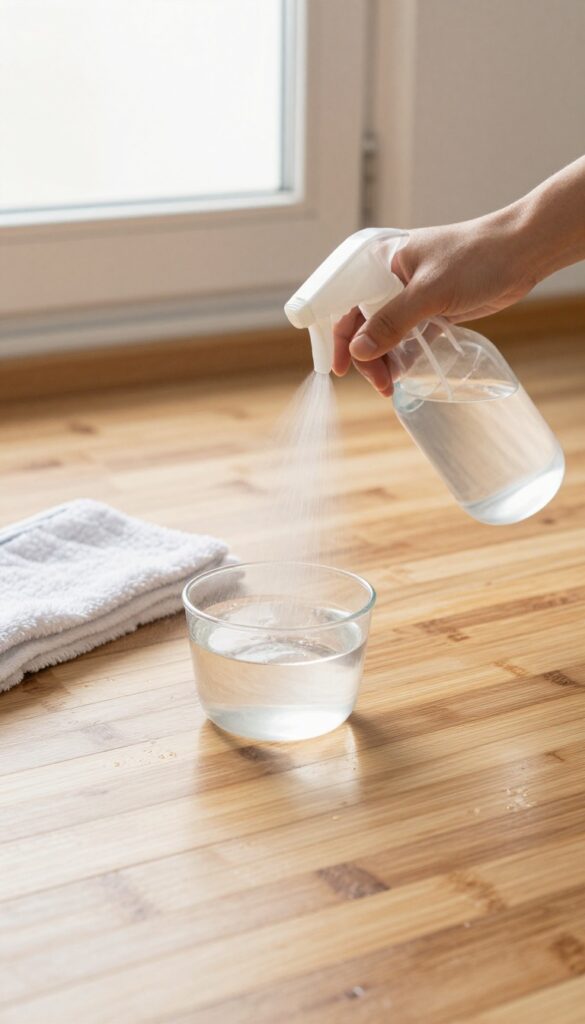
Bamboo floors bring a warm, natural look to any room, but they need a lighter touch than traditional hardwood. Too much moisture can cause warping or cracking, so the right balance is key. This simple vinegar and water mix cleans effectively without soaking your floors.
Stick to a 1/4 cup white vinegar per gallon of warm water. Use a spray bottle to lightly mist the floor in sections, then mop with a well-wrung microfiber mop. The mop should feel damp, not dripping.
Work in small areas and dry immediately with a clean cloth if puddles form. Avoid steam mops—they force moisture into the bamboo and can damage the finish over time.
Why Vinegar Works
White vinegar cuts through light dirt and grime without leaving a sticky residue. Its mild acidity helps break down grease and kills some bacteria, making it a safe choice for everyday cleaning. Just don't overdo it—excess vinegar can dull the finish if used too often.
Moisture Management Tips
Bamboo is more moisture-sensitive than oak or maple. Always wring your mop until it's almost dry, and never pour cleaning solution directly onto the floor. If you see water beading on the surface, you're using too much liquid.
A quick pass with a dry microfiber cloth afterward adds extra protection.
When To Skip This Recipe
If your bamboo floor has an oil-based finish or is unsealed, vinegar can damage the surface. Check with your flooring manufacturer or test in an inconspicuous spot first. For heavily soiled areas, add a drop of mild dish soap to the mix—but rinse well to avoid buildup.
8. Linoleum Floor Cleaner with Castile Soap and Warm Water
Linoleum is a natural, resilient flooring material that looks great for decades when treated right. The catch? It hates harsh chemicals and excessive water.
A simple mix of castile soap and warm water gives you a gentle yet effective clean that won't damage the protective seal or dull the finish.
Add 1 tablespoon liquid castile soap to 1 gallon warm water. Stir gently to combine. Mop using a well-wrung mop—linoleum should never be soaked.
For best results, use a microfiber mop and work in small sections, rinsing the mop often. Let the floor air dry completely before walking on it.
Why Castile Soap Works
Castile soap is plant-based and biodegradable, making it a safe choice for linoleum. Unlike synthetic detergents, it cleans without leaving a sticky residue that attracts dirt. The mild formula lifts everyday grime and grease without stripping the protective wax or sealant.
Mop Technique Matters
Too much water is the number one enemy of linoleum. Wring your mop until it's just damp—not dripping. Work in 3×3-foot sections, rinsing the mop after each pass.
For stubborn spots, let the solution sit for a minute before wiping. Always dry the floor with a clean towel or let it air dry with good ventilation.
When To Avoid This Recipe
If your linoleum is unsealed or has visible wear, skip the soap and use plain warm water instead. Castile soap can dull unsealed linoleum over time. Test in an inconspicuous area first.
For sealed linoleum, this recipe is safe to use weekly.
9. Concrete Floor Degreaser with Baking Soda and Dish Soap
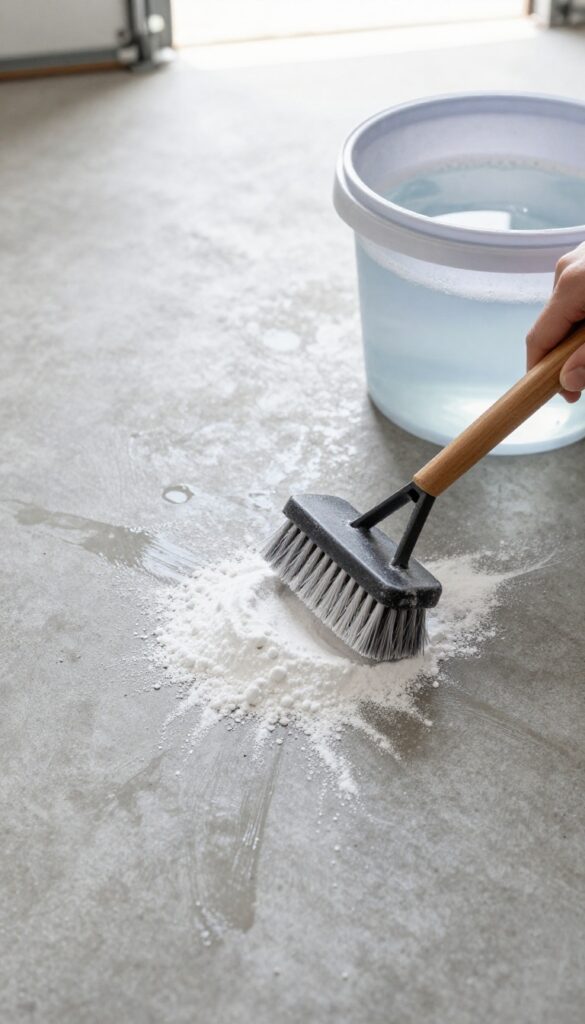
Concrete floors in garages and basements take a beating. Oil stains, tire marks, and grease splatters can make them look grimy fast. But you don't need industrial solvents to cut through the mess.
A simple combo of baking soda and dish soap works wonders on concrete without the harsh fumes.
Start by sprinkling a generous layer of baking soda directly on the greasy spots. Let it sit for about 15 minutes to absorb the oil. Then mix 1/4 cup of liquid dish soap with 1 gallon of hot water.
Scrub the area with a stiff-bristle brush or a push broom, working the suds into the concrete. Rinse thoroughly with clean water and let it air dry. For stubborn stains, repeat the process or let the baking soda sit longer.
Why This Recipe Works
Baking soda is a mild abrasive that helps lift grease without scratching the concrete. Dish soap breaks down oil molecules, making them easier to rinse away. Together, they create a powerful degreaser that's safe for you and the environment.
Best Practices For Concrete Floors
Always sweep or vacuum loose dirt before applying the degreaser. Work in small sections so the mixture doesn't dry before you rinse. Avoid using too much water, as concrete can absorb moisture and lead to dampness.
If your floor is sealed, test a small patch first to ensure the cleaner doesn't dull the finish.
When To Use This Method
This recipe is perfect for routine garage cleaning or tackling fresh oil spills. For old, set-in stains, you may need to let the baking soda paste sit overnight. It's also great for basement floors that see light traffic but accumulate dust and grime.
10. Marble Floor Cleaner with pH-Neutral Soap and Water
Marble floors bring a timeless elegance to any home, but they're also one of the most sensitive surfaces to clean. Acidic ingredients like vinegar or lemon can etch and dull the stone in seconds. The safest bet is a simple mix of pH-neutral dish soap and warm water—it lifts dirt without stripping the polish or damaging the sealant.
This recipe is as straightforward as it gets: 1 teaspoon of pH-neutral dish soap per gallon of warm water. Avoid anything labeled "degreasing" or "antibacterial, " as those often contain harsh chemicals. Use a soft mop or microfiber cloth, and wring it out well—excess water can seep into the stone and cause discoloration.
Mop in sections, rinsing frequently, then dry with a clean towel to prevent water spots.
Why Ph-neutral Matters
Marble is calcium carbonate, which reacts with acids and alkalis. A pH-neutral soap (around 7 on the scale) won't react with the stone, so it cleans without etching. Many dish soaps are pH-neutral, but check the label—some have added citrus or bleach.
Stick with plain, clear dish soap for best results.
Step-by-step Cleaning
Start by sweeping or vacuuming loose dirt. Mix the soap and water in a bucket. Dip your mop, wring it until damp (not wet), and mop in a figure-eight pattern to avoid streaks.
Rinse the mop often in clean water. After mopping, go over the floor with a dry microfiber cloth to absorb any remaining moisture.
When To Avoid This Recipe
If your marble floor has unsealed areas or visible cracks, skip the water-based cleaning altogether. Unsealed marble absorbs liquid, leading to stains or warping. In that case, use a specialized marble cleaner or a dry dust mop.
Always test a small, hidden spot first before cleaning the entire floor.
11. Cork Floor Cleaner with Vinegar and Essential Oils
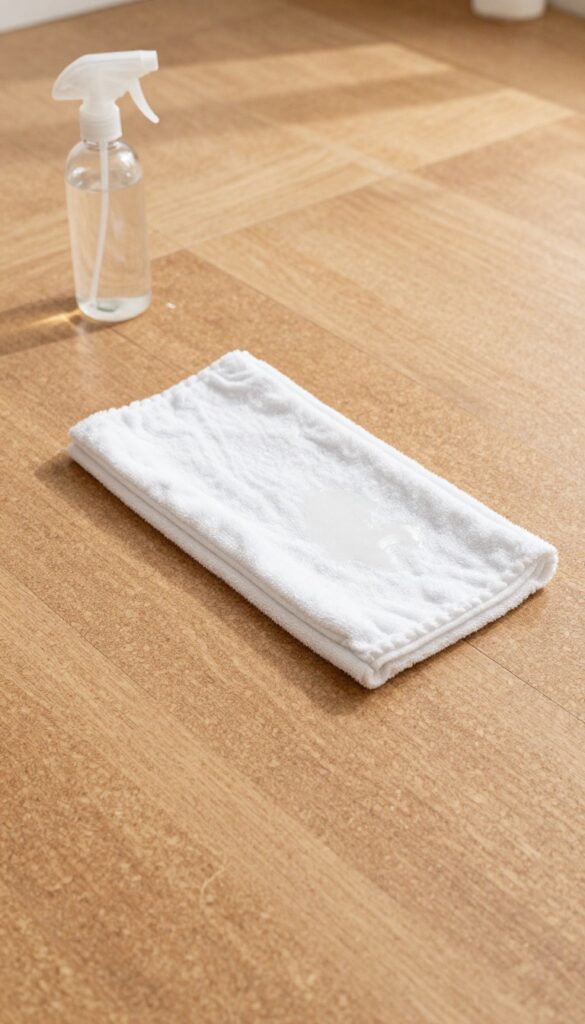
Cork floors are soft underfoot and naturally antimicrobial, but they can be damaged by harsh cleaners or too much moisture. A gentle vinegar solution with a few drops of essential oil keeps them clean and fresh without stripping the sealant. This recipe is especially good for cork because the vinegar is diluted enough to be safe, and the oils add a pleasant scent and extra antibacterial power.
Mix 1/4 cup white vinegar with 1 gallon of warm water. Add 10 drops of lemon or tea tree essential oil. Stir or shake gently.
Dampen a microfiber mop or cloth—never soak the floor—and wipe in the direction of the grain. Avoid standing water on cork; it can seep into seams and cause swelling. Let air dry completely.
Why Diluted Vinegar Works For Cork
Cork is sensitive to alkaline cleaners like ammonia or bleach, which can dull the finish. White vinegar is mildly acidic and cuts through dirt and grease without harming the sealant when used in a low concentration. The 1/4 cup per gallon ratio is key—too much vinegar can etch the finish over time.
Choosing The Right Essential Oil
Lemon oil adds a bright, clean scent and has natural degreasing properties. Tea tree oil is a powerful antimicrobial that helps prevent mold and mildew, which is useful in humid climates or bathrooms with cork floors. Avoid oils with synthetic fragrances or citrus oils that may contain phototoxic compounds if you have pets—stick to therapeutic-grade oils and use sparingly.
Application Tips For Best Results
Always test the solution on a hidden area first. Use a spray bottle for spot cleaning or a mop for full floors. Wring the mop until it's just damp—cork should never feel wet after cleaning.
Rinse with plain water if you notice residue. For stubborn spots, let the solution sit for a minute before wiping.
12. Ceramic Tile Floor Cleaner with Borax and Vinegar
Ceramic tile is durable, but grout lines and soap scum can make it look dull fast. This borax and vinegar combo cuts through buildup without damaging the glaze. It's a simple two-ingredient solution that leaves tiles shiny and residue-free.
Mix 1/2 cup borax with 1 gallon of hot water until dissolved, then stir in 1/4 cup white vinegar. Mop the floor as usual, no rinsing needed. The borax lifts stuck-on grime while the vinegar breaks down hard water stains and soap scum.
For tough spots, let the solution sit for a few minutes before scrubbing with a soft brush.
Why This Works
Borax is a natural mineral that acts as a mild abrasive and deodorizer, making it ideal for scrubbing without scratching. Vinegar's acidity dissolves mineral deposits and soap residue. Together, they tackle the two biggest enemies of ceramic tile: hard water stains and grimy buildup.
Best Practices For Ceramic Tile
Use a microfiber mop to avoid streaks and apply the solution in sections. Don't oversaturate the floor—excess moisture can seep into grout and cause mildew. For extra shine, follow with a dry mop.
Avoid using this mix on unsealed or natural stone tiles, as vinegar can etch them.
When To Use This Recipe
This cleaner is perfect for weekly or biweekly deep cleans, especially in bathrooms and kitchens where soap scum builds up. It's also great for refreshing high-traffic entryways. If your tiles have a waxy coating, test in an inconspicuous area first to ensure the vinegar doesn't dull the finish.
13. Engineered Wood Floor Cleaner with Vinegar and Water
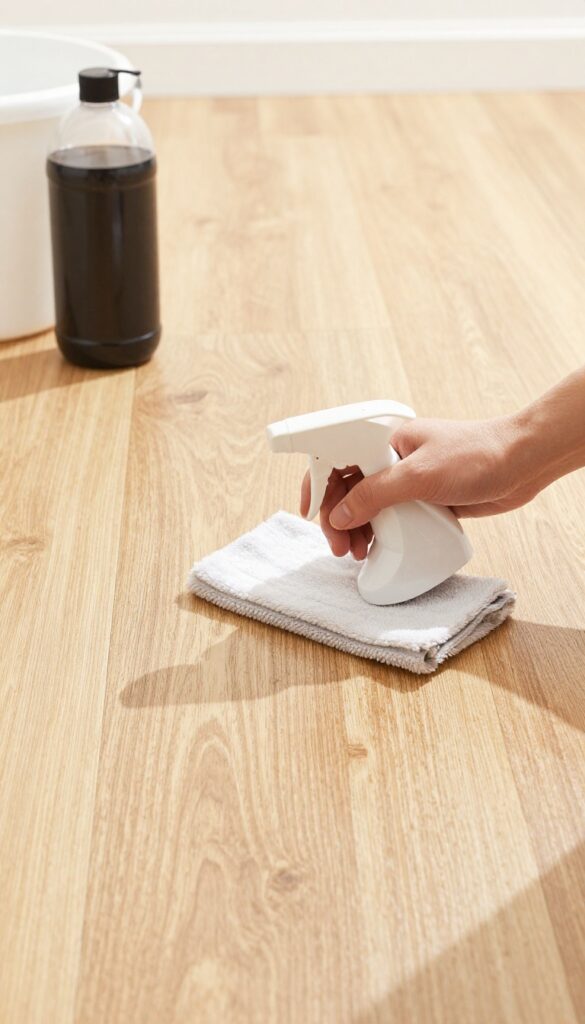
Engineered wood is a popular choice for its durability and moisture resistance compared to solid hardwood. But it still needs gentle care to avoid warping or dulling the finish. This simple vinegar and water solution lifts dirt without leaving residue, and it costs pennies per use.
Mix 1/4 cup white vinegar with 1 gallon of warm water. Use a spray bottle or bucket, but never soak the floor. Apply with a damp (not wet) mop, working in small sections.
Dry immediately with a microfiber cloth or dry mop to prevent moisture from seeping into seams.
Why This Ratio Works
The 1: 64 ratio of vinegar to water is acidic enough to cut grease and grime but mild enough to avoid damaging the protective urethane or aluminum oxide coating on engineered wood. Too much vinegar can dull the finish over time, so stick to this dilution.
Best Tools For The Job
Use a flat microfiber mop that you can control the moisture level on. Avoid string mops or sponge mops that hold too much water. A spray mop with a refillable reservoir works great—just fill it with your vinegar solution and mist as you go.
Drying Is Non-negotiable
Even though engineered wood tolerates moisture better than solid hardwood, standing water can still cause swelling or delamination. Always follow up with a dry microfiber cloth or use a mop with a built-in squeegee to wick away excess liquid.
14. Porcelain Tile Floor Cleaner with Hydrogen Peroxide
Porcelain tile is tough and beautiful, but it can still look dingy when dirt and grime build up. Many commercial cleaners leave a residue or smell like a science lab. Hydrogen peroxide offers a gentler, more natural alternative that still packs a punch.
This simple recipe uses hydrogen peroxide to disinfect and brighten porcelain tiles without harsh fumes. It's safe for colored grout too, so you won't have to worry about bleaching or discoloration. Just mix, mop, and enjoy a streak-free shine.
Why Hydrogen Peroxide Works
Hydrogen peroxide is a natural bleaching agent and disinfectant. It breaks down into water and oxygen, leaving no toxic residue. On porcelain, it lifts stains and kills bacteria without damaging the glaze or grout.
How To Mix And Apply
Combine 1/2 cup of 3% hydrogen peroxide with 1 gallon of warm water. Mop as usual, but avoid soaking the floor. Let it air dry for best results.
For tough spots, apply the solution directly and let it sit for a few minutes before wiping.
Tips For Best Results
Test on a hidden area first, especially if your grout is dark or colored. Use a microfiber mop to avoid streaks. Rinse with plain water if you notice any residue.
This solution is safe for daily or weekly cleaning.
15. Natural Stone Floor Polish with Cornstarch and Water
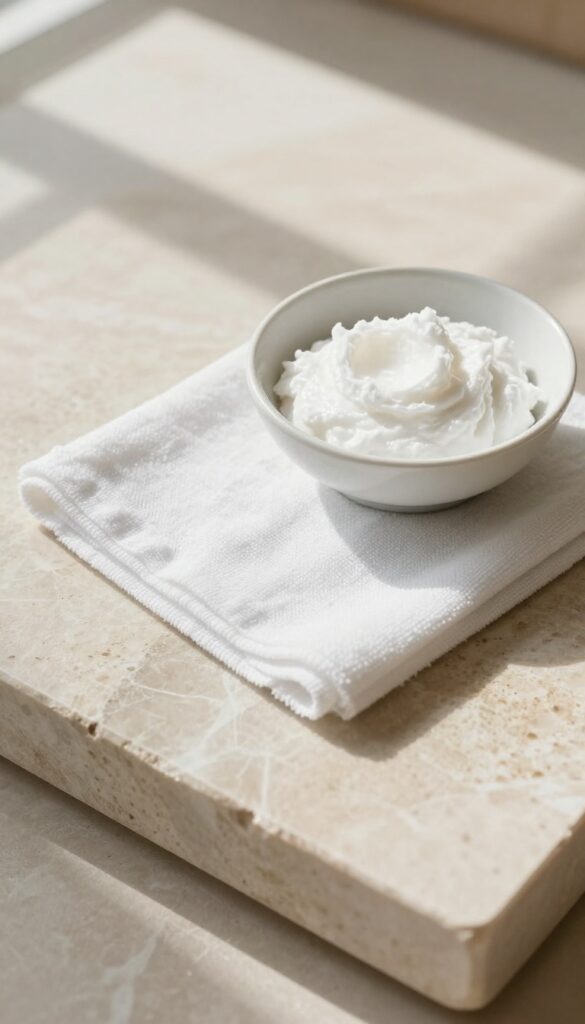
Natural stone floors like marble, granite, and travertine add a touch of luxury to your home, but they can be tricky to maintain. Harsh chemicals or acidic cleaners can etch the surface, leaving permanent damage. That's where a gentle, homemade polish comes in handy.
This simple cornstarch and water paste gives stone floors a soft, natural shine without any harsh ingredients. It's safe for sealed stone and works as a quick pick-me-up between deeper cleanings. Plus, you probably already have both items in your pantry.
To make the polish, mix 2 tablespoons of cornstarch with enough water to create a smooth, spreadable paste—think toothpaste consistency. Apply a thin layer to a small section of the floor using a soft cloth or sponge. Let it dry completely, which usually takes about 10 to 15 minutes.
Once dry, buff the area with a clean, dry microfiber cloth until the residue disappears and a subtle shine emerges. This method works best on sealed natural stone. If your stone is unsealed or has a honed finish, test a small inconspicuous spot first.
The polish can leave a slight film on porous surfaces. For best results, use this treatment once a month or as needed when the floor starts looking dull.
Why Cornstarch Works On Stone
Cornstarch is a mild abrasive that gently polishes without scratching. When mixed with water, it forms a paste that fills microscopic pores and evens out the surface, creating a soft luster. Unlike vinegar or lemon juice, cornstarch is pH-neutral, so it won't etch or dull natural stone.
Application Tips For Best Results
Work in small sections to keep the paste from drying too quickly. Use a circular motion when applying and buffing. For larger areas, a low-speed floor buffer with a soft pad can save time.
Always use a clean, dry cloth for buffing—any moisture left behind can attract dirt.
16. Quick Daily Cleaner for All Floors with Vinegar and Water
Sometimes you need a cleaner that works on any floor without a second thought. This vinegar and water mix is that solution. It cuts through everyday dirt and leaves no residue, making it perfect for quick touch-ups between deep cleans.
Mix 1/2 cup white vinegar with 1 gallon water for a daily spritz-and-mop solution. Works on most sealed floors. Add a few drops of essential oil for a pleasant scent.
Why Vinegar Works
White vinegar is mildly acidic, which helps break down dirt, grime, and mild soap scum without harsh chemicals. It's also a natural deodorizer, so your floors smell fresh without artificial fragrances.
How To Use It
For a quick daily clean, fill a spray bottle with the solution and mist a small section of the floor. Then mop with a damp microfiber mop or cloth. Avoid soaking the floor—too much moisture can damage some surfaces.
Floors To Avoid
Do not use vinegar on unsealed hardwood, natural stone like marble or granite, or waxed floors. The acid can etch stone and strip sealants. Stick to sealed tile, vinyl, laminate, and engineered wood.
17. Heavy-Duty Floor Stripper with Baking Soda and Vinegar
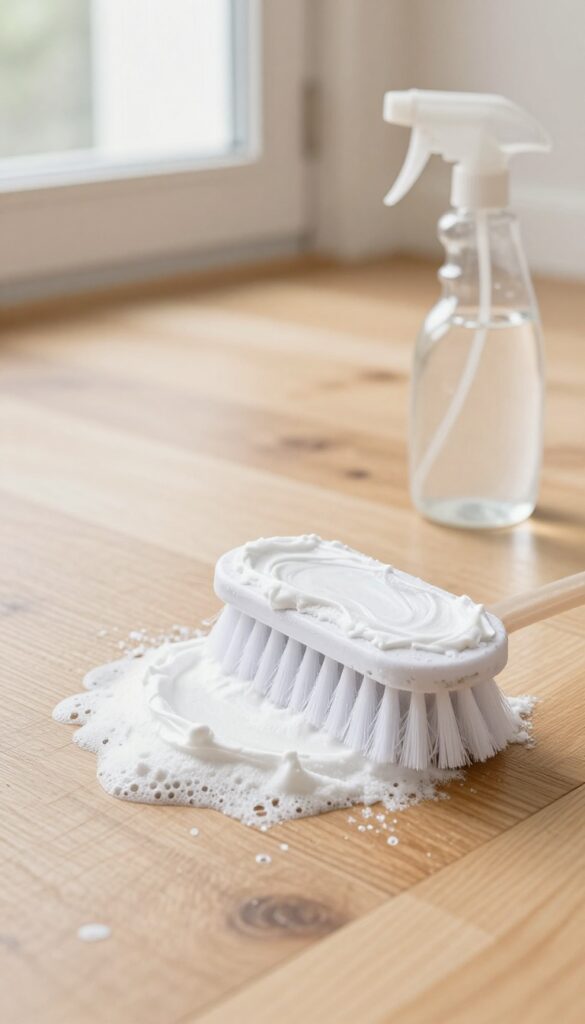
Sometimes your floors need a reset. Wax buildup, old polish, or layers of product residue can make even clean floors look cloudy or sticky. Before you reach for harsh chemical strippers, try this gentle but effective homemade version that uses the classic fizzy duo: baking soda and vinegar.
It works on sealed hardwood, tile, vinyl, and linoleum—but use it sparingly, as too much moisture can damage certain surfaces.
This stripping method relies on the chemical reaction between baking soda (a mild alkali) and vinegar (an acid) to break down waxy residues and loosened grime. The fizzing action helps lift buildup so you can scrub it away without heavy scrubbing. Because it's abrasive-free and non-toxic, it's safer for your floors and your lungs than commercial strippers.
Just remember: this is a periodic deep-cleaning treatment, not a weekly routine. Overuse can dull finishes or leave a residue if not rinsed thoroughly.
How To Make And Apply The Stripper
First, sweep or vacuum the floor to remove loose dirt. Sprinkle a generous, even layer of baking soda over the affected area. Fill a spray bottle with a 50/50 mix of white vinegar and warm water, then spritz the baking soda until it's damp and starts fizzing.
Let the mixture sit for 5 minutes—long enough to break down buildup but not so long that it dries out. Use a soft-bristle scrub brush or a microfiber mop to work the paste into the floor, focusing on high-traffic spots or areas with visible residue. Rinse thoroughly with clean water using a damp mop, then dry with a towel or let air dry.
Tips For Best Results
Test on an inconspicuous area first, especially on sealed wood or natural stone, to ensure the mixture doesn't dull the finish. Work in small sections so the paste doesn't dry before you scrub. For stubborn buildup, let the fizz sit a few extra minutes or apply a second round.
Always rinse extremely well—leftover residue can attract dirt. After stripping, you may want to apply a fresh coat of wax or sealant to restore protection. Avoid using this method on unsealed wood, laminate, or porous stone, as moisture can cause swelling or staining.
When To Use This Recipe
Use this heavy-duty stripper when your floors look cloudy, feel sticky, or won't come clean with regular mopping. It's ideal for removing old wax buildup on vinyl or linoleum, cutting through greasy residue in kitchens, or prepping floors for a new sealant layer. Don't use it more than once every few months—over-stripping can wear down finishes.
For everyday cleaning, stick to milder recipes like a simple vinegar-water solution or a pH-neutral soap.
FAQ
Can I use vinegar on all floor types?
No, avoid vinegar on unsealed stone, marble, or waxed floors. It can etch or dull the surface. Always test in an inconspicuous area first.
How often should I mop with these recipes?
For most floors, once a week is sufficient. High-traffic areas may need more frequent cleaning. Avoid over-wetting to prevent damage.
Are these recipes safe for pets and kids?
Yes, the ingredients are non-toxic when used as directed. However, keep pets away until floors are dry to avoid slipping or ingesting residue.
Can I add essential oils to any recipe?
Yes, a few drops of essential oils like lemon, lavender, or tea tree can add scent and antibacterial properties. Ensure they are pure and not mixed with carrier oils.
What's the best way to dry floors after mopping?
Use a dry microfiber mop or a clean towel to buff floors dry. This prevents streaks and water spots, especially on hardwood and laminate.
Conclusion
You don't need a closet full of commercial cleaners to get sparkling floors. These 17 recipes prove that simple pantry staples can tackle everything from sticky spills to dull film. Pick the one that matches your biggest floor frustration and give it a try.
A little homemade shine goes a long way toward making your whole home feel cleaner and fresher. Start with one recipe this weekend and see the difference.


