
Mopping doesn't have to be a tedious chore that leaves your floors feeling sticky or streaky. With a few clever tweaks, you can cut your cleaning time in half and get noticeably better results.
From smarter tools to simple additives, these 20 hacks are designed to make mopping faster, easier, and more effective.
Whether you're battling pet hair, stubborn grime, or dull finishes, each tip targets a specific problem so you can spend less time scrubbing and more time enjoying your clean home.
1. Use a Squeegee to Remove Pet Hair Before Mopping
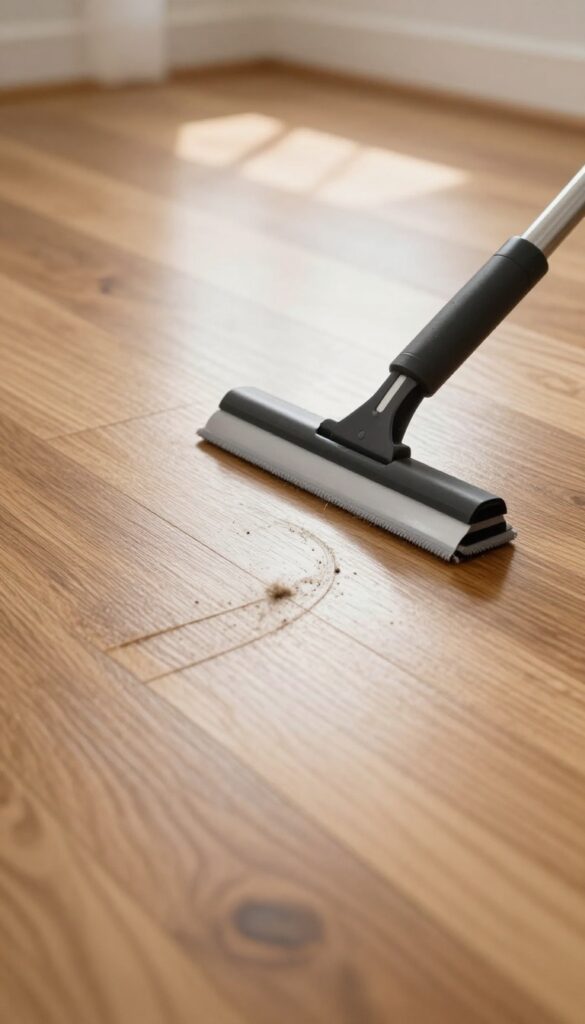
Pet hair and mopping don't mix. If you mop over fur, you just push wet clumps around, leaving streaks and tangles behind. A rubber squeegee changes that completely.
Before you even fill the mop bucket, grab a squeegee and run it across your dry floors. The rubber edge creates static that pulls pet hair and dust into neat piles you can sweep or vacuum in seconds. It works far better than a broom on tile and hardwood, where bristles often miss fine hairs.
This one step saves you from rinsing your mop constantly and keeps the water clean longer.
Why A Squeegee Beats A Broom
Brooms flick hair around, especially on smooth surfaces. A squeegee's flat rubber blade traps hair against the floor and lifts it without scattering. You get bigger piles in fewer passes, which means less bending and sweeping.
Best Technique For Maximum Hair Grab
Use a wide, 18-inch squeegee and pull it in long, straight strokes. Overlap each pass slightly to catch stray hairs. Work from the corners toward the center, then sweep or vacuum the piles.
For extra grip, lightly mist the floor with water before squeegeeing.
When To Squeegee Vs. Vacuum First
If you have heavy shedding, squeegee first to gather the bulk, then vacuum the piles. This combo removes more hair than either method alone and keeps your vacuum brush roll cleaner. On low-pile rugs, a squeegee also works well to lift embedded hair.
2. Add a Splash of Vinegar to Your Mop Water
White vinegar is a powerhouse cleaner that cuts through grease and leaves floors streak-free. It's cheap, natural, and works wonders on most hard surfaces. Just add half a cup of distilled white vinegar to a gallon of warm water, and you're ready to mop.
The smell fades quickly, and your floors will shine without any chemical residue.
Why Vinegar Works So Well
Vinegar is acidic, which helps dissolve dirt, grime, and soap scum that plain water leaves behind. It also kills some bacteria and neutralizes odors. Unlike many commercial cleaners, it won't leave a sticky film that attracts more dirt.
Best Floors For Vinegar Mopping
Vinegar is safe for tile, linoleum, laminate, and sealed hardwood. Avoid it on unsealed wood, marble, or stone—the acid can damage those surfaces. Test a small hidden spot first if you're unsure about your floor's finish.
Pro Tips For Best Results
Use warm water to help the vinegar mix evenly. Mop in a figure-eight pattern to avoid streaks. Change the water when it gets dirty.
For extra shine, add a few drops of essential oil like lemon or tea tree to mask the vinegar scent.
3. Mop in a Figure-Eight Pattern
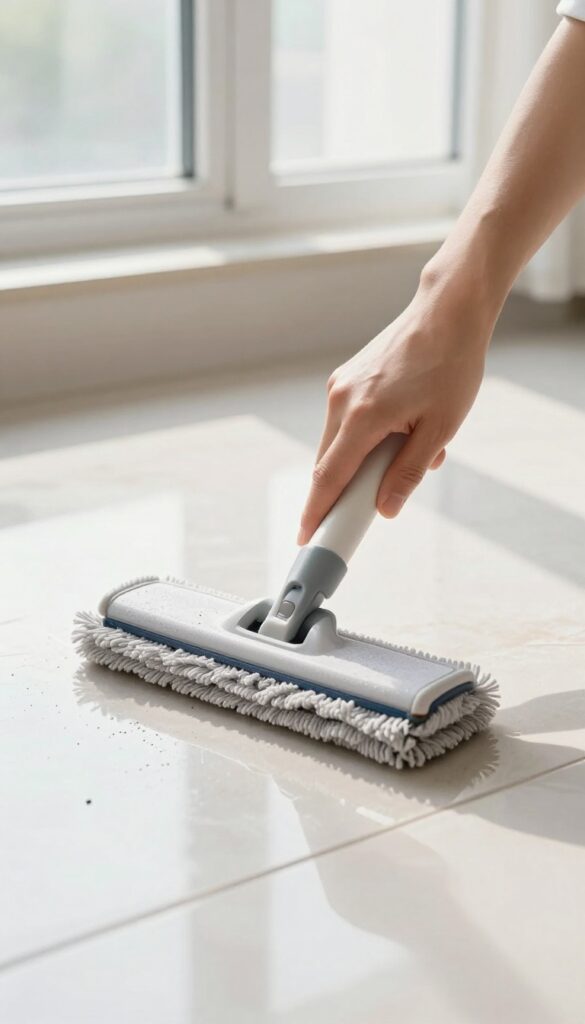
The way you move the mop matters more than you think. Most people push the mop back and forth, which just spreads dirty water across the floor. A simple switch to a figure-eight pattern traps grime and keeps your cleaning water cleaner longer.
Switching to a figure-eight motion changes how dirt moves on the floor. Instead of pushing soiled water into clean areas, the looping motion lifts and holds debris in the mop head. This means less re-mopping and a noticeably cleaner finish.
It works especially well on large, open floors where a straight line tends to leave streaks.
Why It Works
The figure-eight creates a continuous scrubbing action that agitates dirt without spreading it. The overlapping loops ensure you don't miss spots, while the directional change prevents water from pooling in one area. This technique is a favorite among professional cleaners for a reason.
How To Do It Right
Start at the farthest corner of the room and work your way toward the exit. Make wide, smooth figure eights, overlapping each loop by about a third. Rinse or flip your mop head frequently to avoid redepositing dirt.
For best results, use a flat mop with a microfiber pad.
When To Use This Hack
This method shines on hard floors like tile, vinyl, and sealed hardwood. Avoid it on delicate surfaces like unsealed wood or laminate that could be damaged by excess moisture. It's also ideal for high-traffic areas where grime builds up quickly.
4. Use a Microfiber Mop Head for Better Absorption
Your mop head makes a bigger difference than you might realize. Cotton mop heads are classic, but they tend to push dirty water around instead of trapping it. Microfiber, on the other hand, is engineered to grab dust and grime while holding several times its weight in water.
That means fewer trips to the bucket and faster drying floors.
Swapping to a microfiber mop head is one of the simplest upgrades you can make. It picks up fine particles that cotton leaves behind, and it releases water more evenly so you don't end up with puddles. Plus, microfiber dries quickly, which helps prevent mold and mildew from building up on the mop itself.
Why Microfiber Works Better
Microfiber strands are split into tiny wedge-shaped fibers that create a static charge. This charge attracts dust and dirt like a magnet, pulling particles into the cloth rather than just pushing them around. The fibers also have a large surface area, so they can absorb up to eight times their weight in water.
That means you can mop a larger area before needing to rinse, saving time and effort.
How To Choose The Right Microfiber Mop Head
Not all microfiber mop heads are the same. Look for one with a high GSM (grams per square meter) — around 300 to 500 GSM is ideal for mopping. A higher GSM means denser fibers that hold more water and dirt.
Also consider the weave: looped ends are gentle on floors, while cut ends are more abrasive and better for deep cleaning. For everyday mopping, a looped microfiber head is a safe bet.
Care Tips To Extend Lifespan
Microfiber needs a little TLC to stay effective. Wash mop heads separately from cotton items to avoid lint transfer. Use a mild detergent — no fabric softener, bleach, or dryer sheets, as these coat the fibers and ruin their static charge.
Air dry or tumble dry on low heat. With proper care, a quality microfiber mop head can last for dozens of washes.
5. Pre-Treat Stubborn Spots with Dish Soap
Not all grime comes off with a single mop pass. Sticky spots from spilled soda, dried-on food, or scuff marks from shoes often need a little extra help before you start mopping. That's where dish soap comes in—it's designed to break down grease and stuck-on residue, making it perfect for pre-treating trouble areas.
Instead of scrubbing furiously or using harsh chemicals, just apply a drop of dish soap directly to each spot. Let it sit for about a minute to loosen the grime, then mop as usual. The soap lifts the dirt so your mop can pick it up easily, leaving your floors clean without extra elbow grease.
Pre-treating with dish soap is a simple step that saves time and prevents you from having to re-mop the same area. It works especially well on kitchen floors where sticky spills are common, and on entryway floors where scuff marks accumulate. The key is to use a small amount—just a drop per spot—so you don't create a soapy residue that's hard to rinse.
For best results, use a grease-cutting dish soap like Dawn or a similar brand. Apply it directly to the spot, let it sit for 60 seconds, then proceed with your regular mopping routine. You'll notice that the mop glides over those areas without resistance, and the floor dries streak-free.
Why Dish Soap Works So Well
Dish soap contains surfactants that break the surface tension of water and help dissolve oils and sticky residues. When you apply it directly to a spot, it penetrates the grime and loosens its grip on the floor. This chemical action is much gentler than scrubbing with a brush, which can damage certain floor finishes.
Additionally, dish soap is mild enough for most floor types, including tile, vinyl, laminate, and sealed hardwood. Just avoid using it on unsealed wood or natural stone, where moisture and soap can cause damage.
How To Apply It Without Making A Mess
You don't need to douse the spot. Simply squeeze a single drop from the bottle onto the stain. If the spot is large, use two or three drops spaced out.
Let the soap sit for about a minute—longer for really stubborn spots, but not more than two minutes to avoid drying. Then, mop the entire floor as you normally would. The soap will be diluted and picked up by the mop, so there's no need to rinse separately.
If you're using a spray mop, you can spray the spot first, then apply the soap drop and mop as usual.
When To Use This Hack
This trick is perfect for sticky spills like juice, soda, or syrup that have dried and formed a tacky layer. It also works great on scuff marks from shoes, especially on vinyl or laminate floors. For greasy spots near the stove or food prep areas, dish soap is a natural choice.
Avoid using it on waxed floors or floors with a delicate finish, as the soap may strip the wax. Always test a small, inconspicuous area first if you're unsure about your floor's finish.
6. Dry Your Mop Between Swipes
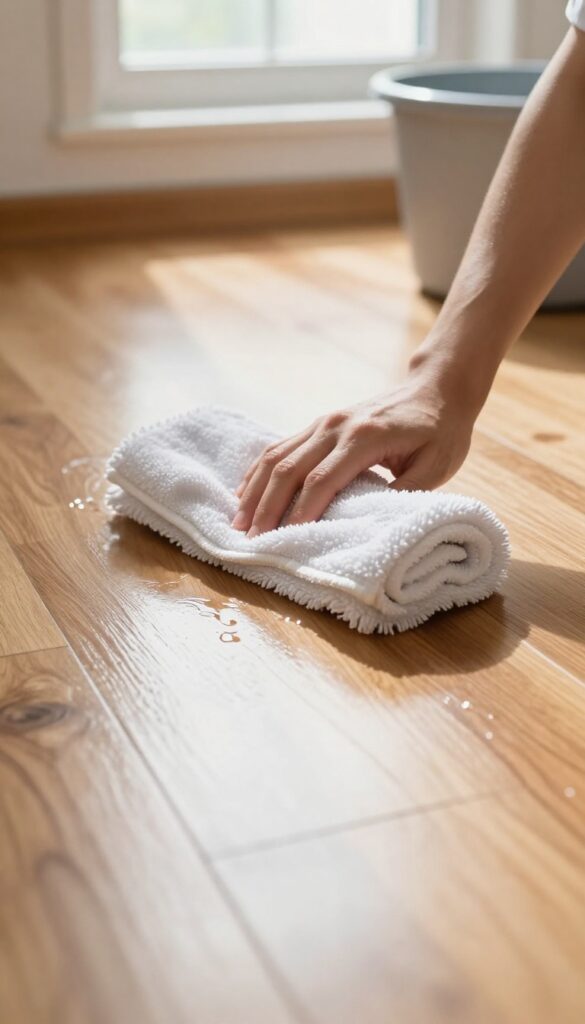
Most people mop with a sopping wet mop, thinking more water means better cleaning. In reality, that extra water just spreads dirty puddles around and leaves behind a sticky film once it dries. The secret to faster, cleaner mopping is keeping your mop damp, not dripping.
Wringing out your mop thoroughly between each swipe might feel like a hassle, but it actually saves time. A damp mop picks up dirt without pushing it into corners or leaving excess moisture that attracts new dust. You'll also avoid the frustration of waiting for floors to dry, which means you can walk on them sooner.
Why Damp Beats Soaking Wet
When your mop is too wet, water seeps into grout lines, wood seams, and under baseboards, causing damage over time. A damp mop lifts grime effectively without saturating surfaces. Plus, it reduces the number of times you need to rinse and wring, speeding up the whole process.
The Right Wringing Technique
Use a mop with a built-in wringer or a bucket with a wringer basket. Wring until no water drips when you lift the mop. For microfiber mops, twist firmly or press against the side of the bucket.
If you see water pooling behind the mop, it's too wet.
Keep A Dry Mop Head Handy
Swap out the mop head when it gets too dirty or worn. A fresh, dry head absorbs better and won't redeposit grime. For large areas, have two mop heads ready so you can switch mid-job without stopping to wash.
7. Add Rubbing Alcohol for a Streak-Free Shine
Streaks on tile or laminate can make a clean floor look dirty. The culprit is often slow evaporation, which leaves residue behind. Rubbing alcohol fixes that by drying almost instantly, so there's no time for streaks to form.
Mix one cup of rubbing alcohol with a gallon of hot water and a few drops of dish soap. The alcohol lowers the water's surface tension, helping it spread evenly and evaporate fast. This simple addition works wonders on glossy floors, leaving them sparkling without any sticky film.
Why It Works
Rubbing alcohol evaporates much faster than water, so moisture doesn't linger long enough to leave mineral deposits or soap scum. It also cuts through grease and grime effectively, making it a dual-purpose cleaner.
Best Floor Types
This hack is ideal for sealed tile, laminate, and vinyl floors. Avoid using it on unsealed hardwood or natural stone, as alcohol can damage the finish over time. Always test a small area first.
Pro Tips For Best Results
Use a microfiber mop for even application and wring it out well. Mop in sections, rinsing the mop head frequently. For extra shine, add a tablespoon of vinegar to the mix.
8. Use a Spray Mop for Quick Touch-Ups
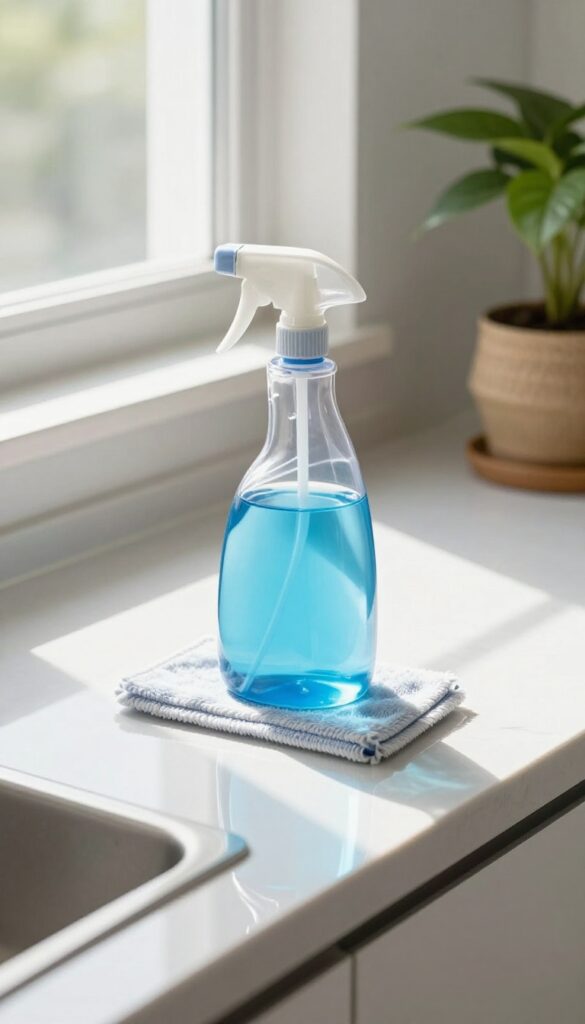
A spray mop is a game-changer for keeping floors clean between deep mopping sessions. Instead of dragging out the bucket and mop for every little spill or smudge, you can grab your spray mop and handle it in seconds. It's perfect for high-traffic areas like the kitchen or entryway where grime builds up fast.
Spray mops let you target specific spots without soaking the whole floor. They're lightweight, easy to store, and ready to go whenever you need them. By using one regularly, you'll prevent dirt from settling in and reduce the need for full mopping sessions.
Choose The Right Cleaner
Fill the reservoir with a cleaner that's safe for your floor type. For tile or vinyl, a mix of water and a few drops of dish soap works well. For hardwood, use a pH-neutral cleaner to avoid damage.
Avoid overfilling—too much solution can leave residue.
Keep It Handy
Store your spray mop in a closet near the kitchen or entryway so it's easy to grab. When you see a spill or a muddy footprint, you can clean it up immediately. This habit stops grime from building up and makes your floors look better longer.
Use The Right Technique
Lightly mist the floor in front of the mop, then glide it back and forth. Don't overspray—you want a damp mop, not a wet one. For stubborn spots, let the cleaner sit for a few seconds before wiping.
Rinse the mop pad after each use to keep it effective.
9. Mop in Small Sections to Avoid Re-Tracking Dirt
It’s easy to think you’re cleaning the whole floor when you push a mop across the entire room in one go. But that approach often just spreads dirty water around, leaving a thin film of grime behind. The trick is to work in small, manageable sections so you’re always using clean water on the floor.
Divide your room into 3×3-foot squares—about the size of a small rug. Mop one section thoroughly, then rinse or swap your mop head before moving to the next. This prevents the dirty water from being dragged into clean areas and ensures each patch gets a fresh start.
It might take a little more time, but the results are worth it: no streaks, no residue, and a genuinely clean floor.
Why It Works
When you mop a large area without rinsing, the mop head becomes a vehicle for spreading dirt. By limiting each pass to a small zone, you keep the water in the bucket relatively clean and avoid redepositing grime. This is especially important in kitchens and entryways where dirt is concentrated.
How To Mark Your Sections
You don’t need tape or chalk—just use visual cues like floor tiles, furniture legs, or even an imaginary grid. Start in the farthest corner and work toward the exit so you don’t step on wet, clean sections. If your room is large, mentally split it into quadrants and tackle one at a time.
Pro Tip For Speed
Use two buckets: one with clean soapy water and one with plain rinse water. Dip, mop a section, then rinse the mop in the second bucket before reloading with soap. This keeps the cleaning solution effective and prevents cross-contamination.
10. Use a Fan to Speed Up Drying
Waiting for a mopped floor to dry can feel like watching paint dry. But while you wait, dust and dirt have time to settle back onto the damp surface, leaving you with a less-than-perfect result. A simple fan pointed at the wet floor changes everything.
By circulating air across the floor, a fan dramatically reduces drying time. This means less opportunity for dust to land and stick, and fewer water spots from slow evaporation. It's a low-effort hack that makes a big difference in the final look of your floors.
Positioning For Best Airflow
Place a box fan or pedestal fan at one end of the room, angled slightly downward so the air sweeps across the floor. For larger rooms, use two fans on opposite sides to create cross-ventilation. This speeds up drying even more and helps prevent streaks.
Boost With Dehumidifier
If you have a dehumidifier, run it alongside the fan. Lower humidity means faster evaporation. This combo is especially useful in humid climates or during rainy seasons when floors naturally take longer to dry.
When Not To Use A Fan
Avoid using a fan on freshly mopped hardwood or laminate floors if the mop was very wet. Too much airflow can cause water to pool in low spots or seep into seams. Wring your mop well first, then let the fan do its job.
11. Add a Few Drops of Essential Oil for a Fresh Scent
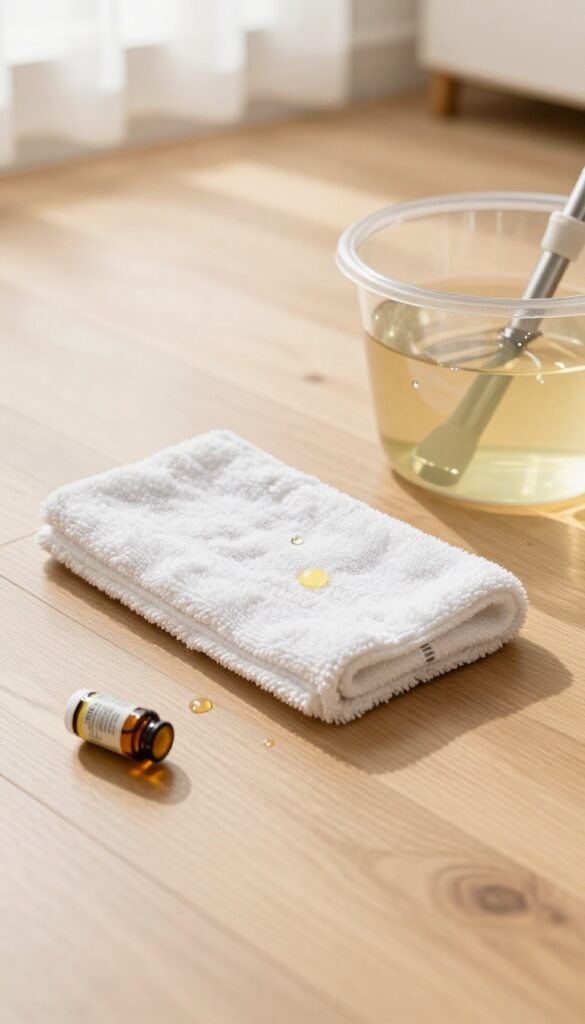
If you want your home to smell amazing while you clean, essential oils are a simple upgrade. Lemon and tea tree oil not only leave a pleasant fragrance but also bring natural antibacterial properties to your mop water. Just a few drops can transform a routine chore into a mini aromatherapy session.
Adding essential oils to your mopping routine is effortless and effective. They help cut through grime while leaving behind a clean, lasting scent. Plus, you can customize the fragrance to match your mood or season.
Best Oils For Mopping
Lemon oil is a top choice for its fresh, citrusy scent and grease-cutting ability. Tea tree oil is excellent for its antimicrobial properties, making it ideal for kitchens and bathrooms. Other options include lavender for relaxation or eucalyptus for a crisp, clean aroma.
How To Use Essential Oils
Simply add 5–10 drops of your chosen oil to a bucket of warm mop water. Stir well before dipping your mop. For spray mops, mix a few drops with water in the reservoir.
Always test on a small area first to ensure the oil doesn't affect your floor's finish.
Safety Tips
Avoid using oils on unsealed wood or delicate surfaces, as they can cause damage. Stick to floor-safe oils and never exceed the recommended amount. If you have pets, check that the oil is pet-friendly—some oils like tea tree can be toxic to cats and dogs in high concentrations.
12. Use a Steam Mop for Deep Cleaning Without Chemicals
If you want a deep clean without pouring harsh chemicals onto your floors, a steam mop is a fantastic option. These devices use only heat to sanitize and lift grime, making them ideal for homes with kids or pets. They work wonders on tile and sealed hardwood, but you need to know which surfaces can handle the moisture.
How Steam Mops Work
Steam mops heat water to around 200°F, producing steam that loosens dirt, kills bacteria, and evaporates quickly. The microfiber pad traps the grime, so you're not just pushing dirty water around. This method is chemical-free, which is great for households that want to reduce exposure to cleaning agents.
Best Surfaces For Steam Mopping
Tile, vinyl, laminate (if sealed), and sealed hardwood floors are perfect for steam mops. The heat and moisture won't damage these surfaces as long as the seal is intact. Avoid using steam on unsealed wood, bamboo, or laminate that isn't waterproof—moisture can seep in and cause warping or discoloration.
Tips For Best Results
Always vacuum or sweep first to remove loose debris. Let the steam mop do the work—no need to press hard. Move slowly over stubborn spots.
Empty the water tank after each use and wash the pad regularly to prevent odor buildup. For extra freshness, add a few drops of essential oil to the water (check your mop's manual first).
13. Sweep or Vacuum Before Mopping Every Time
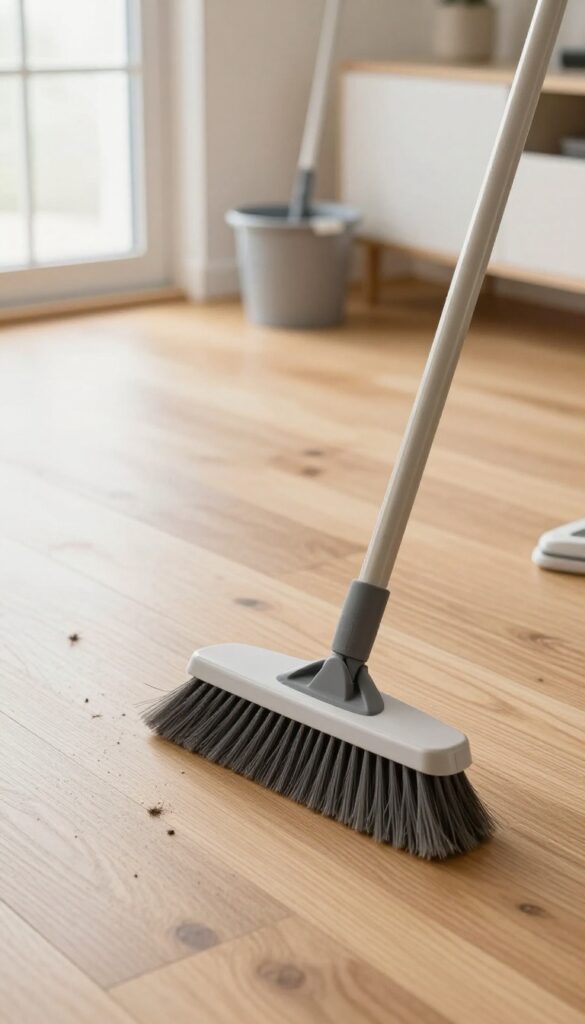
You might be tempted to skip the pre-mop sweep, especially if the floor looks clean. But that quick pass with a broom or vacuum is one of the most effective ways to speed up your mopping and avoid spreading grime. Loose dirt, hair, and crumbs turn into a muddy paste when they meet water, forcing you to rinse your mop more often and leaving a dull film behind.
A dry pickup first means your mop glides through cleaner water and finishes faster.
Sweeping or vacuuming before mopping isn't just a suggestion—it's the foundation of efficient floor cleaning. When you mop over loose debris, you're essentially pushing dirt around and creating a gritty slurry that scratches surfaces and clouds your rinse water. This simple step cuts your mopping time by keeping your water cleaner longer, so you can cover more area before needing a fresh bucket.
It also prevents microscopic scratches on hardwood, laminate, and tile that dull the finish over time. Make it a non-negotiable first step, and you'll notice your floors look better with less effort.
Use The Right Tool For The Job
A standard broom works fine for tile or vinyl, but for hardwood or laminate, a soft-bristle broom or a microfiber dust mop is gentler and picks up finer particles. If you vacuum, use a hard floor setting or switch off the brush roll to avoid scattering debris. A cordless stick vacuum is ideal because it's quick to grab and maneuver, making the pre-mop sweep feel like less of a chore.
Work In A Pattern To Avoid Missing Spots
Start at the farthest corner of the room and work your way toward the door. This ensures you're not tracking dirt over already-cleaned sections. For large rooms, divide the floor into quadrants and sweep or vacuum each section completely before moving on.
This systematic approach also helps you remember to get under furniture and along baseboards.
Don't Forget The Edges And Corners
Loose dirt loves to hide along walls and in corners. Use a crevice tool on your vacuum or a small hand brush to pull debris out before you mop. Skipping this step means you'll push wet dirt into those tight spots, creating a hard-to-clean line of grime later.
A quick edge sweep prevents that and keeps your whole floor looking uniform.
14. Use a Dust Mop for Daily Maintenance
A dry dust mop is one of the simplest tools you can add to your cleaning routine. It picks up dust, hair, and debris without water, so you can quickly freshen up your floors every day. The result?
Less dirt gets ground in, and you won't need to wet mop as often.
Daily dust mopping keeps your floors looking clean and cuts down on the grime that builds up over time. It's especially effective on hard surfaces like hardwood, tile, and laminate. Just a quick pass each day removes the particles that would otherwise turn into a muddy mess when you wet mop.
Choose The Right Dust Mop
Look for a dust mop with a large, flat head and a microfiber pad. Microfiber attracts and holds dust better than cotton or synthetic blends. Some models have a swivel head for easy maneuvering under furniture.
Avoid mops with disposable pads if you want to save money and reduce waste—reusable pads work just as well and can be washed.
Make It A Quick Habit
Keep your dust mop in a convenient spot, like a closet near the kitchen or entryway. Spend two minutes each evening running it over high-traffic areas. This small habit prevents dirt from building up, so your weekly wet mopping goes faster and leaves less residue.
Pair With A Spray Mop For Sticky Spots
For days when you need a little more than dry dusting, use a spray mop with a gentle cleaner on just the sticky areas. This way, you're not doing a full wet mop, but you're still tackling spills and grime. The dust mop handles the rest, keeping your floors fresh without extra effort.
15. Add a Capful of Fabric Softener to Reduce Static
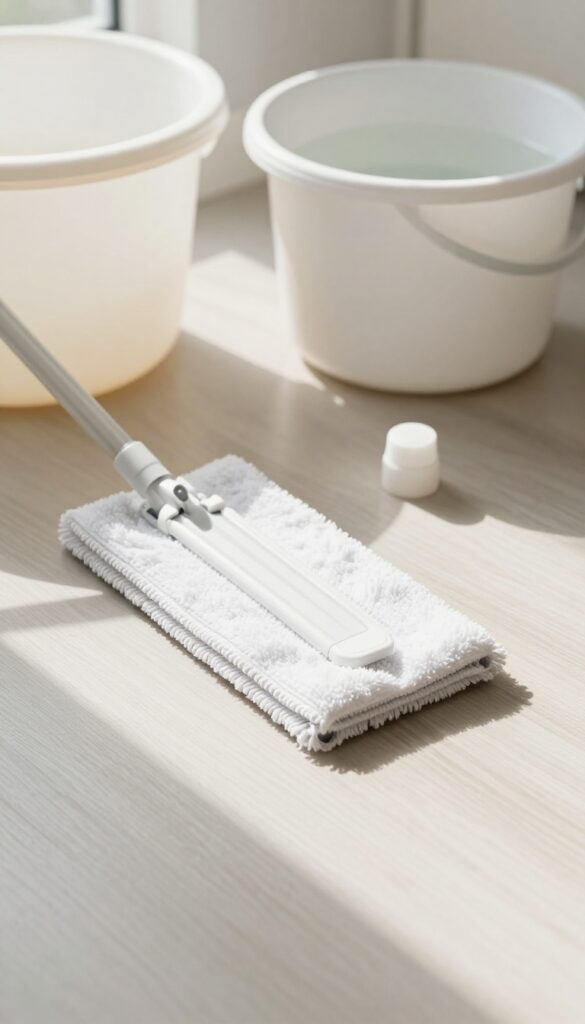
Static cling isn't just for laundry—it can make your floors a magnet for dust and pet hair. A simple capful of fabric softener in your mop water can neutralize that charge, leaving your laminate or tile floors less inviting to airborne particles. The key is using just a small amount; too much will leave a slippery film that dulls the finish.
Why It Works
Fabric softener contains antistatic agents that reduce the buildup of static electricity on flooring surfaces. Less static means less dust and hair sticking to the floor, so your mopping results last longer. It also adds a light, fresh scent to the room.
How To Use It Safely
Fill your mop bucket with warm water and add just one capful of liquid fabric softener. Swish to mix, then mop as usual. Avoid using more than that, especially on laminate or engineered wood, because excess softener can leave a residue that attracts dirt over time.
Test on an inconspicuous area first if you're unsure.
Best Floor Types For This Hack
This trick works best on laminate, vinyl, and tile floors. It's not recommended for unfinished wood or stone surfaces, as the softener can damage the seal or leave a film. Stick to hard, non-porous floors for the best results.
16. Use a Bucket with a Wringer to Control Water
A bucket with a built-in wringer gives you total control over how much water stays on your mop. That matters because the wetter the mop, the longer your floors take to dry and the more likely you'll see streaks or water spots. This simple tool makes a huge difference in speed and finish.
A wringer bucket is a game-changer for anyone who mops regularly. Instead of wringing by hand (which never gets the mop dry enough), you can press out just the right amount of water. The result?
Floors that dry in minutes instead of hours, and a cleaner look with less effort.
Why Less Water Is Better
Excess water doesn't just slow drying—it can damage certain floor types like hardwood or laminate. With a wringer, you keep moisture minimal, reducing the risk of warping or swelling. Plus, less water means fewer streaks and a more even clean.
Choosing The Right Wringer Bucket
Look for a bucket with a side-press or pump-action wringer that fits your mop head. Some models have a separate compartment for dirty water, which keeps your rinse water cleaner longer. A sturdy handle and wheels make it easier to move around, especially for larger areas.
How To Use It Effectively
Dip your mop, then pull it through the wringer slowly to control moisture. For a damp mop, press gently; for a nearly dry one, apply full pressure. Test on a small area first to see the drying time.
Adjust as needed for different floor types.
17. Mop from the Farthest Corner to the Door
It sounds simple, but the direction you mop makes a huge difference. Most people start near the door and work their way in, which means they end up walking across wet soapy floors and tracking dirt right back. That defeats the whole purpose.
Instead, start at the farthest corner of the room and mop your way toward the exit. This way you never step on a freshly cleaned spot, and you push all the dirty water and debris toward the door where you can wipe it away last.
This method is all about efficiency and avoiding recontamination. When you mop from back to front, you naturally create a path that keeps you on dry or already mopped areas. You also avoid trapping yourself in a corner with nowhere to step.
Plus, you can finish at the doorway and immediately move to the next room without backtracking. It's a small change in routine that saves time and keeps floors cleaner.
Why It Works
Mopping from the farthest point ensures that any dirt or grime you loosen gets pushed toward the exit, not spread around. You also avoid walking on wet areas that could get re-soiled by your shoes or slippers. This technique is especially effective in kitchens and bathrooms where grime tends to be concentrated near counters and sinks.
How To Execute
Before you start, make sure your bucket and mop are ready near the door. Then walk to the far corner of the room and begin mopping in overlapping strokes, moving backward toward the entrance. Rinse or change your mop water as needed, and finish by wiping the threshold area last.
If you have a large room, divide it into sections and repeat the pattern for each.
Pro Tips
Use a two-bucket system: one for clean water and one for rinsing. This keeps your mop water from getting too dirty too fast. Also, consider using a microfiber mop head, which traps dirt better and dries faster.
And don't forget to wring out the mop well—excess water just makes floors slippery and slow to dry.
18. Use a Toothbrush for Grout Lines
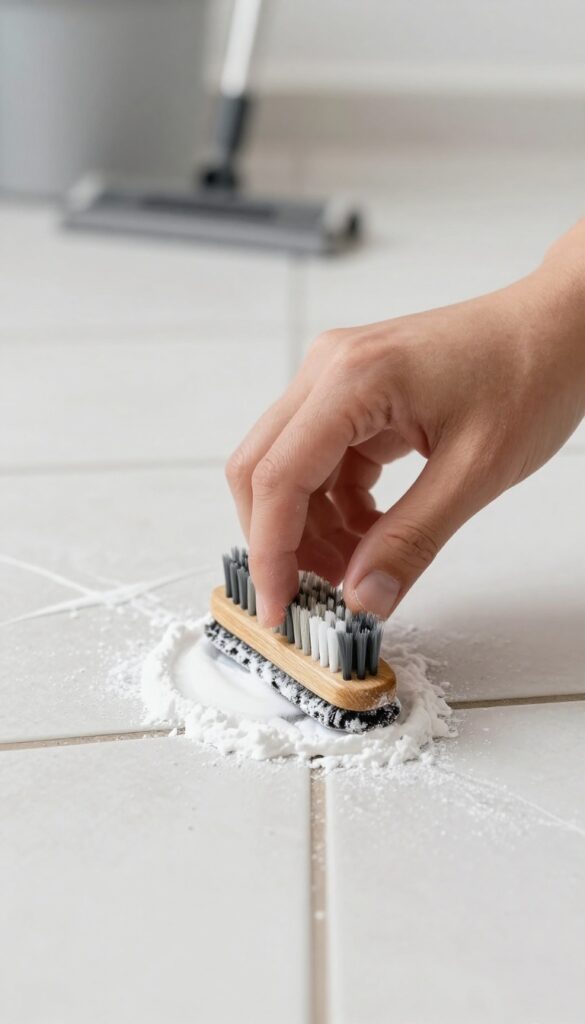
Grout lines are the sneaky spots where dirt and grime love to hide. Even after a thorough mopping, those tiny grooves can still look dingy. That’s where a simple toothbrush comes in—it’s small enough to reach into the crevices and scrub away what a mop leaves behind.
Before you start mopping, mix a thick paste of baking soda and water. Dip an old toothbrush into the paste and scrub the grout lines in small circular motions. Focus on high-traffic areas and spots near the baseboards where dirt accumulates.
Let the paste sit for a few minutes to loosen stubborn grime, then mop as usual. You’ll be amazed at how much brighter your floors look.
Why Grout Needs Special Attention
Mops glide over smooth tile but can’t dig into the porous texture of grout. Over time, dust, spills, and foot traffic embed deep into those lines. A toothbrush’s bristles are perfect for agitating the paste into every nook, breaking up grime that would otherwise stay put.
Best Practices For The Baking Soda Paste
Use a 3: 1 ratio of baking soda to water for a spreadable paste. Add a drop of dish soap for extra grease-cutting power. Apply the paste generously and let it sit for 5–10 minutes.
For tougher stains, add a splash of white vinegar—but test on a hidden spot first to avoid damaging the grout seal.
Tools That Make The Job Easier
A dedicated grout brush with angled bristles works even better than a toothbrush if you have large areas to cover. For hard-to-reach corners, a small scrub brush with a handle saves your back. Keep a spray bottle of water nearby to rinse the area as you go.
19. Rinse Your Mop Head After Each Room
You wouldn't wash your dishes in dirty water, so why mop with a grimy mop head? As you move from room to room, your mop collects dirt, grease, and bacteria that get redeposited on the floor. A quick rinse between rooms keeps your cleaning solution effective and prevents cross-contamination.
Rinsing your mop head after each room is a simple habit that dramatically improves cleaning results. Dirty mop water spreads grime instead of removing it, leaving a thin film of dirt on surfaces. By rinsing thoroughly, you ensure each room gets a fresh start with clean water and solution.
Why It Matters
A dirty mop head acts like a paintbrush spreading muddy water. As you mop, dirt accumulates in the fibers, and without rinsing, you're essentially wiping that dirt onto the next area. This is especially problematic in kitchens and bathrooms where grease and soap scum can linger.
How To Rinse Efficiently
If you have a dual-bucket system, use the wringer bucket for rinsing and the other for clean solution. For single-bucket setups, run the mop head under hot tap water until it runs clear. Squeeze out excess water before dipping back into the cleaning solution.
When To Replace The Solution
Even with rinsing, your cleaning solution gets dirty over time. If the water looks murky or smells musty, dump it and mix a fresh batch. A good rule of thumb is to change the solution after mopping three to four rooms, or sooner if you're tackling heavy grime.
20. Finish with a Dry Microfiber Cloth for a Polished Look
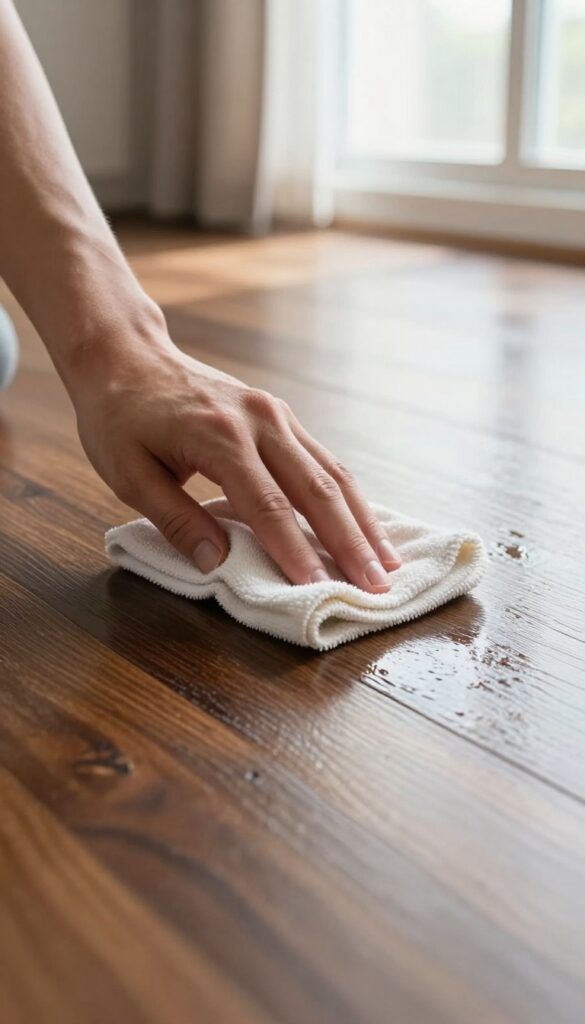
You've mopped, you've wrung, and the floor looks clean—but there's still a faint haze or water spots once it dries. That final buff with a dry microfiber cloth is the secret to a truly professional finish. It wicks away leftover moisture and lifts any residue, leaving your floors streak-free and shiny without extra chemicals.
Once you've finished mopping, grab a clean, dry microfiber cloth—preferably a large one that you can fold into a pad. Starting at the far end of the room, buff the floor in long, overlapping strokes. Work your way backward so you don't step on the polished area.
This step takes just a couple of minutes but makes a dramatic difference, especially on dark or glossy floors where streaks are most visible.
Why Microfiber Works Best
Microfiber has ultra-fine fibers that trap dust and moisture instead of pushing them around. Unlike cotton or paper towels, it won't leave lint or scratches behind. The static charge in microfiber also attracts fine particles, so you're not just drying the floor—you're picking up any last specks of dirt.
When To Buff For Best Results
Buff immediately after mopping while the floor is still slightly damp, but not soaking wet. If you wait until it's fully dry, any mineral deposits or soap residue may have already set. For large rooms, work in sections: mop one area, buff it, then move on.
This keeps the process efficient and prevents streaks from forming.
Extend The Life Of Your Cloths
After buffing, rinse the microfiber cloth with warm water and a drop of mild detergent. Let it air dry—don't use fabric softener, which clogs the fibers. A well-cared-for microfiber cloth can be used dozens of times, making this hack both effective and budget-friendly.
FAQ
How often should I mop my floors?
High-traffic areas like kitchens and entryways benefit from mopping once a week. Low-traffic rooms can go every two weeks. Spot clean as needed.
Can I use vinegar on all floor types?
Vinegar is safe for tile, laminate, and sealed hardwood. Avoid it on unsealed wood, marble, or stone, as the acid can damage the surface.
What's the best way to remove sticky residue from floors?
Apply a small amount of dish soap or rubbing alcohol to a cloth and rub the spot gently. Then mop as usual. Avoid harsh scrubbing.
How do I prevent streaks when mopping?
Use a microfiber mop, wring it well, and add a splash of vinegar or rubbing alcohol to the water. Dry the floor with a fan or cloth.
Is steam mopping safe for hardwood floors?
Steam mopping is safe for sealed hardwood but not for unsealed or waxed wood. Check your floor's finish before using steam.
Conclusion
These 20 floor cleaning hacks prove you don't need expensive products or back-breaking effort to keep your floors spotless. Pick two or three that target your biggest pain points—whether it's sticky kitchen floors or dull hardwood—and try them this week. Small adjustments, like using the right mop technique or adding a splash of vinegar, can dramatically cut down on grime and mopping time.
Start with what feels manageable, and build from there. Your floors will look better with less work.


