
Your wood floors work hard every day, but keeping them clean doesn't have to be a chore. With the right gentle techniques, you can remove dust, dirt, and spills without damaging the finish.
These 17 ideas focus on everyday care—simple habits and tools that preserve that warm, natural glow. From sweeping strategies to spill responses, each tip is designed to be easy on your floors and your schedule.
Let's keep your hardwood looking beautiful without the fuss.
1. Start with a Soft Broom or Dust Mop
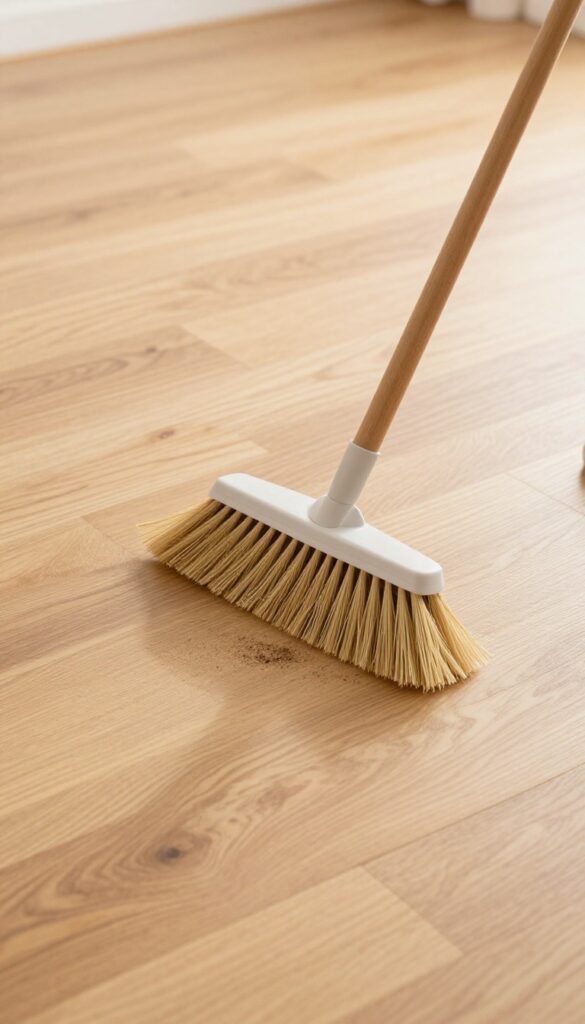
Daily dusting is the simplest way to protect your wood floors. Grit and dirt act like sandpaper, scratching the finish with every step. A soft-bristle broom or a microfiber dust mop gently lifts debris without causing damage.
Make it a habit to dust high-traffic areas each day. This prevents buildup that can dull the finish over time. For best results, use a tool with soft, fine fibers that trap dust rather than pushing it around.
Choose The Right Tool
A soft-bristle broom with natural or synthetic fibers works well for quick sweeps. Microfiber dust mops are even better because they attract and hold dust instead of scattering it. Avoid stiff bristles or rough materials that can scratch the surface.
Technique Matters
Sweep in the direction of the floorboards to avoid pushing dirt into gaps. Use gentle, long strokes and lift the broom or mop at the end to keep debris contained. Empty or clean the mop head after each use to prevent redepositing dirt.
When To Dust
A quick once-over in the morning or after heavy foot traffic keeps grit from settling. Focus on entryways, hallways, and areas near doors. Regular dusting reduces the need for wet cleaning, which is harder on the finish.
2. Vacuum with a Hardwood Floor Attachment
A broom can only do so much. Fine dust and grit settle deep into the grain of wood floors, and if left there, they act like sandpaper underfoot. That’s why vacuuming is a game-changer—it pulls up particles that sweeping leaves behind.
The trick is using the right attachment. A standard beater bar can scratch and dull the finish. Instead, switch to a hardwood floor setting or a soft brush attachment.
This simple swap keeps your floors clean without the damage.
Vacuuming at least twice a week prevents dirt from embedding into the wood. Focus on high-traffic areas and along baseboards where dust bunnies hide. For best results, use a vacuum with strong suction and a felt or bristle brush designed for hard surfaces.
Move in straight lines with the grain to avoid micro-scratches.
Choose The Right Vacuum
Not all vacuums are floor-friendly. Canister vacuums often come with a dedicated hardwood floor head that glides smoothly. Stick vacuums with a hard floor mode also work well.
Avoid models with rotating brushes unless they have an off switch—those bristles can be too aggressive.
Vacuuming Technique Matters
Go slow and steady. Rushing kicks up dust rather than capturing it. Overlap your passes slightly to ensure full coverage.
Pay special attention to corners and under furniture. If your vacuum has adjustable suction, use a lower setting to avoid sucking up area rugs or scattering debris.
Frequency And Maintenance
Vacuum high-traffic zones daily if possible, and the whole floor at least twice a week. Empty the dust bin or replace the bag regularly—a full vacuum loses suction. Also, clean the brush attachment weekly to remove hair and lint that can scratch the floor.
3. Damp Mop with a Well-Wrung Microfiber Mop
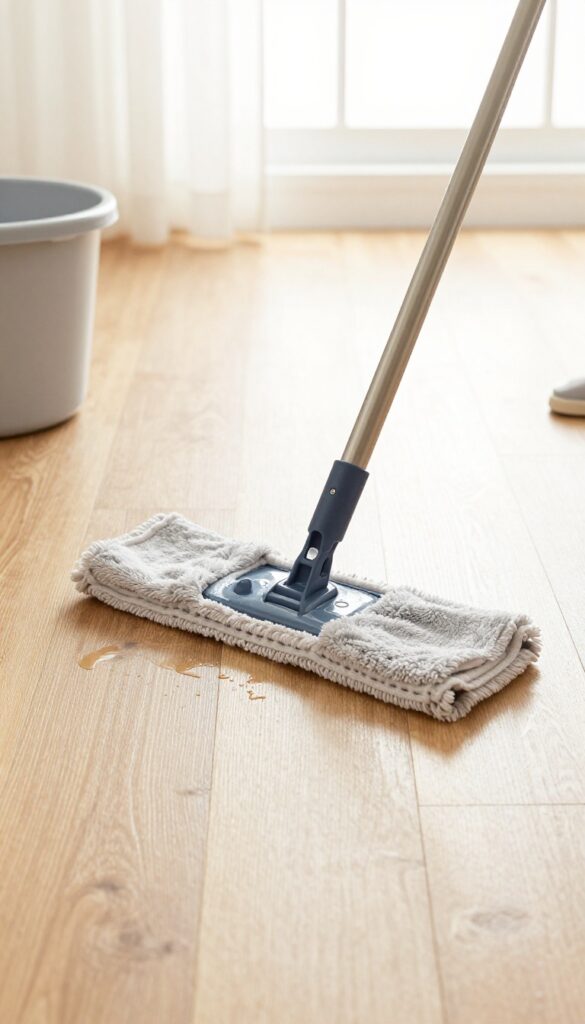
Water and hardwood floors don't mix well. Too much moisture can seep into the seams, causing the wood to swell, cup, or even warp over time. That's why a damp mop—not a wet one—is the way to go.
Microfiber is your best friend here. It picks up grime and dust without scratching the finish, and it holds just enough water to clean effectively. The trick is to wring it out thoroughly until no water drips when you squeeze.
If you can see moisture beading on the floor, you've used too much. This method is perfect for weekly cleaning or when your floors need a little more than a dry dusting. It's gentle, effective, and keeps your wood safe for years to come.
A damp microfiber mop is the ideal tool for cleaning wood floors without over-wetting them. The key is to use as little water as possible—just enough to lift dirt and leave the surface clean. Always wring the mop head until it's barely damp to the touch.
Work in small sections, and dry any puddles immediately with a clean cloth. For best results, use a pH-neutral wood floor cleaner or a few drops of dish soap in warm water. Avoid vinegar or harsh chemicals, which can dull the finish over time.
Why Microfiber Works Best
Microfiber mops are designed to trap dust and dirt in their fibers rather than pushing them around. They're also highly absorbent but release water slowly, which helps you control moisture. Unlike cotton mops, microfiber won't leave lint behind, and it dries quickly, reducing the risk of water damage.
The Right Wringing Technique
After dipping your mop in cleaning solution, wring it out firmly. You want it damp, not dripping. A good test: press the mop against the side of the bucket—if water streams out, wring more.
For flat mops with a spray mechanism, mist the floor lightly and then mop dry. This gives you even more control over moisture.
Drying As You Go
Even with a well-wrung mop, it's smart to dry the floor immediately after mopping. Use a clean, dry microfiber cloth or a dry mop head to buff the surface. This removes any leftover moisture and prevents streaks.
It also gives your floors a nice shine without any extra products.
4. Choose a pH-Neutral Wood Floor Cleaner
Not all floor cleaners are created equal, especially when it comes to wood. Many all-purpose cleaners contain harsh chemicals or high pH levels that can strip the protective finish over time. A pH-neutral cleaner is specifically formulated to be gentle yet effective, lifting dirt without damaging the sealant.
Switching to a pH-neutral cleaner is one of the easiest upgrades you can make for your wood floors. These cleaners maintain a balanced pH around 7, which means they won't react with the finish or cause dullness. Always follow the dilution instructions on the bottle—using too much concentrate can leave a residue that attracts more dirt.
Why Ph Matters
Wood floor finishes are sensitive to extreme pH levels. Alkaline cleaners (high pH) can soften and cloud the finish, while acidic ones (low pH) may etch or discolor it. A pH-neutral formula keeps the finish intact, so your floors stay glossy and protected longer.
How To Pick The Right One
Look for cleaners labeled specifically for hardwood or engineered wood floors. Avoid products with ammonia, bleach, or strong solvents. Brands like Bona, Method, and Murphy's Oil Soap offer pH-neutral options.
If you prefer a homemade solution, a few drops of mild dish soap in water can work, but test it first in an inconspicuous spot.
Application Tips
Spray the cleaner onto a microfiber mop pad, not directly onto the floor, to control moisture. Damp-mop in the direction of the wood grain, and dry any puddles immediately. Never soak the floor—excess water is the enemy of wood.
5. Try a Vinegar and Water Solution (Diluted)
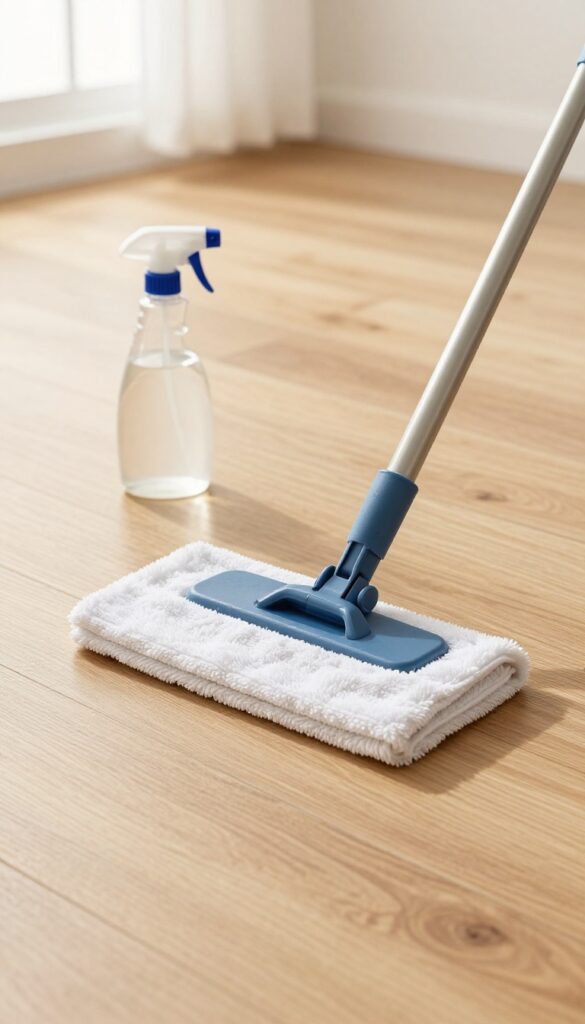
When you need a little extra cleaning power without harsh chemicals, a simple vinegar and water solution can do the trick. White vinegar is a natural degreaser that cuts through grime and leaves floors streak-free when used correctly. The key is dilution—too strong and you risk dulling the finish over time.
Mix 1/4 cup of white vinegar per gallon of warm water. Dampen a microfiber mop, not a soaking wet one, and go over the floor in sections. Avoid using vinegar on unsealed or waxed wood, as it can penetrate and damage the surface.
Stick to this ratio and use it only occasionally to keep your floors looking their best.
Why Vinegar Works On Wood Floors
Vinegar is mildly acidic, which helps break down grease, dirt, and soap residue without leaving a sticky film. It's also safe for pets and kids, making it a go-to for eco-friendly cleaning. Just remember: a little goes a long way, so don't overdo it.
How To Apply Without Damaging The Finish
Always test the solution in an inconspicuous area first. Use a spray bottle to lightly mist the floor ahead of your mop, or dip the mop and wring it thoroughly. Work in small patches and dry the floor with a clean cloth if you notice pooling.
Never let the solution sit on the wood.
When To Skip The Vinegar
If your floors are older or have a wax finish, skip vinegar altogether. It can strip wax and cause cloudiness. For modern polyurethane finishes, occasional use is fine, but stick to pH-neutral cleaners for daily maintenance to preserve the sealant.
6. Use a Spray Mop for Quick Touch-Ups
Spray mops are a game-changer for busy households. They let you control exactly how much moisture hits the floor, reducing the risk of water damage. Perfect for spot cleaning between deeper mopping sessions, especially in high-traffic areas like the kitchen or entryway.
Why Spray Mops Work Well For Wood
Unlike traditional mops that dump excess water, spray mops release a fine mist. This means you can target spills or sticky spots without soaking the wood. The microfiber pads trap dirt instead of pushing it around, and they're washable—saving you money on disposable supplies.
Best Practices For Using A Spray Mop
Always use a cleaner specifically designed for hardwood floors. Spray directly onto the mop head rather than the floor to avoid pooling. Work in small sections, and follow up with a dry microfiber cloth if the floor feels damp.
Never let water sit on the surface.
When To Use A Spray Mop Vs. A Deep Clean
Use a spray mop for daily or weekly touch-ups—think footprints, dust, and light grime. Reserve deep cleaning with a bucket and damp mop for every few months or after a big mess. Overusing any wet method can wear down the finish over time.
7. Wipe Spills Immediately
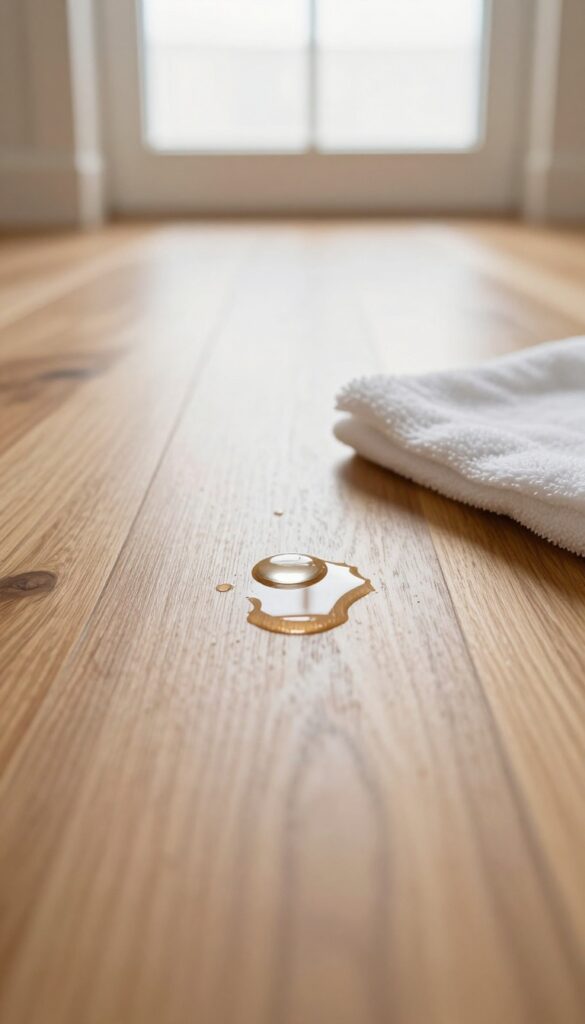
A splash of water, a drip of coffee, or a streak of juice might seem harmless, but on hardwood floors, even small spills can turn into big problems if left alone. Liquid seeps into the seams between planks and can cause staining, warping, or swelling over time. The fix is simple: blot, don't rub, and do it fast.
Why Speed Matters
Wood is porous, especially at the edges and joints. When liquid sits, it penetrates the finish and gets absorbed into the wood fibers. This can lead to dark spots, raised grain, or even cupping.
A quick response prevents moisture from settling in.
The Right Way To Blot
Grab a soft, absorbent cloth—microfiber or an old cotton towel works great. Press down gently to soak up the spill, working from the outside in to avoid spreading. Never scrub or wipe aggressively, as that can push liquid deeper into the gaps.
What About Sticky Or Oily Spills?
For spills like wine, juice, or grease, blot first, then follow up with a slightly damp cloth and a drop of mild wood cleaner. Dry the area thoroughly with a clean towel. Avoid soaking the floor—just a little moisture on the cloth is enough.
8. Place Doormats at Every Entrance
Your floors' worst enemies often arrive on the soles of shoes. Dirt, sand, and moisture get tracked in from outside and act like sandpaper on your wood finish. A simple doormat strategy can stop most of that damage before it starts.
The key is layering: one mat outside to scrape off heavy debris, and another just inside to catch anything that slips through. This two-step system dramatically reduces the grit that reaches your hardwood.
Choose The Right Outdoor Mat
Look for a coarse, scraper-style mat made from coir, rubber, or heavy-duty synthetic fibers. Place it right outside every door that leads to your wood floors. These mats are designed to knock off mud, gravel, and snow before you step inside.
Give them a good shake or vacuum once a week to keep them effective.
Pick An Absorbent Indoor Mat
Just inside the door, use a soft, absorbent mat made from cotton, microfiber, or chenille. This second layer catches finer dust and any leftover moisture from wet shoes or boots. It also gives your family a natural spot to wipe their feet a second time.
Wash indoor mats regularly to prevent trapped dirt from being ground back into the floor.
Don't Forget Back And Side Doors
It's easy to focus on the front entrance, but back doors, garage entries, and sliding patio doors see just as much traffic. Place mats at every exterior door that leads onto your hardwood. Even a small mat makes a difference.
For high-traffic areas, consider a longer runner to cover the path where people walk most.
9. Use Felt Pads Under Furniture Legs
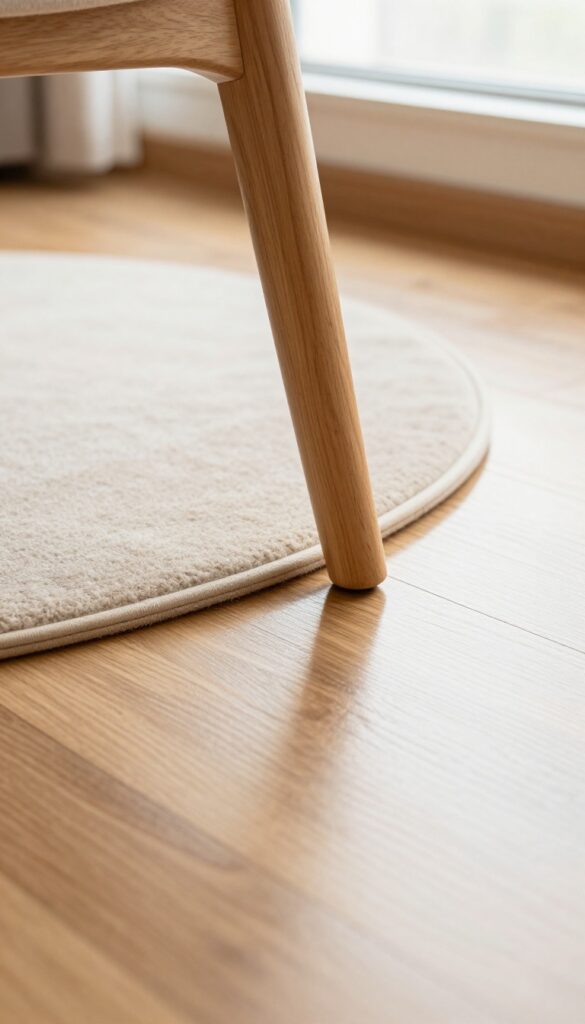
Furniture movement is one of the top causes of scratches and scuffs on wood floors. Every time you slide a chair or table, you risk damaging the finish. The fix is simple: felt pads.
Attach self-adhesive felt pads to the bottom of all furniture legs—chairs, tables, sofas, and even heavy cabinets. They create a soft barrier that glides easily without scratching. Check them every few months and replace when worn or dirty.
Choose The Right Size And Shape
Felt pads come in various sizes and shapes—round, square, or rectangular. For chair legs, round pads that match the leg diameter work best. For furniture with wider or odd-shaped bases, cut larger sheets to fit.
Make sure the pad covers the entire contact area.
Clean The Surface Before Applying
Dirt and dust prevent adhesive from sticking. Wipe the bottom of each leg with a damp cloth and let it dry completely. Then peel and stick the pad firmly.
Press down for a few seconds to ensure a strong bond.
Replace Worn Pads Promptly
Over time, felt pads can pick up grit or wear thin. If you notice the felt is compressed or the adhesive is peeling, swap them out. A worn pad can actually trap debris and cause scratches, so stay on top of maintenance.
10. Avoid Steam Mops on Wood Floors
Steam mops promise a deep clean with minimal effort, but they can be one of the worst things for your hardwood floors. The intense heat and moisture penetrate the wood, causing it to swell, warp, or lift the finish over time. Instead of reaching for that steam mop, stick to methods that keep moisture in check.
Your wood floor's biggest enemy is excess moisture. Steam mops force hot water vapor into the grain, which can weaken the sealant and lead to permanent damage. Even if your floor has a strong finish, repeated steam cleaning can gradually break it down.
The result? Dull spots, cupping, or even gaps between boards. Stick to damp mopping with a well-wrung microfiber mop or use dry cleaning methods like sweeping and vacuuming for everyday maintenance.
Why Steam Is A Problem
Hardwood floors are porous, and steam mops push moisture deep into the wood. This can cause the boards to expand and contract unevenly, leading to warping, buckling, or finish failure. The high heat can also damage the sealant, making your floor more vulnerable to stains and scratches.
Better Alternatives For Daily Cleaning
For everyday cleaning, use a dry microfiber mop or a vacuum with a hardwood floor attachment. For deeper cleaning, lightly dampen a microfiber mop with a hardwood-safe cleaner or a mixture of water and a few drops of dish soap. Wring it out until it's barely damp, then mop in the direction of the wood grain.
When To Call A Professional
If your floor has sticky residue or built-up grime that won't come off with gentle methods, consider a professional cleaning. They have the right equipment and pH-balanced solutions to clean without damaging the wood. Avoid the temptation to use a steam mop for a quick fix—it's not worth the risk.
11. Clean with a Microfiber Cloth for Small Areas
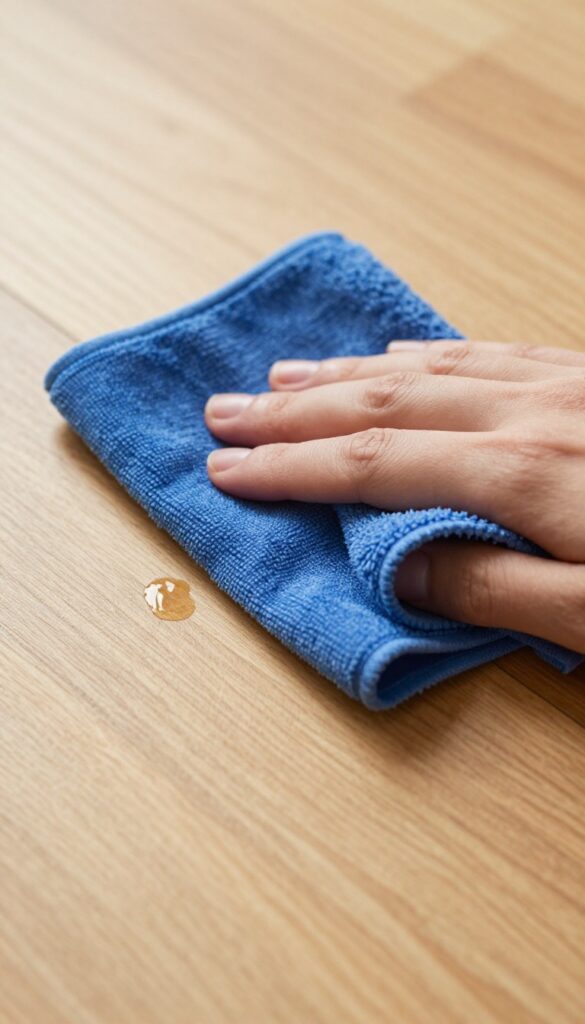
Sometimes you don't need to break out the mop for a tiny spot or a quick touch-up. A microfiber cloth is your best friend for those small jobs. It picks up dust and grime without scratching the finish, and you can use it dry or slightly damp.
Dry Dusting For Daily Touch-ups
Keep a microfiber cloth handy near high-traffic areas. A quick dry wipe under the dining table after meals or along baseboards collects crumbs and dust before they get ground in. No water, no fuss—just grab and go.
Damp Cleaning For Sticky Spots
For a spill that's dried or a sticky residue, lightly mist the cloth with water or a wood-safe cleaner. Wring it well so it's barely damp, then wipe the spot. Avoid soaking the wood—excess moisture can damage the finish over time.
Reach Tight Spaces With Ease
Microfiber cloths are flexible and thin, making them perfect for cleaning between floorboards, under furniture legs, or around door frames. You can even wrap one around a butter knife to get into narrow gaps.
12. Polish Occasionally with a Wood Floor Polish
Polishing your wood floors every few months brings back their original luster and adds a thin protective layer against everyday wear. It’s not a daily or weekly task—just an occasional boost that keeps the finish looking fresh. The key is choosing the right polish for your specific floor type and applying it exactly as the manufacturer recommends.
Why Polish Matters
Over time, foot traffic and cleaning can dull the finish. A quality polish fills in tiny micro-scratches and restores that warm glow. It also creates a barrier that makes future cleaning easier—dirt and spills sit on top rather than soaking in.
Picking The Right Product
Not all polishes are the same. For polyurethane-finished floors, use a water-based polish. For oil-based or waxed floors, stick with a compatible product.
Always test in an inconspicuous spot first. Avoid combination cleaner-polishes—they often leave residue.
How Often To Polish
Once every 3 to 6 months is plenty for most homes. High-traffic areas might need a bit more frequency, but over-polishing can build up a cloudy layer. Follow the label’s guidance and always buff the polish to a dry shine with a soft cloth.
13. Use a Dry Swiffer for Between Cleanings
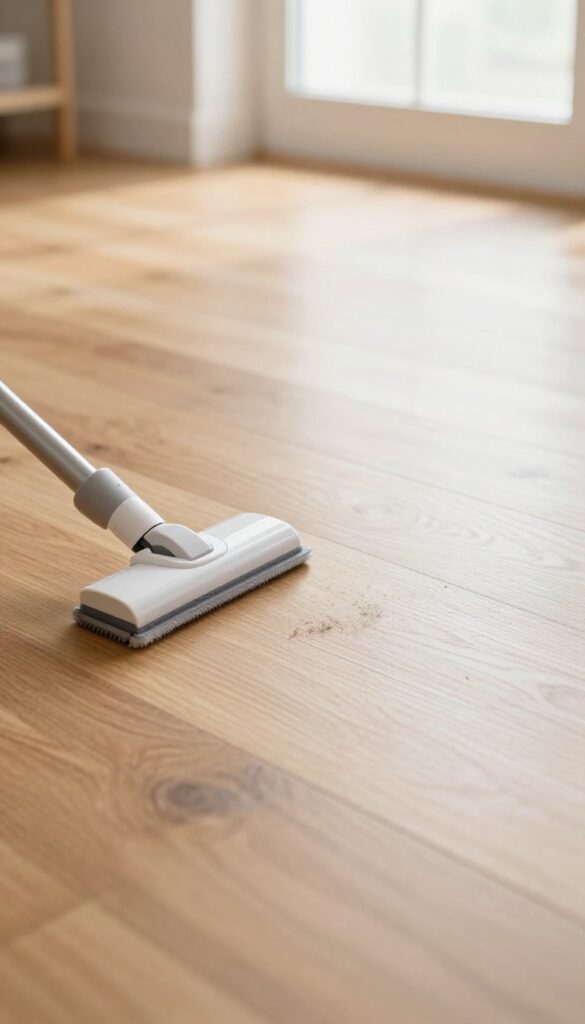
A dry Swiffer or similar disposable cloth is great for quick pickups of dust and pet hair. It's gentle on the finish and convenient for daily use. Just remember to keep it dry—no water or cleaning solutions.
Why It Works So Well
The dry cloths use static electricity to attract dust, dirt, and hair without scratching the surface. They're designed to be non-abrasive, so even frequent use won't dull your floor's finish. Plus, they reach into corners and under furniture easily.
Best Practices For Daily Use
Glide the Swiffer gently in the direction of the wood grain to avoid trapping debris. Use a fresh cloth each time to prevent redistributing dirt. For larger areas, work in sections and overlap slightly to ensure full coverage.
When To Skip It
Avoid using a dry Swiffer on wet or sticky spills—it will just smear the mess. Stick to damp mopping for those situations. Also, if your floor has deep grooves or is heavily textured, a microfiber mop might be more effective at trapping dirt.
14. Test Cleaners in an Inconspicuous Area First
You might be tempted to grab a new cleaning product and go straight for the center of the room. But that can backfire fast if the cleaner reacts with your floor's finish. A quick test in a hidden spot saves you from potential discoloration or damage.
Before you commit to a new cleaner, pick a small, out-of-the-way area like inside a closet or under a piece of furniture. Apply a tiny amount of the cleaner to a soft cloth and rub it gently on the floor. Wait a full 24 hours, then check for any changes in color, gloss, or texture.
If everything looks fine, you're good to go. If not, you've avoided a bigger problem.
Why Testing Matters
Wood floor finishes vary widely—polyurethane, wax, oil, or varnish. A cleaner that works beautifully on one finish can dull or stain another. Testing prevents you from accidentally stripping the finish or causing cloudiness.
It's a small step that protects your floor's appearance and longevity.
How To Test Properly
Dampen a white cloth with the cleaner and rub a small hidden spot for about 10 seconds. Let it dry completely. Don't rush—some reactions take hours to show.
After 24 hours, examine the area under good lighting. Look for any dullness, white haze, or color shift. If the wood looks exactly the same, the cleaner is safe.
What To Do If The Test Fails
If the test spot looks damaged, don't panic. You can often restore it by buffing gently with a microfiber cloth or applying a small amount of mineral spirits. If the damage is deeper, consult a floor refinishing professional.
The key is catching the problem before it spreads.
15. Avoid Oil-Based Soaps and Wax Build-Up
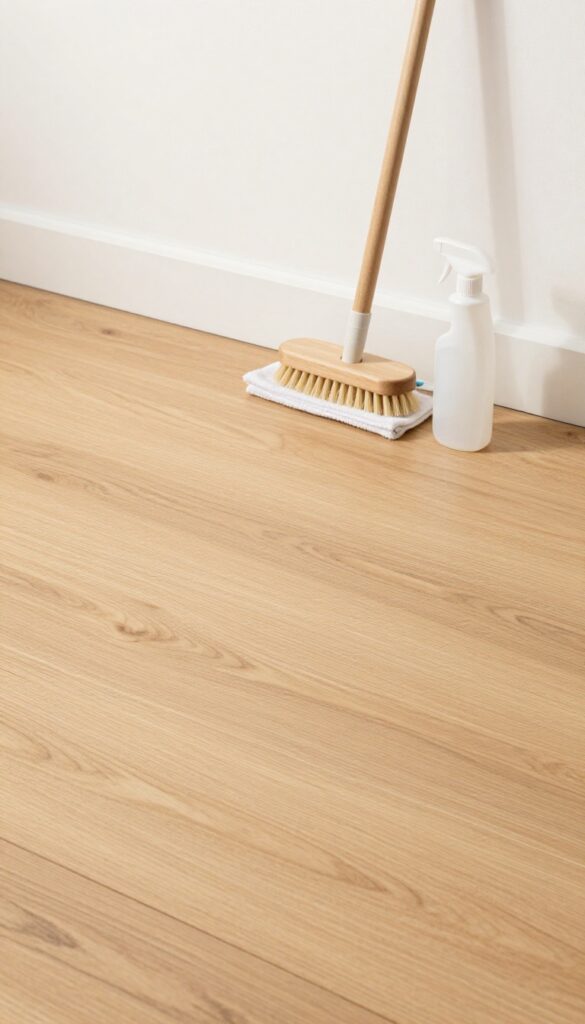
It's easy to assume that a little oil soap will give your floors a nice shine, but that sticky residue can actually attract more dust and grime. Many oil-based products leave a film that dulls the finish over time, making your floors look hazy rather than clean. Stick with water-based cleaners that are gentle and rinse clean, and skip wax unless you know for sure your floor was designed for it.
Oil-based soaps and waxes might seem like a good idea for adding moisture or shine, but they often do more harm than good. The residue they leave behind acts like a magnet for dirt, making your floors look dull and feel tacky. Water-based cleaners, on the other hand, lift dirt without leaving a film, keeping your floors clean and the finish intact.
If you're unsure, check your floor manufacturer's recommendations—most modern hardwood floors are pre-finished and only need a pH-neutral cleaner.
Why Oil-based Soaps Cause Problems
Oil soaps are designed for unsealed or oil-finished wood, not for modern polyurethane or aluminum oxide finishes. They leave a greasy layer that traps dust, creating a sticky surface that's hard to clean. Over time, this build-up can yellow the finish and require stripping to remove.
The Wax Trap
Wax can give a temporary shine, but it also attracts dirt and can make future refinishing difficult. If your floor wasn't originally waxed, adding wax can cause adhesion issues with any new finish. Stick to wax only if your floor is specifically designed for it, and even then, use it sparingly.
Safe Alternatives
Choose a water-based hardwood floor cleaner that's pH-neutral and free of oils, waxes, and silicones. These cleaners evaporate quickly and leave no residue. For a DIY option, mix a few drops of mild dish soap with water, but be sure to rinse with a damp mop afterward.
16. Use a Humidifier in Dry Seasons
Wood is a natural material that responds to its environment. When the air gets dry, especially in winter or in arid climates, your hardwood floors can lose moisture and shrink. That leads to unsightly gaps between boards, and over time, cracks or cupping can develop.
A humidifier helps maintain a stable indoor humidity level between 30 and 50 percent. This simple device keeps your floors from expanding and contracting too much, protecting their structural integrity and appearance. It's an easy, set-it-and-forget-it solution that pays off in fewer floor problems down the road.
Wood floors are hygroscopic, meaning they absorb and release moisture from the air. In dry seasons, low humidity causes the wood to contract, creating gaps and potentially cracking the finish. A humidifier adds moisture back into the air, stabilizing the wood and preventing these issues.
It's especially important in heated homes during winter when indoor humidity can drop below 20%.
Why Humidity Matters
Wood is constantly adjusting to its surroundings. When humidity drops, the wood cells lose water and shrink. This can cause boards to pull apart, leaving gaps that collect dirt and look unattractive.
In severe cases, the wood can crack or the finish can fail. Keeping humidity in the 30-50% range helps the wood stay dimensionally stable.
Best Practices For Using A Humidifier
Place a humidifier in the room with the most wood flooring, or use a whole-house humidifier attached to your HVAC system. Monitor humidity with a hygrometer to stay within the target range. Clean the humidifier regularly to prevent mold and bacteria growth.
In very dry climates, you might need to run it daily during winter.
Signs Your Floors Need More Humidity
Look for gaps between boards that open and close with the seasons, or a feeling of dryness underfoot. If you notice cracks in the finish or wood, or if the floor feels unusually cool, low humidity could be the culprit. Addressing it early with a humidifier can prevent permanent damage.
17. Schedule a Professional Deep Clean Annually
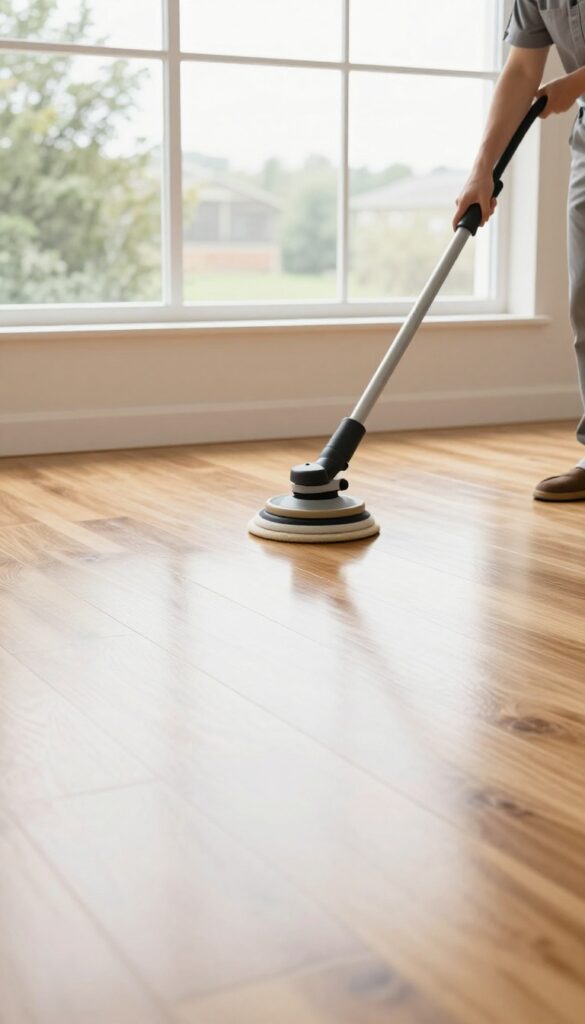
Even with the best daily care, your wood floors accumulate grime in places your mop can't reach. A professional deep cleaning once a year lifts embedded dirt and restores the finish without the risk of DIY mistakes.
Professional cleaners use specialized equipment and pH-neutral solutions that are safe for wood. They can also spot early signs of wear, like dullness or minor scratches, and recommend treatments before problems worsen. This annual reset keeps your floors looking their best and extends their lifespan.
What A Pro Does Differently
Professionals use buffing machines with soft pads to remove surface dirt without stripping the finish. They also apply a fresh coat of polish or wax if needed, matching the original sheen. This process is far more thorough than any home cleaning method.
When To Book
Schedule the deep clean during a low-traffic season, like early spring or fall. Avoid times when windows are open for long periods—dust and pollen can settle on the freshly cleaned floors. A single annual appointment is enough for most homes.
Cost Vs. Value
Professional cleaning typically costs $100–$300 depending on square footage. Compared to refinishing (which can run $1, 000+), it's a bargain. Plus, it prevents the need for expensive repairs down the road.
FAQ
Can I use bleach on wood floors?
No, bleach is too harsh and will damage the finish and discolor the wood. Stick to pH-neutral or wood-specific cleaners.
How often should I mop wood floors?
Damp mop once a week or as needed. Daily dusting or vacuuming is recommended to prevent scratches from grit.
Is vinegar safe for all wood floors?
Vinegar is safe for most sealed wood floors when diluted, but it can dull some finishes over time. Test in a small area first.
What's the best way to remove scuff marks?
Rub gently with a soft cloth and a tiny amount of baking soda paste or a magic eraser. Avoid abrasive scrubbing.
Can I use a Swiffer Wet Jet on wood floors?
Yes, but use the wood floor-specific pads and solution. Avoid saturating the floor; use a light mist and dry immediately if needed.
Conclusion
Your wood floors don't need a complicated routine—just the right gentle habits. Start with a few of these ideas that fit your daily life, like dust mopping or using a barely damp cloth. Consistency matters more than perfection.
Over time, these small steps will keep your floors looking warm and well cared for without extra effort. Try one new approach this week and see the difference it makes.


