
Deep cleaning a room goes beyond the usual weekly tidy-up. It’s about resetting the space so it feels fresh, smells clean, and functions better. Whether you’re tackling a bedroom, living room, or kitchen, these 20 steps will guide you through a thorough transformation.
You don’t need to do everything in one day—spread the steps out if needed. The key is to work methodically from top to bottom, left to right, so you don’t miss anything. Ready to give your room a fresh start?
Let’s dive in. Each step builds on the last, ensuring you clean efficiently without backtracking. By the end, you’ll have a space that not only looks clean but feels rejuvenating.
1. Declutter Every Surface
Before you can deep clean, you need to clear the decks. Clutter hides dirt and makes every cleaning task harder. By removing everything from surfaces and sorting it, you set yourself up for a faster, more thorough clean.
Start by taking everything off countertops, shelves, nightstands, and any other flat surfaces. Be ruthless: sort each item into keep, donate, or trash. This step alone can transform how the room feels.
Once surfaces are bare, you can actually see what needs cleaning—and you won't waste time moving things around.
Clear Countertops And Shelves
Remove all objects from countertops, shelves, and tables. Wipe each item as you go, then decide its fate. Use a box or bag for donations and a trash bag for anything broken or expired.
This makes the next cleaning steps much more effective.
Sort And Organize
Group similar items together. For example, stack books, corral pens, and gather toiletries. Ask yourself: Do I use this?
Do I love it? Does it belong here? If not, it goes.
This prevents re-cluttering after you clean.
Create A Temporary Holding Zone
Use a laundry basket or cardboard box to temporarily hold items that belong in other rooms. After you finish cleaning, you can quickly return them to their proper places. This keeps you focused on the current room.
2. Dust from Top to Bottom
Dust settles everywhere, but it’s easy to miss the high spots. Starting at the top ensures you don’t knock debris onto already-cleaned surfaces. Work methodically from ceiling corners down to baseboards, and you’ll capture the most dust in one pass.
Grab a microfiber cloth or an extendable duster—these trap dust instead of scattering it. Begin with ceiling corners, light fixtures, and ceiling fans. Then move to high shelves, picture frames, and window sills.
Finally, wipe down baseboards and floor vents. Change or rinse your cloth often to avoid redistributing dust.
Tackle The High Spots First
Use a step stool or ladder to reach ceiling corners and light fixtures safely. For ceiling fans, wipe both sides of each blade with a microfiber cloth. Don’t forget smoke detectors and decorative molding—dust collects there too.
Work Your Way Down Methodically
After high surfaces, move to mid-level areas like shelves, picture frames, and window treatments. Then hit lower surfaces: furniture tops, chair rails, and finally baseboards. This order prevents you from having to re-dust.
Use The Right Tools For The Job
Microfiber cloths create static electricity that attracts dust. For hard-to-reach places, an extendable duster with a microfiber head works wonders. Avoid feather dusters—they just fling dust into the air.
3. Wash Windows and Mirrors
Windows and mirrors collect grime, fingerprints, and dust that dull the whole room. Cleaning them properly lets in more light and makes surfaces sparkle. This step also includes those often-neglected window sills and tracks where dirt builds up over time.
Start With The Frames And Sills
Before you spray glass cleaner, wipe down window frames and sills with a damp microfiber cloth. Use a small brush or old toothbrush to scrub corners and crevices. For stubborn grime, a mild all-purpose cleaner works well.
Dry the sills thoroughly to prevent moisture damage.
Clean The Tracks
Window tracks collect dust, dirt, and even mold. Vacuum them with a brush attachment first, then wipe with a damp cloth. For tight spots, use a cotton swab or a narrow brush.
If tracks are greasy, a little dish soap in warm water does the trick. Rinse and dry completely.
Streak-free Glass
Use a dedicated glass cleaner or a DIY mix of vinegar and water. Spray onto a microfiber cloth, not directly onto the glass, to avoid drips. Wipe in a zigzag or S-pattern to prevent streaks.
For mirrors, the same method works—just be careful not to overspray onto the frame. Buff with a dry cloth for extra shine.
Don’t Forget The Screens
If your windows have screens, take them out and rinse with a hose or wipe with a damp cloth. Let them dry completely before reinstalling. Clean screens let more air and light in, making the whole room feel fresher.
4. Wipe Down Walls and Doors
Walls and doors are like the canvas of your room—they set the tone but often get ignored during regular cleaning. Over time, they collect fingerprints, scuffs, dust, and even mystery stains that make the whole space feel dingy. Giving them a proper wipe-down is a simple step that instantly brightens the room and makes everything look fresher.
Start by dusting the walls and doors with a microfiber cloth or a duster on an extendable handle to remove loose cobwebs and dust. Then, fill a bucket with warm water and a few drops of mild dish soap. Dip a soft sponge or cloth, wring it out well (you don’t want dripping water), and gently wipe down the walls from top to bottom.
For doors and door frames, pay extra attention to areas around handles and light switches, where grime builds up. Rinse your sponge frequently and change the water if it gets dirty. For stubborn scuffs, a magic eraser works wonders, but test it on an inconspicuous spot first.
Let everything air dry, and you’ll be amazed at how much cleaner the room feels.
Tackle High-touch Zones
Light switches, doorknobs, and push plates are germ magnets. Wipe them down with a disinfectant wipe or a cloth dipped in a vinegar-water solution. Don’t forget the top edges of doors and frames where dust likes to hide.
Deal With Scuffs And Marks
For scuff marks from shoes or furniture, a dab of baking soda on a damp sponge can gently buff them away. For grease spots near the kitchen or dining area, a little dish soap directly on the spot works best. Always test a small area first to avoid damaging the paint.
Don’t Skip The Baseboards
While you’re at it, wipe down the baseboards too. They collect dust and grime from floor cleaning. Use the same soapy water and a small brush or cloth to get into the crevices.
This small extra step ties the whole wall-cleaning effort together.
5. Deep Clean Upholstery and Curtains
Upholstered furniture and curtains are like sponges for dust, allergens, and odors. They see daily use but rarely get the attention they deserve. Giving them a proper deep clean not only refreshes the room but also improves air quality and extends the life of your fabrics.
Vacuum Every Crevice
Start by vacuuming sofas, chairs, and curtains with an upholstery attachment. Get into seams, under cushions, and along the base where crumbs and dust collect. For curtains, work from top to bottom, using a gentle suction to avoid pulling the fabric.
Spot Clean Stains
Check for stains on upholstery and treat them with a fabric-safe cleaner. Blot—don’t rub—to lift the stain without spreading it. Test any cleaner on a hidden area first.
For curtains, follow the care label; many can be machine washed on a gentle cycle.
Freshen And Deodorize
After cleaning, sprinkle baking soda on upholstery, let it sit for 15 minutes, then vacuum it off. This neutralizes odors. For curtains, a quick steam or a spritz of fabric refresher can make them smell like new.
6. Scrub Baseboards and Trim
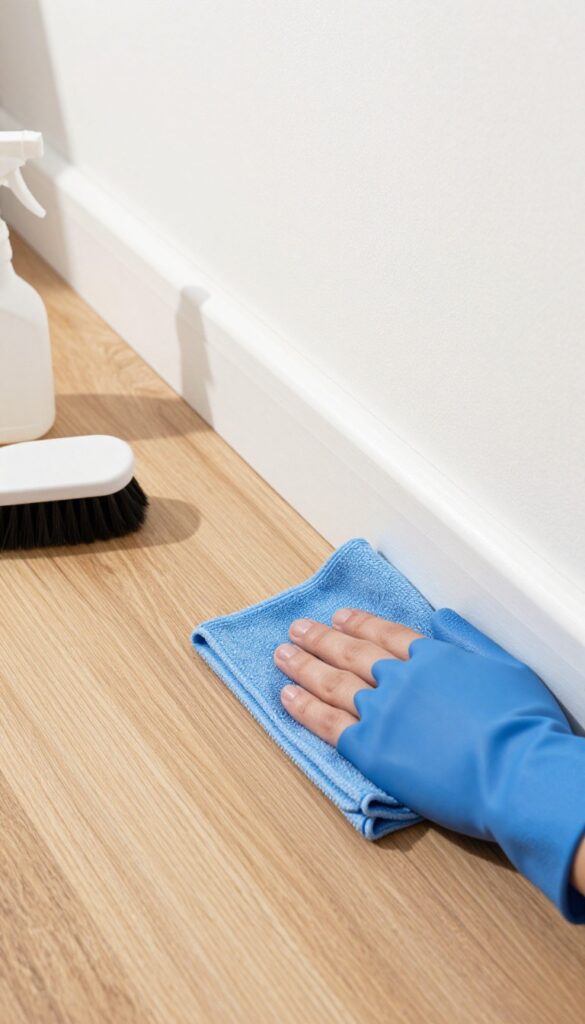
Baseboards and trim are the unsung heroes of a clean-looking room—they frame the space but collect dust, scuffs, and grime over time. When you deep clean, giving them attention instantly elevates the whole room's freshness. It's a small effort with a big visual payoff.
Gather Your Tools
You don't need fancy equipment. A microfiber cloth, a bucket of warm water with mild dish soap, an old toothbrush or small detailing brush, and a vacuum with a brush attachment will do the trick. For stubborn marks, a magic eraser works wonders.
Vacuum First, Wipe Second
Start by vacuuming along the baseboards to remove loose dust and cobwebs. Use the brush attachment to get into corners and along the top edge. Then, dip your cloth in soapy water, wring it well, and wipe the baseboards from one end of the room to the other.
Change the water when it gets dirty.
Tackle Crevices And Scuffs
For the gap between the baseboard and the floor, use the toothbrush or detailing brush to dislodge hidden dirt. Scuff marks from shoes or furniture can be gently rubbed with a magic eraser or a dab of baking soda paste. Rinse with a clean damp cloth afterward.
Don't Forget Door And Window Trim
Door frames, window sills, and chair rails collect just as much grime. Use the same method: dust first, then wipe. Pay extra attention to the top edges of door frames where dust bunnies love to hide.
A quick once-over makes the whole room feel more polished.
7. Clean Light Fixtures and Fans
Light fixtures and ceiling fans are dust magnets that often get overlooked. When they’re dirty, they not only look grimy but also dim the room’s brightness. Cleaning them makes a huge difference in how fresh and airy your space feels.
Start by turning off the power to avoid accidents. For ceiling fans, use a pillowcase or a microfiber duster to trap dust as you wipe each blade. For light fixtures, remove globes or covers and wash them in warm soapy water if they’re glass.
Let them dry completely before reattaching. Don’t forget to replace any burnt-out bulbs—this instantly brightens the room and makes it feel cleaner.
Dust Ceiling Fans The Right Way
Use a pillowcase slipped over each fan blade to catch dust without scattering it. Alternatively, a long-handled microfiber duster works well. Wipe both the top and bottom of each blade, then vacuum any fallen debris from the floor.
Wash Lampshades And Fixtures
Remove lampshades and check the care label. Most fabric shades can be vacuumed with a brush attachment; glass or plastic shades can be washed in warm, soapy water. Wipe down the fixture base and bulb sockets with a dry cloth before reassembling.
Replace Burnt-out Bulbs
Take stock of all bulbs in the room and swap out any that are dead or flickering. Consider upgrading to LED bulbs for better light quality and energy efficiency. Brighter light makes the whole room look cleaner and more inviting.
8. Disinfect High-Touch Surfaces
You might think your room looks clean, but germs love to hang out on spots your hands touch all day. Doorknobs, light switches, remote controls, and phone screens are germ magnets. A quick wipe-down isn't enough—you need to disinfect these areas regularly to keep your space truly fresh.
Which Surfaces To Target
Focus on everything you touch frequently: doorknobs, handles, light switches, remote controls, phone screens, keyboards, mouse, drawer pulls, cabinet knobs, and even the toilet flush handle if you're in a bathroom. Don't forget the edges of tables and desks where hands rest. These spots are often missed during routine cleaning.
Choosing The Right Disinfectant
Not all sprays or wipes are created equal. Look for disinfectants that are EPA-approved and effective against viruses and bacteria. Bleach-based cleaners work well on hard surfaces, but for electronics like remote controls and phones, use alcohol wipes (70% isopropyl) or a gentle disinfectant safe for screens.
Always follow the label's contact time—usually 30 seconds to a few minutes—to actually kill germs.
How To Disinfect Properly
Start by wiping away visible dirt with a damp cloth. Then apply your disinfectant and let it sit for the recommended time before wiping dry. For light switches and doorknobs, use a disinfectant wipe and let it air dry.
For electronics, spray a microfiber cloth lightly (never directly on the device) and wipe gently. Make this a weekly habit, or more often if someone in the house is sick.
9. Vacuum and Shampoo Carpets
Carpets hold onto dirt, dust, and odors more than any other surface in the room. A quick weekly vacuum isn't enough for a deep clean—you need to extract the grime that's settled deep into the fibers. This step will leave your carpet looking refreshed and feeling softer underfoot.
Prep And Pre-treat
Start by moving all furniture off the carpet. Give the carpet a thorough vacuum, going over high-traffic areas multiple times. Pay extra attention to corners and edges where dust bunnies hide.
Before shampooing, treat any visible stains with a carpet stain remover or a DIY solution of vinegar and water. Let it sit for 10–15 minutes to break down the stain.
Choose Your Cleaning Method
You have a few options for deep cleaning. A rented carpet shampooer is affordable and effective for most homes. If you prefer a chemical-free approach, a steam cleaner uses hot water and suction to lift dirt.
For small areas, a handheld carpet cleaner works well. Whichever method you choose, follow the machine's instructions and use a cleaning solution designed for your carpet type.
Shampoo And Extract
Work in small sections, overlapping each pass to avoid streaks. Go slowly so the machine has time to scrub and extract dirty water. After shampooing, do a plain water rinse pass to remove any soap residue, which can attract dirt later.
Empty the dirty water tank frequently to keep suction strong.
Dry Completely
Let the carpet dry fully before walking on it or replacing furniture. Open windows, turn on fans, or use a dehumidifier to speed up drying. This usually takes 6–12 hours.
Avoid placing furniture back until the carpet is bone-dry to prevent mold or mildew. Once dry, vacuum again to fluff the fibers.
10. Mop Hard Floors
Hard floors look great when they're clean, but a quick pass with a mop often misses hidden grime. To truly refresh your room, you need to prep the surface first and use the right technique. This step ensures your floors aren't just wet—they're genuinely clean.
Start by sweeping or vacuuming thoroughly to remove loose dirt and debris. Pay extra attention to corners and under furniture where dust bunnies hide. Then, choose a cleaner suited to your floor type—pH-neutral for stone or laminate, vinegar solution for tile, or a specialized wood cleaner for hardwood.
Mop in sections, using a figure-eight motion to avoid streaks. Change the water when it gets dirty, and use a separate mop head for the kitchen to avoid spreading grease or food residue into other rooms. Let the floor air-dry completely before moving furniture back.
Prep Work Matters
Never mop a dirty floor—you'll just push grime around. Sweep or vacuum first, getting into corners and under furniture edges. For stuck-on spots, spot-clean with a damp cloth before mopping.
Choose Your Cleaner Wisely
Different floors need different cleaners. Use a gentle, pH-neutral solution for stone and laminate. For tile, a mild vinegar and water mix works well.
Hardwood needs a cleaner specifically designed for it to avoid damage.
Technique And Tools
Use a clean mop head and work from the farthest corner toward the door. Mop in overlapping figure-eights to cover evenly without streaks. Rinse the mop head frequently and change the water as soon as it looks dirty.
Keep a separate mop head for the kitchen to avoid cross-contamination.
11. Organize Closets and Drawers

Closets and drawers are where chaos hides. Even if the rest of the room looks spotless, a jumbled drawer or overstuffed closet can make the space feel cluttered. This step is about resetting those storage areas so everything has a home and you can actually find what you need.
Start by completely emptying the closet or drawer. Wipe down all surfaces—shelves, rods, and drawer bottoms—with a damp cloth. While everything is out, sort items into keep, donate, and trash piles.
Be honest: if you haven't worn it in a year, let it go. Fold clothes neatly or use drawer dividers to keep categories separate. In closets, group similar items together and use matching hangers for a uniform look.
The goal is a system that's easy to maintain, not just pretty for one day.
Declutter First
Before you organize, you have to purge. Take everything out and decide what truly deserves space. Ask yourself: Does it fit?
Do I use it? Do I love it? Anything that doesn't get a yes goes into a donate bag.
This step prevents you from just rearranging clutter.
Wipe And Refresh
With the space empty, give it a thorough cleaning. Vacuum the floor of the closet, wipe shelves and rods, and clean drawer interiors. This removes dust, lint, and any mystery crumbs.
Let everything dry completely before putting items back.
Smart Storage Solutions
Use dividers, bins, or small baskets to keep categories separate. For drawers, try the KonMari fold to maximize space and visibility. In closets, use shelf dividers for stacks of sweaters or jeans.
Add a small tray for accessories like belts or scarves. The key is making it easy to put things away and find them later.
Maintain The System
Once everything is organized, commit to a simple rule: one in, one out. When you buy something new, donate something old. Spend five minutes each week tidying up the system so it doesn't slide back into chaos.
A little upkeep goes a long way.
12. Clean Inside and Behind Furniture
Furniture often stays in the same spot for months or years, collecting dust bunnies, crumbs, and who-knows-what behind and beneath it. That hidden grime doesn't just look bad—it can affect your room's air quality and even trigger allergies. Pulling pieces away from the wall might feel like a hassle, but it's one of the most rewarding deep-cleaning moves you can make.
Pull And Vacuum Behind
Start by moving each piece of furniture away from the wall—sofa, dresser, bed, bookshelf. Use a vacuum with a crevice tool to suck up dust, pet hair, and debris that's accumulated along the baseboards and in corners. Don't forget to vacuum the back of the furniture itself, where dust often clings to fabric or wood.
This step alone can dramatically reduce airborne particles.
Under Cushions And Inside Drawers
Remove cushions from sofas and chairs and vacuum the crevices where crumbs and coins hide. Flip cushions over to vacuum the underside. For drawers, take them out completely and vacuum the interior tracks and corners.
Wipe down drawer interiors with a damp cloth and let them dry before replacing contents. This is also a good time to declutter items you no longer need.
Wipe Down Surfaces
Once furniture is pulled out, wipe down the sides, legs, and any exposed surfaces with an appropriate cleaner—wood polish for wood, mild soap for upholstery (check labels), and all-purpose cleaner for metal or plastic. Pay special attention to areas that collect fingerprints or smudges. Let everything dry before pushing furniture back into place.
13. Refresh Mattresses and Bedding
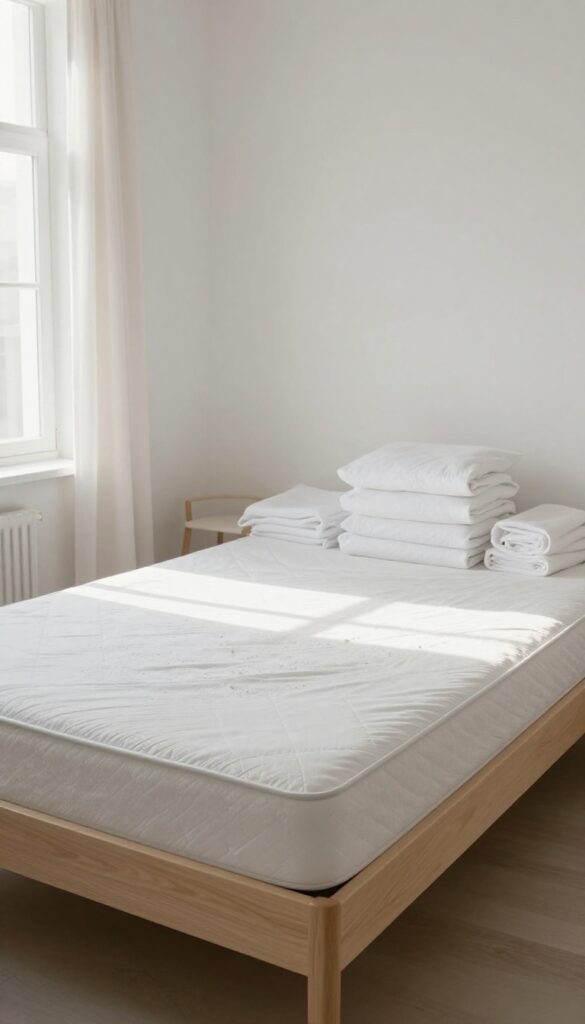
Your mattress and bedding work hard every night, absorbing sweat, dust mites, and dead skin cells. Over time, that can lead to musty smells and even allergy flare-ups. Giving them a proper refresh makes a huge difference in how fresh your room feels.
Strip And Wash Bedding
Start by removing all sheets, pillowcases, mattress protectors, and duvet covers. Wash them in hot water (at least 130°F) to kill dust mites and remove oils. Use a gentle detergent and add a half-cup of white vinegar to the rinse cycle for extra freshness.
Dry on high heat or line dry in direct sunlight.
Vacuum The Mattress
With the mattress bare, vacuum the entire surface using the upholstery attachment. Pay special attention to seams, tufts, and edges where debris collects. Flip the mattress if it's double-sided and vacuum the other side too.
This step removes dust, allergens, and any loose particles.
Spot Clean Stains
Mix a small amount of mild dish soap with hydrogen peroxide (test on an inconspicuous area first). Dab the stain gently with a clean cloth—don't rub, or it will spread. For urine or sweat stains, use an enzyme cleaner.
Blot until the stain lifts, then let the area dry completely.
Deodorize With Baking Soda
Sprinkle a generous layer of baking soda over the entire mattress. Let it sit for at least 30 minutes, or longer for stronger odors. The baking soda absorbs moisture and neutralizes smells.
Vacuum it up thoroughly using the upholstery attachment.
14. Wipe Down Electronics
Electronics are dust magnets. Screens, vents, and tangled cords collect grime that affects performance and air quality. A quick wipe-down makes everything look and work better, plus it cuts down on allergens floating around the room.
Start by unplugging everything. Use a dry microfiber cloth to dust screens and surfaces—never paper towels, which can scratch. For stubborn smudges, lightly dampen the cloth with distilled water or a 50/50 mix of water and isopropyl alcohol.
Spray the cloth, not the device. Clean keyboards upside down to dislodge crumbs, and use a compressed air duster for vents and ports. Don't neglect remote controls, game controllers, and phone chargers; a disinfectant wipe (squeezed out first) works well for these high-touch items.
Finally, tackle the cord chaos: wipe each cord with a damp cloth and use cable ties or clips to organize them. This step alone makes your space feel more intentional and less cluttered.
Screen Safety
LCD, LED, and OLED screens are delicate. Never use window cleaner, vinegar, or alcohol-based sprays. Stick to a dry microfiber cloth for dust, and for fingerprints, use a solution made specifically for electronics or just distilled water.
Apply to the cloth, not the screen, and wipe gently in circular motions.
Keyboards And Mice
Turn the keyboard upside down and tap to remove loose debris. Use compressed air to blow between keys. For a deeper clean, use a soft brush or a sticky cleaning gel.
Wipe the surface with a slightly damp cloth. For mice, clean the sensor and scroll wheel with a cotton swab dipped in alcohol.
Cords And Accessories
Unplug all cords and wipe them with a damp cloth. Check for fraying or damage. Use velcro straps or twist ties to bundle cords neatly.
Label them if needed. This not only looks better but makes future maintenance easier.
15. Clean Air Vents and Filters
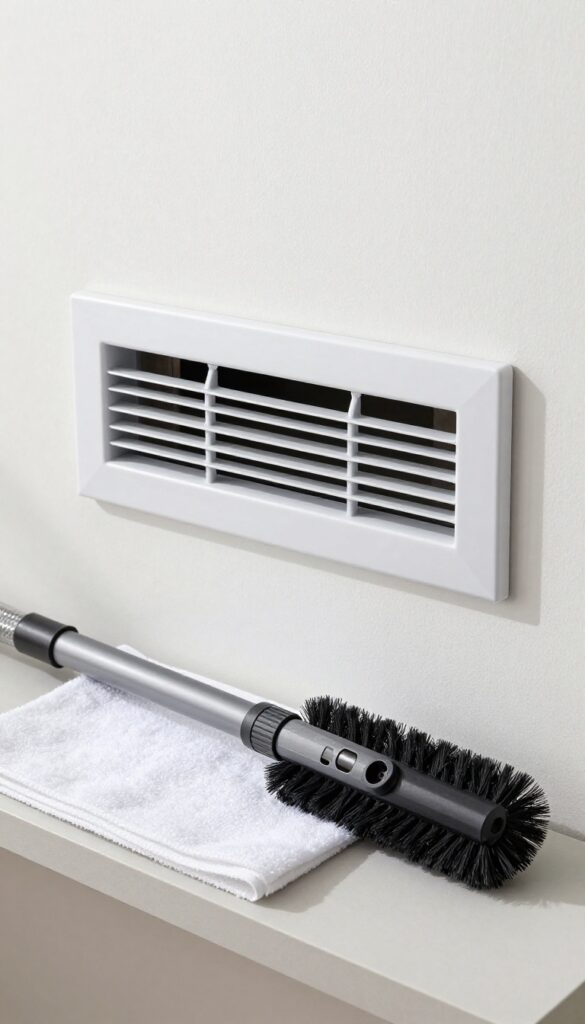
Air vents and filters are easy to overlook, but they play a huge role in your room's air quality. Over time, dust, pet dander, and allergens build up on vent covers and inside the ducts. Cleaning them not only improves airflow but also reduces the amount of dust that settles on your furniture.
Start by removing the vent covers—they usually just lift off or have a couple of screws. Take them outside and wash them with warm, soapy water. Use a soft brush to scrub away stubborn grime, then rinse and let them dry completely before reinstalling.
While the covers are off, use a vacuum with a brush attachment to suck up dust from inside the duct opening. If you have central HVAC, check your system's filter. A dirty filter restricts airflow and recirculates dust.
Replace it if it looks gray or clogged—ideally every three months, but more often if you have pets or allergies. Clean vents and fresh filters make a noticeable difference in how fresh the room feels.
Remove And Wash Vent Covers
Most vent covers pop off easily or are held by a couple of screws. Take them to a sink or outside and wash with warm water and mild dish soap. Use an old toothbrush or soft scrub brush to get into the grooves.
Rinse thoroughly and let them air dry on a towel. While they dry, vacuum the exposed duct opening to remove loose dust.
Vacuum The Duct Opening
With the cover off, use a vacuum with a hose attachment to reach into the duct as far as you can. This pulls out dust bunnies, hair, and debris that have settled near the opening. For a deeper clean, you can use a microfiber cloth wrapped around a long screwdriver to wipe the sides, but don't push debris further in.
Replace Or Clean Hvac Filters
Locate your HVAC filter—usually in the return air vent or near the furnace. Hold it up to the light; if you can't see through it, it's time for a new one. Disposable filters should be replaced; reusable ones can be rinsed with water and dried.
A clean filter improves air quality and helps your system run efficiently.
16. Tackle Trash and Recycling
Trash has a way of piling up quietly, especially during a deep clean when you're pulling things out of corners and drawers. Before you start wiping surfaces or organizing, clear out all the waste so you're not just moving it around. This step is simple but satisfying—it instantly lightens the room.
A fresh start means no lingering waste. Empty every trash bin, even if it looks half-full. Wipe down the interiors with a disinfecting spray or soapy water to remove sticky residues and odors.
Let them air dry while you sort through recyclables—flatten boxes, rinse containers, and consolidate items. Take the recycling to the curb or your outdoor bin right away so it doesn't clutter the room again. Replace liners with fresh ones, and consider adding a small recycling bin if you don't have one.
This small habit keeps the room cleaner longer.
Empty And Wipe Every Bin
Don't skip the bathroom or desk bins—they often hide sticky wrappers and dust. Dump everything into a larger trash bag, then spray the inside of each bin with an all-purpose cleaner. Scrub with a sponge or cloth, rinse, and dry completely before relining.
Sort Recyclables Immediately
Separate paper, plastic, glass, and metal as you go. Break down cardboard boxes to save space. Rinse food containers to prevent smells.
If you have a dedicated recycling bin in the room, empty it into the main household bin now.
Take It Out Right Away
Don't let the filled bags sit by the door. Take them to the outdoor trash and recycling bins immediately. This prevents odors from returning and keeps the room feeling fresh.
It also avoids the temptation to dig through the bags later.
17. Polish Wood Furniture
Wood furniture adds warmth and character to any room, but it can look dull and lifeless when coated in dust and grime. Polishing isn't just about shine—it nourishes the wood and protects the finish. This step brings back the richness that made you love the piece in the first place.
Dust First, Polish Second
Always start with a dry microfiber cloth to remove loose dust and debris. If you polish over dust, you'll end up with a muddy, streaky mess. For carved or detailed areas, use a soft brush or a clean paintbrush to reach crevices.
Choose The Right Polish Or Wax
Not all wood finishes are the same. For sealed surfaces like polyurethane, a spray polish works fine. For raw or oiled wood, use a natural wax or lemon oil.
Test a small hidden spot first to make sure it doesn't react poorly. Avoid silicone-based products—they build up and make refinishing difficult later.
Apply And Buff Like A Pro
Spray or dab a small amount onto a soft cloth—never directly onto the furniture. Work in the direction of the grain, using circular motions to distribute evenly. Let it sit for a minute, then buff with a clean cloth until the surface gleams.
Pay extra attention to tabletops and arms of chairs where hands rest.
Don't Forget The Details
Legs, rails, and trim collect just as much grime. Wipe these areas with a slightly damp cloth if needed, then dry and polish. For intricate turnings or carvings, use a cotton swab or small brush to apply polish.
A uniform sheen across the entire piece makes the room feel more cohesive.
18. Deep Clean the Closet Floor
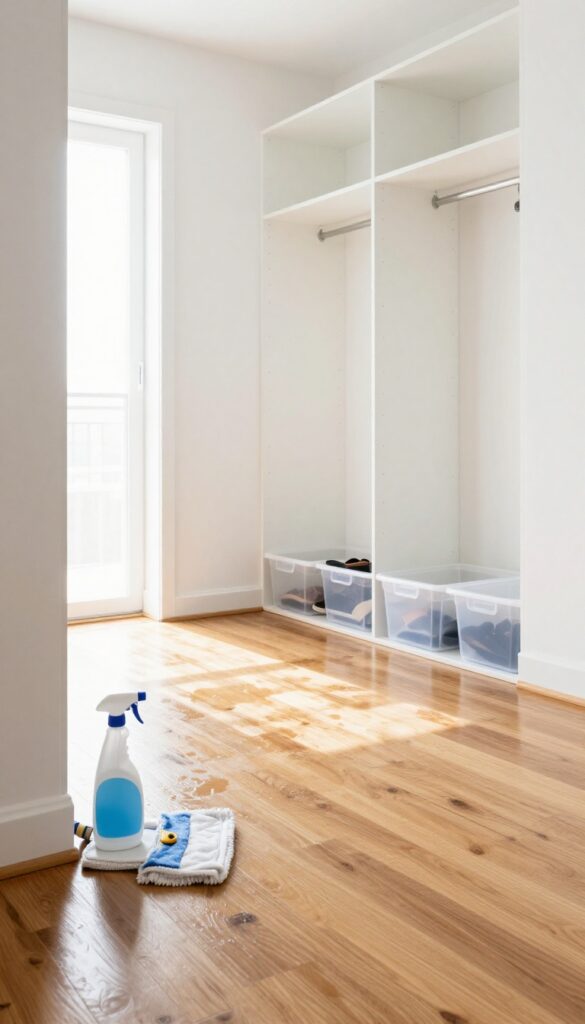
The closet floor is often a dumping ground for shoes, bags, and boxes. Over time, dirt, dust, and even mildew can build up, especially in corners. Giving this hidden surface a proper scrub makes a surprising difference in how fresh your whole room feels.
Start by pulling everything out—shoes, bins, hangers, everything. Sweep or vacuum the floor thoroughly, paying attention to edges and under any built-in shelving. If your closet floor is tile or hardwood, mop with a gentle cleaner.
For carpet, spot-treat stains and use a carpet cleaner or steam cleaner for a deep refresh. Let the floor dry completely before putting items back.
Sort And Declutter First
Before you clean, take the opportunity to declutter. Toss worn-out shoes, donate clothes you never wear, and recycle empty boxes. This makes the actual cleaning easier and ensures you only put back what you truly need.
Choose The Right Cleaning Method
The cleaning approach depends on your flooring. For hardwood or laminate, use a damp microfiber mop with a wood-safe cleaner. For tile, a scrub brush and mild detergent work well.
If you have carpet, a handheld upholstery cleaner or a rented carpet cleaner can lift embedded dirt.
Organize With Purpose
Once the floor is clean, reorganize with intention. Use shoe racks, clear bins, or labeled baskets to keep everything off the floor. This not only looks tidier but also makes future cleaning faster—just sweep or mop without moving a pile of shoes.
19. Freshen Up with Natural Deodorizers
After all that scrubbing and dusting, the last thing you want is a room that still smells stale. Chemical air fresheners can mask odors but often add their own synthetic scent. Natural deodorizers are a gentle, effective alternative that actually absorb smells rather than covering them up.
Natural deodorizers work by trapping odor molecules or releasing pleasant, subtle aromas. They're safe for homes with kids and pets, and you likely have the ingredients already in your pantry. Best of all, they're inexpensive and easy to use.
Baking Soda And Activated Charcoal
Place open bowls of baking soda in corners, closets, or under furniture. It absorbs moisture and neutralizes odors without adding any fragrance. For tougher smells, activated charcoal works even better—it's highly porous and traps odor particles.
Replace both every few weeks for best results.
Stovetop Simmer
Fill a small pot with water, add cinnamon sticks, citrus peels, or a few drops of vanilla extract, and let it simmer on low heat. The steam carries the natural scent throughout the room. Keep an eye on the water level so it doesn't boil dry.
This method is especially nice during colder months.
Essential Oil Sprays
Mix a few drops of your favorite essential oil (like lavender, lemon, or tea tree) with water in a spray bottle. Lightly mist the room, focusing on fabrics like curtains or upholstery. Avoid saturating surfaces.
Shake well before each use, and test on a small area first to ensure no staining.
20. Do a Final Walk-Through

You’ve scrubbed, dusted, and organized every corner. Now it’s time for the finishing touch—a final walk-through. This step ensures nothing was missed and that the room feels truly complete.
It’s your chance to catch smudges, stray items, or uneven details before you call it done.
Scan For Missed Spots
Walk the perimeter of the room with fresh eyes. Look for dust bunnies in corners, cobwebs near the ceiling, or fingerprints on light switches and door frames. Check mirrors and windows for streaks.
Use a microfiber cloth to quickly wipe any overlooked surfaces.
Fluff And Straighten
Plump up throw pillows, align cushions on the sofa, and straighten rugs that shifted during cleaning. Smooth out duvets and bedspreads. Adjust curtains or blinds so they hang evenly.
These small tweaks make the whole room look intentional and polished.
Check Lighting And Ambiance
Turn on all lights to see if any bulbs are burnt out or if the brightness feels off. Replace dim bulbs and consider switching to warm-toned LEDs for a cozy glow. Open curtains to let in natural light.
A well-lit room instantly feels cleaner and more inviting.
Do A Sensory Check
Take a deep breath. Does the room smell fresh? If not, open a window for a few minutes or use a natural air freshener like a bowl of baking soda or an essential oil diffuser.
Also listen—any buzzing from electronics or dripping from a faucet? Address those small annoyances now.
FAQ
How often should I deep clean a room?
Aim for a deep clean every 3 to 6 months, depending on traffic and allergies. High-use rooms like kitchens may need it more often.
What’s the best order to deep clean a room?
Always work from top to bottom and left to right. Start with ceilings and high surfaces, then move to walls, furniture, and finally floors.
Do I need special cleaning products?
Not necessarily. Many effective cleaners use vinegar, baking soda, and dish soap. For disinfecting, use a product with EPA-approved claims.
How long does a deep clean take per room?
Expect 2 to 4 hours for a standard bedroom or living room. Larger or more cluttered spaces can take longer. Break it into sessions if needed.
Can I deep clean without removing furniture?
You can, but moving furniture gives better results. It allows you to clean hidden dirt and dust that affects air quality and appearance.
Conclusion
Deep cleaning your room doesn't have to be an overwhelming all-day project. By breaking it into these 20 focused steps, you can tackle each area methodically and see real progress without the burnout. Start with just one or two steps that feel most urgent, then build from there.
The satisfaction of walking into a truly fresh, clean space will motivate you to keep going. Your room will feel like a sanctuary again.


