
A deep clean resets your entire home, not just the surface.
It’s the difference between tidy and truly fresh—where every baseboard, window track, and grout line gets the attention it deserves.
These 25 checklist ideas break down that full reset into manageable, room-by-room tasks so you don’t miss a spot.
1. Declutter Every Surface First
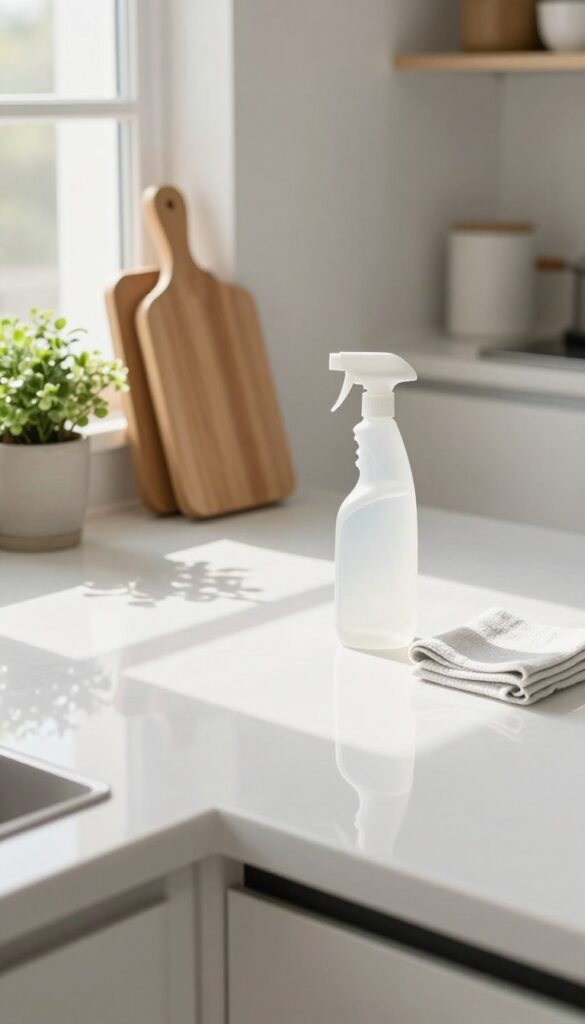
Before you scrub anything, you need to clear the decks. Clutter hides dirt and makes every cleaning move awkward. By removing everything that doesn't belong—old mail, random knickknacks, half-empty bottles—you create a clean slate.
Sort items into three piles: keep, donate, and trash. This step alone makes the rest of your deep cleaning faster and more effective.
Decluttering isn't just about tidiness; it's the foundation of a thorough clean. When surfaces are bare, you can reach every corner, wipe every inch, and actually see what needs attention. Plus, you'll avoid the frustration of moving items around just to dust under them.
Start with one room at a time, and be ruthless. If you haven't used something in a year, it's probably time to let it go.
Start With The Kitchen Counters
Kitchen counters attract the most daily clutter—appliances, mail, grocery bags. Clear them completely, wiping down each item before returning only what you use daily. Store small appliances you rarely use in cabinets.
This makes the counter easy to sanitize and gives you a fresh starting point.
Tackle Bathroom Vanities
Bathroom vanities collect half-used products, expired medicines, and stray hair ties. Empty the entire surface and drawers. Toss anything expired or empty, and group like items together.
Wipe down the vanity top and inside drawers before restocking. A clutter-free bathroom feels instantly cleaner.
Clear Living Room Surfaces
Coffee tables, end tables, and shelves often become catch-alls for remotes, magazines, and decor. Remove everything, dust the surfaces, and only put back items that serve a purpose or bring joy. Consider a tray or basket to corral remotes and coasters, keeping the look tidy long-term.
2. Wash All Windows and Window Tracks
Windows are the eyes of your home, but they collect grime and smudges over time. A deep clean goes beyond a quick wipe—it tackles the glass, frames, and tracks where dust and mold love to hide. This step instantly brightens your space and makes everything feel fresher.
Start by removing any window screens and washing them with mild soap and water. Let them air dry while you work on the glass. For streak-free results, use a squeegee and a microfiber cloth.
Dip the squeegee in a bucket of warm water with a drop of dish soap, then pull it across the glass in a vertical motion, wiping the blade clean between strokes. Finish by buffing edges with a dry microfiber cloth. Don't forget the window tracks—they often harbor dirt and debris.
Use a vacuum with a crevice tool to suck up loose particles, then scrub the tracks with an old toothbrush dipped in soapy water. Rinse with a damp cloth and dry thoroughly to prevent rust or mildew. Finally, clean the window sills and frames with a damp cloth, and reinstall the screens once everything is dry.
Tools You'll Need
Gather a squeegee, microfiber cloths, a bucket, mild dish soap, an old toothbrush, a vacuum with a crevice tool, and a spray bottle. Having everything ready makes the job faster and less frustrating.
Step-by-step Process
Remove screens and wash them. Prepare a soapy water solution. Wet the window with a sponge or spray bottle.
Squeegee from top to bottom, wiping the blade after each pass. Buff edges with a dry cloth. Vacuum tracks, then scrub with a toothbrush.
Rinse tracks and dry. Wipe frames and sills. Reinstall screens.
Pro Tips For Best Results
Clean windows on a cloudy day to avoid streaks from quick drying. Use distilled water if your tap water is hard. For stubborn grime on tracks, try a paste of baking soda and vinegar.
Let it sit for a few minutes before scrubbing.
3. Deep Clean Carpets and Rugs
Carpets and rugs trap dust, allergens, and odors that regular vacuuming can't fully remove. A deep clean restores their freshness and extends their life. Here's how to tackle both wall-to-wall carpet and area rugs effectively.
Shampoo Or Steam Clean Carpets
Rent or buy a carpet shampooer or steam cleaner for a thorough job. Move furniture out of the room, vacuum thoroughly, then treat stains with a pre-treatment spray. Follow the machine's instructions, using hot water and a cleaning solution.
Let the carpet dry completely before walking on it or replacing furniture.
Beat And Spot Clean Area Rugs
Take small area rugs outside and hang them over a railing or clothesline. Beat them with a broom or rug beater to dislodge embedded dust. For larger rugs, lay them flat and vacuum both sides.
Spot clean stains with a mild detergent and water, blotting—not rubbing—to avoid spreading.
Deodorize Naturally
After cleaning, sprinkle baking soda liberally over dry carpet or rugs. Let it sit for at least 15 minutes (or overnight for stubborn odors), then vacuum thoroughly. For a fresh scent, add a few drops of essential oil to the baking soda before applying.
4. Wipe Down Baseboards and Trim
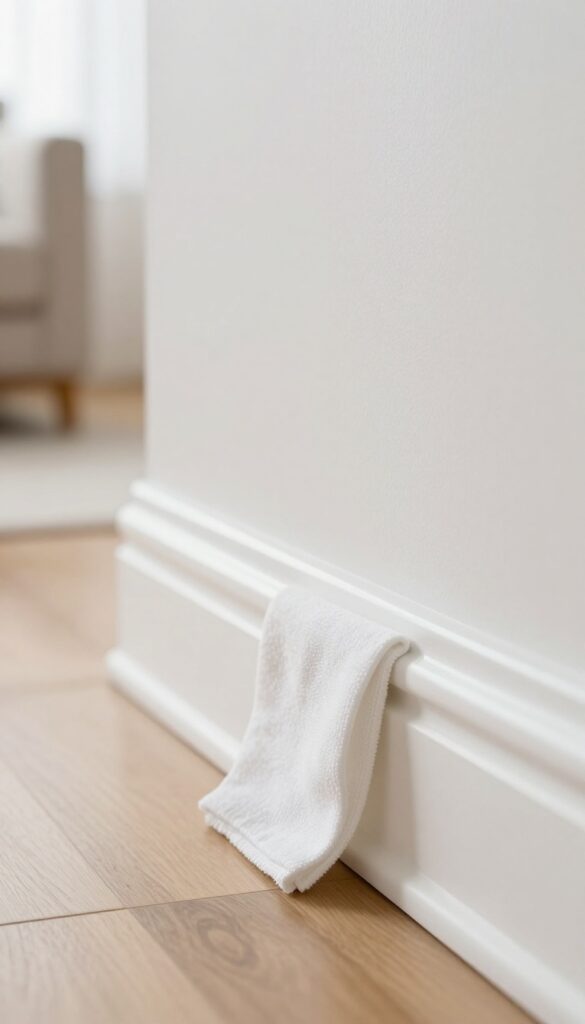
Baseboards and trim are some of the most overlooked surfaces in a home. They collect dust, pet hair, and grime that can make even a clean room feel dull. Giving them a proper wipe-down is a small effort that makes a big visual difference.
Dust First, Then Wipe
Start by dry dusting the baseboards with a microfiber mop or cloth. This picks up loose debris without smearing it around. For corners and tight spots, use a soft brush attachment on your vacuum or a dry paintbrush to dislodge stubborn dust.
Choose The Right Cleaner
Mix a few drops of dish soap with warm water for painted baseboards. For wood trim, use a gentle wood cleaner or a vinegar-water solution (1 part vinegar to 4 parts water). Avoid soaking the wood—dampen your cloth lightly and wipe along the grain.
Don't Forget Behind Furniture
Slide furniture away from walls to access the baseboards behind it. This is where dust bunnies hide. Wipe those areas thoroughly, and consider using a long-handled duster to reach under beds and couches without moving heavy pieces every time.
5. Scrub Kitchen Cabinets Inside and Out
Kitchen cabinets are magnets for grease, dust, and sticky fingerprints. A deep clean means tackling both the inside and outside surfaces, not just a quick wipe. This reset makes your kitchen feel fresh and keeps your cookware and dishes in a cleaner environment.
Empty And Sort
Start by removing everything from every cabinet. This is the perfect chance to toss expired spices, donate unused gadgets, and group similar items. Wipe down each shelf with a degreaser (a mix of warm water and dish soap works well) and let them dry completely.
Scrub Doors And Handles
Cabinet doors collect layers of cooking residue. Use a gentle all-purpose cleaner or a vinegar-water solution to wipe down both the fronts and backs. Don't forget the handles or knobs—they harbor bacteria.
A toothbrush dipped in soapy water can get into crevices.
Organize Before Restocking
Now that everything is clean, think about how you use your cabinets. Place frequently used items at eye level. Use bins or shelf risers to maximize space.
Label containers if it helps. Restock with a system so you can easily find what you need.
6. Degrease the Stovetop and Oven
Your stovetop and oven take a beating from splatters, spills, and baked-on grease. A deep clean removes that stubborn grime and makes cooking feel fresh again. This is one of those tasks that looks intimidating but is actually straightforward with the right approach.
Soak The Burner Grates
Start by removing the burner grates and any removable knobs. Fill your sink or a large basin with hot water and a squirt of dish soap. Let the grates soak for at least 30 minutes—longer if they’re really caked on.
After soaking, scrub with a non-abrasive sponge or a brush to lift off grease. Rinse and dry thoroughly before putting them back.
Baking Soda Paste For The Oven
For the oven interior, mix a paste of baking soda and water—about half a cup of baking soda with a few tablespoons of water. Spread the paste over the inside surfaces, avoiding heating elements. Let it sit overnight or for at least 12 hours.
The baking soda will break down baked-on grease and food residue without harsh chemicals.
Scrub And Wipe Down
After the paste has done its work, spray white vinegar over the baking soda. It will fizz and loosen everything up. Use a damp cloth or sponge to scrub away the paste and grime.
Wipe down with clean water to remove any residue. For stubborn spots, a plastic scraper can help. Finish by wiping the oven door glass with a vinegar-water solution for a streak-free shine.
7. Sanitize the Refrigerator and Freezer
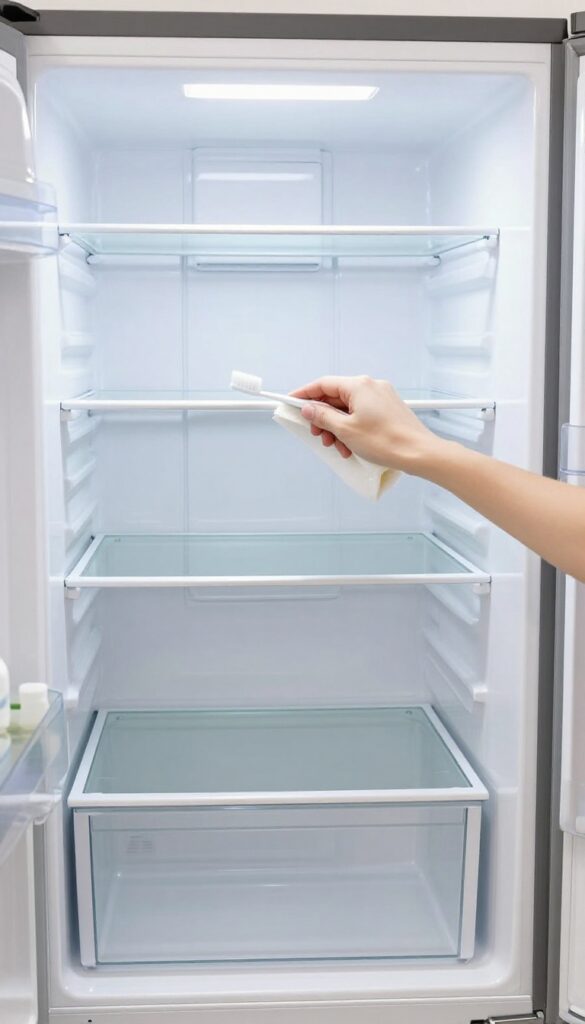
The fridge works hard every day, but it can become a breeding ground for bacteria and odors if ignored. A deep clean goes beyond wiping spills—it means emptying everything, tossing expired items, and scrubbing every nook. Your food will stay fresher, and your appliance will run more efficiently.
Empty And Sort
Pull everything out—shelves, drawers, and all. Check expiration dates and toss anything past its prime. Group similar items together to make restocking easier.
This is also a great time to wipe down jars and bottles that might be sticky.
Scrub Shelves And Drawers
Remove all shelves and drawers and wash them in warm, soapy water. For stubborn stains, use a paste of baking soda and water. Dry completely before putting them back.
Don't forget the interior walls and ceiling of the fridge—they collect splatters too.
Tackle Door Seals And Crisper Drawers
Door seals trap crumbs and moisture, leading to mold. Wipe them with a toothbrush dipped in vinegar solution. Crisper drawers often hide produce residue; remove and scrub them with mild dish soap.
Let everything air dry before reassembling.
Organize And Restock
Before putting food back, line shelves with easy-to-clean mats or paper towels. Group items by type—dairy on one shelf, condiments on another. Use clear bins for small items.
This makes future cleaning faster and keeps your fridge looking neat.
8. Descale the Coffee Maker and Kettle
Your morning coffee or tea can taste off if mineral buildup is lurking inside your appliances. Descaling removes that chalky residue, improves performance, and extends the life of your coffee maker and kettle. It’s a quick win that makes a real difference in flavor and freshness.
Why Descaling Matters
Hard water leaves calcium and limescale deposits that clog internal parts. Over time, this slows down brewing, increases energy use, and can even cause breakdowns. Regular descaling keeps your appliances running efficiently and your drinks tasting clean.
How To Descale A Drip Coffee Maker
Fill the reservoir with equal parts white vinegar and water. Run a full brew cycle, then let it sit for 15 minutes. Follow with two cycles of fresh water to rinse out any vinegar taste.
Wipe down the carafe and warming plate afterward.
Descaling An Electric Kettle
Fill the kettle halfway with a 1: 1 vinegar-water solution. Bring it to a boil, then let it sit for 20 minutes. Pour out the mixture, scrub any loose scale with a soft brush, and rinse thoroughly.
Boil fresh water once or twice to remove any lingering vinegar smell.
Maintenance Tips
Descale every 1–3 months depending on your water hardness. If you notice slow brewing or white flakes in your cup, it’s time. Using filtered water can reduce buildup and extend the time between descaling sessions.
9. Clean Microwave Inside and Out
The microwave is one of the most used appliances in the kitchen, yet it's often cleaned only when something explodes. A deep clean goes beyond a quick wipe—it tackles hidden grime, lingering odors, and greasy buildup that can affect performance and hygiene. Here's how to get it sparkling inside and out.
Steam Clean The Interior
Place a microwave-safe bowl filled with 1 cup of water and a few lemon slices (or 2 tablespoons of vinegar) inside. Microwave on high for 3 minutes, then let it sit for 2 more minutes without opening the door. The steam loosens dried-on food and grease.
Carefully remove the bowl and wipe down all interior surfaces with a damp cloth or sponge. The lemon leaves a fresh scent.
Don't Skip The Turntable And Rollers
Take out the glass turntable and the roller ring underneath. Wash them in warm, soapy water or place them in the dishwasher if they're dishwasher-safe. While they're out, clean the cavity floor and the roller guide with a damp cloth.
Reassemble once everything is dry.
Scrub The Exterior And Control Panel
Wipe down the outside with a mild all-purpose cleaner or a vinegar-water solution. Pay special attention to the control panel, door handle, and vent area where fingerprints and grease collect. Use a soft cloth to avoid scratching the surface.
For stubborn spots, a magic eraser works wonders.
Freshen The Door Seal And Vents
The rubber seal around the door can trap crumbs and moisture, leading to mold. Wipe it with a damp cloth and a little dish soap, then dry thoroughly. Also, clean the air vents on the top or back of the microwave to ensure proper airflow—use a vacuum with a brush attachment to remove dust.
10. Scrub Bathroom Grout and Tile
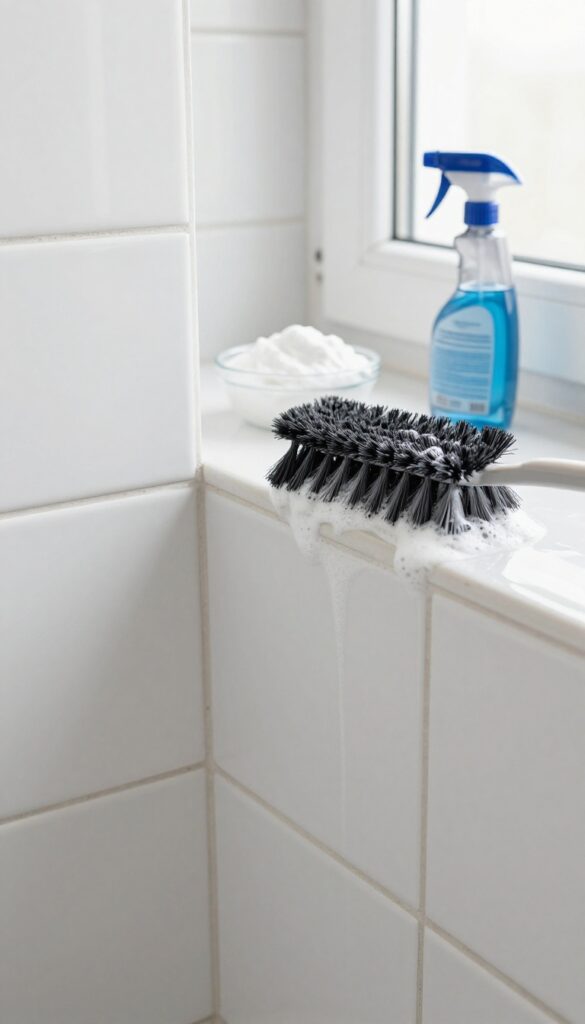
Grout lines are notorious for trapping soap scum, mildew, and dirt, turning your bathroom tiles from fresh to grimy. A deep clean that targets these porous surfaces can make the whole space look brighter and feel more sanitary. This task takes a bit of elbow grease, but the payoff is a bathroom that truly feels reset.
Make A Powerful Paste
Mix baking soda and hydrogen peroxide into a thick paste (about 2 parts baking soda to 1 part peroxide). This combo creates a gentle abrasive that lifts grime without damaging tiles. Apply it directly to the grout lines using an old toothbrush or a small spatula, making sure to work it into the grooves.
Scrub And Rinse Thoroughly
Let the paste sit for 5–10 minutes to break down stubborn buildup. Then scrub vigorously with a stiff-bristled brush—a grout brush or a dedicated tile brush works best. Rinse with warm water and wipe away residue with a damp cloth.
For tough stains, repeat the process or add a little white vinegar to the mix.
Seal For Long-lasting Results
Once the grout is clean and completely dry (wait at least 24 hours), apply a grout sealer. Sealing creates a protective barrier that repels moisture and stains, making future cleanings much easier. Use a small brush or applicator to coat the grout lines evenly, then wipe off any excess from the tiles.
11. Descale Showerheads and Faucets
Mineral buildup from hard water can clog your showerhead and dull your faucets, reducing water pressure and leaving unsightly white deposits. A simple vinegar soak restores flow and shine without any harsh chemicals or scrubbing. This is one of those tasks that feels oddly satisfying once you see the difference.
Why Vinegar Works
White vinegar is mildly acidic, which dissolves calcium and lime scale effectively. It's cheap, non-toxic, and safe for most metal and plastic fixtures. For stubborn buildup, a longer soak or a second treatment may be needed.
Step-by-step Soak
Fill a sturdy plastic bag with enough white vinegar to submerge the showerhead. Secure it with a rubber band or zip tie, ensuring it's tight enough to keep the bag in place overnight. In the morning, remove the bag, run the water for a minute to flush out loosened debris, and wipe the fixture dry with a soft cloth.
Faucet Descale Trick
For faucets, wrap a vinegar-soaked cloth around the spout and aerator, securing it with a rubber band. Leave it for an hour or two, then remove and scrub gently with an old toothbrush. Rinse thoroughly.
This also works on handheld showerheads—just detach and submerge in a bowl of vinegar.
12. Wash Shower Curtain and Liner
Your shower curtain and liner take a beating from soap scum, body oils, and moisture. They can quickly become a breeding ground for mold and mildew if neglected. Giving them a proper wash not only freshens up your bathroom but also extends their life.
Fabric Curtains: Toss In The Wash
Most fabric shower curtains are machine washable. Remove any plastic rings or hooks first. Wash on a gentle cycle with warm water and your regular detergent.
Add a half cup of bleach if the fabric is white and bleach-safe, or use oxygen bleach for colors. Tumble dry low or hang to dry immediately to prevent wrinkles.
Plastic Liners: Wipe Or Replace
Plastic liners can't go in the washing machine without risk of tearing. Instead, spray them down with a 50/50 vinegar and water solution. Let it sit for 10 minutes, then scrub with a soft brush or sponge.
Rinse thoroughly with warm water. If you spot stubborn mold or the liner feels grimy, it's time to replace it—they're cheap and easy to swap out.
Don't Forget The Hooks And Rod
While the curtain is off, wipe down the shower curtain rod and hooks with a disinfecting cleaner or vinegar solution. These spots collect dust and soap residue. A quick wipe prevents buildup and keeps your hardware looking new.
13. Deep Clean the Toilet Tank and Bowl
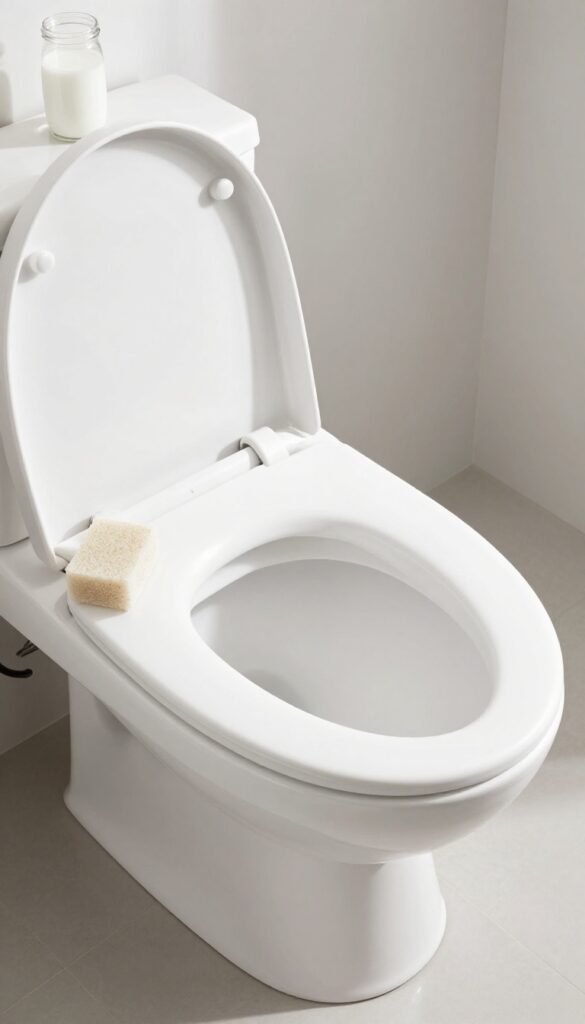
Most people clean the toilet bowl regularly, but the tank often gets ignored until something goes wrong. Mineral deposits and bacteria can build up inside, affecting both performance and hygiene. A thorough clean of both tank and bowl makes a noticeable difference in freshness and function.
Tank Treatment With Vinegar
Start by turning off the water supply and flushing to empty the tank. Pour two cups of white vinegar into the tank, then let it sit for at least an hour—overnight is even better for heavy buildup. The vinegar breaks down mineral deposits and disinfects without harsh chemicals.
After soaking, scrub the inside walls with a toilet brush, then turn the water back on and flush a few times to rinse.
Bowl Ring Removal With Pumice Stone
For stubborn rings and hard water stains in the bowl, a pumice stone works wonders. Wet the stone first to prevent scratching, then gently rub the stained areas. The abrasive action lifts deposits that brushes can't touch.
Finish by scrubbing the entire bowl with a toilet brush and cleaner, then flush.
Exterior Disinfection
Don't forget the outside—the handle, lid, and base collect germs and grime. Use a disinfecting wipe or spray on all exterior surfaces, paying extra attention to the flush handle and the area around the base. Wipe down the floor around the toilet too, since splashes and drips accumulate there.
A clean exterior completes the job and keeps the whole toilet looking fresh.
14. Organize and Wipe Medicine Cabinet
Your medicine cabinet is a magnet for clutter—half-used tubes, expired pain relievers, and mystery bottles from years ago. A deep clean here means more than just wiping dust; it’s about safety and sanity. When you’re sick or in a hurry, the last thing you need is to dig through a mess.
Toss The Expired And Unused
Start by pulling everything out. Check expiration dates on every bottle, tube, and packet. Discard anything past its prime—most medications lose potency or become unsafe.
Also toss anything you haven’t used in a year, like old cold remedies or half-empty sunscreen. Dispose of medications properly: check local take-back programs or mix with coffee grounds in a sealed bag before throwing in the trash.
Wipe Down Every Surface
With the cabinet empty, remove glass shelves if possible. Wash them in warm soapy water, then dry completely. Wipe the interior walls, door, and hinges with a disinfectant spray or a vinegar-water solution.
Don’t forget the mirror—clean it streak-free with glass cleaner. Let everything air dry before restocking.
Sort And Restock Smartly
Group items by category: first aid, pain relief, allergy, skincare, dental, etc. Use small bins or trays to keep similar items together. Place frequently used items at eye level, less-used ones on lower or higher shelves.
If your cabinet is shallow, store items standing up or in slim containers. Label shelves if you share the cabinet with others.
15. Vacuum and Flip Mattresses
Your mattress works hard every night, absorbing sweat, dead skin cells, and dust mites. Vacuuming it regularly keeps allergens down and extends its life. Flipping or rotating prevents uneven wear so you get consistent comfort and support.
Start by stripping all bedding and washing it in hot water. Use the upholstery attachment on your vacuum to go over the entire surface, paying extra attention to seams and crevices where debris collects. If your mattress has a removable cover, launder it separately.
After vacuuming, check the manufacturer’s tag for flipping and rotating instructions—some mattresses are one-sided and should only be rotated, not flipped. Do this every six months to maintain even support.
Why Vacuuming Matters
Dust mites and their waste are common allergens that can trigger sneezing and congestion. Vacuuming removes these particles, along with crumbs and pet dander, creating a cleaner sleep environment. It also helps prevent stains and odors from setting in.
How To Flip Or Rotate Correctly
Not all mattresses are flippable. Memory foam and pillow-top models usually have a specific top and bottom, so only rotate them head-to-foot. Traditional innerspring mattresses often can be flipped.
Always follow the care label to avoid voiding the warranty.
When To Do This
Aim to vacuum your mattress every time you wash your sheets—roughly every two weeks. The flip or rotate should happen every six months. Mark your calendar or tie it to daylight saving time changes so you don’t forget.
16. Wash Bedding and Pillows
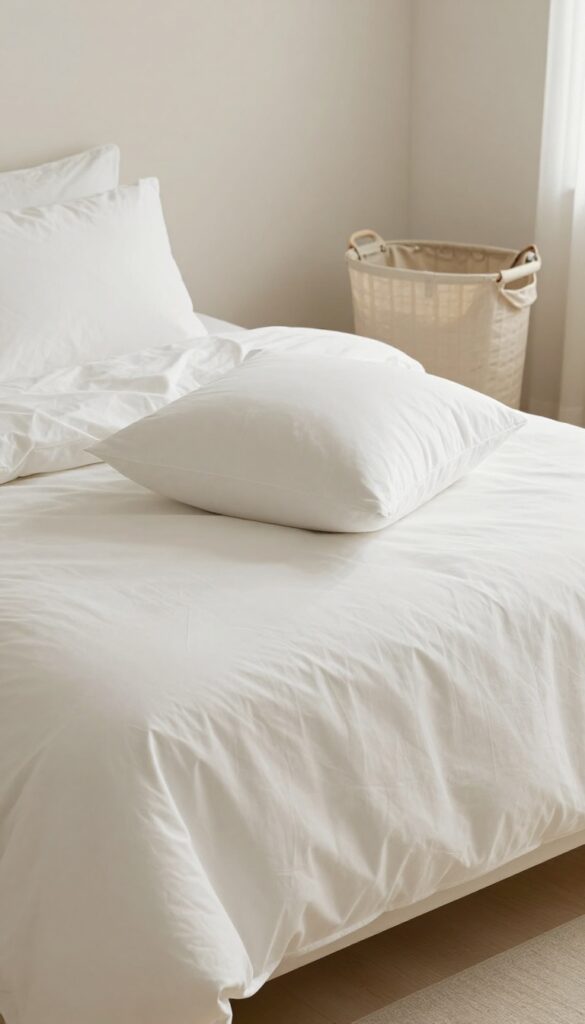
Your bed is a sanctuary, but it's also a trap for sweat, oils, and dust mites. A deep clean of your bedding and pillows makes a huge difference in how fresh and inviting your bed feels. This task goes beyond your regular weekly sheet change.
Hot Water Wash For Sheets
Strip the bed completely and wash all sheets, pillowcases, and duvet covers in hot water (at least 130°F) to kill dust mites and remove allergens. Use a heavy-duty detergent and add a half-cup of baking soda to boost cleaning power. Dry on high heat for best results.
Pillow Washing Tips
Check the care label first—most synthetic and down pillows are machine washable. Wash two pillows at a time to keep the washer balanced. Use a gentle cycle with warm water and a small amount of detergent.
Run an extra rinse cycle to remove all soap residue, which can cause yellowing.
Drying Is Critical
Pillows need thorough drying to prevent mold and clumping. Tumble dry on low heat with dryer balls or clean tennis balls to fluff them up. Stop and fluff by hand every 20 minutes.
It may take two or three cycles for large pillows to dry completely.
17. Dust and Polish Furniture
Furniture collects dust on every surface, not just the tops. A deep clean means getting into the legs, undersides, and crevices where grime hides. Polishing afterward restores the finish and leaves a protective layer.
Start Top To Bottom
Always dust from the highest surfaces down so you don't re-dust. Use a microfiber cloth that traps particles instead of spreading them around. Work systematically around each piece, hitting shelves, frames, and decorative items.
Don't Skip The Undersides
Flip chairs and small tables to dust the legs and crossbars. For heavy furniture, use a long-handled duster to reach underneath. This is where cobwebs and lint balls collect, so make it a regular part of your deep clean.
Polish Wood Pieces
Apply a quality furniture polish or a mixture of olive oil and vinegar to a clean cloth, not directly on the wood. Buff in the direction of the grain for a streak-free shine. Avoid silicone-based polishes that can build up over time.
Check For Damage
While dusting, inspect for scratches, water rings, or loose joints. Treat minor scratches with a matching wax stick or touch-up marker. Tighten any loose screws or hardware to prevent further damage.
18. Clean Light Fixtures and Ceiling Fans
Light fixtures and ceiling fans are some of the most overlooked spots during routine cleaning. They collect dust, grime, and even dead bugs, which can dim the light and circulate allergens every time you flip a switch or turn on the fan. Giving them a proper deep clean brightens the room and improves air quality.
Start by turning off the power to the fixture at the switch or breaker. Use a sturdy step stool or ladder to reach safely. For ceiling fans, the pillowcase method works wonders: slip a clean pillowcase over each blade and wipe it off, trapping dust inside.
For light fixtures, remove any glass shades or globes and wash them in warm, soapy water. Wipe down the base and bulbs with a damp microfiber cloth—never spray liquid directly onto electrical parts. Replace any burnt-out bulbs while you're at it, and consider switching to LEDs for longer life and lower energy use.
Dust Fan Blades Without The Mess
The pillowcase trick is a game-changer. Slip an old pillowcase over each fan blade, then pull it back toward you. Dust stays inside the case instead of falling onto furniture or the floor.
For stubborn grime, lightly dampen the cloth with a mix of water and vinegar.
Wipe Down Bulbs And Fixtures
Dust on bulbs can reduce light output by up to 30%. Use a dry or slightly damp microfiber cloth to gently wipe each bulb. For glass shades, soak them in warm water with a drop of dish soap, then rinse and dry thoroughly before reattaching.
Avoid abrasive cleaners that can scratch glass.
Replace Burnt Bulbs And Upgrade
While you have the fixture accessible, swap out any dead bulbs. Consider upgrading to LED bulbs—they last years longer and use a fraction of the energy. Match the bulb type and wattage to the fixture's rating.
19. Wipe Down Walls and Doors
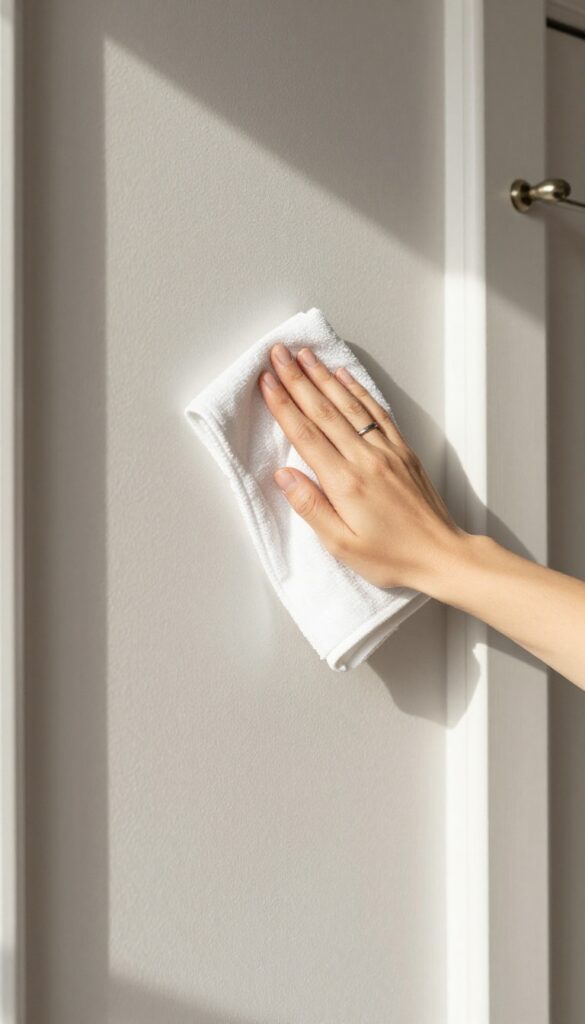
Walls and doors take a surprising amount of daily abuse—scuffs from shoes, fingerprints from little hands, and dust settling on top ledges. Over time, these surfaces can look dingy even if the rest of the room is clean. Giving them a proper wipe-down makes the whole space feel fresher and brighter.
Spot Clean Walls With A Magic Eraser
For scuffs, marks, and smudges, a damp magic eraser works wonders. Gently rub the affected area in a circular motion—test on an inconspicuous spot first, especially on painted walls. For grease spots in the kitchen, add a drop of dish soap to the eraser.
Avoid heavy scrubbing on flat paint, as it can create shiny patches.
Wash Doors And Door Frames
Doors collect grime from hands, especially around handles and edges. Use a mild cleaner (like diluted dish soap or a vinegar-water mix) and a soft microfiber cloth. Wipe the entire surface, including the frame and the top edge.
Don't forget the hinges—they can be wiped with a damp cloth and dried to prevent rust.
Don't Forget The Tops
The tops of doors and door frames are dust magnets that are often ignored. Use a microfiber duster or an extendable duster to reach them. For stubborn buildup, a damp cloth works best.
This small step prevents dust from falling back onto your newly cleaned surfaces.
20. Vacuum Upholstery and Curtains
Fabric surfaces trap dust, allergens, and odors that a quick wipe won't touch. Upholstered furniture and curtains need more than a shake—they need a thorough vacuum to lift embedded debris. This step makes your living space feel fresher and helps extend the life of your textiles.
Choose The Right Attachment
Use the upholstery brush attachment for sofas and armchairs—it’s gentle but effective at loosening dust. For curtains, switch to a soft brush or dusting tool to avoid snagging delicate fabrics. A crevice tool helps reach into seams and along the base of cushions where crumbs and pet hair hide.
Work In Sections
Vacuum each cushion on both sides, then move to the back and arms of the chair or sofa. For curtains, start at the top and work downward in overlapping passes. Don’t forget the underside of furniture and the area where the curtain meets the floor—dust collects there too.
Spot Clean Stains
After vacuuming, treat any visible stains with a cleaner suited to the fabric type. Test a small hidden area first. Blot—don’t rub—to lift the stain without spreading it.
For curtains, check the care label; many can be machine washed, but a spot clean often suffices between deep washes.
21. Clean Under and Behind Appliances
Appliances may look clean on the outside, but the spaces behind and under them are often a dumping ground for dust, crumbs, and lost items. Pulling them out might feel like a chore, but it’s one of the most rewarding deep-cleaning tasks. You’ll not only remove hidden grime but also spot potential issues like leaks or pest droppings early.
Prep And Safety First
Before moving heavy appliances, unplug them to avoid electrical hazards. For gas stoves, shut off the gas line if you can. Clear the area around the appliance so you have room to maneuver.
Use a dolly or slide mats if needed to protect your floors.
Vacuum And Wipe Down
Once the appliance is out, use a crevice tool on your vacuum to suck up dust bunnies, pet hair, and debris. Follow up with a damp microfiber cloth to wipe the floor and the back of the appliance. For sticky spots, a mild degreaser works wonders.
Check For Leaks And Damage
This is the perfect time to inspect hoses, seals, and connections. Look for water stains, rust, or cracks in the supply lines of your fridge or washing machine. Tighten loose fittings and replace any worn parts.
A quick check now can prevent costly water damage later.
Don't Forget The Coils
Refrigerator coils collect dust that makes your appliance work harder and increases energy bills. Use a coil cleaning brush or vacuum attachment to gently remove buildup. Do this every six months for best performance.
22. Organize Closets and Drawers

Closets and drawers are often the last frontier of a deep clean. We tend to shove things in and close the door, but over time they become chaotic catch-alls. This is your chance to start fresh—empty everything out, sort through it, and put back only what you truly need, all in a clean, organized space.
Start by removing every single item from the closet or drawer. Lay everything on the bed or floor so you can see what you have. Wipe down all surfaces—shelves, drawers, rods—with a damp cloth and a gentle cleaner.
While the space dries, sort your items into three piles: keep, donate, and trash. Be honest about what you actually use and love. Once you've pared down, fold or hang items neatly.
Use dividers, bins, or small baskets to keep like items together—think socks in one bin, belts in another. For closets, group clothes by type or color to make getting dressed easier. Finally, resist the urge to overstuff; leave a little breathing room so everything stays tidy.
Empty And Edit
Pull everything out and lay it where you can see it. This step forces you to confront the clutter. As you sort, ask yourself: Have I used this in the past year?
Does it still fit? Do I love it? If the answer is no, it goes in the donate or trash pile.
Be ruthless—you'll thank yourself later.
Clean Every Surface
With the space empty, vacuum the floor or base of the closet, then wipe down all shelves, drawers, and rods. Use a microfiber cloth and an all-purpose cleaner to remove dust, dirt, and any mystery stains. Don't forget the corners and crevices where dust bunnies hide.
Let everything dry completely before putting items back.
Smart Storage Solutions
Invest in a few simple organizers that make a big difference. Drawer dividers keep socks, underwear, and accessories separated. Shelf dividers prevent stacks of sweaters from toppling over.
Clear bins are great for seasonal items or things you don't use daily. Label each bin so you know exactly what's inside without digging.
Maintain The System
Once everything is organized, commit to a simple maintenance routine. When you take something out, put it back in its designated spot. Do a quick 5-minute tidy at the end of each week to keep drawers and closets from sliding back into chaos.
A little consistency goes a long way.
23. Deep Clean Electronics and Screens
Your devices collect more grime than you might think. Screens get smudged, keyboards trap crumbs, and remotes harbor bacteria. A proper deep clean of your electronics not only makes them look new but also extends their lifespan.
Let's go beyond a quick wipe and give your gadgets the reset they deserve.
Start by powering down and unplugging everything. This keeps you safe and prevents accidental damage. For screens, use a microfiber cloth slightly dampened with distilled water—never spray directly.
For keyboards and remotes, compressed air is your best friend for dislodging debris from tight spaces. Finish with a gentle wipe using a 70% isopropyl alcohol solution on a cloth (not directly on the device) to disinfect surfaces.
Screen Safety First
Always check the manufacturer's guidelines for your specific device. Most modern screens have oleophobic coatings that can be damaged by harsh cleaners. Stick to distilled water or a 50/50 mix with white vinegar for stubborn spots.
Use a soft, lint-free microfiber cloth and wipe in gentle circular motions. Avoid paper towels or rough fabrics that can scratch.
Keyboard And Remote Detailing
Turn keyboards upside down and shake out loose debris. Use compressed air to blow between keys, holding the can upright to avoid moisture. For a deeper clean, use a soft brush or a cleaning gel that picks up dust without leaving residue.
Remotes can be wiped with a slightly damp cloth, but be careful around buttons—use a cotton swab dipped in alcohol for the crevices.
Cable And Port Care
Don't forget the ports and cables. Use a dry toothbrush or a specialized cleaning tool to gently remove dust from charging ports and headphone jacks. Wipe down cables with a damp cloth, paying attention to where they connect.
This prevents charging issues and keeps your setup looking tidy.
24. Scrub Sinks and Drains
Sinks and drains see a lot of action, but they rarely get the deep treatment they need. A quick wipe isn't enough to remove the grime, soap scum, and hidden buildup that can lead to odors and slow drainage. This step ensures every basin and pipe in your home runs clean and fresh.
Start by clearing the sink area of dishes and clutter. Sprinkle baking soda over the entire sink surface, then spray or pour vinegar over it to create a fizzing reaction. Let it sit for 5–10 minutes to loosen grime, then scrub with a sponge or brush.
Rinse thoroughly with hot water. For stainless steel, wipe in the direction of the grain to avoid scratches. For drains, remove the stopper or strainer and pull out any hair or debris.
Follow up by pouring a mixture of baking soda and vinegar down the drain, letting it foam for a few minutes, then flushing with boiling water. This clears buildup and neutralizes odors without harsh chemicals.
The Baking Soda And Vinegar Method
This classic combo works wonders on sink surfaces and drains. The fizzy reaction helps lift stuck-on grime and deodorizes naturally. For extra scrubbing power, make a paste with baking soda and a little water, then apply it to stubborn spots before the vinegar spray.
Don’t Forget The Drain Stopper
Stoppers and strainers collect hair and gunk that can cause clogs and smells. Remove them and clean with an old toothbrush or soak in hot, soapy water. For pop-up stoppers, check the pivot rod underneath the sink for accumulated hair.
Finishing Touches For A Fresh Sink
After scrubbing, wipe down the faucet, handles, and surrounding countertop. Use a microfiber cloth to prevent water spots. For extra shine on stainless steel, rub a tiny amount of olive oil on a cloth and buff gently.
25. Refresh Air Vents and Filters
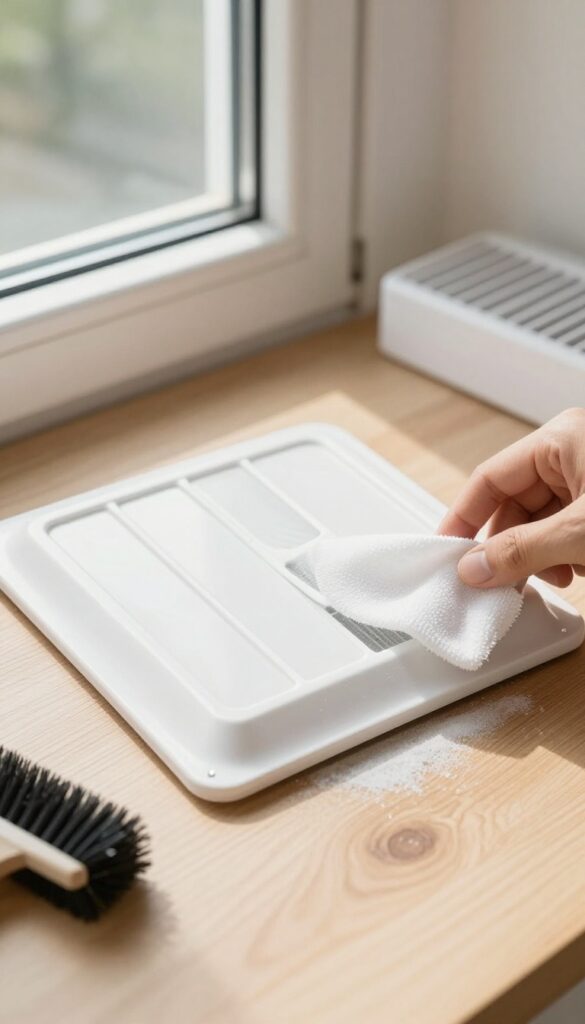
Air vents and filters are easy to overlook, but they play a huge role in your home's air quality. Dust, pet dander, and pollen accumulate on vent covers and inside ducts, recirculating every time the HVAC runs. Giving them a proper clean can reduce allergens and make your system run more efficiently.
Start by removing all vent covers—floor, wall, and ceiling. Wash them in warm soapy water, scrubbing off grime with an old toothbrush. Rinse and dry completely before reinstalling.
While the covers are off, use a vacuum with a brush attachment to reach into the ducts as far as you can. For deeper duct cleaning, consider hiring a professional every few years. Next, locate your HVAC filter and check its condition.
If it's disposable and dirty, replace it with a new one of the same size and rating. Washable filters should be rinsed and dried thoroughly before putting them back. This simple task can improve airflow and cut energy costs.
Remove And Wash Vent Covers
Unscrew each vent cover and soak them in a bucket of warm water with a few drops of dish soap. Use a small brush to dislodge built-up dust. Rinse with clean water and let them dry completely before reattaching.
This alone can significantly reduce airborne dust.
Vacuum Inside Ducts
With the covers off, use a vacuum hose with a crevice tool to suction dust and debris from the duct opening. If you have a long flexible brush attachment, gently sweep the interior walls. Avoid pushing debris further in.
For large buildup, call a duct cleaning service.
Replace Or Clean Hvac Filters
Turn off your system before handling filters. Check the filter monthly—if it looks gray or clogged, swap it out. Disposable filters need replacement; washable ones should be rinsed with water and air-dried.
A clean filter improves efficiency and protects your equipment.
FAQ
How often should I do a deep cleaning of each room?
Most rooms benefit from a deep clean every 3 to 6 months. High-traffic areas like kitchens and bathrooms may need it every 2 to 3 months.
What's the best order to deep clean a room?
Start from the top: ceiling fans and light fixtures, then walls and windows, then furniture, and finally floors. This prevents dust from settling on already cleaned surfaces.
Can I use natural cleaners for deep cleaning?
Absolutely. White vinegar, baking soda, lemon juice, and hydrogen peroxide are effective for most tasks. Just avoid vinegar on natural stone surfaces.
How do I remove stubborn grout stains?
Make a paste of baking soda and hydrogen peroxide, apply to grout, let sit for 10 minutes, then scrub with a stiff brush. Rinse well. For tough stains, use a grout cleaner.
What should I do with items I declutter?
Donate gently used items to local charities, recycle electronics and textiles, and trash anything broken or unsanitary. Consider selling valuable items online.
Conclusion
Deep cleaning your home from top to bottom can feel like a massive project, but working through these 25 checklist ideas turns it into manageable, rewarding steps. Each room you reset gives you a visible payoff—a fresher smell, more open space, and that satisfying feeling of starting clean. The real win isn't perfection; it's the process of reclaiming your environment one corner at a time.
Pick the areas that bother you most and start there. Even completing half this list will leave your home feeling noticeably lighter and more organized.


