
Your bedroom should be a sanctuary, but dust mites, allergens, and grime accumulate fast. A deep clean goes beyond surface-level tidying to target hidden dirt in your mattress, pillows, and carpets.
These 23 tasks tackle every corner so you can breathe easier and sleep soundly.
Work through them at your own pace—your sleep space will thank you.
1. Wash Your Pillows and Protectors
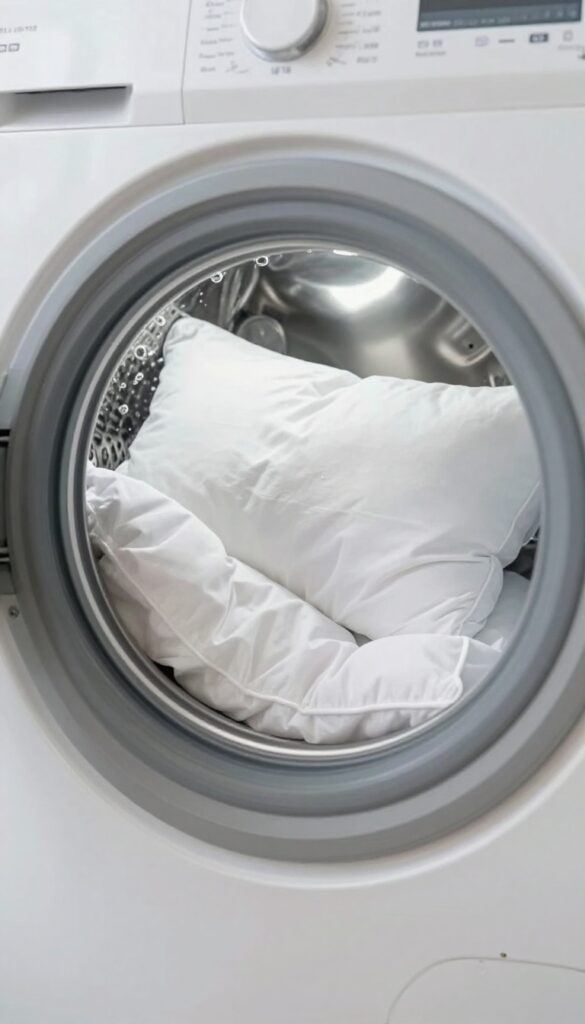
Your pillow is a sponge for sweat, drool, and dead skin cells. Tossing it in the wash every few months isn't enough—especially if you've never washed it at all. A deep clean removes allergens and oils that build up over time, giving you a fresher surface to rest your head on.
Most pillows can go in the washing machine, but check the care tag first. Use hot water and a gentle detergent—skip the fabric softener, which can break down the filling. Run an extra rinse cycle to remove all soap residue.
Dry thoroughly on low heat, tossing in a couple of clean tennis balls to fluff the filling. If your pillow comes out lumpy or flat, it's time for a replacement. Wash pillow protectors the same way, but they can handle more frequent washes—aim for every two months.
How Often To Wash Pillows
Wash standard pillows every 3 to 6 months. If you have allergies or sleep hot, bump that up to every 2 months. Pillow protectors should be washed every 2 months or whenever you wash your sheets.
When To Replace Pillows
Pillows lose their shape and support over time. A good rule: replace them every 1 to 2 years. If you fold the pillow in half and it doesn't spring back, or if you wake up with neck pain, it's time for a new one.
Drying Tips For Fluffy Pillows
Wet pillows can trap moisture and grow mold. Dry on low heat for at least an hour, pausing to fluff them by hand. Add dryer balls or clean tennis balls to break up clumps.
Make sure they're completely dry—damp spots can lead to mildew.
2. Deep Clean Your Mattress
Your mattress is the centerpiece of your sleep space, but it’s also a magnet for dust mites, dead skin cells, and sweat. Over time, these build up and can affect your sleep quality and allergies. A thorough mattress clean doesn’t have to be complicated—just a few steps can make a big difference.
Start by stripping all bedding and washing it in hot water. Vacuum the entire mattress surface using an upholstery attachment, paying special attention to seams, tufts, and edges where debris hides. For stains, mix a paste of baking soda and water, apply it to the spot, let it dry, then scrape it off.
Finally, sprinkle a thin layer of baking soda over the whole mattress, let it sit for a few hours (or longer if possible), and vacuum it up. This absorbs odors and moisture, leaving your mattress fresher.
Why Vacuuming Matters
Vacuuming removes surface dust, pet dander, and dust mites before they settle deeper into the mattress fibers. It’s the first and most important step. Use a HEPA filter vacuum if you have one to trap allergens effectively.
Tackling Stains The Right Way
Baking soda paste works wonders on most organic stains like sweat or blood. Avoid soaking the mattress—use just enough paste to cover the stain. Let it dry completely before scraping or vacuuming.
For tougher stains, a mild enzyme cleaner can help.
Deodorizing With Baking Soda
After spot cleaning, a full baking soda treatment neutralizes odors throughout the mattress. Let it sit for at least 2–4 hours; longer is better. The baking soda absorbs moisture and smells, then vacuums away cleanly.
3. Wash All Bedding in Hot Water
Your sheets and pillowcases might look clean, but they trap sweat, oils, and dust mites over time. Hot water is the simplest way to reset your bedding and remove what you can't see. Make this a regular habit for a truly fresh sleep surface.
Why Hot Water Matters
Dust mites thrive in warm, humid environments, and your bed is their favorite spot. Washing in water at least 130°F kills them and removes their allergens. Cold or warm water just won't cut it—heat is the key.
What To Wash And How Often
Sheets and pillowcases should be washed weekly. Duvet covers and blankets every two weeks. Don't forget mattress protectors and pillow protectors—they need a hot wash every month to stay effective.
Choosing The Right Detergent
If you have allergies or sensitive skin, go with a hypoallergenic, fragrance-free detergent. Harsh chemicals or strong scents can irritate your airways and disrupt sleep. A gentle formula does the job without the side effects.
4. Vacuum Under the Bed
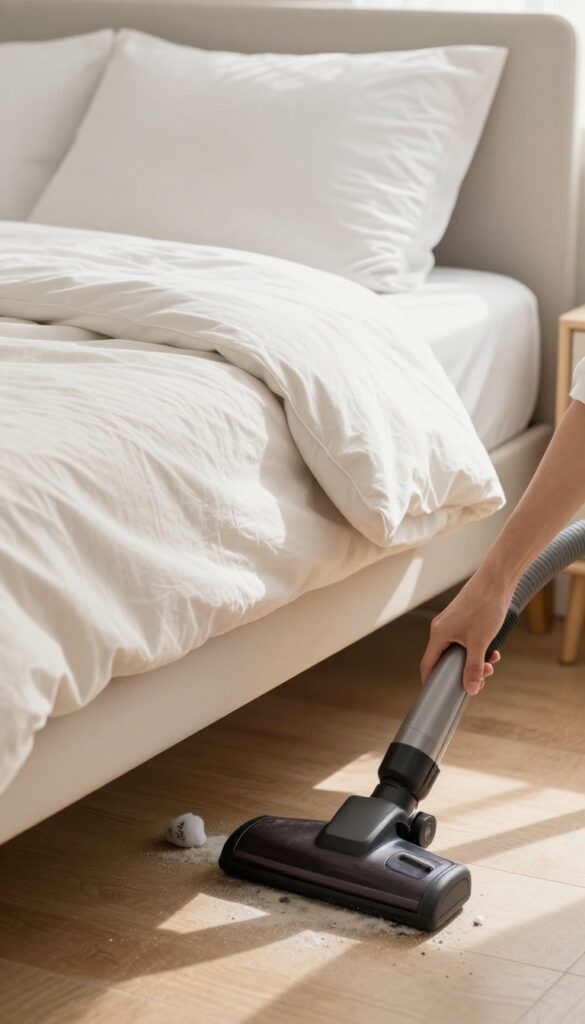
The space under your bed is a black hole for dust, debris, and the occasional missing sock. Even if you can't see it, that dark zone is likely harboring allergens that float into your breathing space while you sleep. A monthly vacuum session here makes a real difference in air quality.
If your bed is light enough, slide it away from the wall to access the full area. Use a crevice tool or flat attachment to reach deep corners. Pay extra attention to the baseboards and any carpet edges where dust bunnies love to hide.
For heavy beds, a long-reach duster or a vacuum with a flexible hose can work without moving furniture.
Why It Matters
Dust mites thrive in undisturbed areas, and under-bed debris can include pet dander, dead skin cells, and even mold spores. Regular vacuuming reduces these triggers, helping you breathe easier and wake up less stuffy.
How To Do It Right
Start by removing any boxes or storage bins. Vacuum in overlapping strokes, moving from one side to the other. If you have hardwood floors, use a soft brush attachment to avoid scratches.
For carpets, a rotating brush helps lift embedded dirt.
Staying Consistent
Set a monthly reminder on your phone or tie it to a recurring event, like the first weekend of the month. Keep a small vacuum or a handheld dustbuster nearby so you can do a quick pass when you notice dust building up.
5. Clean Baseboards and Crown Molding
Baseboards and crown molding are dust magnets that often get ignored during regular cleaning. Over time, they collect a layer of grime that can make your whole room feel dingy. Giving them a proper wipe-down not only improves air quality but also makes your bedroom look noticeably fresher.
Start by dusting with a vacuum attachment or a dry microfiber cloth to remove loose debris. Then, wipe down with a damp cloth and a gentle cleaner—avoid soaking the wood. For intricate molding, use a soft brush like a paintbrush or an old toothbrush to get into crevices.
Pay extra attention to corners where dust bunnies love to hide. Let everything air dry before putting furniture back.
Tools That Make The Job Easier
A microfiber cloth is your best friend here—it traps dust instead of pushing it around. For crown molding, a long-handled duster or a microfiber mop head can save you from balancing on a chair. If you have detailed trim, a soft-bristled brush or a clean paintbrush works wonders.
How Often To Do This
Baseboards and molding don't need weekly attention, but a deep clean every three to six months keeps buildup manageable. If you live in a dusty area or have pets, aim for quarterly. A quick dusting during your regular cleaning routine helps extend the time between deep cleans.
Don't Forget The Corners
Corners are where dust accumulates the most, especially where baseboards meet the floor. Use a narrow vacuum attachment or a damp cloth wrapped around a butter knife to reach tight spots. For crown molding, a flexible duster can bend into corners without leaving streaks.
6. Dust and Wipe Down Window Treatments
Window treatments are basically giant dust catchers hanging right by your bed. Every time you open or close them, you send a puff of allergens into the air. Giving them a proper clean makes a real difference in your bedroom's air quality.
Start by checking the care labels on your curtains or drapes. Many can be machine washed on a gentle cycle, then hung back up while still slightly damp to avoid wrinkles. For those that are dry-clean only, a thorough vacuuming with a brush attachment works wonders.
Blinds are simpler—close them flat and wipe each slat with a microfiber cloth or a damp rag. For vertical blinds, work from top to bottom. Don't forget the curtain rods and the top of the valance, where dust bunnies love to hide.
Vacuum First, Wash Second
Before you even think about washing, vacuum both sides of your curtains with a soft brush attachment. This removes loose dust and prevents it from turning into mud during washing. For heavy drapes, use the upholstery tool and go slowly.
Blind Cleaning Shortcuts
For horizontal blinds, try the sock method: slip an old sock over your hand, dip it in a mix of vinegar and water, and run it along each slat. It's faster than a cloth and gets into the grooves. For vertical blinds, a lint roller can grab dust quickly between deep cleans.
Don't Skip The Hardware
The rods, brackets, and cords collect grime too. Wipe metal or plastic rods with a damp cloth, and use a cotton swab for tight spots. If your blinds have cords, gently wipe them with a soapy cloth and let them dry fully before lowering.
7. Clean Windows and Window Sills
Natural light can make your bedroom feel bigger and more inviting, but dirty windows block that brightness. Grime on the glass and dust on the sills also affect air quality. A thorough window cleaning is a simple way to refresh the whole room.
Start With The Sills And Tracks
Before you touch the glass, clear the sills and tracks. Use a vacuum with a brush attachment to suck up loose dirt and debris. Then, scrub the corners with a small brush dipped in soapy water.
For stubborn grime, a mixture of baking soda and vinegar works wonders. Rinse and dry thoroughly so no moisture lingers.
Wash The Glass Inside And Out
Use a squeegee and a bucket of warm water with a few drops of dish soap. Start at the top and pull down in a straight line, wiping the blade after each pass. For a streak-free finish, wipe the glass with a microfiber cloth or crumpled newspaper.
Don't forget the window frame and handles.
Let The Light In
Once everything is dry, open the curtains or blinds and admire the difference. Clean windows can make your bedroom feel brighter and more spacious. Plus, you'll reduce allergens that settle on dusty sills.
It’s a small task with a big payoff.
8. Wipe Down Light Fixtures and Ceiling Fans
Ceiling fans and light fixtures are notorious dust collectors. Every time you turn on the fan, it stirs up that dust and sends it right back into the air you breathe. Cleaning them not only improves air quality but also makes your room feel brighter and fresher.
Start by turning off the fan and letting it come to a complete stop. Use a microfiber cloth or an old pillowcase to wipe each blade individually. The pillowcase trick is genius—slide it over the blade, then pull it back, trapping the dust inside.
For light fixtures, remove any glass covers and wash them in warm, soapy water. Wipe down bulbs and replace any that are burnt out. This simple task can significantly improve air circulation and brightness in your bedroom.
The Pillowcase Method For Fans
Instead of sending dust flying everywhere, use a clean pillowcase. Slip it over each fan blade, then pull it back toward you. The dust stays inside the pillowcase, and you can just shake it out or toss it in the laundry.
Cleaning Light Fixtures Safely
Make sure bulbs are cool before touching them. Remove shades or globes and wash them with mild soap and water. Dry them thoroughly before reattaching.
A dry microfiber cloth works best for the bulbs themselves—avoid getting moisture on the metal base.
Replacing Burnt-out Bulbs
While you're up there, check for any dead bulbs. Replace them with energy-efficient LEDs that match your desired brightness and color temperature. Brighter light can make your room feel more spacious and inviting.
9. Vacuum and Shampoo Carpets or Rugs
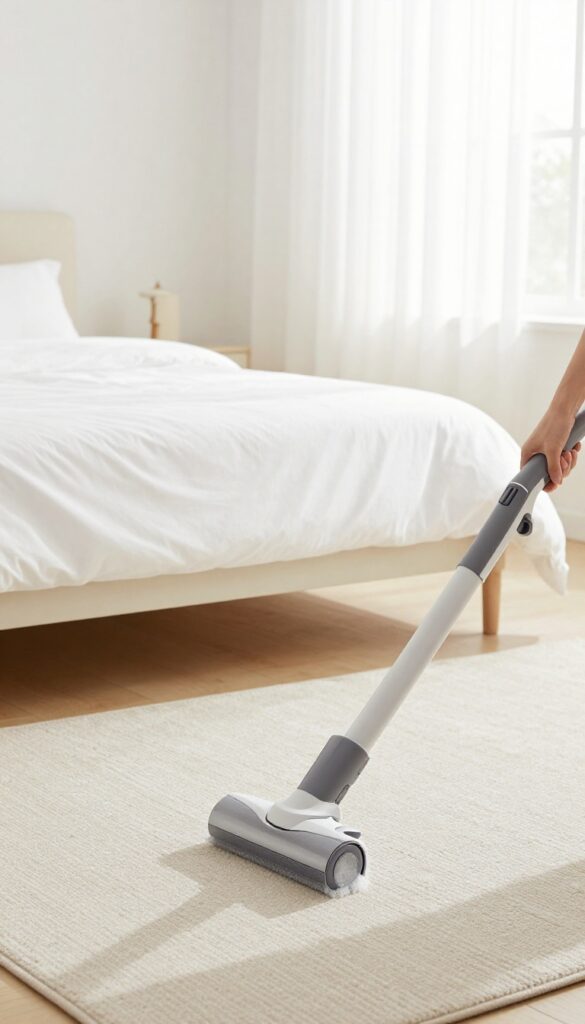
Your bedroom carpet holds onto dust, pet dander, and all kinds of allergens that settle deep into the fibers. A weekly vacuum helps, but a deep clean pulls out the embedded grime that regular cleaning misses. This task makes a huge difference in air quality and overall freshness.
Start With A Thorough Vacuum
Before you shampoo, vacuum the carpet slowly and methodically. Use the appropriate attachment for edges and corners, and go over high-traffic areas multiple times. Empty the canister or change the bag when it gets full to maintain suction power.
Shampoo Or Steam Clean
Rent a carpet cleaner or use a home machine with a quality cleaning solution. Follow the manufacturer’s instructions, and avoid soaking the carpet—too much moisture can lead to mold. Let it dry completely before walking on it or moving furniture back.
Don’t Forget Area Rugs
Take small rugs outside and beat them to loosen dust and dirt. Then spot clean any stains with a mild detergent or rug cleaner. For a deeper refresh, you can hose them down and let them dry in the sun, which also helps kill bacteria.
10. Clean Under and Behind Furniture
You might vacuum the visible floor, but what about the space under your dresser or behind your nightstand? That's where dust bunnies go to multiply. Moving furniture to clean underneath is a game-changer for your bedroom's air quality.
Start by clearing the area so you can slide furniture away from the wall without scratching the floor. Use furniture sliders or a towel to protect hardwood or tile. Once you have access, vacuum the floor thoroughly, then wipe down baseboards and the back of the furniture with a microfiber cloth.
Don't forget to check for lost items—earrings, remotes, or that book you've been looking for often turn up.
Why It Matters
Dust and allergens settle in hidden spots and get stirred up every time you walk by or open a drawer. Cleaning under and behind furniture reduces your exposure while you sleep, which can help with allergies and breathing.
How To Move Heavy Pieces
For heavy dressers or bed frames, ask a friend for help or use furniture sliders. If you can't move the piece completely, tilt it carefully and vacuum the exposed area. Slide a long-handled duster underneath to reach the back.
Prevent Future Buildup
Once everything is clean, consider adding felt pads to furniture legs to make future moves easier. You can also place a thin tray or mat under frequently moved items to catch dust before it settles on the floor.
11. Organize and Declutter Nightstands
Nightstands are prime real estate for dust and clutter. That pile of books, charging cables, and random odds and ends collects grime fast. A streamlined nightstand not only looks better but also cuts down on dusting time.
Start by taking everything off both nightstands. Wipe down the surfaces with a damp microfiber cloth, getting into corners and along edges. Then, be ruthless about what goes back.
Only keep items you use nightly or truly need within arm's reach. Use small trays or organizers to corral glasses, a book, or a phone charger. Less surface area exposed means less dust settling.
Consider a small drawer organizer if your nightstand has drawers—it keeps loose items from scattering and gathering dust bunnies.
Empty And Wipe Down
Remove every single item from your nightstand. Dust and wipe down the entire surface, including the top, sides, and any drawers. Pay attention to corners and edges where dust likes to hide.
Sort And Purge
Go through the pile and decide what you actually use. Toss old receipts, empty bottles, and things that belong elsewhere. Keep only essentials: a lamp, a book you're reading, a glass of water, maybe your phone charger.
Use Organizers
Small trays, catch-all dishes, or drawer dividers keep items from spreading out. They also make dusting easier since you can lift the organizer and wipe underneath without moving a dozen things.
12. Wipe Down All Surfaces with a Disinfectant
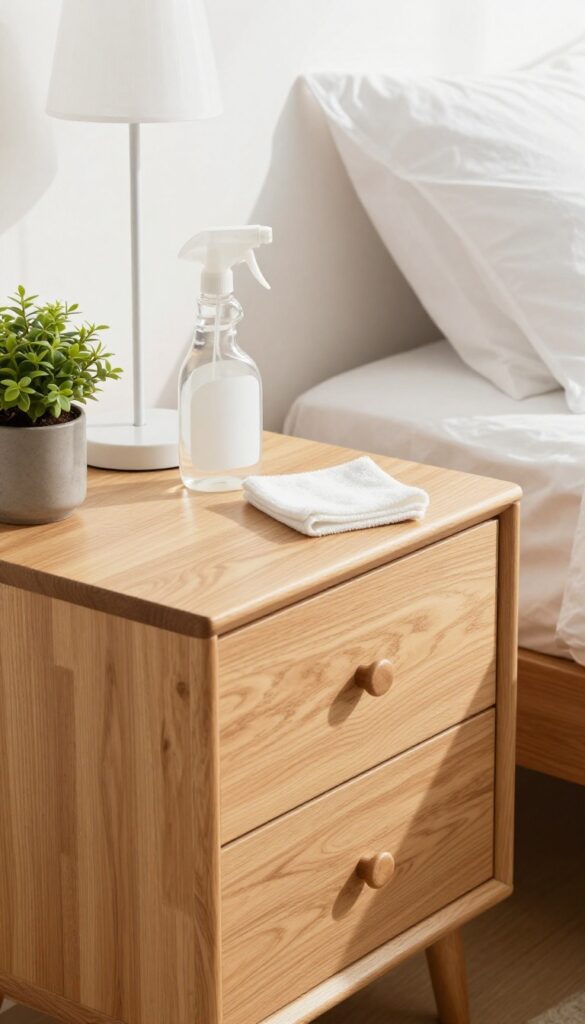
Hard surfaces in your bedroom collect more than just dust—they harbor germs, oils, and allergens that can affect your sleep quality. A quick dusting isn't enough; a proper disinfecting wipe-down targets bacteria and viruses on high-touch areas. Grab a gentle disinfectant that's safe for your furniture's finish and get ready to make every surface sparkle.
Start by clearing all surfaces: nightstands, dressers, headboards, shelves, and window sills. Use a microfiber cloth dampened with a disinfectant spray or wipe—avoid harsh chemicals that might damage wood or laminate. Work from top to bottom so dust and drips don't land on already-cleaned areas.
Pay extra attention to drawer pulls, light switches, remote controls, and phone charging stations, where germs love to linger. Let the disinfectant sit for the recommended dwell time (usually a few minutes) to actually kill pathogens. Finish by wiping with a dry cloth to prevent streaks and moisture damage.
Choose The Right Disinfectant
Not all disinfectants are safe for every surface. For wood furniture, opt for a gentle spray like diluted white vinegar or a commercial wood-safe disinfectant. For laminate or metal, a standard disinfectant wipe works fine.
Always test a small hidden area first to avoid discoloration or warping.
Focus On High-touch Hotspots
Drawer pulls, light switch plates, doorknobs, lamp bases, and the edges of your nightstand are germ magnets. Don't forget the top of your headboard and the back of your dresser—dust and grime accumulate there too. Use a fresh cloth or wipe for each surface to avoid spreading dirt around.
Don't Neglect Electronics
Your phone, tablet, alarm clock, and lamp switches are touched constantly. Use an electronics-safe disinfectant wipe or a slightly damp microfiber cloth to clean screens and buttons. Avoid spraying liquid directly onto devices—dampen the cloth first.
13. Clean Inside and Outside of Dresser Drawers
Drawers are magnets for dust, lint, and stray crumbs. Even if the outside looks fine, the inside can collect debris from clothing fibers and everyday use. A thorough clean keeps your clothes fresh and your dresser functioning smoothly.
Empty And Vacuum
Pull out each drawer completely and set the contents aside. Use the crevice tool on your vacuum to reach corners and along the drawer tracks. Pay extra attention to the bottom seams where dust bunnies hide.
Wipe Down Surfaces
Dampen a microfiber cloth with a mild cleaner—diluted dish soap works well—and wipe the inside of each drawer. For wooden drawers, avoid soaking the wood; just a lightly damp cloth is enough. Let them air dry fully before putting anything back.
Add Drawer Liners (optional)
If you want to protect your drawers and make future cleaning easier, cut non-adhesive drawer liners to size. They prevent items from sliding and catch dust so you can just lift them out to clean.
Organize With Dividers
Use adjustable dividers or small bins to separate socks, underwear, and accessories. This keeps everything in place and makes it easy to find what you need without rummaging. It also reduces wrinkles and clutter.
14. Wash or Dry Clean Throw Pillows and Blankets
Decorative pillows and throws add comfort and style, but they also trap dust, pet dander, and body oils. Over time, these fabrics become a breeding ground for allergens that can disturb your sleep. Giving them a proper clean not only freshens up your bedroom but also helps you breathe easier at night.
Check the care labels on your throw pillows and blankets before cleaning. Many can go in the washing machine on a gentle cycle with mild detergent. For delicate fabrics like silk or wool, dry cleaning is the safer option.
After washing, fluff them in the dryer on low heat to restore their shape and softness. If the care label says air dry only, lay them flat away from direct sunlight to prevent fading.
How Often To Clean
Aim to wash or dry clean throw pillows and blankets every three to six months. If you have pets or allergies, increase the frequency to monthly. Spot clean stains as soon as they happen to prevent them from setting.
Drying Tips For Fluffiness
To keep your pillows and blankets fluffy, toss a couple of clean tennis balls or dryer balls into the dryer with them. This helps break up clumps of filling and prevents matting. Use a low heat setting to avoid damaging delicate fibers.
When To Replace
If a throw pillow or blanket has lost its shape, has persistent odors, or shows signs of wear like fraying or thinning fabric, it's time to replace it. High-quality pieces can last several years with proper care, but don't hold onto items that no longer serve their purpose.
15. Clean the Closet Floor and Shelves
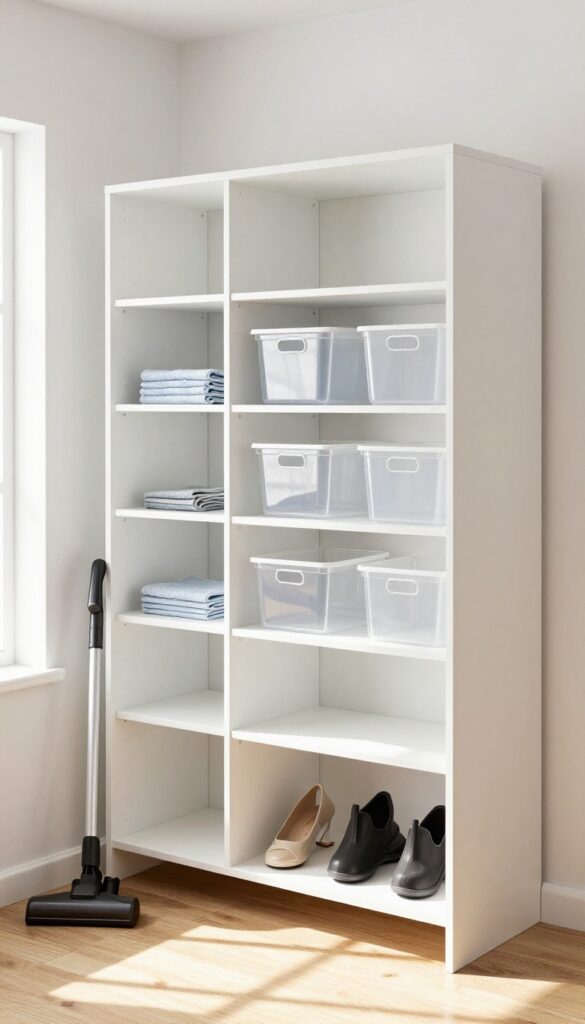
Your closet might look tidy from the outside, but the floor and shelves can be a hidden mess. Dust bunnies, stray hairs, and forgotten items collect in corners and on shelving. Giving these surfaces a proper deep clean not only improves air quality but also makes your closet feel more spacious and organized.
Empty Everything Out
Take everything off the floor and shelves—shoes, bins, stacks of clothes, and random odds and ends. This gives you a blank slate and lets you see what’s actually down there. It’s also the perfect time to sort through items and decide what stays, gets donated, or gets tossed.
Vacuum And Wipe Down
Use a vacuum with a crevice tool to get into corners and along baseboards. Then, wipe down shelves and the floor with a damp microfiber cloth or a gentle cleaner. Pay attention to any sticky spots or dust buildup on shelf edges.
Let everything dry completely before putting items back.
Add Storage Solutions
Now that the space is clean, think about how to keep it that way. Use clear bins, baskets, or dividers to group similar items. Label them if it helps.
Keeping things off the floor (like using shoe racks or wall hooks) makes future cleaning much easier and prevents dust from piling up.
16. Wipe Down Doors and Door Frames
Doors and door frames are some of the most touched surfaces in your bedroom, but they rarely get the attention they deserve. Fingerprints, dust, and grime build up over time, especially around the handle and along the edges. A quick wipe-down makes a big difference in how fresh the room feels.
Start by dusting the top edge of the door with a microfiber cloth or a duster on an extension pole—this spot collects cobwebs and dust bunnies. Then mix a small amount of mild dish soap with warm water. Dampen a soft cloth (not soaking wet) and wipe down both sides of the door, working from top to bottom.
Pay extra attention to the area around the handle and any smudges. Finally, clean the door frame itself, including the hinges and the strike plate. Dry with a clean cloth to prevent water spots.
Why It Matters
Doors are high-touch surfaces that can harbor bacteria and allergens. Cleaning them reduces the spread of germs and cuts down on dust that recirculates into the air. It also keeps the paint looking fresh and prevents buildup that can make the door stick or squeak.
The Right Tools
All you need is a microfiber cloth, mild dish soap, warm water, and a bucket or bowl. Avoid harsh cleaners or abrasive sponges that could damage the paint. For stubborn marks, a dab of baking soda paste works wonders.
Don't Forget The Hardware
Door handles, hinges, and locks collect oils and grime from daily use. Wipe them down with the same soapy solution, then dry thoroughly. A cotton swab dipped in soapy water can get into crevices around the hinges.
17. Clean Air Vents and Replace Filters
Your bedroom's air quality directly impacts how well you sleep. Over time, air vents collect dust, pet dander, and even mold spores, then blow them right back into the room. Cleaning the vents and swapping out filters is a simple task that makes a noticeable difference in how fresh your space feels.
Start by removing vent covers—they usually pop off with a screwdriver or just lift away. Wash them in warm, soapy water and scrub off any caked-on dust. While they're drying, use a vacuum with a brush attachment to suck debris out of the duct opening.
If you can reach deeper, a long crevice tool helps. For the HVAC filter, check it monthly and replace it every three months. A clean filter traps more particles and keeps your system running efficiently.
Why It Matters
Dirty vents recirculate dust and allergens, which can trigger sneezing, congestion, or even asthma symptoms while you sleep. A clean filter also reduces strain on your HVAC unit, lowering energy bills and preventing breakdowns.
How Often To Do It
Plan to clean vent covers every season—four times a year. Replace HVAC filters every three months, or more often if you have pets or allergies. Set a recurring reminder on your phone so you don't forget.
Pro Tips For Best Results
Use a microfiber cloth to wipe down the vent opening after vacuuming. If you notice musty smells, check for mold inside the duct and use a disinfectant spray approved for HVAC use. Always turn off the system before cleaning to avoid blowing dust around.
18. Dust and Clean Electronics
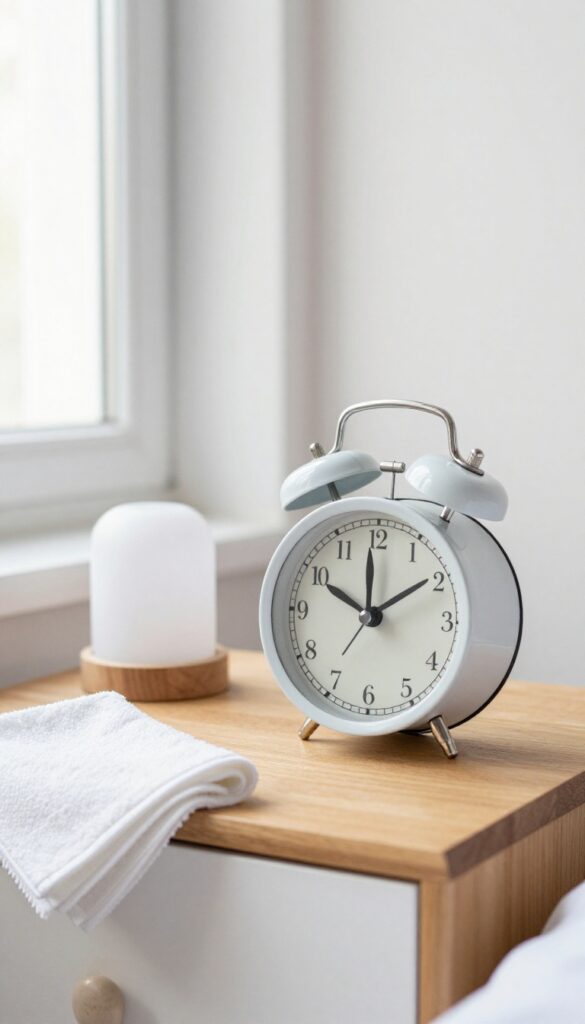
Your TV, alarm clock, and lamp bases collect dust just like any other surface, but they often get skipped during routine cleaning. Electronics also attract static, which pulls in even more particles. Giving them a proper wipe-down not only makes your room look cleaner but also helps your devices run cooler and last longer.
Start With The Big Screens
Televisions and computer monitors are dust magnets. Use a dry microfiber cloth to gently wipe the screen in a circular motion. For stubborn smudges, dampen the cloth slightly with distilled water—never spray liquid directly on the screen.
Avoid paper towels or rough fabrics that can scratch the surface.
Don't Forget Small Devices
Alarm clocks, lamps, and phone chargers sit on nightstands where dust settles. Unplug them, then dust with a microfiber cloth. For crevices and buttons, use a soft brush or a can of compressed air.
Pay special attention to charging ports and vents where lint can accumulate.
Keyboards And Remote Controls
These high-touch items harbor dust, crumbs, and germs. Turn them upside down and tap gently to dislodge debris. Use compressed air between keys and buttons.
Wipe surfaces with a cloth slightly dampened with isopropyl alcohol (70% or less) for disinfection. Let them air dry completely before using.
19. Wash Walls and Remove Marks
Walls take a surprising amount of abuse in a bedroom—fingerprints near the light switch, scuffs from furniture, and the occasional mystery mark. Over time, that layer of grime can make the whole room feel dingy. Giving your walls a quick wash is one of the easiest ways to brighten your sleep space without repainting.
Start by dusting the walls with a microfiber cloth or a vacuum brush attachment to remove loose dirt. Then mix a small amount of mild dish soap with warm water. Dip a soft sponge, wring it out well, and gently wipe down the walls in sections, working from top to bottom.
Pay extra attention to high-touch areas like switch plates and door frames. Rinse the sponge frequently and change the water if it gets dirty. For stubborn scuff marks, a magic eraser works wonders—just test it on an inconspicuous spot first.
Let the walls air dry with the window open or a fan running.
Tools & Supplies
You'll need a microfiber cloth or vacuum with a brush attachment, a soft sponge, a bucket of warm water, mild dish soap, and a magic eraser for tough marks. Optional: a step stool for reaching high areas.
Pro Tips For Best Results
Always test your cleaning solution on a hidden area first, especially if your walls are painted with matte or flat finish—these are more delicate. Use a light touch to avoid damaging the paint. For greasy spots near the bed or desk, add a splash of white vinegar to the water for extra degreasing power.
20. Clean Mirrors and Glass Surfaces
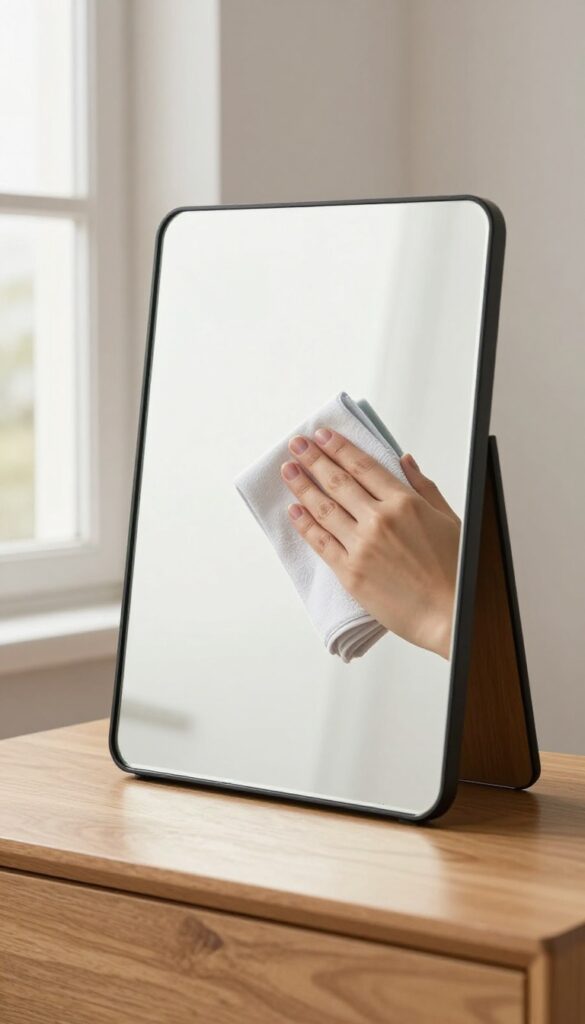
Mirrors and glass surfaces in your bedroom can quickly become smudged with fingerprints, dust, and toothpaste splatter. A quick wipe might seem enough, but deep cleaning means getting rid of every streak and grime layer. When you take the time to clean them properly, the whole room feels brighter and more open.
Grab a quality glass cleaner and a lint-free microfiber cloth. Spray the cleaner onto the cloth rather than directly onto the surface to avoid drips. Wipe in a zigzag or S-pattern to prevent streaks, then buff dry with a clean section of the cloth.
Don't forget the edges and corners where dust likes to hide.
Choose The Right Cleaner
Not all glass cleaners are created equal. Avoid ammonia-based products if you have tinted windows or special coatings. A simple mix of equal parts water and white vinegar works wonders and leaves no harsh fumes.
For stubborn spots, a dab of rubbing alcohol on your cloth can cut through grease without leaving residue.
Tackle Every Glass Surface
Besides the obvious mirror, check for glass tabletops, picture frames, and even glass light fixtures. Each surface collects dust and smudges differently. Use a separate clean cloth for each to avoid spreading grime.
For framed art, clean the glass carefully so cleaning solution doesn't seep behind the frame.
Prevent Future Smudges
After deep cleaning, apply a thin layer of car wax or a dedicated anti-fog coating to mirrors. This repels dust and makes future cleaning easier. Keep a microfiber cloth handy for quick touch-ups between deep cleans.
A simple swipe every few days keeps mirrors sparkling.
21. Freshen Up the Closet with Baking Soda
Closets can trap odors from shoes, laundry, and stale air. Baking soda is a natural, inexpensive deodorizer that absorbs smells without adding harsh chemicals. A simple box in the corner can make a noticeable difference.
To freshen your closet, place an open box of baking soda on a shelf or the floor. For extra odor-fighting power, sprinkle baking soda directly on the closet carpet or rug, let it sit for 15 minutes, then vacuum thoroughly. Replace the box every few months to keep it effective.
Why Baking Soda Works
Baking soda neutralizes acidic and basic odor molecules through a chemical reaction. It's safe for fabrics and won't leave residue when vacuumed properly.
Where To Place The Box
Set the open box on an upper shelf to avoid spills, or tuck it behind shoes on the floor. Make sure it's stable and won't tip over when you grab clothes.
Maintenance And Replacement
Check the box monthly. If it starts to clump or lose its fresh scent, it's time for a new one. Write the date on the box so you remember when to swap it.
22. Wash or Replace Shower Curtains (if en suite)
If your bedroom has an attached bathroom, the shower curtain is likely harboring soap scum, mildew, and bacteria. That damp environment is a breeding ground for mold, which can affect air quality and your sleep. Giving it a deep clean—or swapping it out—removes one more source of indoor allergens.
Start by checking the care label. Most fabric curtains can go in the washing machine on a gentle cycle with warm water and a cup of white vinegar. Add a small amount of detergent, then run an extra rinse cycle to remove all residue.
For plastic liners, toss them in with a few towels to scrub off grime. If you see black spots that won't come out, it's time to replace. A fresh curtain makes the whole bathroom feel cleaner and helps you breathe easier at night.
Machine Wash Fabric Curtains
Remove the curtain and any hooks or rings. Wash on a gentle cycle with warm water, adding ½ cup of baking soda and 1 cup of white vinegar to the rinse cycle. This kills mildew and removes odors without harsh chemicals.
Hang it back up immediately to prevent wrinkles.
Soak Plastic Liners
Fill your bathtub with warm water and add a cup of bleach or hydrogen peroxide. Submerge the liner for 15 minutes, then scrub with a soft brush. Rinse thoroughly and hang to dry.
If the liner is still stained or has a musty smell, replace it—they're cheap and easy to swap.
When To Replace
If your curtain has persistent mildew, tears, or a lingering odor even after cleaning, it's time for a new one. Look for mold-resistant fabric or a PEVA liner to reduce future buildup. Replacing it every six months is a good rule of thumb.
23. Do a Final Declutter and Reset
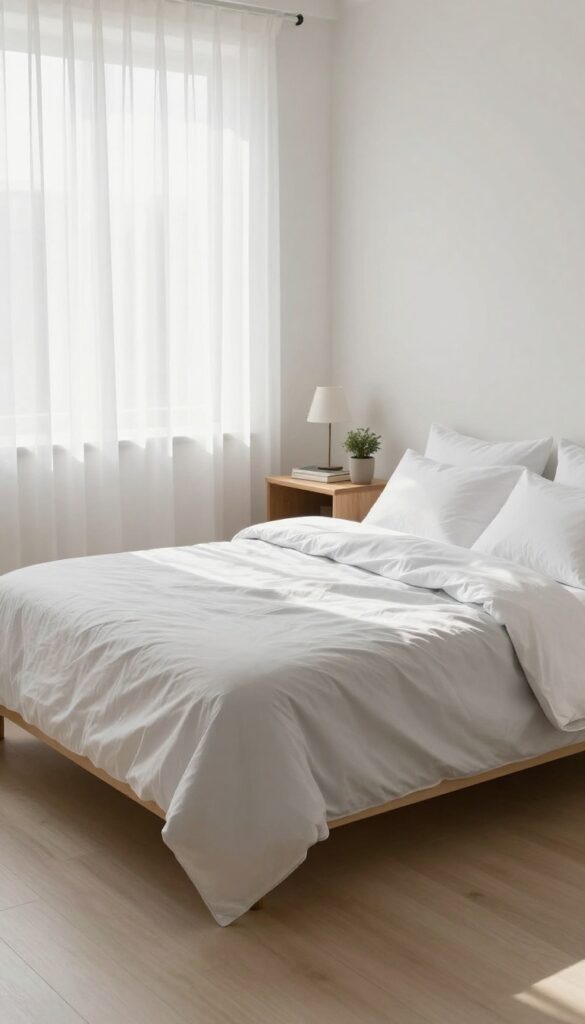
Once you've scrubbed every surface and vacuumed every corner, it's time for the finishing touch. A deep clean isn't complete without removing visual clutter and resetting the room so it feels fresh and serene. This last step transforms your bedroom from simply clean to truly restorative.
Remove What Doesn't Belong
Walk around your bedroom with a laundry basket or box. Pick up any items that aren't bedroom essentials—books, water glasses, phone chargers, mail, or clothes draped over furniture. Return them to their proper homes.
A clean room looks even cleaner when every surface is free of stray objects.
Make The Bed Like A Pro
Put on fresh, clean sheets that smell good. Smooth out wrinkles, pull the top sheet tight, and fold the duvet or comforter neatly. Fluff your pillows and arrange them symmetrically.
A well-made bed instantly anchors the whole room and makes it feel put-together.
Arrange Decor Minimally
Take a moment to look at your nightstand, dresser, and shelves. Less is more when it comes to a sleep space. Leave only a few meaningful items—a lamp, a book, a small plant.
Dust and wipe down each piece before placing it back. The goal is a calm, uncluttered look that invites relaxation.
Enjoy Your Clean Sanctuary
Step back and take a deep breath. Notice the difference: the air feels lighter, the room looks bigger, and everything is in its place. You've put in the work, so take a moment to appreciate it.
Your bedroom is now a clean, serene haven ready for restful sleep.
FAQ
How often should I deep clean my bedroom?
Aim for a thorough deep clean every 3-4 months. High-traffic areas or homes with pets may need it more often, like every 2 months.
What is the best way to clean a mattress?
Vacuum the surface, spot clean stains with a baking soda paste, then sprinkle baking soda over the entire mattress. Let it sit for a few hours before vacuuming again.
Can I use vinegar to clean my bedroom?
Yes, white vinegar diluted with water is a natural cleaner for many surfaces like windows, baseboards, and hard floors. Avoid using it on natural stone or unsealed wood.
How do I reduce dust in my bedroom?
Use microfiber cloths for dusting, vacuum with a HEPA filter, wash bedding weekly in hot water, and keep clutter to a minimum. Consider an air purifier.
Should I clean my ceiling fan before or after dusting?
Clean the ceiling fan first to prevent dust from falling onto already cleaned surfaces. Use a pillowcase or microfiber cloth to trap the dust.
Conclusion
A deep-cleaned bedroom isn't just about appearances—it directly impacts your sleep quality and overall well-being. By tackling these 23 tasks, you remove allergens, reduce clutter, and create a calm environment that helps you unwind. You don't have to do everything at once.
Pick a few tasks each weekend, and soon your bedroom will feel like a true sanctuary. Your future self will thank you every time you crawl into a fresh, clean bed.


