
You crawl into bed after a long day, but something feels off. Maybe it's the dust bunnies under the dresser or the musty smell from the pillows. A deep clean can turn your bedroom into the retreat it should be.
Deep cleaning goes beyond the weekly tidying. It targets the grime that builds up over months—baseboards, light fixtures, and under the bed. This checklist breaks down 25 actionable steps to reset your space.
No need to tackle everything in one day. Pick a few ideas each weekend, and soon your bedroom will feel fresher and more inviting. Let's get started.
1. Strip and Wash All Bedding
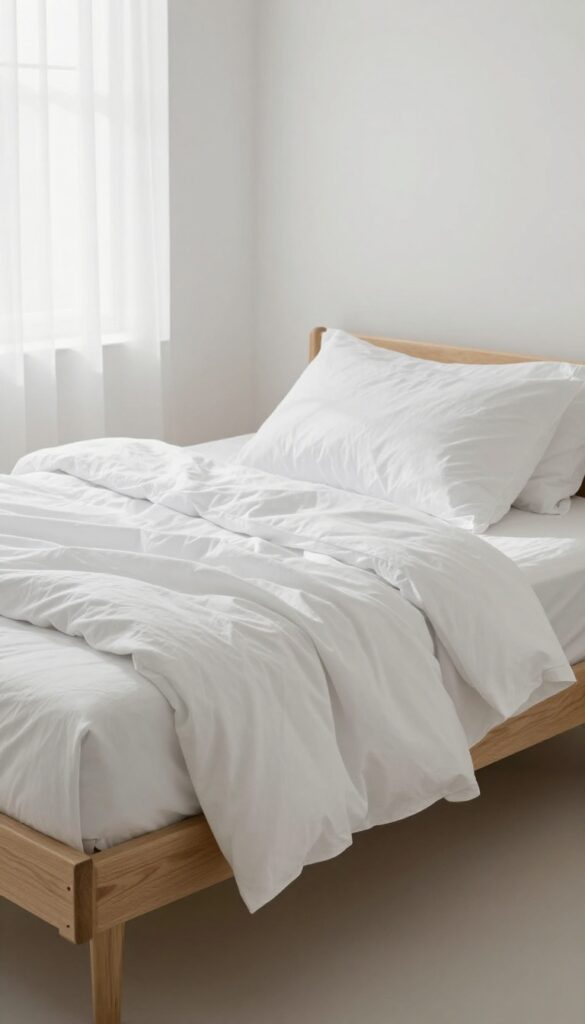
Your bed is the centerpiece of the bedroom, and it collects more dirt, sweat, and dead skin cells than you'd think. A deep clean starts with removing every layer and giving them a thorough wash. This step alone can dramatically improve how fresh your room feels.
Begin by taking off all sheets, pillowcases, duvet covers, and mattress protectors. Check the care labels and wash them in hot water—130°F or higher is ideal for killing dust mites and allergens. Don't overlook decorative pillows, throw blankets, or bed skirts; they need a wash too, even if the tag says dry clean only (you can often hand wash or use a gentle cycle).
While the bedding is in the laundry, let your mattress air out for a few hours. This is also a good time to spot clean any stains on the mattress itself.
Why Hot Water Matters
Hot water isn't just for tough stains. It effectively eliminates dust mites, bacteria, and mold spores that thrive in cooler washes. If your bedding is delicate, use the hottest temperature safe for the fabric, and add a cup of white vinegar to the rinse cycle to kill germs without damaging colors.
Don't Forget The Pillows
Pillows should be washed every three to six months. Most synthetic pillows can go in the machine on a gentle cycle with warm water. Fluff them in the dryer with tennis balls to restore shape.
For down or memory foam pillows, follow manufacturer instructions—some can be spot cleaned only.
Make It A Routine
Washing all bedding at once can feel like a chore, but it's easier if you do it seasonally or every other month. Set a reminder on your phone. Once you experience that fresh, clean scent, you'll look forward to it.
2. Vacuum the Mattress
Think your mattress is clean just because you use a sheet? Think again. Over time, it absorbs sweat, dead skin, dust mites, and all sorts of microscopic debris.
Vacuuming it is one of the most effective ways to freshen it up without harsh chemicals. This simple step can make a huge difference in your sleep environment.
Grab your vacuum's upholstery attachment and go over the entire mattress surface slowly. Focus on seams, tufts, and edges where debris tends to hide. Flip the mattress if possible and repeat on the other side.
Do this at least twice a year, or every season for best results.
Why It Matters
Mattresses can harbor allergens like dust mite droppings, which trigger sneezing and congestion. Vacuuming removes these particles, helping you breathe easier at night. It also reduces the musty smell that builds up over time.
Pro Tips For A Deeper Clean
Sprinkle baking soda over the mattress and let it sit for 15 minutes before vacuuming. This absorbs odors and moisture. For stubborn stains, spot-clean with a mild detergent first, then vacuum once dry.
How Often To Do It
Aim to vacuum your mattress every time you change your sheets—roughly every two weeks. If you have allergies or pets, bump it up to weekly. For a deep clean, do a thorough vacuuming every three months.
3. Spot Clean Mattress Stains
Mattresses take a beating from sweat, spills, and the occasional accident. Over time, those stains can set in and even cause odors. Spot cleaning them not only makes your bed look better but also extends the life of your mattress.
Here's how to tackle the most common types of stains effectively.
For general stains, mix 1/2 cup hydrogen peroxide, 1 tablespoon dish soap, and 2 tablespoons baking soda. Apply the paste to the stain, let it fizz for about 10 minutes, then blot with a clean cloth. Repeat if needed, then let the area air dry completely.
For urine or sweat stains, enzyme cleaners break down the proteins and eliminate odors. Spray the stain, let it sit for 15 minutes, then blot. Always test any cleaner on a hidden spot first.
Hydrogen Peroxide Paste For General Stains
This DIY solution works on most organic stains like blood, sweat, or food. Mix hydrogen peroxide with dish soap and baking soda to create a paste. Apply it to the stain, let it bubble for 10 minutes, then dab with a cloth.
The fizzing action lifts the stain out of the fibers. Avoid scrubbing, which can push the stain deeper.
Enzyme Cleaners For Bodily Fluids
Urine, sweat, and vomit require enzymatic cleaners that digest the organic matter. Spray the stain generously, let it sit for 10–15 minutes, then blot. These cleaners are available at most grocery stores or online.
They're also safe for most mattress fabrics, but always check the label.
Drying And Prevention Tips
After cleaning, blot up as much moisture as possible. Place a fan near the mattress or open a window to speed up drying. Never put a wet mattress back on the bed—use a waterproof protector to prevent future stains.
Rotate your mattress every few months to even out wear.
4. Flip or Rotate the Mattress
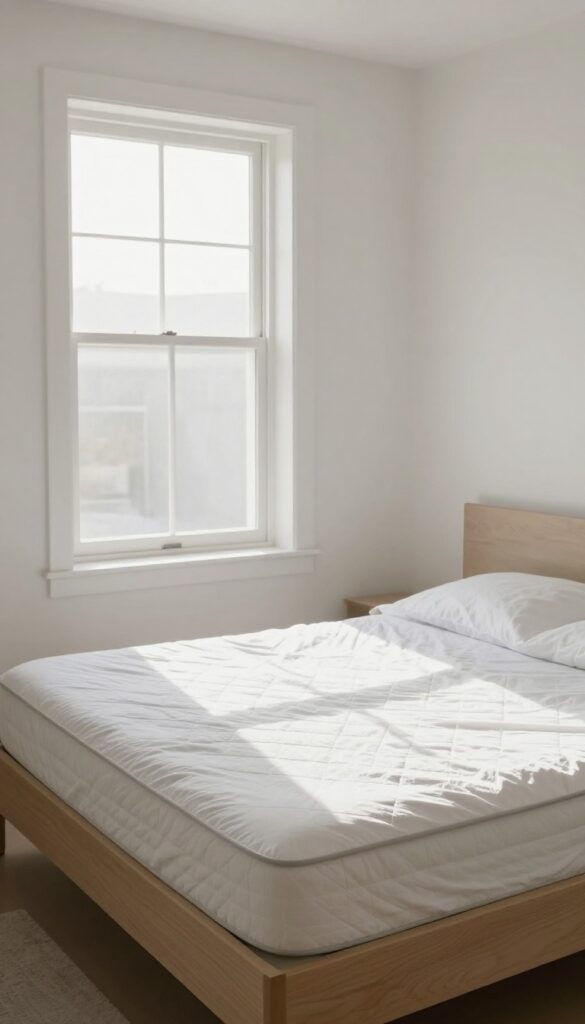
Your mattress works hard every night, but it doesn't get much attention during the day. Over time, body impressions form in the spots where you sleep most, and the padding can sag. Flipping or rotating the mattress redistributes the wear, so it stays supportive longer.
This simple step takes just a few minutes but can add years to your mattress's life.
Check Your Mattress Type First
Not all mattresses are made the same. Many modern ones are one-sided and only meant to be rotated, not flipped. Look for a label or tag that says "Do Not Flip" or "This Side Up.
" If it's double-sided, you can flip it over to expose a fresh sleeping surface. For single-sided mattresses, simply rotate it 180 degrees so the head becomes the foot. This evens out the wear pattern.
How Often Should You Do This?
Experts recommend rotating or flipping your mattress every three to six months. A good trick is to do it when you change your clocks for daylight saving time. That way you won't forget.
If you share the bed, flipping or rotating also balances out the weight distribution from both sides, which helps prevent sagging in the middle.
The Right Way To Handle A Heavy Mattress
Mattresses can be heavy and awkward to move. Get a partner to help, and clear the area first. For a flip, strip the bed and lift the mattress onto its side, then flip it over.
For a rotation, just spin it in place. If your mattress has handles, use them, but don't rely on them to carry the full weight—they're meant for positioning only. Afterward, put the sheets back on and enjoy a more even sleeping surface.
5. Wash Pillows (or Replace Them)
Pillows absorb sweat, drool, and dead skin cells night after night. Even with a pillowcase, they get grimy over time. Washing them regularly keeps them fresh and extends their life, but sometimes replacement is the better call.
Check The Care Label First
Most pillows are machine washable, but always check the tag. Down and feather pillows need a gentle cycle with mild detergent, while synthetic ones can handle a regular wash. Use warm water and skip the bleach—it breaks down fibers and can irritate your skin.
Dry Thoroughly To Prevent Mold
Pillows take forever to dry, and any leftover moisture can lead to mold or mildew. Run them through an extra rinse cycle to remove all soap, then dry on low heat. Toss in a couple of clean tennis balls to fluff them up and break up clumps.
Make sure they're completely dry before putting them back on the bed.
Know When To Toss Them
If your pillows are lumpy, flat, or more than two years old, washing won't restore them. Old pillows can harbor dust mites and allergens even after a wash. A good rule: fold the pillow in half—if it doesn't spring back, it's time for a new one.
Replace them every 1 to 2 years for best sleep hygiene.
6. Dust Ceiling Fixtures and Fans
Ceiling fans and light fixtures are easy to overlook, but they collect dust like crazy. Every time you turn on the fan, that dust can scatter back into the room. Giving them a proper wipe-down helps keep the air cleaner and your bedroom feeling fresher.
Grab a microfiber duster or an extendable wand to reach high spots without a ladder. For ceiling fans, work from the top of each blade down to avoid dropping dust on already-cleaned surfaces. Light fixtures and vents can be wiped with a damp cloth or a duster attachment.
Don't forget to vacuum or wash the duster head afterward so you're not just moving dust around.
Choose The Right Tool
A microfiber duster with an extendable handle is ideal for ceiling fans and high light fixtures. The static charge grabs dust instead of flinging it into the air. For vents, a vacuum with a brush attachment works well to suck up debris before wiping.
Work Top To Bottom
Always dust ceiling fixtures before cleaning lower surfaces. That way, any falling dust lands on areas you haven't cleaned yet. Start with the fan blades, then move to light fixtures, and finish with vents.
Don't Forget The Bulbs
Dust on light bulbs can dim the brightness and even shorten their lifespan. Wipe bulbs gently with a dry or slightly damp cloth once they're cool. For recessed lights, use a duster attachment to reach inside.
7. Wipe Down Walls and Baseboards
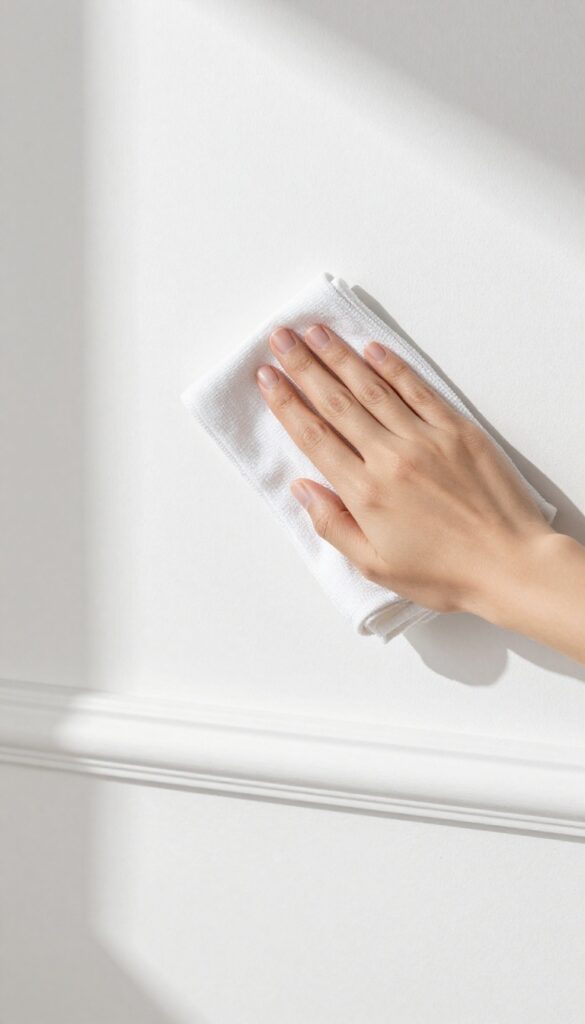
Walls and baseboards collect dust, fingerprints, and scuffs without you even noticing. Over time, that layer of grime makes the whole room feel dingy. A quick wipe-down can brighten your space instantly.
Grab a microfiber cloth and dampen it with warm water and a drop of mild dish soap. Work from top to bottom—start with the walls, then hit the baseboards and door frames. For stubborn marks like shoe scuffs or crayon, a magic eraser works wonders.
Rinse the cloth often to avoid spreading dirt around.
Why Walls Need Love Too
You might not think about it, but walls trap dust, cooking grease (if your bedroom is near the kitchen), and even smoke residue. Over months, this can dull paint and make the room feel stale. A gentle wipe every few months keeps them looking fresh.
The Right Tools For The Job
Microfiber cloths are best because they trap dust without scratching paint. Avoid abrasive sponges or harsh cleaners—they can strip the finish. For textured walls, use a soft brush attachment on your vacuum first to loosen dust.
Don't Forget The Corners
Corners and ceiling edges collect cobwebs and dust bunnies. Use a long-handled duster or an extendable microfiber mop to reach high spots. Pay extra attention behind doors and furniture where dirt hides.
8. Clean Windows and Window Treatments
Windows and window treatments are often the last thing on a deep cleaning list, but they can make a huge difference in how fresh your bedroom feels. Natural light streams in through clean glass, and dust-free blinds or curtains improve air quality. This step transforms the whole room's atmosphere.
Wash Windows Inside And Out
Start by removing any dust or cobwebs from the window frame and sill. Mix a solution of warm water and a few drops of dish soap. Use a microfiber cloth to wipe down the glass, then follow with a squeegee for a streak-free finish.
Work from top to bottom, wiping the squeegee blade after each pass. Don't forget the tracks—use an old toothbrush to scrub grime out of the corners.
Vacuum Blinds Or Curtains
Blinds collect dust on every slat. Use the brush attachment on your vacuum to go over each slat, or wrap a microfiber cloth around a pair of tongs to wipe them down. For curtains, vacuum gently with the upholstery attachment to remove surface dust.
If your curtains are heavily soiled, check the care label—many can be machine washed on a gentle cycle.
Launder Washable Curtains
For curtains that are machine washable, remove all hooks or rings first. Wash in cold water on a gentle cycle with mild detergent. Hang them back up while still slightly damp to avoid wrinkles.
For delicate fabrics like silk or lined curtains, dry cleaning is safer. Always follow the care instructions to avoid shrinkage or damage.
9. Vacuum and Shampoo Carpets or Rugs
Carpets and rugs trap dust, allergens, and odors that weekly vacuuming can't fully remove. A deep clean every few months restores their freshness and extends their life. Start with a thorough vacuum, then move to shampooing for a true reset.
Prep With A Deep Vacuum
Before shampooing, vacuum thoroughly using a machine with a HEPA filter if possible. Go over each section multiple times in different directions to lift embedded dirt. Pay extra attention to high-traffic areas and edges where dust accumulates.
Shampoo Or Steam Clean
Use a carpet cleaner or rent a machine from a local store. Follow the manufacturer's instructions for solution ratios and drying time. For area rugs, shake them outside first, then spot clean stains with a gentle detergent before shampooing.
Speed Up Drying
After cleaning, open windows or turn on fans to circulate air. Avoid walking on the carpet until it's completely dry to prevent dirt from settling back in. Placing towels on damp spots can help absorb excess moisture.
10. Clean Under the Bed
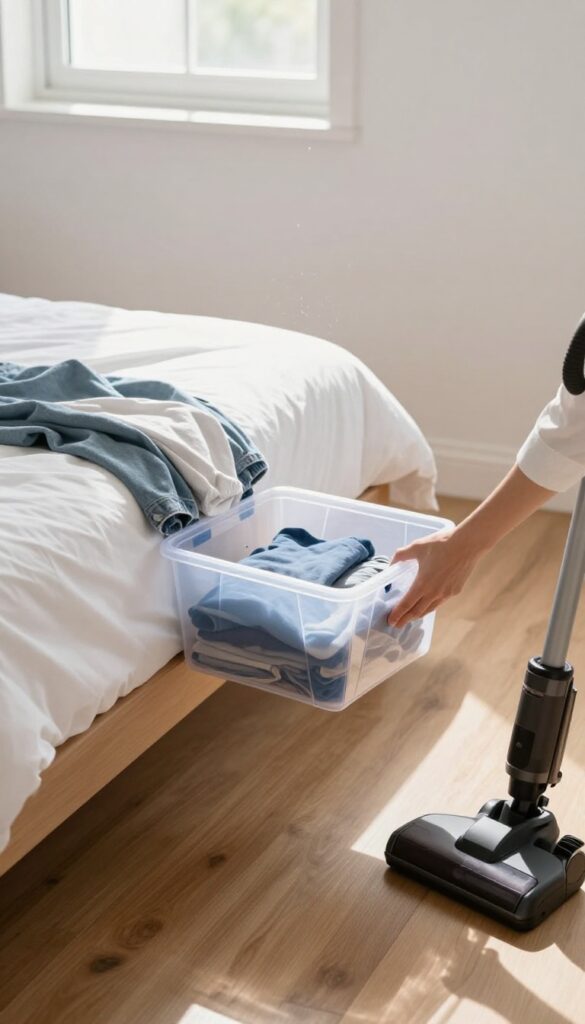
It's amazing how much stuff can disappear under a bed. Dust bunnies, forgotten socks, and boxes you haven't touched in years all find a home there. Cleaning this area not only removes allergens but also frees up valuable storage space.
Pull out everything stored under the bed. Vacuum the floor, wipe down storage bins, and declutter items you no longer need. Consider using vacuum-sealed bags for off-season clothes.
Start With A Full Pull-out
Slide out every bin, box, and stray item from under the bed. This is the only way to truly access the floor and corners. As you pull things out, sort them into keep, donate, or toss piles.
Vacuum And Wipe Down
Use the crevice tool on your vacuum to get into the corners and along the baseboards. Follow up with a damp microfiber cloth to pick up any remaining dust. If you have a hard floor, a quick mop will finish the job.
Reorganize With Smart Storage
Before sliding everything back, think about what you actually need under there. Use clear bins with lids so you can see contents, and label them. For off-season clothing, vacuum-sealed bags save space and keep items dust-free.
11. Wipe Down All Furniture Surfaces
Furniture surfaces are dust magnets, especially if you keep windows open or have pets. A quick once-over with a dry cloth isn't enough for a deep clean. This step focuses on removing built-up grime and restoring the finish of your dressers, nightstands, and shelves.
Work from top to bottom so dust doesn't settle on already-cleaned areas. Start with the highest shelves and work your way down to nightstands and dressers. Use a microfiber cloth to trap dust instead of spreading it around.
Choose The Right Cleaner For Each Surface
Wood furniture needs a gentle wood cleaner or a mix of vinegar and olive oil to avoid stripping the finish. For electronics like alarm clocks or lamps, use a slightly damp microfiber cloth—never spray directly. Glass surfaces can handle a streak-free glass cleaner.
Don't Forget The Tops Of Tall Furniture
The tops of armoires, wardrobes, and tall dressers collect a shocking amount of dust and sometimes dead insects. Use a step stool and a damp cloth to wipe them down. If you rarely access these areas, consider placing a cloth or paper on top to catch dust for easy removal next time.
12. Clean Inside Drawers and Closets
Drawers and closets are the hidden corners of your bedroom where dust, lint, and forgotten items accumulate. A deep clean here not only freshens the space but also makes getting dressed more pleasant. Empty everything out, wipe down surfaces, and rethink how you store things.
Empty And Sort
Pull everything out of your drawers and closet shelves. Sort items into keep, donate, and toss piles. This is a great chance to declutter clothes you no longer wear or accessories that are broken.
Be honest—if you haven't used it in a year, let it go.
Vacuum And Wipe
Use the crevice tool on your vacuum to suck up dust and debris from corners and along the edges of drawers. Then wipe down all surfaces with a damp microfiber cloth. For closet shelves, a gentle cleaner works well.
Let everything dry completely before putting items back.
Add Drawer Liners
Drawer liners give a clean, fresh feel and protect your clothes from rough wood or residue. Choose a non-adhesive liner so you can remove and wash it later. Cut to size and lay it flat.
This small touch makes opening a drawer feel like a mini upgrade.
Organize Thoughtfully
Before refilling, consider using dividers for socks, underwear, or accessories. Fold clothes vertically (the KonMari method) so you can see everything at a glance. In closets, group similar items together—shirts, pants, dresses—and use matching hangers for a uniform look.
Label bins or baskets if needed.
13. Declutter Nightstands and Dressers
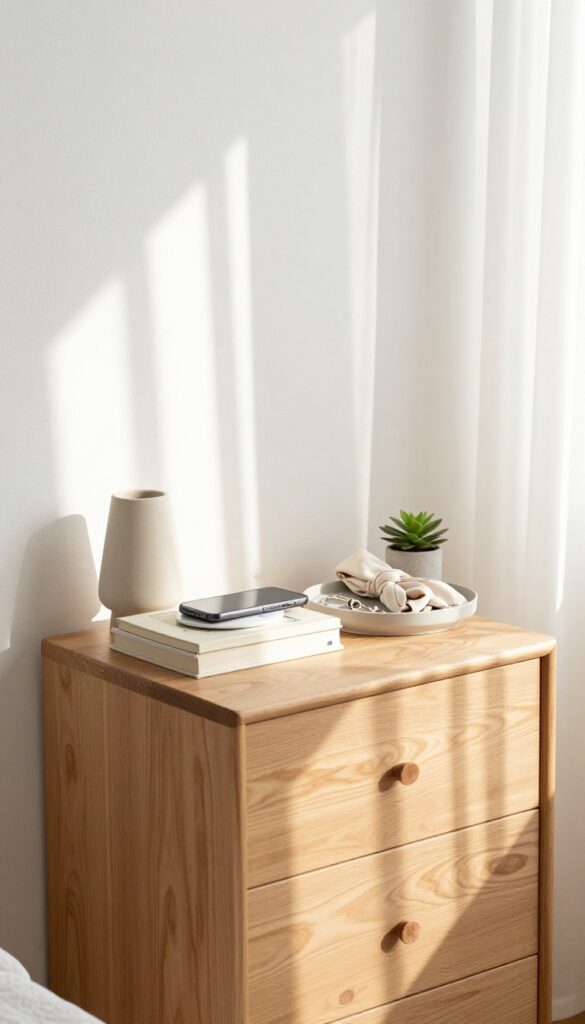
Nightstands and dressers tend to become catch-all spots for mail, gadgets, and random odds and ends. Over time, the clutter makes the room feel chaotic instead of calm. Clearing these surfaces is a quick win that instantly refreshes your bedroom.
Empty Everything
Take every item off your nightstand and dresser. Don't skip the drawers—pull out everything so you can see what's really in there. This blank slate makes it easier to decide what belongs.
Sort Into Three Piles
Create piles for keep, relocate, and toss. Keep only items you use daily or truly love. Relocate things like books you've finished or chargers you don't need bedside.
Toss trash, old receipts, and dried-out pens.
Wipe Down Surfaces
With everything off, dust and wipe the tops, sides, and drawer interiors. Use a microfiber cloth and a gentle cleaner. Don't forget handles and knobs—they collect grime too.
Put Back Only The Essentials
Limit what goes back to a lamp, a book or e-reader, a phone charger, and maybe a small tray for jewelry or glasses. Less visual clutter means a more restful space.
14. Organize Closet by Season
Your closet might be the biggest clutter magnet in the bedroom. When you can't find what you need, it's time for a seasonal reset. Pulling everything out and sorting by season not only frees up space but also helps you rediscover pieces you forgot you owned.
Start by emptying the entire closet onto your bed or a clean floor. This gives you a blank slate to work with. Sort items into four piles: keep (current season), store (off-season), donate, and trash.
Be honest about what you haven't worn in the past year—if it's still in good shape, let someone else enjoy it. Once you've narrowed down, group clothes by type (shirts, pants, dresses) and then by color within each season. Use matching velvet or wooden hangers to create a uniform, spa-like look that makes everything feel more intentional.
For off-season items, invest in breathable storage bins or vacuum bags and label them clearly. Store them on high shelves or under the bed to keep your daily closet clutter-free.
Start With A Full Empty
Take every single item out. This is the only way to see what you're working with. As you pull things out, wipe down shelves and vacuum the floor.
You'll be surprised how much dust and lint accumulate in the corners.
Sort Into Four Piles
Keep, store, donate, trash. Be ruthless with the donate pile. If you haven't worn it in a year, you probably never will.
For sentimental items, take a photo and let them go. This step alone can cut your closet volume by half.
Organize By Type And Color
Within each season, group similar items together. Hang shirts with shirts, pants with pants. Then arrange by color—light to dark.
This makes getting dressed faster and keeps your closet looking like a boutique.
Use Uniform Hangers
Swap out mismatched wire and plastic hangers for a single style. Velvet hangers grip clothes well and save space. Wooden hangers add a classic touch.
The visual consistency instantly makes your closet feel more organized and calming.
15. Clean Mirrors and Glass Surfaces
Mirrors and glass surfaces in the bedroom—like vanity mirrors, window panes, or glass tabletops—collect smudges, dust, and hairspray residue. A streak-free shine makes the whole room feel brighter and cleaner. The trick is using the right technique and tools to avoid lint and streaks.
Choose Your Cleaner
You can use a store-bought glass cleaner or make your own with equal parts white vinegar and distilled water. Avoid using too much soap, as it can leave a film. Always spray onto a microfiber cloth, not directly on the glass, to prevent drips that can damage frames or nearby surfaces.
The Zigzag Method
Wipe the mirror in a zigzag pattern—starting at the top and working your way down. This prevents streaks by ensuring you don't redeposit dirt. Use a clean, dry section of the cloth to buff any remaining streaks.
For large mirrors, work in small sections.
Don't Forget The Frame And Edges
Wipe down the frame with a damp cloth (check the material first—wood may need a different cleaner). Use a cotton swab or soft brush to remove dust from the edges where the mirror meets the frame. This prevents buildup that can make the mirror look dirty even after cleaning.
16. Sanitize Light Switches and Doorknobs
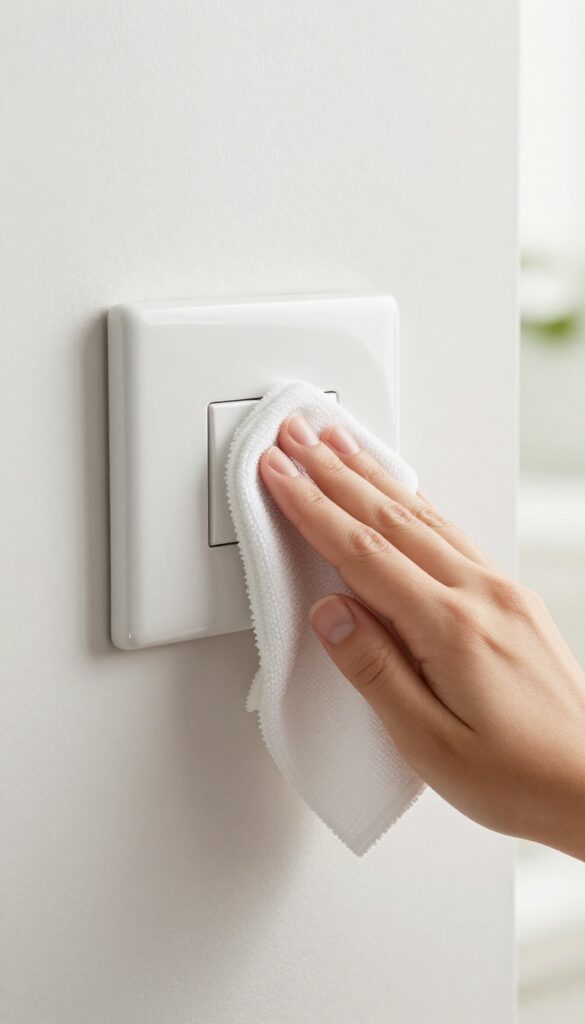
Light switches and doorknobs are some of the most frequently touched surfaces in your bedroom, yet they often get overlooked during regular cleaning. Over time, these high-touch areas can harbor germs, oils, and grime that transfer from your hands. Sanitizing them is a quick but impactful step toward a truly fresh reset.
Grab a pack of disinfectant wipes or a microfiber cloth with rubbing alcohol. Start with all light switches, including dimmers and outlet covers. Then move to doorknobs, handles, and any remote controls you keep in the bedroom.
Don't forget the switch plates—they can be removed and wiped down separately if needed. Let the disinfectant sit for a few seconds to effectively kill germs before wiping dry.
Why These Spots Matter
Think about how often you flip a light switch or turn a doorknob—especially after coming in from outside or touching your phone. These surfaces can become breeding grounds for bacteria and viruses. Regular sanitizing reduces the risk of spreading illness and keeps your bedroom feeling cleaner.
Best Products To Use
Disinfectant wipes are convenient, but a solution of 70% rubbing alcohol in a spray bottle works just as well. Avoid bleach-based cleaners on painted surfaces, as they can cause discoloration. For metal doorknobs, a gentle alcohol wipe is safe and effective.
How Often To Do This
Aim to sanitize these high-touch spots at least once a month during your deep clean. If someone in your home is sick, increase the frequency to once a week. It's a small habit that makes a big difference in overall hygiene.
17. Wipe Down Electronics and Cords
Your electronics might be the dustiest items in the bedroom without you realizing it. TVs, alarm clocks, and charging stations attract static-charged dust that settles on screens and vents. A quick wipe-down not only makes them look better but also helps devices run cooler and last longer.
Don't forget the cords—they collect grime and turn into a tangled mess over time.
Dust Screens And Vents
Start with your TV, monitor, or any other screens. Use a dry microfiber cloth to gently wipe away dust—never spray liquid directly on the screen. For vents and speakers, use a soft brush attachment on your vacuum or a compressed air duster to blow out hidden dust.
This prevents overheating and keeps your electronics performing well.
Clean Charging Stations And Accessories
Alarm clocks, phone chargers, and power strips often get overlooked. Unplug everything and wipe down each device with a slightly damp cloth (mild soap if needed). Pay attention to charging ports where lint can accumulate.
For stubborn grime, use a toothpick or a soft brush. Let everything dry completely before plugging back in.
Untangle And Bundle Cords
Cords behind nightstands and desks can become a tangled, dusty mess. Unplug all cords, wipe them down with a damp cloth, and let them dry. Use cable ties, Velcro straps, or cord clips to bundle them neatly.
Label each cord with a small tag if you have multiple devices—this makes future unplugging much easier.
18. Clean Air Vents and Replace Filters
When was the last time you looked at your bedroom's air vents? They quietly collect dust, pet dander, and who-knows-what over time. Cleaning them isn't just about appearances—it can improve your indoor air quality and help your HVAC run more efficiently.
Wash The Vent Covers
Start by unscrewing the vent covers from the wall or ceiling. Take them to the sink and scrub with warm water and mild dish soap. A soft brush or sponge works well to remove caked-on dust.
Rinse thoroughly and let them dry completely before reinstalling.
Vacuum Inside The Ducts
With the covers off, use your vacuum's hose attachment to reach as far into the duct as you can. A brush attachment helps loosen stubborn debris. If you have a long, flexible vacuum tool, even better.
This step cuts down on dust circulating back into the room.
Swap Out The Hvac Filter
Your furnace or AC filter traps airborne particles, but it gets clogged over time. Check it monthly—if it looks gray or dusty, replace it. A clean filter not only improves air quality but also lowers your energy bills.
Mark your calendar to check again in three months.
19. Freshen Upholstered Headboards and Chairs
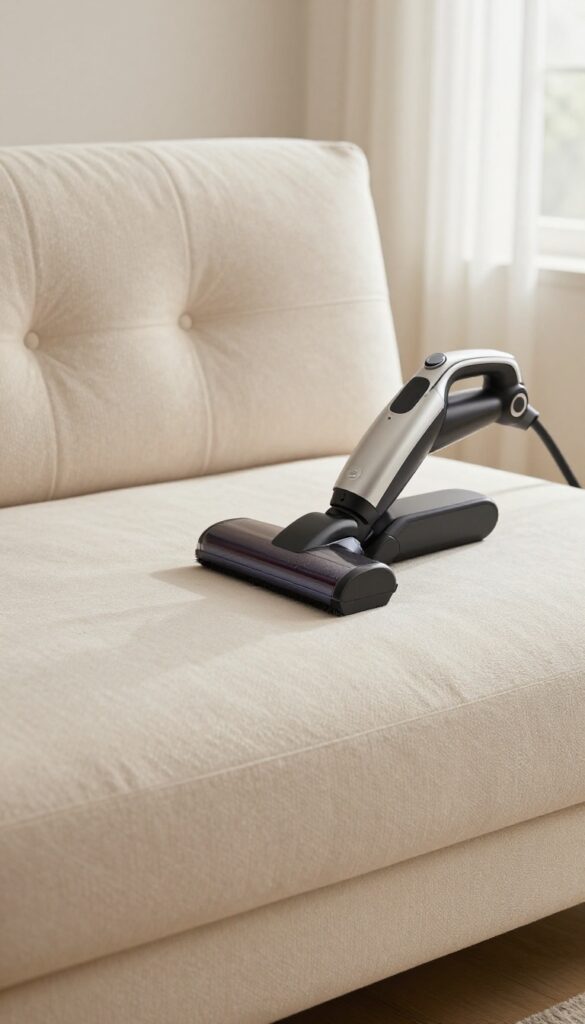
Upholstered headboards and accent chairs add comfort and style, but they also trap dust, allergens, and odors over time. A deep clean restores their look and keeps your bedroom feeling fresh. Here's how to tackle different materials safely.
Vacuum First
Start by vacuuming the entire surface with the brush attachment. Pay extra attention to seams, tufted areas, and crevices where dust hides. This step removes loose debris before any wet cleaning.
Spot Clean Fabric
For fabric headboards or chairs, mix a small amount of mild detergent with warm water. Dip a clean cloth into the solution, wring it out well, and gently blot stains. Avoid soaking the fabric, as moisture can lead to mold.
Let it air dry completely.
Care For Leather
Leather upholstery needs a gentle touch. Wipe with a damp cloth to remove dust and grime, then follow up with a leather conditioner to prevent cracking. Test any product on a hidden area first.
Deodorize Naturally
Sprinkle baking soda over fabric upholstery and let it sit for 15–20 minutes before vacuuming. This absorbs odors without harsh chemicals. For leather, a few drops of essential oil on a cloth can add a subtle fresh scent.
20. Wash Decorative Throw Pillows and Blankets
Decorative pillows and blankets add personality and comfort to your bedroom, but they also collect dust, sweat, and allergens. Washing them not only freshens up the room but also helps maintain their appearance and longevity. It's an easy win in your deep cleaning checklist.
Check the care labels first—most decorative pillows and blankets are machine washable, but some may require spot cleaning or dry cleaning. For machine-washable items, use a gentle cycle with cold water and a mild detergent. Avoid fabric softeners as they can break down fibers over time.
For drying, air drying is best to prevent shrinkage, but you can tumble dry on low heat. Fluff pillows by hand or give them a few minutes in the dryer with a couple of clean tennis balls to restore their shape. If the blanket is large, take it to a laundromat with industrial machines to ensure it gets properly cleaned and dried.
Check The Care Label First
Before tossing anything in the wash, read the tag. Most synthetic fills and cotton covers are machine washable, but down or silk items may need special care. If the label says 'dry clean only, ' spot clean or use a home dry cleaning kit.
Ignoring the label can ruin the pillow or blanket.
Wash With Care
Use a gentle cycle with cold water and a mild detergent. Wash similar colors together to avoid bleeding. For pillows, wash two at a time to balance the machine.
Avoid overloading the washer—this ensures proper cleaning and prevents damage. Skip bleach and fabric softeners, which can degrade fibers and cause yellowing.
Dry And Fluff Properly
Air drying is best for most decorative items to maintain shape and prevent shrinkage. If using a dryer, set it to low heat and add a few clean tennis balls or dryer balls to fluff the pillows. Check frequently to avoid overheating.
Once dry, give pillows a good squeeze and shake to restore their loft. For blankets, shake them out and fold neatly.
21. Clean Under and Behind Heavy Furniture
Moving heavy furniture might feel like a workout you didn't sign up for, but the payoff is huge. Dust, pet hair, and even lost socks accumulate in those hidden zones, contributing to stale air and allergens. Once you see what's lurking back there, you'll be glad you made the effort.
Start by clearing the area around the furniture so you have room to maneuver. Enlist a friend or use furniture sliders to protect your floors. Once the piece is moved, vacuum or sweep thoroughly, paying extra attention to corners and baseboards.
Use a crevice tool to reach tight spots where dust bunnies love to hide. Wipe down the back of the furniture and the wall before sliding everything back into place.
Prep For The Move
Before you start, remove any items on top of or inside the furniture. Clear a path to avoid tripping. If you have hardwood or tile, place felt pads under the legs to prevent scratches.
For carpets, use furniture sliders or an old towel to ease the slide.
Tackle The Hidden Grime
Once the furniture is out of the way, vacuum the exposed floor area with a brush attachment. Then switch to a crevice tool for edges and baseboards. Don't forget to vacuum the back of the furniture itself—dust clings to fabric and wood surfaces.
For an extra refresh, wipe down baseboards with a damp cloth.
Prevent Future Buildup
Consider adding furniture risers to lift pieces slightly off the floor, making it easier to clean underneath in the future. You can also place a thin dust barrier, like a microfiber cloth, under the furniture to catch debris. Schedule moving heavy items every three to six months to keep hidden areas fresh.
22. Organize Under-Bed Storage
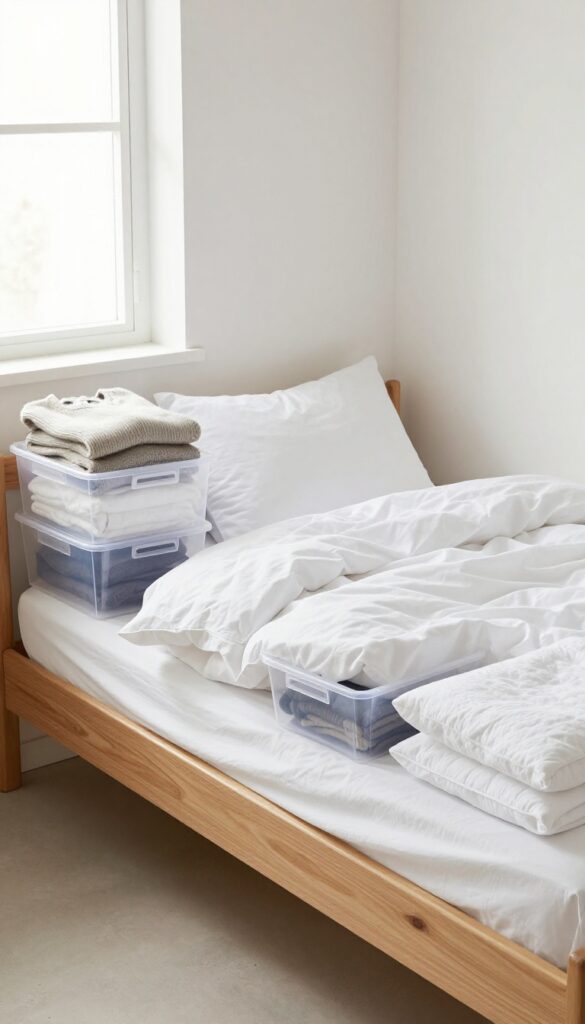
Under the bed is prime real estate, but it often becomes a black hole for random stuff. After you've vacuumed and wiped down the floor, it's time to rethink what lives there. A little organization turns that dusty void into a functional storage zone that keeps your bedroom clutter-free.
Sort And Purge
Pull everything out and sort into piles: keep, donate, trash. Be honest—if you haven't touched that box of old cables in two years, let it go. Limit under-bed storage to items you use at least once a year, like seasonal clothes or extra bedding.
Use Clear, Labeled Bins
Clear plastic bins let you see what's inside without dragging them out. Label each bin clearly—"Winter Sweaters, " "Guest Sheets, " "Shoes. " Stackable bins with lids keep dust out and make the most of vertical space.
Consider Bed Risers
If you're short on clearance, bed risers can add a few extra inches. That little lift makes it easier to slide bins in and out, and it can double your storage capacity. Just make sure your bed frame is stable and the risers are secure.
23. Deep Clean Closet Floors and Shelves
Your closet might look organized from the outside, but the floors and shelves often hide dust, lint, and forgotten debris. A thorough clean here not only freshens the space but also protects your clothes and accessories from dirt and pests.
Start by removing everything—shoes, bins, hangers, and all. Vacuum the floor and shelves with a crevice tool to reach corners. Wipe down all surfaces with a damp microfiber cloth and a gentle cleaner.
Let everything dry completely before putting items back. Consider adding shelf liners to protect surfaces and make future cleaning easier. Use storage baskets to group small items and keep shelves tidy.
Empty And Sort
Take everything out of the closet. This is a great chance to declutter—donate or toss items you no longer use. Group similar items together so you can reorganize efficiently.
Vacuum And Wipe
Use a vacuum with a brush attachment to clean floors, baseboards, and shelves. Follow up with a damp cloth and a mild cleaner to remove any sticky residue or dust. Pay special attention to corners and edges.
Add Liners And Baskets
Shelf liners keep surfaces clean and prevent items from slipping. Storage baskets corral small accessories, socks, or scarves, making it easier to maintain order. Choose breathable materials like fabric or wire for good airflow.
24. Refresh the Air with Natural Scents
After scrubbing every surface, the air in your bedroom still might feel stale. That's because deep cleaning isn't just about what you see—it's about what you breathe. A few natural tricks can transform the atmosphere without masking odors with synthetic sprays.
Open The Windows For True Ventilation
Start by letting the outside in. Open windows on opposite sides of the room to create cross-ventilation. Even 10 minutes can flush out trapped dust, moisture, and lingering cleaning product fumes.
If weather permits, keep them open while you work—it makes the whole process feel lighter.
Simmer A Stovetop Potpourri
Fill a small pot with water, add citrus peels (orange, lemon, or grapefruit), a few cinnamon sticks, and a handful of fresh herbs like rosemary or mint. Let it simmer on low for an hour. The steam carries a gentle, natural fragrance throughout your home.
It's cheap, chemical-free, and makes the whole house smell like a spa.
Use Essential Oils And Beeswax Candles
A few drops of lavender or eucalyptus oil in a diffuser can calm your mind and freshen the room. Beeswax candles are another great option—they burn cleanly and naturally purify the air by releasing negative ions. Avoid synthetic air fresheners that just cover up odors with chemicals.
25. Make the Bed with Fresh Linens
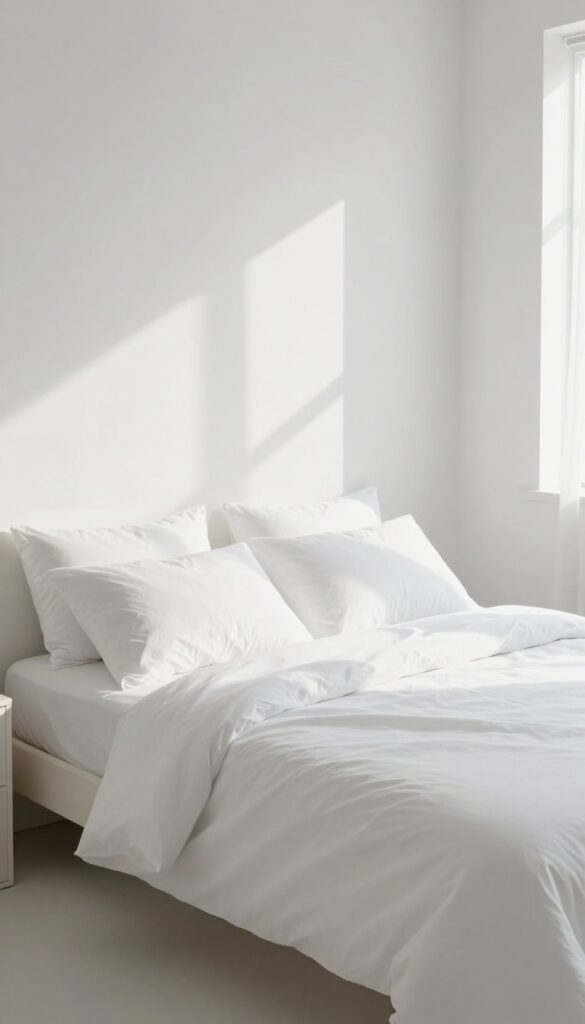
There's something undeniably satisfying about sliding into a bed made with freshly laundered sheets. After all the scrubbing and organizing, this final step ties the whole room together. It's the simple reward that makes all the effort feel worth it.
Once every surface is clean and the air smells fresh, it's time to dress the bed. Start by checking your mattress protector—if it's overdue for a wash, toss it in. Then layer on your clean fitted sheet, top sheet (if you use one), and pillowcases.
Smooth out wrinkles as you go for that crisp hotel feel. Fluff your pillows and arrange them neatly. Add your comforter or duvet, and fold it back or lay it flat depending on your style.
A made bed instantly transforms the room from chaotic to calm.
Choose The Right Linens
Not all sheets are created equal. For a deep clean reset, opt for breathable fabrics like cotton or linen. They feel cool and fresh, especially after a thorough wash.
If you have flannel or microfiber, save those for cooler months. The goal is to create a sleeping surface that feels light and inviting.
The Making Process
Start with the fitted sheet, ensuring corners are snug. Then add the top sheet, if you prefer one. Tuck in the bottom and sides neatly.
Place pillows in cases, fluff them, and arrange them symmetrically or in a casual stack. Finally, layer your duvet or comforter, giving it a good shake to redistribute filling evenly.
Maintain The Freshness
To keep that just-cleaned feeling longer, make your bed every morning. Air out the room for a few minutes before remaking. Wash sheets weekly, and consider using a linen spray for a light scent.
A well-made bed not only looks great but also encourages better sleep.
FAQ
How often should I deep clean my bedroom?
Aim for a deep clean every 3 to 6 months. High-traffic bedrooms or homes with pets may need it more frequently, like every 2 to 3 months.
What's the best order to deep clean a bedroom?
Start from the top: ceiling fans and light fixtures, then walls and windows, then furniture, and finally floors. This prevents dust from settling on already cleaned surfaces.
How do I remove yellow stains from a mattress?
Mix hydrogen peroxide, baking soda, and a drop of dish soap. Apply to the stain, let it sit for 30 minutes, then blot. Repeat if needed.
Always test a small area first.
Can I use vinegar to clean my bedroom?
Yes, white vinegar is great for glass, mirrors, and some hard surfaces. However, avoid using it on natural stone, wood finishes, or electronics. Dilute with water for most uses.
How do I keep my bedroom dust-free longer?
Use microfiber cloths that trap dust, keep windows closed on windy days, vacuum weekly with a HEPA filter, and reduce clutter where dust can settle.
Conclusion
A deep-cleaned bedroom isn't just about a spotless space—it's about creating a calm retreat where you can truly recharge. Tackle these 25 ideas one at a time, and you'll transform your room without feeling overwhelmed.
Start with the areas that bother you most, then work through the rest at your own pace. The result is a fresh, inviting bedroom that feels like a mini vacation every night.


