
A clean closet doesn't just look good—it saves you time every morning. When everything has a place and nothing is crammed, getting dressed becomes a breeze instead of a battle. These 17 tips are designed to help you clear the chaos and keep it that way.
You don't need a massive renovation or expensive systems. Small, smart changes can turn even the most packed closet into a calm, functional space.
The payoff is immediate: less stress, more outfit options, and a wardrobe you actually love. Let's start with the hardest part—letting go—and work our way to the satisfying finish of a perfectly organized closet.
1. Pull Everything Out
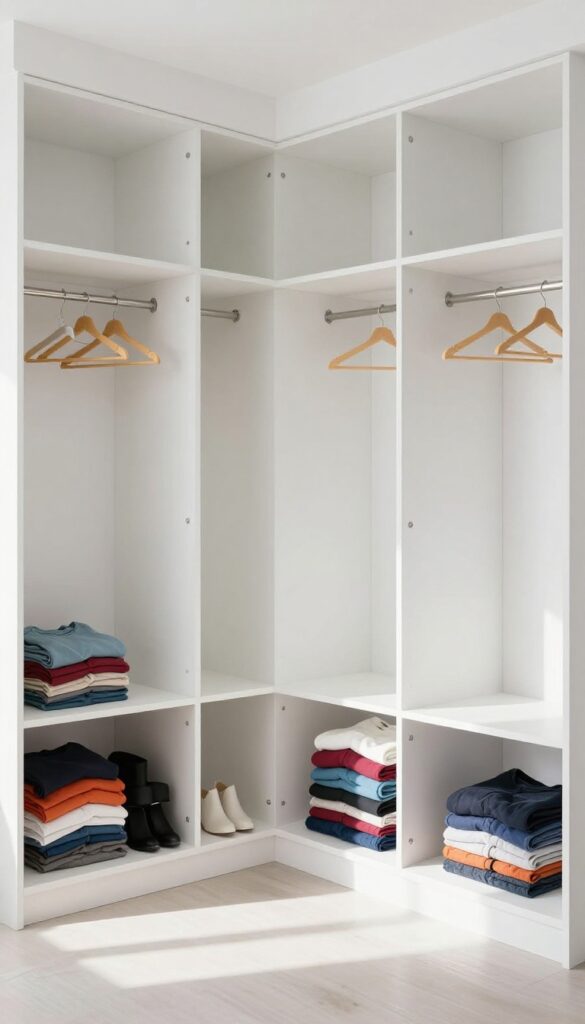
It sounds drastic, but emptying your entire closet onto the bed or floor is the only way to see what you truly own. This forces you to handle each piece and make a real decision about its place in your life. No more hiding items in the back or forgetting what you have.
Start by removing every single thing—clothes, shoes, accessories, even the empty hangers. Lay everything out where you can see it. This step is about creating a blank slate and breaking the habit of just rearranging clutter.
Why It Works
When you see everything at once, you can't ignore the pieces that don't fit, are worn out, or you never wear. It also gives you a chance to dust and vacuum the empty closet before putting things back.
How To Do It Smoothly
Work in sections if your closet is huge. Pull out all shirts first, then pants, and so on. Pile them on a clean surface, and sort as you go.
Keep trash bags and donation boxes handy so you can toss or give away items immediately.
What To Expect
You'll probably find things you forgot you owned. That's the point. Some items will spark joy, others will make you wonder why you kept them.
Embrace the mess for now—it's temporary and necessary.
2. Sort Into Three Piles
Now that everything is out, it's time to make decisions. The three-pile method keeps things simple: keep, donate/sell, and trash. Be brutally honest with yourself—if you haven't worn it in a year, it's probably not coming back.
This step is where the real progress happens. You'll see exactly what you own and what you actually use. The keep pile should only hold items you love and wear regularly.
The donate/sell pile gives your clothes a second life. The trash pile is for anything stained, torn, or beyond repair—no guilt, just goodbye.
The Keep Pile: Only The Favorites
Ask yourself: Does this fit? Do I feel good in it? Have I worn it in the last year?
If the answer is no to any of these, it doesn't belong in your keep pile. Be picky—your closet will thank you.
The Donate/sell Pile: Give It A Second Life
Clothes in good condition can go to a local charity, consignment shop, or online resale platform. Just make sure they're clean and free of damage. Someone else will love them.
The Trash Pile: No Sentimentality
Stained shirts, worn-out shoes, stretched-out sweaters—let them go. They're not doing you any favors. Toss them without a second thought.
3. Use the One-Year Rule
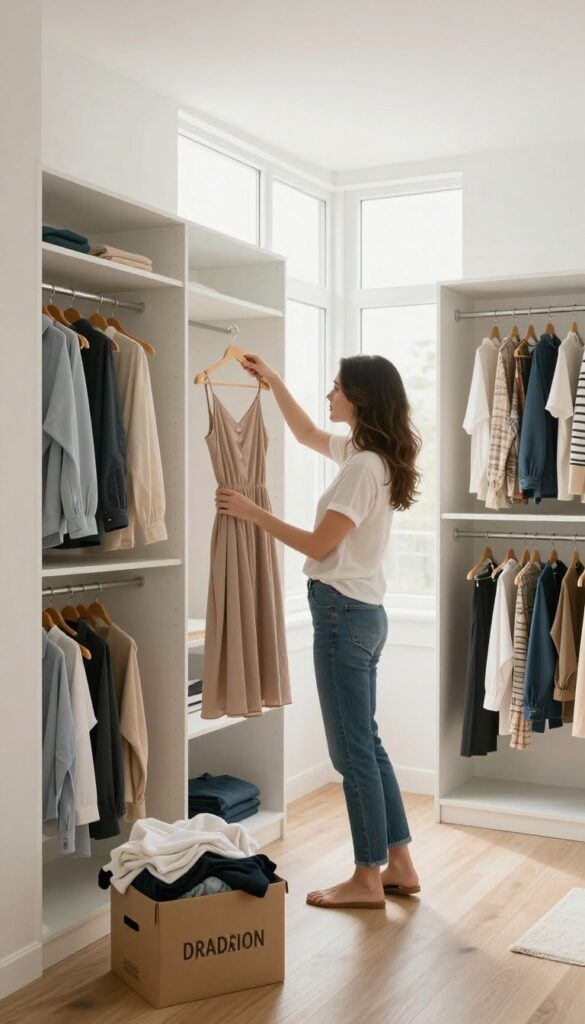
Let's face it: if you haven't worn something in 12 months, you probably never will. That dress you bought for a wedding three summers ago? It's just taking up space.
The one-year rule is a simple, no-excuses way to cut the clutter fast. Exceptions? Sure—seasonal items like winter coats and sentimental pieces like your grandma's scarf get a pass.
Everything else? Out it goes.
The one-year rule works because it's objective. Instead of agonizing over each item, you just check the calendar. If it's been unworn for a year, it's time to donate, sell, or toss.
This rule forces you to be honest about your habits. Most of us wear the same 20% of our wardrobe 80% of the time. The rest is just noise.
By applying this rule, you free up space for the pieces you actually love and wear.
How To Apply It Without Guilt
Start by pulling everything out of your closet. As you go through each piece, ask yourself: "Have I worn this in the last year? " If the answer is no, put it in a donate or sell pile.
Don't overthink it. If you're unsure, flip the hanger backward. After a year, if the hanger is still backward, you know it's time to let go.
This method removes the guesswork and makes the process almost automatic.
What About Seasonal Or Sentimental Items?
Seasonal items like heavy coats, ski gear, or beachwear don't count—they only get worn a few months a year. Sentimental items, like your wedding dress or a favorite band tee from college, can stay if they truly bring you joy. But be honest: if it's just gathering dust and you never look at it, consider taking a photo and letting it go.
Memory isn't in the object—it's in you.
Make It A Yearly Habit
Schedule a closet audit every year, maybe on the first weekend of spring or fall. Go through your clothes with the one-year rule in mind. Over time, you'll notice your wardrobe gets leaner and more intentional.
You'll stop buying things you don't need because you'll remember the pain of clearing them out. It's a virtuous cycle.
4. Try the Hanger Trick
If you're not sure what to keep and what to toss, let physics do the work. This simple method uses reverse psychology—and a bit of patience—to reveal which pieces you actually reach for. No guilt, no guesswork.
The hanger trick is a passive decluttering technique that relies on time and observation. Start by turning all your hangers backward (hook facing you). After wearing an item, return it to the closet with the hanger facing the normal way.
Over the next six months, any piece still on a backward hanger is a clear signal it's not earning its keep.
Why It Works
It removes the emotional pressure of deciding on the spot. Instead of forcing a yes/no decision, you let your habits speak. After half a year, you have hard data—not feelings—to guide your choices.
How To Execute
Pick a day to flip every hanger. Then, as you wear items, flip them back. Be consistent: if you try something on but don't wear it out, leave the hanger backward.
Set a calendar reminder for six months out.
What To Do After
When the time comes, pull everything still on backward hangers. Try each piece on. If it doesn't fit, is damaged, or you don't love it, donate or sell.
If you're on the fence, give it another three months—but be honest.
5. Categorize by Type
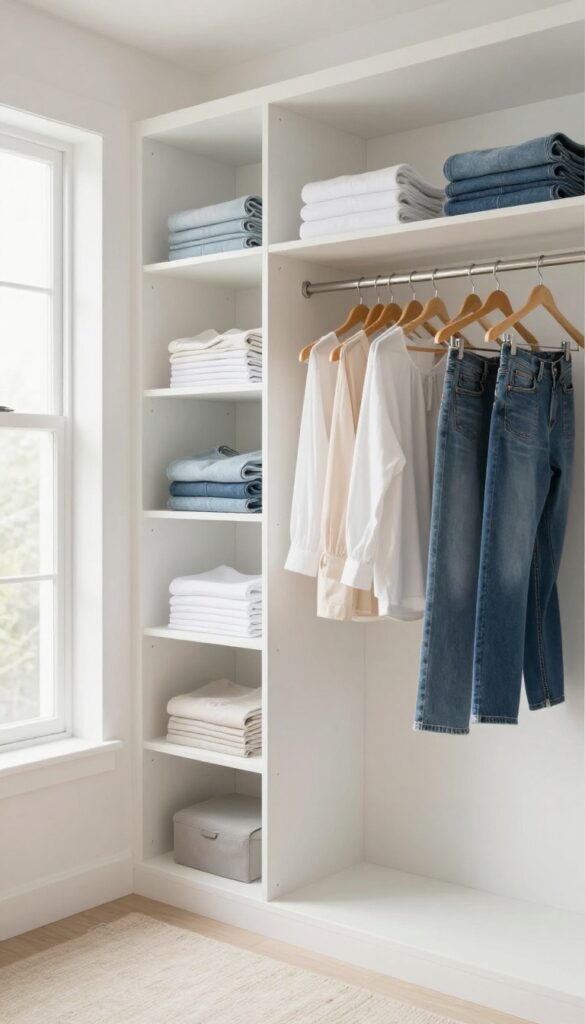
Once you've purged and sorted by season, it's time to group like with like. Categorizing by type—all jeans together, all t-shirts together, all dresses together—creates a logical system that your brain can follow effortlessly. No more hunting for that one specific sweater buried under a pile of blouses.
Grouping similar items is the backbone of an organized closet. It turns a jumble into a curated collection where every piece has its place. This method works because it mirrors how we think about clothing: "I need a black top" or "Let me grab my favorite jeans.
" When everything is sorted by type, you can instantly spot what you have and what you might be missing. Plus, it makes putting away laundry a no-brainer—just drop each item into its designated zone.
Start With Broad Categories
Begin with the big groups: tops, bottoms, dresses, outerwear, and shoes. Within those, you can get more specific. For tops, separate short sleeves from long sleeves, and maybe even tank tops.
For bottoms, keep jeans, trousers, and skirts in their own sections. This two-level system keeps things simple but detailed enough to be useful.
Fine-tune With Subcategories
Once the broad categories are set, drill down further if you have the space. For example, within jeans, separate dark wash from light wash, or skinny from straight leg. Within t-shirts, group by color or sleeve length.
The key is to find the level of detail that makes sense for your wardrobe—too many subcategories can be overwhelming, but just the right amount saves time.
Use Dividers Or Shelf Bins
To keep categories from blending together, use closet dividers, shelf bins, or even small baskets. These physical separators make it obvious where one category ends and another begins. They also prevent stacks from toppling over.
For folded items like sweaters or jeans, shelf dividers are a game-changer—they keep piles neat and easy to pull from without disturbing the rest.
Label Everything
Labels take categorization to the next level. You can use simple adhesive labels, chalkboard tags, or even washi tape with a marker. Label shelf bins, drawer fronts, and hanging sections.
This is especially helpful if you share a closet with someone else—everyone knows exactly where things go. It also makes maintenance a breeze: when you see a label, you're reminded to keep that category pure.
6. Color Coordinate Within Categories
Arranging clothes by color inside each category does more than make your closet look like a boutique. It trains your eye to find exactly what you need in seconds. No more rummaging through a pile of black tops to realize you have three nearly identical ones.
Start by grouping all your tops together, then sort them from light to dark or in rainbow order. Do the same for pants, dresses, and outerwear. The visual consistency makes mismatched items stand out, so you'll notice when something is out of place or no longer fits your style.
Rainbow Vs. Light-to-dark
Rainbow order (red, orange, yellow, green, blue, purple) works best if you love color and want a playful, energetic vibe. Light-to-dark (white, cream, beige, gray, black) feels more minimalist and calming. Pick whichever makes you smile—both are effective.
Why It Works
Color coordination reduces decision fatigue. When everything is grouped by type and then sorted by color, your brain can quickly scan and compare options. You'll also spot duplicates or pieces you forgot you owned, which helps with future shopping decisions.
Maintenance Tips
After laundry, take an extra 30 seconds to hang or fold items back in the correct color order. If you notice a category getting messy, do a quick 5-minute reset. Consistency is key—once it becomes a habit, your closet stays beautiful with minimal effort.
7. Invest in Uniform Hangers
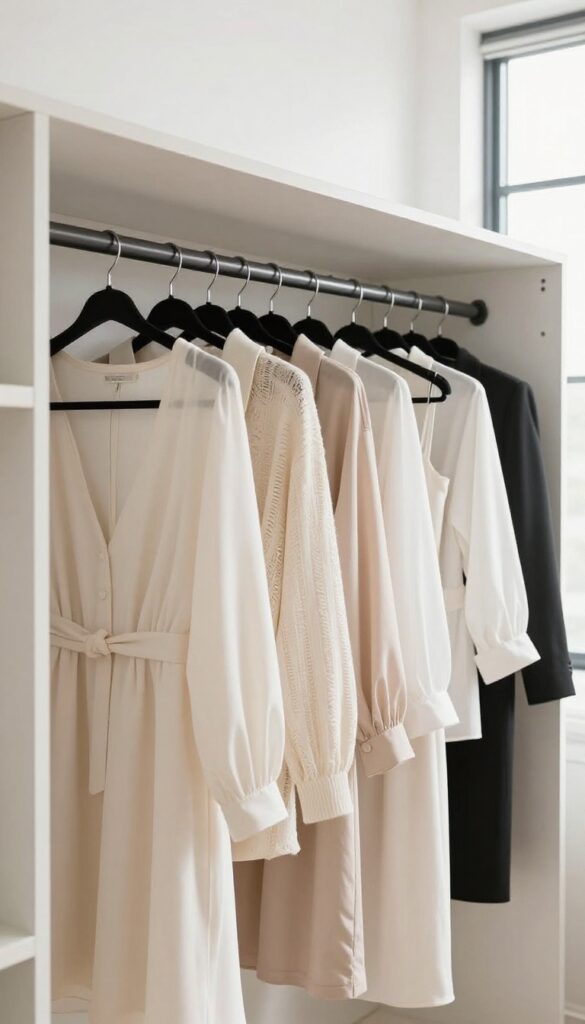
You might not think hangers matter much, but they actually play a huge role in how your closet looks and functions. Switching to a single type of thin, non-slip hanger instantly makes everything feel more cohesive and saves precious rod space. Plus, your clothes will stop sliding off or getting stretched out by bulky wire or plastic hangers.
Why Matching Hangers Matter
When every hanger is the same, your eye glides smoothly over the clothes instead of getting caught on a jumble of mismatched shapes and colors. This simple visual consistency makes a packed closet feel calm and intentional. It also helps you spot what you actually own, so you're less likely to buy duplicates.
Slim Design Saves Space
Thin velvet or flocked hangers take up about half the width of standard plastic ones. That means you can fit more clothes in the same space without cramming. The non-slip surface also keeps delicate fabrics like silk and strappy tops in place, so you're not constantly picking things off the floor.
The Best Types For Different Items
For most everyday clothes, flocked hangers with a low profile work great. For suits or heavy coats, look for wooden hangers with a wider shoulder shape to maintain structure. Pants and skirts benefit from hangers with clips or a padded bar to prevent creases.
Stick with one color—black or beige—for the most polished look.
Where To Find Affordable Options
You don't need to spend a fortune. Stores like IKEA, Target, and Amazon sell packs of 20 to 50 slim hangers for under $20. If you want to upgrade gradually, start with the most visible section of your closet, like your work clothes or favorite tops, and replace the rest over time.
8. Use Vertical Space with Double Rods
Most closets waste a ton of vertical real estate. The space between your top rod and the floor is often empty or just a pile of shoes. Installing a second hanging rod below the first is one of the easiest ways to instantly double your hanging capacity.
It works especially well for shorter items like shirts, skirts, and pants.
Double rods are a game-changer for small closets or shared spaces. By splitting your hanging area into two tiers, you can store twice as many items without adding any extra width. This trick is perfect for keeping work shirts, casual tops, and folded pants easily accessible.
Plus, it frees up floor space for bins or shoe racks.
What You'll Need
You can buy a closet rod kit at any hardware store for under $20. Look for a tension rod or a simple metal rod with mounting brackets. Measure your closet width first, then choose a rod that fits snugly.
If you're handy, you can also install a fixed rod with screws and anchors.
Where To Place The Second Rod
The lower rod should sit about 30 to 36 inches above the floor. That leaves enough room for shirts and folded pants to hang without dragging. Leave at least 3 feet between the two rods so longer items like dresses can still hang on the top rod.
If your closet is shallow, keep the lower rod closer to the back to avoid bumping into clothes.
What To Hang On Each Rod
Use the top rod for longer items: dresses, coats, and long button-downs. The bottom rod is ideal for shorter pieces: blouses, t-shirts, skirts, and folded trousers. You can also dedicate one rod to work clothes and the other to casual wear for even faster morning decisions.
9. Add Shelf Dividers
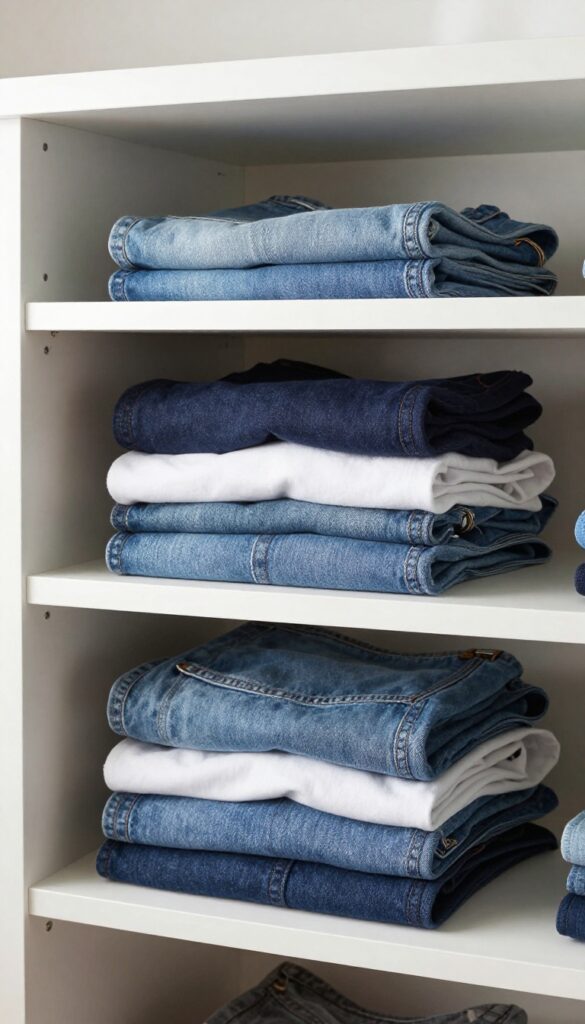
You know that moment when you pull out one sweater and the whole stack avalanches? Shelf dividers stop that chaos cold. These simple plastic or metal panels slide onto your shelves, creating standalone sections for each pile.
Suddenly, jeans, sweaters, and t-shirts stay upright and separate, even when you're in a hurry.
Shelf dividers are one of those cheap, low-effort fixes that make a huge difference. They keep stacks from merging into one messy blob and make it easy to grab one item without disturbing the rest. Plus, they help you see exactly what you have, so you're less likely to buy duplicates.
Choose The Right Type
Look for dividers that match your shelf depth and weight of items. For heavy sweaters, get sturdy metal or thick plastic ones with grippy ends. For lighter tees, slim wire dividers work fine.
Most are adjustable, so measure your shelf width before buying.
Group By Category
Use dividers to separate different clothing types on the same shelf. For example, one section for jeans, another for sweaters, and a third for hoodies. This keeps everything organized without needing extra bins.
Maintain The System
Once dividers are in place, stick to the one-pile-per-section rule. When you put laundry away, resist the urge to jam items into the nearest open spot. A few extra seconds keeps your closet looking neat for weeks.
10. Store Off-Season Items Elsewhere
Winter coats and heavy sweaters take up a lot of space in your closet. During summer, you don't need them hanging around. Moving off-season items to under-bed bins or a spare closet frees up prime real estate for the clothes you actually wear.
Storing off-season items elsewhere is one of the simplest ways to double your closet space. When bulky winter gear is out of sight, your daily wardrobe becomes easier to access and more organized.
Where To Store Off-season Clothes
Under-bed storage bins are perfect for sweaters and jeans. Vacuum-seal bags work great for bulky coats and comforters. If you have a spare closet or a guest room, use that for longer-term storage.
Just make sure the area is clean and dry.
How To Keep Them Fresh
Before storing, wash or dry-clean everything. Use cedar blocks or lavender sachets to repel moths and keep clothes smelling fresh. Avoid plastic dry-cleaning bags—they can trap moisture.
Breathable fabric bins or cotton garment bags are better.
When To Swap
Set a reminder to swap your wardrobe twice a year—around the equinoxes in spring and fall. That way, you're never caught off guard by a sudden temperature change. Plus, the swap itself is a great chance to reassess what you actually wear.
11. Use Clear Bins for Accessories
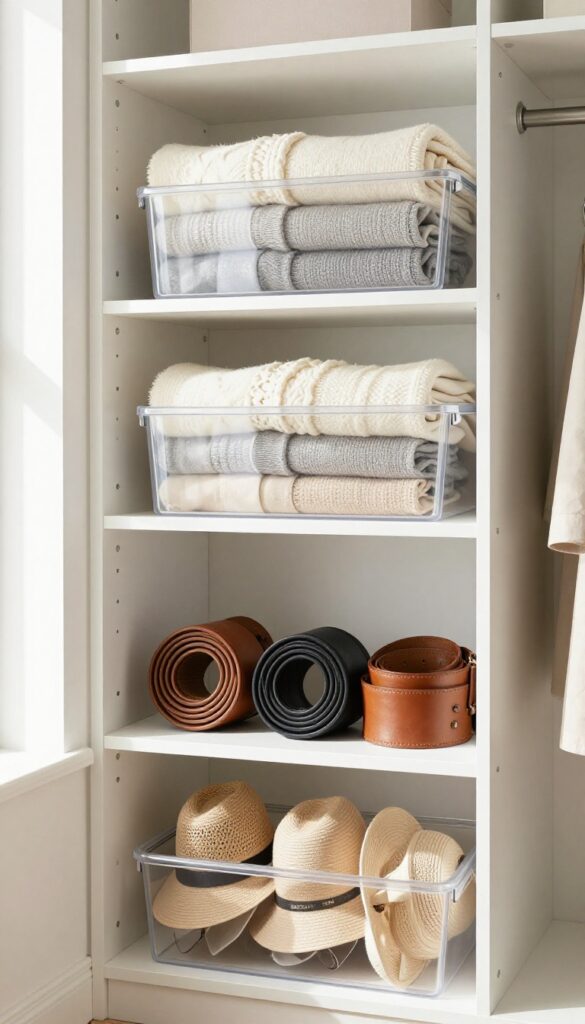
Scarves, belts, and hats can be some of the trickiest items to store neatly. They tend to tangle, slip off hangers, or just get shoved into a corner. Clear bins solve that problem by giving each accessory a visible home.
Transparent containers let you spot exactly what you need without digging through piles. Label each bin—'Winter Scarves, ' 'Casual Belts, ' 'Sun Hats'—so you never have to guess. Stack them on a shelf or tuck them into a drawer for instant access.
Choose The Right Size
Not all bins are created equal. For bulky items like knit beanies, go with deeper bins. For delicate silk scarves, shallow bins work better to prevent wrinkles.
Measure your shelf space before buying to avoid awkward gaps.
Label Like A Pro
A label maker gives a clean, uniform look, but simple masking tape and a marker work just fine. Write clear categories so everyone in the household can put things back correctly. Bonus: labels make it easy to rotate seasonal accessories.
Stack Smartly
Clear bins are stackable, but don't overdo it. Keep frequently used items in top bins and off-season gear lower down. If you stack too high, you'll end up toppling towers every time you need a belt.
12. Hang a Jewelry Organizer on the Door
Jewelry can be one of the trickiest accessories to keep organized. Chains tangle, earrings lose their mates, and finding the right piece often means digging through a messy box. An over-the-door organizer with clear pockets solves all that in seconds.
These organizers are cheap, easy to install, and instantly free up drawer space. Plus, seeing your jewelry displayed makes it easier to pick pieces that complete your outfit.
Choose The Right Organizer
Look for one with multiple small pockets—ideally clear so you can see everything at a glance. Some come with hooks for necklaces and loops for earrings. Make sure it fits your door without blocking the hinge or handle.
Sort By Type And Frequency
Put everyday pieces in the top pockets for easy reach. Store special occasion jewelry lower down. Keep necklaces in separate pockets to prevent tangling, and use the smallest pockets for rings and studs.
Maintain It Weekly
Spend a few minutes each week untangling any chains and returning stray earrings to their pairs. This small habit keeps the organizer functional and prevents the chaos from creeping back.
13. Fold KonMari Style for Drawers
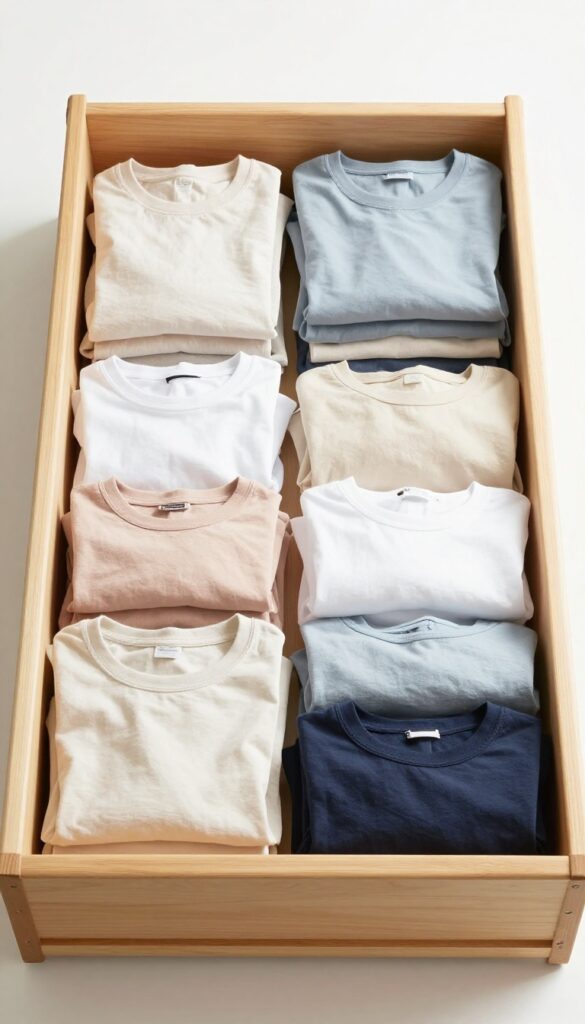
Drawers can be black holes for clothes—you dig around, pull out the wrong thing, and everything gets wrinkled. The KonMari folding method changes that completely. By folding items into compact rectangles and standing them upright, you can see every piece at a glance and grab what you need without disturbing the rest.
The technique works best for t-shirts, sweaters, jeans, and even underwear. Start by folding the garment into a simple rectangle, then fold it again into a smaller rectangle that can stand on its own. The key is to make the folds tight and even so the item stays upright.
Once you have a drawer full of these little rectangles, you can arrange them by color or type. No more digging, no more wrinkles, and no more forgetting what you own.
How To Fold A T-shirt The Konmari Way
Lay the shirt flat, fold one side in, then the sleeve, then repeat on the other side. Fold the bottom up to create a small rectangle that can stand. Practice a few times—it gets faster.
The result is a neat little package that fits snugly next to its neighbors.
Organizing By Color And Type
Once everything is folded, group similar items together. Arrange them so the colors flow from light to dark, or keep all tanks in one row and tees in another. This makes choosing an outfit quick and keeps the drawer looking tidy.
Why Upright Storage Beats Stacking
Stacking means you can only see the top item, and pulling one out often topples the whole pile. Upright storage lets you see every piece at once, like files in a cabinet. It also reduces wrinkles because nothing is pressed under a heavy stack.
14. Keep a Laundry Hamper Inside
The floor of your closet shouldn't double as a dirty laundry pile. When you toss clothes on a chair or the floor, they wrinkle, get mixed with clean items, and make the space feel messy. A small hamper right inside the closet gives dirty clothes a designated home.
Placing a hamper in your closet creates a direct path from undressing to washing. No more sorting through questionable piles on laundry day. Choose a hamper that fits your space—a slim, lidded bin works for tight spots, while a divided hamper helps separate lights and darks from the start.
Choose The Right Size
A hamper that's too big eats up valuable floor space, while one that's too small fills up in two days. Measure your closet floor and pick a hamper that leaves room for walking. A 20- to 30-liter bin works well for most single-person closets.
Make It Easy To Use
The hamper should be easy to open and close. A foot-pedal lid or a simple open bin works best—you don't want to fumble with zippers or lids when your hands are full. Place it near the door or where you usually undress.
Keep It Clean
Line your hamper with a washable bag or use a removable liner. This makes transferring laundry to the washer effortless and keeps the hamper itself fresh. Wash the liner every few weeks to avoid musty smells.
15. Use Tension Rods for Extra Hanging
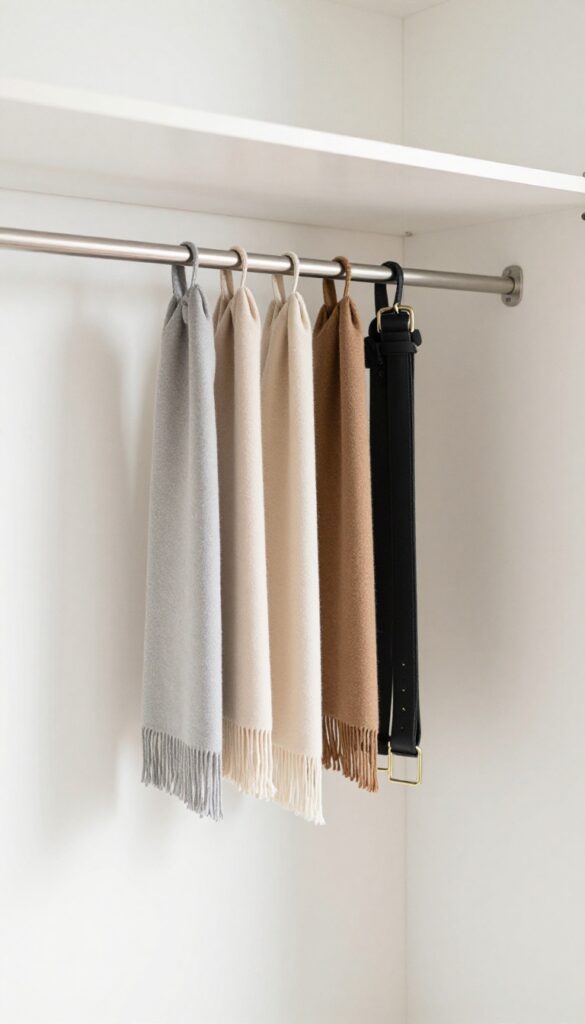
You don't need to drill holes or call a handyman to add hanging space. A simple tension rod can turn an awkward gap into a functional storage zone. It's one of the easiest ways to double your hanging capacity in seconds.
Tension rods are cheap, removable, and work in any closet with a shelf above. They're perfect for lightweight items that usually get tangled or lost. The best part?
You can adjust or remove them anytime without leaving marks.
Where To Place Them
Look for empty spaces under a shelf, between two walls, or inside a cabinet. The most common spot is directly under a shelf that has a few inches of clearance. Measure the width and buy a rod that expands to fit snugly.
What To Hang
Scarves, ties, belts, and lightweight tops work great. You can also hang bags, hats, or even jewelry organizers. Stick to items that won't weigh down the rod—save heavy coats for your main bar.
Pro Tips For Stability
Make sure the rod is tightly secured by twisting it until it's firm. If it still slips, add a small piece of rubber shelf liner on each end for grip. For longer rods, use two in the same space for extra support.
16. Rotate Your Wardrobe Seasonally
Twice a year, a seasonal swap does wonders for your closet. It keeps your space feeling fresh and ensures you only see clothes that match the weather. No more digging through heavy sweaters in July or hunting for sandals in January.
Seasonal rotation is a simple habit that pays off in clarity and space. When you pack away off-season items, your daily choices shrink to what actually works right now. That means less decision fatigue and a closet that feels intentional, not chaotic.
Plus, stored clothes stay in better shape when they're not crammed in year-round.
Timing Your Swap
Pick two anchor dates each year—say, the first weekend of April and October. That way you're not guessing when to switch. Spring swap brings out light layers and shorts; fall swap brings back sweaters and boots.
Stick to the schedule and it becomes automatic.
How To Store Off-season Items
Use clear bins or breathable garment bags so you can see what's inside without opening everything. Label each container by category (e. g. , "Winter Sweaters") and store them under your bed or on a high shelf. Avoid plastic dry-cleaning bags—they trap moisture and can yellow fabrics.
What To Do During The Swap
Before packing, inspect each item. Mend small tears, remove stains, and decide if you still love it. If something didn't get worn last season, consider donating it.
This keeps your wardrobe lean and prevents the swap from just shuffling clutter around.
17. Do a Weekly Five-Minute Tidy
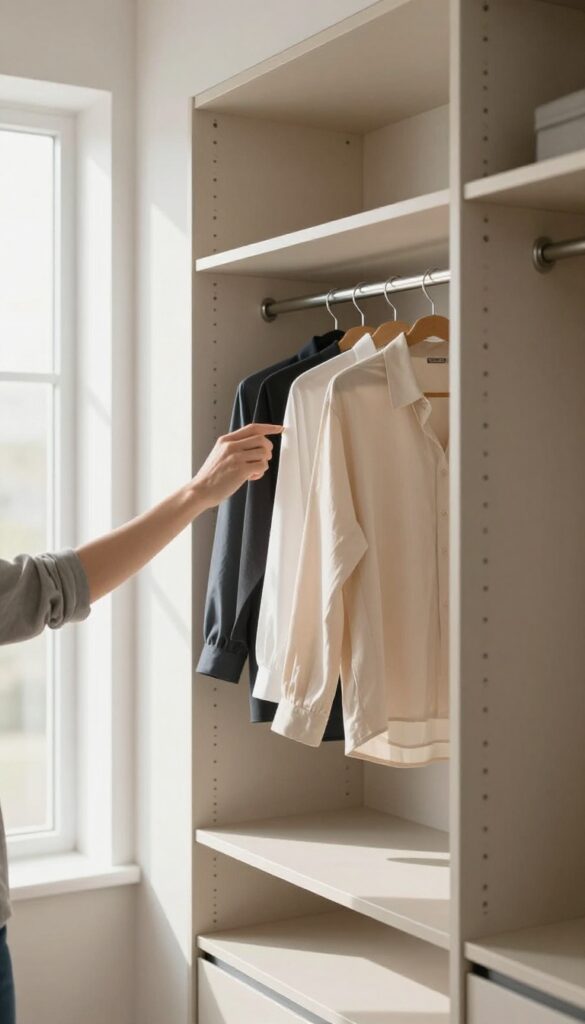
Even the most organized closet can slide back into chaos over time. A quick weekly reset is your best defense against the slow creep of clutter. Just five minutes—that's all it takes to keep things looking sharp and working smoothly.
Set A Timer And Go
Pick one day each week—Sunday evening works well—and set a timer for five minutes. Walk through your closet with a single goal: return anything that's out of place to its home. Hangers that fell, shoes kicked off, a scarf draped over a drawer—put it all back.
No deep cleaning, no organizing projects. Just a quick reset.
Tackle The Hot Spots First
Focus on the areas that get messy fastest: the floor, the shelf where you toss bags, and the rod near the door where you hang clothes you've worn but aren't ready to wash. If you have time left, straighten a drawer or two. The key is consistency—doing this every week trains your brain to maintain order without effort.
Make It A Habit, Not A Chore
Pair this tidy with something you already do weekly, like laundry or meal prep. Keep a small basket or bin in your closet for items that need to go elsewhere (like that sweater that belongs in the guest room). Empty it during your five-minute tidy.
Soon, you won't even think about it—it'll just be part of your routine.
FAQ
How often should I clean out my closet?
Aim for a deep declutter every six months, ideally at the change of seasons. A quick weekly tidy helps maintain order between purges.
What's the best way to store shoes in a small closet?
Use an over-the-door shoe organizer, stackable shoe boxes, or a hanging shoe rack. Keep only current-season shoes accessible.
Should I fold or hang sweaters?
Fold sweaters to prevent stretching from hangers. Use shelf dividers to keep stacks neat. Hang only lightweight knits on padded hangers.
How do I keep my closet smelling fresh?
Place a small bowl of baking soda, cedar blocks, or a sachet of dried lavender on a shelf. Avoid strong artificial fragrances.
What's the most common closet organizing mistake?
Keeping clothes you don't wear. Holding onto items out of guilt or 'just in case' is the biggest space-waster. Be ruthless with your keep pile.
Conclusion
A truly organized wardrobe doesn't happen overnight, but each small step you take makes a real difference in your daily routine. Start with just one or two tips that feel manageable—maybe the hanger trick or the one-year rule—and build momentum from there.
Before you know it, getting dressed in the morning will feel effortless, and you'll actually look forward to opening your closet. Your clothes deserve a system that works for you, and you deserve the calm that comes with it.


