
Your walls take a beating—fingerprints, dust, mystery splatters. But when life is hectic, scrubbing them often falls to the bottom of the to-do list. The good news?
A few smart tricks can make wall cleaning fast and effective, even in the busiest rooms. You don't need harsh chemicals or hours of elbow grease. With the right approach, you can lift grime, erase marks, and restore that just-cleaned glow in minutes.
These ten ideas focus on real-world solutions that fit into your routine. No fluff, just practical steps to keep your walls looking their best without stealing your weekend.
1. Use a Microfiber Mop for Quick Dusting
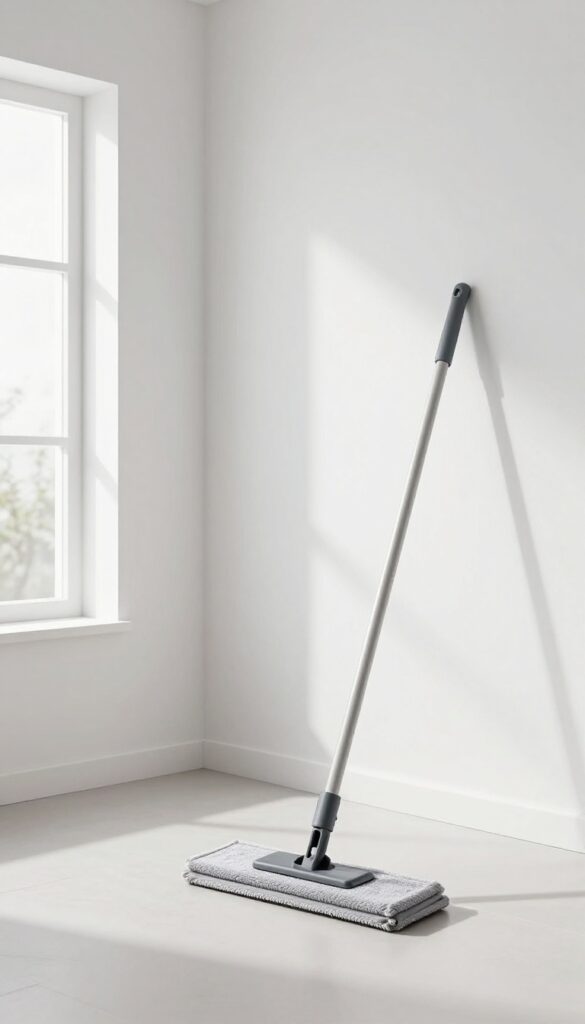
Dust doesn't just settle on shelves and furniture—walls collect plenty of it, especially in busy rooms. But who has time to wipe down every wall by hand? A dry microfiber mop on an extendable handle lets you dust walls from floor to ceiling in seconds.
It traps dust without spreading it around, and you can do it while you're already cleaning the floors.
Grab a clean, dry microfiber mop head and attach it to an extendable handle. Starting at the top of the wall, glide the mop in long, overlapping strokes. Work your way down to the baseboard.
The microfiber fibers grab dust particles and hold them, so you're not just pushing dust into the air. This method works on flat paint, textured walls, and even wallpaper—just use a light touch to avoid scuffing. For a deeper clean, you can dampen the mop slightly with water or a gentle cleaner, but for routine dusting, dry is best.
Why A Mop Beats A Cloth
A microfiber mop covers more surface area than a rag, so you finish faster. The long handle also means no stretching or reaching—your back will thank you. Plus, you can dust walls and ceilings in one pass without switching tools.
Best Mop Heads For Walls
Look for a mop with a flat, rectangular head that can pivot. Avoid string mops or sponge mops—they're too bulky and leave streaks. Microfiber pads that are machine-washable are ideal because you can reuse them dozens of times.
How Often To Dust Walls
In a busy household, aim to dust walls every two to four weeks. High-traffic areas like hallways and kids' rooms may need more frequent attention. A quick once-over with the mop during your regular floor cleaning is an easy habit to build.
2. Erase Crayon and Pencil Marks with a Magic Eraser
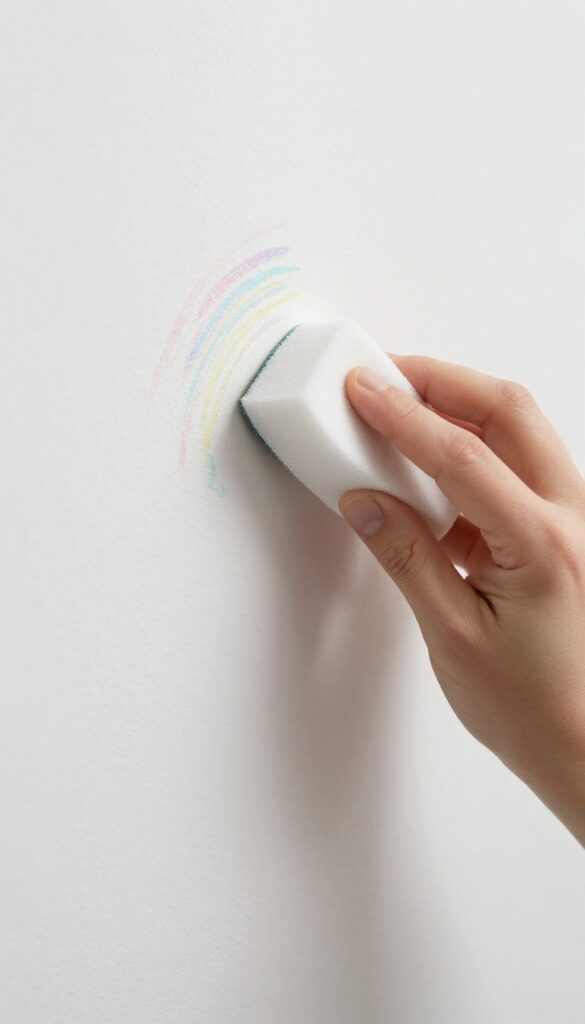
Kids and walls don't always mix well. Crayon masterpieces, pencil doodles, and mysterious scuffs seem to appear out of nowhere. But there's a simple fix that works like magic: melamine foam sponges.
Melamine foam sponges, often sold as Magic Erasers, are a game-changer for busy households. They work by micro-abrasion, gently lifting stains without the need for harsh chemicals. Just dampen the sponge, wring it out, and lightly rub the mark.
The foam breaks down as you use it, so it's always working with a fresh surface. Keep one in every room where kids hang out—kitchen, playroom, even the car. They're cheap, disposable, and incredibly effective on flat paint, semi-gloss, and even some textured walls.
How To Use A Magic Eraser Safely
Always test on an inconspicuous spot first. Dampen the sponge until it's just moist, not dripping. Gently rub the mark in a circular motion.
The foam will crumble—that's normal. Rinse the area with a damp cloth afterward to remove any residue. Avoid using on glossy or delicate finishes.
Where To Keep Your Erasers
Stash one in a bathroom cabinet, kitchen drawer, and laundry room. For quick touch-ups, keep a damp eraser in a sealed bag near high-traffic areas. That way, you can erase a crayon squiggle the moment you see it.
What Else Can It Clean?
Beyond walls, Magic Erasers work on scuffed baseboards, sticky cabinet fronts, and even sneaker soles. They're also great for removing pencil marks from painted doors and light switch plates.
3. Tackle Grease Spots with Dish Soap and Warm Water
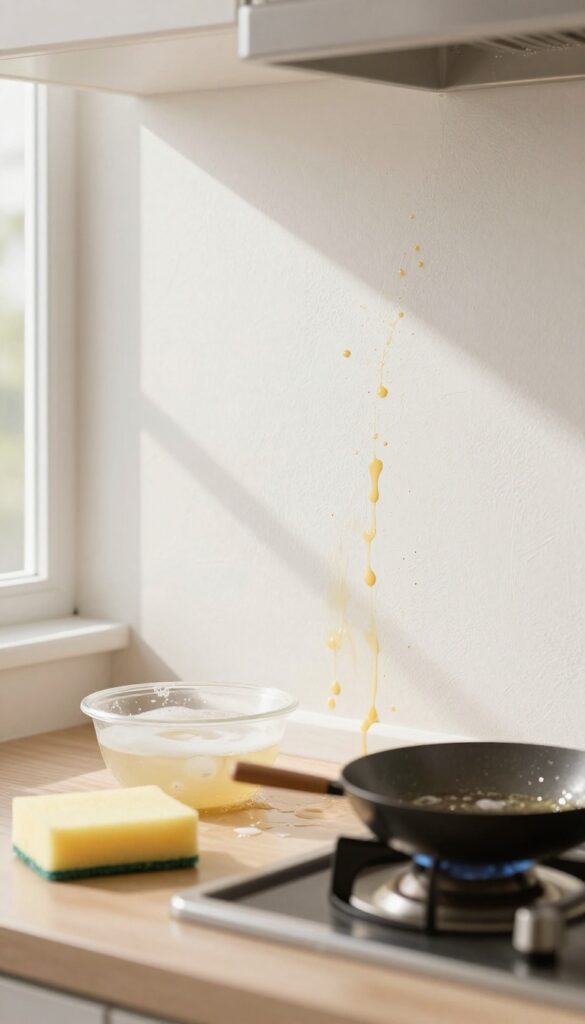
Kitchen walls near the stove take the worst of cooking splatters. Grease builds up fast, turning white paint yellow and leaving sticky patches that attract dust. But you don't need a special degreaser—just dish soap and warm water work wonders.
This simple solution cuts through grease without damaging paint, and it's safe for most wall finishes.
Mix a few drops of dish soap with warm water in a bowl. Dip a soft sponge, wring it out so it's damp not dripping, and gently wipe the greasy area in small circles. Rinse the sponge often and follow up with a clean damp cloth to remove any soap residue.
For stubborn spots, let the soap sit for a minute before wiping. Avoid scrubbing hard—that can remove paint or create shiny patches.
Why Dish Soap Works So Well
Dish soap is designed to break down grease on dishes, so it's naturally effective on wall splatters. It's mild enough for painted surfaces but strong enough to dissolve cooked-on oil. Plus, it's cheap and already in your kitchen.
Best Tools For The Job
Use a soft sponge or microfiber cloth—abrasive scrubbers can scratch paint. A bucket of warm water for rinsing keeps your cleaning water from getting too dirty. Paper towels work in a pinch, but they may leave lint.
When To Avoid This Method
Avoid using dish soap on unsealed or flat paint, as it can leave water marks. Test in an inconspicuous spot first. For very delicate or antique walls, consider a specialist cleaner.
4. Remove Candle Soot with a Dryer Sheet
Candle lovers know the cozy glow comes with a downside: soot. Those black smudges can creep up walls and ceilings, especially near frequently burned candles. But you don't need heavy cleaners or repainting.
A simple used dryer sheet can lift the soot without spreading it around.
Why Dryer Sheets Work
Dryer sheets are designed to attract and trap lint and dust, which makes them perfect for grabbing fine soot particles. The antistatic properties also help prevent the soot from resettling. Plus, they're gentle enough not to damage paint or wallpaper.
How To Do It Right
Grab a used dryer sheet—fresh ones work too, but used are less greasy. Lightly wipe the sooty area in one direction, not back and forth. Start from the clean edge and work inward to avoid spreading.
No pressure needed; let the sheet do the work.
When To Use This Trick
This works best on fresh soot marks. For heavy buildup, you may need to repeat with a fresh sheet. It's ideal for quick touch-ups between deep cleans.
Avoid using on flat paint, as it might leave a slight sheen—test in an inconspicuous spot first.
5. Spot Clean High-Traffic Areas Weekly
Light switches, door frames, and corners near handles get dirty fast. These spots see constant touching, so grime builds up quickly. A weekly quick-clean routine keeps them from looking dingy without much effort.
Keep a microfiber cloth or cleaning wipe handy and give these spots a quick once-over during your weekly tidy. Focus on the areas that get the most contact—light switches, door edges, and the wall around handles. A few swipes with a damp cloth can remove fingerprints and smudges before they become stubborn stains.
For tougher marks, a mild all-purpose cleaner works well. This small habit prevents buildup and keeps your walls looking fresh with minimal time investment.
Why These Areas Get Dirty Fast
High-traffic zones are touched multiple times a day by different hands. Oils, dirt, and moisture transfer from skin to surfaces, creating a visible film. Light switches are often overlooked during regular dusting, so they accumulate grime quickly.
Door frames near handles also catch a lot of hand contact, especially in busy households.
Best Tools For The Job
Microfiber cloths are ideal because they trap dirt without scratching paint. Disposable cleaning wipes are convenient for a quick pass, but reusable cloths are more eco-friendly. For stubborn spots, a soft sponge with a dab of dish soap works wonders.
Avoid abrasive scrubbers that can damage wall paint.
How To Make It A Habit
Tie this task to an existing routine, like after your weekly vacuuming or before guests arrive. Keep a cloth or wipes in a nearby drawer so you can grab them easily. Set a reminder on your phone for the same day each week.
After a few weeks, it becomes second nature.
6. Use a Vacuum with a Brush Attachment for Cobwebs
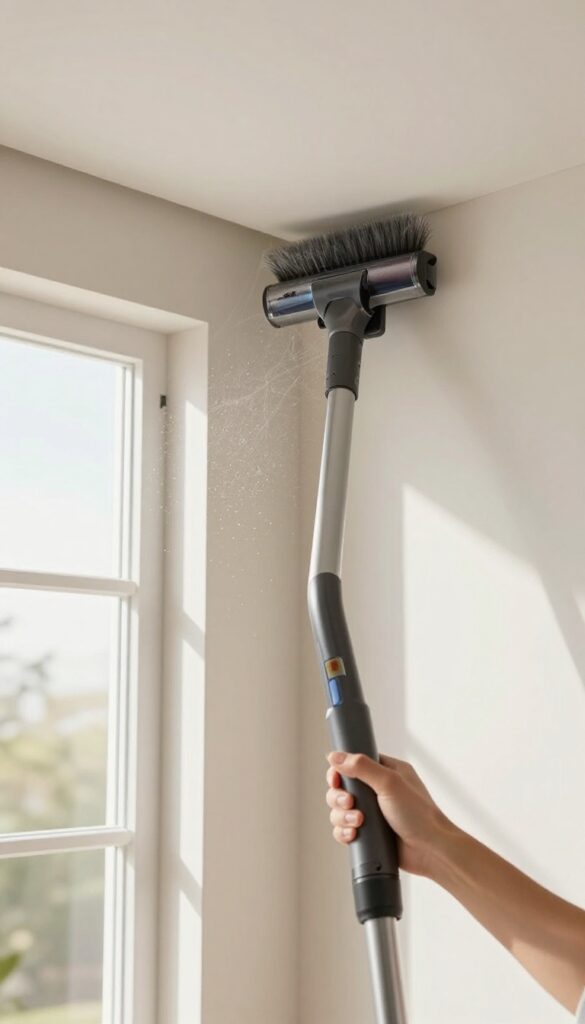
Ceiling corners and high edges are prime real estate for cobwebs, but chasing them with a broom only spreads dust and debris across the room. A vacuum with a soft brush attachment offers a cleaner, more controlled approach. It gently lifts cobwebs without smearing them, and everything gets sucked straight into the canister—no mess, no fallout.
This method is especially handy in busy rooms where you want to freshen up quickly without dragging out a ladder or stirring up allergens. The brush attachment is soft enough not to damage paint or wallpaper, yet effective at dislodging stubborn webs. Plus, it reaches high corners without you having to stretch or balance precariously.
Choose The Right Attachment
Most vacuums come with a brush attachment designed for upholstery or delicate surfaces. That's perfect for walls and ceilings. If your vacuum has an extendable wand, even better—you can reach tall areas without a step stool.
Avoid using a hard plastic nozzle, as it might scratch paint or push cobwebs into crevices.
Work Top To Bottom
Start at the highest point of the room—ceiling corners, crown molding, and light fixtures. Gently sweep the brush along the edge, letting the suction pull the web away. Then work your way down to baseboards and window frames.
This order prevents dust from falling onto already-cleaned surfaces.
Empty The Canister Often
Cobwebs are light but bulky. If you're tackling multiple rooms, empty the vacuum canister or bag between uses. A full container reduces suction power and can release dust back into the air.
A quick empty keeps performance strong and your cleaning efficient.
7. Make a DIY All-Purpose Wall Cleaner with Vinegar and Water
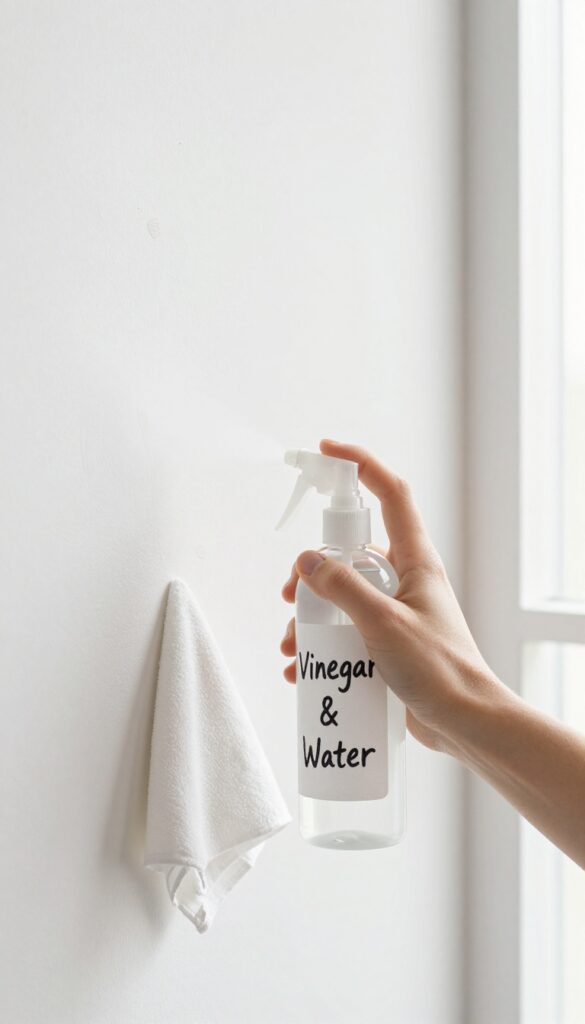
Store-bought cleaners often come with a cocktail of chemicals and a hefty price tag. But you probably already have the two ingredients for a simple, effective wall cleaner in your pantry. White vinegar and water cut through grease, grime, and fingerprints without damaging most painted surfaces.
Plus, you can whip up a batch in seconds.
This natural cleaner is gentle enough for regular use and tough enough on everyday dirt. The slight acidity of vinegar breaks down residue, while water dilutes it to a safe strength. Just remember to test on an inconspicuous spot first, especially if you have matte or flat paint, which can be more absorbent.
To use, spray the mixture lightly onto the wall—don't soak it—and wipe with a soft, lint-free cloth or microfiber towel. Work in small sections, and rinse your cloth frequently to avoid spreading dirt around. The vinegar smell evaporates quickly, leaving no lingering odor.
Why Vinegar Works On Walls
Vinegar is a mild acid that dissolves alkaline-based grime like soap scum, cooking grease, and dried-on spills. It's also a natural disinfectant, killing some bacteria and mold spores. Unlike harsh chemical cleaners, it won't leave a sticky residue that attracts more dust.
The Right Mix And Application
A 1: 1 ratio of white vinegar to water is ideal for most walls. For extra cleaning power on tough spots, add a drop of dish soap. Apply with a spray bottle, misting lightly to avoid drips.
Wipe gently with a soft cloth in a vertical or horizontal motion, overlapping strokes to prevent streaks.
What To Avoid
Don't use vinegar on unsealed or waxed surfaces, as it can dull the finish. Also avoid it on natural stone like marble or granite. Always test in a hidden area first.
If your paint is prone to chalking or peeling, stick to plain water or a dedicated gentle cleaner.
8. Use a Pencil Eraser for Small Scuffs
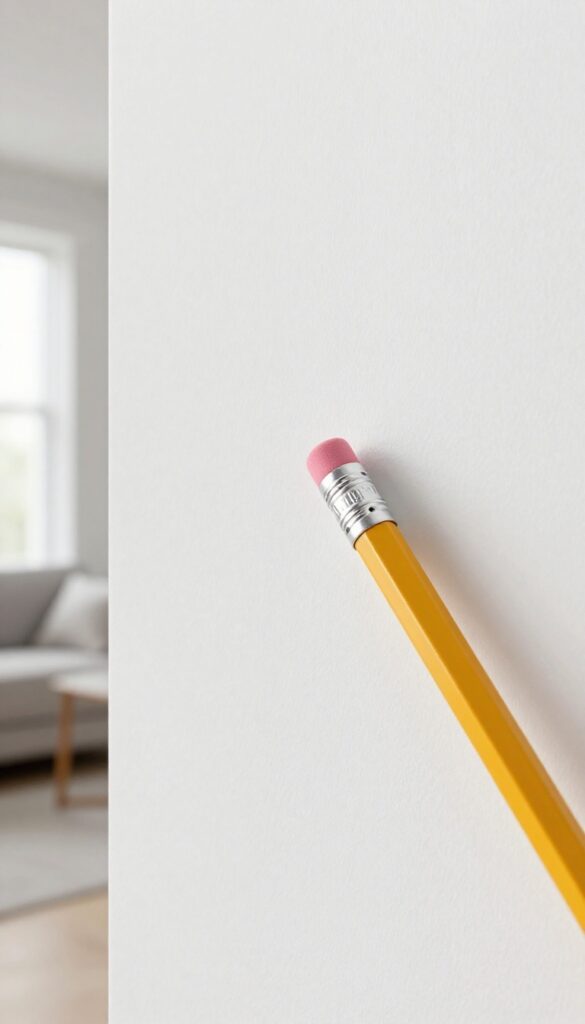
Tiny scuff marks from shoes, furniture, or toys can make a wall look messy fast. Reaching for a sponge and bucket feels like overkill when you just want to fix one little spot. A clean pencil eraser—the kind on the end of a standard No.
2 pencil—can lift those marks right off without damaging the paint. It's a zero-effort trick that takes seconds and keeps your walls looking fresh between deeper cleanings.
Why It Works
Pencil erasers are made from soft rubber or vinyl that creates friction without being abrasive. When you rub a scuff mark gently, the eraser grabs the residue left by the object that caused the mark—like a shoe sole or a chair leg—and rolls it away. The paint underneath stays intact because the eraser doesn't dissolve or scrub the surface.
This method works best on flat or matte paint, where the texture helps the eraser grip the mark.
How To Do It Right
Use a clean, unused eraser or a fresh end of a pencil. Press lightly and rub in short, circular motions over the scuff. Don't bear down—you're not trying to erase the paint.
If the mark doesn't budge after a few passes, it might be a scratch or embedded dirt, which needs a damp cloth. For larger scuffs, a white vinyl eraser (the kind artists use) works even better because it's bigger and won't leave colored residue.
When To Skip This Trick
Avoid using erasers on delicate wall finishes like flat paint that scuffs easily, or on textured walls where the eraser can catch and tear the surface. Also skip it if the wall is dirty or greasy—the eraser will just smear the grime around. In those cases, clean the area first with a gentle cleaner, then tackle any remaining scuffs with the eraser.
9. Wash Walls from Bottom to Top to Avoid Streaks
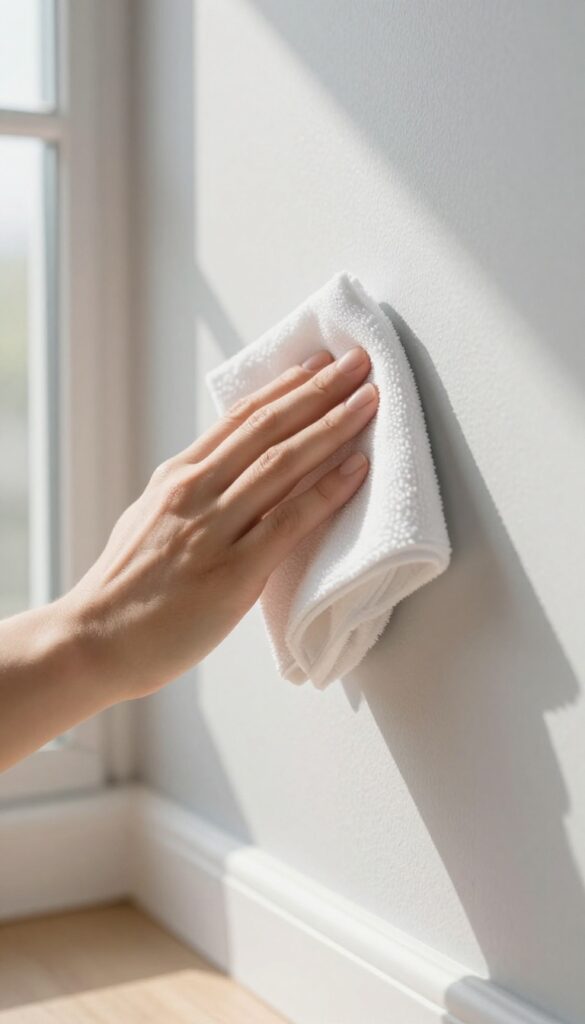
It sounds counterintuitive, but starting at the bottom of a wall and working upward is the secret to streak-free cleaning. Gravity pulls dirty water down, so if you start at the top, drips run over already-cleaned areas and leave ugly marks. By reversing the order, you keep the cleaning solution ahead of the grime.
Grab a sponge or microfiber cloth dipped in mild soapy water. Wring it out well—too much moisture causes drips. Begin at the baseboard and work in horizontal passes, overlapping each stroke.
Rinse your cloth frequently and change the water when it gets murky. For tough spots, let the soap sit for a minute before wiping. Finish by going over the wall with a clean, damp cloth to remove any soap residue.
Why Bottom-to-top Works
Dirty water naturally runs downward. If you start at the top, those drips streak across clean areas and redeposit dirt. Starting at the bottom means any runoff falls onto already-soiled sections, so you clean them again as you move up.
This method also prevents water from seeping behind baseboards.
Best Tools For The Job
A large microfiber mop with a flat head is ideal for big wall sections. For smaller areas, a sponge with a scrubby side handles stuck-on grime. Avoid abrasive pads that can damage paint.
Always use two buckets—one for soapy water, one for rinsing—to keep your cleaning solution effective.
Common Mistakes To Avoid
Using too much water is the biggest culprit. Excess moisture soaks into drywall and causes bubbling or peeling paint. Also, don’t scrub in circles—it leaves swirl marks.
Stick to straight, overlapping passes. And never use harsh chemicals like bleach on painted walls unless you’re sure the paint is colorfast.
10. Protect Walls with a Washable Paint Finish
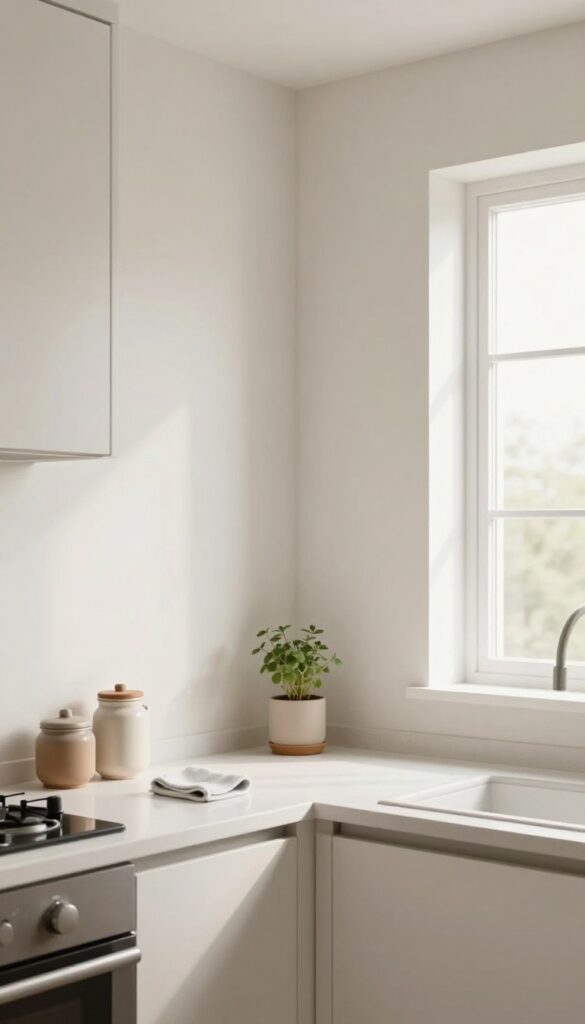
Repainting is a big job, but choosing the right finish can save you hours of scrubbing down the road. Satin and semi-gloss paints aren't just for trim—they're game-changers for busy rooms. These finishes create a smooth, durable surface that resists stains and wipes clean with a damp cloth, making them ideal for kitchens, hallways, and kids' rooms.
Why Finish Matters
Flat or matte paints may look soft, but they absorb grease and grime, making cleaning a nightmare. Satin and semi-gloss have a slight sheen that repels moisture and dirt. A quick wipe with a sponge is often all it takes to remove fingerprints and splatters.
Best Rooms For Washable Paint
Focus on high-traffic areas: kitchens (think cooking splatters), bathrooms (humidity and toothpaste), hallways (scuffs and handprints), and kids' playrooms. Even a single accent wall in a washable finish can make a difference.
Application Tips For Long-lasting Results
Proper prep is key. Clean walls before painting, use a high-quality primer, and apply two coats. For extra durability, consider a paint with built-in stain resistance.
Let each coat cure fully before heavy use.
FAQ
How often should I clean my walls?
For most rooms, a quick dusting every 2-3 months and spot cleaning as needed is enough. High-traffic areas like kitchens and hallways may need monthly attention.
Can I use bleach on painted walls?
Bleach can damage paint and cause discoloration. Stick to mild soap and water or vinegar solutions. For mold, use a diluted hydrogen peroxide solution instead.
What's the best way to clean flat paint?
Flat paint is delicate. Use a dry microfiber cloth or a barely damp sponge. Avoid scrubbing hard.
For stains, try a magic eraser gently first.
How do I remove nicotine stains from walls?
Mix 1 cup white vinegar, 1 cup warm water, and 1 tablespoon baking soda. Apply with a sponge, let sit a few minutes, then wipe. Rinse with clean water.
Will vinegar damage my wall paint?
Vinegar is generally safe for most paints, but always test in an inconspicuous area first. Avoid using it on unsealed or damaged paint.
Conclusion
A fresh-looking room doesn't require a full day of scrubbing—just a few smart wall-cleaning moves that fit your schedule. Start with one technique from this list that feels manageable today, whether it's a quick dusting or spot-cleaning near light switches. You'll notice how small, consistent efforts keep your walls bright without turning cleaning into a weekend project.
Remember, the goal isn't perfection but a space that feels lighter and more inviting. Pick one idea, try it this week, and enjoy the difference a cleaner wall makes.


