
Scuffs, grease, and mystery smudges don't stand a chance with these 13 wall-cleaning hacks. Each method targets a specific stain using common household items, so you can skip the harsh chemicals and get straight to results.
From toothpaste lifting crayon marks to WD-40 dissolving sticky residue, these tricks save time and keep your paint looking fresh.
Whether you're dealing with kitchen grease or ink stains, there's a solution here that works without the elbow grease.
1. Magic Eraser for Stubborn Scuffs
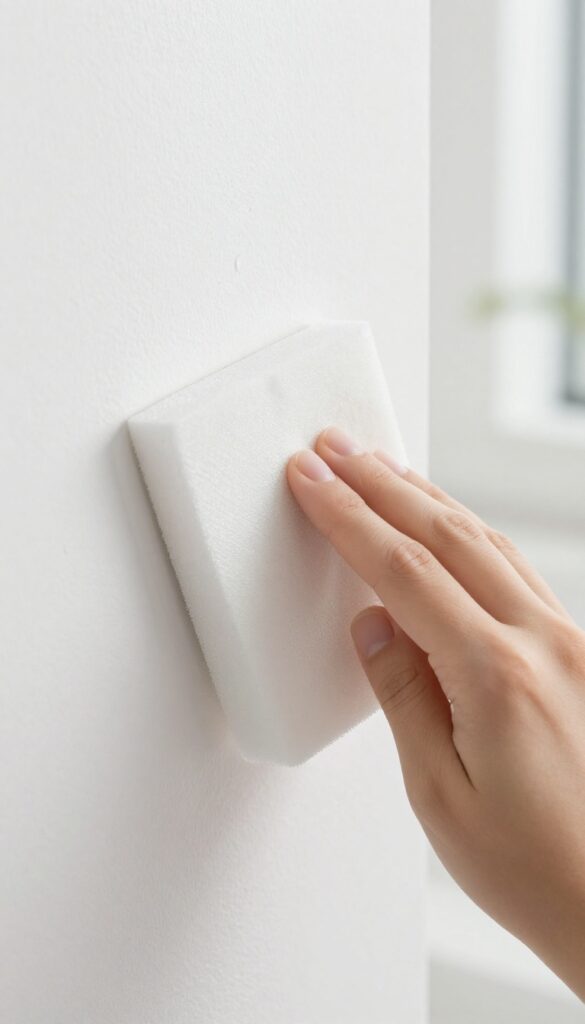
Scuff marks from shoes, furniture, or toys can make even the cleanest walls look messy. A melamine sponge—often sold as a magic eraser—lifts these marks with almost no effort. Just dampen the sponge, squeeze out excess water, and gently rub the scuff in a circular motion.
The mark disappears like magic, leaving the paint intact. Always test on a hidden area first to make sure the sponge doesn't remove the paint finish.
Magic erasers work because melamine foam acts like fine sandpaper, gently abrading the surface to lift dirt without damaging most paints. They're especially effective on flat or matte finishes. For glossy paints, use a lighter touch to avoid dulling the sheen.
Keep a sponge handy in the kitchen and entryway for quick touch-ups.
How To Use A Magic Eraser Safely
Cut the sponge into smaller pieces—they last longer and you can toss them after each use. Wet it until it's damp but not dripping, then wring out well. Rub the scuff gently; you don't need to press hard.
The sponge will start to crumble as it works, which is normal. Rinse the area with a damp cloth afterward to remove any residue.
When To Avoid A Magic Eraser
Avoid using magic erasers on unsealed wood, wallpaper, or delicate wall finishes like Venetian plaster. The abrasive action can strip paint or leave a shiny patch. If you're unsure, test on a small hidden spot.
For stubborn scuffs on delicate surfaces, try a baking soda paste instead.
2. Baking Soda Paste for Grease Splatters
Kitchen walls take the brunt of cooking splatters, and grease can cling stubbornly. Baking soda is a gentle yet effective cleaner that lifts grease without damaging paint. Mix it with water to form a paste, apply to the spots, and let it sit before wiping away.
It's a simple solution that works wonders on greasy buildup.
Baking soda is a mild abrasive that cuts through grease without scratching paint. To make the paste, combine three parts baking soda with one part water until it reaches a spreadable consistency. Apply it to the greasy areas with a soft cloth or sponge, let it sit for about five minutes to break down the grease, then wipe clean with a damp cloth.
For stubborn spots, gently scrub in a circular motion. Rinse with a clean damp cloth and dry. This method is safe for most painted walls, but always test on a hidden area first.
Why It Works
Baking soda is alkaline, which helps neutralize acidic grease molecules. Its fine grit provides gentle abrasion to lift grime without stripping paint. The paste consistency allows it to cling to vertical surfaces, giving it time to work.
Application Tips
Use a soft, lint-free cloth or a non-abrasive sponge. Avoid scrubbing too hard, especially on flat or matte paint. For large areas, apply the paste with a paint roller for even coverage.
Let the paste sit for five minutes, but don't let it dry completely—wipe while still damp.
When To Avoid
Do not use baking soda paste on walls with a delicate finish like suede or textured wallpaper. It's also not ideal for unsealed surfaces. Always spot test in an inconspicuous area first.
3. Vinegar and Water Solution for General Grime
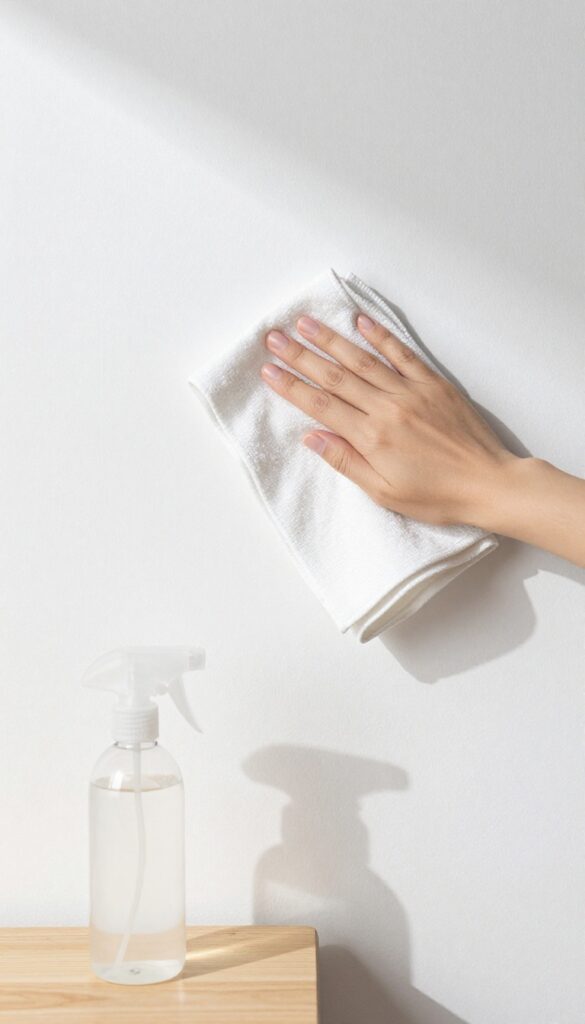
Everyday dirt and dust can build up on walls, leaving them looking dull. Instead of reaching for a harsh cleaner, try a simple vinegar and water solution. It's gentle on paint but tough on grime, and you probably already have both ingredients in your kitchen.
Mix equal parts white vinegar and water in a spray bottle. Lightly mist the wall and wipe with a microfiber cloth. The vinegar cuts through dirt and leaves no residue, so your walls come out clean and streak-free.
Why Vinegar Works
White vinegar is slightly acidic, which helps break down dirt, grease, and soap scum without damaging paint. It's also a natural deodorizer, so it eliminates musty smells while cleaning.
How To Apply Without Drips
Spray the solution onto a microfiber cloth first, not directly on the wall. This prevents drips and oversaturation, which can cause streaks or damage. Wipe in a circular motion, then follow with a dry cloth for a polished finish.
Best For Flat And Matte Paint
Vinegar is safe for most paint finishes, but it's especially effective on flat and matte walls where other cleaners might leave shiny spots. Test it in an inconspicuous area first to be sure it won't affect the color.
4. Toothpaste for Crayon Marks
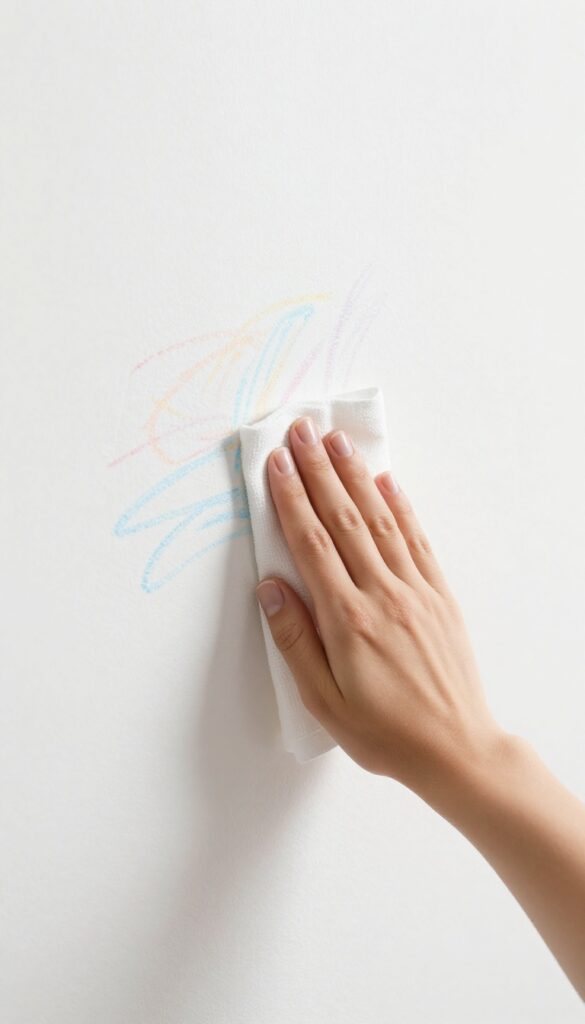
Kids and crayons are a classic combo, but walls often end up as the canvas. Before you reach for harsh cleaners, grab a tube of toothpaste from the bathroom. Non-gel white toothpaste works like a mild abrasive that lifts crayon wax without damaging paint.
Squeeze a dab of non-gel white toothpaste onto a soft cloth. Gently rub crayon marks in a circular motion until they disappear. Wipe away any residue with a damp cloth.
Why Toothpaste Works
Toothpaste contains mild abrasives like calcium carbonate or silica, which help buff away crayon wax. It's gentle enough for most painted walls but effective enough to erase stubborn marks without scrubbing too hard.
Best Practices For Best Results
Use a white, non-gel toothpaste to avoid adding color to the wall. Test on an inconspicuous area first, especially on flat or matte paint. Rub gently—too much pressure can remove paint along with the crayon.
When To Skip This Hack
Avoid toothpaste on unpainted surfaces like wallpaper or bare drywall, as it can cause damage. For large areas or deep stains, consider a magic eraser or baking soda paste instead.
5. Rubbing Alcohol for Ink Stains
Ink stains on walls can feel permanent, but rubbing alcohol makes them disappear like magic. The alcohol breaks down the ink's pigments, allowing you to lift the stain without damaging the paint underneath. This method works on ballpoint, marker, and even some permanent inks.
What You'll Need
Grab a bottle of isopropyl rubbing alcohol (70% or higher), a few cotton balls or a clean white cloth, and a small bowl if you want to pour a little alcohol. Avoid colored cloths or paper towels that might bleed dye onto the wall.
Step-by-step Process
Start by dabbing the cotton ball or cloth in rubbing alcohol—don't soak it, just dampen it. Gently blot the ink stain, working from the outside inward to prevent spreading. You'll see the ink transfer to the cotton.
Swap to a fresh area of the cloth as it picks up ink. Repeat until the stain is gone, then blot with a dry cloth to remove excess alcohol.
Why It Works So Well
Rubbing alcohol is a solvent that dissolves many types of ink, making them liquid again so they can be absorbed into the cloth. It evaporates quickly, so it won't soak into the wall and cause damage. Plus, it's gentle on most latex and acrylic paints, though it's always smart to test in an inconspicuous spot first.
Pro Tips For Stubborn Stains
If the ink has been on the wall for a while, let the alcohol sit on the stain for 30 seconds before blotting. For large areas, use a spray bottle to mist the wall lightly, then blot. Always work gently to avoid rubbing off the paint itself.
And if the stain doesn't budge, try a higher concentration of alcohol or a dedicated ink remover.
6. Dish Soap for Kitchen Grease
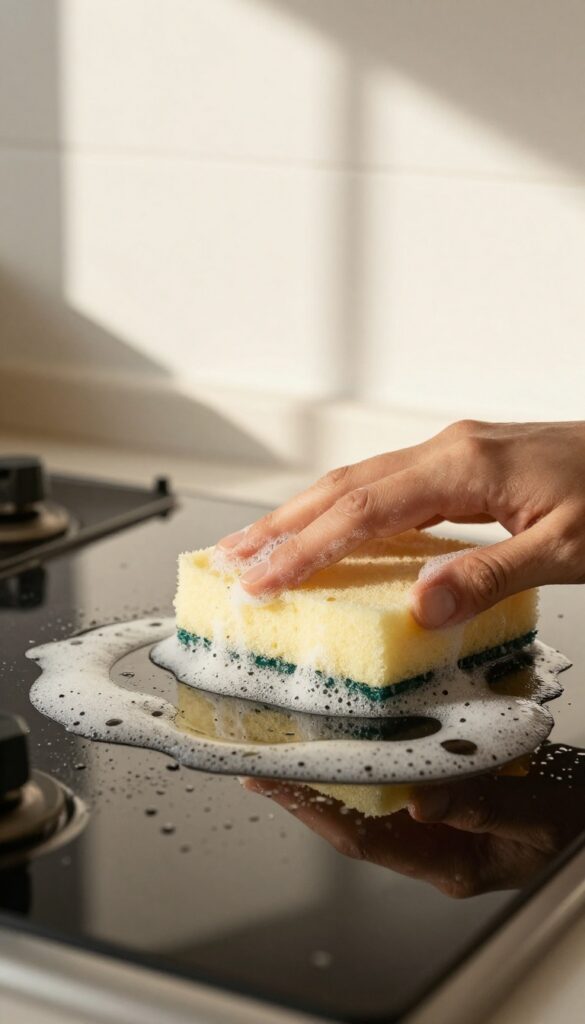
Kitchen walls take a beating from cooking splatters, and grease can cling stubbornly. But you don't need a heavy-duty degreaser—plain dish soap works wonders. It cuts through grease without damaging paint or leaving residue.
Dish soap is designed to break down grease on dishes, and it does the same on walls. The key is using a small amount and not oversaturating the sponge. This method is safe for most painted surfaces and leaves walls clean and streak-free.
Mix It Right
Fill a bucket with warm water and add just a few drops of dish soap. Too much soap can create excess suds that are hard to rinse off. Stir gently to avoid bubbles.
Wipe Gently
Dip a soft sponge into the soapy water, then wring it out until it's just damp. Wipe the greasy area in a circular motion, rinsing the sponge often. Avoid scrubbing hard to prevent paint damage.
Rinse And Dry
After wiping, go over the area with a clean, damp sponge to remove any soap residue. Pat dry with a microfiber cloth to prevent water spots or streaks.
7. Dryer Sheets for Static Dust
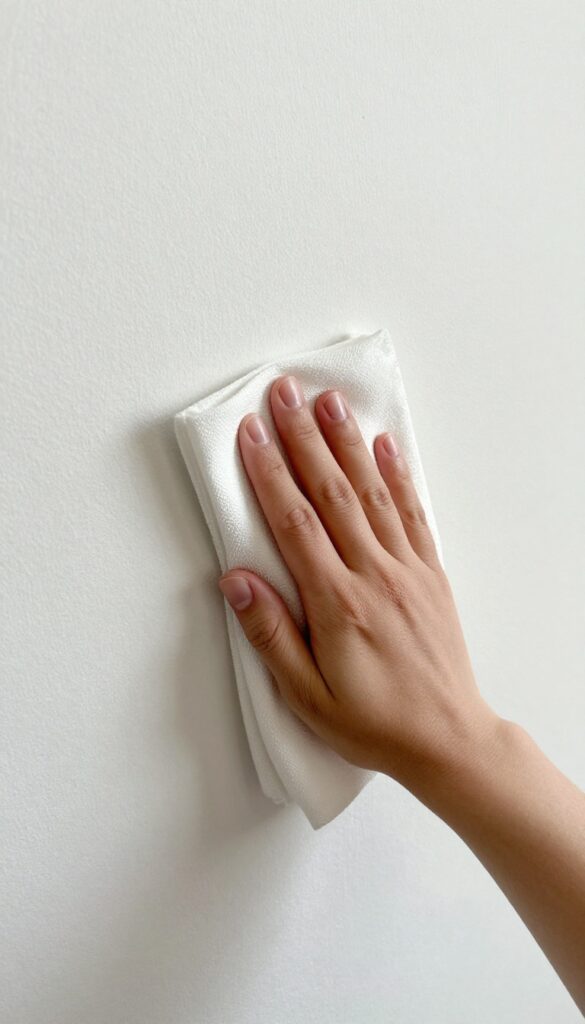
Dryer sheets aren't just for the laundry room. A used dryer sheet can be your secret weapon against dust on walls. The anti-static properties help repel dust, so your walls stay cleaner longer.
It's a simple swap that saves you from frequent dusting.
Grab a used dryer sheet from the laundry and lightly run it over dusty walls, baseboards, and corners. The sheet picks up dust without scratching paint, and the anti-static coating helps prevent dust from settling back quickly. This method is especially effective on smooth, painted walls.
For textured walls, use a gentle touch to avoid snagging. Toss the sheet when it gets dirty and grab another—they're free after drying a load.
Why It Works
Dryer sheets contain fabric softeners that neutralize static charge. When you wipe a wall, the sheet transfers these compounds, reducing the static attraction that pulls dust onto surfaces. This means less dust buildup between cleanings.
Best Surfaces To Use
Smooth painted walls, baseboards, and door frames are ideal. Avoid using on unfinished wood or delicate wallpaper, as the chemicals might leave residue. For high-traffic areas like hallways and kids' rooms, this hack is a game-changer.
Pro Tips For Best Results
Use sheets that are still slightly damp from the dryer for better dust pickup. Work in sections from top to bottom. If you have pets, this method also helps remove light pet dander.
Pair with a microfiber cloth for stubborn spots.
8. Eraser Sponge for Pencil Marks
Pencil marks on walls are common in homes with kids, artists, or anyone who uses walls as a backup desk. A standard pencil eraser can lift light marks without damaging paint. For tougher smudges, a melamine sponge works like magic—just dampen and gently rub.
Pencil marks might seem stubborn, but they're actually one of the easiest stains to remove. Start with a simple pencil eraser: rub gently over the mark, and it should disappear. For deeper or older marks, a melamine sponge (like a Magic Eraser) works better.
Wet it slightly, squeeze out excess water, and lightly scrub the area. Avoid pressing too hard to prevent removing paint.
Why Pencil Erasers Work
Standard pencil erasers contain a soft, rubbery material that grabs graphite particles without scratching the wall. This makes them ideal for fresh, light marks. Always test on an inconspicuous spot first to ensure the eraser doesn't leave residue or damage the paint finish.
Using A Melamine Sponge Safely
Melamine sponges are abrasive on a microscopic level, so they can remove marks without harsh chemicals. Dampen the sponge, wring it out well, and rub the mark in a circular motion. Rinse the sponge frequently to avoid spreading dirt.
Never use dry, as it can scuff the paint. For glossy or satin finishes, use extra care.
9. Cornstarch for Grease Stains on Wallpaper
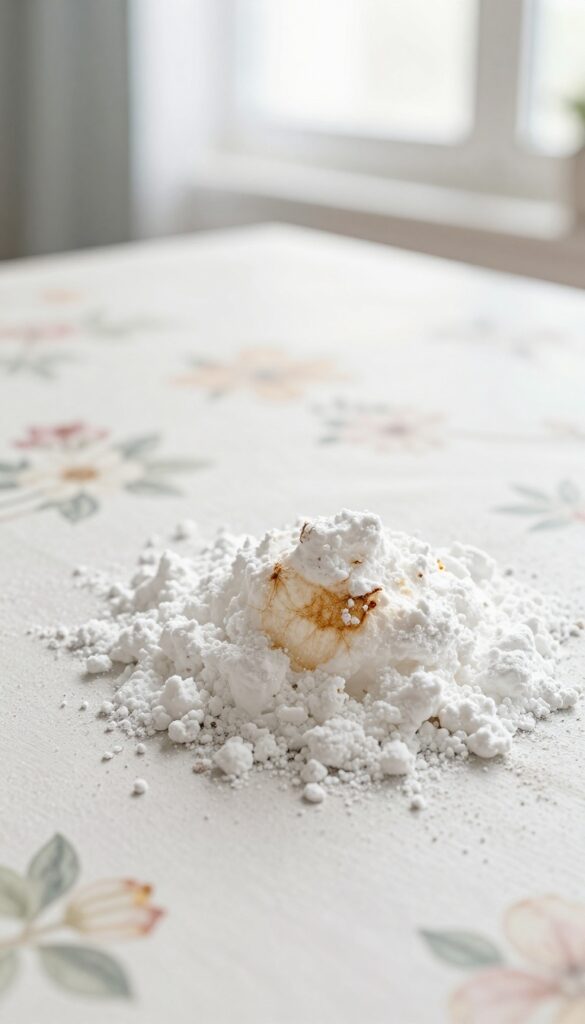
Grease splatters on wallpaper can be a nightmare, especially if you try to wipe them off and end up smearing the stain further. Cornstarch offers a gentle, absorbent solution that lifts grease without damaging the delicate paper surface. It's a pantry staple that works like a charm on fresh stains.
When you spot a fresh grease mark on your wallpaper, reach for the cornstarch before anything else. The fine powder acts like a magnet for oil, drawing it out of the fibers without rubbing or scrubbing. This method is especially effective on vinyl or washable wallpaper, but it's safe for most types as long as you don't scrub.
How To Apply Cornstarch
Sprinkle a generous amount of cornstarch directly onto the grease stain, covering it completely. Let it sit for at least 15 minutes to give the powder time to absorb the oil. You'll notice the cornstarch starting to clump as it soaks up the grease.
After the wait, use a soft brush or a dry cloth to gently brush away the powder. If the stain is still visible, repeat the process until it's gone.
Why It Works So Well
Cornstarch is a natural desiccant and absorbent, meaning it pulls moisture and oils into its structure. Unlike liquid cleaners that can spread grease or soak into wallpaper, cornstarch stays on the surface and traps the oil. It's also non-abrasive, so it won't scratch or dull the wallpaper's finish.
This makes it a go-to for delicate surfaces where harsh chemicals are a no-go.
Tips For Best Results
Act quickly—fresh stains are much easier to remove than set-in ones. If the grease has dried, try warming it slightly with a hair dryer on low heat before applying cornstarch. Always test on a hidden area first, especially if your wallpaper is antique or hand-painted.
For stubborn stains, you can make a paste with a little water, but stick to the dry method for most cases.
10. Lemon Juice for Mildew Spots
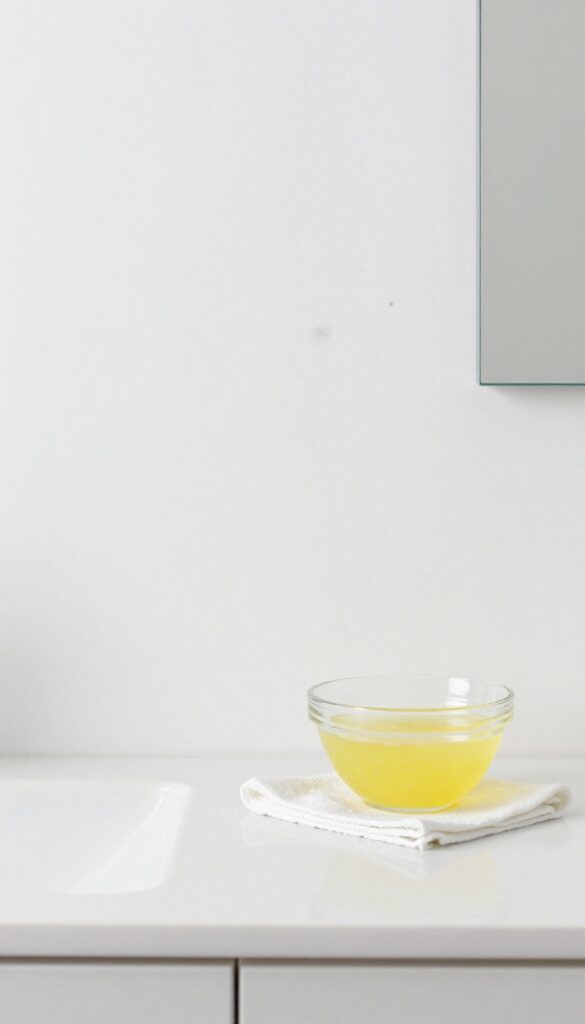
Mildew on walls is not just unsightly—it can also affect indoor air quality. Instead of reaching for bleach, try a natural alternative: lemon juice. This citrus powerhouse cuts through mildew and leaves behind a fresh scent.
Lemon juice's natural acidity breaks down mildew spores and brightens the affected area. When combined with salt, it creates a gentle abrasive paste that lifts stains without damaging paint. This method is especially effective on bathroom walls, laundry rooms, or any damp area prone to mildew.
How To Make The Paste
Squeeze fresh lemon juice into a small bowl and add enough salt to form a thick paste. The salt acts as a mild scrubber while the lemon does the cleaning. For stubborn spots, you can let the paste sit longer before wiping.
Application Tips
Apply the paste directly onto mildew spots using a soft cloth or sponge. Let it sit for about 10 minutes to allow the acid to work. Then, gently scrub in a circular motion and wipe clean with a damp cloth.
Rinse the area with water to remove any residue.
Why It Works
The citric acid in lemon juice is a natural disinfectant that kills mildew spores. It also has bleaching properties that help lighten dark stains. Plus, it's safe for most painted surfaces and leaves behind a pleasant citrus aroma.
11. WD-40 for Sticky Residue
Sticky residue from tape, stickers, or labels can be a real eyesore on walls. Before you resort to scraping and risk damaging the paint, grab a can of WD-40. This multipurpose lubricant works wonders on adhesive gunk, breaking it down so you can wipe it away with ease.
WD-40 isn't just for squeaky hinges—it's a surprisingly effective adhesive remover. The solvents in WD-40 penetrate and dissolve the sticky residue, making it simple to wipe off without harsh scrubbing. This hack is perfect for removing price tags, kid's stickers, or double-sided tape marks from painted walls, glass, or even wallpaper.
How To Use It Safely
Spray a small amount of WD-40 onto a clean cloth—not directly on the wall—to avoid overspray. Gently rub the sticky area in a circular motion. You'll see the residue start to dissolve almost immediately.
Once the adhesive is gone, wipe the area with a damp soapy cloth to remove any oily film, then dry with a soft towel.
When To Avoid This Method
Avoid using WD-40 on unsealed or porous surfaces like raw wood or chalk paint, as it can leave a stain. Always test on an inconspicuous spot first. For delicate wallpapers, proceed with caution—the oil might seep into the paper and cause discoloration.
Alternative: Goo Gone Or Cooking Oil
If you don't have WD-40 on hand, Goo Gone is a dedicated adhesive remover that works similarly. In a pinch, a few drops of cooking oil (like vegetable or olive oil) can also break down sticky residue. Apply with a cloth, let it sit for a minute, then wipe clean.
Follow with soapy water to remove any grease.
12. Baby Wipes for Quick Touch-Ups
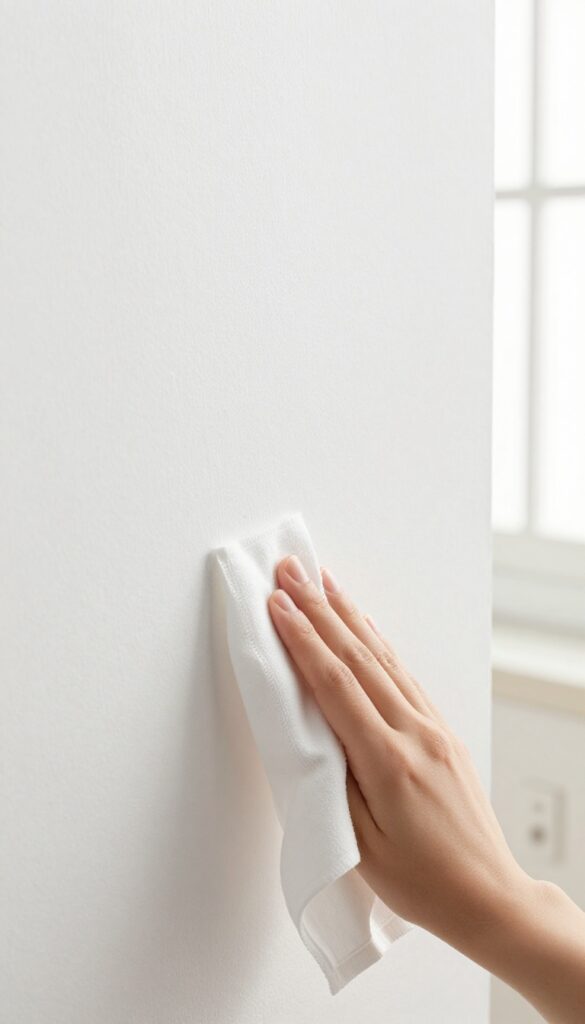
Baby wipes are a secret weapon for wall care. They're pre-moistened, gentle, and surprisingly effective at lifting everyday grime without damaging paint. Keep a pack in a drawer near high-traffic areas, and you'll never let a smudge linger again.
Why Baby Wipes Work So Well
Baby wipes contain mild cleaning agents and moisturizers that break down dirt and oils without being harsh. The soft fabric won't scratch or dull painted surfaces, making them safe for flat, eggshell, and satin finishes. Plus, they're disposable—no rinsing or washing required.
Best Uses Around The House
Target light scuffs, fingerprints near light switches, and grease splatters in the kitchen. They're also great for wiping down baseboards and door frames. Avoid using them on unpainted wood, wallpaper, or delicate surfaces like chalk paint.
Pro Tips For Best Results
Use a fresh wipe for each spot to avoid spreading dirt. Blot rather than scrub for light marks, and test on an inconspicuous area first if you're unsure about paint durability. For stubborn stains, let the wipe sit for a minute before wiping.
13. Paint Touch-Up Kit for Deep Scratches
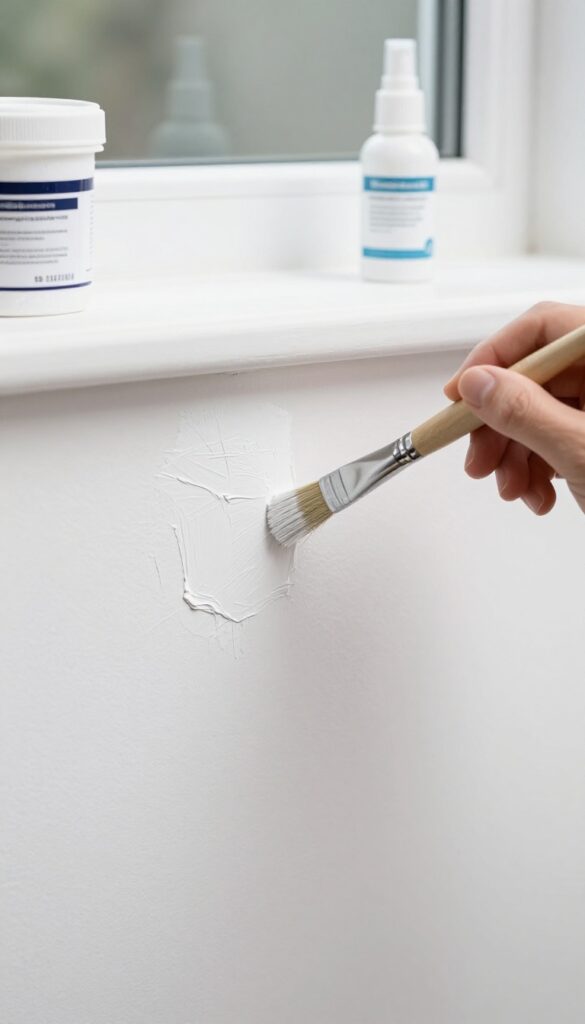
Deep scratches and chips in painted walls can be an eyesore, but you don't need to repaint the whole room. A simple touch-up kit using leftover paint can make those marks disappear. The trick is in the technique—dabbing, not brushing—to blend seamlessly with the surrounding paint.
For deep scratches or chips, keep a small container of leftover paint. Use a fine brush to dab the paint into the scratch, feathering the edges. Let dry and repeat if necessary.
This method works best with latex or acrylic paints and can save you from costly touch-ups.
Gather Your Supplies
You'll need a small container (like a film canister or pill bottle), a fine-tipped artist brush, and leftover paint from the original paint job. If you don't have leftover paint, take a chip to the hardware store for color matching. A small spray bottle with water can help keep the brush from drying out.
The Dabbing Technique
Dip the tip of the brush into the paint, then gently dab it into the scratch or chip. Avoid brushing—dabbing builds up paint without creating ridges. Start from the center of the mark and work outward, feathering the edges to blend.
Let each layer dry completely before adding another.
When To Call In A Pro
If the scratch is very deep (through the drywall paper), you may need to fill it with spackle first, then sand smooth before painting. For large areas of damaged paint, consider a mini roller for an even finish. But for most household scuffs and scratches, this touch-up kit does the trick.
FAQ
Can I use bleach to clean walls?
Bleach is too harsh for most painted walls and can damage the finish. Stick to mild cleaners like vinegar or dish soap. For mildew, use lemon juice or a specialized cleaner.
How do I clean walls without damaging the paint?
Always test a small hidden area first. Use gentle cleaners and soft cloths. Avoid scrubbing too hard.
For flat paint, use minimal moisture to prevent streaks.
What is the best way to remove grease from kitchen walls?
A mixture of dish soap and warm water works well. For stubborn grease, use a baking soda paste. Wipe gently to avoid spreading the grease.
Can I use a magic eraser on all wall types?
Magic erasers can be abrasive and may remove paint from flat or matte finishes. Always test first. They work best on semi-gloss or gloss paints.
How often should I clean my walls?
High-traffic areas like kitchens and hallways may need cleaning every few months. Other rooms can be cleaned once or twice a year. Dust walls regularly to reduce buildup.
Conclusion
Wall scuffs and grease don't stand a chance once you know the right tricks. Pick the hack that matches your current mess—whether it's a magic eraser for crayon marks or a degreasing spray for kitchen splatters. Your walls will thank you with a fresh, clean look.
Start with the easiest fix and work your way up. You'll be surprised how much brighter your space feels after just one session.


