
Vinyl siding is durable, but it still collects dirt, mold, and grime over time. That dull, streaky look can drag down your home's entire curb appeal. The good news?
You don't need harsh chemicals or expensive pros to get it sparkling again. Most siding grime is just surface-level dirt, mildew, or oxidation. With the right approach, you can wash it away safely and quickly.
These 23 tips cover everything from basic rinsing to stubborn stain removal. Whether you're prepping for a sale or just want a fresher look, these methods are practical and budget-friendly. Let's get your home's exterior looking its best.
1. Start with a Simple Hose Rinse
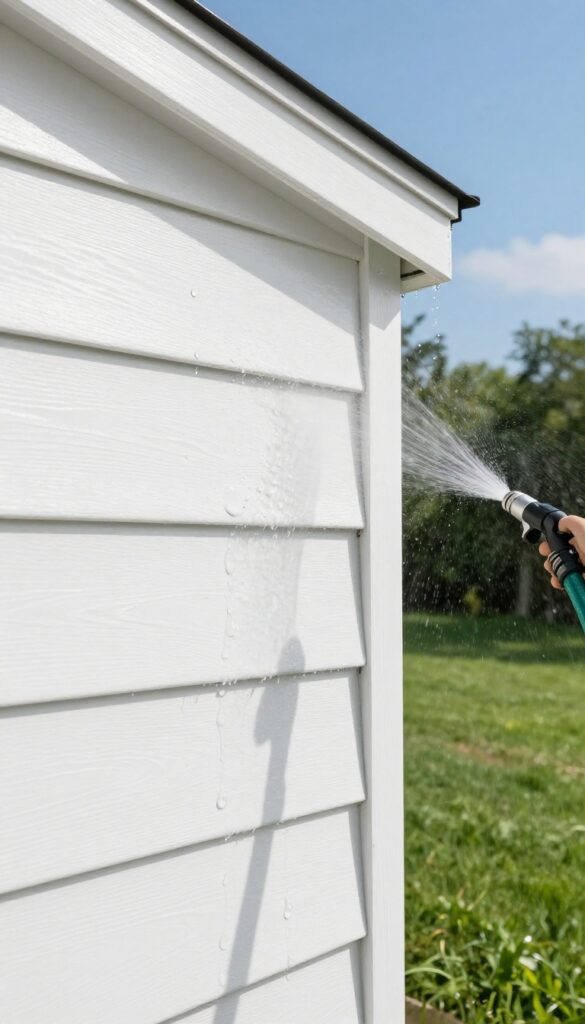
Before you bring out the scrub brushes and cleaning solutions, give your vinyl siding a good rinse with a garden hose. This quick step knocks off loose dirt, dust, cobwebs, and pollen that have settled on the surface. It might not sound like much, but it prevents scratching when you start scrubbing and shows you exactly where the stubborn grime is hiding.
A thorough rinse is the foundation of any good siding cleaning routine. It preps the surface, reduces the amount of elbow grease needed later, and helps you spot problem areas. Plus, it's a zero-effort way to freshen up your home's exterior in minutes.
Why Rinsing First Matters
Skipping the rinse means you're essentially rubbing dirt and grit into the siding as you clean. That can leave fine scratches that trap more grime over time. A quick hose-down lifts away the loose particles, so your cleaning efforts go straight to the sticky stuff.
Best Technique For A Quick Rinse
Use a standard garden hose with a spray nozzle set to a wide, gentle pattern. Start from the top and work your way down, letting the water cascade over the panels. This prevents dirty water from streaking over already-clean areas.
Focus on corners and under eaves where cobwebs and dust collect.
When A Rinse Isn't Enough
If you notice mold, mildew, or heavy oxidation after rinsing, don't worry—that's normal. The rinse just reveals the real problem areas. You'll tackle those with specific cleaning methods in later tips.
But for routine maintenance, a simple hose rinse every few months can keep your siding looking fresh without any scrubbing.
2. Use a Soft-Bristle Brush for Gentle Scrubbing
Scrubbing by hand can make a huge difference on stubborn spots, but the wrong brush will do more harm than good. A soft-bristle brush lifts dirt without scratching or gouging the vinyl surface. Hard bristles or wire brushes leave permanent marks that collect even more grime later.
A soft-bristle brush is your best friend for spot-cleaning vinyl siding. It gets into textured grooves and lifts embedded dirt without damaging the finish. Pair it with a mild cleaning solution and gentle pressure for the best results.
Why Soft Bristles Matter
Vinyl siding is tough, but it scratches easily. Wire brushes or stiff scrub pads leave fine scratches that trap dirt and mildew over time. Soft bristles clean effectively while preserving the siding’s smooth surface and color.
Technique Tips For Safe Scrubbing
Dip the brush in your cleaning solution, then scrub in a side-to-side motion following the siding's natural lines. Avoid aggressive back-and-forth scrubbing, which can cause wear. Rinse frequently to remove loosened dirt and prevent streaking.
When To Reach For A Brush
Hand scrubbing is ideal for small areas like under eaves, around windows, or near the foundation where dirt accumulates. For larger sections, combine brushing with a hose or pressure washer to speed up the job without sacrificing gentleness.
3. Mix a DIY Cleaning Solution with Dish Soap and Water
You might think you need a specialty cleaner to get vinyl siding looking fresh, but that's not always the case. A simple mix of warm water and mild dish soap can handle everyday dirt and grime without damaging the siding or your wallet. It's the go-to method for routine cleaning because it's gentle, effective, and uses stuff you already have under the sink.
This basic solution works best for light to moderate buildup like dust, pollen, and general grime. It's also safe for plants, pets, and the environment, so you don't have to worry about runoff. For tougher stains like mildew or mold, you might need to step up to a stronger cleaner, but for most homes, dish soap and water is all you need to keep siding bright.
Get The Ratio Right
Fill a bucket with warm water and add a few drops of mild dish soap—about a teaspoon per gallon is plenty. Too much soap can leave a residue that attracts more dirt. Stir gently to avoid excess suds.
Apply With A Soft Cloth Or Sponge
Dip a soft cloth or sponge into the solution and work from the bottom up to prevent streaks. Use a gentle, circular motion on dirty areas. Rinse your cloth often so you're not spreading dirt around.
Rinse Thoroughly With A Hose
After scrubbing, rinse the siding with a garden hose to remove all soap residue. Start at the top and work your way down. Let it air dry, and you'll see a noticeable difference.
4. Add White Vinegar for Mildew and Mold
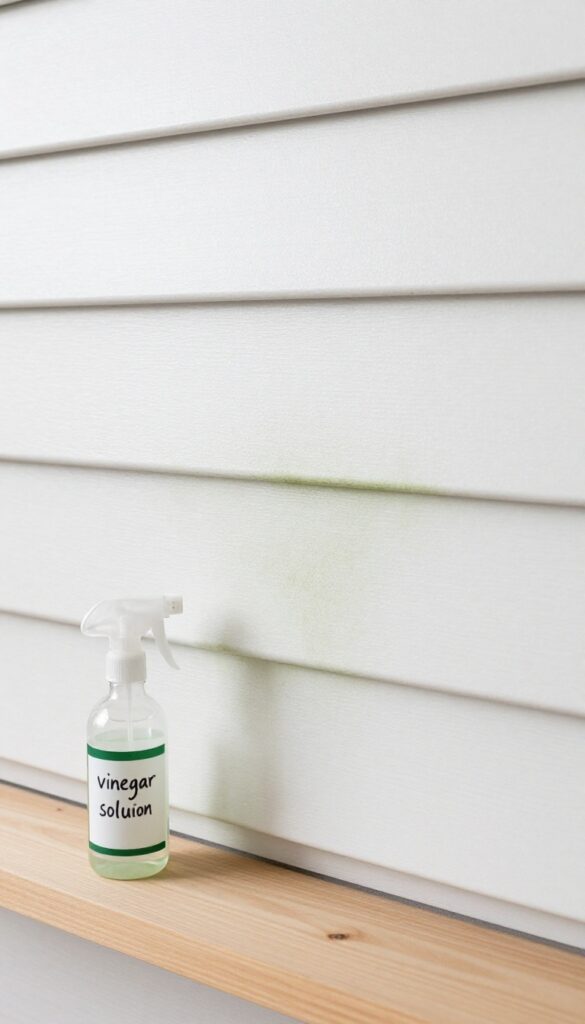
Mildew and mold love the damp, shaded areas of vinyl siding. If you notice dark spots or greenish patches, white vinegar is a simple and effective solution. It kills mold spores naturally without the harsh fumes of bleach.
Vinegar is a mild acid that breaks down mold and mildew on contact. It's safe for plants, pets, and the environment, making it a great choice for regular cleaning. Plus, it's cheap and you probably already have it in your pantry.
The Right Mix
Mix one part white vinegar with three parts water in a spray bottle or bucket. This ratio is strong enough to kill mold but gentle on siding. For tougher growth, you can increase the vinegar to a 1: 1 ratio, but test on a small area first.
How To Apply
Spray the vinegar solution directly onto the affected areas. Let it sit for 10 to 15 minutes so it can penetrate the mold. Then scrub gently with a soft brush or sponge.
Rinse thoroughly with a garden hose to avoid any residue.
Safety Tips
Avoid using vinegar on aluminum or metal surfaces nearby, as it can cause corrosion. Also, don't mix vinegar with bleach or other cleaners—it can create toxic fumes. Stick to this simple solution for a safe clean.
5. Try Oxygen Bleach for Tough Stains
Some stains just won't budge with soap and water. Mildew, moss, and ground-in dirt often need something stronger. But you don't have to reach for harsh chemicals that could damage your plants or the siding itself.
Oxygen bleach is a safe, effective alternative that lifts organic stains without the risks.
Oxygen bleach, like OxiClean, works by releasing oxygen bubbles that break down dirt and organic matter. It's gentle enough for vinyl siding but tough on stains. Unlike chlorine bleach, it won't harm your landscaping or cause discoloration.
You can use it on most exterior surfaces without worry.
How To Mix And Apply
Mix the powder with warm water according to the package directions—usually about 1 scoop per gallon. Stir until dissolved. Apply the solution to the stained areas using a sponge, soft brush, or sprayer.
Let it sit for 10–15 minutes, but don't let it dry completely. Scrub lightly if needed, then rinse thoroughly with a garden hose.
Best Uses For Oxygen Bleach
Oxygen bleach is ideal for mildew, algae, moss, and tree sap stains. It's also great for cleaning areas around gutters or downspouts where organic debris collects. Avoid using it on painted or coated siding, as it may affect the finish.
Test a small hidden area first.
Safety Tips And Precautions
Wear gloves and eye protection when mixing and applying. Keep the solution away from metal fixtures, as it can cause oxidation. Rinse plants nearby with water before and after cleaning to minimize exposure.
Store the powder in a cool, dry place.
6. Avoid Chlorine Bleach to Prevent Damage
Chlorine bleach is a common household cleaner, but it's a bad match for vinyl siding. The harsh chemical can actually discolor the siding, leaving behind yellow or white blotches that are nearly impossible to fix. It also poses a real risk to your landscaping—bleach runoff can kill grass, shrubs, and flowers.
For the long-term health of both your home and yard, it's best to skip the bleach entirely.
Bleach might seem like a quick fix for tough stains, but the downsides far outweigh the benefits. The discoloration it causes is often permanent, and the damage to plants can be devastating. Instead, stick with gentler options that are just as effective but much safer.
A simple mix of dish soap and water works for most dirt and grime. For mold and mildew, oxygen bleach or white vinegar are excellent alternatives that won't harm your siding or landscaping.
Why Bleach Damages Siding
Chlorine bleach is a strong oxidizer that can break down the pigments in vinyl, causing uneven fading or bleaching. Over time, repeated use makes the siding brittle and more prone to cracking. It can also react with other chemicals in the environment, creating stains that are impossible to remove.
Safer Alternatives That Work
Oxygen bleach (like OxiClean) is a fantastic substitute—it kills mold and mildew without the harsh side effects. White vinegar diluted with water is another natural option that cuts through grime and disinfects. For extra cleaning power, add a bit of dish soap to either solution.
Protecting Your Landscaping
Even if you use a mild cleaner, always wet down nearby plants before washing and rinse them thoroughly afterward. But with bleach, the risk is so high that it's better to avoid it altogether. Stick to non-toxic cleaners, and your plants will thank you.
7. Work from Bottom to Top to Avoid Streaks
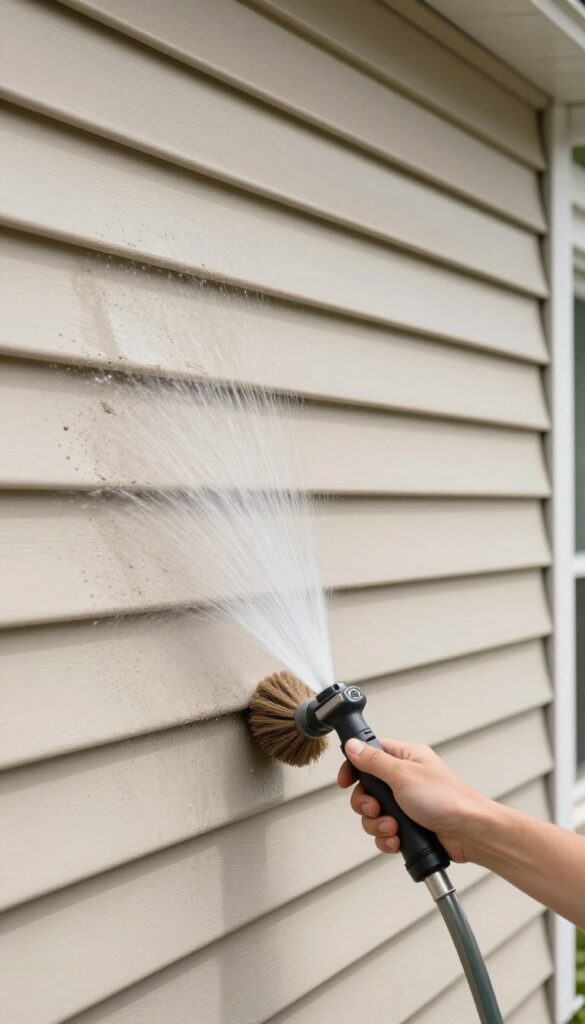
It might seem logical to start at the top and let gravity do the work, but with vinyl siding, that's a recipe for streaks. When you rinse from the top down, dirty water runs over clean areas and leaves behind grime lines. Reverse that order, and you'll save yourself a lot of extra scrubbing.
Why Gravity Works Against You
Water naturally flows downward, carrying dirt and soap with it. If you start at the top, that dirty water cascades over the lower panels you haven't cleaned yet. By the time you reach the bottom, those lower areas are already coated with runoff residue.
The result? Dried-on streaks that are harder to remove than the original grime.
The Bottom-up Method
Begin at the bottom of your siding and work your way up. Wet and wash each section thoroughly before moving higher. This way, any runoff from above lands on already-cleaned panels, and you can rinse it away immediately.
It takes a little getting used to, but you'll notice a huge difference in the final finish.
Rinsing Tips For A Streak-free Finish
After scrubbing a section, rinse it well from the same bottom-to-top direction. Use a steady, wide spray from a garden hose or pressure washer on low setting. Avoid letting soap dry on the siding—rinse each section before moving to the next.
If you see streaks forming, a quick re-rinse usually solves the problem.
8. Rinse Thoroughly After Cleaning
You've scrubbed and scrubbed, and now your vinyl siding looks clean. But if you skip the final rinse, you're setting yourself up for disappointment. Soap residue left on the surface acts like a magnet for dust and dirt, making your siding look dingy again in no time.
A thorough rinse is the last and arguably most important step. It removes all the cleaning solution, along with any loosened grime that's still clinging to the surface. Without it, you'll end up with streaks and spots that are harder to remove later.
Why Residue Is A Problem
Even mild detergents leave a thin film when they dry. That film traps airborne particles, creating a sticky layer that attracts more dirt. Over time, this buildup can cause discoloration and make future cleaning jobs tougher.
The Right Rinsing Technique
Always start at the top of your siding and work your way down. This lets gravity pull the dirty water away from clean areas. Use a garden hose with a spray nozzle set to a wide, gentle stream.
Avoid high pressure, which can force water behind the siding.
Check For Soap Trails
After rinsing a section, look for any suds or slippery spots. If you see them, that area needs more rinsing. A good rule of thumb: keep rinsing until the water runs clear and the siding feels smooth to the touch.
9. Use a Pressure Washer on Low Setting
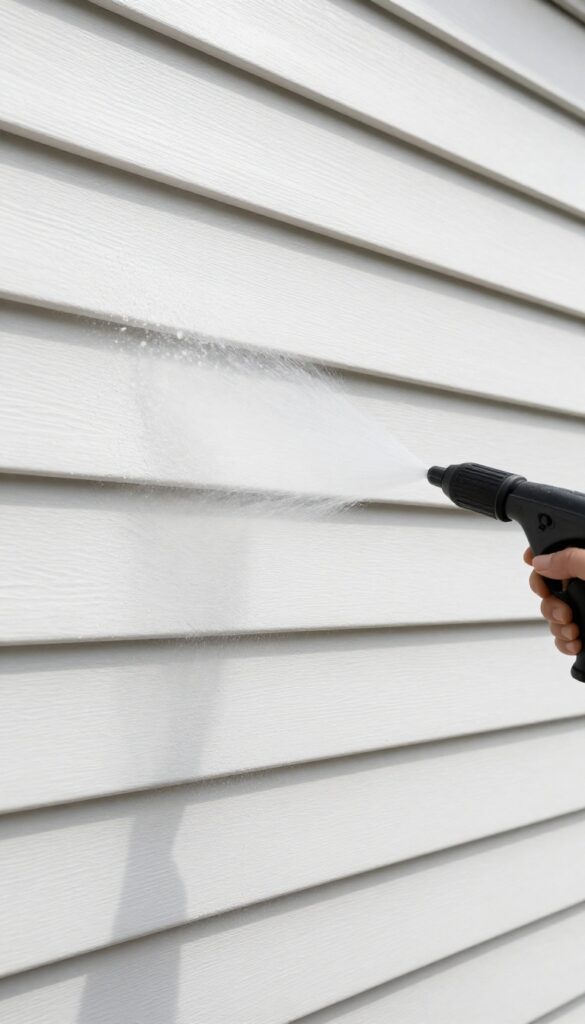
A pressure washer can cut your cleaning time in half, but it's easy to overdo it. Too much pressure can damage the siding or force water behind the panels. The trick is to use the lowest effective setting and keep the nozzle moving.
Choose The Right Nozzle And Distance
Start with a 40-degree or wider nozzle to spread the spray. Hold the wand at least 12 inches from the siding and test an inconspicuous area first. If the water is blasting off paint or denting the vinyl, back up or lower the pressure.
Work From Bottom To Top
Spraying upward forces water under the siding panels, which can lead to mold or rot inside the wall. Instead, start at the bottom and work your way up. This also prevents streaking because dirty water runs down onto already-cleaned sections.
Combine With A Detergent For Stubborn Grime
For heavy mildew or dirt, use a pressure washer with a detergent tank or attach a siphon hose. Apply a vinyl-safe cleaner, let it sit for a few minutes, then rinse with the wide spray. Avoid bleach-based detergents that can harm plants or discolor siding.
10. Test a Small Area First
Before you commit to a full cleaning session, it's smart to check how your siding reacts to your chosen method. A quick test on a hidden spot can save you from a bigger headache later. Different vinyl formulations and paint finishes can respond unpredictably to cleaners or pressure settings.
A small patch test gives you confidence that you're not damaging the material or leaving permanent marks.
Testing first is a low-effort way to avoid costly mistakes. Pick a spot that's out of sight, like behind a bush or near the foundation. Apply your cleaning solution or use your pressure washer at the intended setting.
Wait a few minutes and check for any discoloration, etching, or dullness. If everything looks good, you're clear to proceed. If you notice any issues, adjust your approach before tackling the whole house.
Why A Patch Test Matters
Vinyl siding can be sensitive to certain chemicals and high pressure. A patch test reveals how your siding handles the cleaner and scrub method you plan to use. It also helps you see if the cleaner leaves streaks or residue that could be hard to rinse off.
Spending two minutes on a test can prevent hours of rework.
How To Perform The Test
Choose a small area that's not visible from the street. Mix your cleaner according to the instructions and apply it with a sponge or soft brush. Let it sit for the recommended time, then rinse thoroughly.
Dry the area with a cloth or let it air dry. Examine the spot in different lighting to catch any subtle changes.
What To Look For
Check for fading, whitening, or a chalky residue. Also look for any warping or softening of the vinyl. If the surface feels rough or looks etched, your cleaner or pressure setting is too harsh.
A successful test means the siding looks the same as the untreated area, just cleaner.
11. Clean on a Cloudy Day to Prevent Rapid Drying
Bright sunshine might seem like the perfect backdrop for outdoor chores, but when you're washing vinyl siding, direct sunlight is your enemy. Heat causes cleaning solutions to evaporate too quickly, leaving behind streaks and residue that are harder to remove. Overcast weather, on the other hand, gives you a longer working window so the cleaner can do its job without drying mid-stroke.
Choosing the right weather can make or break your siding cleaning results. On a sunny day, even a mild detergent can dry into a filmy layer that attracts dirt faster. Cloudy days keep the surface cooler and the solution wet longer, allowing you to rinse thoroughly without rushing.
Check the forecast and aim for a day with high clouds or light overcast—no rain, just shade.
Why Sunlight Causes Streaks
When cleaning solution dries on vinyl, the dissolved dirt and soap residue are left behind as visible streaks. Sunlight accelerates evaporation, especially on dark-colored siding that absorbs heat. The result is a patchy, uneven look that may require a second wash.
Overcast conditions slow evaporation, giving you time to work in sections and rinse completely.
Best Time Of Day For Cloudy Cleaning
Even on overcast days, the sun can peek through. Early morning or late afternoon tends to have the most consistent cloud cover. If you're in a region with unpredictable weather, start early and monitor the sky.
A light drizzle is fine—just avoid heavy rain that can wash off your cleaner before it works.
How To Work In Sections For Best Results
Regardless of weather, always clean in small sections—about 10 feet wide at a time. Apply the cleaner, let it sit for 5–10 minutes (but not dry), then rinse. On a cloudy day, you can safely work larger areas, but stick to manageable chunks to ensure no solution dries before rinsing.
This method prevents streaks and keeps the job efficient.
12. Remove Mildew with a Bleach-Free Mildew Cleaner
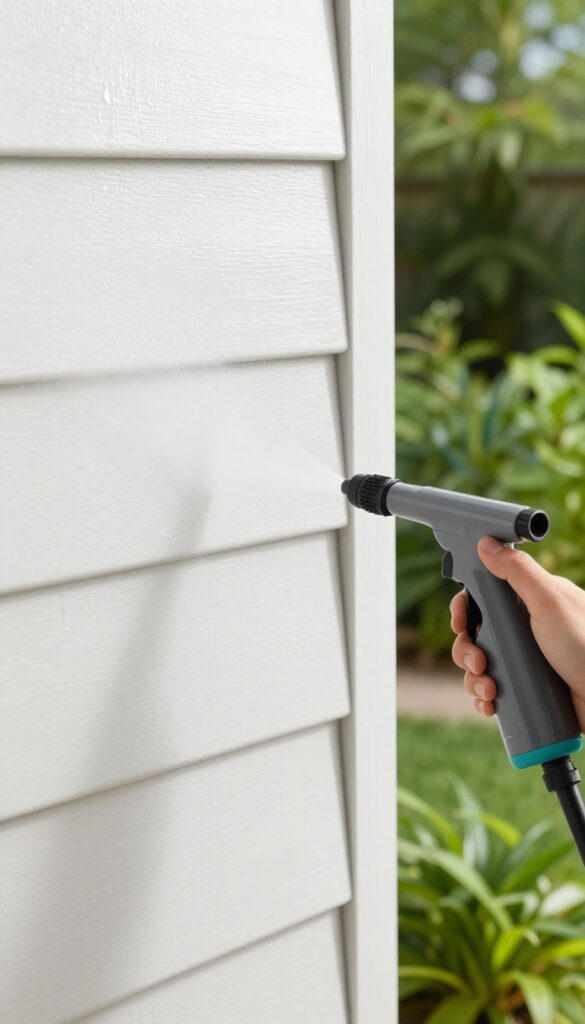
Standard chlorine bleach can harm your plants, pets, and even the siding itself over time. That's why many homeowners are switching to specialty mildew removers designed specifically for exterior surfaces. These products kill mold and mildew spores without the harsh side effects.
They're often oxygen-based, meaning they break down into harmless water and oxygen after use. Your garden and lawn stay safe, and your siding comes out bright and clean.
Bleach-free cleaners are just as effective at removing mildew stains, but they work differently. Instead of bleaching the stain away, they oxidize the organic matter, lifting it off the surface. This means you get a clean result without the risk of discoloring your siding or damaging nearby surfaces.
Plus, these formulas are usually biodegradable and safer for the environment. You can apply them with a garden sprayer or a soft brush, then rinse with a hose. No special safety gear needed beyond gloves and eye protection.
For stubborn spots, let the cleaner sit for 5–10 minutes before scrubbing gently.
Why Skip Bleach?
Chlorine bleach can kill grass, flowers, and shrubs if it drips off your siding. It also releases fumes that are unpleasant and potentially harmful if inhaled. Over time, bleach can make vinyl siding brittle or cause yellowing.
A bleach-free mildew cleaner avoids all these issues while still eliminating mildew at the root. You get peace of mind and a thorough clean.
How To Apply It
Mix the cleaner according to the label instructions—most are concentrates that you dilute with water. Use a pump sprayer to apply it evenly from the bottom up. Let it dwell for the recommended time, usually 5 to 10 minutes.
Then scrub with a soft-bristle brush or a sponge mop on a pole. Rinse thoroughly with a garden hose, working from the top down. No pressure washer needed.
Best Brands To Try
Look for products like Mold Armor E-Z House Wash, Wet & Forget, or Simple Green Oxy Solve. These are widely available and have good reviews for vinyl siding. Always test a small hidden area first to make sure the cleaner doesn't affect the color or finish.
Follow the dwell time exactly—too long can dry out the solution and reduce effectiveness.
13. Use a Long-Handled Brush for High Areas
Reaching second-story siding usually means dragging out a ladder, which is risky and time-consuming. An extension pole with a soft brush attachment lets you clean those high spots safely from the ground. It's a simple tool swap that makes a big difference.
Choose The Right Pole And Brush
Look for a telescoping pole that extends to at least 18 feet. Pair it with a soft-bristle brush head designed for siding. Avoid stiff bristles—they can scratch the vinyl.
A brush with a built-in soap dispenser can also save you trips up and down.
Work In Sections From Top To Bottom
Start at the top of a wall section and work your way down. This lets the soapy water run over lower areas, loosening dirt as you go. Rinse each section before the cleaner dries to avoid streaks.
Overlap your strokes slightly for even coverage.
Mind Your Windows And Trim
When brushing near windows, be gentle to avoid forcing water behind the seals. Use a smaller brush or a sponge attachment for tight spots around trim and corners. A little extra care here prevents water damage and keeps your siding looking uniform.
14. Don't Forget the Undersides of Overhangs
Dirt and cobwebs accumulate under eaves and soffits. Include these areas for a complete clean.
Those shaded spots under your roof overhangs are prime real estate for dust, spider webs, and even mold. Since they're out of direct rain, grime builds up undisturbed. A thorough cleaning means tackling these hidden zones too.
Why They Get Dirty
Under-eaves areas stay dry, so dust and pollen settle and stick. Cobwebs collect debris, and mold can grow if moisture gets trapped. Over time, this buildup becomes noticeable and can even stain the siding below.
How To Clean Them Safely
Use a soft brush or a microfiber mop attached to an extension pole. Spray a gentle cleaning solution (water with a bit of dish soap) onto the area, then scrub lightly. Rinse with a garden hose nozzle set to a gentle spray.
Avoid pressure washers here—they can force water into soffit vents.
Pro Tips For Hard-to-reach Spots
For high overhangs, use a telescoping wand with a brush attachment. Work in sections, rinsing each as you go to prevent soap residue from drying. Wear safety glasses to keep debris out of your eyes.
15. Treat Rust or Metal Stains with Oxalic Acid
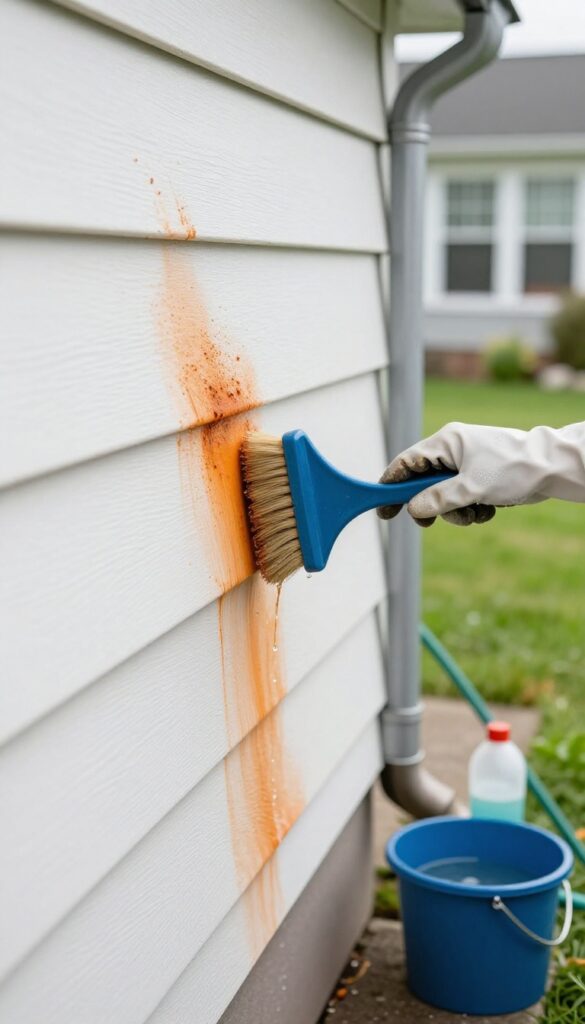
Rust stains from gutters, downspouts, or metal hardware can leave ugly orange or brown streaks on your vinyl siding. These marks are stubborn and won't budge with regular soap or bleach. Oxalic acid, a mild organic acid found in many wood and deck cleaners, is your best bet for dissolving rust without damaging the siding.
It works by chemically breaking down the iron oxide particles so they rinse away cleanly.
Start by wetting the stained area with water to prevent the acid from drying too fast. Mix the oxalic acid cleaner according to the label directions—usually a powder you stir into warm water. Apply it with a soft brush or sprayer, let it sit for 10–15 minutes (but never let it dry), then scrub gently and rinse thoroughly.
Always wear gloves and eye protection, and keep the solution off plants and grass by pre-wetting them and covering if needed.
Choosing The Right Product
Look for cleaners labeled "oxalic acid" or "wood brightener" at hardware stores. Products like Restore-A-Deck or generic oxalic acid crystals work well. Avoid anything with added bleach or harsh solvents that could discolor vinyl.
Application Tips For Best Results
Work from the bottom up to avoid streaking. Use a soft nylon brush—never wire brushes or steel wool, which can scratch the siding. Rinse with a garden hose or pressure washer on low setting to remove all residue.
Repeat if stains are heavy.
Safety And Plant Protection
Oxalic acid is safe for vinyl but can irritate skin and eyes. Wear rubber gloves and safety goggles. Protect nearby plants by wetting them beforehand and covering with plastic sheeting.
Rinse plants thoroughly after you finish cleaning.
16. Use a Magic Eraser for Small Spots
Not every stain on your vinyl siding needs a full scrub-down or a pressure washer. For those isolated scuffs, bird droppings, or mystery marks, a melamine foam sponge—often sold as a Magic Eraser—works wonders. It's quick, gentle, and doesn't require any harsh chemicals.
Melamine foam acts like a super-fine sandpaper, lifting dirt without scratching the siding. It's perfect for spot treatments on areas like corners, near doors, or around windows where marks tend to show up. Just wet the sponge, squeeze out excess water, and gently rub the spot.
No need for extra soap or cleaner—the foam does the work.
When To Reach For A Magic Eraser
Use it on localized marks that don't respond to a simple rinse. Think scuff marks from shoes or lawn equipment, bird droppings that have dried on, or tiny splatters from paint or stain. Avoid using it on large areas—it's not efficient for whole-wall cleaning and can be costly if you use too many sponges.
How To Use It Safely
Start with a clean, dry sponge. Wet it with water and wring it out until it's damp, not dripping. Gently rub the stain in a circular motion.
You'll see the mark lift away. Rinse the area with a garden hose afterward to remove any residue. Don't press too hard—the sponge is abrasive enough on its own.
What To Avoid
Never use a Magic Eraser on painted or stained siding, as it can remove the finish. Also, avoid using it on textured or rough siding—it may leave a shiny spot. Stick to smooth vinyl surfaces.
And always test a small hidden area first to make sure it doesn't cause any damage.
17. Protect Plants and Landscaping Before Cleaning
Your flower beds and shrubs are part of your home's curb appeal, but they can take a beating from cleaning solutions and pressure washer overspray. A little prep work keeps them safe and saves you from replanting later. Here's how to shield your greenery without making the job harder.
Cover With Plastic Sheeting
Grab some lightweight plastic sheeting or old painter's drop cloths. Drape them over any plants, bushes, or ground cover near the siding. Secure the edges with landscape staples or rocks so the wind doesn't blow them off.
This catches drips and keeps chemicals off leaves and roots.
Wet Plants Down First
If covering isn't practical, give your plants a thorough soaking with a garden hose before you start cleaning. Wet foliage dilutes any cleaning solution that splashes onto it, reducing the risk of damage. Keep the hose handy to rinse off any accidental overspray immediately.
Choose Plant-safe Cleaners
Some cleaning solutions are gentler on vegetation. Look for oxygen bleach or vinegar-based mixes instead of chlorine bleach. Even with these, pre-wetting and post-rinsing are smart habits.
Test a small area first if you're unsure how your plants will react.
18. Clean Gutters First to Prevent Dirty Overflow
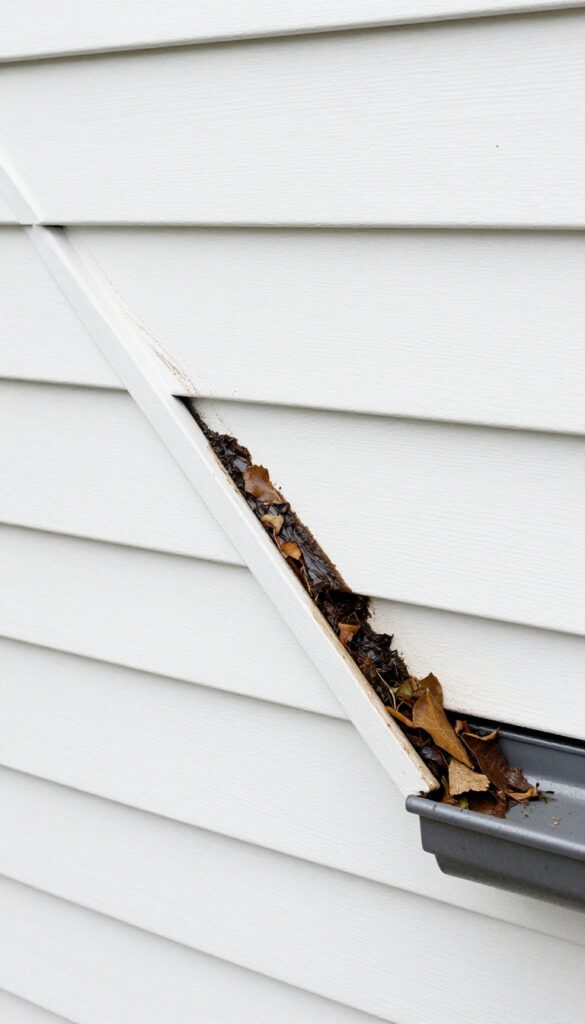
It's easy to jump straight into scrubbing siding, but if your gutters are clogged, you're setting yourself up for extra work. When rainwater can't flow freely, it spills over the edges, carrying years of debris and grime down your freshly cleaned walls. That means muddy streaks, leaf stains, and a frustrating do-over.
Save yourself the hassle by tackling gutters before you pick up a brush or pressure washer.
Why Gutter Overflow Creates Siding Stains
Clogged gutters hold a nasty mix of wet leaves, dirt, bird droppings, and algae. When heavy rain hits, that sludge overflows and runs down your siding in dark, uneven streaks. These stains are harder to remove once they dry, especially on lighter vinyl.
Plus, the constant moisture can encourage mold and mildew growth along the top edges of your siding. Cleaning gutters first prevents this mess from happening in the first place.
Quick Gutter Cleaning Steps Before Siding Wash
You don't need a pro for basic gutter maintenance. Start by scooping out debris with a small trowel or gutter scoop—wear gloves because it's gross. Flush the gutters with a garden hose to check for proper drainage and spot any leaks.
If downspouts are clogged, use a plumber's snake or a strong jet from a hose attachment. Once water flows freely, you're ready to move on to siding cleaning with confidence.
Protect Your Work And Save Time
By cleaning gutters first, you ensure that any rain that falls during or after your siding project won't undo your hard work. It also lets you inspect the gutter system for damage or rust that could later stain the siding. A little prevention here means your bright, clean walls stay that way longer—and you won't have to re-wash sections that got splashed by dirty overflow.
19. Use a Ladder Safely for High Spots
Reaching the top of your siding can be tricky, but it's not worth risking a fall. A little planning goes a long way to keep you steady and secure while you work on those high areas.
Pick The Right Ladder
Choose a ladder that extends at least three feet above the roofline or the highest point you need to reach. A fiberglass ladder is best because it's non-conductive and won't rust. Make sure it's rated for your weight plus the weight of any tools or cleaning gear you'll carry.
Set Up On Level Ground
Place the ladder on firm, level ground. If the ground is soft or uneven, use a ladder leveler or lay down a plywood board to stabilize the feet. Never set a ladder on loose soil, gravel, or a slope without securing it first.
Have A Spotter And Stay Safe
Always have someone hold the base of the ladder while you climb. Keep your hips between the side rails—don't lean out to the side. Move the ladder as needed instead of overreaching.
Follow the three-point rule: keep two hands and one foot, or two feet and one hand, on the ladder at all times.
20. Apply a Siding Protectant After Cleaning
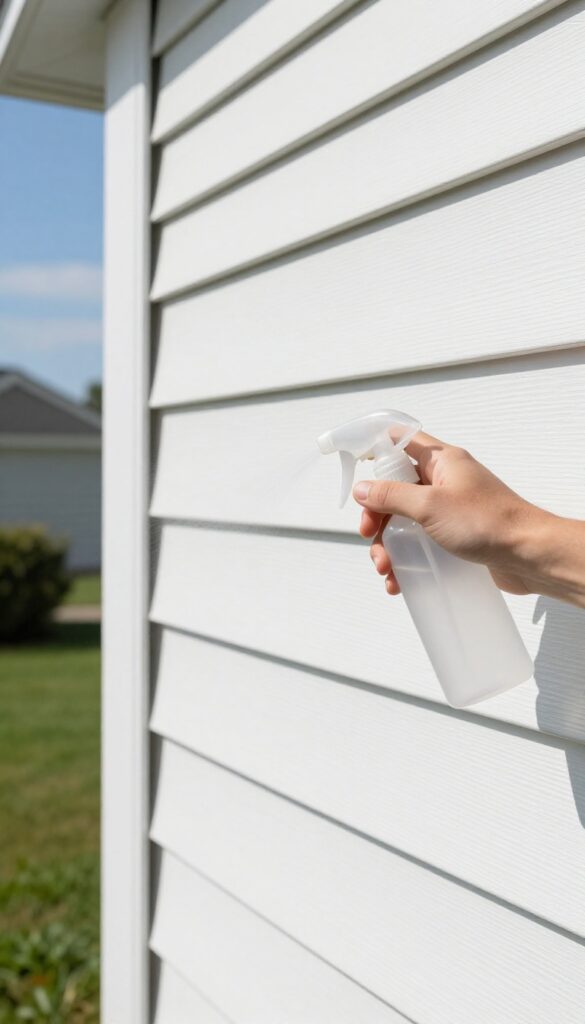
Once your vinyl siding is clean and dry, you might think the job is done. But adding a protectant can make future cleanings much easier and keep your home looking brighter longer. These products create a microscopic barrier that repels dirt, mildew, and water, so grime has a harder time sticking.
A good siding protectant works like a shield. It bonds to the vinyl surface and makes it less porous, so dust and pollen slide off with rain instead of clinging on. Some formulas also contain UV inhibitors that help prevent fading from sun exposure.
The result is siding that stays cleaner for months, cutting down on how often you need to scrub.
Choose The Right Product
Not all protectants are the same. Look for one specifically labeled for vinyl siding. Some are spray-on and rinse-off, while others are wipe-on sealants.
Avoid products meant for wood or concrete, as they may leave a residue or yellow the vinyl. Read reviews and check if the product is safe for nearby plants.
Apply On A Dry, Calm Day
For best results, pick a day with no rain in the forecast and low wind. Apply the protectant after the siding is completely dry—usually a few hours after cleaning. Use a garden sprayer or a pump sprayer for even coverage.
Work from the bottom up to avoid drips and streaks.
Don't Forget The Details
Pay extra attention to areas that get the most dirt: near driveways, under eaves, and around gutters. A protectant can also help prevent mildew from returning in shady spots. Reapply once a year or after a heavy pressure wash to maintain the barrier.
21. Know When to Call a Professional
Most siding jobs are DIY-friendly, but some situations call for a pro. If you're dealing with extensive mold, very high stories, or stubborn stains that won't budge, a professional with soft-wash equipment might be worth the investment. They have the tools and experience to handle tough jobs safely and effectively.
Knowing when to step back and hire a pro can save you time, money, and frustration. Here's what to consider before taking on a challenging cleaning project yourself.
Extensive Mold Or Mildew
If you see large patches of black or green growth that cover more than a small area, it's likely mold or mildew. DIY solutions might not kill the roots, and scrubbing can spread spores. Pros use specialized soft-wash systems with fungicides that safely eliminate deep-seated growth without damaging your siding.
High Or Hard-to-reach Areas
Two-story homes or steep rooflines make cleaning risky. Ladders on uneven ground or reaching over obstacles can lead to falls. Professionals have extendable wands, lifts, or scaffolding to access every nook safely.
It's not worth a trip to the ER for cleaner siding.
Stubborn Stains And Oxidation
Some stains, like rust, graffiti, or heavy oxidation, resist regular cleaners. Pros have commercial-grade detergents and techniques like soft washing that can lift these without etching or discoloring the vinyl. They also know how to neutralize chemicals to prevent residue.
22. Maintain Regular Cleaning Schedule
Consistency is the secret to keeping vinyl siding looking great without backbreaking work. A little routine care prevents dirt and mildew from taking hold, so you never face a major cleaning project. Think of it like brushing your teeth—small, regular efforts beat a big overhaul every time.
A yearly deep clean is the baseline, but adding a quick rinse every few months makes a huge difference. Spring and fall are ideal times to wash away pollen, dust, and mildew spores before they bake into the surface. A garden hose with a spray nozzle is often all you need for these touch-ups.
This habit keeps your siding bright and reduces the effort required for the annual scrub.
Why A Yearly Deep Clean Matters
Even if your siding looks okay, microscopic mold and dirt accumulate over time. A thorough wash once a year removes this buildup before it stains or degrades the vinyl. It also lets you inspect for damage, loose panels, or cracks that need repair.
Quick Rinse Every Season
Between deep cleans, a simple hose-down every three months keeps surface dust and pollen from settling. Pay extra attention after storms or windy days. This takes only 10 minutes and stops grime from bonding to the siding.
Adjust For Your Climate
If you live in a humid area or near trees, you may need to clean more often. Mold and algae thrive in damp, shaded spots. In dry climates, dust can be the main issue.
Tailor your schedule to what you see, not a rigid calendar.
23. Inspect for Damage While Cleaning
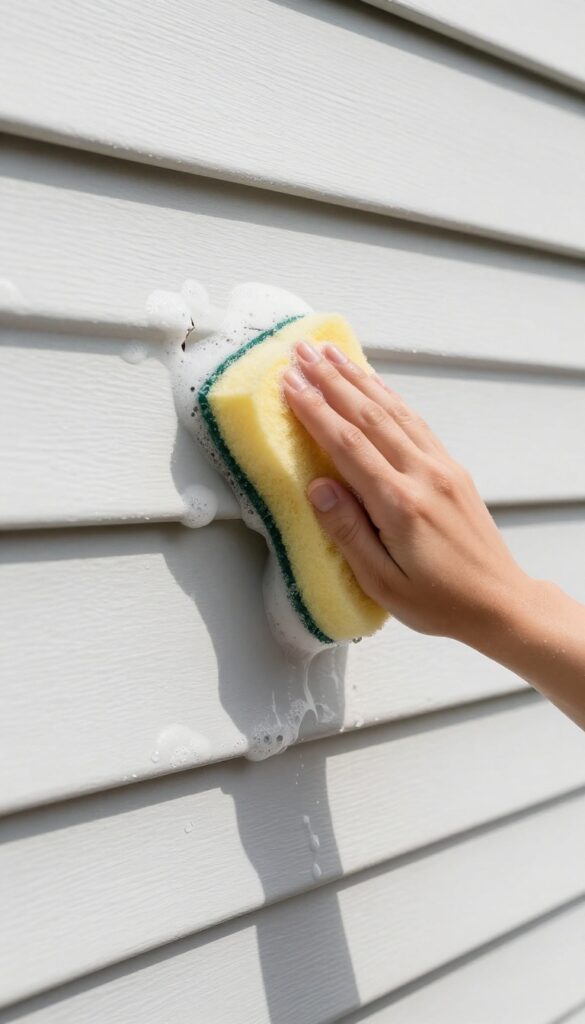
Cleaning your siding is the perfect time to play detective. As you work your way around the house, keep an eye out for cracks, warping, or loose panels. Catching these issues early can save you from expensive repairs down the road.
While you're scrubbing or rinsing, run your hand along the siding. You'll feel any soft spots or bulges that indicate water damage. Look closely at seams and corners—these are common spots for gaps to form.
If you spot a crack, note its size and location. Small cracks can often be sealed with caulk, but larger ones might need a panel replacement. Warping usually happens from excessive heat or moisture behind the siding.
If you see it, check for proper ventilation behind the wall. Loose panels are often just a matter of snapping them back into place or tightening fasteners. Don't ignore these signs; a small fix now prevents a big headache later.
What To Look For
Focus on three main things: cracks, warping, and loose panels. Cracks can let moisture in, leading to mold or rot. Warping indicates heat or moisture issues.
Loose panels might fall off or let pests inside.
Quick Fixes You Can Do
For small cracks, use exterior-grade caulk. For warped panels, you may need to remove and replace them. Loose panels often just need to be re-engaged with the locking strip.
If you're unsure, take a photo and consult a pro.
When To Call A Professional
If you find widespread damage, rotting behind the siding, or signs of water intrusion, it's time to call a contractor. They can assess the underlying structure and ensure repairs are done right.
FAQ
Can I use bleach to clean vinyl siding?
It's not recommended. Chlorine bleach can discolor siding and harm plants. Use oxygen bleach or vinegar instead.
How often should I clean vinyl siding?
Once a year is usually enough. If you live in a humid area with lots of mold, you might need it every six months.
Will a pressure washer damage vinyl siding?
Yes, if used incorrectly. Keep the pressure low and the nozzle at least 12 inches away. Use a wide spray pattern.
What's the best homemade cleaner for vinyl siding?
A mix of warm water, mild dish soap, and white vinegar works well for most dirt and mildew.
How do I remove black streaks from vinyl siding?
Black streaks are often algae or mildew. Use a vinegar-water solution or an oxygen bleach cleaner and scrub gently.
Conclusion
Vinyl siding doesn't have to be a chore to keep bright. With these 23 tips, you can tackle dirt, mold, and stains using simple tools and homemade cleaners you already have. Start with the method that matches your biggest problem—whether it's green algae or ground-in grime.
A quick rinse and a soft brush every few months will keep your home's exterior looking fresh without harsh chemicals or pressure washer damage. Pick a couple of tips to try this weekend and watch your outdoor walls come back to life.


