
You've just settled into your favorite armchair, only to notice a mysterious stain on the cushion. Upholstery cleaning doesn't have to be a headache. With the right approach, you can tackle spills, dirt, and odors without damaging the fabric.
Whether it's a pet accident, a wine spill, or everyday grime, these 17 tips will help you restore your furniture. We'll cover everything from quick fixes to deep cleaning methods.
No need for expensive professional services every time. A little know-how and some household items can work wonders on most upholstery fabrics.
1. Vacuum Thoroughly Before Anything Else
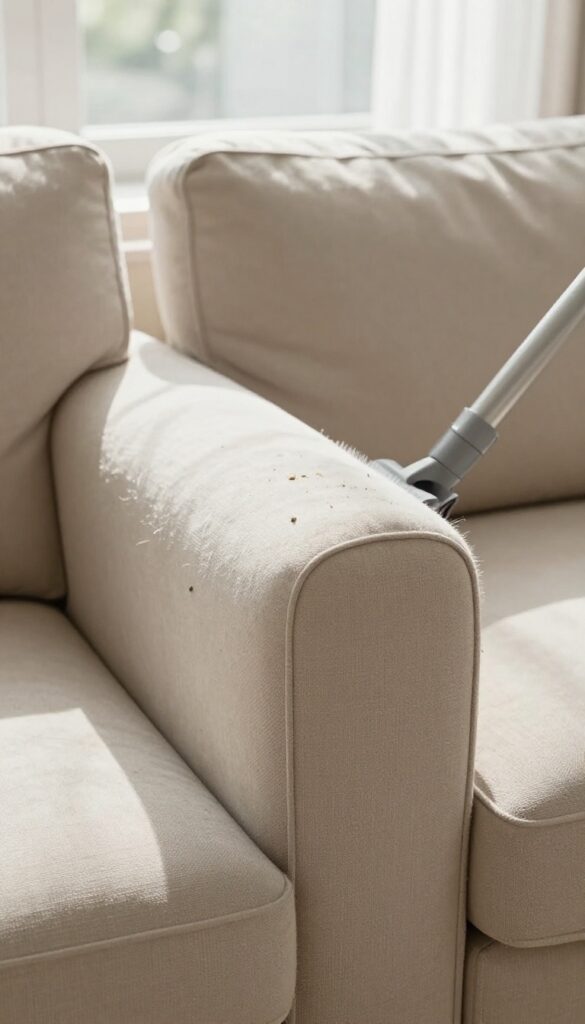
Before you even think about sprays or scrubbing, grab your vacuum. Loose dirt, crumbs, and pet hair sit on the surface and get pushed deeper into the fabric when you apply any liquid. A good vacuuming prevents that grinding action and makes every following step more effective.
Use The Right Attachment
Your standard floor nozzle is too aggressive for most upholstery. Switch to the soft brush or upholstery attachment. It lifts debris without snagging threads or damaging delicate fabrics like velvet or linen.
Don't Forget The Crevices
Crumbs and dust love hiding in seams, under cushions, and along the base. Use the crevice tool to get into those tight spots. Run it along every seam and around the edges where the back meets the seat.
Go Over Each Section Twice
One quick pass isn't enough. Vacuum the entire piece slowly in overlapping strokes. Then go over high-traffic areas—the seat cushions and armrests—a second time.
You'll be surprised how much more comes up.
2. Check the Cleaning Code Tag
That little tag tucked under your cushion isn't just there for decoration. It holds the key to safe cleaning. Ignoring it is the fastest way to ruin your upholstery.
What Those Letters Mean
W means you can use water-based cleaners. S means only solvent-based or dry cleaning products. WS means either is safe.
X means vacuum only—no liquids or solvents at all.
Where To Find The Tag
Check under the seat cushions first. If it's not there, look along the bottom edge of the frame or under the fabric skirt. Some tags are sewn into the back of the cushion.
What Happens If You Ignore It
Using water on an S-coded fabric can cause shrinking, staining, or even mildew. Solvents on a W fabric may strip color or leave a residue. Always test any cleaner on a hidden spot first.
3. Blot Spills Immediately, Don't Rub
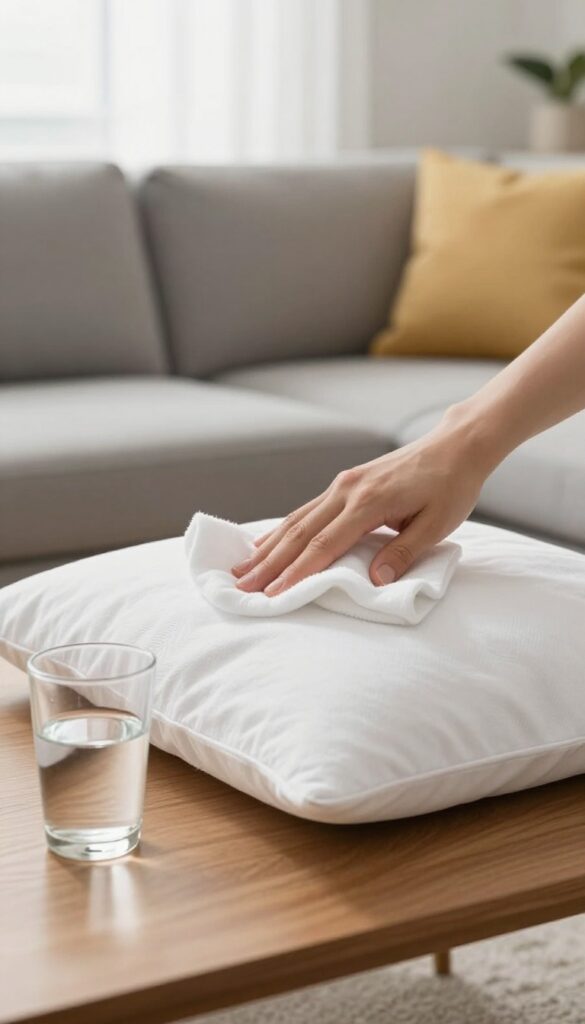
Spills happen, but how you react makes all the difference. The golden rule of upholstery cleaning is to blot, never rub. Rubbing grinds the liquid into the fibers, making the stain larger and harder to remove.
Blotting lifts the spill away before it sets.
When a spill occurs, grab a clean white cloth or paper towel. White is key because colored fabrics can bleed dye onto your upholstery. Press the cloth firmly onto the spill to absorb as much liquid as possible.
Repeat with dry sections of the cloth until no more moisture transfers. Always work from the edges of the stain toward the center to prevent spreading. For sticky spills like soda or juice, follow up with a mild soap solution (a few drops of dish soap in water) dabbed on, then blot again with plain water to rinse.
Avoid soaking the fabric—damp is fine, wet is not. Let the area air dry completely before using the furniture.
Why Rubbing Is A Mistake
Rubbing might feel instinctive, but it's the worst thing you can do. The friction pushes the liquid deeper into the padding and spreads it across the fabric. This can turn a small spot into a large, stubborn stain.
It also damages the fibers, leaving a fuzzy or worn patch.
What To Use For Blotting
Always use a white, lint-free cloth or paper towel. Colored cloths can transfer dye, and textured fabrics might snag the upholstery. Keep a stack of white cloths near your cleaning supplies for quick access.
Old white t-shirts work great.
The Edge-in Technique
Start blotting at the outer edge of the spill and work your way inward. This prevents the stain from spreading outward. If you blot from the center, the liquid will push to the edges, enlarging the stain.
Patience pays off—keep blotting until the cloth comes away clean.
4. Test Cleaners on a Hidden Spot
You might be eager to scrub that stain away, but patience pays off here. A cleaner that works on one fabric could ruin another—causing fading, bleeding, or even shrinkage. That's why testing first is a non-negotiable step.
Before applying any cleaner, test it on an inconspicuous area like the back or underside. Wait for it to dry to check for colorfastness or damage. This simple step can save you from a costly mistake.
Why Testing Matters
Different fabrics react differently to cleaning agents. What's safe for cotton might strip color from silk or damage microfiber. Testing helps you avoid turning a small stain into a bigger problem.
How To Test Properly
Dampen a white cloth with your cleaner and dab it on a hidden spot—like under a cushion or on the back. Blot gently, then wait until it's completely dry. If the fabric looks unchanged, you're good to go.
What To Look For
Check for color transfer onto your cloth, any discoloration of the fabric, or texture changes like stiffness. If you see any of these, choose a different cleaner or consider professional help.
5. Use Baking Soda for Odor Removal
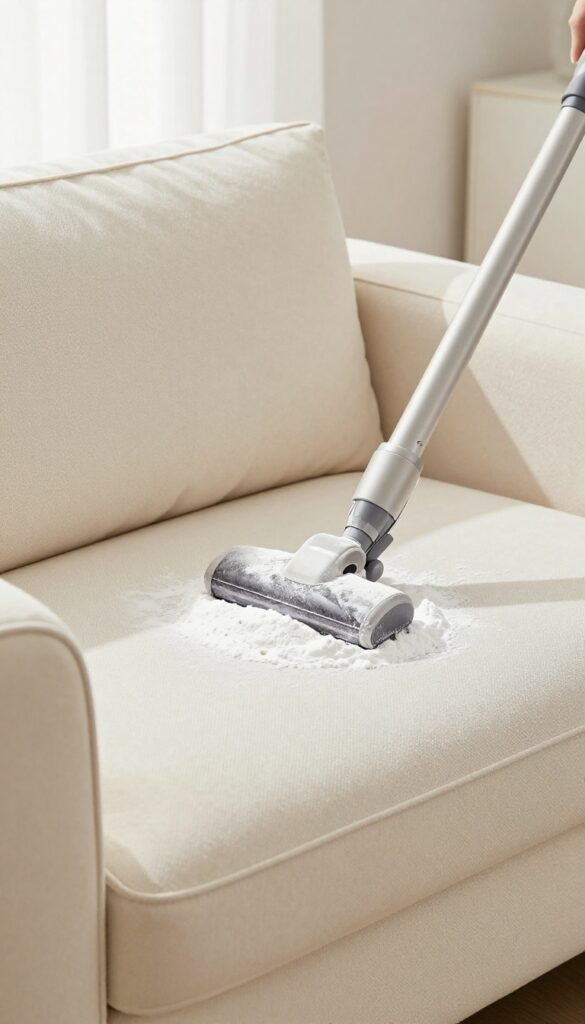
Odors tend to cling to fabric, especially in homes with pets or smokers. Baking soda is a gentle, natural deodorizer that works without harsh chemicals. It's one of the easiest ways to refresh your upholstery between deep cleans.
Sprinkle a generous layer of baking soda over the entire surface of the sofa or chair. Let it sit for 15–20 minutes—longer for stubborn smells—then vacuum thoroughly using the upholstery attachment. The baking soda absorbs odors from pets, smoke, and everyday use, leaving the fabric smelling neutral and clean.
Why Baking Soda Works So Well
Baking soda is alkaline, which helps neutralize acidic odor molecules. It's also safe for most fabrics and won't leave residue if vacuumed properly. Plus, it's cheap and non-toxic, making it a go-to for regular maintenance.
How To Apply For Best Results
Start by vacuuming the upholstery to remove loose dirt. Then shake baking soda through a fine-mesh sieve or sprinkle it evenly by hand. Focus on areas that get the most use—armrests, headrests, and seat cushions.
For tough odors, let it sit for up to an hour.
Boost The Deodorizing Power
Mix a few drops of essential oil (like lavender or lemon) into the baking soda before sprinkling. This adds a light, pleasant scent without masking odors. Just stir well to avoid clumps, and test on a hidden spot first.
6. Steam Clean for Deep Refresh
Sometimes a simple spray or vacuum just isn't enough. When your sofa needs a serious reset, steam cleaning can work wonders. It uses high-temperature vapor to loosen dirt, kill bacteria, and neutralize odors without harsh chemicals.
Steam cleaning is ideal for synthetic fabrics like polyester, nylon, or olefin, and some natural blends. Always check the care tag first—steam can damage delicate materials like silk or velvet. If your fabric is labeled 'W' (water-safe), you're good to go.
For 'S' (solvent-only) fabrics, skip steam entirely.
Choosing The Right Steamer
You don't need a heavy-duty machine for occasional use. A handheld steamer with an upholstery attachment is perfect for spot cleaning. For whole-couch refreshes, rent a professional-grade steam cleaner from a hardware store.
Look for one with a wide upholstery tool and adjustable steam settings.
Prep Work Matters
Vacuum the entire piece thoroughly before steaming. Loose dirt and crumbs turn into mud when wet. Pretreat any visible stains with a fabric-safe cleaner.
Let the pretreatment sit for 5–10 minutes. Then fill your steamer with distilled water to avoid mineral buildup.
Steaming Technique
Work in small sections, holding the steamer head about an inch from the fabric. Move slowly to allow steam to penetrate. Avoid soaking the fabric—steam should evaporate quickly, leaving it slightly damp.
Use a microfiber cloth to blot away loosened dirt as you go. Let the upholstery dry completely before using the furniture.
7. Tackle Grease Stains with Dish Soap
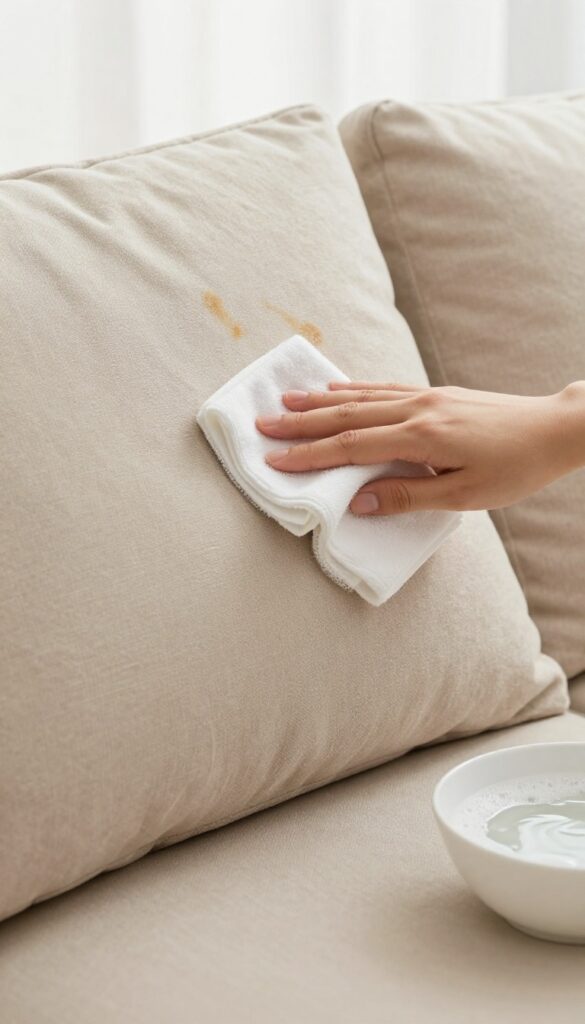
Grease stains from food, hand lotion, or hair products can be stubborn, but dish soap is your secret weapon. Its degreasing power breaks down oily residues without harsh chemicals. You just need to use it correctly to avoid spreading the stain or soaking the padding underneath.
Mix The Right Solution
Combine a few drops of mild dish soap (like Dawn or a generic brand) with a cup of warm water. Stir gently to avoid creating too many suds. You want a slightly soapy mixture, not a foam bath.
Dab, Don't Rub
Dip a clean white cloth into the solution and blot the stain gently. Start from the outer edge and work inward to prevent spreading. Rubbing pushes grease deeper into the fibers and can damage the fabric.
Blot Dry And Repeat
After dabbing, use a dry cloth to blot up the moisture and dissolved grease. Repeat the process if the stain persists. Avoid soaking the fabric—damp is fine, wet is not.
Let it air dry completely.
8. Remove Pet Hair with a Rubber Glove
Pet hair has a way of embedding itself deep into fabric, making it feel like a permanent part of your sofa. You don't need a fancy gadget to get rid of it. A simple rubber glove can be your best tool for lifting hair quickly and efficiently.
The Rubber Glove Trick
Dampen a clean rubber glove slightly—just enough to create a bit of moisture. Run your gloved hand over the upholstery in one direction. The static electricity and slight tackiness pull hair right off the fabric.
Rinse the glove as needed and repeat until the surface is clean.
Squeegee For Larger Areas
If you're dealing with a big couch or multiple chairs, a rubber squeegee works even faster. Use it like you would on a window, dragging it across the fabric in long strokes. The rubber edge gathers hair into clumps that you can easily pick up or vacuum.
Lint Roller For Quick Touch-ups
For a quick fix before guests arrive, a lint roller is perfect. Keep one stashed near your seating area. Roll it over the cushions and arms to pick up surface hair in seconds.
It's not as thorough for deep-set hair, but great for last-minute tidying.
9. Treat Ink Stains with Rubbing Alcohol
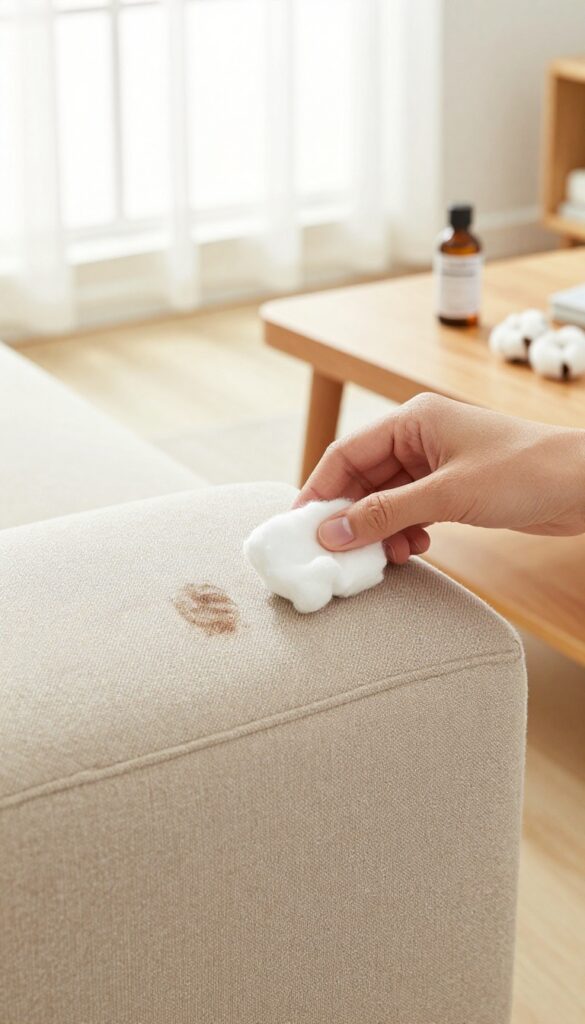
Ink stains can appear out of nowhere—a pen left in a pocket, a marker mishap, or a toddler's art project gone rogue. The good news is that rubbing alcohol is highly effective at breaking down ink, making it one of the best remedies for these stubborn marks. Just be sure to test an inconspicuous area first, as alcohol can alter some fabric dyes.
Why Rubbing Alcohol Works
Rubbing alcohol dissolves the oils and resins in most inks, allowing them to lift away from the fabric fibers. It evaporates quickly, so it won't soak deep into the cushion. This makes it ideal for fresh stains, but it can also tackle older ones with a bit more patience.
Step-by-step Treatment
Start by blotting the stain with a dry cloth to remove any excess ink. Dip a cotton ball or clean cloth in rubbing alcohol (70% or higher) and gently dab the stain, working from the outer edge inward. This prevents the ink from spreading.
Continue blotting until the stain transfers to the cloth. Repeat with fresh cotton balls as needed.
Aftercare And Drying
Once the stain is gone, blot the area with a damp cloth to remove any residual alcohol, then let it air dry completely. Avoid using heat (like a hairdryer) as it can set any remaining ink. If the stain persists, repeat the process or consider a commercial ink remover designed for upholstery.
10. Use a Soft Brush to Restore Fabric Texture
After a thorough cleaning, your upholstery might look clean but feel flat or matted. That's because water and cleaning solutions can compress the fibers, especially on velvet, chenille, or microfiber. A simple brushing restores the original texture and lifts the nap, making your furniture look refreshed and inviting.
Brushing is the final step that many people skip, but it makes a huge difference in how your upholstery looks and feels. It's quick, easy, and works on most fabrics.
Choose The Right Brush
Not all brushes are created equal. A soft-bristle brush (like a horsehair brush or a clean toothbrush) is gentle enough to avoid damaging fibers but stiff enough to fluff them up. Avoid wire brushes or stiff scrub brushes—they can snag or fray the fabric.
Brush In One Direction
For fabrics with a visible nap (like velvet or corduroy), always brush in the same direction to maintain a uniform look. For flat weaves, a gentle circular motion works fine. Start at the top of the cushion and work your way down.
Focus On High-traffic Areas
Armrests, seat cushions, and headrests tend to mat down faster. Give these areas extra attention. If the fabric still looks flat after brushing, lightly mist with water and brush again—the moisture helps fibers spring back.
11. Clean Cushion Covers Separately
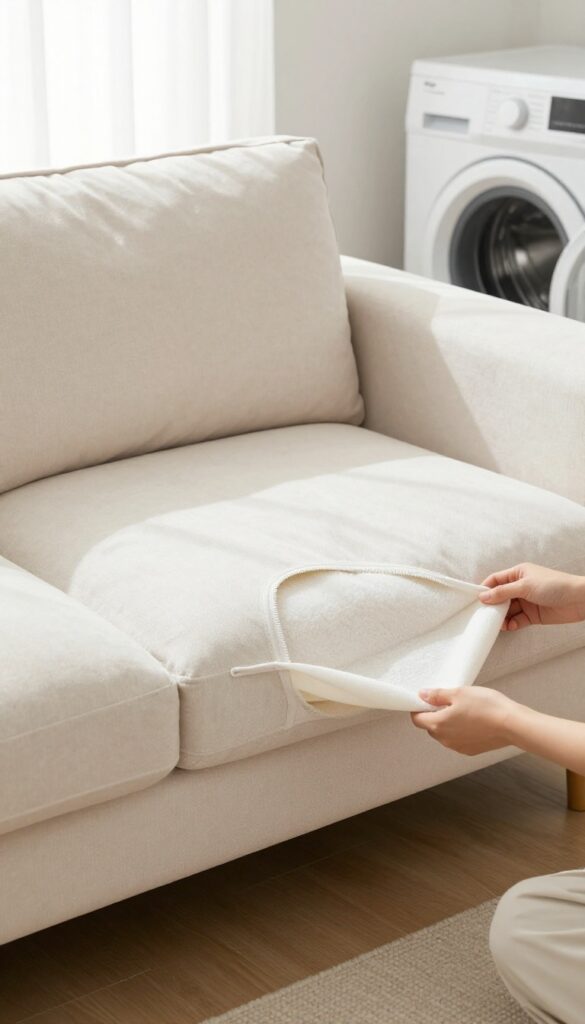
Many sofas and chairs come with removable cushion covers, which makes deep cleaning much easier. Instead of scrubbing the whole cushion, you can simply unzip and wash the cover. This method is gentler on the fabric and more effective at removing embedded dirt and odors.
Check the care tag before washing—most covers can go in the machine on a gentle cycle with cold water. Use a mild detergent and skip the fabric softener, which can leave a residue. After washing, air dry the covers to prevent shrinkage; high heat can ruin the fit.
Never put foam cushions in the washing machine—the agitation can break down the foam. Instead, spot clean them or let them air out.
Check The Care Label First
Every fabric is different. Look for the care tag sewn into the cover. It will tell you if the cover is machine washable, if you should use cold water, and if tumble drying is safe.
Ignoring these instructions can lead to shrinkage, fading, or damage.
Wash On Gentle Cycle
Use cold water and a gentle cycle to protect the fabric. Add a small amount of mild detergent—too much soap can leave a sticky film. Avoid bleach or harsh chemicals.
If the cover has stains, pre-treat them with a stain remover before washing.
Air Dry To Avoid Shrinkage
Heat is the enemy of cushion covers. Always air dry them by laying flat or hanging. If you must use a dryer, choose the lowest heat setting and remove the covers while they're still slightly damp to prevent over-drying.
Never put foam inserts in the dryer.
Never Machine Wash Foam Cushions
Foam cushions absorb water and can break apart in a washing machine. Instead, spot clean them with a damp cloth and mild soap. For odors, sprinkle baking soda on the foam, let it sit for a few hours, then vacuum thoroughly.
12. Make a DIY Upholstery Cleaner with Vinegar
Commercial upholstery cleaners can be pricey and full of chemicals you don't really want on your furniture. A simple vinegar solution is just as effective for most messes and costs pennies to make. Plus, it's safe for use around kids and pets once dry.
The Perfect Mix
Combine equal parts white vinegar and water in a spray bottle. Shake gently to mix. That's it—no fancy ingredients needed.
For extra cleaning power, add a drop of dish soap to help break down grease.
How To Apply
Lightly mist the stained area—don't soak it. Let the solution sit for a minute, then blot with a clean, dry cloth. Work from the outside of the stain inward to avoid spreading.
Repeat if necessary.
Why Vinegar Works
Vinegar cuts through grime, neutralizes odors, and is gentle on most fabrics. The smell disappears as it dries, leaving your upholstery fresh. Always test on a hidden spot first to ensure colorfastness.
13. Use Cornstarch for Greasy Spots
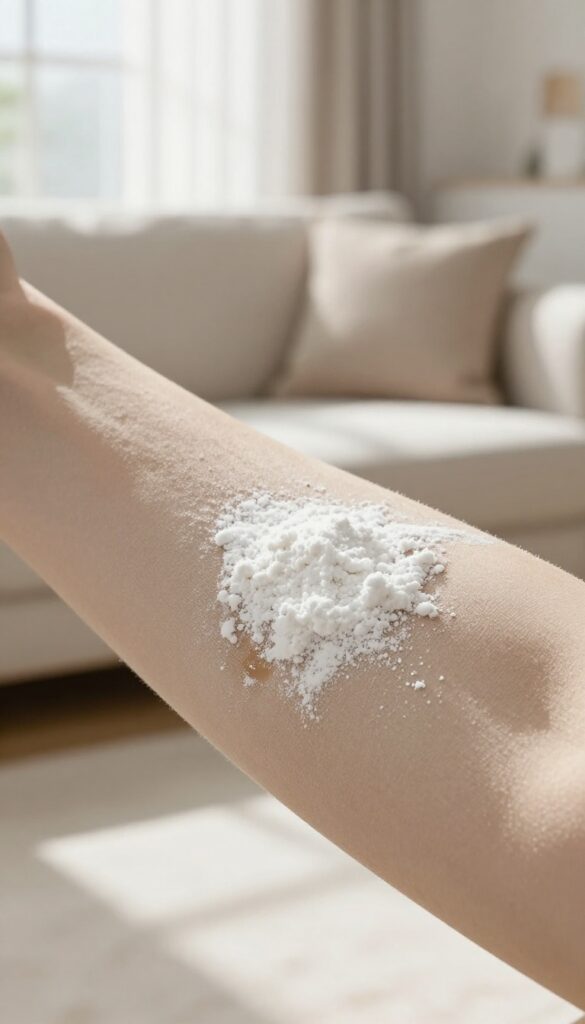
Greasy stains on upholstery can be stubborn, especially on high-touch areas like headrests and armrests. But before you reach for harsh chemicals, try a simple kitchen staple: cornstarch. It's a gentle, effective way to lift oil without damaging the fabric.
Grease from hair products, skin oils, or food spills can set into fabric quickly if not treated. Cornstarch works as a natural absorbent, drawing the oil out before it bonds with the fibers. This method is safe for most fabrics, but always test on a hidden area first.
How It Works
Cornstarch is a fine powder that acts like a sponge for oils. When sprinkled on a greasy spot, it pulls the oil to the surface. After letting it sit for about 15 minutes, simply vacuum it up.
The stain should be noticeably lighter or gone.
Best Spots To Use It
Headrests and armrests are prime candidates because they collect oils from skin and hair. But it also works on food grease from snacks or accidental spills. Just make sure the stain is fresh—older, set-in grease may need a second application.
Tips For Best Results
For the best outcome, blot excess grease with a paper towel first, then apply a generous layer of cornstarch. Let it sit undisturbed—don't rub it in. After vacuuming, check the area; if a shadow remains, repeat the process.
You can also use baking soda as an alternative.
14. Avoid Overwetting the Fabric
It's tempting to drench a stain, but too much moisture can cause serious problems. Overwetting leads to mold, mildew, and unsightly water rings that are harder to fix than the original stain. The key is to use minimal moisture and let the fabric dry quickly.
When cleaning upholstery, always start with the least amount of water or cleaning solution possible. Blot—don't scrub—to lift dirt without saturating the padding. After cleaning, speed up drying by opening windows, turning on fans, or using a hairdryer on a cool setting.
Good airflow prevents moisture from getting trapped deep in the cushions.
Blot, Don't Soak
Use a spray bottle to lightly mist the area, then blot with a clean cloth. Avoid pouring liquid directly onto the fabric. For stubborn spots, apply cleaner to the cloth first, then dab the stain.
Dry Between Layers
If you need to apply multiple treatments, let the fabric dry completely between each one. This prevents moisture buildup and lets you see if the stain is actually gone.
Use A Fan Or Dehumidifier
After cleaning, position a fan to blow directly on the damp area. A dehumidifier also helps pull moisture from the air and the upholstery padding. Avoid sitting on the furniture until it's fully dry.
15. Clean Under Cushions and Crevices
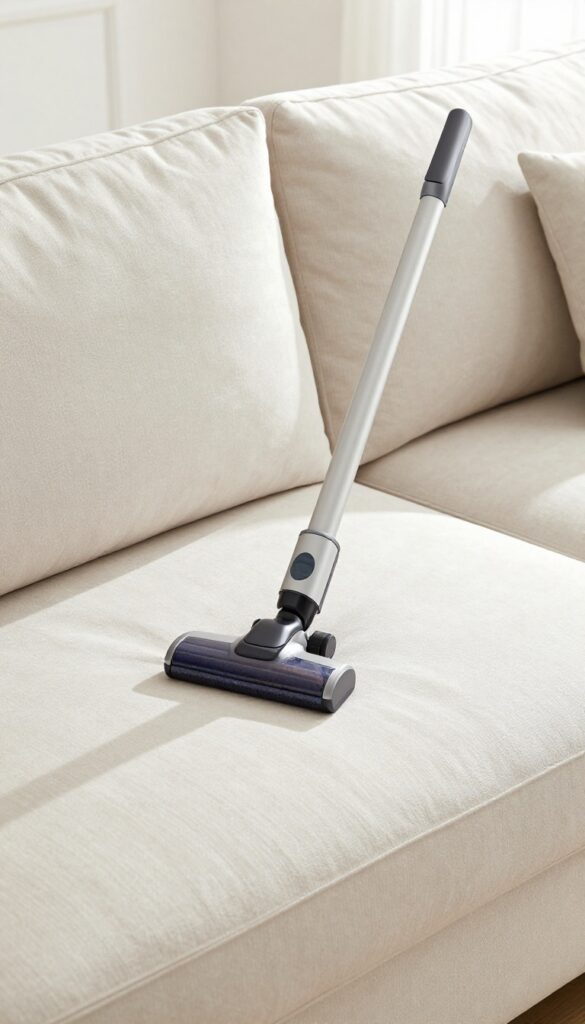
Cushions hide a world of debris. Crumbs, pet hair, loose change, and dust settle into the base and crevices over time. Ignoring these areas can lead to odors, stains, and even fabric wear from trapped grit.
A quick vacuum underneath prevents dirt from working its way into the upholstery.
Remove Cushions Completely
Start by taking all cushions off the sofa or chair. If they're removable, set them aside. This gives you full access to the hidden areas beneath.
Check for any loose items like pens, toys, or snacks that might have slipped down.
Vacuum The Base And Crevices
Use a vacuum with a crevice tool to reach tight corners along the frame and between the seat and backrest. Pay special attention to the seams where dirt accumulates. A brush attachment can help loosen embedded grime from the fabric base.
Don't Forget The Cushion Covers
While the cushions are off, vacuum their undersides and any zippered covers. If the covers are machine-washable, check the care label and wash them according to instructions. This prevents dirt from transferring back onto the clean base.
Check For Hidden Damage
With everything exposed, inspect for loose springs, broken webbing, or signs of mold. Address any issues before replacing cushions. A clean, well-maintained base extends the life of your upholstery.
16. Protect Fabric with a Scotchgard Spray
You've put in the work to get your upholstery clean—now keep it that way. A fabric protector like Scotchgard creates an invisible barrier that makes future spills bead up instead of soaking in. It's a simple step that buys you time to blot up accidents before they become stains.
After cleaning and letting your upholstery dry completely, apply a fabric protector to repel future stains. Test on a hidden area first to check for colorfastness. Reapply every year or after deep cleaning to maintain protection.
Hold the can about 6 inches away and spray in a light, even coat—over-saturating can leave a stiff residue. Let it dry fully before using the furniture.
Why Fabric Protector Works
Most upholstery fabrics are naturally absorbent. A protector adds a microscopic layer that repels liquids and prevents dirt from bonding to fibers. It doesn't make the fabric stain-proof, but it gives you a fighting chance against spills.
How To Apply It Right
Work in a well-ventilated area. Shake the can well, then spray from about 6 inches away in a steady back-and-forth motion. Keep the coat light and even—heavy application can cause stiffness or discoloration.
Let it dry for at least 4 hours before sitting on the furniture.
When To Reapply
Protection wears off over time, especially on high-use spots like armrests and seat cushions. Plan to reapply every 12 months, or right after a deep clean. If water no longer beads on the fabric, it's time for a fresh coat.
17. Schedule Regular Maintenance Cleaning
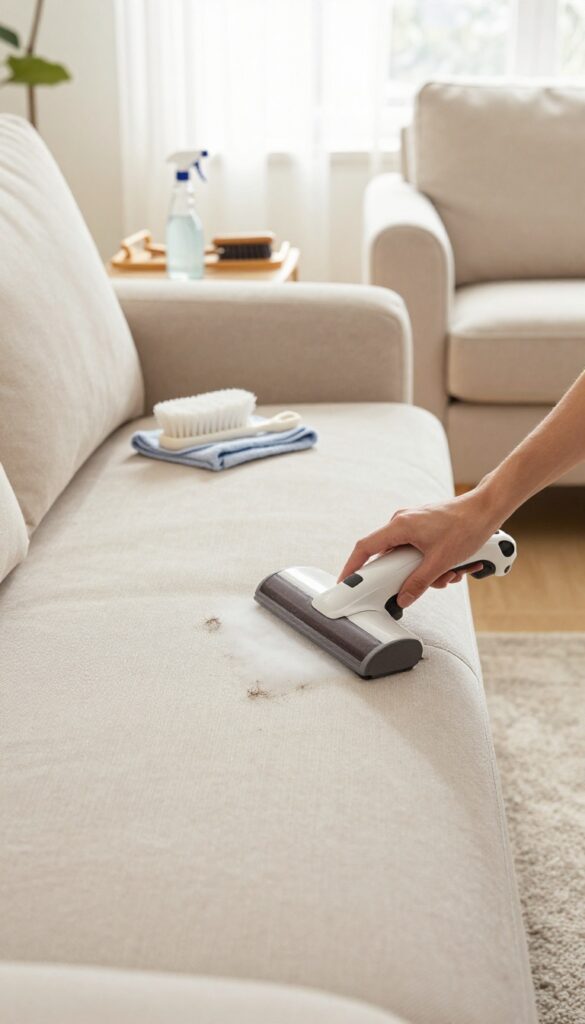
Keeping your upholstery looking great isn't just about reacting to spills—it's about staying ahead of dirt and wear. A simple routine can make all the difference. By vacuuming weekly, spot cleaning promptly, and deep cleaning every 6 to 12 months, you'll extend the life of your furniture and keep it fresh.
Weekly Vacuuming: Your First Line Of Defense
Dust, crumbs, and pet hair settle into fabric quickly. Use your vacuum's upholstery attachment to go over all surfaces, including crevices and under cushions. Pay extra attention to armrests and headrests where oils and dirt accumulate.
A quick weekly pass prevents grit from grinding into fibers.
Spot Cleaning: Act Fast, Act Right
When a spill happens, blot immediately with a clean cloth—never rub. Use a mild detergent solution or a dedicated upholstery cleaner. Test any product in an inconspicuous spot first.
For stubborn stains, a soft-bristled brush can help lift the mark without damaging the fabric.
Deep Cleaning: The Seasonal Reset
Twice a year, give your upholstery a thorough clean. Rent a steam cleaner or use a fabric-safe foam cleaner. Follow the manufacturer's instructions for your fabric type.
This deep clean removes embedded dirt and odors, restoring the color and texture of your furniture.
Protect Your Investment
Consider applying a fabric protector after deep cleaning. This adds a barrier against spills and stains, making future cleanups easier. Also, rotate cushions regularly to ensure even wear.
With consistent care, your upholstery will stay beautiful for years.
FAQ
Can I use bleach on upholstery?
No, bleach is too harsh and will discolor or damage most fabrics. Stick to mild cleaners recommended for your fabric type.
How often should I clean my upholstery?
Vacuum weekly, spot clean spills immediately, and deep clean every 6 to 12 months depending on usage and pets.
What does the cleaning code W mean?
Code W means you can use water-based cleaners. Code S means solvent-based cleaners only. WS allows both, and X means vacuum only.
How do I remove urine smell from a couch?
Blot up excess, then apply a mixture of equal parts water and white vinegar. Let it dry, then sprinkle baking soda, wait, and vacuum.
Can I machine wash removable cushion covers?
Only if the care tag says so. Use cold water, gentle cycle, and air dry. Never put foam inserts in the machine.
Conclusion
You don't need a pro to keep your sofa looking fresh. These 17 tips give you a solid routine for tackling dust, stains, and odors with everyday supplies.
Start with the ones that match your biggest headache—maybe pet hair or a stubborn spill—and work through the rest as you go. A little regular care keeps your upholstery inviting without the hassle.


