
You just inherited a beautiful oak dresser from your grandmother. It's solid, but the finish looks dull and a bit grimy. Before you reach for a spray cleaner, stop.
Old wood needs a gentle touch. Harsh chemicals can strip the patina and ruin the value. This guide walks you through 23 safe, effective tips to clean and polish your vintage pieces.
You'll learn how to remove dirt, revive the finish, and achieve that warm, natural glow without causing damage. Whether you're a seasoned collector or a first-time restorer, these methods are easy to follow and use common household items.
1. Start with a Soft Dusting
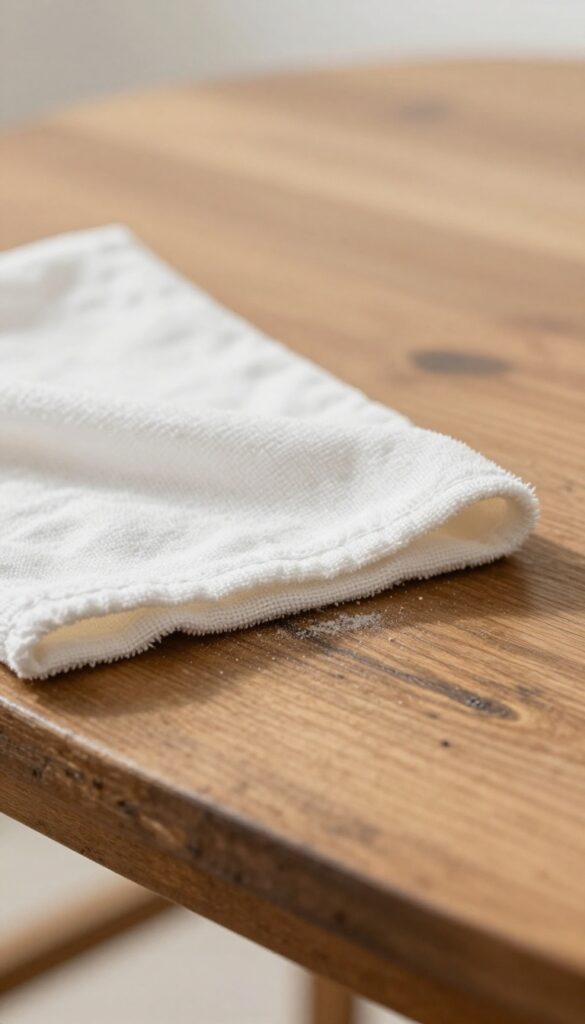
Before any cleaning solution touches the wood, you need to remove loose dust and debris. Skipping this step can grind dirt into the finish, causing scratches and dullness. A gentle first pass makes everything else safer and more effective.
Grab a microfiber cloth or a soft, natural-bristle brush—like a clean paintbrush or a dedicated dusting brush. Microfiber traps dust without scattering it, while a brush can reach into carvings and crevices. Work from top to bottom, and use light, sweeping motions.
Avoid feather dusters: they often have oils or waxes that can smear, and their bristles can be surprisingly abrasive. For intricate details, a soft toothbrush or a cotton swab works wonders. Take your time—rushing this step is the most common mistake people make.
Why Microfiber Wins
Microfiber cloths have split fibers that create a static charge, attracting dust like a magnet. They also hold particles in the fabric instead of pushing them around. Use a fresh section for each piece of furniture to avoid redepositing dirt.
Reaching The Nooks And Crannies
Old furniture often has carved details, turned legs, or panel grooves. A soft-bristled paintbrush or a clean makeup brush can sweep dust out of these areas. For tight spots, wrap a microfiber cloth around a butter knife or use a cotton swab dipped in a tiny bit of mineral oil to pick up grime.
The Right Technique
Always dust in the direction of the wood grain. This prevents micro-scratches and helps you see when the surface is truly clean. Use light pressure—let the cloth do the work.
If the dust is heavy, consider using a vacuum with a brush attachment on low suction first.
2. Test a Hidden Spot First
You wouldn't dye your hair without testing a strand first, right? The same logic applies to cleaning old wood. A spot that looks like a harmless smudge might actually be delicate finish that reacts badly to your cleaner.
Taking five minutes to test saves you from a permanent mistake.
Where To Test
Pick a spot that's out of sight: the back edge of a drawer, the underside of a table leaf, or the inside of a cabinet door. Avoid testing on the top or front where any damage would be obvious. If the piece has a carved detail or a dark corner, that's a good candidate too.
How To Test
Dampen a cotton swab or a soft cloth with your cleaning solution. Rub it gently on the hidden area, then wait a few minutes. Look for color lifting, cloudiness, or a sticky residue.
If the wood looks unchanged and the cloth comes away clean, you're good to go.
What To Watch For
If the finish bubbles, turns white, or feels tacky, stop immediately. That means your cleaner is too harsh for this particular varnish or shellac. Try a milder option like diluted dish soap or a specialized wood cleaner.
When in doubt, stick with plain water and a barely damp cloth.
3. Use a Damp Cloth for Light Grime
When your old wood furniture has a thin layer of dust or light grime, you don't need a specialty cleaner. A simple damp cloth often does the trick. The key is getting the moisture level right—too wet and you risk water damage.
Grab a soft, lint-free cloth (microfiber works great) and dampen it with plain water. Wring it out thoroughly—it should feel barely moist, not dripping. Wipe the surface gently, following the grain of the wood.
Dry immediately with a separate soft cloth to remove any lingering moisture.
Why Less Is More
Excess water seeps into cracks and joints, causing wood to swell, warp, or develop white water stains. It can also lift the existing finish, leaving a cloudy or sticky residue. A barely-damp cloth avoids all that while still picking up dust and light dirt.
When To Skip This Method
If the grime is greasy or sticky (like from cooking vapors or hand oils), water alone won't cut it. You'll need a mild soap solution or a dedicated wood cleaner. Also avoid this method on unfinished or severely cracked wood, where moisture can penetrate too deeply.
Test First
Always test the damp cloth on an inconspicuous spot, like the back or underside. Check for any color change, raised grain, or finish softening. If the test area looks good, proceed with the rest of the piece.
4. Mix a Gentle Soap Solution
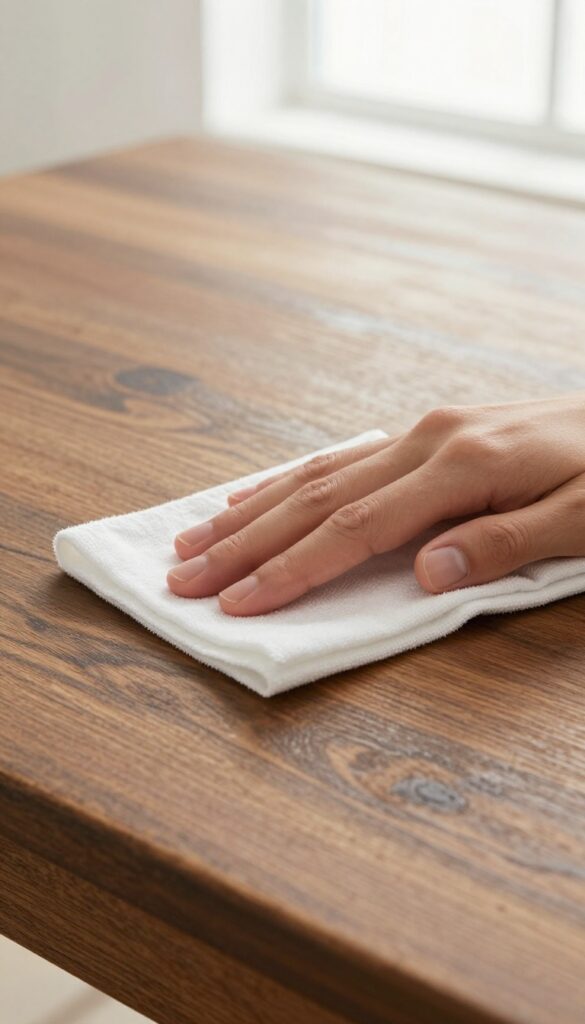
A few drops of mild dish soap in warm water works wonders. Dip a cloth, wring well, and wipe. Dry immediately.
This simple method cuts through grime without harming the finish. It's the go-to for everyday cleaning of old wood.
When dusting alone isn't enough, a mild soap solution is your next step. It's safe for most finishes and lifts away sticky residue or built-up dirt. The key is using very little soap and never soaking the wood.
Why Mild Soap Works
Old finishes are often fragile. Harsh detergents can cloud or strip them. Mild dish soap is gentle enough to clean without damaging the patina.
The water acts as a carrier, and the soap breaks down grease and grime.
How To Mix And Apply
Fill a bowl with warm water and add just a few drops of mild dish soap. Swirl to mix. Dip a soft, lint-free cloth into the solution, then wring it out until it's barely damp.
Wipe the furniture in the direction of the grain. Avoid puddles or drips.
Drying Is Critical
After wiping, immediately go over the surface with a dry, clean cloth. This removes excess moisture and prevents water spots. Never let water sit on old wood.
It can raise the grain or seep into cracks.
Test First, Always
Before cleaning the whole piece, test the soap solution on a hidden area. Wait a few minutes to check for any adverse reaction. This is especially important for antique or fragile finishes.
Better safe than sorry.
5. Try Mineral Spirits for Stubborn Dirt
Sometimes dusting and soapy water just aren't enough. Sticky residue, old wax buildup, or decades of grime can cling to the wood. That's when mineral spirits become your best friend.
This solvent cuts through tough dirt without stripping the finish, leaving the surface clean and ready for polishing.
Mineral spirits are a petroleum-based solvent that evaporates quickly and leaves no residue. It's gentle enough for most sealed finishes like lacquer, shellac, and varnish. Always test on an inconspicuous spot first.
Work in a well-ventilated area and wear gloves to protect your skin. Dampen a soft, lint-free cloth with mineral spirits—don't soak it. Wipe the furniture in the direction of the grain, applying light pressure.
The grime will lift off easily. Follow up with a clean, dry cloth to remove any excess. Let the piece air dry completely before applying any wax or polish.
This method is especially effective for cleaning carved details and crevices where dirt hides.
When To Use Mineral Spirits
Use mineral spirits when you encounter sticky residue from old polish, crayon marks, or heavy grease. It's also great for removing wax buildup before refinishing. Avoid using it on raw, unfinished wood or pieces with a damaged finish, as it can penetrate and darken the wood.
Safety First
Mineral spirits are flammable and emit fumes. Work outdoors or in a well-ventilated room. Keep away from open flames, pilot lights, and sparks.
Wear nitrile gloves to prevent skin irritation. Dispose of used rags properly—store them in a metal container with water to prevent spontaneous combustion.
The Right Technique
Pour a small amount of mineral spirits onto a clean cloth, not directly onto the furniture. Wipe with the grain using even strokes. For intricate carvings, use a soft-bristled brush or cotton swab dipped in mineral spirits.
Work in small sections to avoid letting the solvent dry before wiping it off. Finish by buffing with a dry cloth.
6. Remove Wax Buildup with Vinegar
Over time, furniture polish and wax can build up into a cloudy, sticky layer. That dull film hides the wood’s natural beauty. Vinegar cuts through that residue without stripping the finish.
Why Vinegar Works
White vinegar is a mild acid that dissolves waxy residues and dirt. It’s gentle enough for most sealed wood surfaces but tough on grime. You don’t need harsh solvents.
How To Mix And Apply
Combine equal parts white vinegar and water in a bowl. Dip a soft cloth into the solution and wring it out until just damp. Wipe the furniture following the grain, then rinse with a clean damp cloth to remove any vinegar smell.
Dry immediately with a soft towel.
When To Avoid This Method
Don’t use vinegar on unsealed or waxed wood—it can damage the finish. Test on a hidden spot first. If the wood feels rough or looks bare, stick to a gentle cleaner like mild soap.
7. Use a Soft Toothbrush for Carvings
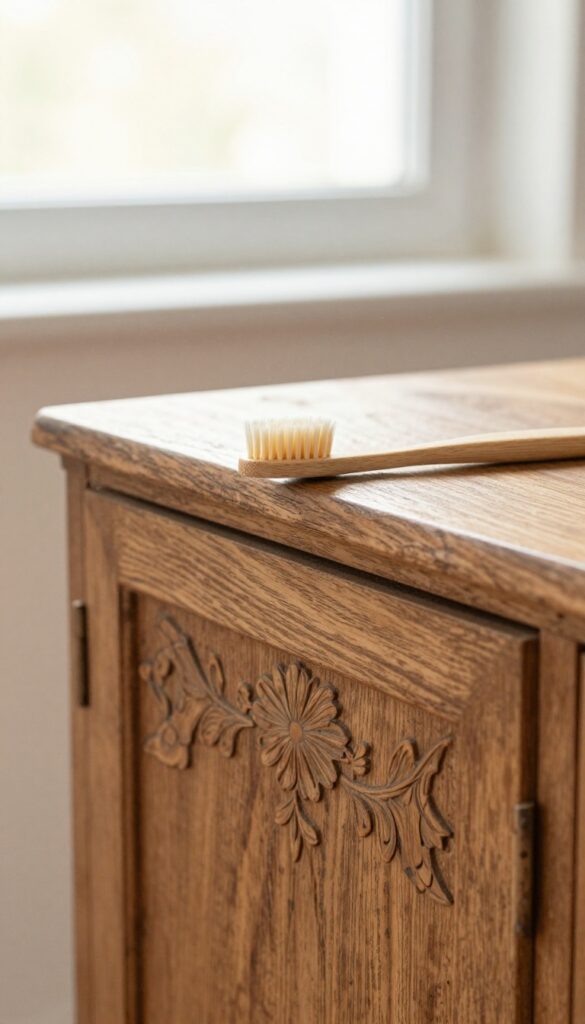
Intricate carvings and crevices are dust magnets. A soft toothbrush reaches where cloths cannot, gently dislodging grime without scratching the wood. This simple tool is perfect for preserving the fine details that make vintage furniture special.
Why A Toothbrush Works
Soft bristles flex into grooves and corners, lifting dirt without abrading the finish. Unlike a rag, the brush gets into every nook. It's also gentle enough for delicate surfaces like gilding or veneer.
How To Do It Right
Use a dry, clean toothbrush first to remove loose dust. For stubborn grime, dip the brush in a mild soap solution (a few drops of dish soap in warm water), shake off excess, and gently scrub. Work in small sections, then wipe with a damp cloth.
When To Avoid This Method
Skip the toothbrush on flaking or chipped finishes, as bristles can lift more material. Also avoid using a brush on loose veneer. Stick to a soft-bristled brush—never a hard one—to prevent scratches.
8. Erase Water Rings with Mayonnaise
White water rings on an antique table can make your heart sink. But before you panic, check your fridge. A dab of mayonnaise can often lift that cloudy mark without any sanding or harsh chemicals.
The magic is in the oils and egg yolks. They penetrate the white film left by moisture trapped in the finish and help restore the original clarity. It's a gentle trick that works on most sealed wood surfaces.
How It Works
Water rings form when moisture gets trapped under the finish, creating a white haze. Mayonnaise's oils seep into the microscopic gaps and displace the water, allowing the finish to re-bond.
Step-by-step
Apply a small dab of full-fat mayo directly on the ring. Spread it gently with your finger to cover the mark. Let it sit for at least an hour—overnight for stubborn rings.
Wipe off with a soft cloth and buff lightly.
When To Skip This
If the ring is dark or the finish is cracked, the damage may be deeper. Mayo won't fix that. Also, avoid this on raw or unsealed wood—the oils can stain.
9. Buff Out Light Scratches with Walnuts
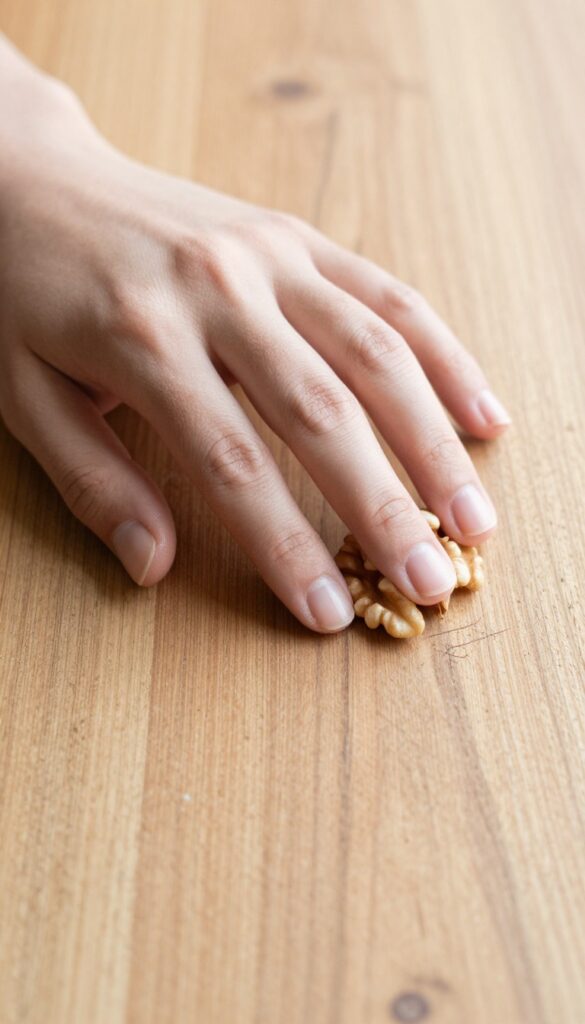
Light scratches on old wood can be an eyesore, but you don't need expensive fillers or stains. A simple raw walnut can work wonders. The natural oils in the nut meat penetrate the wood and darken the scratch, making it blend in with the surrounding finish.
It's a quick, chemical-free fix that's been used by furniture restorers for generations.
This trick is best for shallow scratches that haven't cut through the finish. Deeper gouges may need wood filler, but for everyday wear and tear, walnuts are your friend. The process takes just a minute and leaves no residue.
Plus, it adds a subtle sheen to the area.
How It Works
Walnuts contain natural oils and tannins that darken wood fibers. When you rub the meat over a scratch, the oil seeps into the exposed wood, matching the surrounding color. The friction also helps buff the area smooth.
Step-by-step
Crack open a raw walnut and remove the meat. Rub the exposed side firmly along the scratch in the direction of the grain. Apply a bit of pressure so the oil transfers.
Let it sit for a minute, then buff the area with a soft cloth. Repeat if needed.
When To Skip This Method
Avoid using walnuts on unfinished or porous wood, as the oil may leave a stain. Also, test on an inconspicuous spot first to ensure it doesn't darken the finish too much. For deep scratches, stick to wood filler and sanding.
10. Polish with a Beeswax Paste
Beeswax polish is a classic choice for old wood. It feeds the wood fibers and leaves a soft, warm glow that synthetic polishes can't match. The key is using a thin coat, letting it dry completely, and buffing until the surface feels smooth, not sticky.
Beeswax polishes nourish wood and create a warm sheen. Apply a thin layer, let dry, then buff to a shine.
Why Beeswax Works So Well
Beeswax is a natural humectant, meaning it attracts moisture into the wood. This helps prevent drying and cracking. It also fills tiny scratches and pores, creating a smooth, even surface that reflects light beautifully.
Unlike silicone-based polishes, beeswax won't build up into a hazy layer over time.
How To Apply It Right
Use a clean, lint-free cloth to scoop a small amount of beeswax paste. Rub it onto the wood in the direction of the grain using circular motions. Cover a small area at a time, about one square foot.
Let the wax dry for 15 to 20 minutes until it looks hazy. Then buff with a fresh cloth using firm, even strokes until the shine appears.
Avoid These Common Mistakes
Don't apply too much wax—a thin layer is all you need. Thick coats will be tacky and attract dust. Also, never use beeswax on unfinished or raw wood, as it can darken unevenly.
Always test on an inconspicuous spot first. If the wood feels greasy after buffing, you used too much; wipe off the excess with a dry cloth.
11. Make a DIY Lemon Oil Polish
Store-bought lemon oils often contain synthetic fragrances and drying agents. A homemade version gives you control over ingredients and costs pennies. This simple blend cleans light grime, feeds the wood, and leaves a fresh citrus scent without harsh chemicals.
Lemon juice cuts through grease and light dirt, while olive oil penetrates and moisturizes the wood. The key is using the right ratio and applying it sparingly—too much can leave a sticky residue. Always test on an inconspicuous spot first, especially on shellac or lacquer finishes.
Mix The Right Ratio
Combine one part fresh lemon juice with two parts olive oil in a small bowl. Shake or stir well before each use. Avoid bottled lemon juice, which often contains preservatives and sugar that can gum up the finish.
Apply Sparingly
Dip a soft, lint-free cloth into the mixture and wring out excess. Wipe a thin layer onto the wood, following the grain. Let it sit for 5–10 minutes so the oil can soak in.
Don’t let it pool or sit too long, or it may become tacky.
Buff To A Warm Shine
Using a clean, dry cloth, buff the surface in circular motions until no residue remains. You should see a soft, natural glow. If the wood feels greasy, you used too much—wipe off the excess with a dry cloth and buff again.
When To Use This Polish
This DIY polish works best on unfinished, oiled, or waxed wood. Avoid it on lacquered, varnished, or painted surfaces—the oil may cloud the finish. Use it every few months to maintain moisture and keep dust from settling.
12. Avoid Silicone-Based Polishes
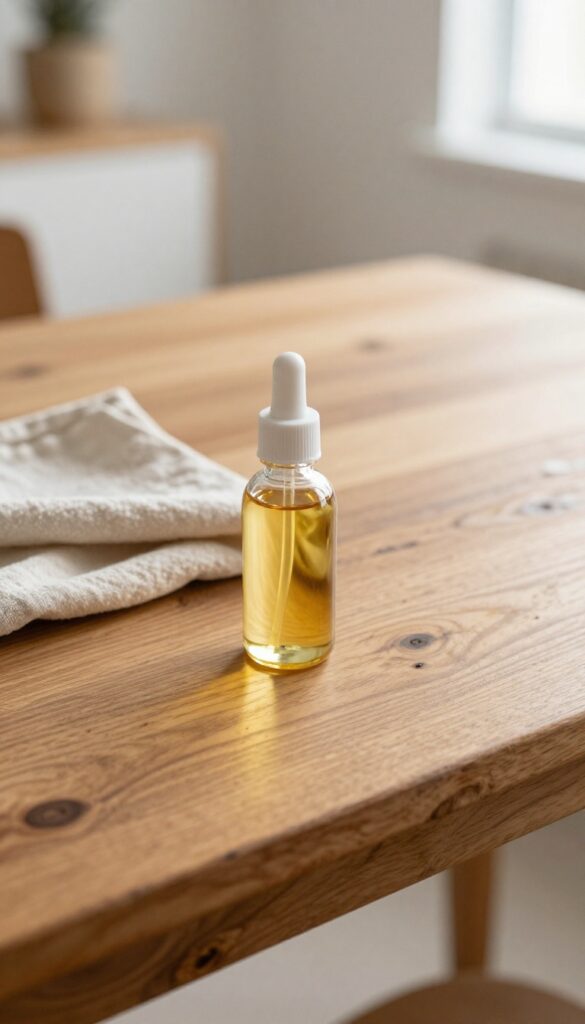
Many commercial furniture polishes contain silicone, which gives a quick shine but causes long-term problems. Silicone builds up on the surface, creating a layer that repels water and makes future refinishing nearly impossible. For old furniture, it's best to skip these products entirely and use natural alternatives that preserve the wood's integrity.
Why Silicone Is Trouble
Silicone creates a slick, waxy film that attracts dust and dulls over time. When you eventually want to strip or refinish the piece, that silicone layer prevents new finishes from adhering. You'll end up with peeling paint or blotchy stain.
Old furniture deserves better.
How To Check Your Polish
Look at the ingredient list. If you see words ending in "-cone" or "-siloxane, " like dimethicone or cyclopentasiloxane, it's silicone-based. Also avoid products labeled "silicone-enhanced" or "long-lasting shine.
" Stick to simple oils and waxes.
Safe Alternatives That Work
Use a mix of mineral oil and lemon juice (1: 1) for a gentle cleaner, or apply pure tung oil or linseed oil for nourishment. Beeswax paste is excellent for a protective, natural shine. These won't build up and can be easily removed when needed.
13. Use a Hairdryer for Sticky Residue
Sticker residue, old wax buildup, or stubborn labels can ruin the look of vintage wood. Before you resort to scraping or harsh solvents, try a little heat. A hairdryer on low can soften the gunk without damaging the finish.
Heat loosens the bond between the residue and the wood, making it easy to wipe away. This method works especially well for old price tags, tape marks, or layers of wax that have turned sticky over time. It's gentle, chemical-free, and takes just a few minutes.
How To Do It Safely
Set your hairdryer to low heat and hold it about 6 inches from the surface. Move it back and forth over the sticky area for 30 to 60 seconds. You'll see the residue soften or start to bubble.
Immediately wipe with a soft, dry cloth. For stubborn spots, repeat or use a plastic scraper.
When To Avoid This Method
Don't use heat on veneer that's already loose or on areas with flaking paint. Intense heat can also damage certain finishes like shellac. Test on an inconspicuous spot first.
If the wood feels tacky or the finish bubbles, stop and try a different approach.
Alternative: Warm Water Soak
For removable parts like drawer fronts, you can place a damp, warm cloth over the residue for a few minutes. The moisture and heat work together to soften the adhesive. Wipe clean afterward and let the wood dry completely before reassembling.
14. Clean with Black Tea for Dark Wood
Black tea isn't just for drinking—it's a surprisingly effective cleaner for dark wood. The tannins in tea can deepen the color of your furniture and leave behind a soft, natural sheen. Best of all, it's gentle and completely chemical-free.
Brew a pot of strong black tea using two or three tea bags, then let it cool to room temperature. Dip a soft cloth into the tea, wring it out well so it's damp not wet, and wipe down the wood following the grain. The tannins will react with the existing finish, enriching the color and adding a subtle luster.
For extra cleaning power, add a splash of vinegar to the cooled tea—about one tablespoon per cup.
Why Tea Works On Dark Wood
Dark woods like walnut, mahogany, and cherry naturally contain tannins. Adding more tannins via black tea helps restore faded areas and evens out the color. The mild acidity in tea also cuts through light grime without stripping the finish.
How To Apply Tea For Best Results
Always test on an inconspicuous spot first. Use a lint-free cloth and work in small sections. Let the tea sit for a minute, then buff dry with a clean cloth.
Avoid soaking the wood—too much moisture can warp or raise the grain.
Tea Vs. Commercial Dark Wood Cleaners
Commercial cleaners often contain dyes or silicones that can build up over time. Tea is a natural alternative that won't leave residue. It's also much cheaper and safer for antique or delicate finishes.
15. Restore with a Paste Wax and Steel Wool
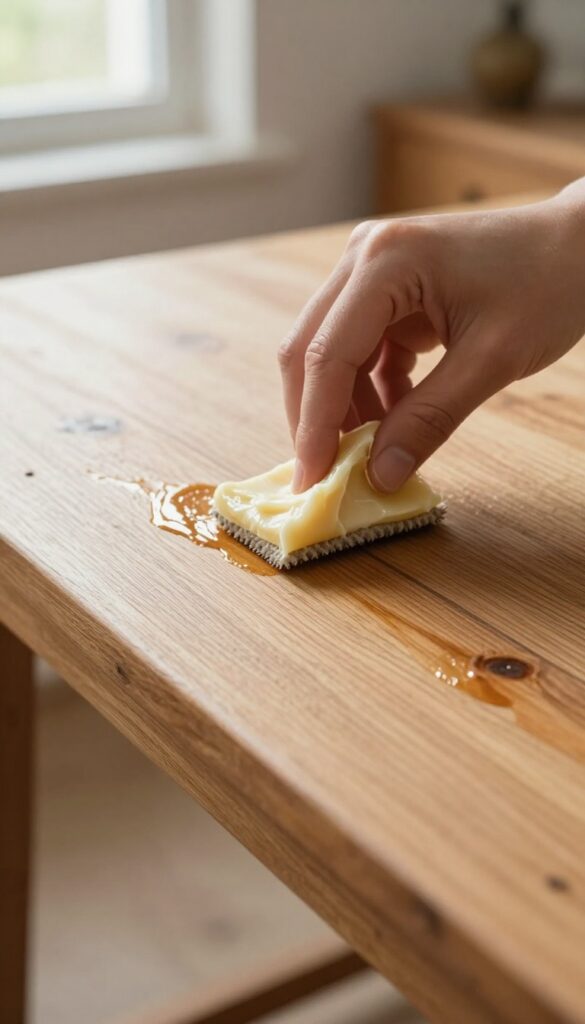
When your old furniture feels rough and looks lifeless, a standard wipe-down won't cut it. You need something that can gently abrade the surface while adding a protective layer. That's where the combo of fine steel wool and paste wax shines.
This technique is perfect for removing light grime and smoothing out minor imperfections without stripping the original finish. The ultra-fine steel wool acts like a mild abrasive, while the wax lubricates the surface and leaves a beautiful satin sheen.
Why #0000 Steel Wool?
Regular steel wool can scratch wood badly. But #0000 grade is incredibly fine—it's often used for polishing glass. When paired with wax, it safely cleans and buffs without digging into the wood.
Always use it with a lubricant like paste wax to avoid scratches.
How To Apply The Wax
Dip a pad of #0000 steel wool into a can of paste wax. Work in small circular motions, following the direction of the grain. Apply light pressure—let the wax do the work.
Cover one small section at a time, then move on.
Buffing To A Warm Shine
After the wax dries to a haze (usually 15–20 minutes), buff with a clean, soft cloth. Use long, even strokes along the grain. The result is a smooth, glowing surface that feels like silk.
Repeat on stubborn spots if needed.
16. Tackle Ink Stains with Baking Soda
Ink stains on old wood can feel like a disaster, especially if a pen leaked inside a drawer or a marker got too close. But before you panic, grab that box of baking soda from your kitchen. This gentle abrasive can lift ink without damaging the finish underneath.
Make A Gentle Paste
Mix two parts baking soda with one part water to form a thick paste. You want it spreadable but not runny. Test it on an inconspicuous spot first—some delicate shellac finishes can be sensitive to moisture.
Rub, Don't Scrub
Use a soft cloth or your fingertip to apply the paste directly onto the ink stain. Rub in a circular motion with light pressure. The baking soda acts like a mild polish that slowly breaks down the ink.
Avoid vigorous scrubbing, which could damage the wood's patina.
Wipe And Repeat
After a minute or two, wipe the area clean with a damp cloth. Check the stain—if it's still visible, apply fresh paste and repeat. Sometimes stubborn stains need two or three rounds.
Finish by drying the spot with a soft towel.
17. Use a Commercial Cleaner Made for Antiques
Not all store-bought cleaners are enemies of old wood. In fact, some are specifically formulated to be safe for antiques. The trick is knowing what to look for and how to use them without causing harm.
When you want a no-fuss solution, a purpose-made antique wood cleaner can be a great option. These products are designed to clean without stripping the patina or damaging the finish. But you still need to choose wisely and use them correctly.
Look For Ph-neutral Formulas
Antique wood cleaners should be pH-neutral, meaning they're neither acidic nor alkaline. Harsh pH levels can eat away at old finishes. Check the label for words like "pH-balanced" or "neutral.
" Avoid anything with ammonia, bleach, or harsh solvents.
Test First, Always
Even with a gentle product, always test on an inconspicuous spot. Apply a small amount to a hidden area—like the back or inside a drawer—and wait a few minutes. If the finish looks fine and there's no discoloration, you're good to go.
Follow The Directions Exactly
These cleaners come with specific instructions for a reason. Some need to be sprayed on a cloth first, not directly on the wood. Others require a certain dwell time before wiping.
Don't improvise—stick to the label to avoid surprises.
18. Condition with Carnauba Wax
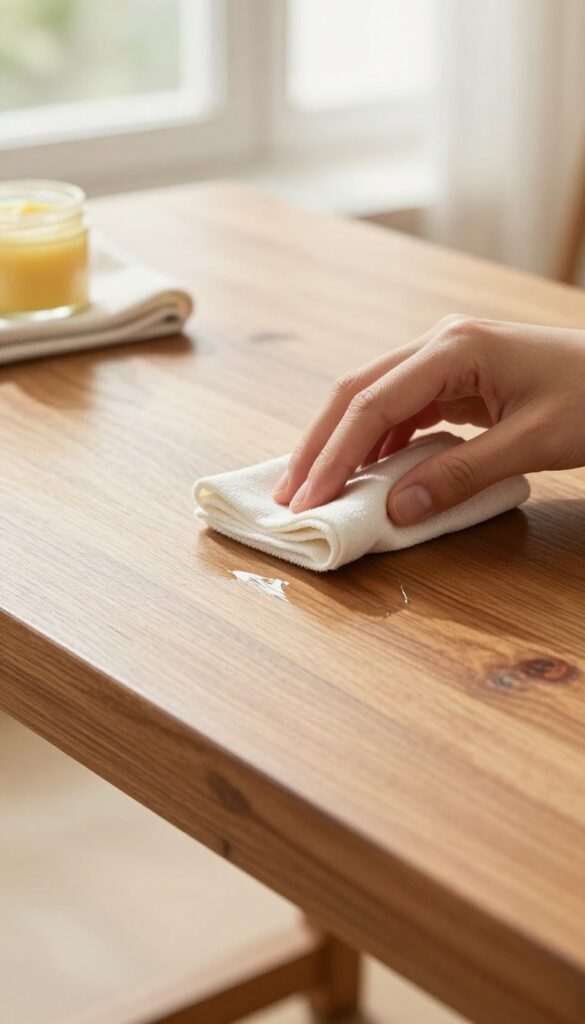
Carnauba wax is a step up from beeswax when you want a harder, more durable finish. It's derived from palm leaves and has a higher melting point, which means it stands up better to heat and wear. The result is a warm, glossy shine that feels smooth to the touch.
Applying carnauba wax is straightforward, but a light hand is key. Use a soft cloth to apply a thin, even layer over the cleaned wood. Let it haze for a few minutes, then buff with a clean cloth until the surface gleams.
The wax fills tiny scratches and adds depth to the grain.
Why Carnauba Works Best
Unlike softer waxes, carnauba creates a protective barrier that resists fingerprints and minor spills. It's ideal for tabletops and chair arms that get frequent use. The warm sheen it produces looks natural, not plasticky.
Application Tips For Best Results
Work in small sections and don't overload the cloth. Too much wax will look cloudy and attract dust. Buff in circular motions with moderate pressure.
For an extra glow, do a second thin coat after the first has cured for an hour.
19. Remove Mold with Rubbing Alcohol
Mold on old wood can be alarming, but it doesn't have to mean the end of your furniture. Rubbing alcohol is your friend here—it kills mold without soaking into the wood and causing more damage. This method works best on surface mold that hasn't penetrated deep into the grain.
Start by mixing equal parts isopropyl alcohol and water in a small bowl. Dip a clean, soft cloth into the solution and wring it out well—you want it damp, not wet. Gently blot or wipe the moldy areas, being careful not to scrub too hard, which could spread spores.
Let the wood dry completely in a well-ventilated area, preferably in indirect sunlight. If any mold remains, repeat the process. Once dry, follow up with a light coat of furniture wax to restore the finish.
Why Alcohol Works
Isopropyl alcohol evaporates quickly, so it doesn't linger on the wood and cause swelling or warping. It's also effective at killing mold spores on contact, making it a safer alternative to bleach, which can damage the wood's color and finish.
Precautions To Take
Always test the alcohol on an inconspicuous area first to ensure it doesn't strip the finish. Wear gloves and a mask to avoid inhaling spores. And never pour alcohol directly onto the wood—always apply it to the cloth first.
When To Call A Pro
If the mold has penetrated deep into the wood or covers a large area, it's best to consult a professional conservator. Extensive mold may require specialized treatments that go beyond a simple wipe-down.
20. Use a Soft Cloth for Final Buffing
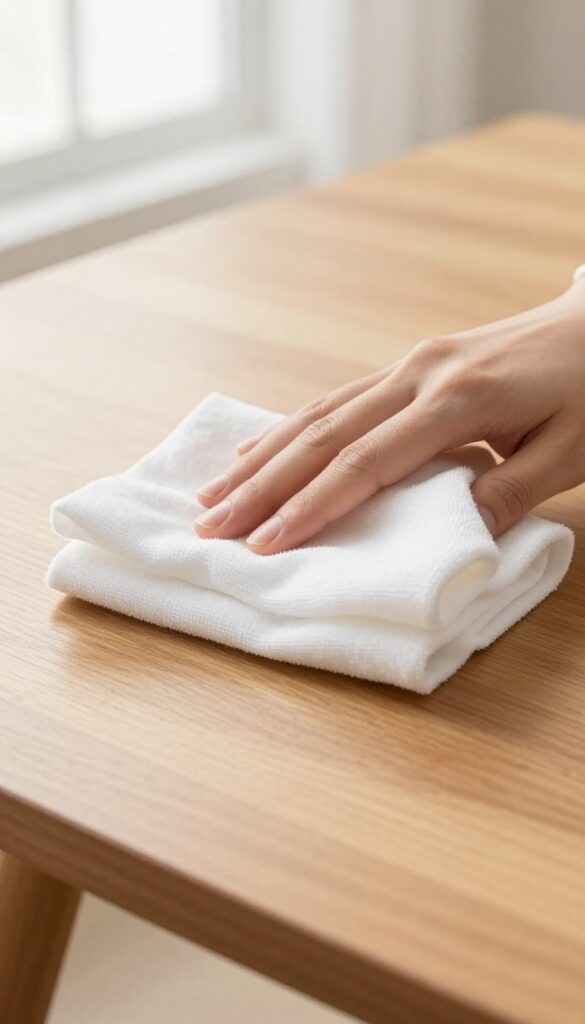
After you've applied polish or wax, the final buffing step is what truly makes the wood glow. It's tempting to grab any rag, but the fabric you choose matters. A soft, lint-free cotton cloth will lift any excess product and create a smooth, even shine without scratching the surface.
Buffing is the last chance to remove smudges and distribute the wax or polish evenly. A rough cloth can leave micro-scratches that dull the finish over time. Old, washed cotton t-shirts are ideal because they are soft, absorbent, and free of lint.
Cut them into squares and keep a stack handy for this purpose.
Why Cotton Works Best
Cotton fibers are gentle on wood finishes. Unlike synthetic blends, they don't generate static or leave behind tiny fibers. The softness allows you to apply even pressure without marring the surface.
Old t-shirts are broken in and have no rough edges, making them perfect for a final polish.
The Buffing Technique
Fold the cloth into a pad and apply light pressure. Use circular motions at first to work the product into the wood, then finish with long, straight strokes along the grain. This prevents swirl marks and gives a professional, satiny sheen.
Change to a clean section of cloth as soon as it feels tacky.
When To Buff Again
If the surface still feels sticky or looks cloudy, you've left too much product on. Wait a few minutes, then buff again with a fresh cloth. A second pass often brings out the warmth and depth of the wood.
For high-traffic pieces, a quick weekly buff keeps the shine alive.
21. Keep Furniture Out of Direct Sunlight
Sunlight might make a room feel bright and airy, but it's tough on old wood. Those warm rays that feel nice on your skin are actually drying out the finish and fading the natural color of your furniture. Over time, direct sun can cause cracking, warping, and a bleached-out look that's hard to reverse.
The easiest fix is to position your wooden pieces away from windows that get strong direct light. If that's not possible, use curtains, blinds, or UV-filtering window film to block the most intense rays. Even a sheer curtain can cut down on damage while still letting light through.
Rotate or move pieces occasionally so any fading happens evenly, and avoid placing lamps or other heat sources too close to the wood. A little prevention goes a long way toward keeping that warm shine for years to come.
How Sunlight Damages Old Wood
UV rays break down the lignin in wood, which is what gives it strength and color. This leads to fading, often unevenly, and makes the surface dry and brittle. The heat from sunlight also speeds up evaporation of natural oils, leaving the wood thirsty and prone to cracks.
Simple Ways To Block The Sun
Install UV-blocking window film—it's affordable and easy to apply. Use light-filtering curtains or blinds during peak sun hours. For pieces you can't move, consider a furniture cover or a decorative throw that can be removed when the sun isn't hitting directly.
What To Do If Damage Has Already Started
If you notice fading or dryness, move the piece to a shadier spot immediately. Apply a good quality wood conditioner or feed the wood with a gentle oil like lemon oil to restore moisture. For severe fading, you may need to refinish the piece, but prevention is always better than repair.
22. Maintain Humidity Levels
Wood is a living material, even after it's been cut and finished. It constantly responds to the moisture in the air around it. When humidity drops, wood releases moisture and shrinks, leading to cracks and loose joints.
When humidity rises, it absorbs moisture and expands, which can cause drawers to stick or finishes to bubble.
Keeping your old furniture in a stable environment is one of the best things you can do for its long-term health. Aim for a relative humidity between 40% and 50%. In dry winter months, a humidifier in the room can prevent the wood from drying out.
In humid summer months, a dehumidifier or air conditioner helps keep moisture in check. Avoid placing furniture near heating vents, radiators, or air conditioning units, as these create extreme microclimates.
Why Humidity Matters
Old wood has already gone through many cycles of expansion and contraction. Sudden changes in humidity are what cause damage. Cracks, warping, and veneer separation are often the result of dry air.
By maintaining consistent humidity, you help the wood stay stable and prevent those issues from getting worse.
Simple Monitoring
A small hygrometer placed near your furniture gives you a quick read on the room's humidity. These are inexpensive and easy to find. Check it regularly, especially during seasonal transitions.
If you notice the wood looking dry or feeling brittle, it's time to add moisture to the air.
Gentle Moisture Boost
If you don't have a humidifier, you can place a shallow dish of water near the furniture (not on it). The water evaporates slowly and adds a bit of moisture to the immediate area. Just be sure to keep the dish away from the wood to avoid spills.
For a more targeted approach, use a plant mister to lightly spritz the air around the piece once a day.
23. Dust Regularly with a Lint-Free Cloth
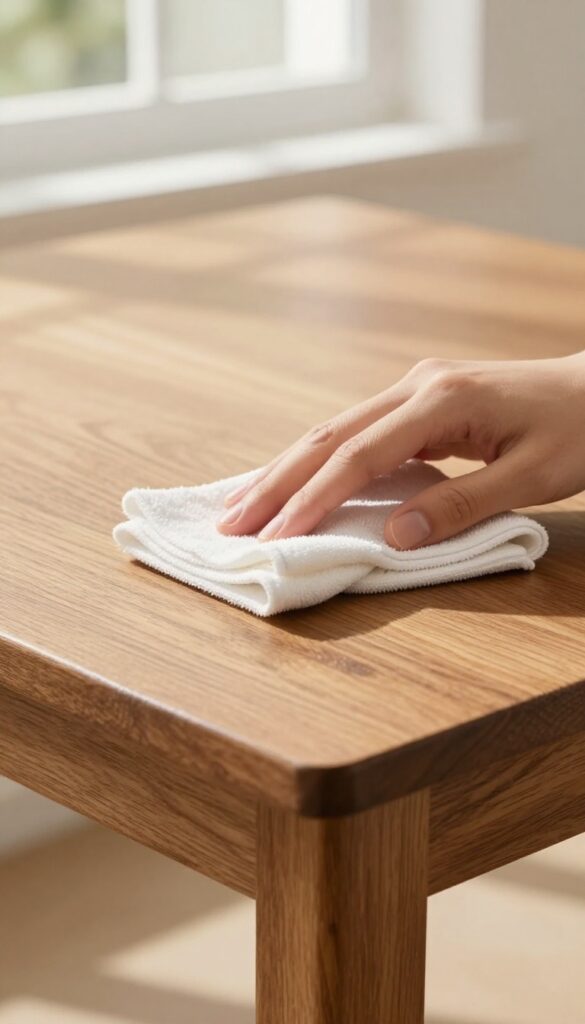
Dust might seem harmless, but it's actually abrasive. Over time, tiny particles scratch the finish and dull the shine. A quick weekly dusting prevents that buildup and keeps your furniture looking its best.
The key is using the right cloth and technique.
Dusting isn't just about appearances—it's a protective measure. When dust sits on old wood, it can mix with moisture or oils from the air, creating a grimy film that's harder to remove later. Plus, the friction from wiping that grime can leave fine scratches.
By dusting regularly, you avoid that cycle entirely. A lint-free cloth is essential because regular towels or rags can leave fibers behind or even contain dyes that transfer to the wood. Microfiber cloths work great, but make sure they're clean and soft.
Avoid feather dusters; they just move dust around rather than capturing it.
Choose The Right Cloth
Not all cloths are safe for old wood. Old cotton t-shirts cut into squares are a classic choice—they're soft and lint-free. Microfiber cloths also work well, but avoid the rough, textured ones meant for scrubbing.
Never use paper towels; they can be abrasive and leave tiny scratches.
Use A Gentle Touch
Light pressure is all you need. Let the cloth do the work, and wipe in the direction of the wood grain. This prevents swirl marks and ensures you're not grinding dust into the finish.
For carved or detailed areas, use a soft brush or a clean makeup brush to dislodge dust before wiping.
Keep It Dry
Unless you're doing a deeper clean, dusting should be dry. Water or polish can attract more dust or leave residue. If you need to dampen the cloth slightly for sticky spots, wring it out until it's barely moist.
Always test on an inconspicuous area first.
FAQ
Can I use vinegar on all wood finishes?
Vinegar is safe for most sealed finishes, but avoid it on waxed or unsealed wood as it can dull the surface. Always test first.
How often should I polish old wood furniture?
Every 3-6 months is enough. Over-polishing can cause buildup. Dust weekly and polish only when the wood looks dull.
Is olive oil safe for wood furniture?
Olive oil can go rancid over time, leaving a sticky residue. Use it sparingly in DIY polishes and buff well. Mineral oil is a better alternative.
What's the best way to remove sticky residue from old furniture?
Use a hairdryer on low to soften the residue, then wipe with a cloth dampened with mineral spirits or rubbing alcohol.
Can I use furniture polish on antique wood?
Avoid modern spray polishes with silicones. Stick to natural waxes or oils designed for antiques to preserve the patina.
Conclusion
Cleaning old wood furniture doesn't have to be intimidating. With these 23 tips, you can safely remove dirt, revive the finish, and achieve that warm, gentle shine. Remember to always test products first and use the gentlest method possible.
Your furniture will thank you with years of beauty. Take it slow, enjoy the process, and let the natural character of the wood shine through. A little care goes a long way in preserving these treasures for future generations.


