
You flush and notice the water looks cloudy or leaves a ring. That grime isn't just in the bowl—it's hiding in the tank. Cleaning the toilet tank is one of those chores everyone puts off, but it makes a huge difference in both appearance and function.
A dirty tank can lead to stains, odors, and even mechanical issues over time. The good news? You don't need special tools or harsh chemicals.
Just a little time and the right approach. These 17 steps will walk you through the entire process, from prep to final flush. By the end, you'll have a cleaner tank and a noticeably fresher bathroom.
1. Gather Your Supplies
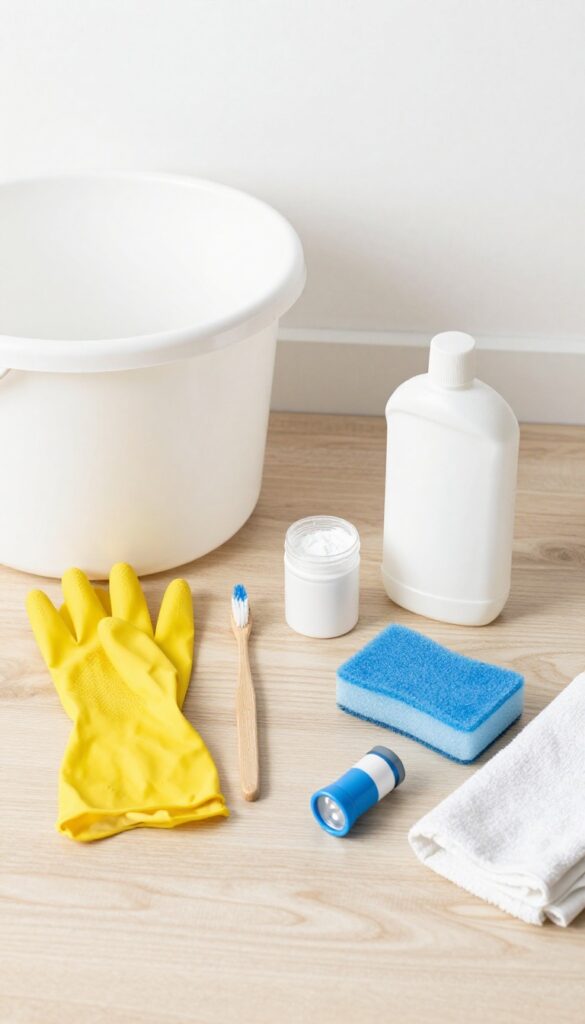
Before you dive into scrubbing, take a few minutes to round up everything you'll need. Nothing kills momentum like having to search for a brush mid-project. A quick prep session makes the whole job smoother and faster.
The Basics
You'll need a bucket to catch water when you drain the tank, an old sponge or cloth for wiping, and a pair of rubber gloves to keep your hands clean. A toothbrush (an old one works great) helps reach tight corners and under the rim. White vinegar and baking soda are your main cleaning agents—they're gentle but effective.
Extra Items For Tough Grime
If your tank has heavy mineral deposits or rust stains, consider a pumice stone (wet it first) or a commercial toilet tank cleaner. Keep a few old towels handy to catch drips and protect your floor. A small flashlight can help you see into dark spots.
Safety And Convenience
Gloves are non-negotiable—tank water can contain bacteria. Open a window or turn on the bathroom fan for ventilation, especially if you use any chemical cleaners. Lay down towels around the base of the toilet to absorb any spills.
2. Turn Off the Water Supply
Before you start scrubbing, you need to stop any water from flowing into the tank. This keeps things dry and prevents mess. It's a simple step that sets you up for success.
Turning off the water supply is straightforward. The shut-off valve is usually a small knob located behind the toilet, near the floor. Turn it clockwise until it stops.
Then flush the toilet to drain the tank completely. The tank should be nearly empty, with just a little water left at the bottom.
Locate The Shut-off Valve
Look behind the toilet, near the wall or floor. You'll see a small valve connected to a flexible hose or a metal pipe. It's typically oval or round and easy to grip.
If you can't find it, trace the water supply line from the toilet back to the wall.
Turn Clockwise To Shut Off
Grip the valve firmly and turn it clockwise until it stops. Don't force it—just a firm twist. You'll know it's off when the valve won't turn anymore.
If it's stuck, use a pair of pliers gently to avoid breaking it.
Drain The Tank
With the water off, press the flush handle. The tank will empty into the bowl. Wait for the refill to stop—it won't because the water is off.
The tank is now ready for cleaning. If any water remains, use a sponge or towel to soak it up.
3. Remove the Tank Lid Carefully
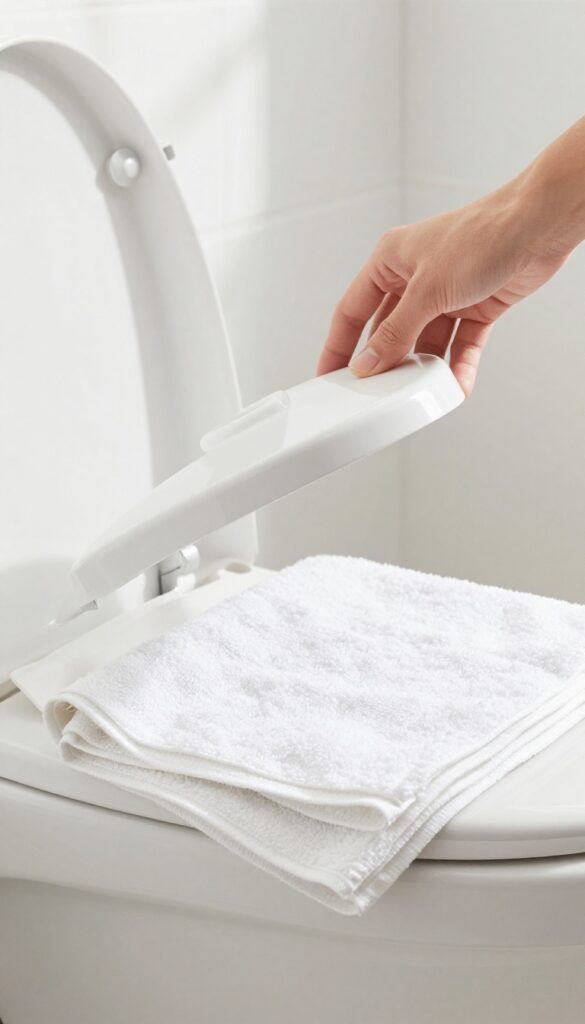
The tank lid might seem sturdy, but it's actually one of the most fragile parts of the toilet. Dropping it or setting it on a hard surface can cause cracks or chips. Take a moment to handle it with care—it'll save you from an unexpected trip to the hardware store.
Lift the lid straight up to avoid bumping the internal components. Set it on a soft surface like a folded towel or a rug, not on the floor or a countertop. If you have a decorative lid, consider placing it out of the way to prevent accidents.
Why The Lid Is So Fragile
Toilet tank lids are made of vitreous china, which is durable under normal use but brittle on impact. A small drop onto tile or porcelain can cause a hairline crack that worsens over time. Treat it like a ceramic dish—gentle handling is key.
Where To Place It
Choose a spot where the lid won't be knocked over. A towel on the bathroom floor or a soft chair nearby works well. Avoid placing it on the toilet seat or tank rim, where it could easily slide off.
What If The Lid Is Stuck?
If the lid feels stuck, don't force it. Check for mineral deposits or debris around the rim. Gently wiggle it side to side while lifting.
Never use tools to pry it off, as that can crack the lid or damage the tank.
4. Flush to Drain Remaining Water
Once the water supply is off, it's time to empty the tank. This step is straightforward but essential—you can't scrub effectively with standing water. A quick flush and a little manual removal will leave the tank dry and ready for cleaning.
Start by flushing the toilet as you normally would, but hold the handle down. This keeps the flapper open longer, allowing more water to drain into the bowl. Most of the tank will empty, but you'll still have a small pool at the bottom.
That leftover water needs to go before you apply any cleaner.
Hold And Wait
Press the flush handle and hold it for a full 10 to 15 seconds. This gives the water enough time to rush out. You'll hear the tank empty, and the flapper will close once you let go.
If your toilet has a dual-flush button, use the full-flush option and hold it down.
Sop Up The Rest
Grab a clean sponge or a small cup to remove the remaining water. A sponge works best because you can wring it into a bucket or the bowl. If using a cup, tilt it to scoop the water without disturbing the parts inside.
Keep going until the bottom is mostly dry—just a thin film is fine.
5. Inspect Internal Components
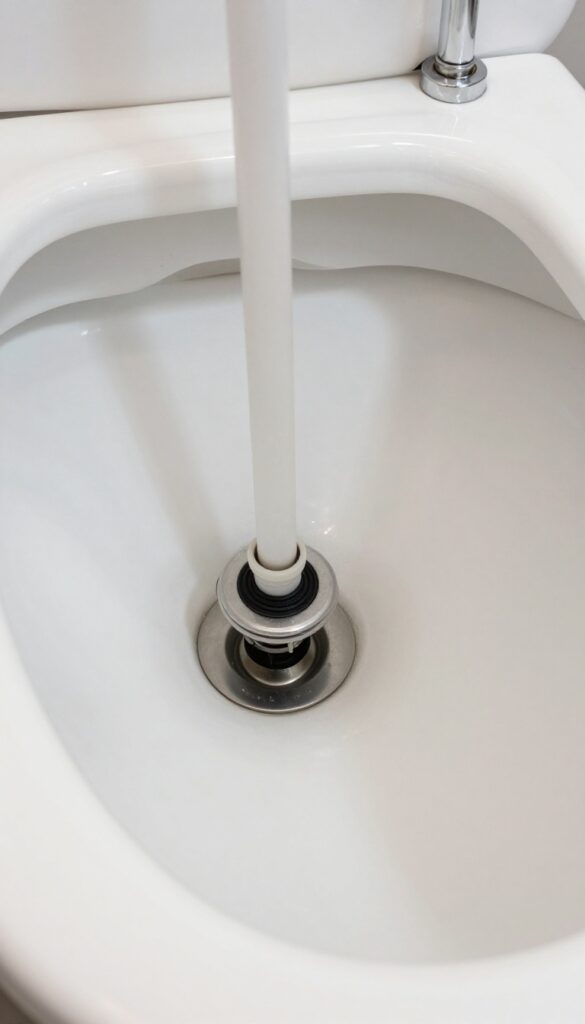
Now that the tank is empty and clean, take a moment to look at the parts inside. The flapper, fill valve, and flush valve work hard every time you flush, and they're prone to wear or mineral buildup. Catching issues early can save you from a running toilet or a future leak.
A quick inspection of the internal components can prevent bigger problems down the road. The flapper should sit flat against the flush valve opening and seal tightly. If it's warped, cracked, or covered in slime, it's time for a replacement.
The fill valve (the tall cylinder) should move freely and not stick. Mineral deposits can cause it to malfunction, leading to a slow fill or constant running. The flush valve (the large opening at the bottom) should be clean and free of debris.
A quick wipe with a cloth can remove any remaining residue.
Check The Flapper
The flapper is a rubber seal that lifts when you flush, then drops back down. Over time, it can become brittle or misshapen. Look for cracks, soft spots, or a film of grime.
If it doesn't seal properly, water will trickle into the bowl, causing a phantom flush sound and wasting water. Gently press around the edges to ensure it's still flexible. A worn flapper is cheap and easy to replace—just remove the old one and clip on a new one.
Inspect The Fill Valve
The fill valve controls the water level after each flush. It's usually a vertical tube with a float attached. Check for mineral crust around the adjustment screw or the valve body.
If the float sticks, the tank may overfill or underfill. You can often clean the valve by flushing it with vinegar or gently scrubbing with a soft brush. If the valve is leaking or making a hissing sound, consider replacing it.
Look At The Flush Valve
The flush valve is the large opening at the bottom of the tank, covered by the flapper. Inspect the rim for cracks or rough spots where the flapper sits. Mineral deposits can form a ring that prevents a good seal.
Use a sponge or cloth to wipe the rim clean. If the flush valve itself is damaged, you may need to replace the entire assembly, but that's less common and usually only necessary after many years.
6. Apply Vinegar to Stubborn Stains
Mineral deposits and rust stains can be tough. But you don't need abrasive cleaners that might scratch the tank. White vinegar is a gentle yet effective solution that breaks down these deposits without harming the internal components.
How Vinegar Works On Deposits
Vinegar is acidic, which makes it perfect for dissolving calcium and lime scale. It also helps loosen rust stains. When you pour it directly onto the stains, the acid starts breaking down the minerals almost immediately.
Letting it sit for 10–15 minutes gives it time to penetrate deeper.
Application Tips For Best Results
Use undiluted white vinegar for stubborn spots. Pour it carefully onto the stains, making sure to cover them completely. If the stain is on a vertical surface, soak a paper towel in vinegar and press it against the stain.
This keeps the vinegar in contact longer. After 10–15 minutes, scrub gently with a soft brush or sponge.
What To Avoid When Using Vinegar
Don't let vinegar sit for more than 20 minutes, as prolonged exposure might affect rubber seals or gaskets. Also, avoid mixing vinegar with bleach or other cleaners—it can create harmful fumes. Stick to vinegar alone, and rinse the tank thoroughly afterward.
7. Scrub the Tank Walls and Bottom
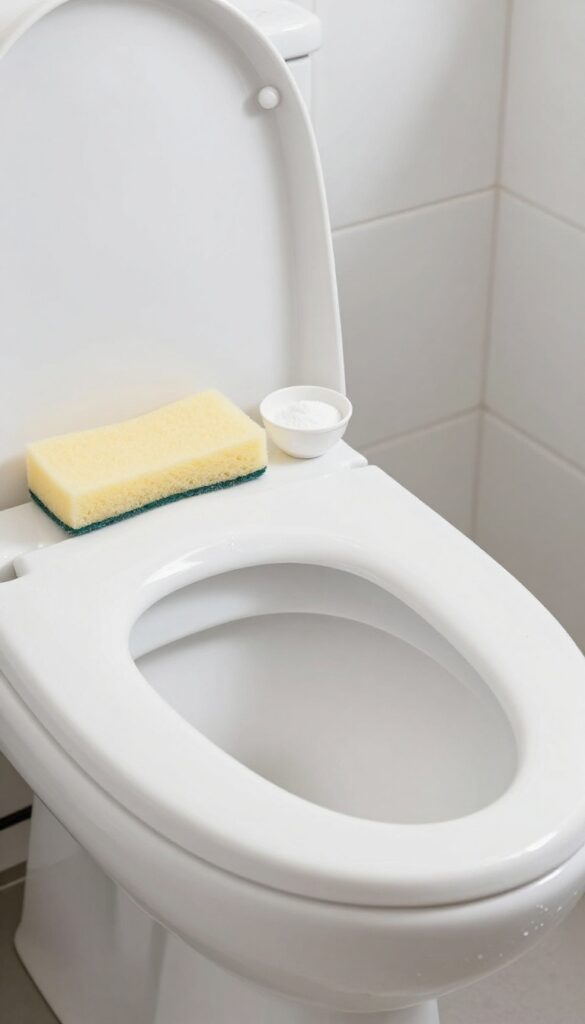
Now that the tank is empty and the parts are out of the way, it's time to tackle the real grime. The walls and bottom of the tank collect mineral deposits, biofilm, and rust stains that can make the water look dirty and smell musty. A thorough scrub will remove all that buildup and leave the tank looking like new.
Use a sponge or soft brush with baking soda to scrub all interior surfaces. Baking soda is mildly abrasive and safe for the tank's components, unlike harsh chemical cleaners that can damage rubber seals. Work in sections, starting from the top and moving down, so you don't miss spots.
Pay extra attention to corners and under the rim where grime hides. For stubborn stains, make a paste with baking soda and a little water, let it sit for a few minutes, then scrub again. Rinse the sponge frequently in a bucket of clean water to avoid redepositing dirt.
Start From The Top Down
Begin at the top edge of the tank and scrub downward. This way, any loosened grime will fall to the bottom, which you'll clean last. Use a circular motion to get into the corners and along the seams.
Don't forget the area under the rim where the water enters the bowl—it's a prime spot for hidden buildup.
Tackle Stubborn Stains With A Paste
If you encounter mineral deposits or rust rings that won't budge with a simple scrub, make a thick paste of baking soda and water. Apply it directly to the stain and let it sit for 5–10 minutes. Then scrub with a soft brush.
For extra stubborn stains, add a little white vinegar to the paste—the fizzing action helps break down deposits.
Rinse Thoroughly Between Sections
As you scrub, rinse your sponge or brush in a bucket of clean water to avoid spreading dirt. After finishing the walls, empty the dirty water from the tank and rinse the bottom with a cup of clean water before scrubbing it. This prevents you from just moving grime around.
8. Clean the Fill Valve and Flapper
The fill valve and flapper are the two parts that control the flush and refill cycle. If either is dirty or worn, you'll notice weak flushes, running water, or phantom flushes. A quick clean can often restore proper function without replacing anything.
Wipe Down The Fill Valve
The fill valve is the vertical tube on the left side of the tank. Dampen a cloth with white vinegar and wipe the entire tube, especially around the top where the float cup moves. This removes mineral buildup that can cause the valve to stick or close slowly.
If you see heavy crusting, wrap the vinegar cloth around the tube and let it sit for 10 minutes before wiping clean.
Inspect And Clean The Flapper
The flapper is the rubber seal at the bottom of the tank that lifts when you flush. Over time, it collects slime and mineral deposits that prevent a tight seal. Lift the flapper gently and wipe both sides with the vinegar cloth.
Pay attention to the sealing surface around the flush valve opening. If the flapper feels stiff or cracked after cleaning, it's time to replace it—they're cheap and easy to swap.
Check For Debris Around The Seals
Small grit or sediment can get trapped under the flapper or around the fill valve's seal. Use an old toothbrush to gently scrub the flush valve seat and the fill valve's base. Rinse any loose debris by flushing a few times (with the lid off) after cleaning.
This simple step can stop a slow leak that wastes water and money.
9. Rinse Thoroughly with Clean Water
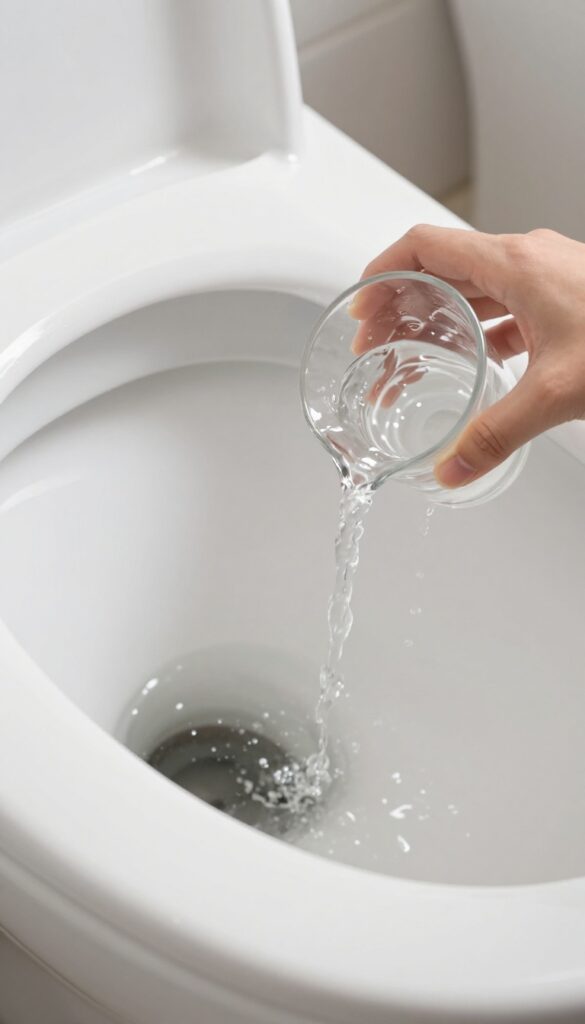
You've scrubbed and soaked, but the job isn't done until every trace of vinegar and baking soda is gone. Leftover residue can interfere with the fill valve or flapper, leading to a weak flush or constant running. Rinsing thoroughly is the final step that ensures your hard work pays off with a truly clean tank.
Pour And Sponge Method
Grab a clean cup or small bucket and scoop fresh water from the sink or a separate container. Pour it gently over the inner walls, bottom, and all the nooks where debris might hide. Then use a sponge or old towel to soak up the rinse water and wring it into a bucket.
Repeat this process at least two or three times until the water you sponge out runs clear, with no suds or cloudiness.
Why Thorough Rinsing Matters
Vinegar and baking soda are great cleaners, but if left behind, they can form a crust that attracts more grime. More importantly, residue can cause rubber parts like the flapper to degrade faster or prevent the fill valve from sealing properly. A quick rinse might save you from having to replace parts sooner than expected.
Final Check Before Refilling
After the last rinse, wipe the tank interior with a clean, dry cloth to remove any remaining moisture. This also lets you spot any missed spots or stubborn stains that need another scrub. Once the tank is dry, you can confidently close it up and move on to reassembling the parts.
10. Wipe Down the Tank Lid and Exterior
After tackling the inside of the tank, it's easy to forget the lid and exterior surfaces. But dust, grime, and fingerprints accumulate here too, and a dirty lid can drop debris right back into the clean water. Giving the outside a quick wipe keeps everything looking fresh and prevents future mess.
Use a mild cleaner or a vinegar-water solution on a soft cloth. Avoid abrasive sponges that could scratch the porcelain or plastic. Wipe the lid thoroughly, including the edges and underside, then dry it completely with a clean towel.
A dry lid is less likely to attract dust or leave water spots.
Why The Lid Matters
The lid sits directly on top of the tank opening. If it's dusty or grimy, particles can fall into the water every time you flush. That defeats the purpose of all your cleaning.
A quick wipe after each deep clean keeps the tank interior cleaner for longer.
Don't Forget The Exterior
The front and sides of the tank collect dust, splashes, and handprints. Wipe them down with the same mild cleaner. Pay attention to the flush handle area—it's a high-touch spot that can harbor bacteria.
A final dry buff will make the surface shine.
Dry Before Replacing
Never put a wet lid back on the tank. Moisture trapped between the lid and rim can promote mold growth or cause the lid to stick. Dry both the lid and the tank rim thoroughly before setting the lid back in place.
This simple step keeps everything clean and functional.
11. Reconnect the Water Supply
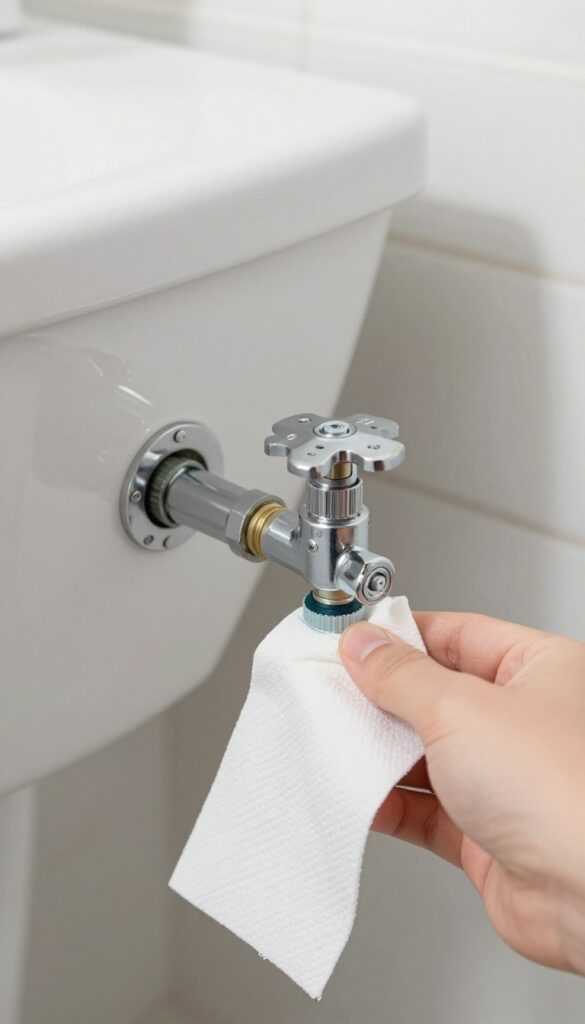
After all that scrubbing and reassembling, it's time to bring your toilet back to life. Reconnecting the water supply is the final mechanical step before you can enjoy a fresh flush. This part is straightforward, but a little care now can prevent a messy surprise later.
Turn The Valve Slowly
Locate the shut-off valve behind the toilet, usually near the floor. Turn it counterclockwise until it stops. Don't force it—if it feels stuck, a gentle back-and-forth motion can help.
Turning slowly lets water fill the tank gradually, reducing the chance of a sudden surge that might dislodge a loose connection.
Listen For Leaks
As water enters the tank, keep your ears open. A hissing sound often means the fill valve isn't seating properly. A steady trickle or dripping noise could indicate a loose supply line or a worn gasket.
If you hear anything unusual, turn the valve off and check your connections before proceeding.
Check For Drips
Once the tank is full, dry any moisture around the valve and supply line with a paper towel. Wait a minute or two, then feel the towel for dampness. Even a small drip can waste water and cause floor damage over time.
If you spot a leak, tighten the connection gently—over-tightening can crack plastic fittings.
12. Check for Leaks at Connections
Leaks can waste water and cause damage without you even noticing. The connections between the supply line and the fill valve, as well as the tank bolts, are common spots for drips. A quick inspection now can save you from a bigger headache later.
Start by drying all visible connections with a cloth. Then flush the toilet and watch for any moisture forming at the supply line nut where it attaches to the fill valve. Also check the two bolts that hold the tank to the bowl—if they're wet or have mineral deposits, you have a slow leak.
Tighten any loose connections gently with a wrench or screwdriver, but be careful not to overtighten plastic parts, which can crack. If a bolt is corroded, consider replacing it with a new brass or stainless steel one.
Supply Line Check
The supply line nut is a frequent culprit. After flushing, run your finger along the bottom of the nut. Any dampness means it's loose or the washer is worn.
Tighten it just a quarter turn at a time until the drip stops. If it still leaks, replace the rubber washer inside.
Tank Bolt Inspection
Tank bolts can rust or loosen over time. Look for orange or white crusty deposits around the bolt heads inside the tank and on the nuts underneath the bowl. If you see any, gently tighten the nut with a socket wrench.
Don't overdo it—the porcelain can crack. If the bolt is badly corroded, it's best to replace it with a new one.
13. Add a Tank Cleaning Tablet (Optional)
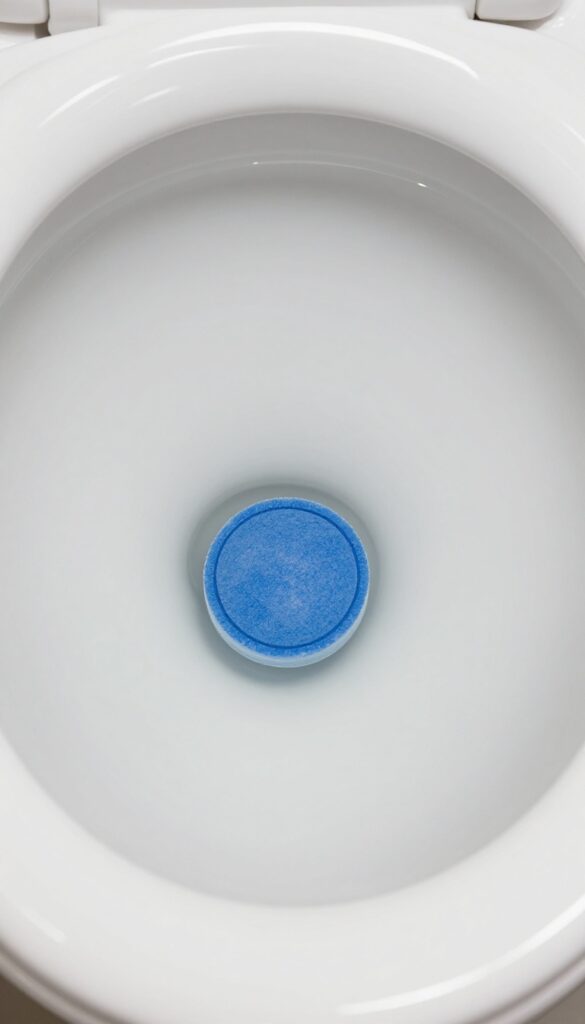
Once your tank is spotless, you might want to keep it that way with less effort. A tank cleaning tablet can help prevent future buildup, but not all tablets are created equal. The wrong kind can do more harm than good.
Choose Non-bleach Tablets Only
Bleach-based tablets are common, but they can eat away at rubber seals and gaskets inside your tank. Over time, this leads to leaks and costly repairs. Look for tablets labeled as non-bleach or safe for all toilet parts.
They use enzymes or citric acid to break down grime without damaging components.
Drop One In And Let It Work
Simply drop a tablet into the tank, away from the fill valve and flapper. It will dissolve slowly with each flush. Most tablets last about a month.
Check the water color after a few flushes—if it stays clear, the tablet is doing its job.
Monitor And Replace As Needed
Keep an eye on the tablet's size. When it's almost gone, drop in a new one. But don't overdo it—using too many tablets can oversaturate the water and leave residue.
One tablet at a time is plenty for most tanks.
14. Flush Multiple Times to Test
Now that the tank is clean and reassembled, you need to verify everything works before calling it done. A quick test flush or two can reveal small issues that are easy to fix now but annoying later. Don't skip this step—it's your final quality check.
Flush the toilet two or three times to ensure everything works properly. Watch for smooth operation and a complete refill. Listen for unusual noises and check that the flapper closes fully after each flush.
If the water runs continuously or the refill is slow, you may need to adjust the chain or the fill valve. A few minutes of testing now saves you from unexpected problems down the road.
What To Watch For
Pay attention to the flush cycle. The toilet should flush with enough force to clear the bowl, and the water level should return to the same mark each time. If the bowl water is too low or too high, adjust the float on the fill valve.
Also check for any drips or leaks around the base of the tank and the supply line connection.
Fine-tuning The Mechanism
If the flapper doesn't seat properly after flushing, the chain might be too tight or too loose. Adjust the chain length so there's a slight slack when the flapper is closed. If the fill valve doesn't shut off, clean or replace it.
A small adjustment now ensures efficient operation and prevents water waste.
15. Clean the Bowl and Exterior
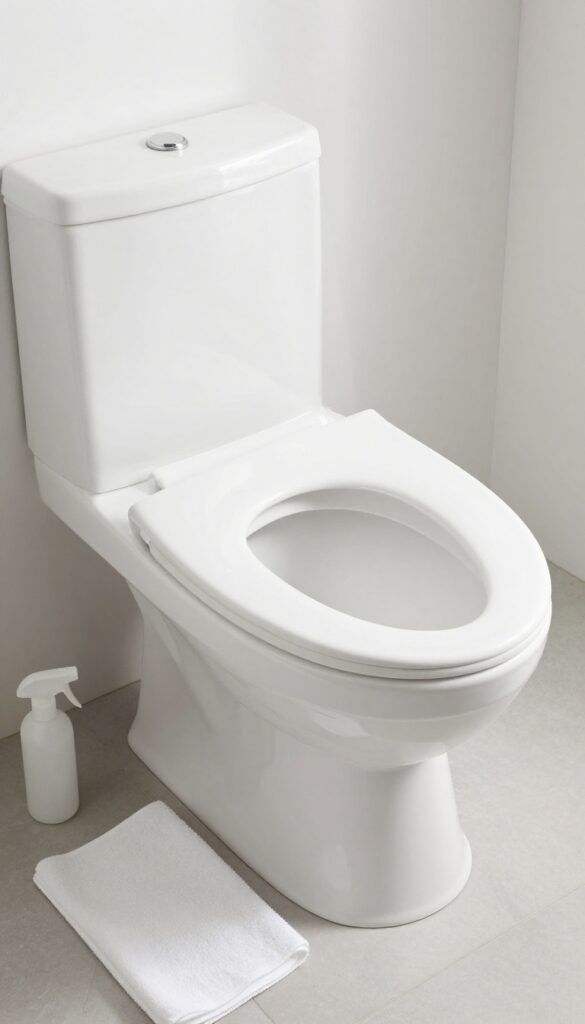
With the tank sparkling clean, don't stop there. The bowl and exterior are just as important for that fresh, spotless look. A quick scrub and wipe-down will make the entire toilet shine and eliminate any lingering grime or odors.
Finish strong by giving the bowl a thorough scrub with a toilet brush and your favorite cleaner. Pay attention to under the rim and the jet holes where bacteria hide. Then, wipe down the outside—the lid, seat, base, and even the floor around the toilet.
A clean exterior completes the job and leaves your bathroom feeling truly refreshed.
Scrub The Bowl Inside And Out
Apply a toilet bowl cleaner or a mixture of baking soda and vinegar. Let it sit for a few minutes to break down stains. Scrub vigorously with a toilet brush, getting under the rim and into the trap.
Flush to rinse, then repeat if needed for stubborn rings.
Wipe Down The Exterior Surfaces
Use a disinfectant spray or a mild all-purpose cleaner on a microfiber cloth. Wipe the lid, seat (both sides), hinges, and the base of the toilet. Don't forget the flush handle and the area around the tank.
Dry with a clean cloth to prevent water spots.
Don't Skip The Floor And Base
The area around the toilet base often collects dust and grime. Use a cloth or mop with a disinfectant cleaner to wipe the floor and the base molding. This final touch ensures no dirt is left behind and gives the whole area a polished look.
16. Set a Regular Cleaning Schedule
You've put in the effort to get your tank spotless—now make sure it stays that way. The easiest way to avoid buildup and keep things fresh is to set a regular cleaning schedule. Without one, it's easy to let months slip by until you notice that ring or smell again.
Plan to clean the tank every three to six months. Mark it on your calendar so it doesn't get forgotten again. Consistency is key to maintaining a cleaner flush and extending the life of your toilet's components.
Why Every 3–6 Months?
That timeframe strikes a balance between effort and results. In three months, mineral deposits and biofilm start to accumulate but haven't hardened yet. Waiting longer than six months often means tougher scrubbing and more stubborn stains.
How To Remember
Pick a recurring date—like the first Saturday of spring and fall. Or tie it to another seasonal chore, like changing air filters or flipping mattresses. A phone reminder works too, but a physical calendar mark is harder to ignore.
Make It A Quick Routine
Once you've done the full deep clean a few times, maintenance is faster. A quick wipe, a vinegar soak, and a flush can take under 15 minutes. Stick to the schedule and you'll avoid the heavy scrubbing sessions.
17. Enjoy a Fresher Bathroom
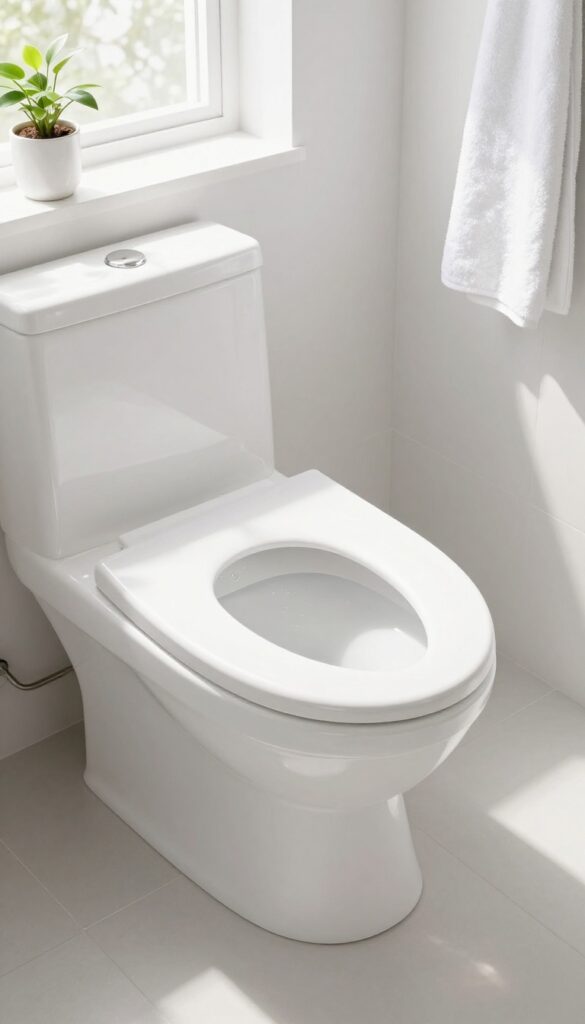
Step back and take a look at what you've accomplished. That toilet tank is now free of grime, mineral deposits, and hidden bacteria. The water in the bowl runs clearer, and the whole bathroom feels noticeably fresher.
It's a small chore that pays off every single day.
Clearer Water, Fewer Odors
With a clean tank, the water entering the bowl is free of sediment and biofilm. That means no more mysterious smells or cloudy water after a flush. Your toilet will look and smell cleaner between scrubbings.
Better Performance, Longer Life
A clean tank means the internal parts—flapper, fill valve, and flush valve—operate without being clogged by debris. This reduces wear and tear, helping your toilet flush properly and last longer. You'll also avoid costly repairs down the road.
A Simple Maintenance Habit
Now that you've done it once, consider making tank cleaning a regular part of your bathroom routine. A quick check every few months keeps everything running smoothly. Your future self will thank you.
FAQ
How often should I clean my toilet tank?
Every three to six months is ideal. If you have hard water, you may need to clean it more often to prevent mineral buildup.
Can I use bleach to clean the toilet tank?
It's not recommended. Bleach can damage rubber seals and gaskets, leading to leaks. Stick with white vinegar and baking soda.
Why does my toilet tank have black slime?
Black slime is usually mold or bacteria growing in warm, moist conditions. Regular cleaning with vinegar kills it and prevents regrowth.
Do I need to remove the toilet to clean the tank?
No. You can clean the tank thoroughly without removing the toilet. Just drain the water and scrub the interior.
What if my toilet still smells after cleaning the tank?
The smell might come from the bowl or wax ring. Clean the bowl thoroughly and check for leaks around the base. If the smell persists, call a plumber.
Conclusion
Cleaning your toilet tank doesn't have to be a neglected chore. By following these 17 steps, you'll not only enjoy a cleaner flush but also extend the life of your toilet's internal parts. Start with a simple vinegar soak and work your way through the list—most steps take just a few minutes.
Regular maintenance is the real secret. Make it a habit to check your tank every few months, and you'll prevent buildup before it becomes a problem. Your bathroom will smell fresher, and you'll save money on repairs down the line.


