
Mold in shower grout is more than an eyesore—it can affect your bathroom's freshness and your peace of mind. Those dark spots seem to appear overnight, clinging to porous grout lines no matter how often you scrub. But you don't need harsh chemicals or expensive products to win this battle.
With the right techniques and a little consistency, you can banish mold and keep it from coming back. These 15 tips cover everything from everyday cleaning hacks to long-term prevention strategies.
Whether you're dealing with a mild spot or a stubborn outbreak, there's a solution here that fits your routine. Let's dive into practical, proven methods that will leave your shower grout clean, bright, and mold-free.
1. Start with a Baking Soda Paste for Gentle Scrubbing
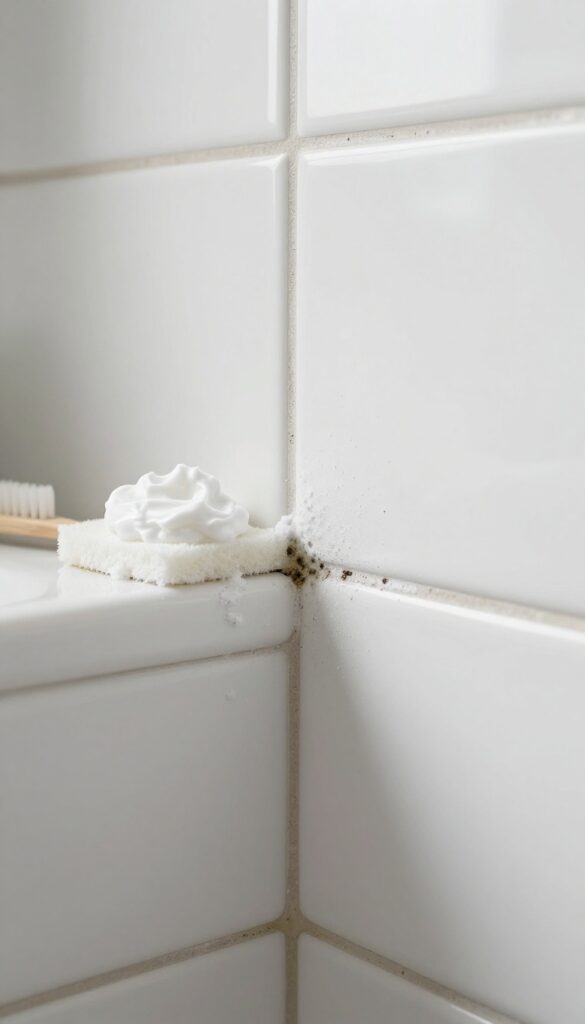
Baking soda is a gentle powerhouse when it comes to cleaning mold. Unlike bleach, it won't damage your tiles or release harsh fumes. Making a paste is simple and effective for tackling surface mold on grout.
Mix baking soda with a little water to form a thick paste. Apply it to moldy grout lines, let it sit for 10 minutes, then scrub with an old toothbrush. This natural abrasive lifts mold without damaging tiles.
Rinse thoroughly with water afterward.
Why Baking Soda Works
Baking soda is mildly alkaline, which helps break down organic matter like mold. Its fine grit provides gentle abrasion, making it safe for porous grout. Plus, it's non-toxic, so you can use it around children and pets.
How To Make The Perfect Paste
Start with 3 parts baking soda to 1 part water. Mix until it reaches a spreadable consistency. If it's too runny, add more baking soda; if too thick, add water drop by drop.
For extra cleaning power, substitute water with white vinegar.
Scrubbing Tips For Best Results
Use a toothbrush with firm bristles to work the paste into the grout. Scrub in circular motions, focusing on dark spots. Let the paste sit for 10 minutes before rinsing to allow it to penetrate.
For stubborn mold, repeat the process.
2. Use White Vinegar as a Natural Mold Killer
White vinegar is a surprisingly effective weapon against mold in shower grout. Its acetic acid content kills most mold species without the harsh fumes of bleach. Plus, it's cheap and probably already in your pantry.
Why Vinegar Works So Well
Vinegar's acidity breaks down the cell structure of mold, killing it at the root. Unlike bleach, which only whitens surface stains, vinegar penetrates porous grout to tackle the problem beneath. It's also safe for most surfaces and won't release toxic fumes.
How To Apply It Correctly
Pour undiluted white vinegar into a spray bottle and saturate the moldy grout lines. Let it sit for 30 minutes—don't rush this step. The longer contact time allows the vinegar to work deep into the grout.
Afterward, scrub gently with a brush and rinse with warm water.
Dealing With The Smell
Yes, vinegar has a strong odor, but it fades quickly once dry. To speed things up, open a window or turn on the bathroom fan. You can also add a few drops of tea tree oil to the vinegar for extra mold-fighting power and a fresher scent.
3. Try Hydrogen Peroxide for Stubborn Spots
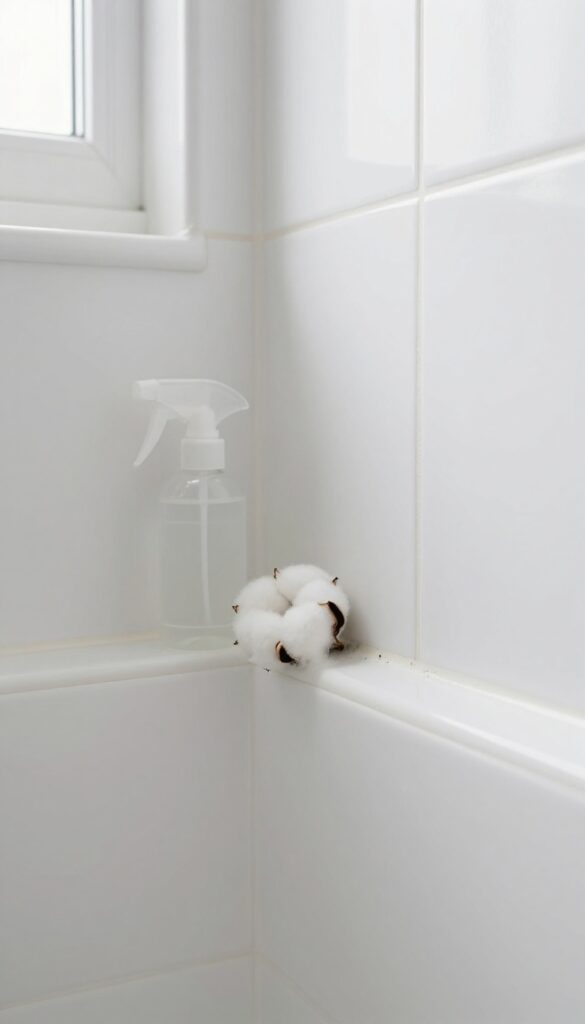
When mold clings to grout like it owns the place, hydrogen peroxide steps in. This common household item works as a mild bleach that whitens and disinfects without the harsh fumes of chlorine bleach. It's especially good for porous grout where mold roots deep.
Grab a 3% hydrogen peroxide solution from any pharmacy or grocery store. Pour it into a spray bottle for easy application, or use a cotton ball for precise targeting. Spray or dab it directly onto the moldy grout and let it fizz for 10–15 minutes.
That bubbling action helps lift mold from the pores. After the wait, scrub with a stiff brush—an old toothbrush works great for tight lines. Rinse with water and wipe dry.
Repeat if needed, but usually one round does the trick. Hydrogen peroxide is safe for colored grout too, but test a small hidden spot first.
Why Hydrogen Peroxide Works So Well
Hydrogen peroxide breaks down into water and oxygen, releasing active oxygen that kills mold spores on contact. Unlike bleach, it doesn't produce toxic fumes, making it safer for enclosed showers. It also penetrates porous grout better than many cleaners, reaching mold below the surface.
Step-by-step Application
Start by spraying or dabbing hydrogen peroxide onto the moldy grout. Let it sit for 10–15 minutes—you'll see it fizz as it works. Scrub vigorously with a brush, focusing on stained lines.
Rinse thoroughly with warm water and dry with a cloth. For extra stubborn spots, make a paste with baking soda and hydrogen peroxide, apply, let sit, then scrub.
Safety Tips And Precautions
Always wear gloves to protect your skin, as hydrogen peroxide can cause mild irritation. Keep the bathroom ventilated—open a window or turn on the fan. Avoid mixing with vinegar or bleach, as that creates harmful gases.
Store the bottle away from light to maintain potency.
4. Create a Vinegar and Baking Soda Combo for Deep Cleaning
Sometimes mold needs a one-two punch to let go. That's where the classic duo of vinegar and baking soda comes in. Together, they create a fizzy reaction that lifts grime from deep within grout pores without harsh chemicals.
This method is ideal for stubborn spots that resist regular cleaning. It's simple, affordable, and surprisingly effective. Plus, you probably already have both ingredients in your kitchen.
Why This Combo Works So Well
Baking soda is a mild abrasive that scrubs away surface mold without scratching tile. Vinegar, being acidic, breaks down the alkaline structure of mold and mildew. When they mix, the fizzing action helps dislodge debris from porous grout.
The reaction also creates carbon dioxide bubbles that push dirt upward, making it easier to rinse away.
Step-by-step Application
Start by wetting the grout slightly. Sprinkle a generous layer of baking soda directly onto the moldy areas. Fill a spray bottle with white vinegar and mist it over the baking soda until it's damp but not soaked.
Let the mixture bubble for about 15 minutes. Then scrub with a stiff brush, focusing on the grout lines. Rinse thoroughly with warm water and wipe dry.
When To Use This Method
This combo is best for moderate mold buildup that hasn't penetrated too deep. For fresh spots, a simple vinegar spray may suffice. For very old or thick mold, you might need to repeat the process or follow up with hydrogen peroxide.
Avoid using this on natural stone tiles, as vinegar can etch the surface.
5. Apply Tea Tree Oil Solution for a Natural Preventive
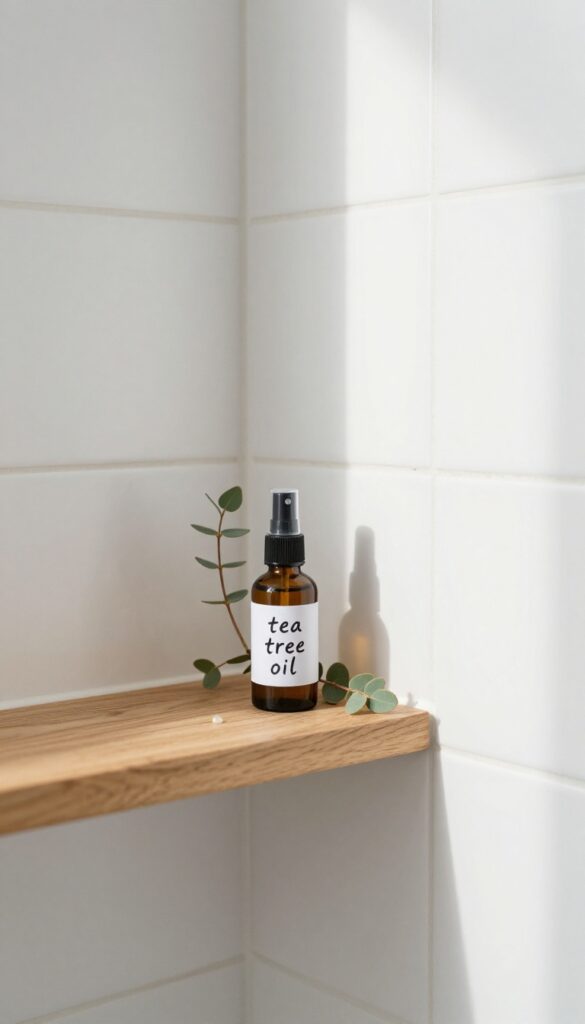
If you prefer a natural, chemical-free approach to mold prevention, tea tree oil is a fantastic option. This essential oil has powerful antifungal and antibacterial properties that can keep mold from taking hold in your grout. Plus, it leaves a fresh, clean scent without the harsh fumes of bleach or ammonia.
Tea tree oil is a potent natural fungicide that targets mold at the source. When applied to clean grout, it creates a protective barrier that discourages spores from germinating. This method is especially useful for ongoing maintenance, as it's gentle enough to use weekly without damaging grout or tiles.
Why Tea Tree Oil Works
Tea tree oil contains terpinen-4-ol, a compound that disrupts mold cell membranes and inhibits growth. Unlike bleach, which only kills surface mold, tea tree oil penetrates porous grout to tackle hidden spores. It's also safe for septic systems and won't harm pets or kids when used properly.
How To Mix And Apply
Combine 1 teaspoon of tea tree oil with 1 cup of water in a spray bottle. Shake well to emulsify. After cleaning your grout, spray the solution directly onto the grout lines until they're damp but not dripping.
Let it air dry completely—no rinsing needed. The smell fades as it dries.
Tips For Best Results
For stubborn mold, apply the solution and let it sit for 10-15 minutes before scrubbing with a soft brush. Use a dark spray bottle and store it in a cool place, as tea tree oil can degrade in light. Repeat weekly to maintain protection.
Always test on a small, hidden area first to ensure no discoloration.
6. Use a Steam Cleaner for a Chemical-Free Deep Clean
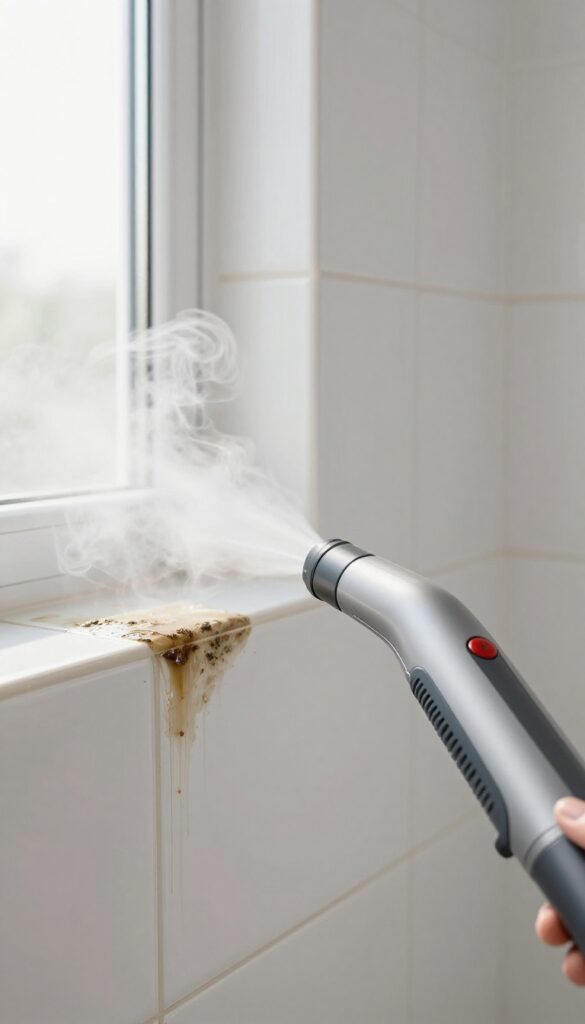
If you're dealing with extensive mold or just want a deep clean without any chemicals, a steam cleaner is a game-changer. These handheld devices blast hot steam at high pressure, penetrating deep into porous grout to kill mold spores and loosen grime. It's especially effective for large shower areas and stubborn buildup that scrubbing alone can't remove.
How Steam Cleaning Works On Grout
A steam cleaner heats water to around 200°F, producing steam that's forced through a nozzle. The high temperature kills mold and mildew on contact, while the pressure dislodges dirt from the grout's pores. Unlike bleach or vinegar, steam leaves no residue and doesn't require rinsing.
It's safe for all grout types, including sealed and unsealed surfaces.
Tips For Best Results
Before steaming, sweep or vacuum loose debris from the grout. Work in small sections, holding the nozzle close to the grout line and moving slowly. For tough spots, use a brush attachment to agitate the grout as you steam.
Afterward, wipe away any loosened residue with a microfiber cloth. Always test on an inconspicuous area first, especially if your grout is old or damaged.
When To Choose Steam Over Chemicals
Steam cleaning is ideal if you're sensitive to chemical fumes, have pets or kids, or want an eco-friendly option. It's also great for large areas where scrubbing would be exhausting. However, if mold is deeply embedded or you have severe infestations, you may need to combine steam with a targeted mold killer.
For regular maintenance, steam alone keeps grout fresh and mold-free.
7. Try Bleach for White Grout (Use with Caution)
Bleach is a classic mold killer, but it's not a one-size-fits-all solution. For white grout, it can be incredibly effective at zapping mold and restoring brightness. However, it's harsh and can damage colored grout or surfaces if misused.
Here's how to use it safely and effectively.
Bleach works by oxidizing mold spores, breaking them down quickly. But its strength means you need to handle it with care. Always ventilate the bathroom, wear gloves, and avoid mixing with other cleaners.
Stick to white grout only—colored grout will likely fade or stain. Dilute bleach with water in a 1: 3 ratio (1 part bleach to 3 parts water). Apply the solution directly to moldy grout lines using a small brush or spray bottle.
Let it sit for 10 minutes—no longer, as it can damage grout over time. Scrub gently with a soft brush, then rinse thoroughly with warm water. Wipe away any residue to prevent bleach from lingering.
This method works best for surface mold on light-colored grout. For deep-set mold or porous grout, you may need to repeat or try a different approach.
Why Bleach Works For White Grout
Bleach is a powerful disinfectant that kills mold on contact. It also whitens grout, making it look fresh and new. For white grout, it's a fast and effective solution.
But remember: bleach doesn't penetrate porous surfaces deeply, so it's best for surface mold, not growth deep within the grout.
How To Apply Bleach Safely
Mix 1 part bleach with 3 parts water in a spray bottle or bowl. Apply to grout lines using a small brush or spray. Let it sit for exactly 10 minutes—longer can damage grout.
Scrub gently with a soft brush, then rinse thoroughly with warm water. Wipe away any excess to avoid residue. Always wear gloves and ensure good ventilation.
When To Avoid Bleach
Never use bleach on colored grout—it will cause fading or discoloration. Also avoid it on natural stone tiles, as it can etch or stain. If your grout is crumbling or very porous, bleach may not be effective and could worsen the damage.
In those cases, consider replacing the grout or using a gentler cleaner.
8. Use a Grout Brush for Better Scrubbing Power
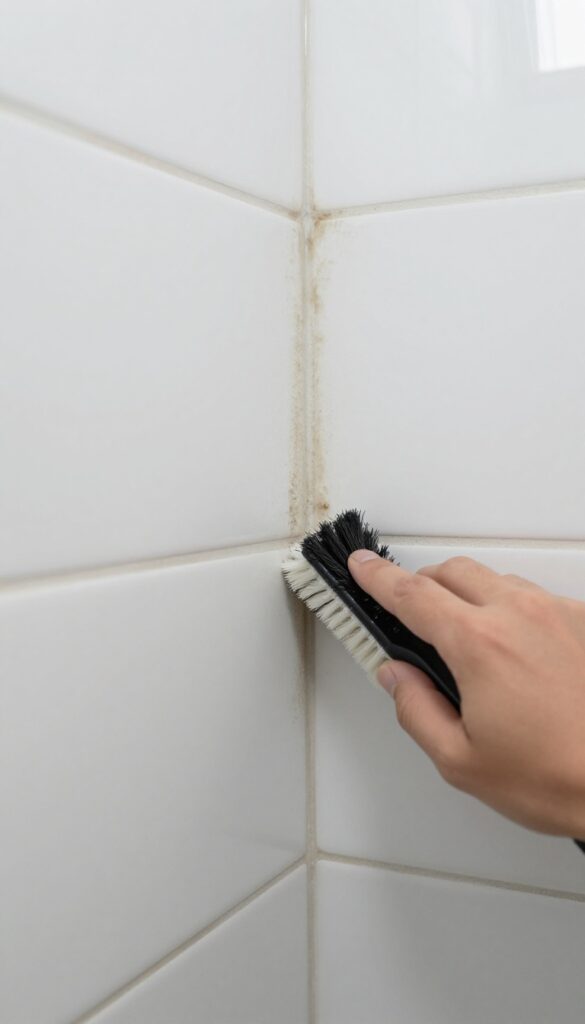
Sometimes a toothbrush just doesn't cut it. For mold that has settled deep into the pores of your grout, you need something with more bite. A dedicated grout brush or a drill attachment can make the job faster and far more effective, turning a frustrating chore into a quick win.
Standard sponges and soft brushes only skim the surface. A stiff-bristled grout brush is designed to dig into the grooves and dislodge mold that's taken hold. For even more power, attach a grout cleaning brush to your drill—it spins away grime in seconds, saving your wrist from repetitive strain.
Choose The Right Bristle Stiffness
Not all grout brushes are equal. Look for one with firm, durable bristles that won't scratch tile but can still scrub grout lines effectively. Nylon or brass bristles are common; nylon is gentler on delicate surfaces, while brass works well on tougher stains but may mark softer tiles.
Drill Attachments: A Game-changer For Large Areas
If you have a big shower or multiple bathrooms, a drill attachment is worth the investment. These circular brushes fit into any standard drill and come in various sizes. Use them on low speed to avoid splashing, and let the tool do the hard work—your arms will thank you.
Pair With Your Cleaner Of Choice
A grout brush works best when combined with a cleaning solution. Apply your go-to mold remover (like hydrogen peroxide or a baking soda paste) first, let it sit for a few minutes, then scrub with the brush. The mechanical action lifts the mold while the chemical breaks it down.
9. Seal Grout After Cleaning to Lock Out Moisture
Cleaning grout is only half the battle. If you skip sealing, you're leaving the door wide open for moisture and mold to sneak right back in. Think of sealer as a raincoat for your grout—it keeps water out and makes future cleaning much easier.
Once your grout is spotless and bone-dry, grab a quality grout sealer. Apply it carefully along every grout line, let it soak in, and wipe away any excess before it dries. Most sealers need about 24 hours to cure, so plan around that.
Reapply every 6 to 12 months, depending on how much use your shower gets. Sealed grout stays cleaner longer and resists mold growth like a champ.
Choose The Right Sealer
Not all sealers are created equal. For shower grout, go with a penetrating sealer that soaks into the porous material rather than sitting on top. Avoid film-forming sealers that can peel or yellow over time.
Look for one labeled for bathroom or wet-area use.
Application Tips For Best Results
Use a small brush or applicator bottle to target only the grout lines. Work in small sections so the sealer doesn't dry before you can wipe off the excess. A clean, dry cloth is your best friend here—buff away any sealer that gets on the tile surface to avoid a hazy residue.
When To Reapply
A simple water test tells you when it's time to reseal. Splash a few drops onto the grout. If they bead up, the seal is still good.
If they soak in within a minute, it's time for a fresh coat. In a busy household shower, plan on resealing every 6 months. For guest bathrooms, once a year might be plenty.
10. Improve Bathroom Ventilation to Reduce Humidity
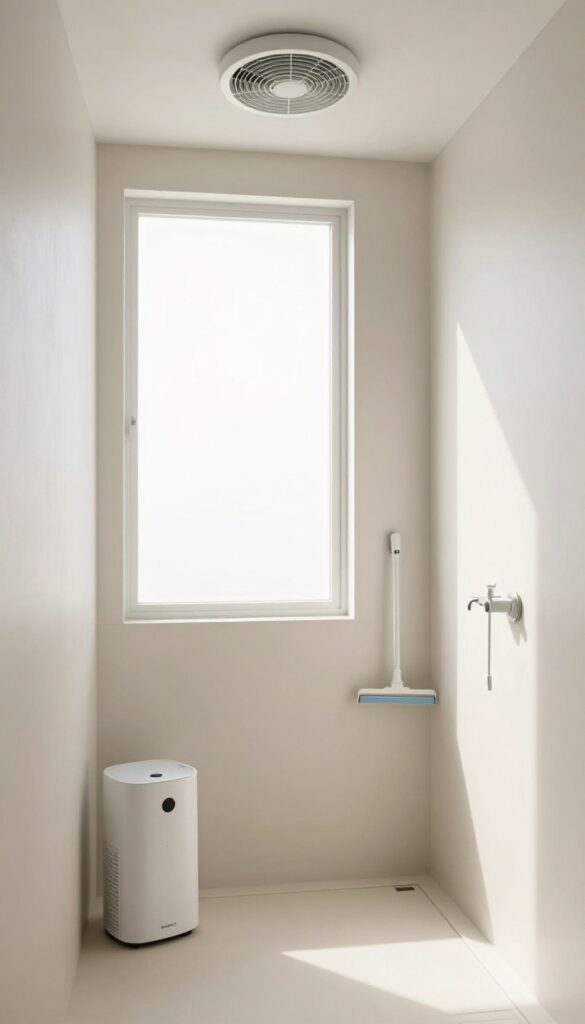
Mold loves moisture, and your shower is basically a spa for spores. Without proper ventilation, steam lingers long after you've toweled off, soaking into grout and creating the perfect breeding ground. The fix?
Get that humid air out fast.
Run your exhaust fan during and after every shower for at least 20 minutes. If your fan is weak or noisy, consider upgrading to a model with higher CFM (cubic feet per minute). Even better, crack a window open to create cross-ventilation.
Lower humidity means less moisture for mold to feed on.
Why Humidity Matters
Grout is porous, so it absorbs moisture like a sponge. When humidity stays above 60%, mold spores germinate quickly. A good ventilation system keeps humidity below 50%, making it much harder for mold to take hold.
Fan Tips For Best Results
Make it a habit: turn the fan on before you start the shower and leave it running for 20–30 minutes after you're done. Clean the fan cover regularly to keep it working efficiently. If your fan vents into the attic, reroute it outside to avoid moisture problems elsewhere.
Other Ways To Reduce Moisture
Use a squeegee on shower walls after each use to remove excess water. Hang towels and bathmats outside the bathroom to dry. A dehumidifier can also help in bathrooms without windows or good ventilation.
11. Wipe Down Shower Walls After Each Use
Getting into the habit of wiping down your shower after every use is one of the easiest ways to prevent mold. It takes less than a minute and can make a huge difference in how long your grout stays clean. By removing standing water, you're taking away the moisture that mold needs to thrive.
Make it part of your post-shower routine. Keep a squeegee or microfiber cloth handy in the shower. After you're done, quickly wipe down the tiles and grout lines.
Focus on corners and areas where water pools. This simple step cuts down moisture buildup significantly, making it much harder for mold to take hold.
Choose The Right Tool
A squeegee works great for large tile surfaces, while a microfiber cloth can get into grout lines and corners. Microfiber absorbs moisture better than a regular towel and won't leave lint behind. Pick whichever feels easier for you—the key is consistency.
Make It Convenient
Hang your squeegee or cloth on a hook inside the shower so it's ready to use. If you have to go find it, you're less likely to bother. Some people even keep a small spray bottle of vinegar or a daily shower spray nearby to spritz after wiping for extra protection.
Don't Forget The Grout
While wiping walls, give extra attention to grout lines. Run the cloth along them to absorb trapped water. If you notice any dampness, a quick once-over prevents moisture from seeping into the porous grout.
Over time, this habit keeps grout looking fresher and reduces mold growth.
12. Use a Daily Shower Spray with Mold Inhibitors
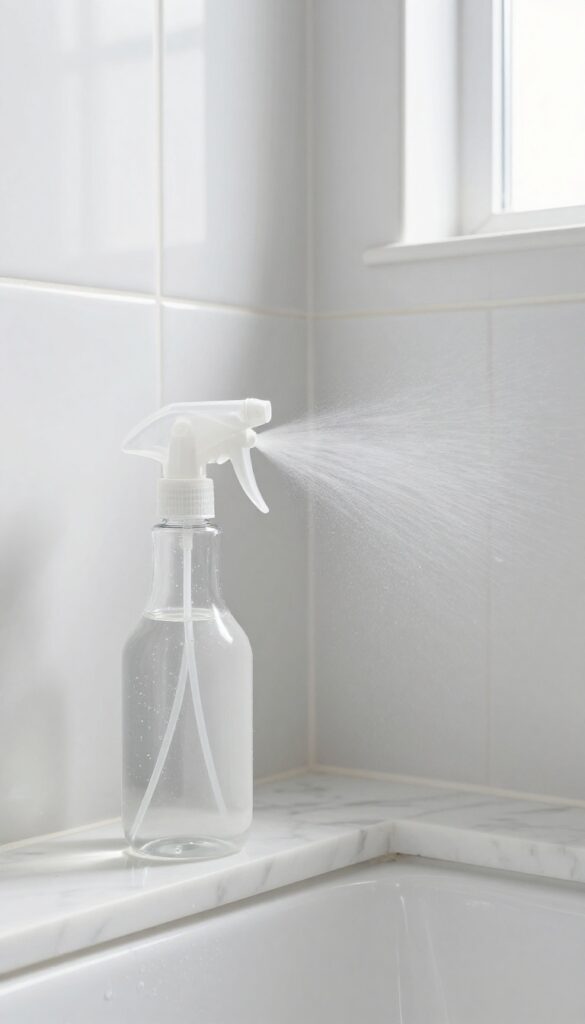
A quick spritz after each shower can be your secret weapon against mold. Instead of letting moisture sit on the grout, you actively discourage spores from settling in. The best part?
You can make the spray yourself with common household ingredients.
This tip is all about consistency over effort. A daily spray takes seconds but pays off in less scrubbing and fresher grout. The key is using ingredients that disrupt mold growth without damaging your tile or grout.
Why It Works
Mold needs moisture and time to take hold. By spraying after every shower, you change the pH balance on the grout surface and add a scent that repels spores. Vinegar is a mild acid that kills many mold species, while tea tree oil is a natural fungicide.
Together, they create an environment mold hates.
How To Make Your Own Spray
Mix equal parts white vinegar and water in a spray bottle. Add 10–15 drops of tea tree or eucalyptus oil. Shake well before each use.
That's it. Store it in your shower and give the grout a light misting after you towel off. No rinsing needed.
Tips For Best Results
Use a fine mist setting to avoid soaking the grout. Focus on the grout lines, not the tile. If you have natural stone, skip the vinegar—use hydrogen peroxide instead.
Also, make a fresh batch every two weeks to keep the oils potent.
13. Replace Grout if Mold Keeps Coming Back
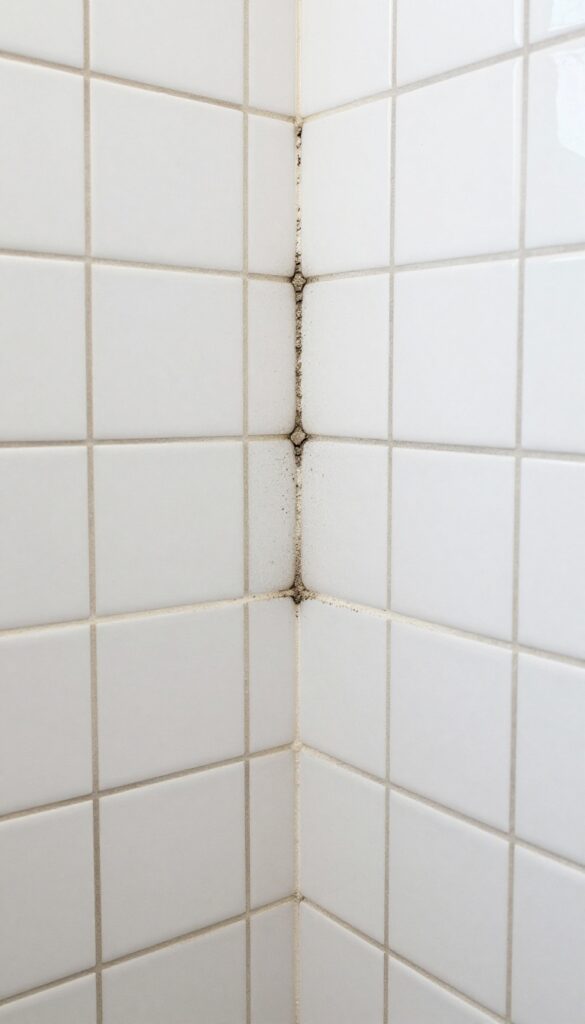
Sometimes no amount of scrubbing or sealing can fix the problem. If mold keeps returning despite your best efforts, the grout itself may be the issue. Old, porous, or cracked grout holds moisture and provides a perfect home for mold spores.
Replacing it might feel like a big job, but it's the only way to truly reset your shower surface.
When mold is deeply embedded in grout, cleaning only removes surface growth. The spores remain inside the porous material and will reappear quickly. Damaged grout also allows water to seep behind tiles, leading to bigger mold problems.
If you've tried multiple cleaning methods and the mold comes back within days or weeks, it's time to consider replacement.
Signs Your Grout Needs Replacing
Look for cracks, crumbling, or missing chunks of grout. Dark stains that won't come out with bleach or specialized cleaners indicate deep mold growth. If the grout feels soft or powdery when you touch it, it has lost its integrity.
Water pooling around tiles after a shower is another red flag that grout is no longer waterproof.
How To Remove Old Grout
Use a manual grout saw or an oscillating tool with a grout removal blade. Work carefully to avoid damaging tile edges. Remove all loose debris with a vacuum, then clean the area with a mild detergent.
Let it dry completely before applying new grout.
Choosing Mold-resistant Grout
Opt for epoxy grout or a polymer-modified cement grout designed to resist moisture and mold. Epoxy grout is non-porous, durable, and stain-resistant, making it ideal for showers. It costs more and is harder to apply, but it pays off in the long run.
For a simpler DIY option, choose a pre-mixed, acrylic-based grout that's easy to work with and offers good mold resistance.
Applying New Grout For Long-lasting Results
Mix grout according to package instructions, then press it firmly into the joints with a rubber float. Wipe away excess with a damp sponge before it hardens. Allow the grout to cure for at least 24 hours before exposing it to water.
Apply a grout sealer after curing for extra protection, even if the grout claims to be mold-resistant.
14. Use a Magic Eraser for Quick Spot Cleaning
Sometimes you just want to zap a mold spot without pulling out the heavy artillery. A melamine foam eraser—often sold as a Magic Eraser—can be your go-to for quick touch-ups. It's like a fine sandpaper sponge that lifts surface mold with minimal effort.
How It Works
Dampen the eraser slightly—don't soak it—and gently rub the moldy grout in short strokes. The foam's micro-abrasive texture scrubs away the top layer of mold without scratching the grout. You'll see the dark spots fade almost instantly.
Best Uses And Limits
This method works best on surface mold, not deep stains. It's perfect for small spots that pop up between deep cleans. For larger areas or ingrained mold, you'll need a stronger cleaner.
But for a quick fix, it's hard to beat.
Rinse And Repeat
After scrubbing, rinse the area with water to remove any eraser residue. Leftover bits can attract dirt. If the mold returns, repeat the process—but if it keeps coming back, you might be dealing with a deeper issue that needs sealing or regrouting.
15. Schedule Regular Deep Cleans to Stay Ahead
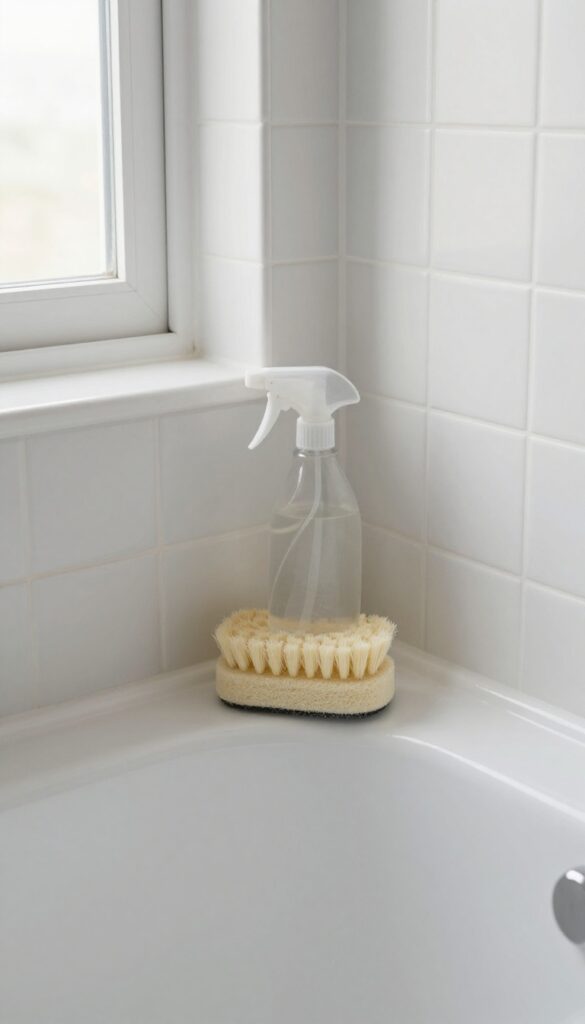
Consistency is the real secret to mold-free grout. A deep clean once a month keeps buildup from taking hold and saves you from heavy scrubbing later. Think of it as a reset for your shower—a quick, thorough session that stops mold before it starts.
Set a recurring reminder on your phone for the first weekend of each month. Choose one of the deep cleaning methods from earlier tips—like the baking soda and hydrogen peroxide paste or a vinegar soak—and give your grout a full treatment. This habit takes less than 30 minutes but pays off in lasting freshness.
Over time, you'll notice you're scrubbing less and enjoying a cleaner shower more.
Pick Your Monthly Method
Rotate between a few techniques so your grout gets varied care. One month use the paste method, the next try a steam cleaner if you have one, and another month apply a commercial grout cleaner. This keeps the grout from becoming resistant to any single approach and ensures all types of residue are addressed.
Pair It With A Quick Inspection
While deep cleaning, check for any new cracks, missing sealant, or early signs of mold. Catching these early means you can fix them with a dab of grout or a fresh seal coat before they turn into bigger problems. A few minutes of inspection during your monthly clean can save hours of repair work later.
Track Your Progress
Keep a simple log or note in your phone to record what you did each month and how the grout looks. This helps you spot patterns—like if mold returns faster in certain seasons—and adjust your routine accordingly. It also gives you a sense of accomplishment as you see your grout staying bright month after month.
FAQ
What kills mold in shower grout naturally?
White vinegar, hydrogen peroxide, baking soda, and tea tree oil are effective natural mold killers. They work without harsh chemicals and are safe for most surfaces.
How often should I clean shower grout to prevent mold?
Aim for a deep clean every 2–4 weeks, with daily or weekly surface wiping. Regular maintenance prevents mold from taking hold.
Can I use bleach on colored grout?
No, bleach can discolor colored grout. Stick to gentler cleaners like vinegar or hydrogen peroxide for colored grout.
Does sealing grout really prevent mold?
Yes, sealing creates a moisture barrier that makes it harder for mold to grow. Reapply sealer every 6–12 months for ongoing protection.
Why does mold keep coming back even after cleaning?
Persistent mold often means high humidity, poor ventilation, or damaged grout. Address these underlying issues and consider regrouting if the grout is too porous.
Conclusion
Keeping mold out of shower grout doesn't have to be a constant battle. With the right mix of natural cleaners, good habits, and a little preventive care, you can maintain a fresh, clean shower without harsh chemicals. Start with one or two tips that fit your routine, then build from there.
Consistency is key—once you get into the groove, you'll spend less time scrubbing and more time enjoying your bathroom. Your grout will thank you.


