
You walk into your bathroom expecting a fresh start, but instead you're greeted by water spots, stray hairs, and a faint musty smell. That feeling of overwhelm can kill your motivation before you even pick up a sponge.
But what if you could reset the entire room in half the time, without the dread? These 20 checklist ideas are designed to do exactly that.
They break down the chaos into manageable, repeatable steps that turn a dreaded chore into a quick win. Whether you're a busy parent or just someone who values a clean space, these strategies will help you reclaim your bathroom and your time.
1. The Daily 5-Minute Wipe-Down
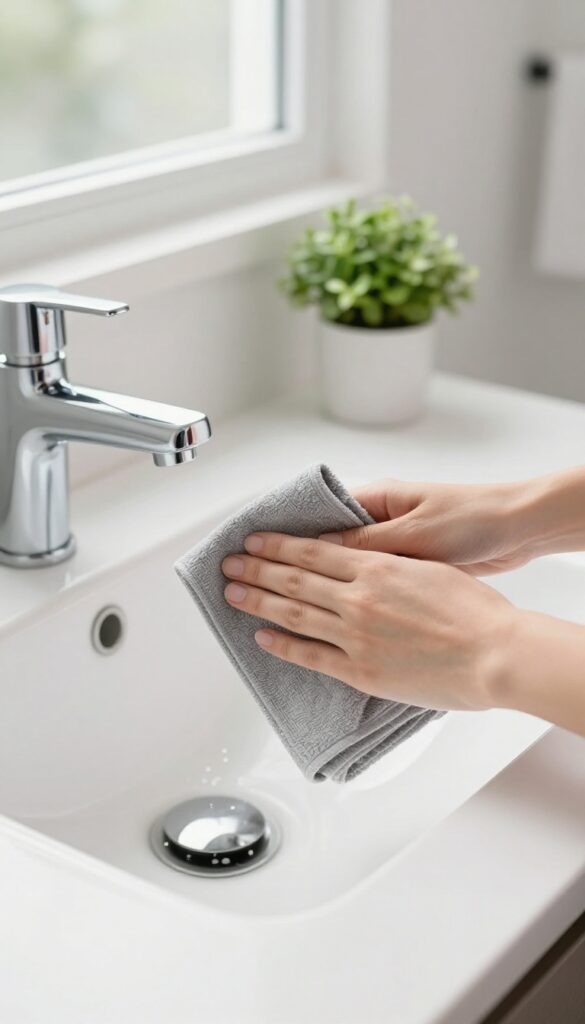
You don't need a deep clean every day to keep your bathroom looking fresh. A quick five-minute wipe-down can stop grime before it builds up, making your weekly reset way easier. This isn't about scrubbing—it's about maintenance that takes almost no effort.
Grab a microfiber cloth and spend just five minutes each day wiping down the sink, counter, and faucet. Focus on the areas that get wet and splashed. This simple habit prevents water spots, toothpaste residue, and soap scum from hardening.
Over a week, you'll save at least 30 minutes of scrubbing.
What To Wipe
Hit the sink basin, the counter around the faucet, and the faucet itself. Don't forget the soap dispenser and any bottles sitting out. A quick pass over the mirror helps too—just use a dry cloth to avoid streaks.
Best Cloth For The Job
Microfiber is your best friend here. It picks up dust and grime without needing chemicals. Keep a dedicated cloth in the bathroom and swap it out every few days.
Wash them separately to avoid lint transfer.
When To Do It
Right after your morning or evening routine works best. The bathroom is already warm and damp, so spots haven't dried yet. Set a timer if you need to—five minutes flies by.
2. Shower Squeegee After Every Use
A squeegee is one of those tools that looks simple but delivers big results. Running it over your shower walls and door after each shower takes less than a minute, yet it prevents water spots, soap scum, and mildew from building up. That means your weekly deep clean becomes a quick wipe-down instead of a scrubbing marathon.
The habit is easy to start. Keep a squeegee hooked inside the shower or on a nearby caddy. After you turn off the water, give the glass and tiles a quick once-over.
For best results, start at the top and work your way down, letting gravity do some of the work. If your shower has a door track, give it a quick swipe with a microfiber cloth every few days to catch any lingering moisture.
Why It Works So Well
Hard water contains minerals that leave spots when water evaporates. Soap scum forms when soap residue mixes with those minerals and body oils. By removing most of the water immediately, you starve both problems.
Less moisture also means mildew has a harder time taking hold, especially in corners and along seals.
Choosing The Right Squeegee
Look for a squeegee with a rubber blade that's flexible but firm. A 10- to 12-inch blade works well for standard shower doors. Silicone blades tend to last longer than rubber.
Some models come with a hook or suction cup for easy storage. Avoid cheap plastic blades that can scratch glass or leave streaks.
Making It A Family Habit
If you share a bathroom, get everyone on board. Keep the squeegee visible and within reach. A quick demonstration shows how easy it is.
You can even make it part of your post-shower routine by pairing it with hanging towels to dry. After a week, it'll feel automatic.
3. Weekly Toilet Bowl Deep Clean
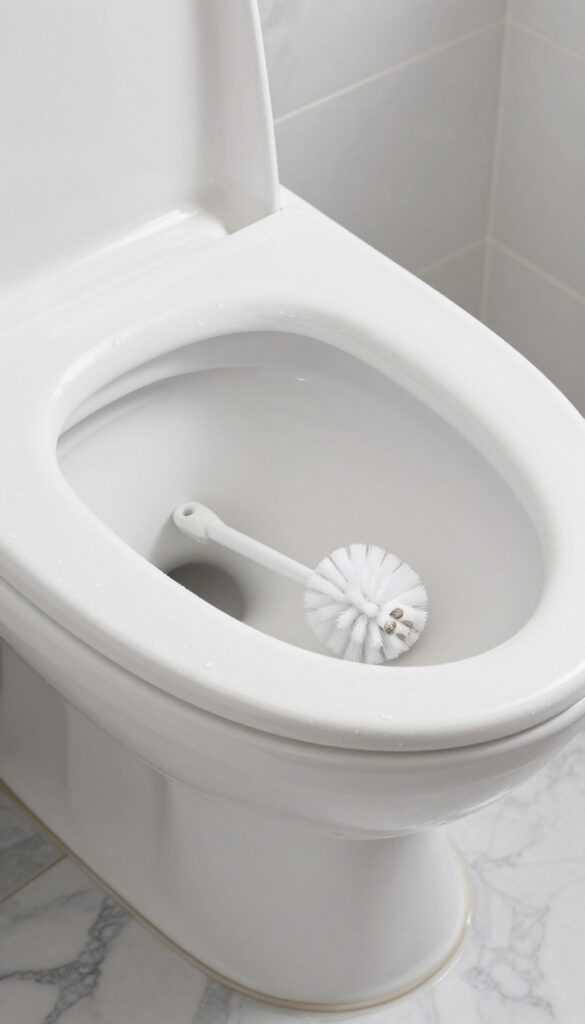
The toilet bowl is a magnet for bacteria, hard water stains, and odors that can linger even after a quick swish. A weekly deep clean keeps it fresh and prevents buildup that becomes much harder to scrub later. This isn't your everyday brush-and-flush routine—it's a targeted reset for the hardest-working fixture in the bathroom.
Set a weekly reminder to scrub the toilet bowl with a pumice stone or a toilet brush and cleaner. Focus under the rim and around the waterline to prevent stains and odors from setting in.
Why Weekly Matters
Letting stains sit for more than a week allows minerals and bacteria to bond with the porcelain. A weekly scrub keeps the surface smooth and makes each cleaning faster. Plus, it stops odors before they start.
Tools That Make It Easy
A pumice stone is great for stubborn rings without scratching. For routine cleaning, a stiff-bristled toilet brush with angled bristles reaches under the rim better. Pair it with a gel bleach cleaner or a vinegar-based spray for eco-friendly power.
The Quick Routine
Flush first to lower the water level. Apply cleaner around the rim and let it sit for a few minutes. Scrub the bowl, focusing on the waterline and under the rim.
Flush again and give a final rinse with a brush. Done in under five minutes.
4. Mirror Magic with Vinegar Solution
Mirrors are the first thing you check before heading out, but smudges and streaks can ruin the reflection. Commercial glass cleaners work, but they often leave a residue that attracts dust faster. A simple vinegar solution cuts through grime naturally and leaves a crystal-clear finish that lasts longer.
Mixing equal parts white vinegar and water in a spray bottle creates a powerful, streak-free cleaner. The acidity breaks down hard water spots, toothpaste splatters, and fingerprints without harsh chemicals. Spray lightly, then wipe with a lint-free cloth or microfiber towel in a zigzag motion to avoid streaks.
This method works on mirrors, glass shower doors, and even chrome fixtures.
Why Vinegar Beats Store-bought
Vinegar is a natural degreaser and disinfectant. Unlike ammonia-based cleaners, it doesn't leave a film that attracts dust. Plus, it's cheaper and eco-friendly.
The smell fades quickly once dry, so you don't have to worry about a lingering odor.
Pro Tips For Streak-free Results
Use a microfiber cloth instead of paper towels to avoid lint. Wipe in an S-pattern or from top to bottom to prevent drips. For stubborn spots, let the solution sit for 30 seconds before wiping.
If the mirror is foggy from humidity, wait until the room is dry to avoid smearing.
When To Avoid Vinegar
Avoid using vinegar on mirrors with anti-fog coatings or those treated with certain sealants. Test a small area first. For mirrors with metallic backing, vinegar can damage the edges if it seeps behind the glass.
Stick to the glass surface only.
5. Grout and Tile Refresh with Baking Soda Paste
Grout lines can trap dirt and soap scum, making even clean tiles look dingy. A simple baking soda paste cuts through that grime without harsh chemicals. It's cheap, non-toxic, and surprisingly effective for a quick refresh.
Mix The Paste
In a small bowl, combine three parts baking soda with one part water. Stir until it forms a thick, spreadable paste. Adjust the ratio if needed—it should be like toothpaste, not runny.
Apply And Wait
Use an old toothbrush or a small spatula to press the paste into the grout lines. Cover all stained areas, then let it sit for 10 minutes. This gives the baking soda time to break down the dirt.
Scrub And Rinse
After the wait, scrub the grout with the toothbrush using small circular motions. Focus on darker spots. Then wipe away the residue with a damp cloth or rinse with a spray bottle.
Repeat on stubborn areas if needed.
6. Showerhead Descale with Vinegar Soak
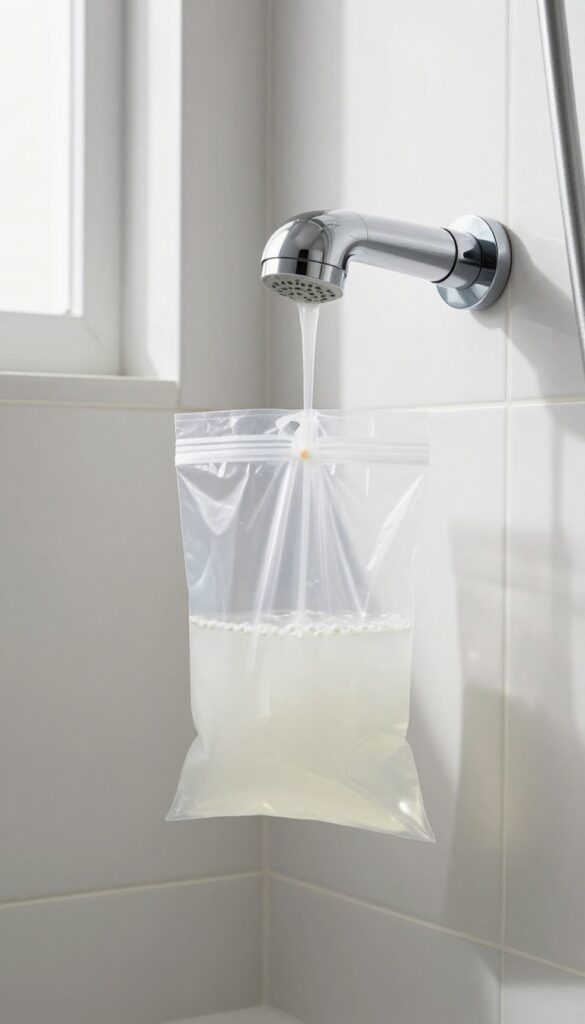
A clogged showerhead doesn't just look bad—it can mess with water pressure and spray patterns. Mineral deposits from hard water build up over time, turning a relaxing shower into a frustrating drizzle. The good news is that you don't need harsh chemicals or a plumber to fix it.
A simple vinegar soak can dissolve the buildup and restore your showerhead to like-new condition with almost no scrubbing.
Descaling your showerhead is one of those tasks that feels satisfying because the results are immediate. You'll notice better water flow and a cleaner appearance. Plus, it helps extend the life of your fixture.
Here's how to do it effectively.
What You'll Need
Grab a quart of white vinegar, a plastic bag (a sturdy zip-top or grocery bag works), a rubber band or twist tie, and an old towel. That's it. No special tools required.
Step-by-step Soak
Fill the bag with enough vinegar to fully submerge the showerhead head. Carefully slip the bag over the showerhead, making sure the vinegar covers the nozzles. Secure the bag tightly with a rubber band or twist tie so it doesn't leak.
Let it soak for at least an hour—overnight is even better if the buildup is heavy. After soaking, remove the bag and run the shower for a few minutes to flush out any loosened gunk.
Pro Tips For Stubborn Deposits
If your showerhead has heavy scale, you can warm the vinegar slightly (not boiling) to boost its dissolving power. For plastic or chrome fixtures, avoid abrasive scrubbers—use a soft toothbrush to gently wipe away any remaining residue. Do this every few months to keep your showerhead performing its best.
7. Vanity Drawer and Cabinet Declutter
Bathroom drawers and cabinets have a way of becoming black holes for half-used products, expired medications, and stray bobby pins. When you're rushing to get ready, digging through that mess wastes time and patience. A monthly declutter session keeps everything in order and makes your morning routine smoother.
Plus, it's a quick win that instantly makes your bathroom feel more organized.
Empty And Wipe Down
Pull everything out of every drawer and cabinet. Lay it all on the counter so you can see what you're working with. Then wipe down the interiors with a disinfecting spray or a damp microfiber cloth.
This removes dust, spills, and any stray hairs that have collected.
Toss Expired Or Unused Items
Check expiration dates on skincare, makeup, and medications. If you haven't used something in six months, it's probably not going to get used. Toss dried-out nail polishes, crusty mascaras, and empty bottles.
Be ruthless—you'll thank yourself later.
Group Like Items Together
Sort everything into categories: hair tools, skincare, dental care, first aid, etc. This makes it easy to find what you need. Use small bins, drawer dividers, or even repurposed food containers to keep each group separate.
Clear containers work best so you can see contents at a glance.
Create A Daily-use Zone
Designate the most accessible drawer or shelf for the things you use every day—toothbrush, toothpaste, face wash, moisturizer. Keep less frequently used items higher up or in harder-to-reach spots. This simple change cuts down on morning rummaging.
8. Floor Spot Cleaning Between Mopping
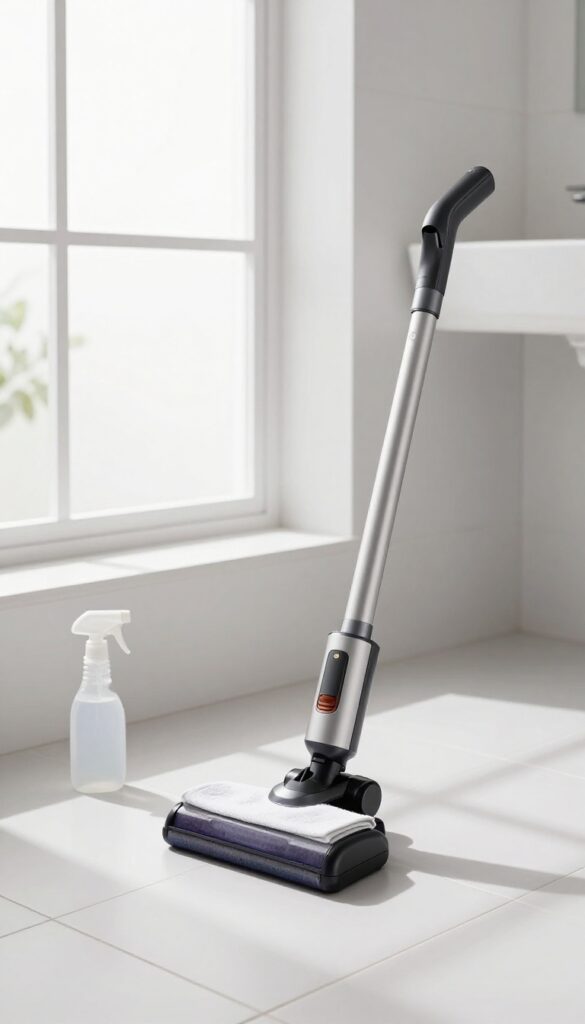
Floor cleaning doesn't always require a full mop session. By tackling small messes daily, you can keep your bathroom floor looking fresh without the heavy lifting. A quick spot clean between mopping days makes a noticeable difference.
Daily spot cleaning prevents dirt from building up and reduces the frequency of deep mopping. It also helps maintain a cleaner appearance with minimal effort.
Daily Debris Patrol
Keep a handheld vacuum or a dry mop in the bathroom. A quick 30-second sweep every morning picks up hair, dust, and lint before they settle into corners. This simple habit keeps the floor looking cared for.
Target Stubborn Spots
For sticky spots or dried toothpaste, use a damp microfiber cloth or a disinfecting wipe. Focus on high-traffic areas like in front of the sink and toilet. Spot cleaning these areas prevents them from becoming eyesores.
Tools That Make It Easy
A cordless vacuum or a small dust mop with a washable pad works best. Store it within arm's reach so you can grab it without thinking. The easier the tool, the more likely you'll use it daily.
9. Faucet Aerator Deep Clean
Your faucet might be pouring water just fine, but if the stream looks uneven or splashes everywhere, the aerator is likely clogged. That tiny screen at the tip traps sediment and mineral buildup over time, choking the flow. A quick soak and scrub can restore full pressure and stop that annoying spray.
Unscrewing the aerator is surprisingly easy—most twist off by hand or with a pair of pliers wrapped in tape to avoid scratches. Soak it in white vinegar for 30 minutes to dissolve hard water deposits, then use an old toothbrush to dislodge any remaining grit. Rinse thoroughly and screw it back on.
You'll notice the difference immediately.
Why It Matters
A clogged aerator doesn't just waste water—it can also harbor bacteria and mold. Restoring proper flow means your sink drains faster and your hands get rinsed more effectively. Plus, it's a five-minute fix that costs nothing.
When To Do It
Aim for every three months, or more often if you have hard water. If you notice the stream weakening or splashing, don't wait. Toss it on your monthly checklist as a quick visual check.
Pro Tips
Keep a spare aerator on hand in case the threads are stripped or the screen is too corroded. Use a small bowl to catch any loose parts when unscrewing. And always turn off the water supply first if you're unsure of the faucet model.
10. Exhaust Fan Dusting and Vacuuming
The exhaust fan works hard to pull moisture and odors out of your bathroom, but when it's coated in dust, it can barely move air. A sluggish fan leads to foggy mirrors, lingering smells, and even mold growth. Giving it a quick clean every few weeks keeps it running efficiently and your bathroom feeling fresh.
Why It Matters
A dusty fan cover blocks airflow, making the motor work harder and shortening its lifespan. Worse, the dust can become a fire hazard if it builds up near the motor. Regular cleaning prevents these issues and helps your fan do its job.
How To Do It Right
Turn off the fan and remove the cover—most snap off or have a few screws. Use a vacuum with a brush attachment to suck up loose dust from the cover and the fan blades inside. Then wipe the cover with a damp cloth and let it dry before reattaching.
When To Clean
Aim for every two to three months, or more often if you have pets or live in a dusty area. If you notice the fan struggling or taking longer to clear steam, it's time for a cleaning.
11. Toilet Base and Floor Area Detail
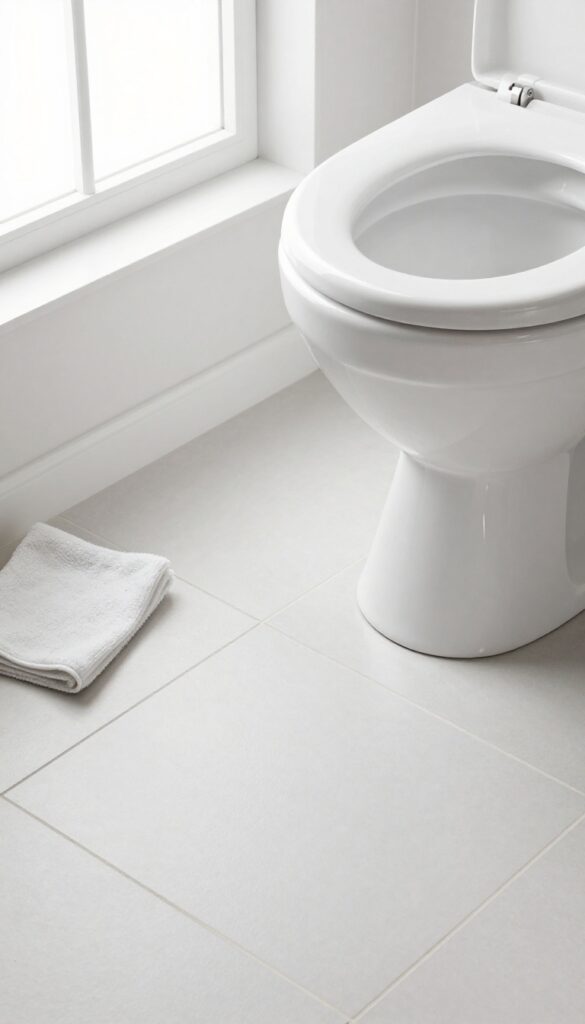
The toilet base and the floor around it are often neglected because they're awkward to reach. But that's exactly where dust, hair, and grime accumulate the most. Giving this area a focused wipe-down makes a huge difference in both cleanliness and the overall feel of the bathroom.
Start by lifting the toilet seat and lid, then use a disinfecting wipe or a cloth with an all-purpose cleaner to wipe the base of the toilet, including the hinge area and the floor behind it. Pay special attention to the corners where the base meets the floor and any crevices around the bolts. For the floor, use a microfiber cloth or a small scrub brush to get into the tight spaces behind the toilet and along the baseboard.
Finish by wiping down the floor in front of the toilet as well.
Why The Toilet Base Gets Overlooked
It's easy to focus on the bowl and the seat, but the base collects dust and grime from splashes and general bathroom traffic. The floor behind the toilet is a prime spot for hair and dust bunnies to hide because it's hard to see and reach with a regular mop.
Tools That Make The Job Easier
A long-handled duster or a microfiber mop with a small head can help you reach behind the toilet without contorting. Disinfecting wipes are great for a quick touch-up, while a spray cleaner and a dedicated cloth work better for a deeper clean. Keep a small scrub brush handy for stubborn spots.
How Often To Clean This Area
A quick wipe of the toilet base and floor should be part of your weekly bathroom routine. For a deeper clean, including moving the toilet slightly if possible, do it once a month. This prevents buildup and keeps the area looking fresh.
12. Shower Curtain and Liner Care
Your shower curtain and liner take the brunt of daily moisture, soap scum, and mildew. But they don't need constant scrubbing if you stay on top of them. A simple monthly routine keeps them fresh and extends their life.
Fabric curtains and liners can go straight into the washing machine. Add a couple of towels to the load—they act as scrubbers to loosen soap scum. Use warm water and a mild detergent, then hang everything back up immediately to prevent wrinkles and mildew.
For plastic liners, a quick wipe-down with a vinegar solution or a run through the gentle cycle works wonders.
Machine-wash Method
Remove your fabric curtain and liner (if it's also fabric) and toss them in the washer with two old towels. The towels help agitate and scrub off buildup. Use warm water, a small amount of detergent, and a half-cup of baking soda for extra cleaning power.
Skip the fabric softener—it can leave a residue that attracts more soap scum.
Plastic Liner Care
If you have a plastic or vinyl liner, check the care label. Many can be machine-washed on a gentle cycle with cold water and a little detergent. Add a few towels to prevent the liner from bunching.
Alternatively, wipe it down with a mixture of equal parts water and white vinegar, then rinse thoroughly. Hang to dry immediately.
Drying And Prevention
After washing, hang your curtain and liner back on the rod right away. Smooth out any wrinkles and spread them fully to air dry. To prevent mildew between washes, keep the curtain closed after showers to allow airflow, and occasionally spray with a mildew-preventive solution.
13. Light Fixtures and Switch Plates
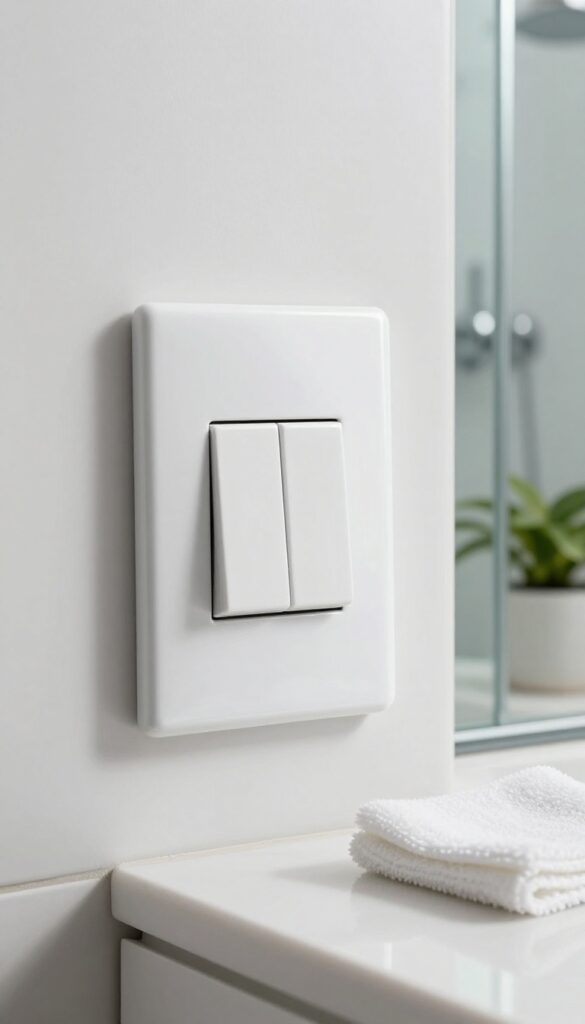
Light fixtures and switch plates are easy to overlook, but they collect dust, grime, and even fingerprints over time. Cleaning them takes just a few minutes and instantly brightens the whole room. It's one of those small touches that makes your bathroom feel truly fresh.
Dust First, Then Wipe
Start by dusting light fixtures and switch plates with a microfiber cloth or a duster attachment. This prevents dirt from turning into mud when you wipe. For glass globes or shades, remove them if possible and wipe with a damp cloth.
Let them dry completely before reinstalling.
Switch Plates And Outlet Covers
Switch plates and outlet covers collect hand oils and toothpaste splatters. Wipe them down with a damp cloth and a mild cleaner. For stubborn spots, use a soft sponge.
Dry them immediately to prevent moisture from seeping behind the plate. If they look yellowed or cracked, consider replacing them for a quick upgrade.
Don't Forget The Fan Cover
The exhaust fan cover is a dust magnet. Vacuum it with a brush attachment, then wipe with a damp cloth. If it's removable, wash it in warm soapy water and let it dry before putting it back.
A clean fan works better and reduces moisture buildup.
14. Trash Can and Diaper Pail Sanitizing
Trash cans and diaper pails are some of the hardest-working items in your bathroom, yet they rarely get the attention they deserve. Over time, they collect grime, spills, and odors that can make the whole room feel less fresh. A quick sanitizing routine every two weeks keeps them clean and odor-free without much effort.
Why Sanitizing Matters
Bathroom trash cans hold used tissues, cotton swabs, and other waste that can breed bacteria and mold. Diaper pails are even more prone to lingering smells. Regular cleaning prevents these odors from becoming permanent and keeps harmful germs from spreading.
How To Clean A Standard Trash Can
Start by emptying the can and rinsing it with warm water. Use a scrub brush and mild dish soap to clean the inside and outside, paying special attention to the bottom and lid. For stubborn stains or smells, spray with a disinfectant and let it sit for five minutes before rinsing.
Dry thoroughly before putting in a new liner.
Diaper Pail Deep Clean
Diaper pails need extra care because of the constant exposure to waste. Remove the liner and any residue. Wash the pail with hot, soapy water and a disinfectant spray.
Let it air dry completely. For ongoing freshness, sprinkle a little baking soda at the bottom before adding a new liner.
Pro Tips For Long-lasting Freshness
Place a dryer sheet or a charcoal odor absorber at the bottom of the can between liners. Wipe down the lid and rim weekly with a disinfectant wipe. If you notice persistent smells, check for cracks or buildup in hard-to-reach areas.
15. Towel Rack and Hooks Wipe-Down
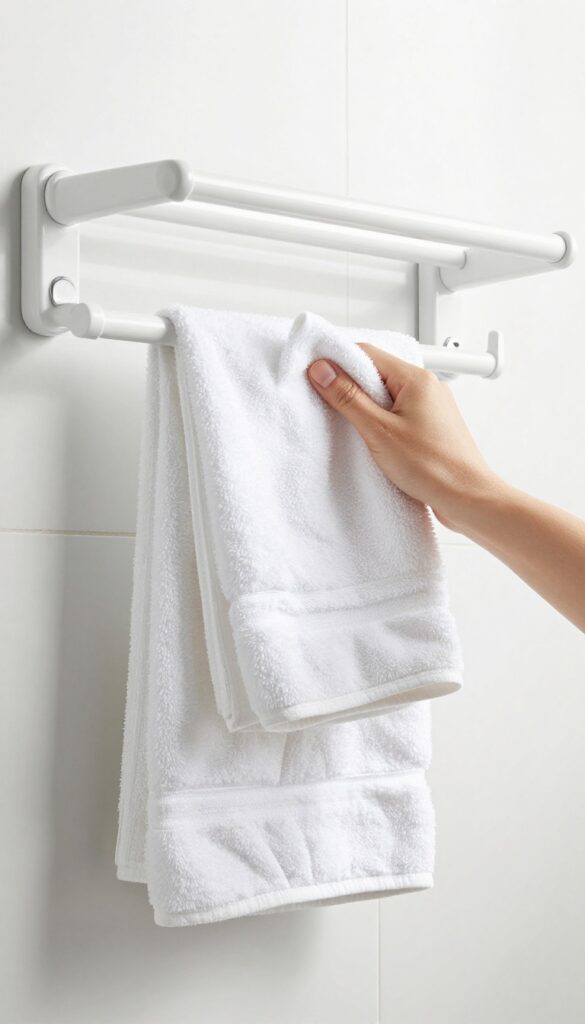
Towel racks and hooks might seem self-cleaning since they're touched by clean towels, but they actually collect dust, hair, and even splashed toothpaste. A quick wipe-down keeps them looking fresh and prevents that subtle grime from transferring back onto your towels.
This step is fast and satisfying. Grab a disinfectant wipe or a microfiber cloth with all-purpose spray. Run it along the entire bar, paying attention to the brackets where dust bunnies hide.
For hooks, wipe the top and the curve where towels hang. Don't forget the wall plate or mounting area. This takes less than a minute per rack and makes a noticeable difference in how clean the bathroom feels.
Why This Matters
Towel racks and hooks are high-touch surfaces that often get ignored. Over time, dust, soap residue, and moisture create a film that can make towels smell musty. A regular wipe-down removes that buildup and keeps your linens fresher longer.
Best Tools For The Job
Disinfectant wipes are the easiest option because they're pre-moistened and disposable. If you prefer reusable, use a microfiber cloth with a mild cleaner or a vinegar-water solution. Avoid abrasive scrubs that can scratch chrome or brushed nickel finishes.
Pro Tip For Stubborn Grime
If you notice sticky residue or hard water spots, spray the area with a 50/50 vinegar-water mix and let it sit for a minute before wiping. For tight crevices, an old toothbrush works wonders.
16. Medicine Cabinet Organization and Cleaning
Your medicine cabinet is a magnet for expired pills, dried-out tubes, and random band-aids. When you're rushing in the morning, the last thing you want is to dig through clutter to find what you need. A quick reset here makes your whole routine smoother.
Start by emptying everything onto the counter. Toss anything past its expiration date—check both medications and toiletries. Wipe down the shelves with a disinfectant spray or a damp microfiber cloth.
Then group items by category: first aid, daily meds, oral care, and backups. Use small bins or trays to keep categories separate. Finally, return only what you actually use regularly.
Store less-frequent items elsewhere.
Declutter And Dispose
Pull everything out and sort into three piles: keep, trash, and relocate. Check expiration dates on medicine bottles—most lose potency after a year. Toss empty containers and half-used products you never reach for.
For prescription meds, check local disposal guidelines; many pharmacies accept them.
Deep Clean The Cabinet
With the cabinet empty, vacuum any dust or debris from the corners. Wipe all surfaces with a gentle cleaner—avoid harsh chemicals that might linger near your toothbrush. Don't forget the mirror inside if there is one.
Let it air dry completely before restocking.
Organize By Frequency Of Use
Place daily-use items like toothpaste and pain relievers at eye level. Store first aid supplies and backup products on higher or lower shelves. Use clear containers or drawer dividers to keep small items from rolling around.
Label shelves if you share the cabinet with others.
17. Baseboard and Trim Dusting
Baseboards and door trim are the unsung heroes of a clean-looking bathroom. They frame the room and catch every bit of dust, hair, and grime that settles during your regular cleaning. When they're dirty, even a spotless toilet and gleaming mirror can't save the overall impression.
Giving them a quick wipe makes everything look finished and fresh.
Dust and grime accumulate on baseboards and trim because they're at floor level and often overlooked. A quick once-over with the right tool removes the buildup and prevents it from becoming caked-on dirt. This step takes less than five minutes but makes a noticeable difference in how clean the room feels.
Best Tools For The Job
A microfiber cloth is your best bet because it traps dust instead of pushing it around. For tight corners and detailed trim, a soft-bristled paintbrush or a dedicated duster with an extendable handle works wonders. Avoid feather dusters that just redistribute particles into the air.
How To Handle Stubborn Grime
If you find sticky spots or built-up residue, dampen your microfiber cloth with a mild all-purpose cleaner or a mix of water and dish soap. Wipe gently, then go over the area with a dry cloth to prevent moisture from seeping into the wood or paint. For painted trim, test a small hidden spot first to make sure the cleaner doesn't dull the finish.
Make It A Habit
Incorporate baseboard dusting into your weekly bathroom reset. It's easy to forget, but once you see the difference, you'll never skip it. Set a reminder on your phone or pair it with another quick task like wiping down the mirror.
Consistency keeps the buildup from becoming a deep-cleaning project.
18. Window Sill and Track Cleaning
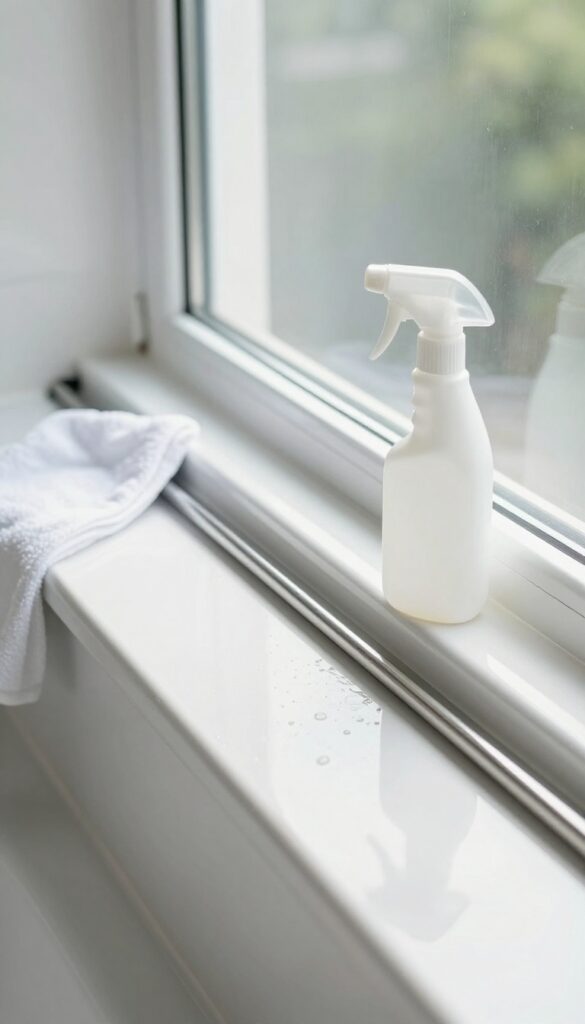
Bathroom windows let in natural light, but they also collect dust, pollen, and moisture. The sill and tracks become a breeding ground for mold and grime if ignored. A quick reset here makes the whole room feel brighter and fresher.
Start With Dry Cleaning
Use a vacuum with a narrow brush attachment to suck up loose dust, hair, and debris from the sill and tracks. Alternatively, a stiff paintbrush or an old toothbrush works well to dislodge stubborn particles. This step prevents turning dirt into mud when you apply cleaner.
Tackle Mold And Mildew
Mix equal parts white vinegar and warm water in a spray bottle. Spray the solution onto the sill and tracks, let it sit for 5 minutes, then scrub with a small brush. Vinegar kills mold spores naturally without harsh fumes.
For tough spots, add a few drops of dish soap.
Rinse And Dry Thoroughly
Wipe away the vinegar solution with a damp cloth, then dry the area with a microfiber towel. Moisture left behind can lead to new mold growth. Open the window for a few minutes to air out the space and speed up drying.
19. Shower Caddy and Bottle Bottom Scrub
Shower caddies and the bottles they hold are prime real estate for grime. Soap scum, shampoo residue, and that mysterious slime build up fast, especially on the bottoms of bottles where water pools. Giving both the caddy and its contents a dedicated scrub makes your shower feel noticeably cleaner and keeps products from getting sticky or gross.
Empty And Soak The Caddy
Pull everything out of your shower caddy. If it's a plastic or metal rack, give it a quick soak in warm, soapy water—add a splash of vinegar or bleach if you see mold. Let it sit for 5 minutes while you move on to the bottles.
Scrub Bottle Bottoms And Nozzles
Flip each bottle over and scrub the bottom with an old toothbrush or a scrub brush. Pay extra attention to the nozzle area where product can crust up. Rinse each bottle under hot water before placing it back.
Rinse And Reassemble
Rinse the caddy thoroughly, making sure no soap residue remains. Wipe it dry with a microfiber cloth to prevent water spots. Put the clean bottles back in, and enjoy a fresh, grime-free shower setup.
20. Final Once-Over with a Dry Cloth
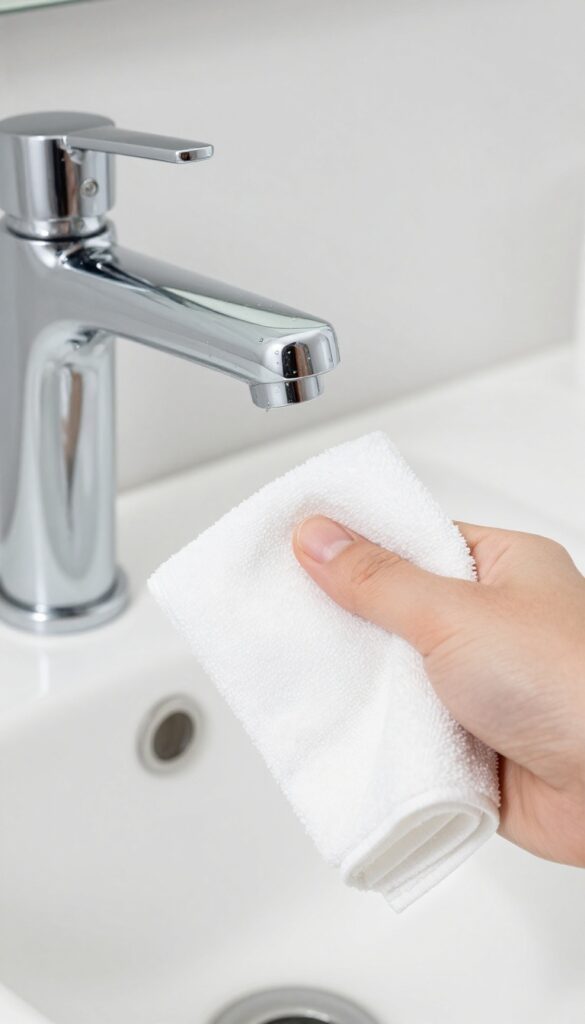
You've scrubbed, wiped, and polished, but a few lingering water spots can make all that work look unfinished. A dry cloth pass is the simplest way to elevate your bathroom from clean to gleaming. This step takes less than two minutes but delivers a noticeable difference.
It's the finishing touch that makes your reset feel complete.
Why A Dry Pass Matters
Water contains minerals that leave white spots when they dry. Even if you use a squeegee, tiny droplets remain on faucets, mirrors, and countertops. A dry microfiber cloth picks up these residues and buffs surfaces to a shine.
It also catches any stray dust or lint that settled during cleaning. Think of it as the detailer's final wipe-down after a car wash.
Best Cloth To Use
Microfiber is the winner here. It's absorbent, lint-free, and gentle on all surfaces. Use a clean, dry one—not the damp rag you just cleaned with.
A dedicated dry cloth ensures you're not spreading soap scum or cleaner residue. Keep a stack of fresh microfiber cloths in your cleaning caddy. When one gets damp, swap it out.
Where To Focus
Start with the faucet and sink area. Then move to the toilet tank and lid, where water spots are common. Hit the mirror edges, countertops, and any glass shower doors.
Don't forget small details like the soap dispenser or toothbrush holder. Work top to bottom so any dust that falls lands on surfaces you haven't wiped yet. Finish with the floor corners if you have time.
FAQ
How often should I deep clean my bathroom?
Aim for a deep clean every two to four weeks, depending on usage. Daily and weekly maintenance tasks will keep it manageable between deep cleans.
What's the best order to clean a bathroom?
Start from the top (mirrors, shelves) and work down to the floor. Clean dry areas first, then wet areas, and finish with the toilet and floor to avoid spreading germs.
Can I use vinegar on all bathroom surfaces?
Vinegar is safe for most surfaces like glass, tile, and chrome, but avoid it on natural stone (marble, granite) and unsealed grout, as it can etch or damage them.
How do I prevent mold in the bathroom?
Improve ventilation by running the exhaust fan during and after showers, wipe down wet surfaces, and fix any leaks promptly. Using a squeegee on shower walls also helps.
What's the fastest way to clean a bathroom?
Focus on high-impact areas: wipe the mirror, clean the toilet bowl and seat, quickly scrub the sink, and spot-clean the floor. A daily 5-minute wipe-down keeps it fresh.
Conclusion
A clean bathroom doesn't have to eat up your whole morning. By breaking the process into these 20 focused checklist ideas, you can tackle the mess in short, effective bursts. Each small habit builds on the last, turning a dreaded chore into a routine you barely notice.
Pick a few ideas that resonate with your current struggles and start there. Over time, you'll find your own rhythm, and that fresh, reset feeling will become your new normal.


