
Dull, dirty grout can make even the cleanest bathroom feel dingy. You scrub the tiles, but those grout lines keep stealing the show—in the worst way. The good news?
You don't need harsh chemicals or expensive services to get them bright again. These 23 ideas range from quick fixes to deep-cleaning techniques. Most use items you already have at home.
A few introduce specialized tools that make the job almost effortless. Pick the methods that fit your schedule and grout condition. Your bathroom floors will thank you with a fresher, cleaner look that lasts.
1. Baking Soda and Vinegar Paste
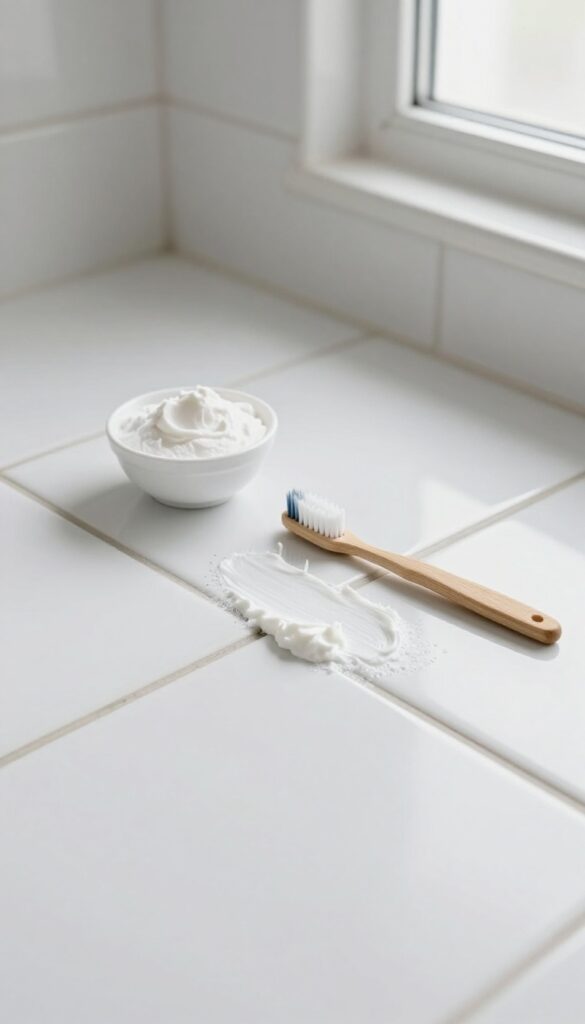
This classic combo works because of chemistry—the vinegar's acidity breaks down grime while baking soda provides gentle abrasion. The fizzing action helps lift dirt from porous grout. It's cheap, non-toxic, and surprisingly effective for regular maintenance.
Mix three parts baking soda with one part white vinegar until you get a spreadable paste. Apply it directly to the grout lines using an old toothbrush or a small spatula. Let it sit for 5–10 minutes—you'll see it start to bubble.
Scrub vigorously with a stiff brush, then rinse with warm water. For stubborn spots, repeat or let the paste sit longer. This method works best on light to medium stains and is safe for all grout types.
Why It Works So Well
The alkaline baking soda reacts with the acidic vinegar, creating carbon dioxide bubbles that help dislodge dirt from deep within the grout. The baking soda also acts as a mild abrasive, scrubbing away surface stains without scratching tile.
Pro Tips For Best Results
Use white vinegar only—apple cider or balsamic can stain grout. Apply the paste to dry grout for better adhesion. If the mixture is too runny, add more baking soda.
For extra cleaning power, add a few drops of dish soap.
When To Skip This Method
If your grout is sealed, the paste may not penetrate as deeply. Test on an inconspicuous area first. For heavy mold or mildew, you'll need a stronger cleaner like hydrogen peroxide or bleach.
2. Hydrogen Peroxide and Baking Soda
If your white grout has turned a sad shade of gray, hydrogen peroxide and baking soda can bring it back to life. This duo creates a bleaching paste that lifts stains without the harsh smell of bleach. It's a go-to for brightening light-colored grout lines quickly.
Mix baking soda and hydrogen peroxide into a thick paste—about two parts baking soda to one part peroxide. Apply it directly to the grout lines, let it sit for 10 minutes, then scrub with a stiff brush. Rinse thoroughly with water.
The paste will foam slightly as it works, lifting dirt and whitening the grout. For extra stubborn stains, cover the paste with plastic wrap and let it sit longer, up to 30 minutes.
Why It Works So Well
Hydrogen peroxide is a mild bleach that breaks down organic stains and kills mold spores. Baking soda adds gentle abrasion to scrub away surface grime without scratching tiles. Together, they create a chemical reaction that releases oxygen bubbles, helping to lift dirt from porous grout.
Best For White Or Light Grout
This method is ideal for white or light-colored grout because of the bleaching effect. On dark grout, it may lighten the color unevenly, so test in an inconspicuous spot first. It's also great for tackling mildew stains in damp bathroom corners.
Tips For Best Results
Use a grout brush or an old toothbrush to work the paste into the lines. Rinse with warm water and wipe away any residue with a damp cloth. For extra whitening power, add a squirt of lemon juice to the mix.
Always ventilate the bathroom while working.
3. Lemon Juice and Cream of Tartar
Lemon juice isn't just for lemonade—it's a natural degreaser that cuts through bathroom grime. When you mix it with cream of tartar, you get a paste that tackles even stubborn grout stains. This combo is gentle enough for regular use but strong enough to lift years of buildup.
How To Mix The Paste
Combine two parts cream of tartar with one part lemon juice in a small bowl. Stir until it forms a thick, spreadable paste. Add more lemon juice if it's too dry, or more cream of tartar if it's too runny.
The consistency should be like toothpaste.
Application And Wait Time
Use an old toothbrush or a small grout brush to apply the paste directly onto the grout lines. Spread it evenly and let it sit for about 15 minutes. The acidity of the lemon juice works during this time to break down grease and soap scum.
Scrubbing And Rinsing
After 15 minutes, scrub the grout with the brush using circular motions. You'll see the grime loosen and the grout brighten. Rinse thoroughly with warm water and wipe away any residue with a damp cloth.
Repeat on extra-stubborn spots if needed.
Safety Tips And Best Uses
Test the paste on a small, hidden area first to ensure it doesn't lighten your grout's color. Avoid using on natural stone tiles, as the acid can etch them. This method works best on ceramic or porcelain tiles with white or light-colored grout.
4. Oxygen Bleach Soak
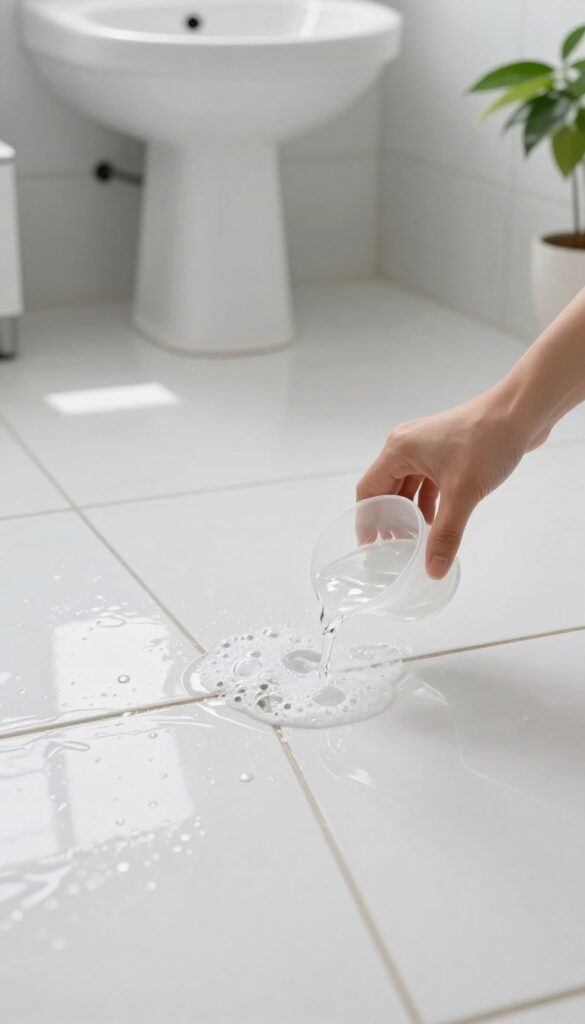
Oxygen bleach is a game-changer for grout that's seen better days. Unlike chlorine bleach, it won't fade colored grout or leave behind a harsh chemical smell. Instead, it releases oxygen bubbles that lift organic stains like mold, mildew, and soap scum right out of the porous surface.
This method is especially good for grout that's heavily stained but still intact. It's also safe for most tile types, including natural stone, as long as you avoid letting the solution sit for too long. The key is to give it enough time to work—30 minutes is the sweet spot for most stains.
What You'll Need
Oxygen bleach powder (like OxiClean), warm water, a spray bottle or bowl, a soft-bristle brush or old toothbrush, and a sponge or cloth. That's it. No harsh chemicals, no special equipment.
Step-by-step Application
Mix the oxygen bleach powder with warm water according to the package directions—usually about 1 scoop per quart of water. Stir until dissolved, then apply the solution generously to the grout lines. You can pour it on or use a spray bottle.
Let it sit for 30 minutes. You'll see bubbles forming as it works. After that, scrub the grout with a brush to loosen any remaining dirt, then rinse thoroughly with clean water and wipe dry.
Why It Works So Well
Oxygen bleach penetrates deep into the porous grout, breaking down organic matter at a molecular level. It's also gentle enough to use regularly without damaging the grout or tile. Plus, it's environmentally friendly—the byproducts are just oxygen, water, and soda ash.
5. Steam Cleaning
When scrubbing just isn't cutting it, steam cleaning can blast away deep-seated grime without any harsh chemicals. A handheld steam cleaner with a grout attachment directs high-temperature steam right into the lines, loosening dirt and killing mold on contact. It's a deep-cleaning powerhouse that leaves your grout looking like new.
Why Steam Works So Well
Steam reaches temperatures above 200°F, which is hot enough to break down soap scum, grease, and mineral deposits that regular cleaning misses. The pressure also forces dirt out of porous grout, while the heat kills mold spores and bacteria. Best of all, you're using nothing but water—no fumes, no residue, and no rinsing needed.
Choosing The Right Steamer
Look for a handheld steamer that includes a grout brush or a small triangular nozzle. Models with adjustable steam pressure let you start low for light cleaning and crank it up for tough stains. A long cord or a cordless option makes it easier to reach all corners of the bathroom.
You don't need an expensive industrial unit; a mid-range consumer steamer works great for grout.
Step-by-step Steam Cleaning
First, sweep or vacuum the floor to remove loose debris. Fill the steamer with water and let it heat up according to the instructions. Attach the grout nozzle, then move it slowly along the grout lines, letting the steam do the work.
Wipe away the loosened grime with a microfiber cloth. For extra-stubborn spots, let the steam sit for a few seconds before wiping. Repeat until the grout looks clean, then let it dry completely.
6. Grout Brush with Extendable Handle
Kneeling on a cold bathroom floor to scrub grout gets old fast. A grout brush with an extendable handle lets you stand upright while you work. The stiff bristles are designed to dig into those narrow grout lines, and the long handle saves your knees and back from unnecessary strain.
Pair it with your favorite cleaner for a quick, effective scrub session.
Why An Extendable Handle Matters
Standard scrub brushes force you to hunch over or kneel, which can lead to soreness after just a few minutes. An extendable handle lets you adjust the length so you can scrub while standing comfortably. This is especially helpful for large bathrooms or multiple tiled areas.
Your body will thank you after a thorough cleaning session.
Choosing The Right Bristle Stiffness
Not all grout brushes are created equal. Look for one with stiff, durable bristles that can reach deep into grout lines without scratching the tile surface. Nylon bristles are a good choice—they're tough on grime but gentle on ceramic and porcelain.
Avoid wire brushes, which can damage grout and tile finishes.
Best Cleaners To Use With The Brush
The brush works best when paired with a cleaner that can loosen grime. A simple mix of warm water and dish soap works for light dirt. For tougher stains, use a baking soda paste or a commercial grout cleaner.
Apply the cleaner, let it sit for a few minutes, then scrub with the brush. Rinse with water and enjoy the results.
7. Electric Grout Scrubber
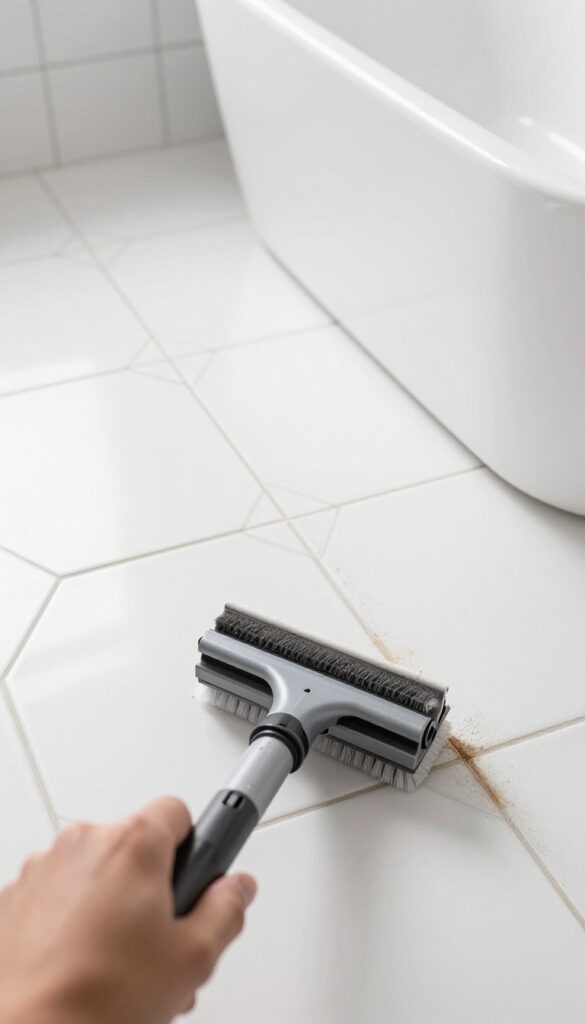
Sometimes your arm needs a break. An electric grout scrubber takes over the heavy lifting with a spinning brush head that digs into grout lines. Battery-powered and cordless, it makes quick work of stubborn stains without you breaking a sweat.
If your bathroom is large or your grout is especially dirty, this tool is a worthwhile investment.
Electric scrubbers come with interchangeable heads for different grout widths. They spin at high RPMs, dislodging grime that manual scrubbing leaves behind. Most are waterproof and safe to use with your favorite cleaning solution.
Just guide the brush along the grout lines and let the tool do the work.
Why It Works
The high-speed rotation creates friction that breaks down tough soap scum and mildew. Unlike a manual brush, the electric scrubber maintains consistent pressure and speed. This means less effort for you and better results in less time.
Choosing The Right Model
Look for a scrubber with a pivoting head to reach awkward corners. A variable speed trigger lets you adjust power for delicate or heavily stained areas. Cordless models offer freedom of movement, but check battery life—you don't want it dying mid-job.
Best Practices
Apply a grout cleaner or a paste of baking soda and vinegar before scrubbing. Work in small sections and rinse frequently to see your progress. For deep stains, let the cleaner sit for a few minutes before turning on the scrubber.
Always wear gloves and eye protection.
8. Magic Eraser Sponge
A simple melamine foam sponge—often sold as a Magic Eraser—can work wonders on lightly soiled grout. No special skills or harsh chemicals required. Just a bit of water and gentle pressure.
These sponges are made of melamine foam, which acts like ultra-fine sandpaper when damp. They lift dirt and grime from porous grout without scratching the tile surface. It's a quick, low-effort fix for maintenance cleaning between deeper scrubs.
How To Use It
Dampen the sponge with water—don't soak it. Gently rub along the grout lines using light pressure. The sponge will start to wear down as it works; that's normal.
Rinse the sponge occasionally to avoid redepositing dirt.
Best For Light Cleaning
This method shines for routine touch-ups. If your grout is heavily stained or has years of buildup, a Magic Eraser alone won't cut it. Use it weekly or bi-weekly to keep grout looking fresh between deep cleans.
Avoid Over-scrubbing
Melamine foam is abrasive on a microscopic level. Too much pressure can wear away the grout surface over time. Stick to gentle, even strokes.
If you see white residue, you're pressing too hard.
9. Toothbrush and Toothpaste
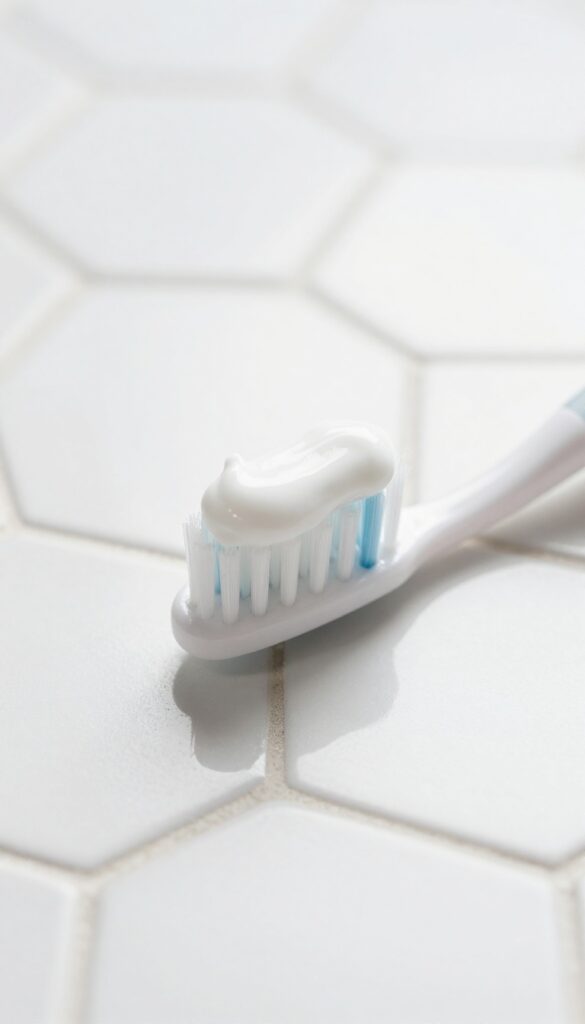
You might have heard that toothpaste can polish silver, but did you know it works on grout too? The mild abrasive in white toothpaste is gentle enough to clean without damaging the grout, and it can even help brighten discolored lines. This method is perfect for small areas or spot treatments when you need a quick refresh.
Why It Works
White toothpaste contains mild abrasives like calcium carbonate or silica, which are just abrasive enough to lift surface stains from grout without scratching. It also has detergents that help break down grime, and the paste consistency allows you to target specific lines without making a mess.
How To Do It
Squeeze a small amount of white toothpaste onto an old toothbrush. Scrub the grout lines in a circular motion, focusing on stained areas. Let it sit for a minute or two, then wipe away with a damp cloth.
Repeat if needed. Avoid gel toothpaste—it lacks the abrasive power.
Best Use Cases
This trick works best on light to medium stains in small areas, like the grout around a sink or a small patch of floor tiles. It's also great for spot-cleaning after a deep clean to maintain brightness. For large areas or heavy buildup, you'll want a stronger method.
10. Bleach Pen
A bleach pen is one of the easiest tools for tackling stubborn grout stains without mixing or measuring. It looks like a marker but dispenses a thin stream of bleach gel, letting you draw directly along grout lines. This precision makes it ideal for spot-treating dark spots or uneven discoloration on white grout.
After a short wait, you rinse and reveal brighter lines with minimal effort.
Using a bleach pen is straightforward: uncap the pen, squeeze gently to release gel, and trace over the grout lines you want to treat. Let the gel sit for about 10 minutes—longer for set-in stains—then wipe or rinse with water. The gel clings to vertical surfaces too, so it works on shower walls.
Always test in an inconspicuous spot first, especially if your grout is colored or sealed. Bleach can lighten or damage some surfaces.
Best For White Grout Only
Bleach pens are designed for white or light-colored grout. Using them on colored grout will likely bleach out the pigment, leaving uneven patches. Stick to white grout for best results, and avoid contact with tile surfaces that might be porous or unglazed.
Application Tips For Even Coverage
Work in small sections to prevent the gel from drying before you rinse. Apply a continuous line along each grout joint, overlapping slightly if needed. Use a damp cloth to wipe away excess gel, then rinse thoroughly.
For deep stains, let the gel sit up to 15 minutes, but don’t let it dry completely.
Safety Precautions
Bleach fumes can be strong, so ventilate the bathroom by opening a window or running the fan. Wear gloves to protect your hands, and keep the pen away from fabrics and carpets. Rinse the area well after treatment to remove any residue.
11. Grout Sealer Application
You've scrubbed and scrubbed, and now your grout looks clean—but for how long? Without protection, grout is like a sponge, soaking up every spill and stain. That's where a good grout sealer comes in.
It creates an invisible shield that repels water, dirt, and grime, making future cleanings much easier. Applying sealer is a simple step that pays off for months.
Once your grout is clean and completely dry, applying a sealer is straightforward. You can use a brush, roller, or spray bottle designed for grout. Work in small sections, making sure the sealer penetrates the porous grout lines.
Wipe off any excess from the tile surface before it dries to avoid a hazy film. Most sealers need a few hours to cure, so plan to keep the floor dry during that time. Reapply every year to maintain the barrier.
Choosing The Right Sealer
Not all sealers are the same. Penetrating sealers soak into the grout and protect from within, while membrane-forming sealers create a protective layer on top. For bathroom floors that get wet often, a penetrating sealer is usually best because it won't peel or flake.
Look for a sealer labeled for use on unglazed tile or natural stone if your tiles are porous. Check the manufacturer's instructions to make sure it's compatible with your grout type.
Application Tips For Best Results
Before you start, make sure the grout is bone dry—wait at least 24 hours after cleaning. Use painter's tape to protect any surfaces you don't want sealed. Apply the sealer with a small brush or foam brush, working it into the grout lines.
Let it sit for the recommended time (usually 5–10 minutes), then wipe away any excess with a clean cloth. Avoid applying too much, as it can leave a sticky residue. Work in a well-ventilated area and wear gloves.
When To Reapply
Grout sealer doesn't last forever. In a bathroom that's used daily, you'll need to reapply about once a year. You can test if your sealer is still working by sprinkling a few drops of water on the grout.
If the water beads up, the sealer is still active. If it soaks in and darkens the grout, it's time to reseal. Regular resealing keeps your grout looking fresh and makes cleaning much less of a chore.
12. Vinegar and Water Spray
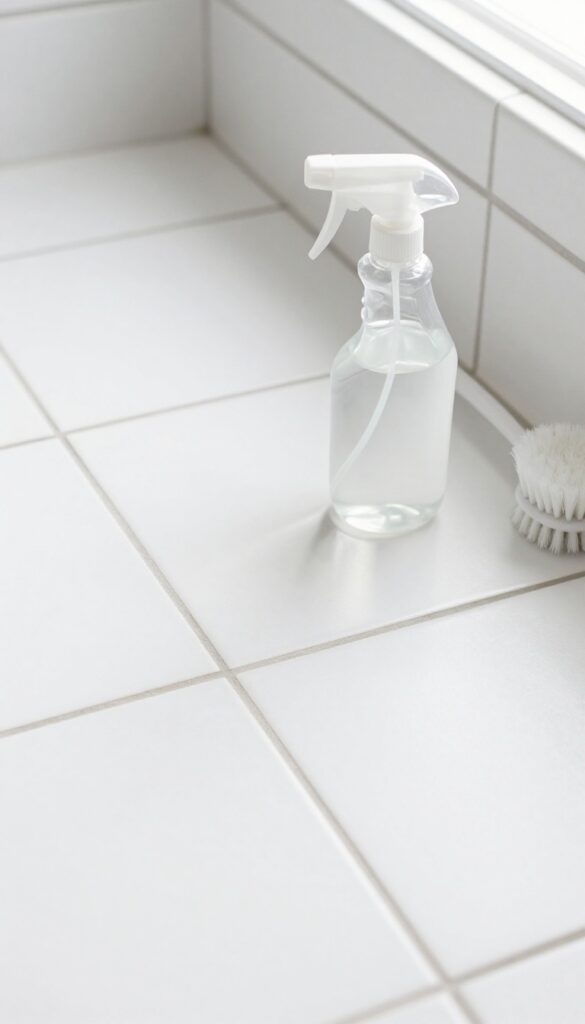
White vinegar is a powerhouse cleaner that cuts through grime without harsh fumes. Mixed with water, it becomes a gentle but effective grout cleaner that's safe for daily use. This simple solution can tackle light stains and prevent buildup, keeping your grout looking fresh between deep cleans.
For a basic clean, mix equal parts white vinegar and water in a spray bottle. Spray the solution directly onto the grout lines, let it sit for 5 minutes to break down dirt, then scrub with a stiff brush. Rinse with water and wipe dry.
For daily maintenance, a quick spritz after showers helps prevent soap scum and mildew from taking hold.
Why It Works
Vinegar is acidic, which helps dissolve mineral deposits, soap scum, and light mildew. It's also a natural deodorizer, so it leaves your bathroom smelling fresh without artificial fragrances. Because it's mild, you can use it frequently without damaging grout or tiles.
When To Avoid
Don't use vinegar on natural stone tiles like marble, travertine, or limestone. The acid can etch the surface and cause permanent damage. Stick to this method for ceramic, porcelain, or glass tiles only.
Also avoid if your grout is unsealed—vinegar can weaken it over time.
Boost The Power
For tougher stains, add a few drops of dish soap to the vinegar-water mix. The soap helps lift grease and grime. You can also warm the solution slightly to increase its cleaning power.
Just don't boil it—warm tap water is fine.
13. Dish Soap and Warm Water
Sometimes the simplest solution is the best one. A few drops of dish soap mixed with warm water can handle routine grout cleaning without any harsh chemicals. This gentle method is safe for frequent use and won't damage your grout or tiles.
Dish soap cuts through everyday dirt and grime that builds up on grout lines. It's especially effective on lighter stains and helps maintain a clean look between deeper cleanings. Use it weekly to keep your bathroom floors fresh.
What You'll Need
All you need is a mild dish soap (like Dawn or any gentle brand), warm water, a soft-bristled brush or an old toothbrush, and a clean cloth or sponge. No special tools required.
How To Apply
Mix about a teaspoon of dish soap into a bucket of warm water. Dip your brush into the soapy water and scrub the grout lines in a circular motion. Work in small sections to avoid the solution drying out.
Rinse with clean water and wipe dry with a cloth.
When To Use This Method
This is perfect for light cleaning between deep scrubs. If your grout is heavily stained or hasn't been cleaned in months, you might need a stronger solution first. But for maintenance, dish soap is your go-to.
14. Pumice Stone
A pumice stone isn't just for rough heels—it's a surprisingly effective grout cleaner. The porous volcanic rock acts as a gentle abrasive that lifts stubborn stains without scratching tile surfaces. You just need to wet it first and work along the grout lines with light pressure.
Pumice stones are ideal for tackling set-in dirt, rust marks, and hard water deposits that regular cleaners leave behind. They're especially useful on ceramic and porcelain tiles, but you should test on an inconspicuous area first. Avoid using them on polished or soft natural stone like marble.
How To Use A Pumice Stone On Grout
Soak the pumice stone in water for a few minutes until it's fully saturated. Wet the grout lines as well. Gently rub the stone along the grout using short, back-and-forth motions.
Let the abrasive action do the work—don't press hard. Rinse the area frequently to check your progress and remove loosened debris.
Tips For Best Results
Keep the stone wet while you work; a dry stone can scratch tiles. If the stone starts to feel smooth, rub it on concrete or rough brick to expose fresh abrasive pores. Work in small sections and wipe away residue with a damp cloth.
For extra cleaning power, dip the stone in a mild grout cleaner.
When To Skip The Pumice Stone
Avoid pumice stones on delicate surfaces like glazed tiles, linoleum, or natural stone. They can also be too harsh for old or crumbling grout. If your grout is already damaged, consider regrouting instead.
Always test in a hidden spot before going all in.
15. Grout Pen for Color Refresh
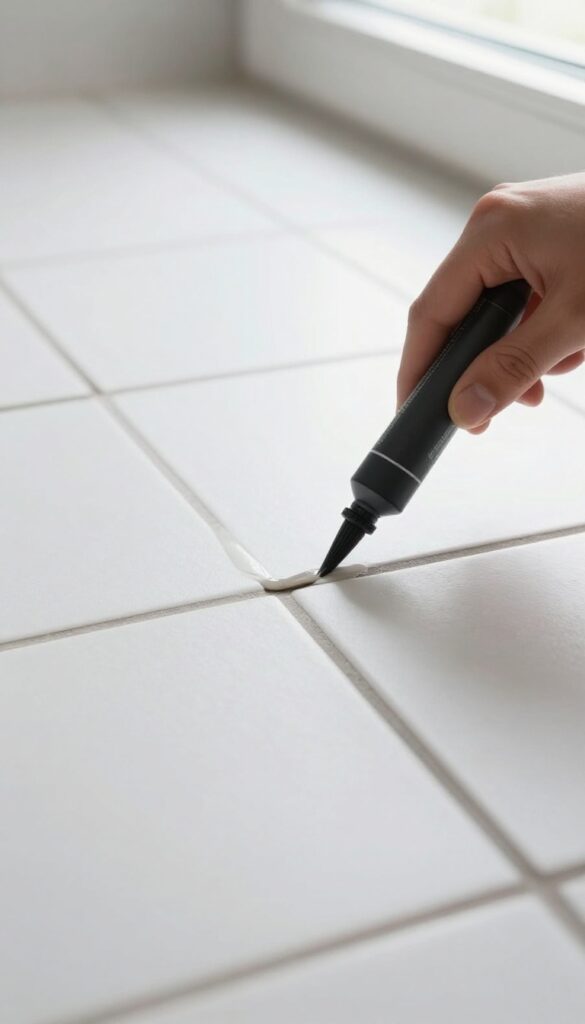
After cleaning, your grout might still look uneven or faded. A grout pen is a quick fix that restores a uniform color and hides any leftover stains. It's like a marker for your grout lines—simple, fast, and effective.
Choose a shade that matches your existing grout for a seamless refresh.
Why Use A Grout Pen?
Grout pens are designed to recolor porous grout without the mess of liquid dyes. They dry quickly and resist water, making them ideal for bathroom floors. You can target only the grout lines without affecting the tiles.
How To Apply It Right
First, make sure your grout is clean and dry. Shake the pen well, then press the tip into the grout line and draw steadily. Wipe off any excess on tiles immediately with a damp cloth.
Let it dry for at least an hour before walking on it.
Color Matching Tips
Most grout pens come in standard colors like white, gray, or beige. If your grout is an unusual shade, test the pen in an inconspicuous spot first. You can also layer colors or mix pens to get closer to your original tone.
16. Hydrogen Peroxide Direct Application
When mold and mildew have taken hold, hydrogen peroxide is your gentle but effective weapon. Unlike bleach, it doesn't release harsh fumes, and it breaks down into harmless water and oxygen. This makes it a great option for bathrooms with limited ventilation.
Pour 3% hydrogen peroxide directly onto grout lines. Let it bubble for 10 minutes, scrub, and rinse. Effective on mold and mildew stains.
Why It Works
Hydrogen peroxide is a natural oxidizer. The bubbling action lifts dirt and kills mold spores without damaging grout or tile. It's safe for colored grout too, unlike bleach which can cause fading.
Application Tips
Use a small spray bottle or pour carefully from the bottle. Focus on heavily stained areas. Let it sit undisturbed for the full 10 minutes.
Scrub with a stiff brush, then rinse with warm water. Repeat if needed.
Safety Precautions
Wear gloves to avoid skin irritation. Keep the area ventilated. Avoid mixing with other cleaners, especially vinegar or ammonia, as this can create toxic fumes.
17. Cornstarch Paste for Grease
Grease stains on grout are stubborn, but cornstarch can handle them without harsh scrubbing. This pantry staple works like a magnet for oil, lifting it right out of porous grout lines. It’s a gentle, chemical-free method that’s perfect for kitchen-adjacent bathroom areas or near sinks where hair products and lotions build up.
To use, mix cornstarch with a little water to form a thick paste—think toothpaste consistency. Spread it over the greasy grout, let it sit for 15–20 minutes, then scrub with a soft brush and rinse. The paste absorbs oils as it dries, so you wipe away the grease along with the cornstarch.
For extra-stubborn spots, let it sit longer or apply a second coat.
Why Cornstarch Works
Cornstarch is a natural absorbent. It pulls grease and oil out of grout’s porous surface without pushing them deeper. Unlike liquid cleaners that can spread oil around, the paste traps it, making removal simple.
Best Spots For This Method
This trick shines on grout near bathroom sinks, vanities, or any place where hair products, lotions, or cooking grease (if your bathroom is near the kitchen) accumulate. It’s also great for freshening up grout around the toilet base where cleaning sprays leave oily residue.
Pro Tips For Best Results
Use warm water to mix the paste—it helps the cornstarch dissolve evenly. Apply with an old toothbrush to work it into the grout lines. After scrubbing, rinse thoroughly with clean water to avoid any sticky residue.
For sealed grout, test on a small area first.
18. Rubbing Alcohol for Ink Stains
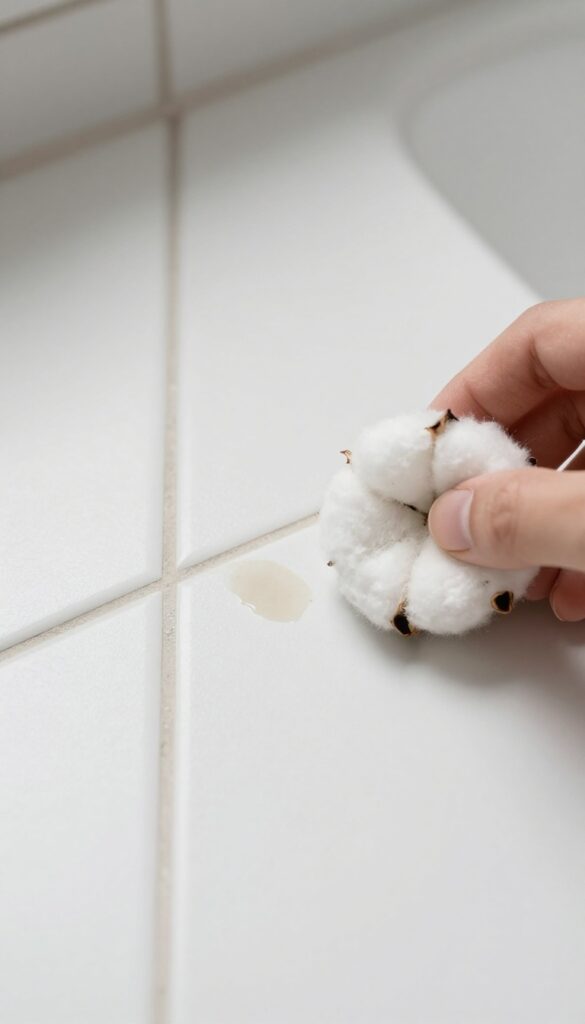
Ink spills on grout can feel permanent, but rubbing alcohol cuts through them like magic. The high alcohol content dissolves the ink pigments without damaging the grout. It's a targeted approach for those accidental pen marks or dye transfers.
Dab rubbing alcohol onto a cotton ball and press it onto the stained grout. Let it sit for a minute, then blot—don't rub—until the stain lifts. Rinse with water and pat dry.
Repeat if needed. This method works best on fresh stains but can lighten older ones too.
Why It Works
Rubbing alcohol is a solvent that breaks down the chemical bonds in ink. It evaporates quickly, so it won't soak into the grout and cause damage. The blotting action lifts the stain away from the surface.
Application Tips
Use 70% or higher isopropyl alcohol for best results. Test on an inconspicuous area first to ensure the grout color doesn't change. Work in a well-ventilated space and avoid open flames.
When To Skip This Method
If your grout is unsealed or porous, alcohol might spread the stain. In that case, try a grout-specific stain remover instead. Also avoid this on colored grout, as it could lighten the dye.
19. Denture Cleaning Tablets
Denture cleaning tablets aren't just for false teeth—they're a surprisingly effective grout cleaner. The effervescent action lifts dirt and stains from deep within the grout lines without harsh scrubbing. This method is especially great for tackling discoloration in high-traffic areas.
Drop two denture cleaning tablets into a cup of warm water and stir until they dissolve. Apply the solution directly to the grout lines using a small brush or a spray bottle. Let it fizz and bubble for about 15 minutes—you'll see the dirt start to lift.
After that, scrub gently with a stiff brush and rinse thoroughly with clean water. The result is noticeably brighter grout with minimal effort.
Why It Works
The tablets contain oxygen-based bleaching agents that break down organic stains and kill bacteria. The fizzing action helps dislodge dirt from porous grout, making it easier to rinse away. It's a gentle but powerful cleaner that won't damage tiles.
Best For Light Stains
This method works wonders on light to moderate discoloration. For heavy mold or deep-set stains, you might need a stronger solution or a second application. Always test on a small, hidden area first to ensure your grout is colorfast.
20. Baking Soda and Dish Soap Scrub
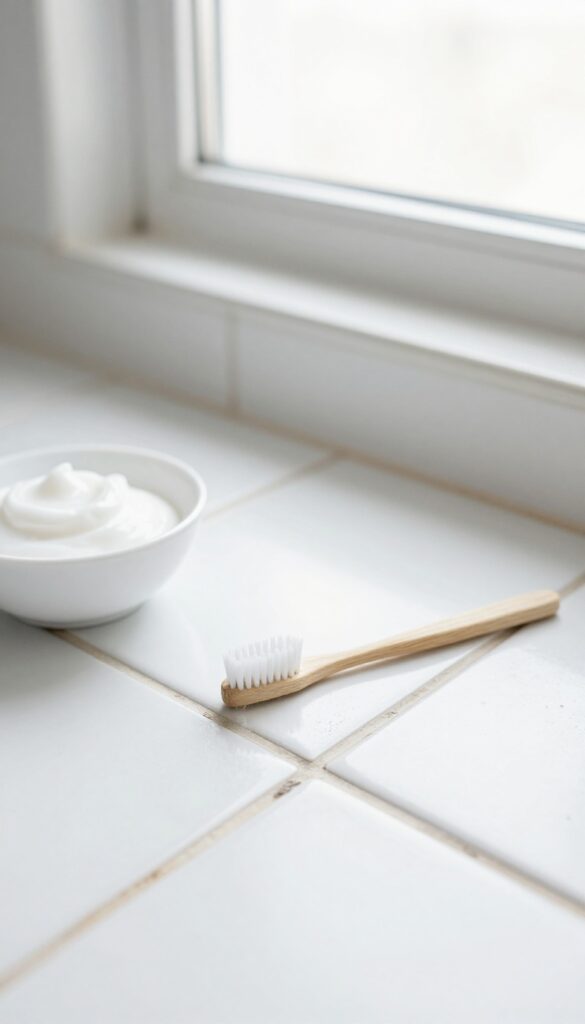
This classic combo is a powerhouse for lifting everyday grime. Baking soda gently abrades dirt without scratching tiles, while dish soap cuts through soap scum and grease. Together, they form a paste that tackles grout discoloration without harsh fumes.
Mix three parts baking soda with one part dish soap—just enough to form a thick paste. Apply it to the grout lines with an old toothbrush or a grout brush. Let it sit for 10 minutes to break down stubborn buildup, then scrub in small circular motions.
Rinse thoroughly with warm water and wipe away residue with a damp cloth. For extra tough stains, add a splash of white vinegar to the paste (but test on a hidden area first, as vinegar can etch natural stone).
Why It Works
Baking soda is a mild alkali that reacts with acids in dirt, helping to lift stains. Dish soap contains surfactants that surround and remove oily grime. The paste's texture provides gentle abrasion, making it effective on porous grout without damaging the surrounding tile.
Best For
This scrub is ideal for light to moderate dirt, soap scum, and everyday grout discoloration. It's safe for ceramic, porcelain, and glazed tiles. Avoid using on unsealed natural stone or delicate surfaces unless you've tested it first.
Pro Tips
Use a stiff-bristled brush for deeper cleaning. If the paste dries out while sitting, spritz it with a little water to keep it active. For a fresh scent, add a few drops of lemon or tea tree essential oil.
Rinse thoroughly to avoid any sticky residue.
21. Professional Grout Cleaning Service
Sometimes DIY methods just aren't enough. If your grout is heavily stained, crumbling, or hasn't been cleaned in years, a professional service can work wonders. These experts use industrial-grade equipment and specialized cleaners that penetrate deep into the porous grout, lifting dirt and grime that household products can't touch.
The result is grout that looks nearly new—without you having to lift a finger.
What To Expect
A professional grout cleaning typically involves a thorough inspection, application of a heavy-duty cleaner, agitation with a rotary brush, and high-pressure steam or hot water extraction. The process removes embedded dirt, mold, and mildew, and can even restore the original color of your grout. Many services also offer sealing afterward to protect against future stains.
Cost Vs. Value
While professional cleaning costs more than DIY methods—usually between $200 and $500 for a standard bathroom—it can save you time and effort. It's especially worth it if you're preparing to sell your home or if your grout is in such bad shape that replacement would be far more expensive. Think of it as an investment in your bathroom's appearance and longevity.
Choosing The Right Pro
Look for companies that specialize in tile and grout cleaning, not just general carpet cleaners. Check reviews, ask about their equipment and cleaning solutions, and request a before-and-after portfolio. A reputable pro will offer a satisfaction guarantee and be transparent about their process.
Avoid anyone who promises instant results with harsh chemicals that could damage your tiles.
22. Grout Stripping and Reapplication
Sometimes no amount of scrubbing, bleaching, or magic erasing can revive grout that's seen better decades. When the grout is crumbling, deeply stained, or just refuses to lighten up, stripping it out and starting fresh is the only real fix. It sounds drastic, but it's actually a straightforward DIY job that can transform your bathroom floor completely.
When To Strip Vs. When To Clean
Before you grab a grout saw, take a hard look at your grout. If it's still intact but just stained, try deep cleaning or bleaching first. But if you see cracks, missing chunks, or dark discoloration that won't budge after multiple cleaning attempts, stripping is the better move.
Reapplying new grout also solves underlying issues like mold growth deep inside the pores.
Tools And Materials You'll Need
A manual grout saw or oscillating tool with a grout removal blade works best. You'll also need new grout (sand or unsanded depending on your joint width), a grout float, a sponge, and a bucket of water. Don't forget safety glasses and a dust mask—grout dust is fine and irritating.
For the finishing touch, grab a good grout sealer.
Step-by-step: Removal And Reapplication
Start by carefully sawing along each grout line, removing about 1/8 to 1/4 inch depth. Vacuum out all dust and debris. Mix your new grout according to package directions, then press it firmly into the joints with a float at a 45-degree angle.
Let it set for the recommended time, then wipe away excess with a damp sponge. Wait 24–48 hours before sealing.
Sealing: The Non‑negotiable Final Step
New grout is porous and will stain quickly if left unsealed. Apply a penetrating sealer with a small brush or applicator bottle, making sure to cover every joint. Wipe off any sealer that gets on the tile surface before it dries.
Reapply sealer every year or two to keep your fresh grout looking new.
23. Daily Squeegee and Dry Mop
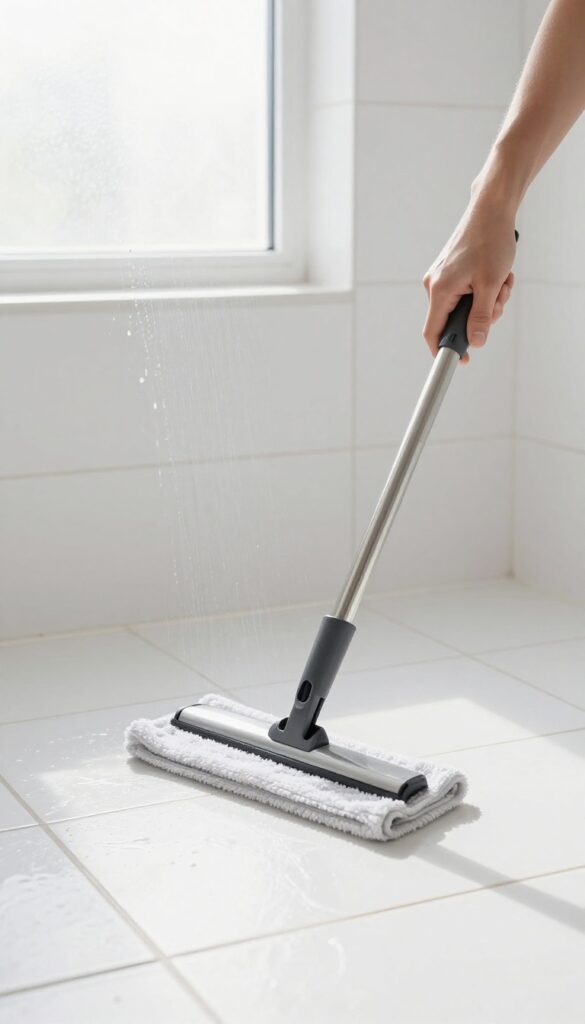
The easiest way to keep bathroom grout clean is to stop dirt from settling in the first place. A daily squeegee and dry-mop routine takes just a couple of minutes but dramatically reduces how often you need to deep-clean. Less moisture and debris mean less grout cleaning over time.
Why It Works
Grout is porous, so it absorbs water and traps dust, soap scum, and body oils. When you squeegee shower walls after every use, you remove the water that would otherwise seep into grout lines. Dry-mopping the floor picks up hair, lint, and dust before they get ground into the grout.
This simple habit prevents the buildup that leads to discoloration and mold.
What You'll Need
A good-quality squeegee with a rubber blade (a 12-inch or wider blade covers more area quickly) and a microfiber dry mop or a microfiber cloth on a flat mop head. Keep both tools within easy reach of your shower or bathroom door so you remember to use them. For the floor, a dry mop with a washable pad works best—no water or cleaner needed.
How To Make It A Habit
Hang the squeegee in the shower and make it the last step before you step out. Swipe the walls from top to bottom in overlapping strokes. Then grab the dry mop and quickly go over the floor.
If you do this every time you shower, it becomes second nature within a week. Your grout will stay brighter, and you'll save hours of scrubbing later.
FAQ
How often should I clean bathroom grout?
For maintenance, clean grout every 2-4 weeks with a mild cleaner. Deep clean every 3-6 months depending on usage and humidity.
Can I use bleach on colored grout?
Bleach can discolor or damage colored grout. Use oxygen bleach or a pH-neutral cleaner instead to preserve the color.
What is the best homemade grout cleaner?
A paste of baking soda and hydrogen peroxide is highly effective for white grout. For colored grout, use baking soda and dish soap.
How do I prevent grout from getting dirty quickly?
Seal grout after cleaning and reapply sealer annually. Use a daily spray of vinegar and water, and dry mop floors after showers.
Is steam cleaning safe for all tile grout?
Yes, steam cleaning is safe for most grout types. Avoid on loose or damaged grout, as the pressure may worsen the condition.
Conclusion
Bright, clean grout can transform the entire look of your bathroom without a major renovation. By trying just a few of these methods, you'll see a noticeable difference in how fresh and polished your floors feel.
The key is consistency—once you find a technique that works for your grout type and staining level, stick with it. A quick weekly wipe-down and a deeper clean every month will keep those lines looking crisp and your bathroom feeling brighter.


